NGINX Modern Apps > Class 12 - The Path to Understanding Kubernetes and Containers > Module 3 - Kubernetes Troubleshooting Source | Edit on
Bonus lab
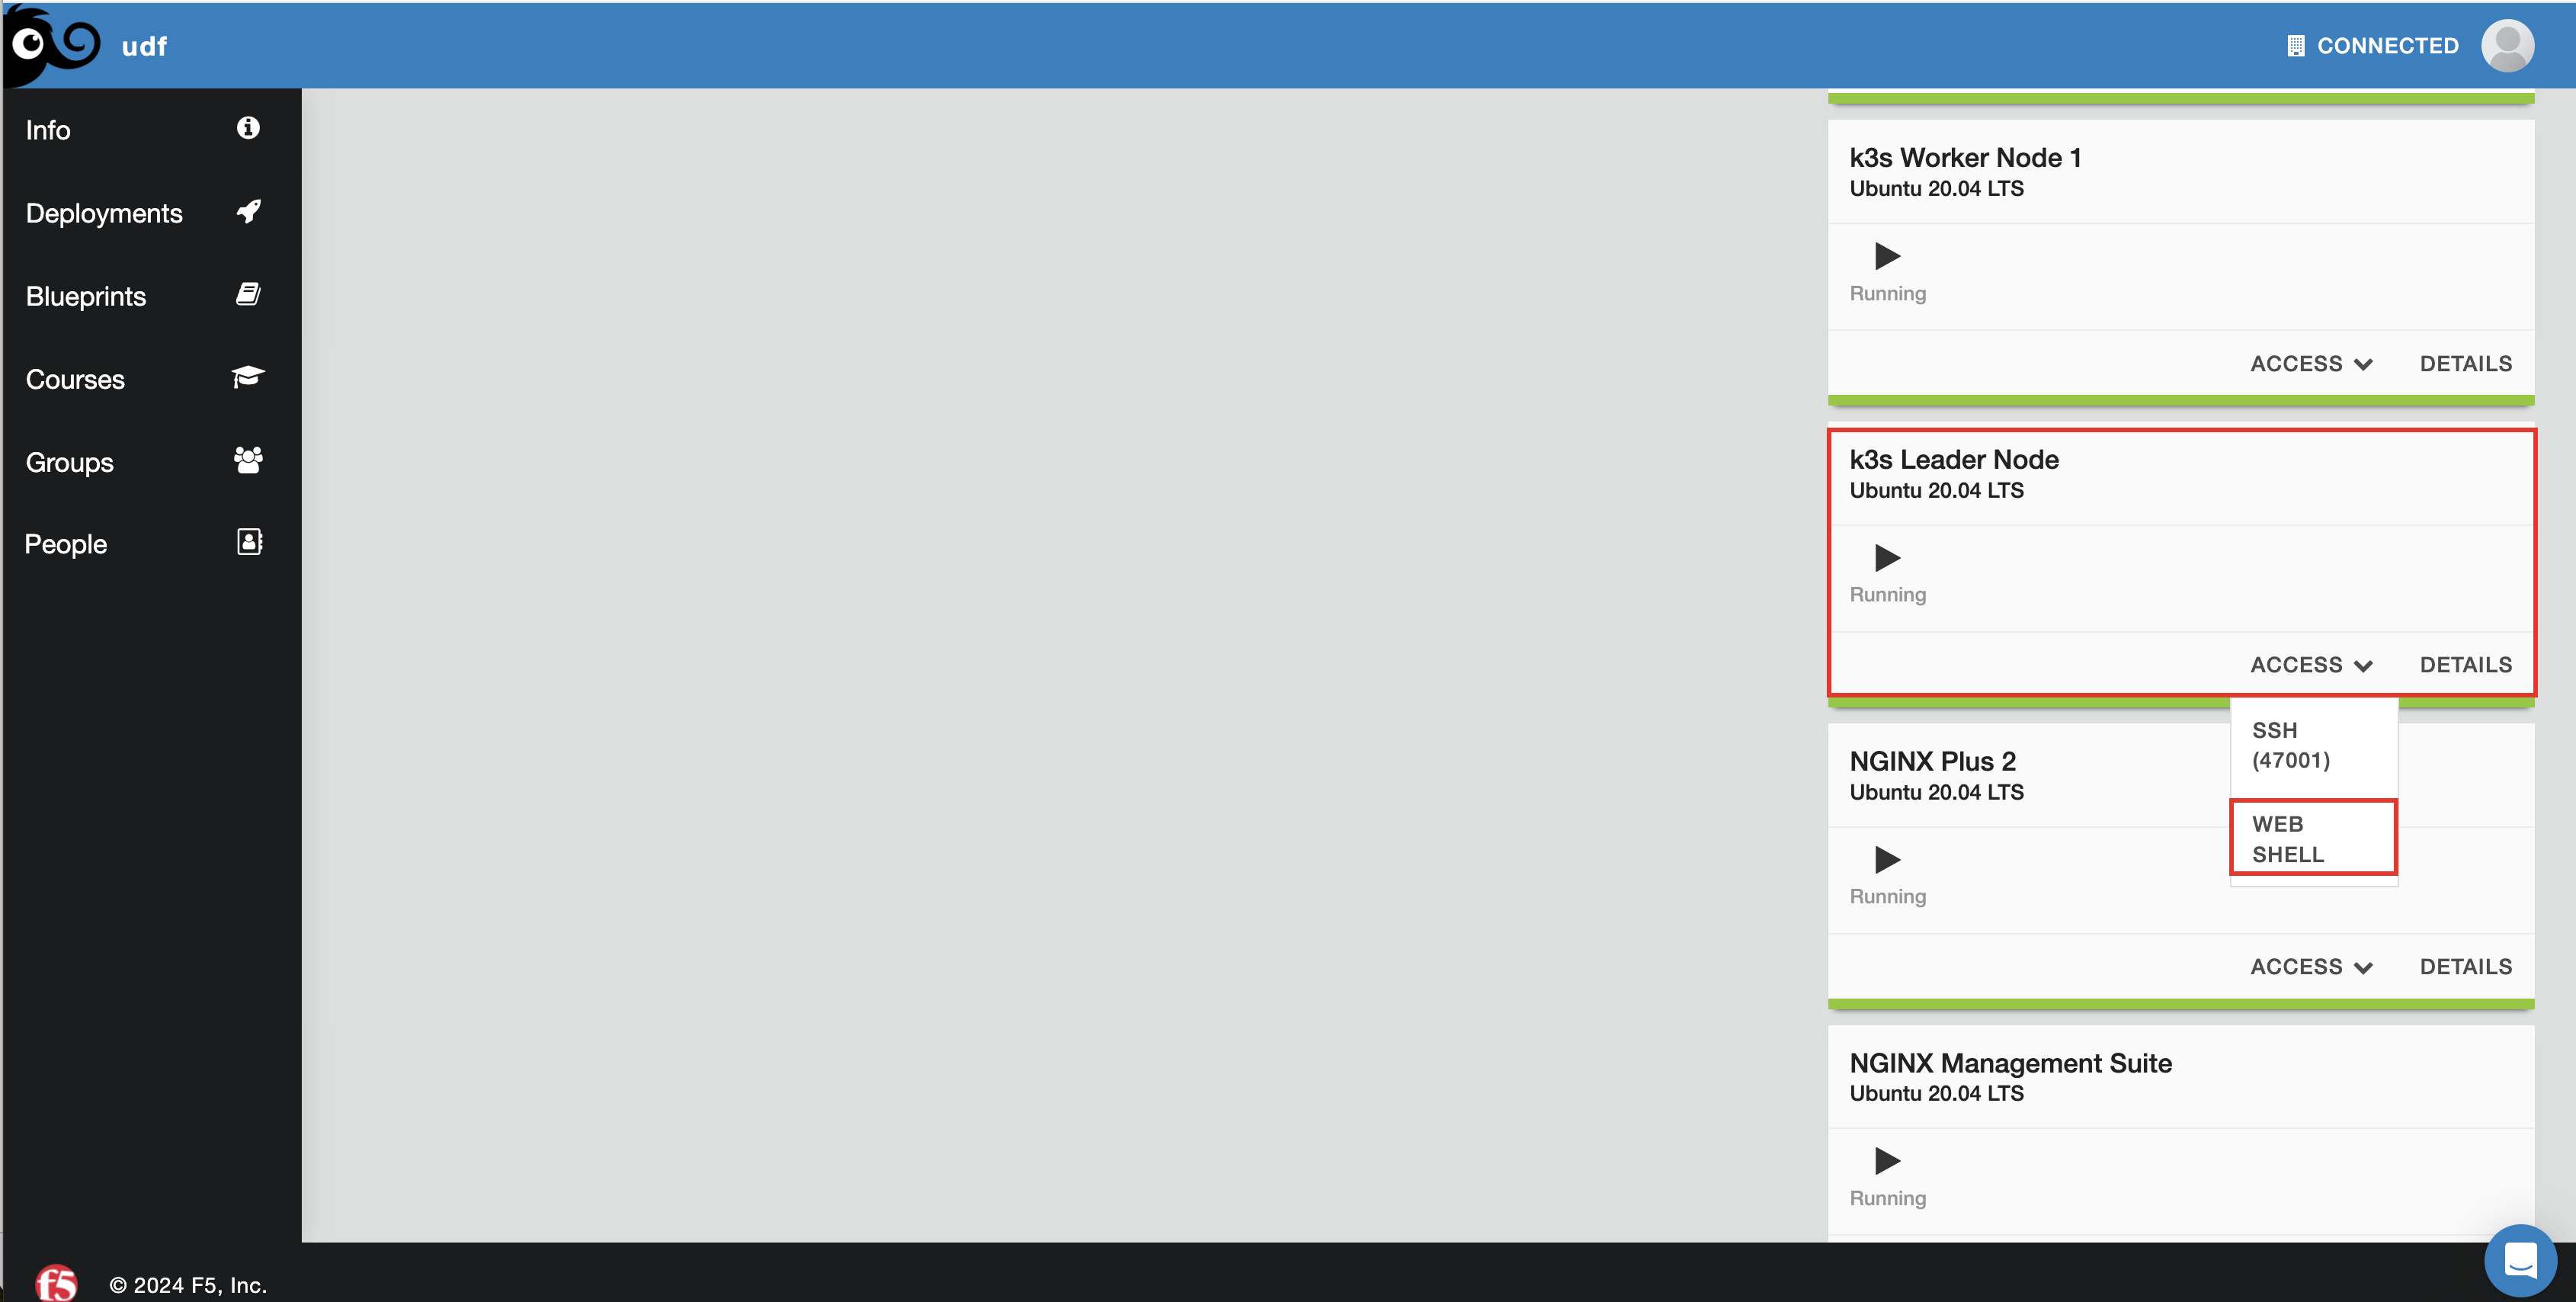
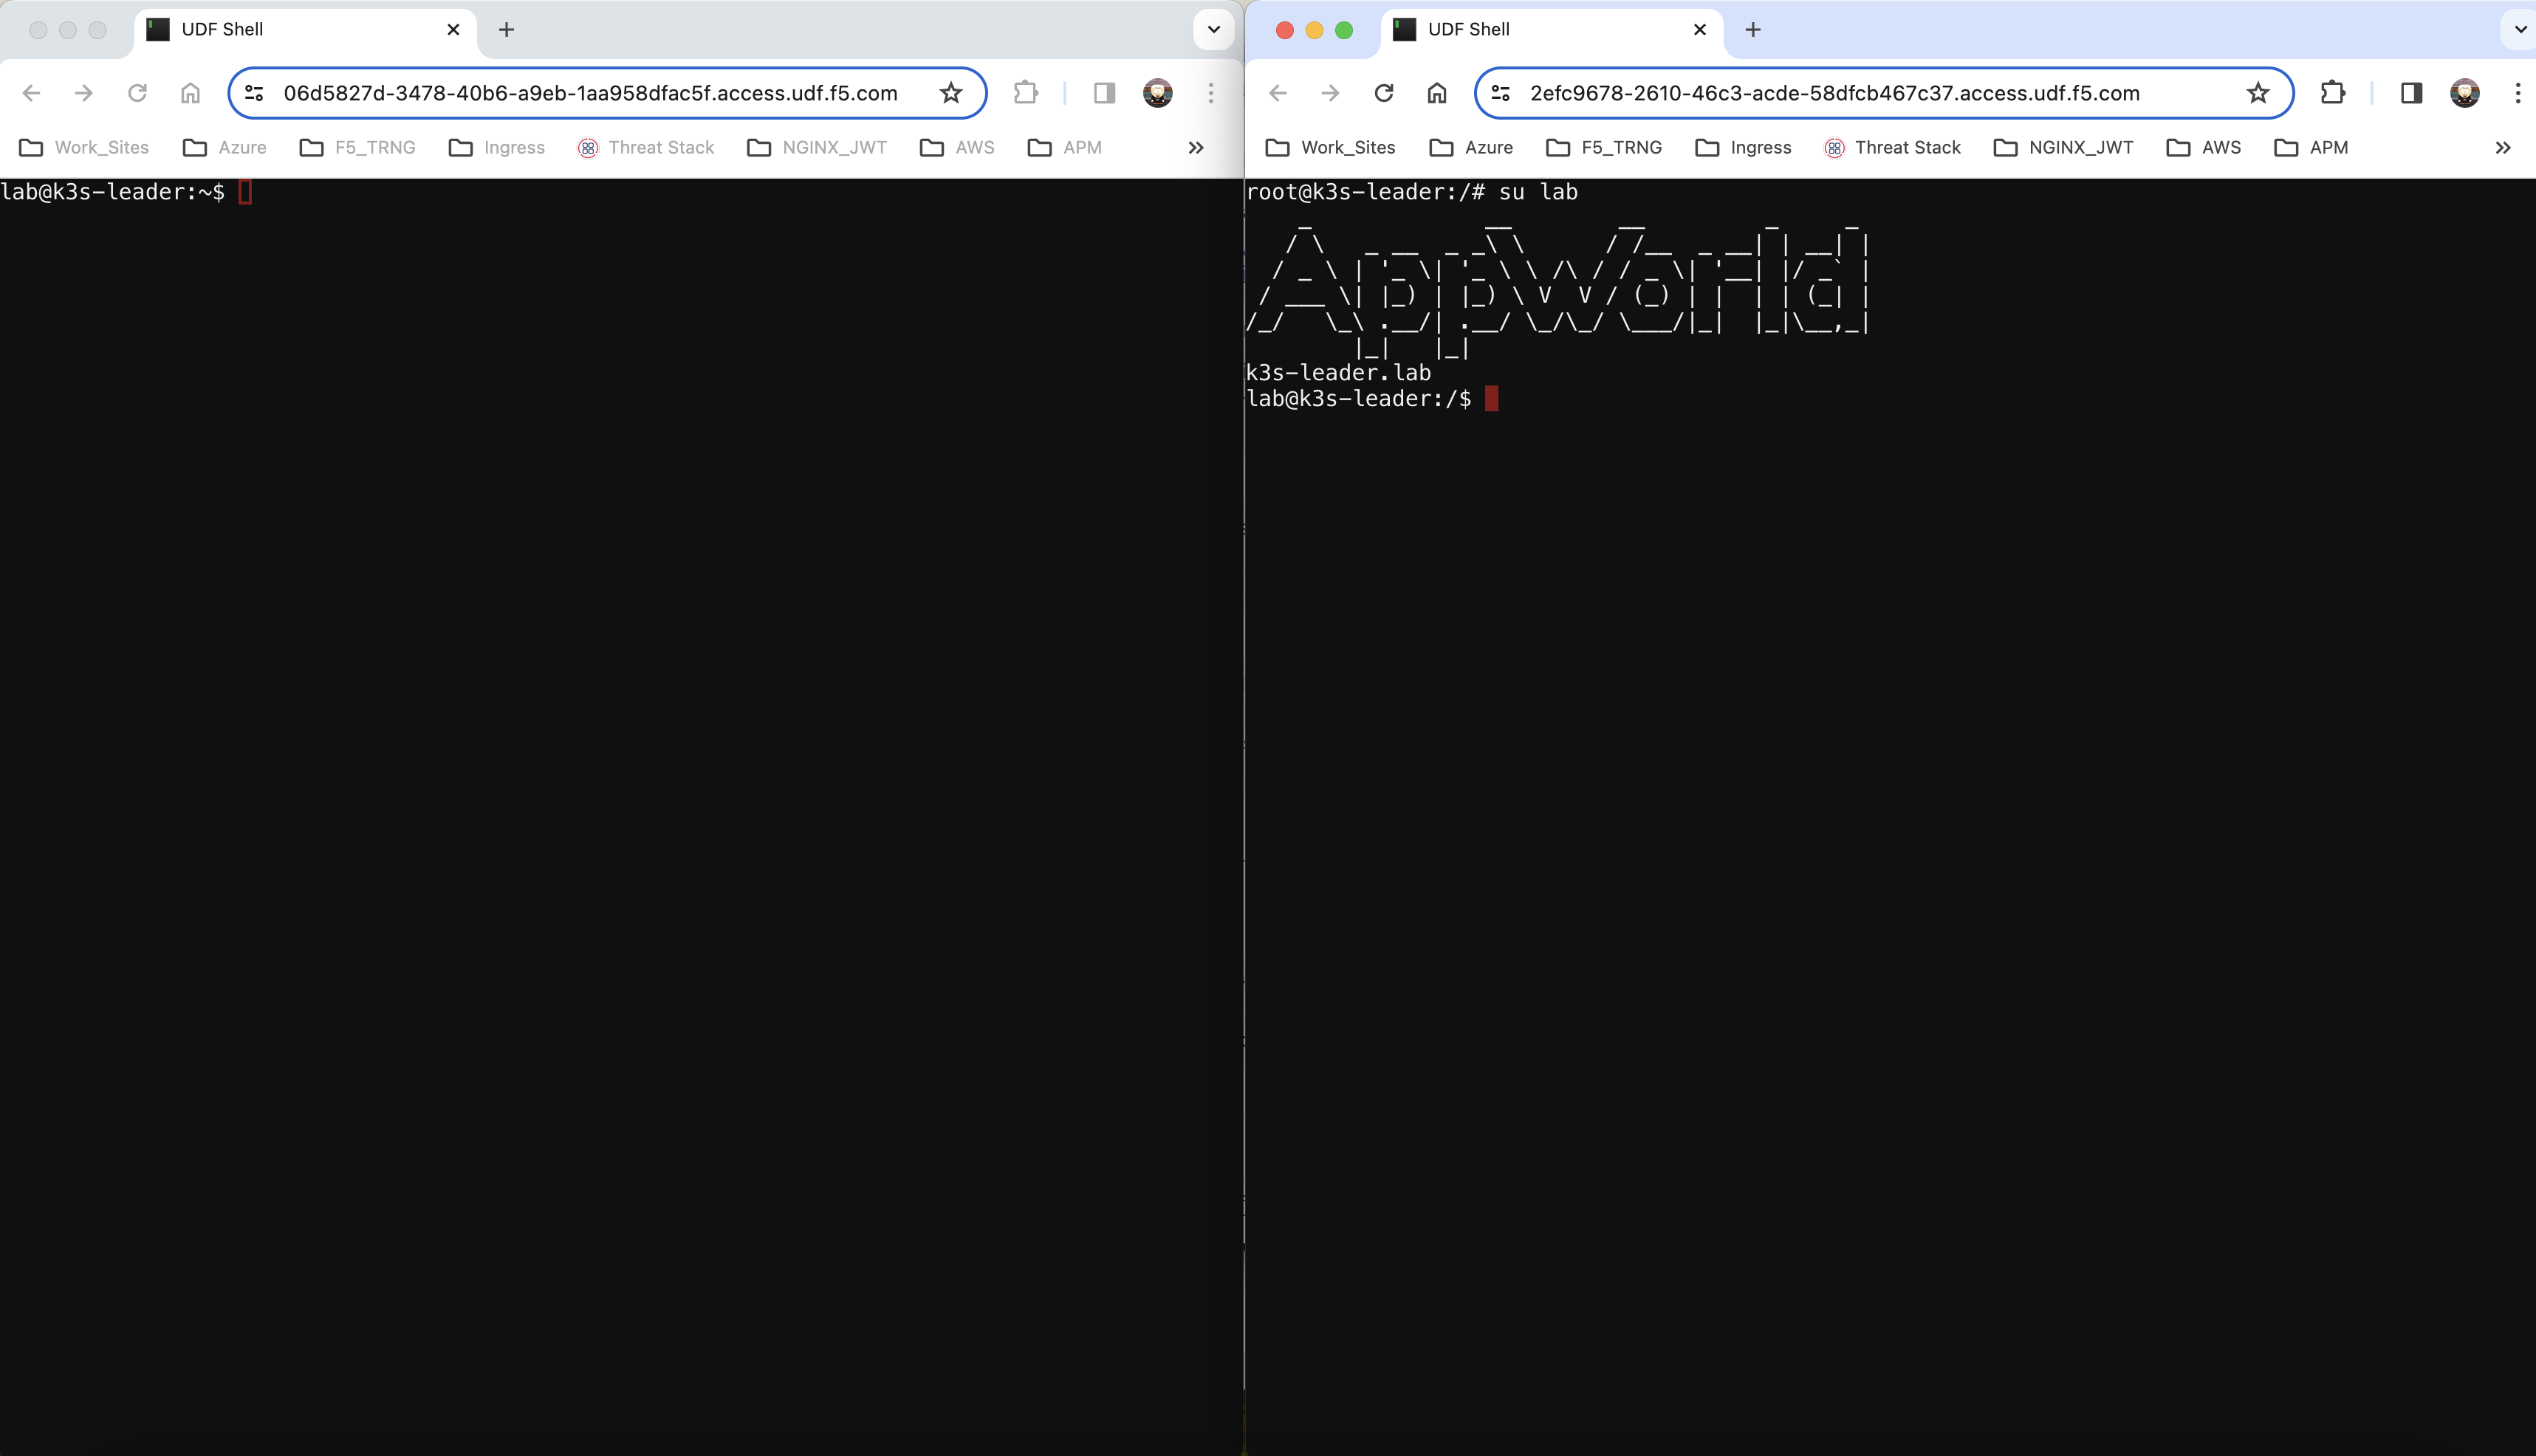
For this lab, you want to run a split screen of the Jumphost web shell and the Leader node web shell. To access the Leader node shell
Once the leader node shell comes up, it will be on user root. Please run the command su lab to switch to the lab user.
On the Leader node web shell you’ll monitor the test namespace for events (in real time)
kubectl get events -n test --watch
On the Jumphost web shell you’ll create a new deployment
kubectl create deployment roller-deploy --image=nginx:1.20 --replicas=3 -n test
On your events shell (Leader Node) you should see Kubernetes creating the Replica Set, the pod and Kubelet pulling the image and getting the container running. A replica set resides inside a deployment. Remember on our deployment we specified the replica count? A replica set ensures that a specified number of pod replicas are running at any given time.
In this lab you will perform a rolling update to the deployment roller-deploy. This rolling update should not impact traffic however, we will not be testing for that.
On the Leader Node shell you can now escape the watch by using Control + C
With the deployment up and running, you can now see Kubernetes has assigned it a version from the Leader Node shell:
kubectl rollout history deploy/roller-deploy -n test
 lab@k3s-leader:/$ kubectl rollout history deploy/roller-deploy -n test
 deployment.apps/roller-deploy
 REVISION  CHANGE-CAUSE
 1         <none>
On the Leader node shell, you will now need to describe the deployment as some specific information is needed. From the output, find the Labels value. This will be used in the next step.
kubectl describe deploy/roller-deploy -n test
kubectl describe deploy/roller-deploy -n test
Name:                   roller-deploy
Namespace:              test
CreationTimestamp:      Wed, 10 Jan 2024 15:49:02 -0500
Labels:                 app=roller-deploy
Annotations:            deployment.kubernetes.io/revision: 1
Selector:               app=roller-deploy
Replicas:               3 desired | 3 updated | 3 total | 3 available | 0 unavailable
StrategyType:           RollingUpdate
MinReadySeconds:        0
RollingUpdateStrategy:  25% max unavailable, 25% max surge
Pod Template:
  Labels:  app=roller-deploy
  Containers:
   nginx:
    Image:        nginx:1.20
    Port:         <none>
    Host Port:    <none>
    Environment:  <none>
    Mounts:       <none>
  Volumes:        <none>
Conditions:
  Type           Status  Reason
  ----           ------  ------
  Available      True    MinimumReplicasAvailable
  Progressing    True    NewReplicaSetAvailable
OldReplicaSets:  <none>
NewReplicaSet:   roller-deploy-5c754bcfb8 (3/3 replicas created)
Events:
  Type    Reason             Age   From                   Message
  ----    ------             ----  ----                   -------
  Normal  ScalingReplicaSet  18m   deployment-controller  Scaled up replica set roller-deploy-5c754bcfb8 to 3
On the Leader node shell, you will now watch the roller-deploy deployment based on the –selector value. This is the value of the Labels from above. Pod names will change during an upgrade so we can discover new pods based on labels. Please also make note of the Containers name field above.
kubectl get pod --selector app=roller-deploy -n test --watch
lab@k3s-leader:/$ kubectl get pod --selector app=roller-deploy -n test --watch
NAME                             READY   STATUS    RESTARTS   AGE
roller-deploy-5c754bcfb8-cv48x   1/1     Running   0          17m
roller-deploy-5c754bcfb8-dldd8   1/1     Running   0          17m
roller-deploy-5c754bcfb8-x68v4   1/1     Running   0          17m
On the Jumphost shell, you will now update the container image in your deployment from nginx:1.20 to nginx:1.24. In this command you will tell Kubernetes to set a new image for the container named nginx in the deployment named roller-deploy to nginx:1.24.
kubectl set image deploy/roller-deploy nginx=nginx:1.24 -n test
Output observed on the Leader node shell after image update:
lab@k3s-leader:/$ kubectl get pod --selector app=roller-deploy -n test --watch
NAME                             READY   STATUS    RESTARTS   AGE
roller-deploy-5c754bcfb8-cv48x   1/1     Running   0          26m
roller-deploy-5c754bcfb8-dldd8   1/1     Running   0          26m
roller-deploy-5c754bcfb8-x68v4   1/1     Running   0          26m
roller-deploy-69fd54884d-w62fk   0/1     Pending   0          0s
roller-deploy-69fd54884d-w62fk   0/1     Pending   0          0s
roller-deploy-69fd54884d-w62fk   0/1     ContainerCreating   0          0s
roller-deploy-69fd54884d-w62fk   1/1     Running             0          6s
roller-deploy-5c754bcfb8-x68v4   1/1     Terminating         0          30m
roller-deploy-69fd54884d-6czjh   0/1     Pending             0          0s
roller-deploy-69fd54884d-6czjh   0/1     Pending             0          0s
roller-deploy-69fd54884d-6czjh   0/1     ContainerCreating   0          0s
roller-deploy-5c754bcfb8-x68v4   0/1     Terminating         0          30m
roller-deploy-5c754bcfb8-x68v4   0/1     Terminating         0          30m
roller-deploy-5c754bcfb8-x68v4   0/1     Terminating         0          30m
roller-deploy-69fd54884d-6czjh   1/1     Running             0          5s
roller-deploy-5c754bcfb8-dldd8   1/1     Terminating         0          30m
roller-deploy-69fd54884d-2m7vk   0/1     Pending             0          0s
roller-deploy-69fd54884d-2m7vk   0/1     Pending             0          0s
roller-deploy-69fd54884d-2m7vk   0/1     ContainerCreating   0          0s
roller-deploy-5c754bcfb8-dldd8   0/1     Terminating         0          30m
roller-deploy-5c754bcfb8-dldd8   0/1     Terminating         0          30m
roller-deploy-5c754bcfb8-dldd8   0/1     Terminating         0          30m
roller-deploy-69fd54884d-2m7vk   1/1     Running             0          5s
roller-deploy-5c754bcfb8-cv48x   1/1     Terminating         0          30m
roller-deploy-5c754bcfb8-cv48x   0/1     Terminating         0          30m
roller-deploy-5c754bcfb8-cv48x   0/1     Terminating         0          30m
roller-deploy-5c754bcfb8-cv48x   0/1     Terminating         0          30m
From the above output you can see the original 3 nodes were running. Once you set a new image Kubernetes went to work creating a new pod, assigning the pod to a node and letting Kubelet do its job. Once the new pod/container are running, Kubernetes now begins to terminate one of the older pods running the old version of nginx:1.20. This is because we specified 3 replicas in our deployment. Kubernetes will continue this very process until 3 new pods with new container images are running, and our 3 old versions are terminated.
Let’s focus back on the Jumphost shell and check the rollout history:
kubectl rollout history deploy/roller-deploy -n test
You will now see the newest revision to your history
lab@k3s-leader:~$ kubectl rollout history deploy/roller-deploy -n test
deployment.apps/roller-deploy
REVISION  CHANGE-CAUSE
1         <none>
2         <none>
Staying on the Jumphost, you’ll now rollback to revision 1 which was our nginx:1.20 image.
kubectl rollout undo deploy/roller-deploy -n test --to-revision=1
Once this command runs, you should observe on the Leader node shell (if you have not stopped the watch command), the same process of Kubernetes turning up a new pod and container with the new image and then terminating the old one. You should now see the revision history increment to 3.
kubectl rollout history deploy/roller-deploy -n test
One last useful command to show is how to add an annotation to your deployment and why. A Kubernetes annotation is a key-value pair, somewhat like labels, used to add non-structured data to your object. Annotations are not used to identify the object, like we have with labels, but rather to describe. In this example, you’ll add an annotation to the deployment to explain that you’ve upgraded the deployment image used. This will show up the CHANGE-CAUSE section from rollout history command you ran.
kubectl annotate deploy/roller-deploy -n test kubernetes.io/change-cause="rollback container image to nginx:1.20"
Now if you run the history command again, you’ll notice your revision note is included.
kubectl rollout history deploy/roller-deploy -n test
lab@k3s-leader:~$ kubectl annotate deploy/roller-deploy -n test kubernetes.io/change-cause="rollback container image to nginx:1.20"
deployment.apps/roller-deploy annotated
lab@k3s-leader:~$ kubectl rollout history deploy/roller-deploy -n test
deployment.apps/roller-deploy
REVISION  CHANGE-CAUSE
2         <none>
3         rollback container image to nginx:1.20
Official Documentation
This concludes The Path to Understanding Kubernetes and Containers class. While this class will not make you a Kubernetes expert, this is a very strong start into understanding components and commands. I’d highly recommend takikng a formal Certified Kubernetes Administrators (CKA) course if you are seeking a more in depth knowledge base.