F5 BIG-IP SSL Orchestrator Training Lab > All SSL Orchestrator Lab Guides > SSLO 201: Advanced Use Cases with SSL Orchestrator (Agility 2022 | 2 hours) > 4. Web Application Firewall-as-a-Service (WAFaaS) Source | Edit on
4.4. Create WAFaaS Security Device
This next section of this lab will cover how to create a WAFaaS device. We will also attach a preconfigured WAF policy that will provide protection against attacks such as SQL-Injection and other OWASP Top 10 type vulnerabilities.
4.4.1. Create the ICAP service
- Login to the BIGIP via TMUI User Credentials

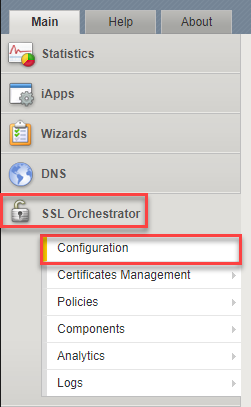
- Click on SSL Orchestrator on the left-hand menu and select Configuration.
- Click on Services on the middle menu bar and then click Add to add new service.

- Click ICAP, select Generic ICAP Service, and then click Add from below.
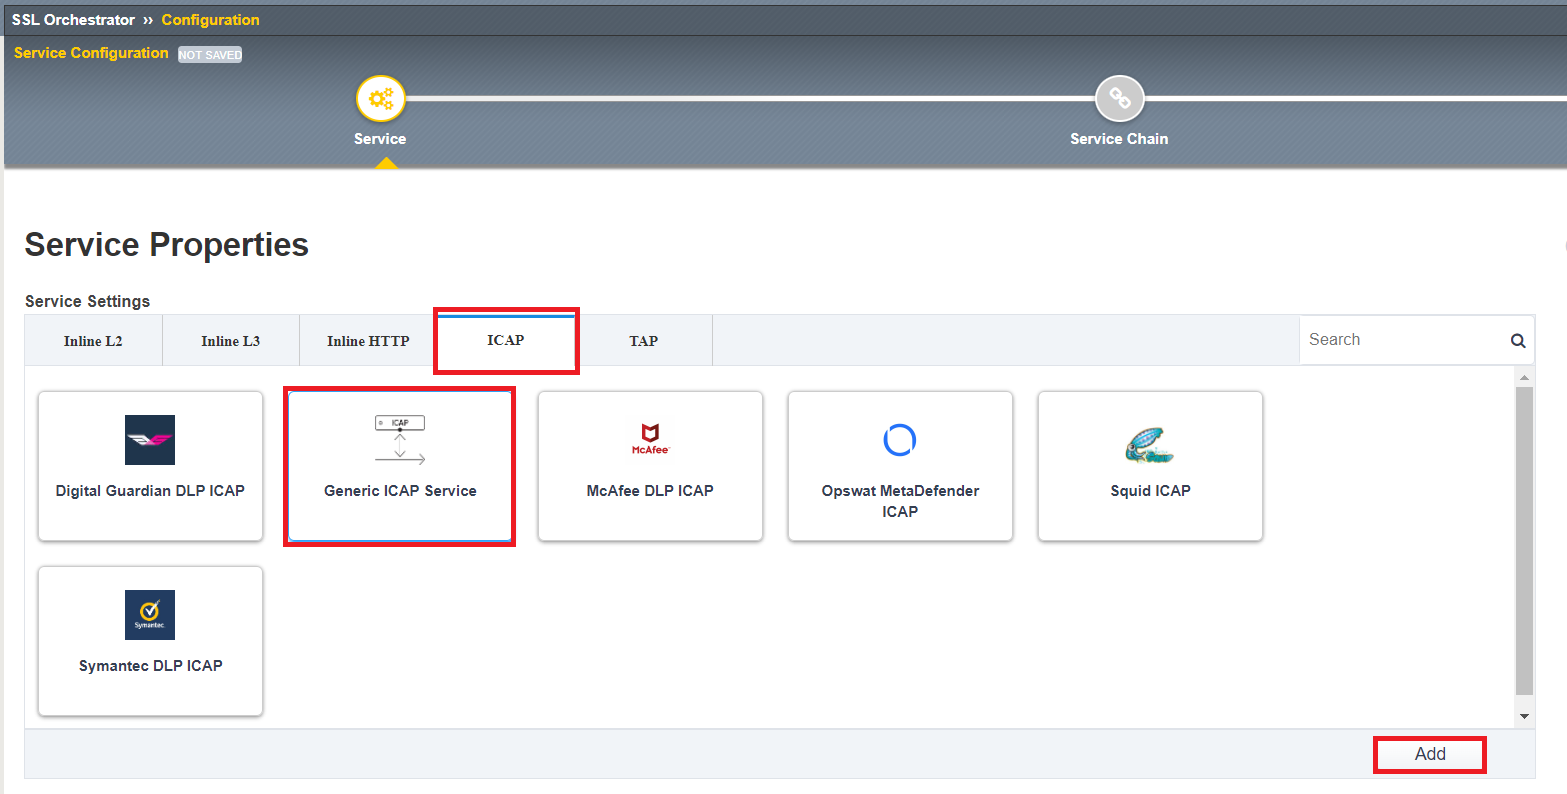
- Type WAFaaS as the Name. Click Add next to ICAP Devices.

- Type
192.19.97.200for the IP Address and then click Done.

- Scroll to the bottom of the page and click Save & Next to finish creating the ICAP Service.

4.4.2. Create the new service chain
- Next we need to create a new service chain where our new WAFaaS ICAP service will be placed. Click Add under the Services Chain List to add a new service chain.

- Type
WAFaaSas the Name, Select ssloS_WAFaaS and click Right Arrow, and then click Save at the bottom of the screen.

- Click Save & Next and the Deploy on the Summary page,


- Click OK to acknowledge the successful deployment message.
4.4.3. Disable TCP monitor on the ICAP Pool
- Click Local Traffic>>Pools>>Pool List on the left side menu bar. Click on the ssloS_WAFaaS pool.

- Select tcp next to Health Monitors and click the Right Arrow to de-select it from the pool. Click Update down below to make adjustment.

4.4.4. Remove ICAP Adapt profiles
- Click Local Traffic>>Virtual Server List and select the ssloS_WAFaaS-t-4 virtual server. MAKE SURE you select the ICAP service with t-4 next to it.

- Scroll about half-way down the page and change both Request Adapt Profile and Response Adapt Profile to None. Click Update at the bottom once you have removed the adapt profiles from the virtual server.

4.4.5. Add WAF Policy to WAFaaS Virtual Server
- While still viewing the properties for the ssloS_WAFaaS-t-4 virtual server, click on the Security menu item.

- Change the Application Security Policy to Enabled and select the pre-configured WAFaaS_policy WAF policy.
- Change Log Profile to Enabled and select Log illegal requests. Click Update when complete.

4.4.6. Adjust WAFaaS service profile
- CLick Local Traffic>>Profiles>>Other>>Service and click on the service profile ssloS_WAFaaS-service link.

- Change the Settings>Type to F5 Module and then click Update.

You have successfully create the WAFaaS ICAP device. Next, we will create a new L3 inbound Existing Application topology that will utilize our new WAFaaS service device.