F5 BIG-IP Next Access Labs > User Authentication > Lab 4 - OIDC Azure authentication with Kerberos SSO (under construction) Source | Edit on
Lab 4.1 - Create DNS Resolver
Note
If you already ran through the Lab 2 - SAML Azure authentication with Kerberos SSO, you can skip this section of the lab. The DNS resolver is already created.
- Access BIG-IP Next Central Manager if you’re not already logged in.
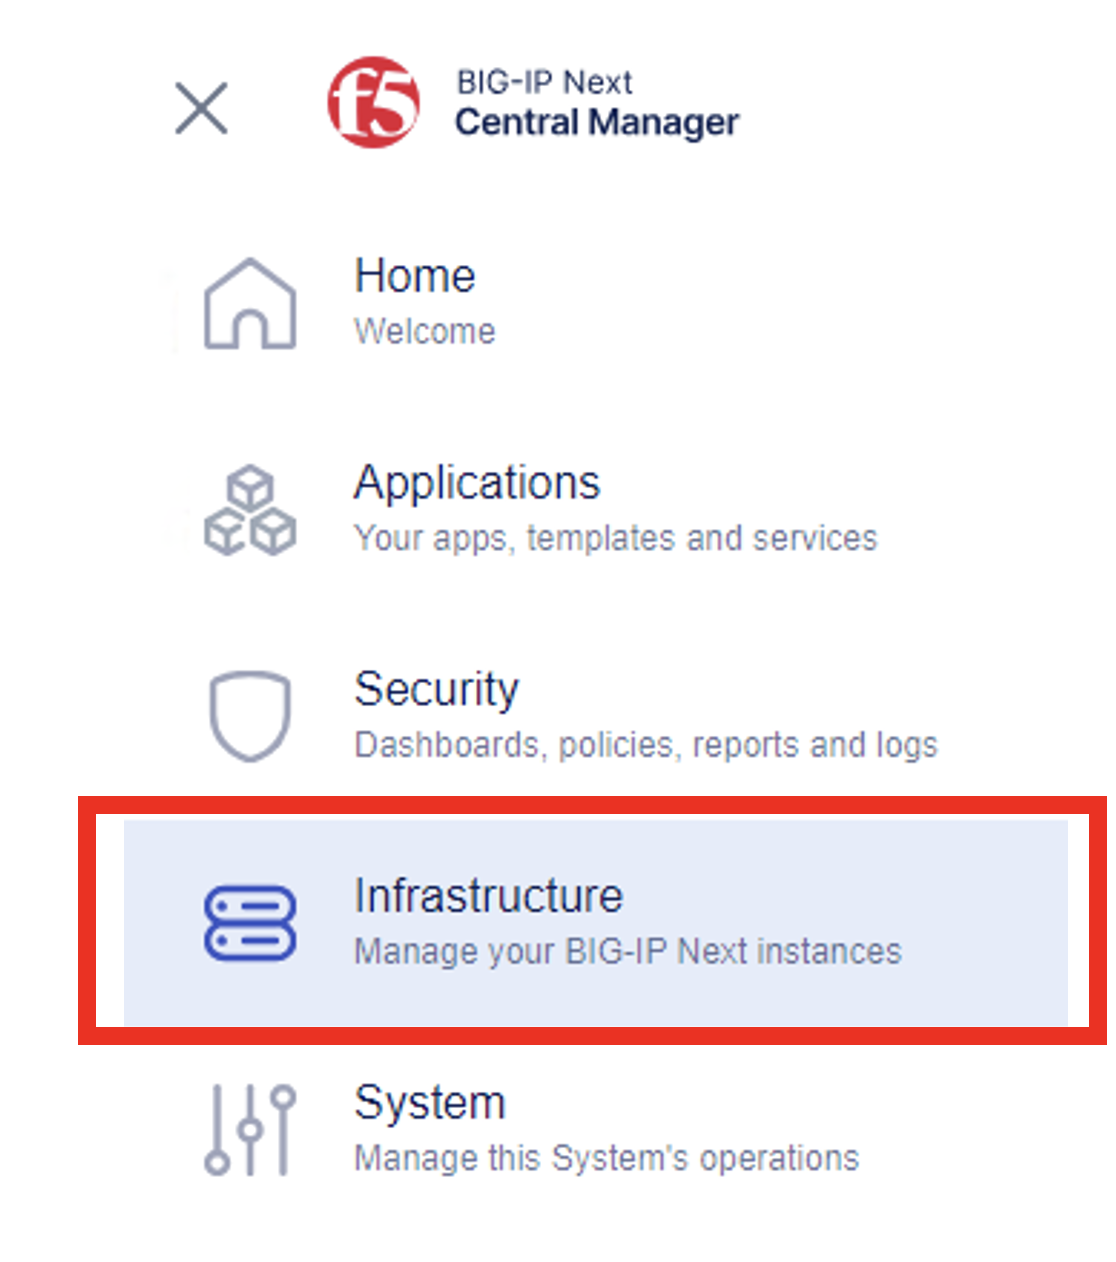
- Click on the Workspace icon and select Infrastructure
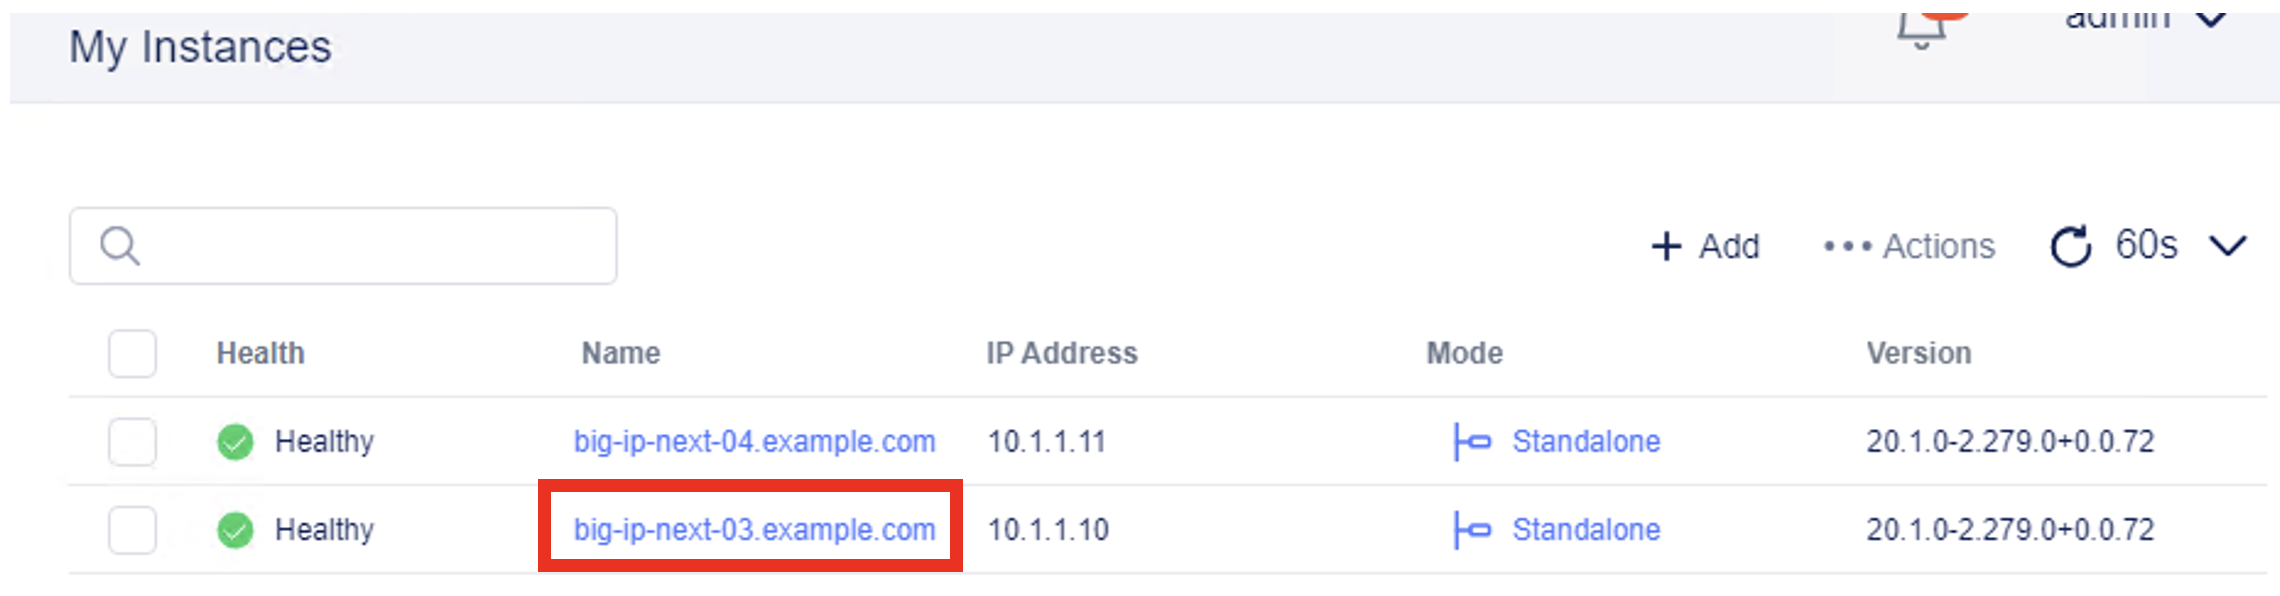
- In the My Instances dashboard, click on big-ip-next-03.example.com instance.
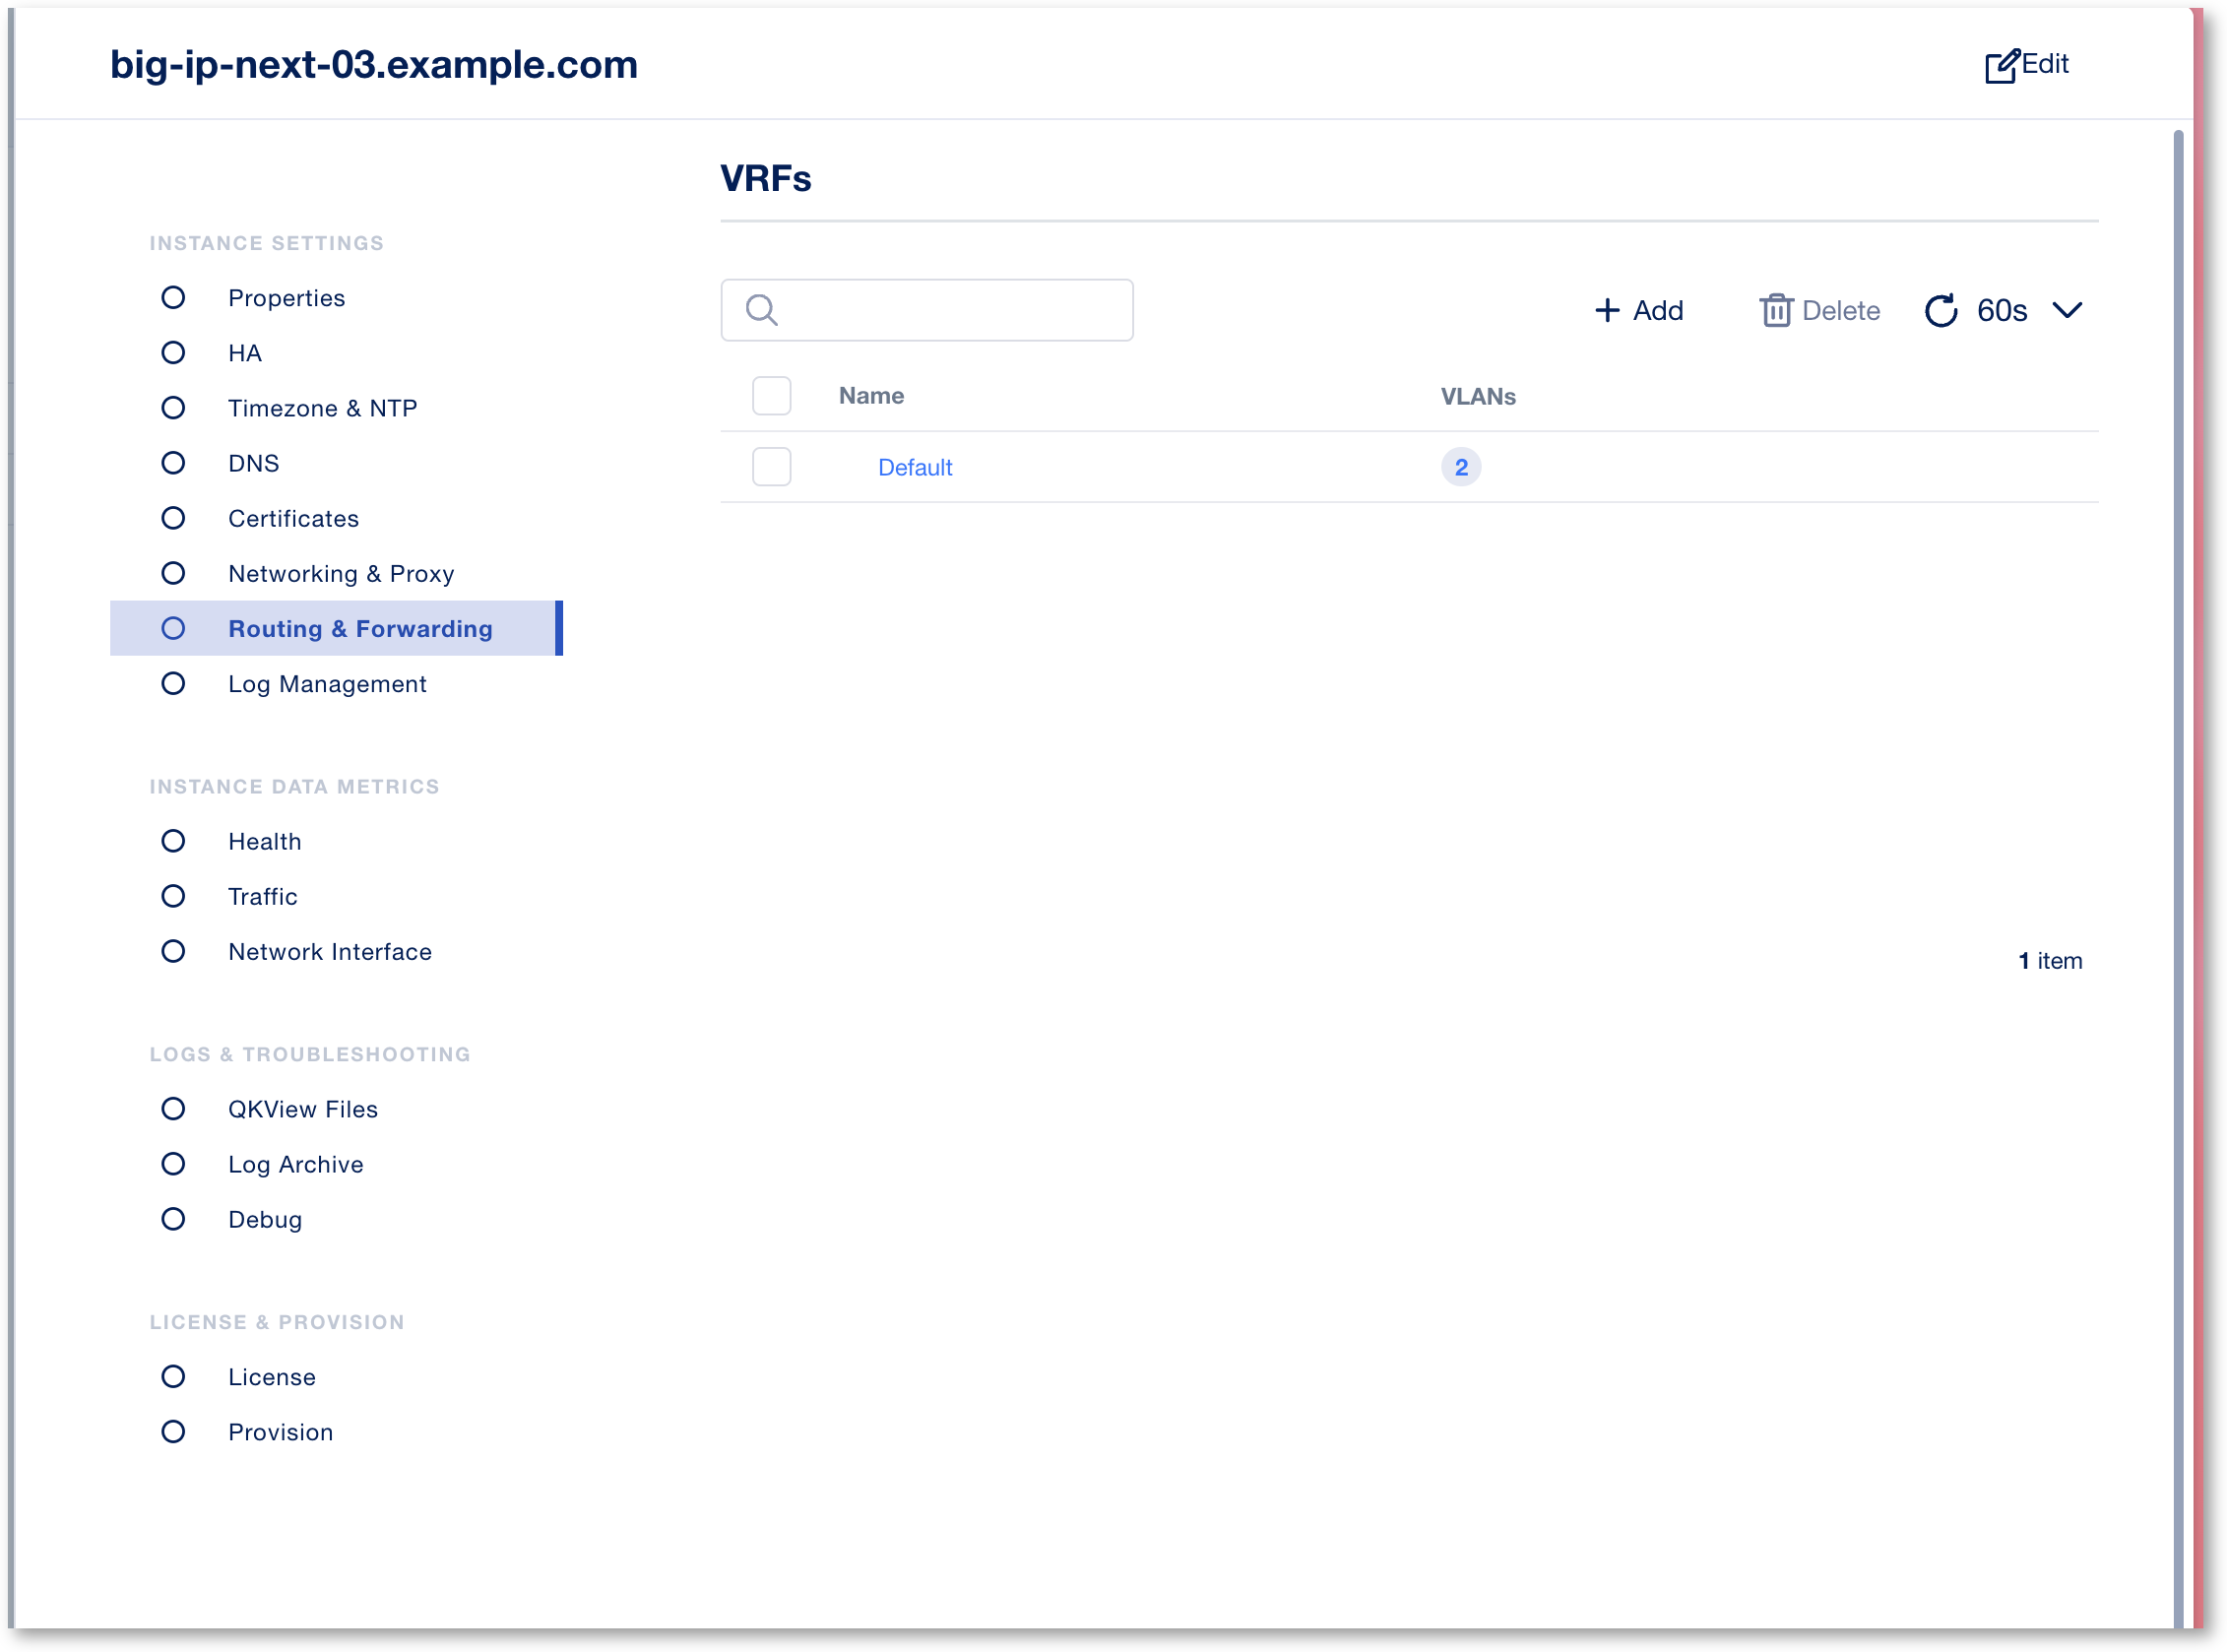
- This will open the Instance Settings screen. On the left side, click on Routing & Forwarding. Click on Default VRF.
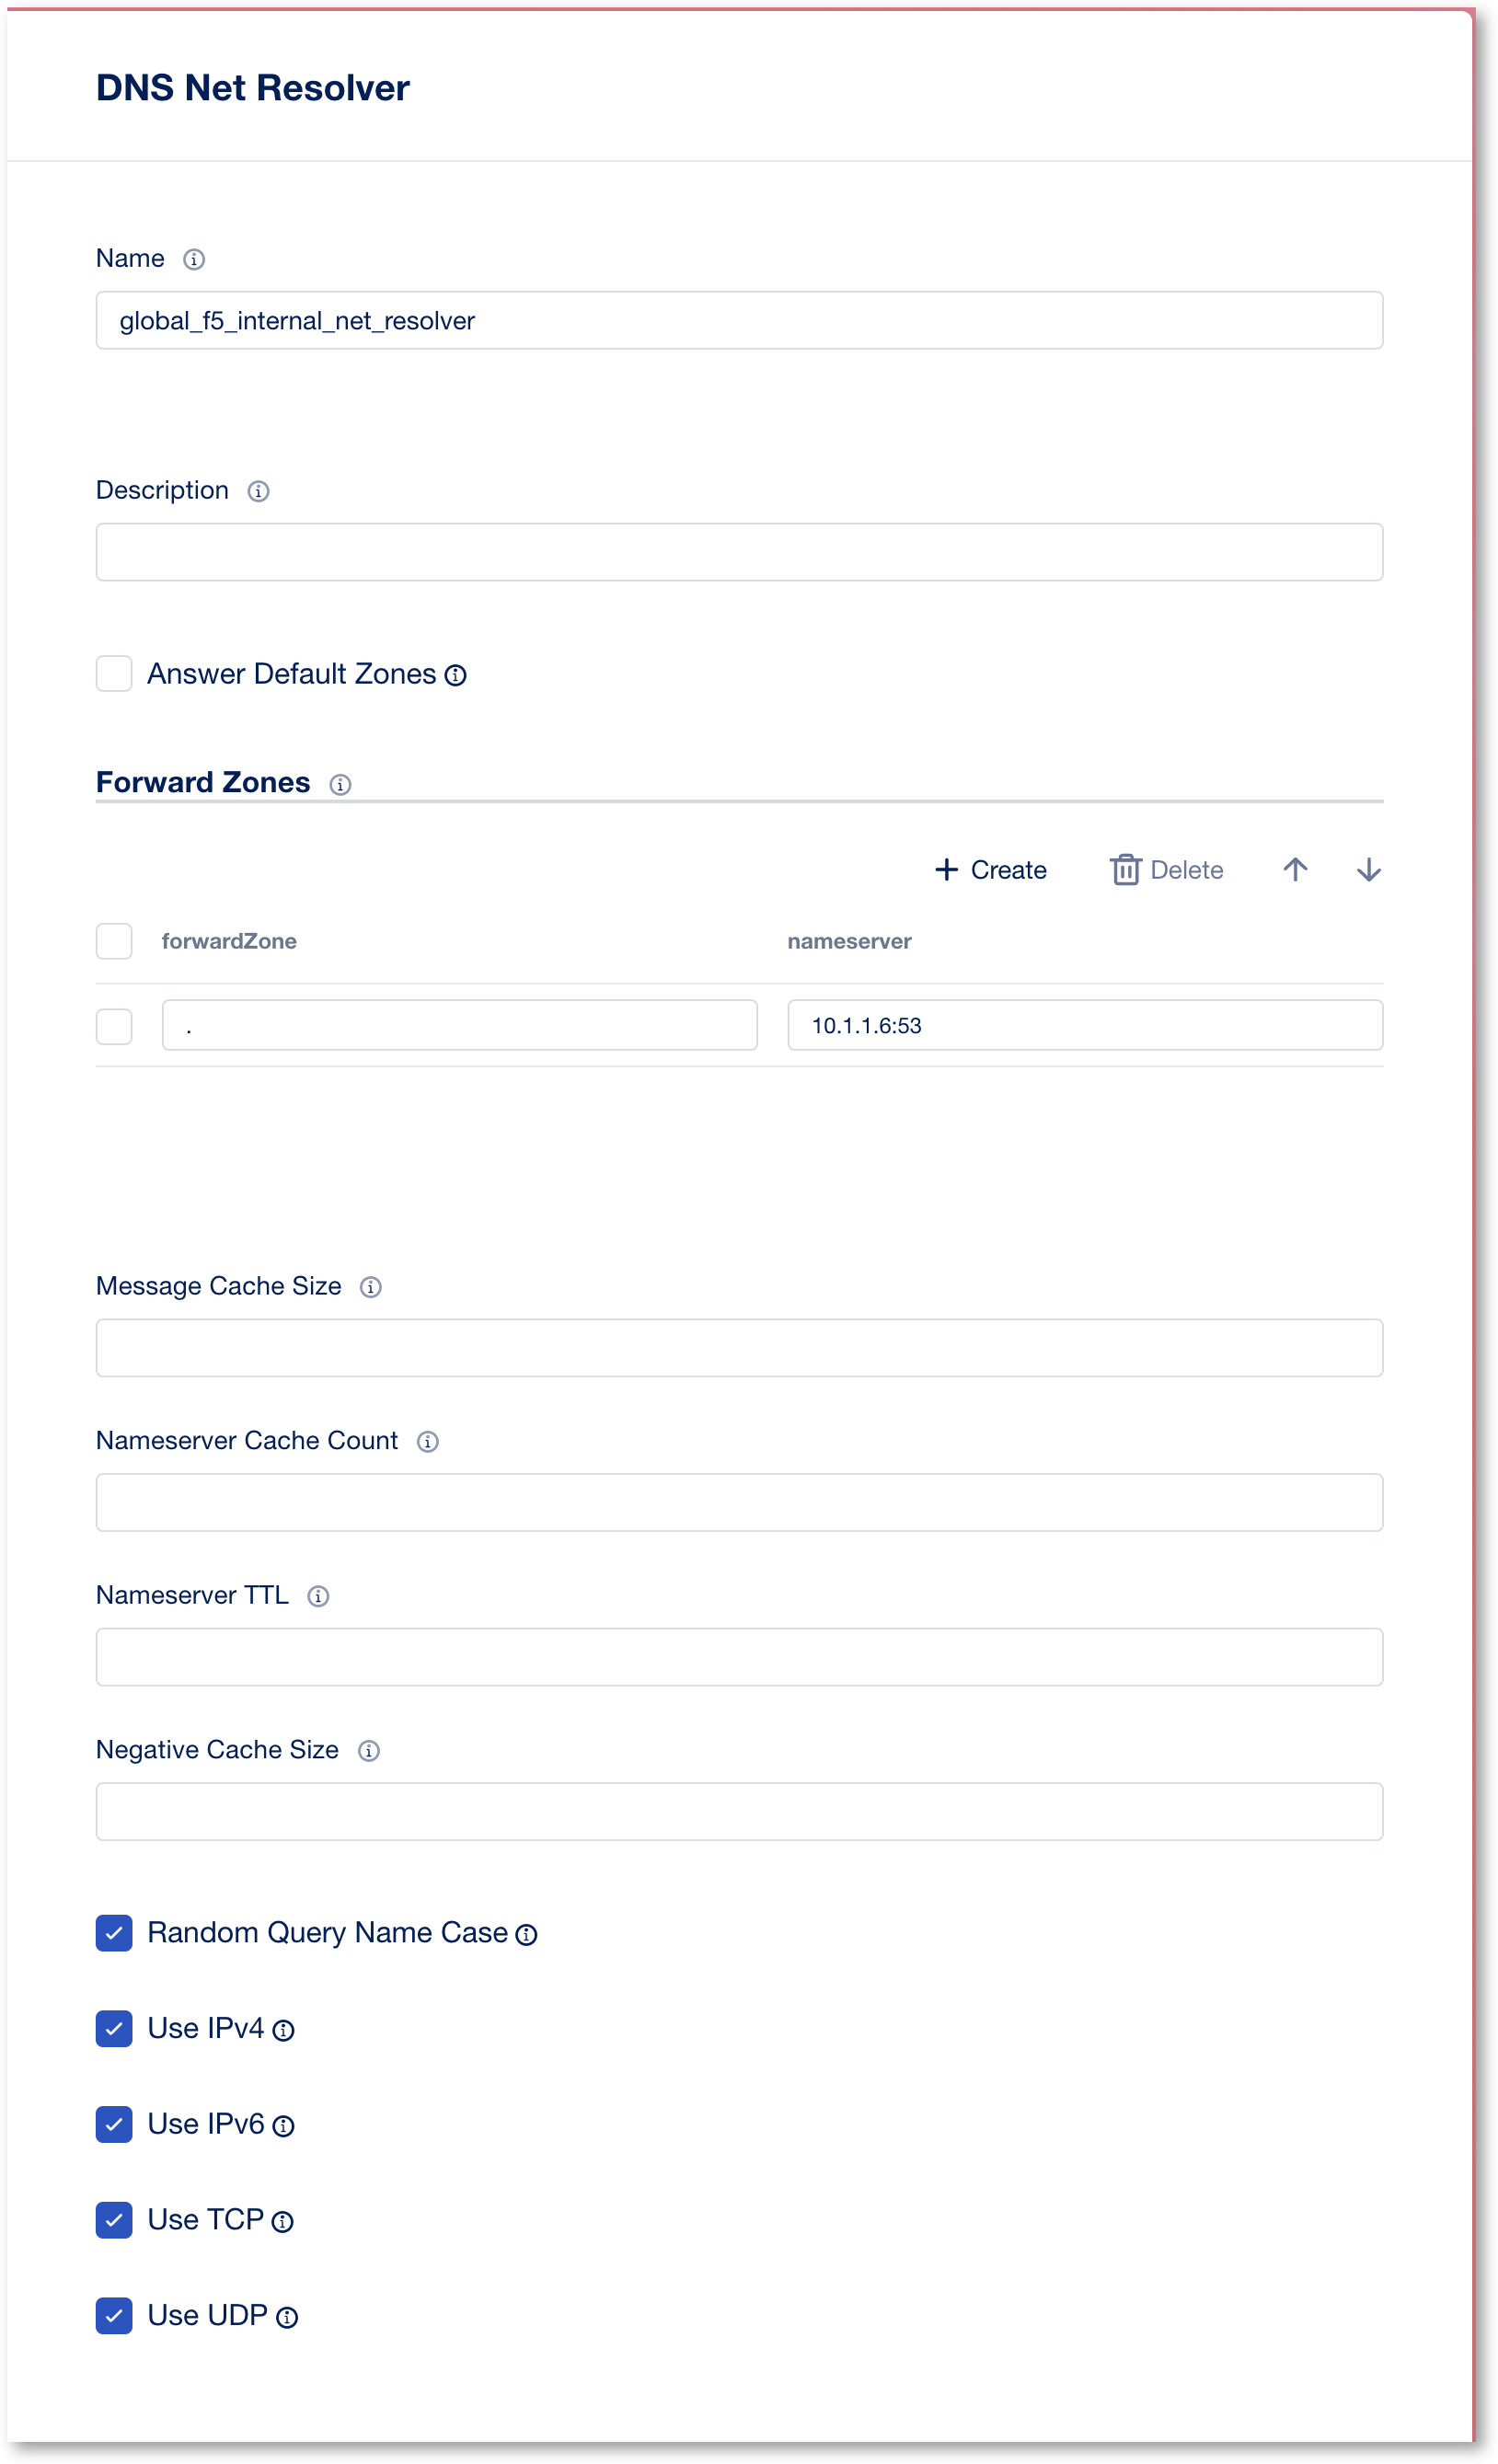
- Enable DNS Resolver and add a new entry
- Name : global_f5_internal_net_resolver
- Forward Zone : create a new zone
- forwardZone : . <- this is a period or single dot
- nameserver : 10.1.1.6:53
- Click Save and Save, and then click Cancel & Exit to exit out of the Instance Setting screen.
This ends this section of the lab, onto the next.