F5 Private Cloud Solutions > 1. Class 1: F5 Private Cloud Solutions for Openstack > 1.3. Installing the F5 LBaaS Agent Source | Edit on
1.3.2. Deploy Backend Instances
During the previous excercise we made use of the OpenStack CLI. OpenStack also has a web gui, Horizon, that can be used. The following will deploy two backend web servers that will be used later in the lab.
Launch Google Chrome and click on the “Login – OpenStack…” bookmark.


Login to Horizon (OpenStack GUI) using the username: demo, password: demo
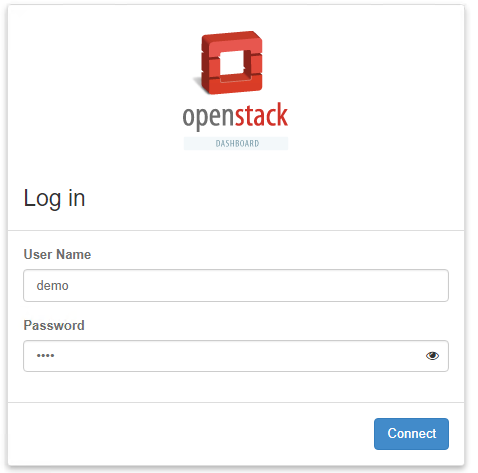
You should see.
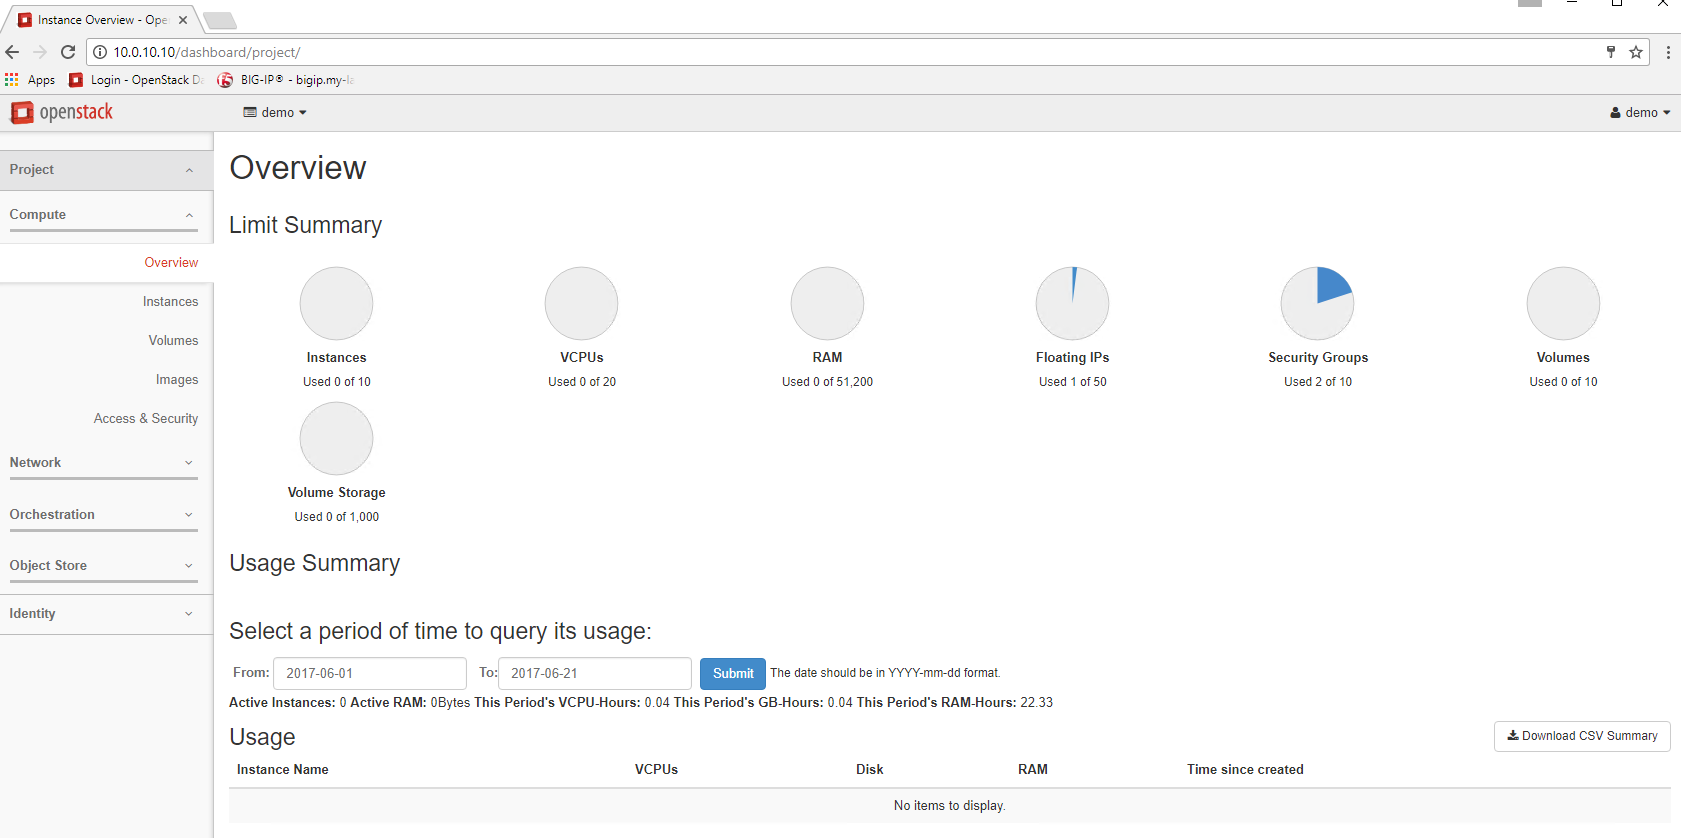
Click on “Instances” and then “Launch Instance” (top right of page).
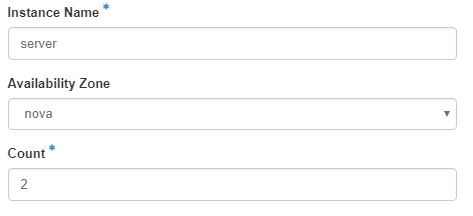
For the Instance name specify “server” for the count enter “2”. Then click next.
Click on the “+” next to “f5demo”.Then click next.

Click on the “+” next to “m1.tiny”. Then click next.

Click on the “+” next to “internal” Network. This step should have been completed for you since the internal network is the only network available. Then click on next TWICE until you are on the Security Groups tab.

On the Security Groups tab click on the “+” next to “default-allow-all”. Then click next.

Click on the “+” next to “demo-key-pair” and the click on “Launch Instance”. This step should have been completed for you since the demo-key-pair is the only available key pair.

You should now see them starting.

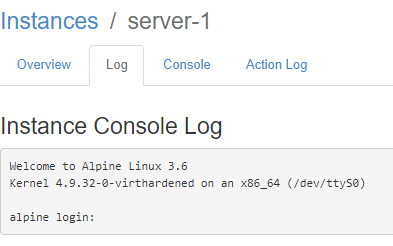
Once the instance status is “active” on “server-1” then “Log” you should see