F5 Private Cloud Solutions > 1. Class 1: F5 Private Cloud Solutions for Openstack > 1.4. Deploying Basic L4-L7 Services using LBaaS Source | Edit on
1.4.1. Lab 1.4: Deploy L4-L7 via Horizon
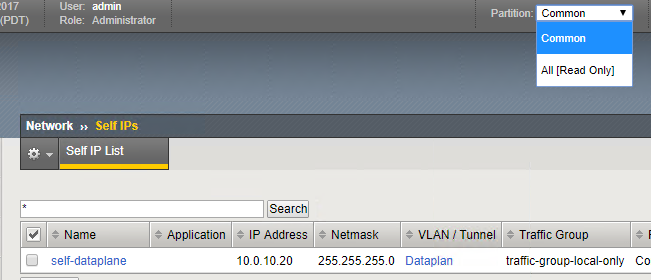
The F5 LBaaS integration will configure the Networking on the BIG-IP to connect to the OpenStack network. From Chrome click on the “BIG-IP” bookmark and login with the credentials “admin / admin”. Observe that there is only a single partition “Common”.
Also note only one self-ip in Route Domain 0.
Switch back to the OpenStack Horizon tab inside Chrome and do a forced refresh (Shift+[Reload]).
You should now see a new menu item under “Network”.
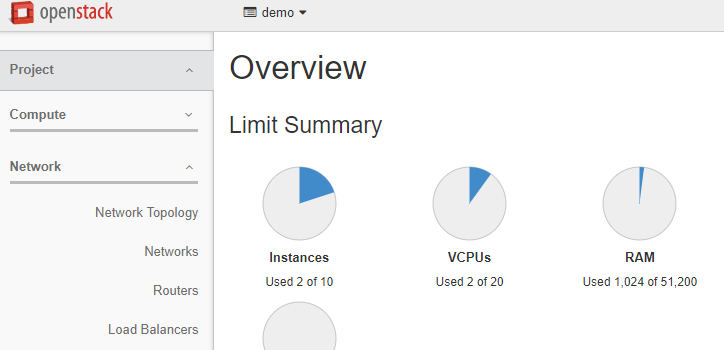
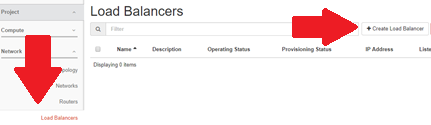
If you do not see “Load Balancers” verify that the Loadbalancer Agent is running from the previous lab. Click on the “Load Balancers” menu item, then click on “+Create Load Balancer”.
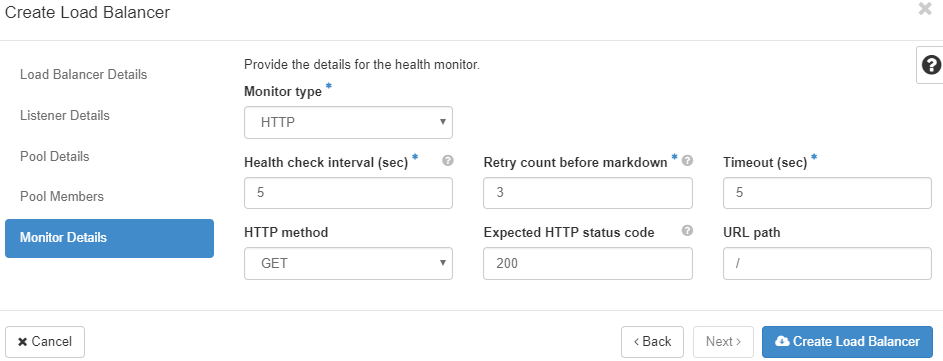
Complete the following information.
Important
Make sure to use the values below and not the GUI defaults!
Load Balancer Details
| name | value |
|---|---|
| Name | lb1 |
| Subnet | internal-subnet |
Listener Details
| name | value |
|---|---|
| Name | listener1 |
| Protocol | HTTP |
| Port | 80 |
Pool Details
| name | value |
|---|---|
| Name | pool1 |
| Method | ROUND_ROBIN |
Pool Members
| name | port |
|---|---|
| server-1 | 80 |
| server-2 | 80 |
Monitor type
| name | value |
|---|---|
| Monitor type | HTTP |
Then click on “Create Load Balancer”
On the BIG-IP take a look at the Partition. You should see that a new partition was created.

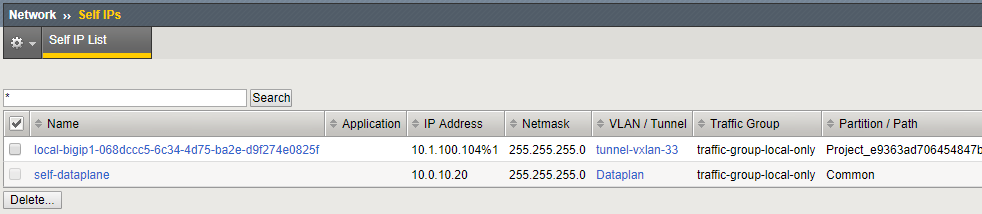
Change to that partition and inspect the Self IPs items under Network.
You should see that a VXLAN tunnel that was created connected to the tenant network. Verify the tenant network is the internal network from viewing the neutron subnet-list command you ran in the previous lab.
Under Network Map you will see the entries that were created by LBaaS via the Horizon Panel.
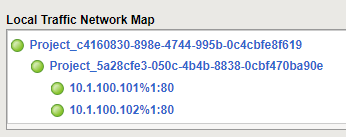
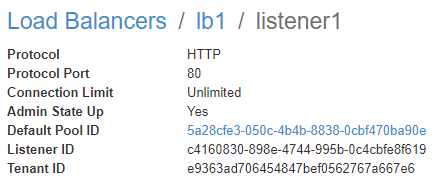
Observe that the BIG-IP Pool name uses the OpenStack Pool ID from the load balancer configuration. Horizon>Network>Load Balancers>lb1>Listeners>Listener 1 – Default Pool ID
(yours will differ in value from the example).
To test this configuration we will need to add a Floating IP to be able to access the Tenant Subnet externally. On the main “Load Balancers” page, click on the downward arrow next to “Edit” and select “Associate Floating IP”
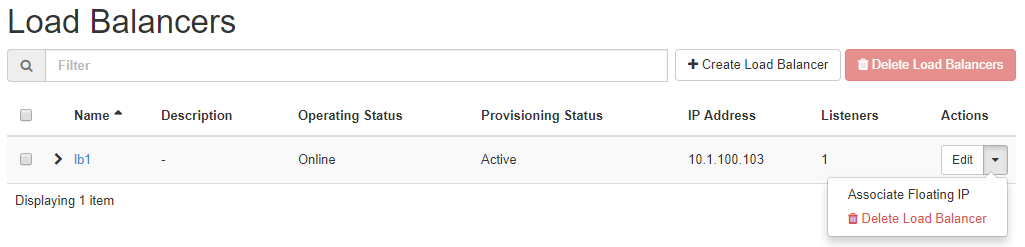
Specify the “public” pool.
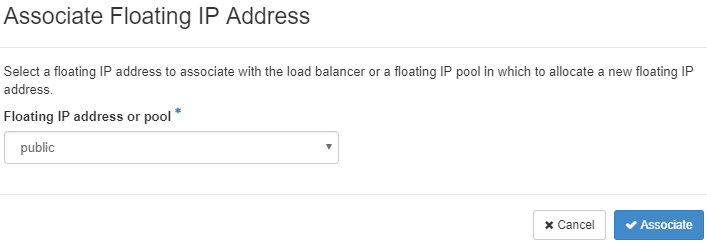
And click “Associate”. Click on “lb1” and you will see the Floating IP Address.
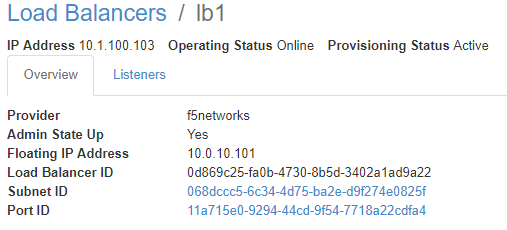
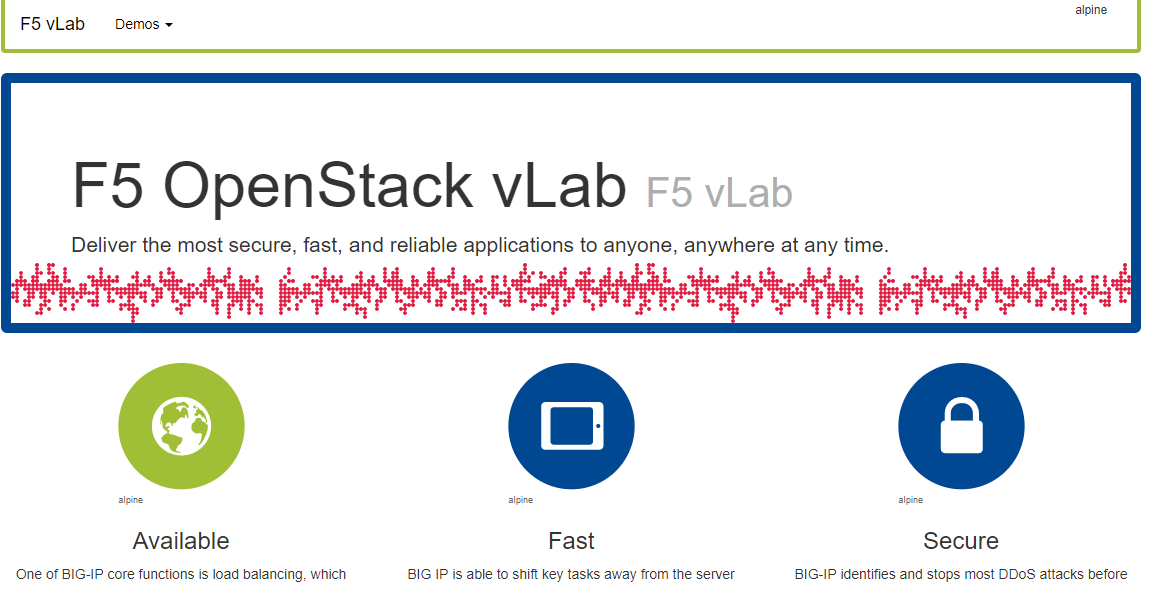
Enter this value into the Chrome URL and you should see (colors may vary, there’s a chance they may be the same).
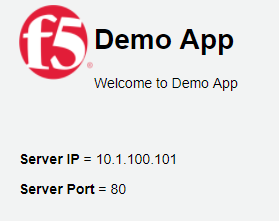
Adding “/simple.shtml” you can see the Server IP and see the service being load balanced.
 |
 |