F5 BIG-IP Next Access Labs > Use Cases > Lab 1 - SSL VPN remote access Source | Edit on
Lab 1.1 - Create an Access Security Policy
- Access BIG-IP Next Central Manager if you’re not already logged in.
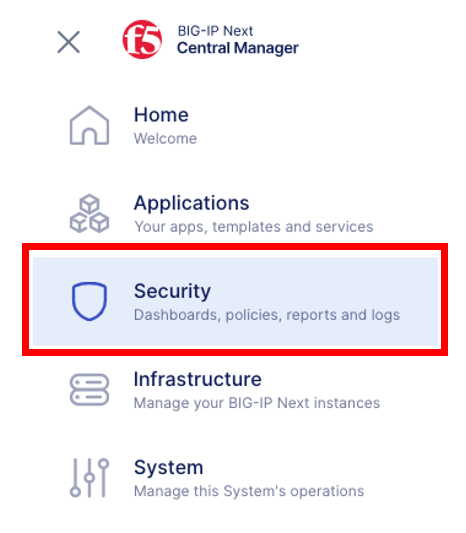
- Click on the Workspace icon and select Security
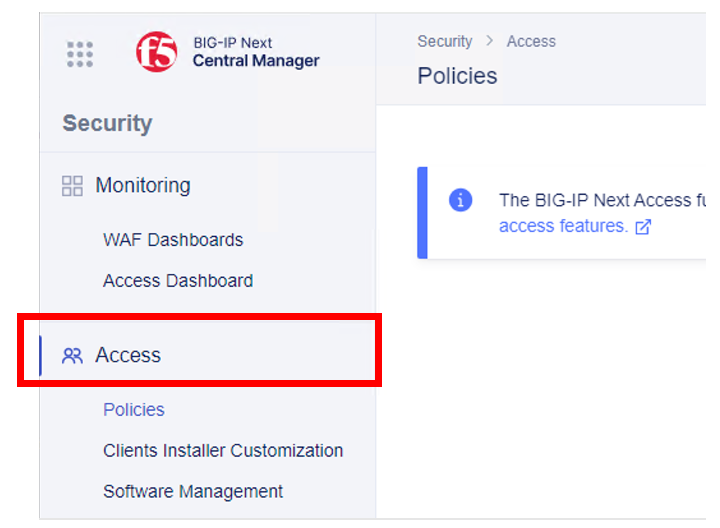
- Click on Access from the Security menu, this should default to Policies.
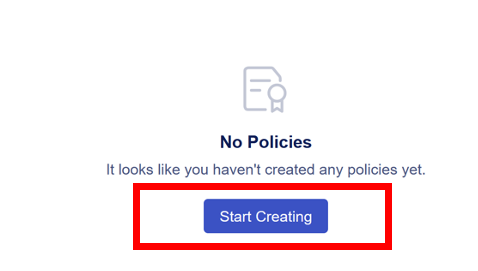
- Click Start Creating button to create a new Access policy, or click on Create if you have already several policy created.
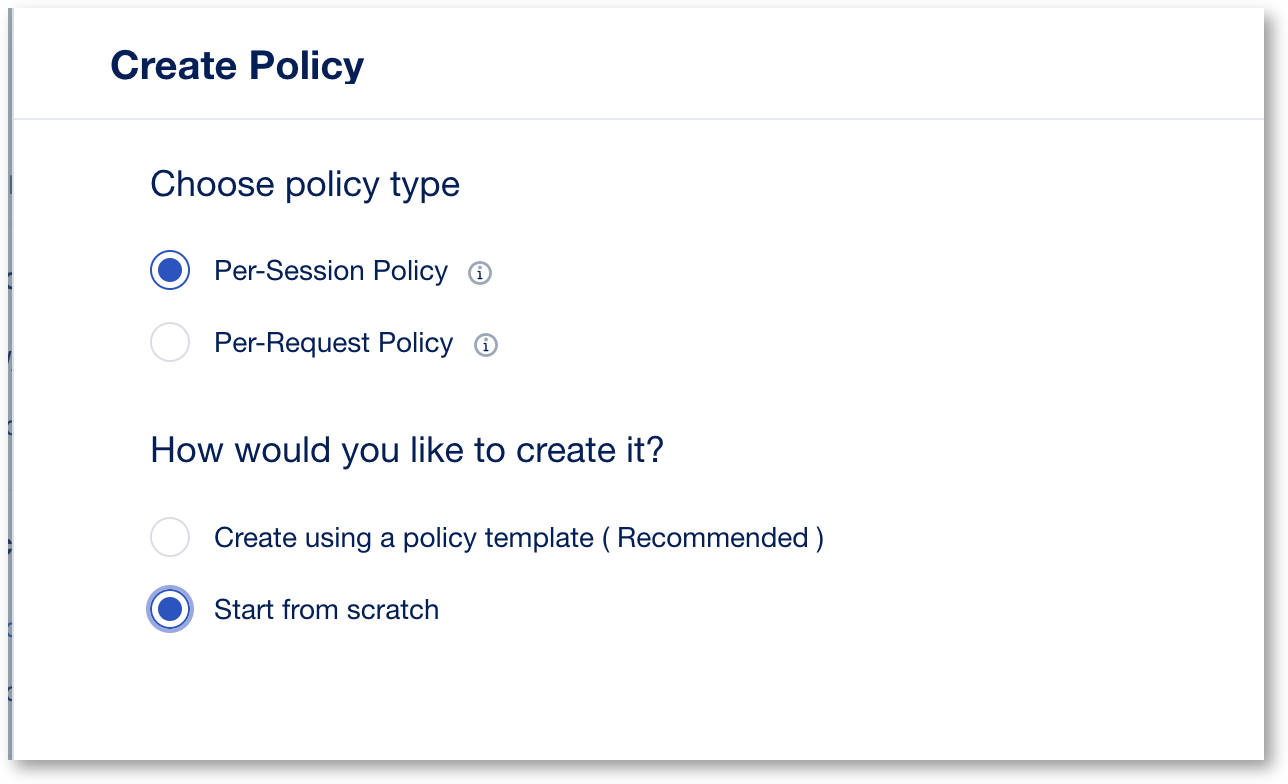
- This will open Access Visual Policy Design screen. Choose a Per-Session Policy and Start from Scratch, click Next
- In the Create Policy screen, this is where you set the different properties of the policy, such as, logging, language, Single Sign On, etc… Let’s start configuring the policy Start Selecting policy name and adjust policy parameters.
In the General Properties screen set the following parameters, for the rest of the settings you may leave it as default.
- Policy Name: ssl-vpn
- Cookie Option: check the Secure box
- Click Continue
Note
As you continue the rest of the policy creation process, see the screen shot in each section for a visual example of the configuration.
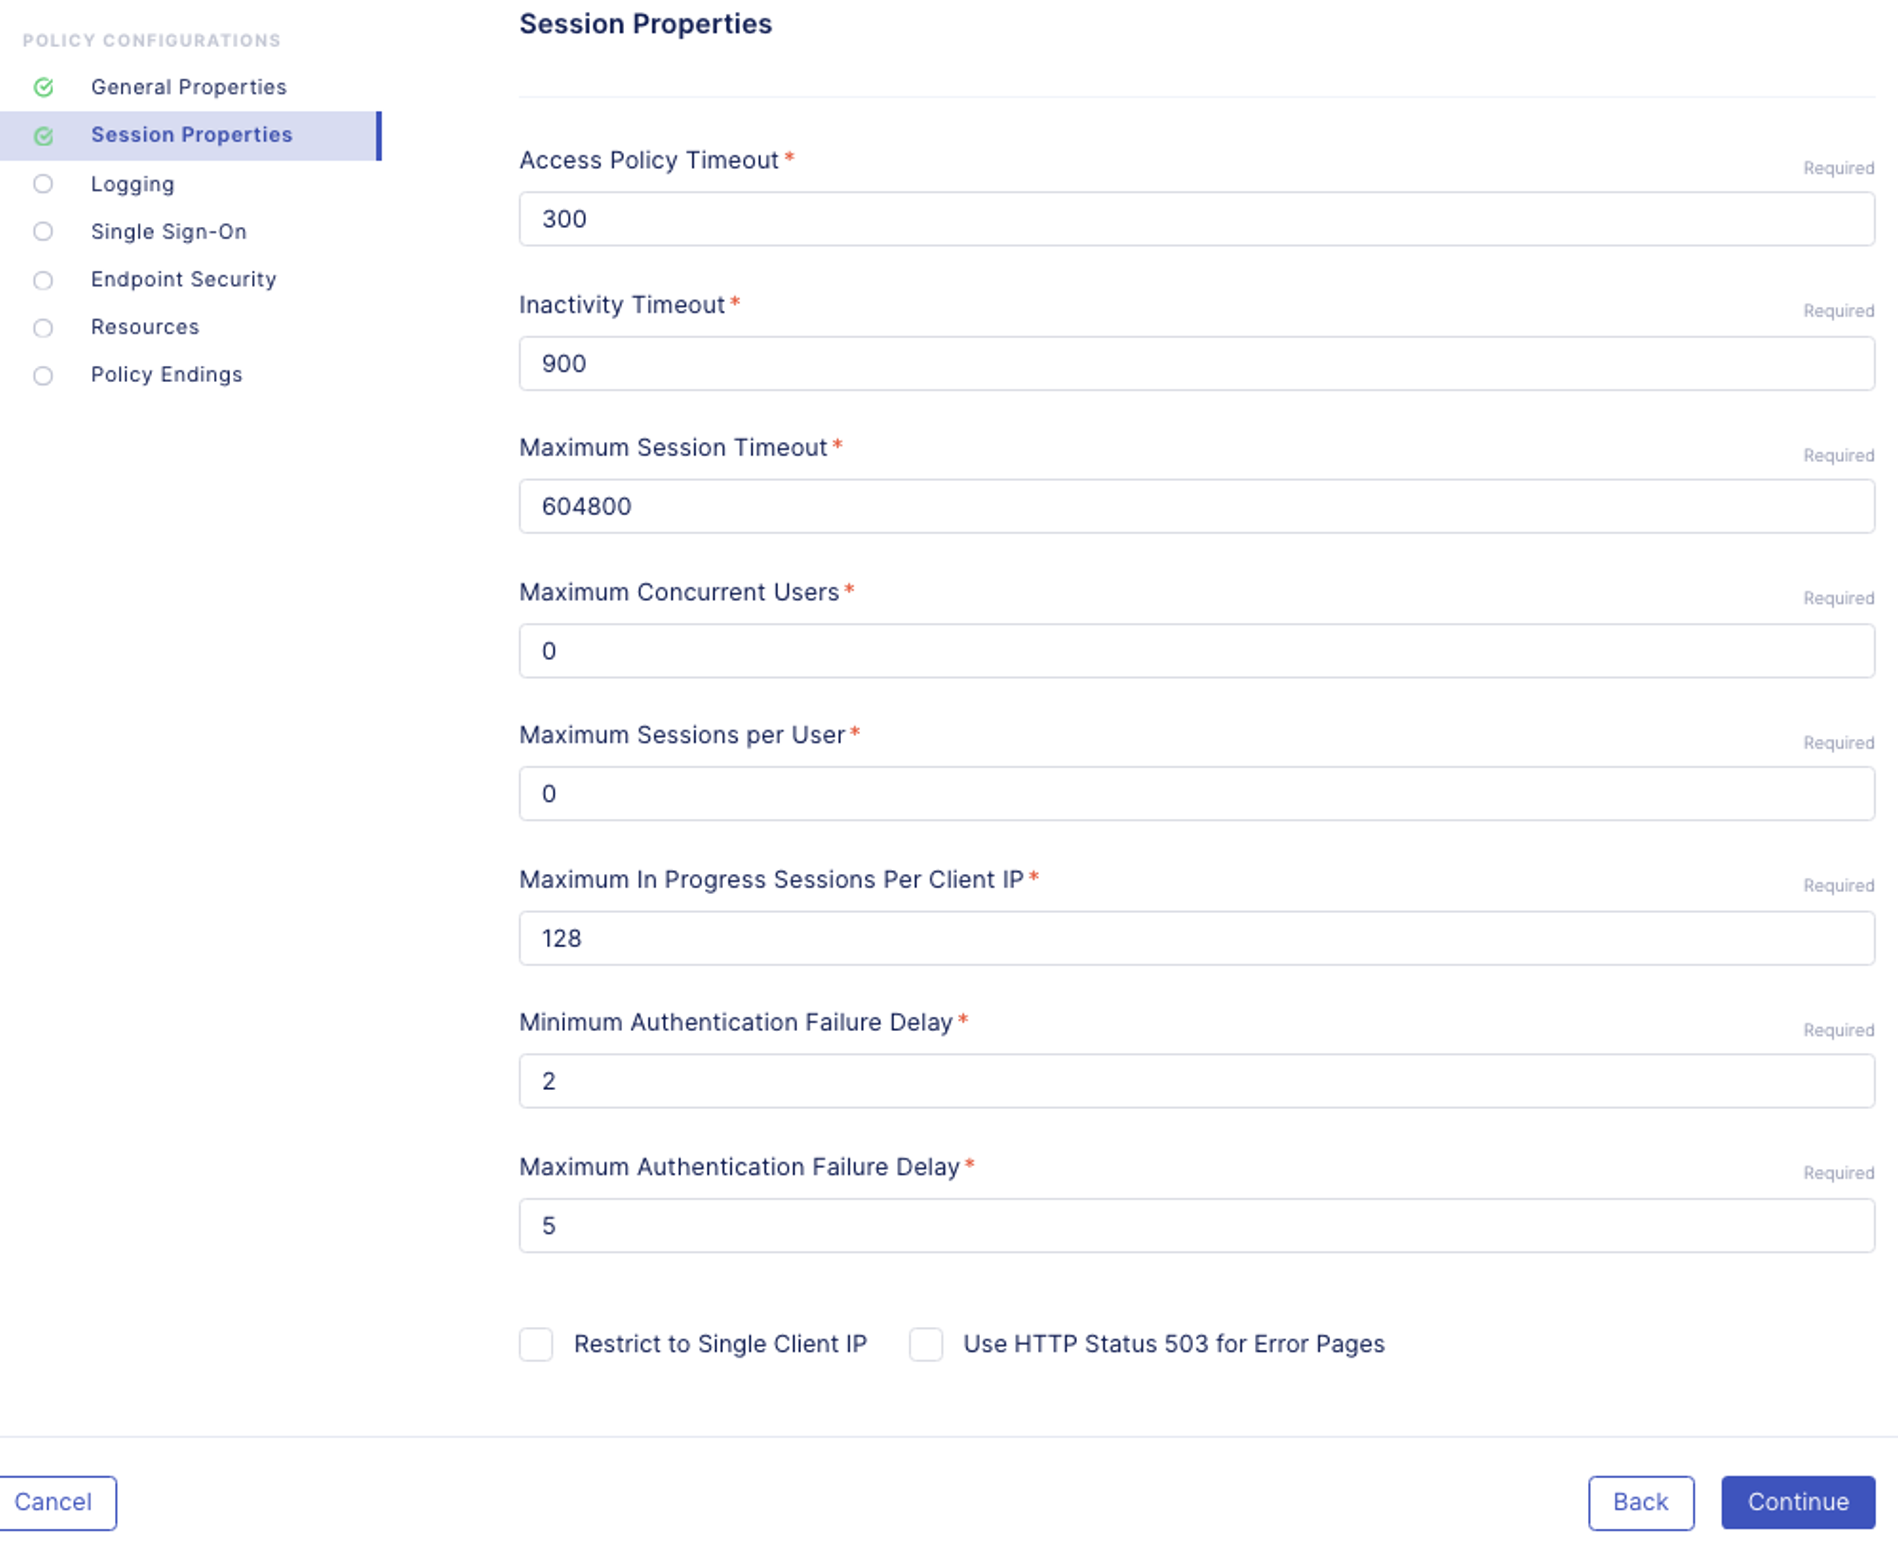
- In Session Properties, keep the default settings, click Continue.
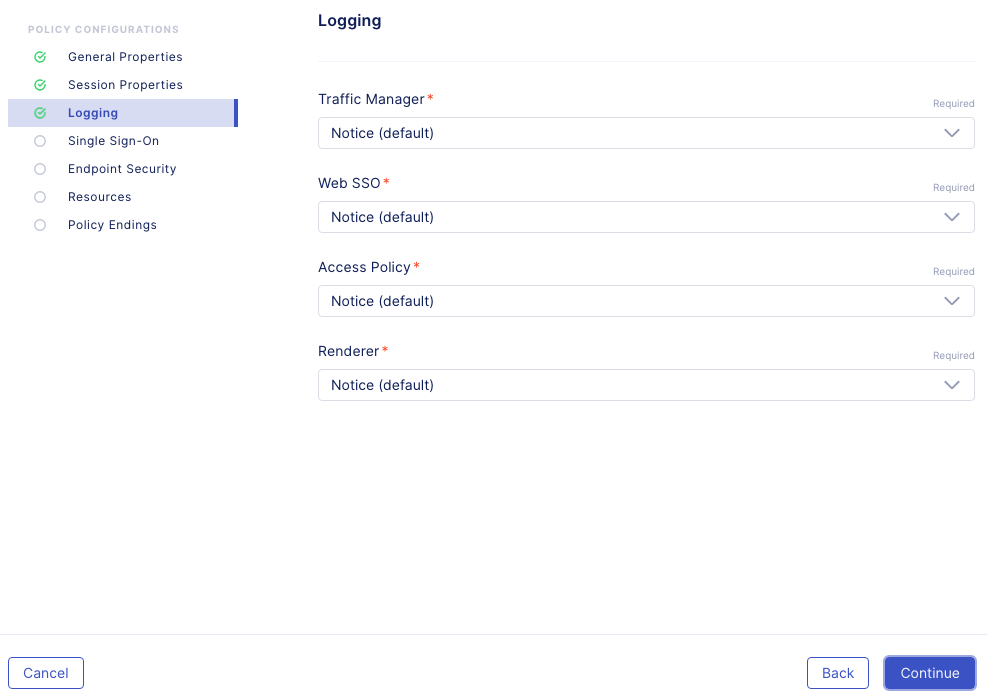
- Logging screen you can adjust the logging level to help with debugging or troubleshooting. For this lab we will keep the default settings. Click Continue.
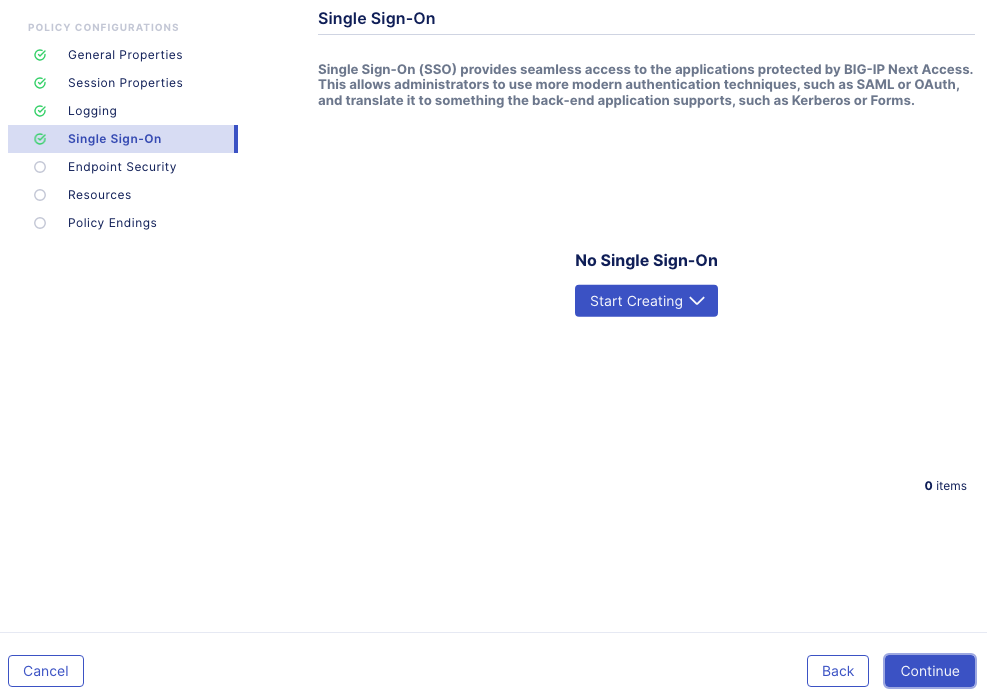
- Single Sign On screen, you can set the Single Sign On configuration with an IDP. For this lab we will not use any SSO. Click Continue.
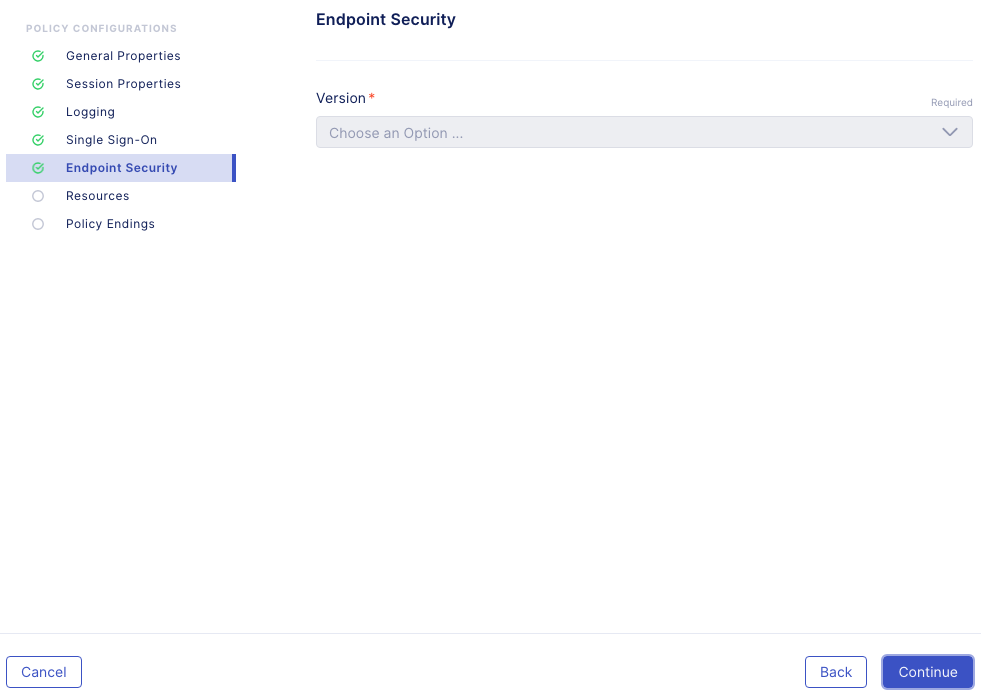
- Endpoint Security screen, you can setup Endpoint Security such as ensuring firewall is enabled on a client workstation before access is granted. For this lab we will not use this feature. Click Continue.
- Resources This is where we will create the Networkl Access resource and also the Webtop resource.
Click Start Creating, and create a Network Access resource. Configure as below
Change to
split tunneling, withaddress space10.1.20.0/24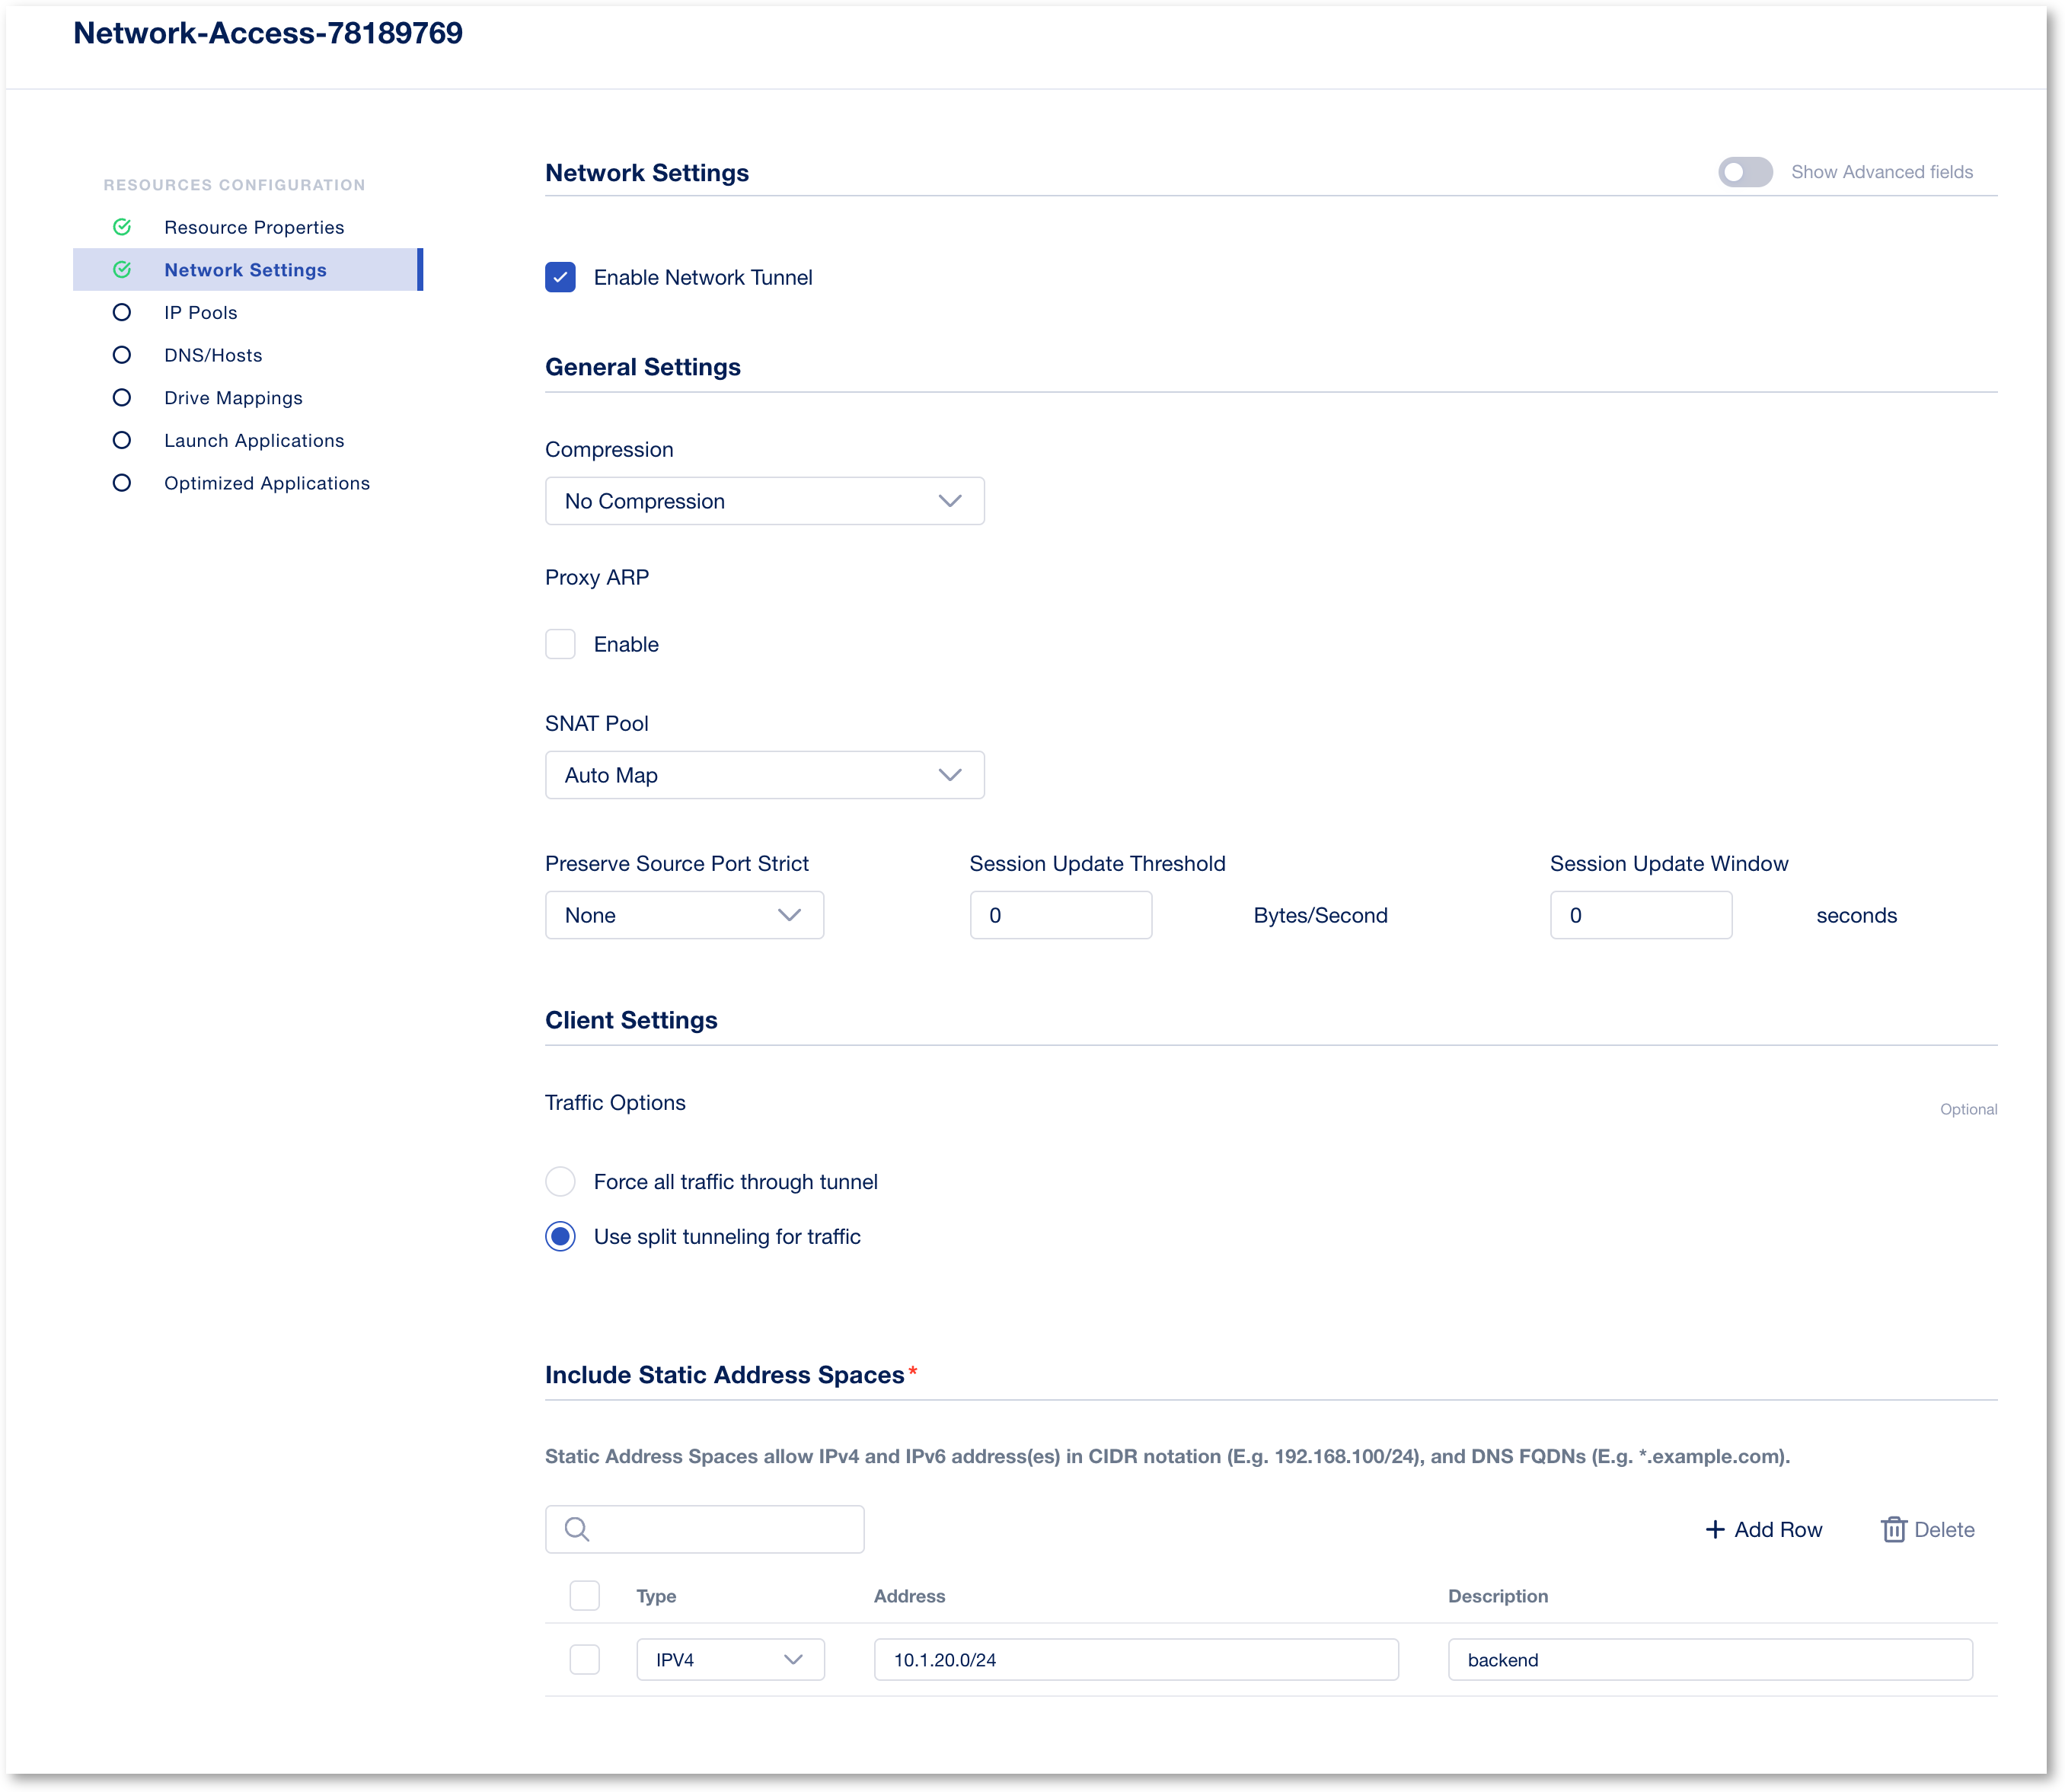
Continue and give a name to the lease pool : leasepool1
Continue to DNS/Host, set IPv4 primary Name Server to : 10.1.20.6
Click continue till end and Finish
Click Create and create a new resource type Webtop
- Keep default settings
- Finish
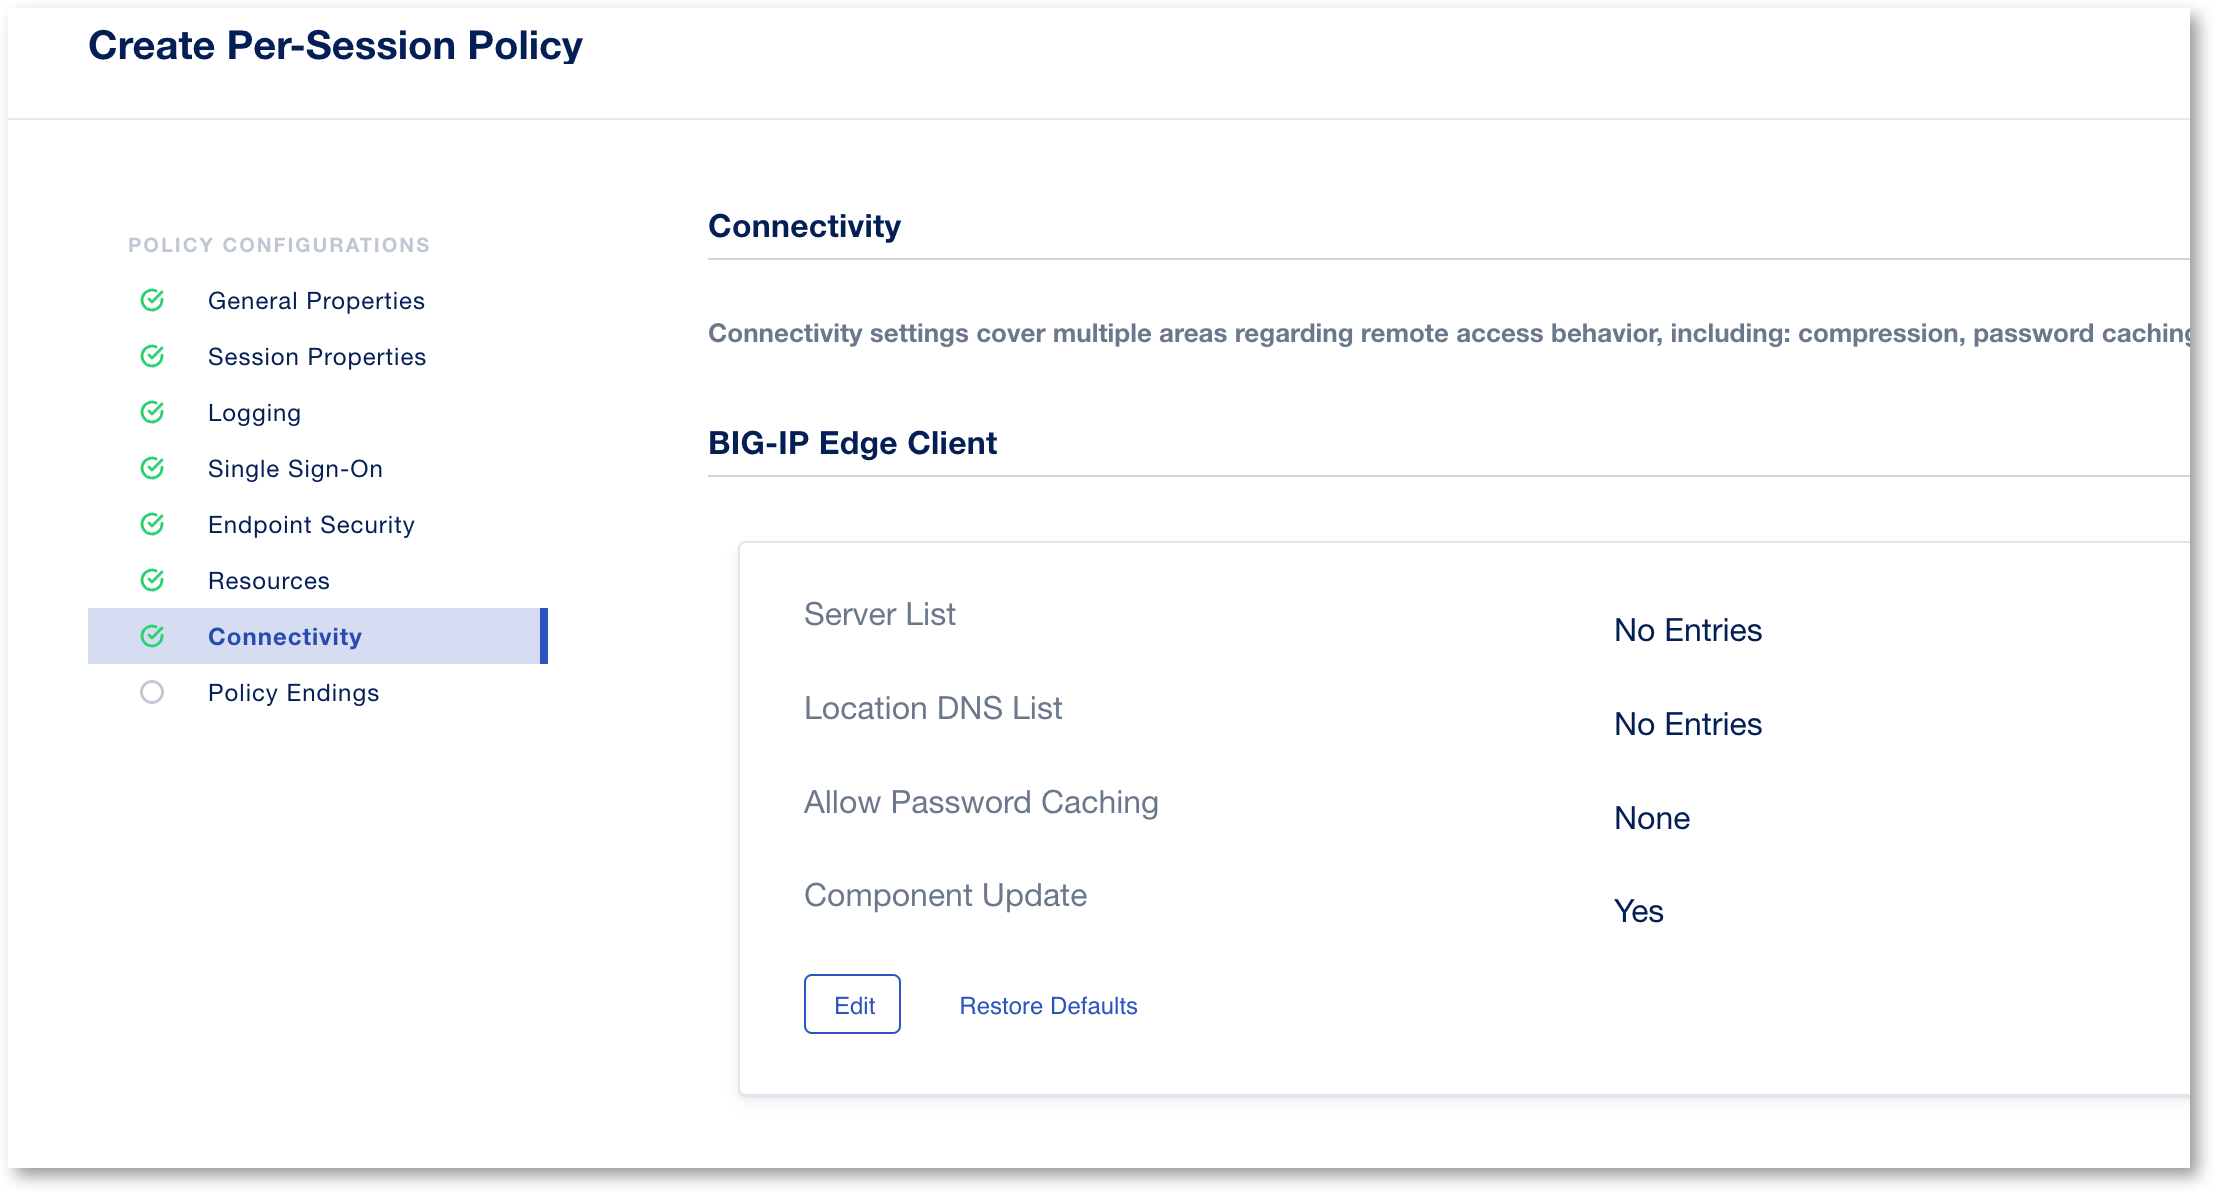
- Click Continue to continue to Connectivity. We will set the SSL VPN (Network Access) connectivity settings.
Edit the BIG-IP Edge Client config
Add a new Server List entry
Alias: next-vpn
Host Name: vpn.example.com
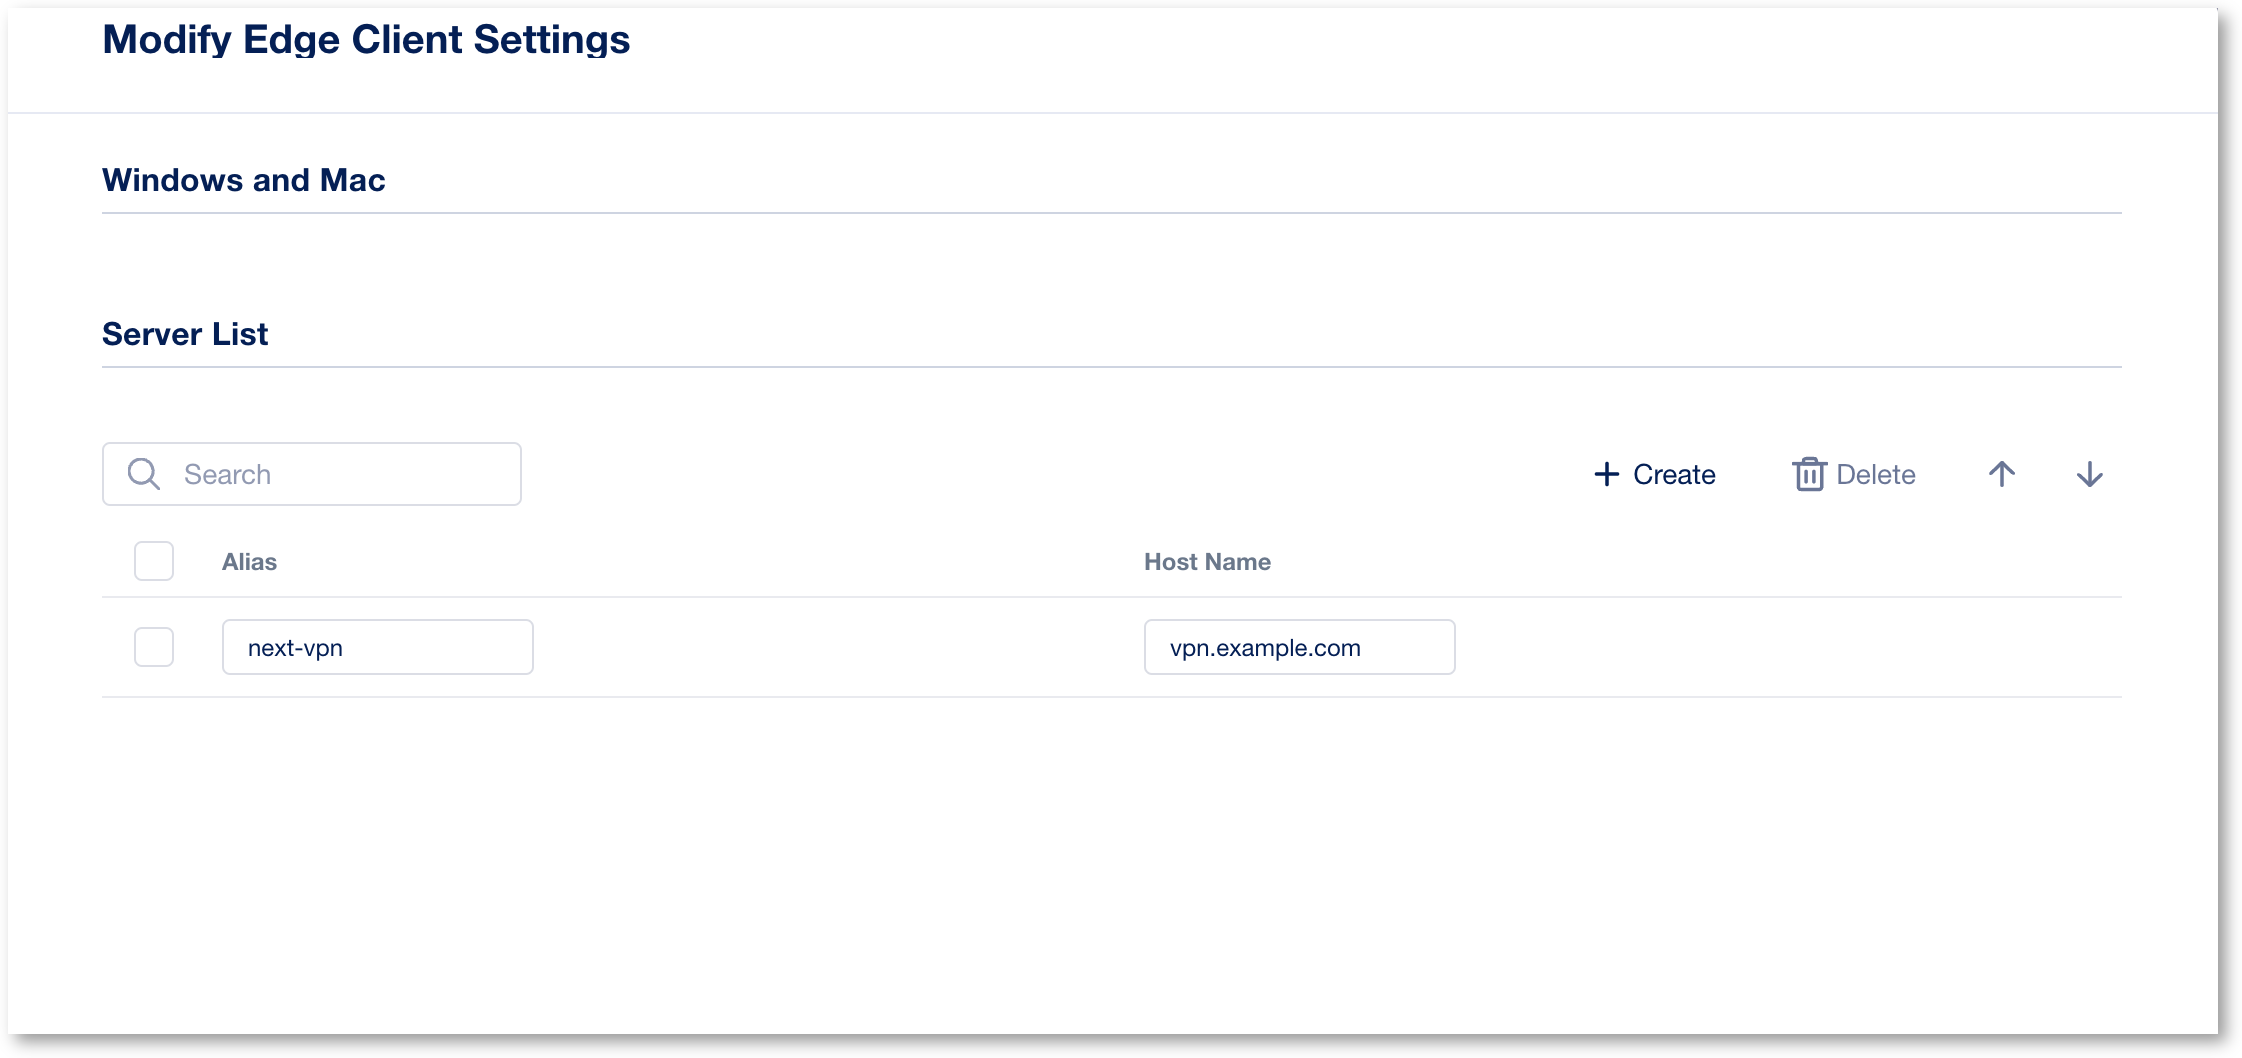
Click Finish and Continue
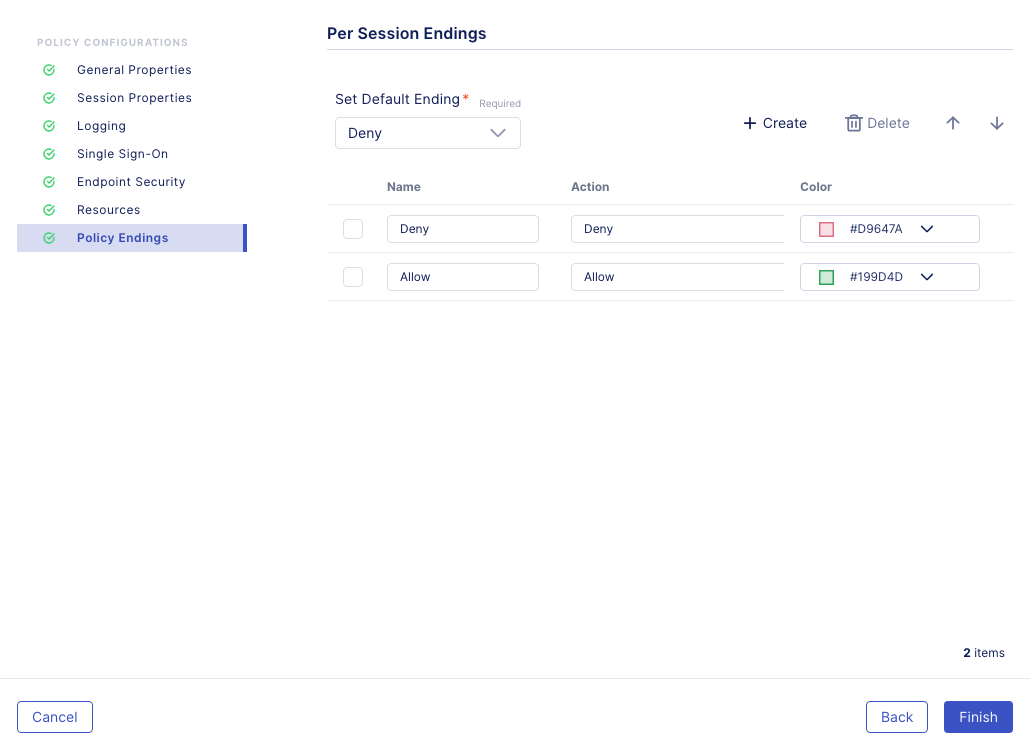
- Policy Endings you can define additional policy ending logic as needed for your use case here. For this lab we will accept the default. Click Finish.
After clicking on Finish it should bring you back to the Create Policy screen. Now, we will use the Visual Policy Designer (VPD) to build the policy.
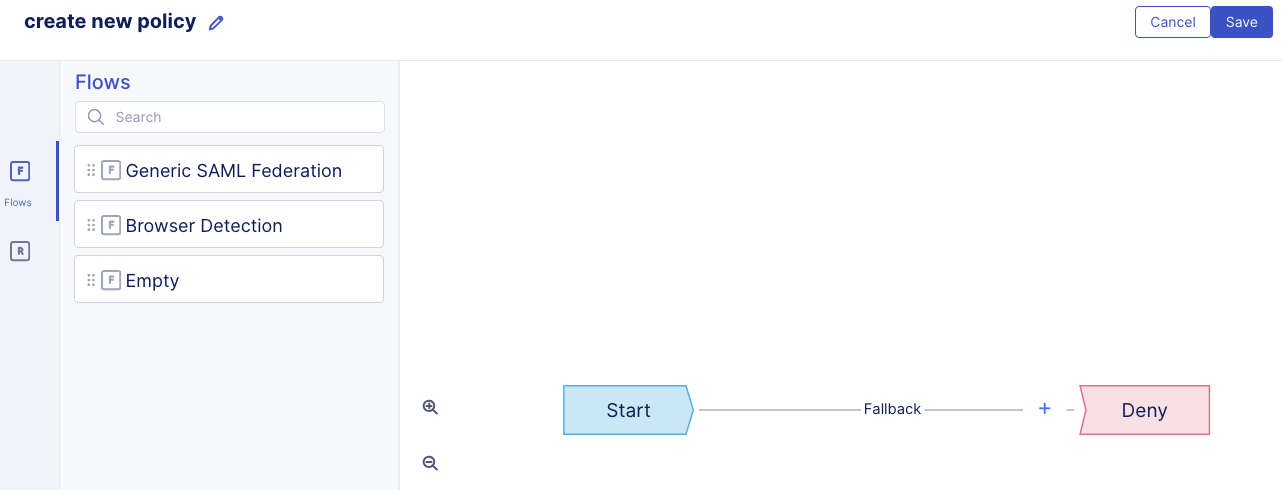
- Under Flows, drag and drop Empty flow to the VPD. You will need click on the little dots to the right of the flow type to grab the flow and drop into the VPD.

When dropping the flow type onto the VPD, you will want to make sure the flow type box is over the plus sign and the plus sign turns blue.

The result should look like the following screen shot.

- Click inside the Flow type box. This show 3 buttons; Delete, Edit, and Collapse buttons. Click on the Collapse button to start adding Rules to the Flow and Editing settings.

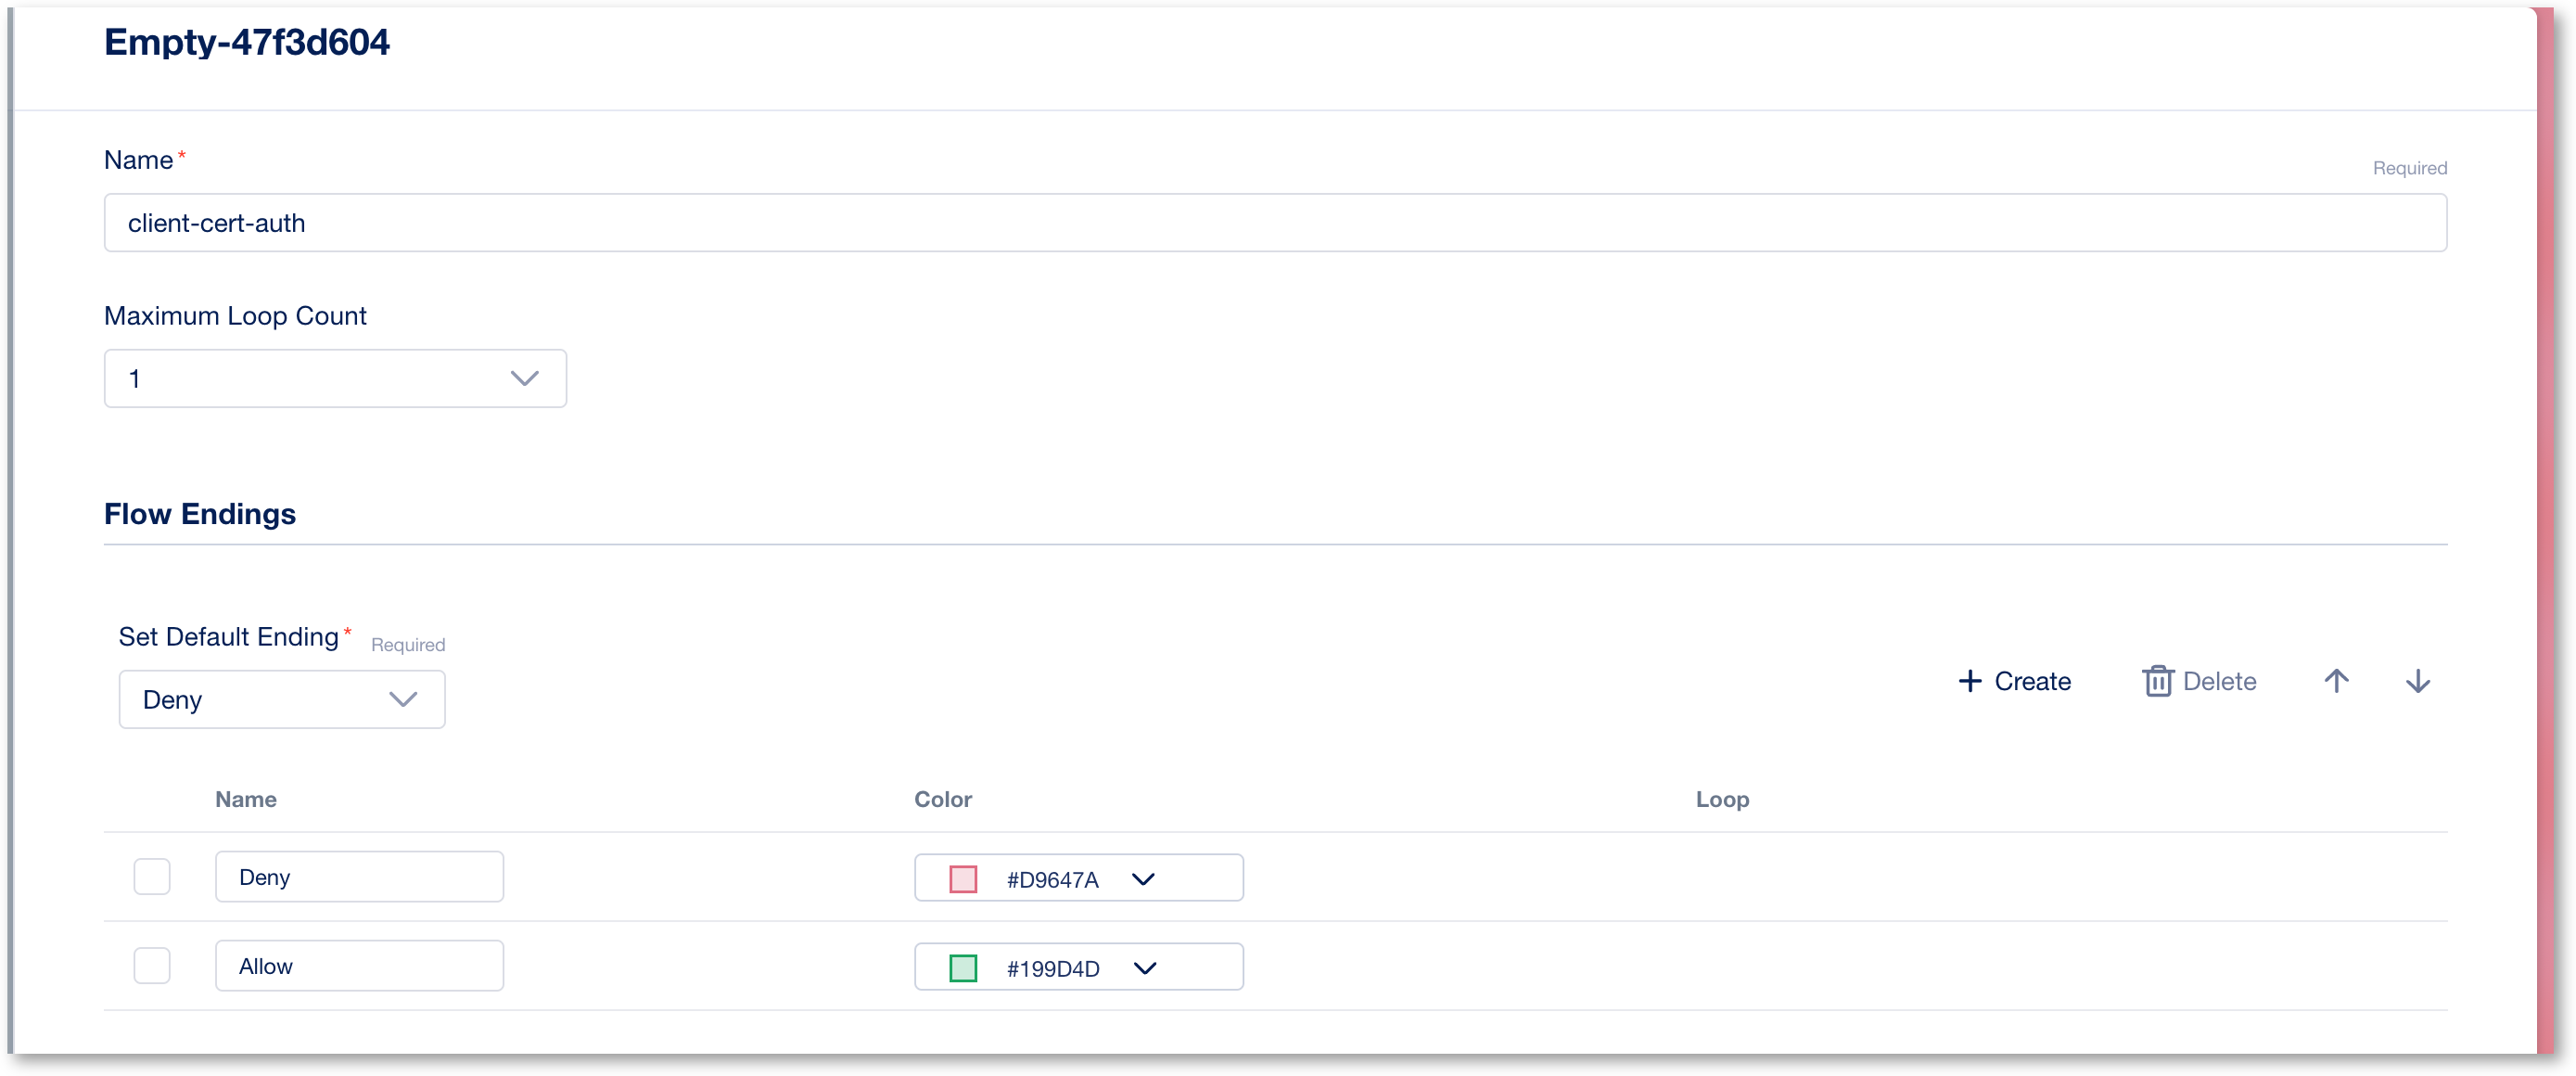
- Click on the pen to edit the Empty box. Change the name to client-cert-auth and add a new ending branch called Allow
- On the left hand side menu, select the R (Rules) button, and scroll down on the Rules till you find On-Demand Certificate Authentication.
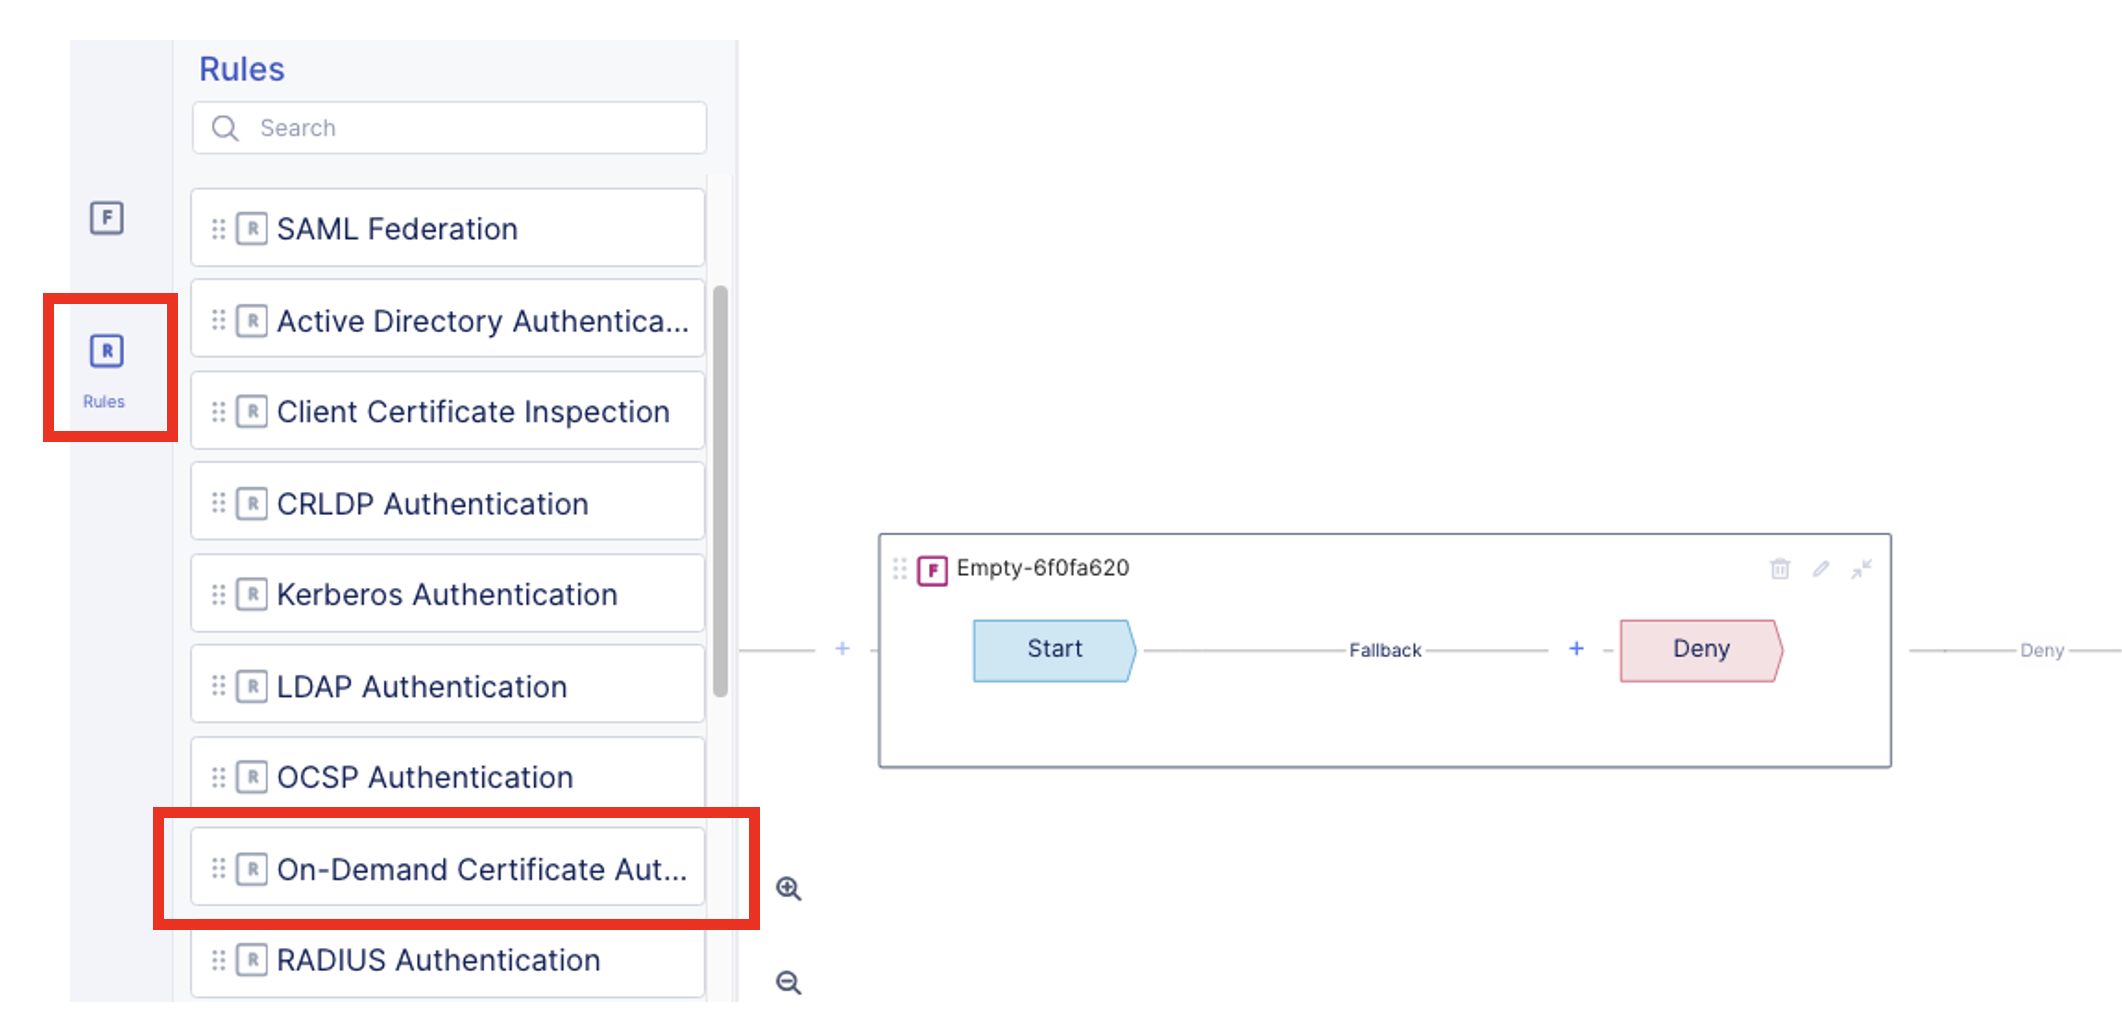
- Click and drag On-Demand Certificate Authenticate to the VPD.

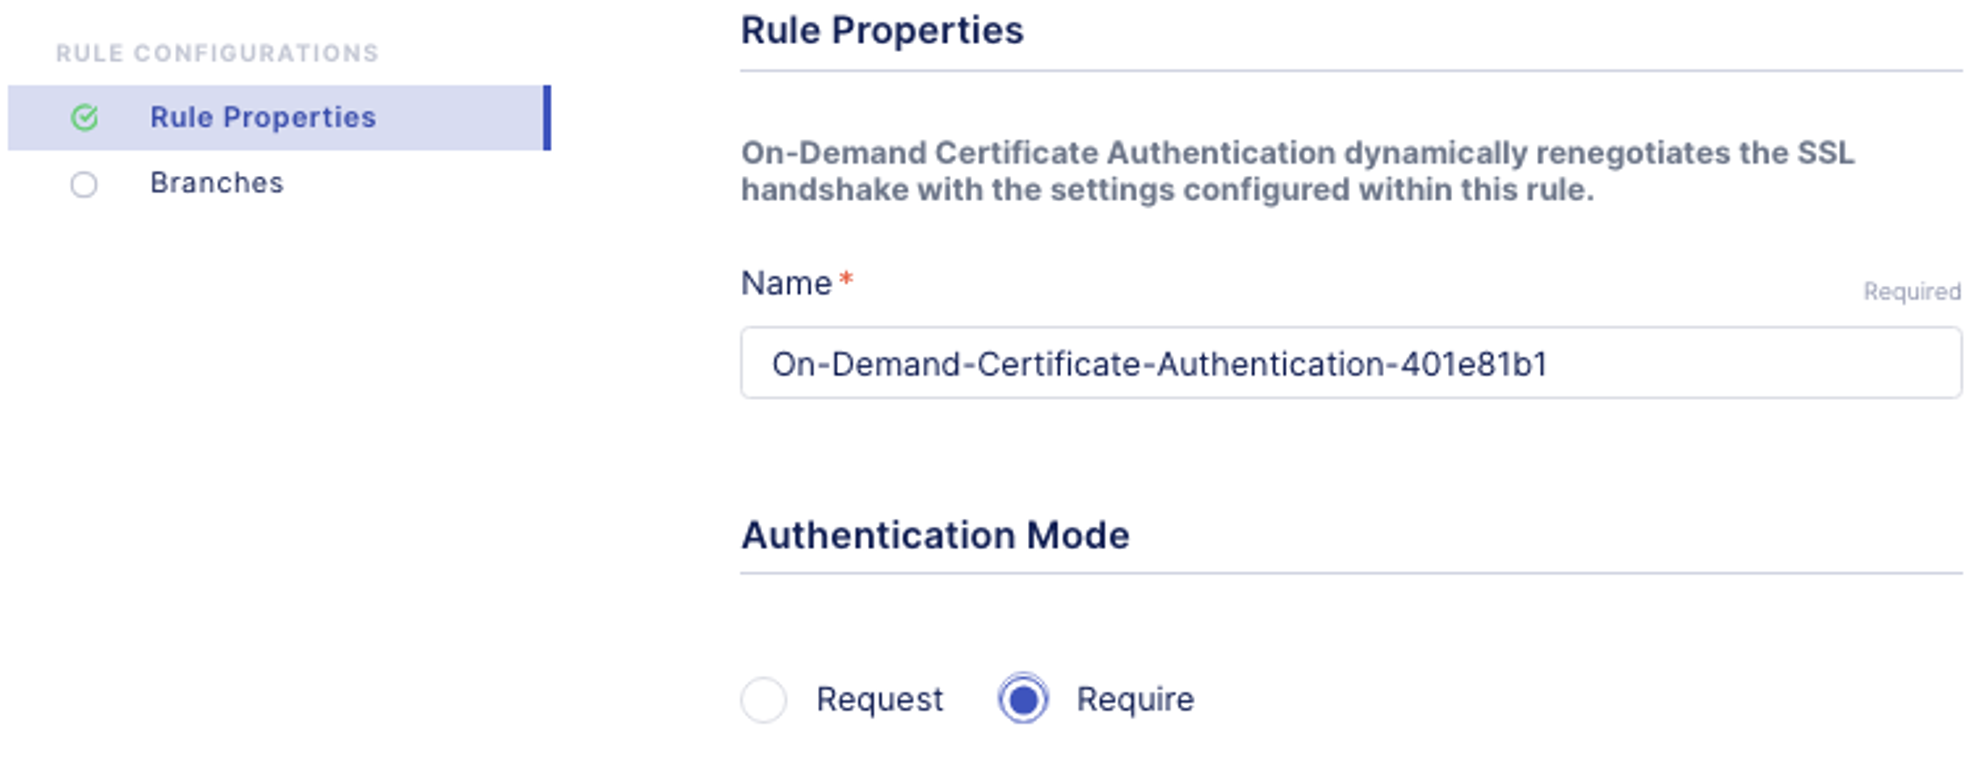
- Edit the On-Demand Certificate rule by clicking on the edit button.
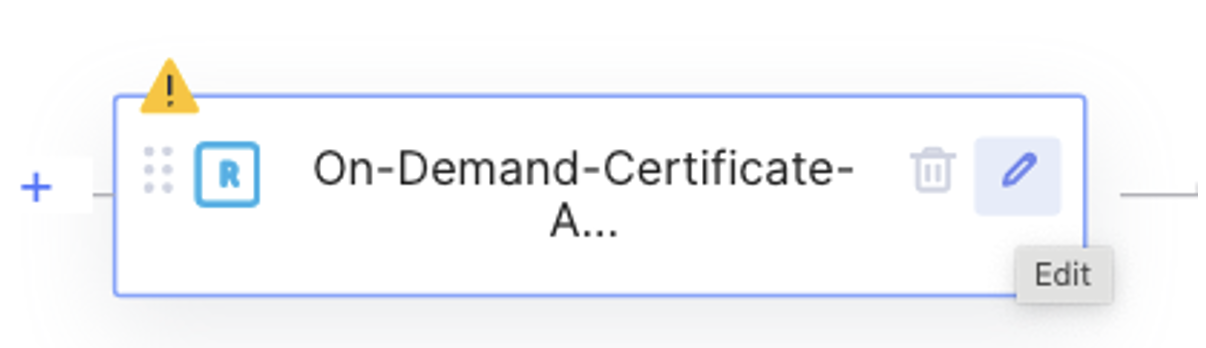
- In the Rule Configurations, Rule Properties, change Authentication Mode to Require. Click Continue and Finish
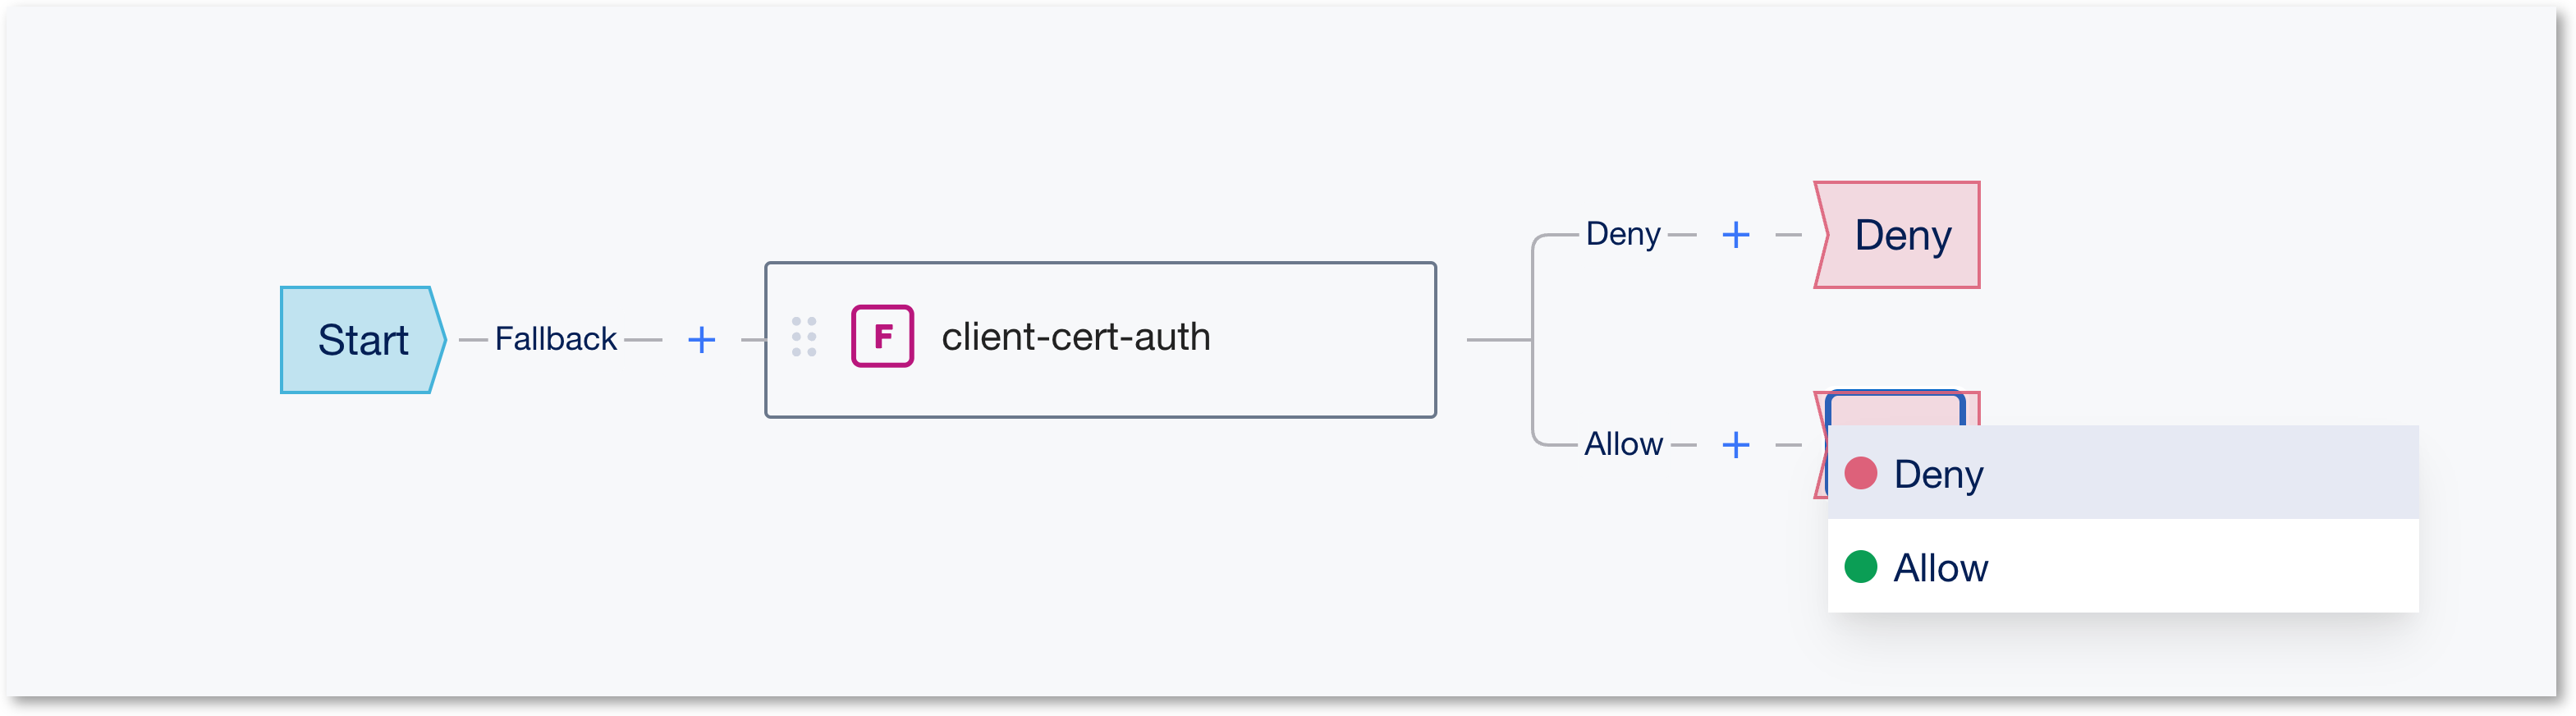
- Change the Deny ending of the successful branch by the Allow ending

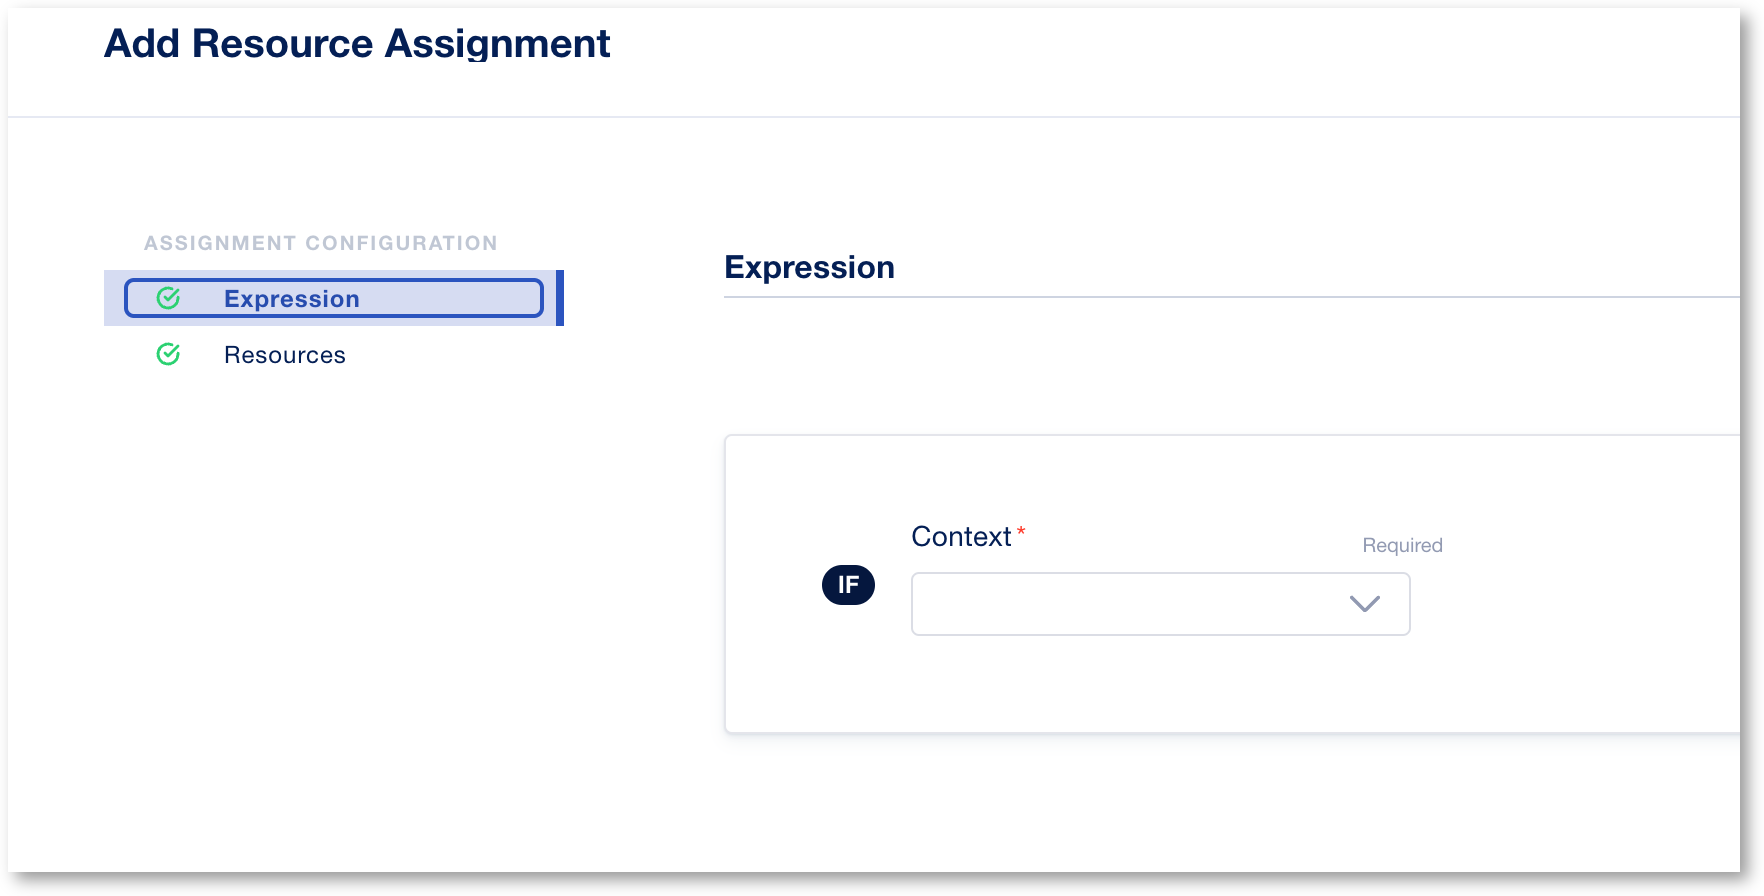
- Add a new rule Advanced Resource Assign next to the Successful branch, edit it, and add your webtop and network access resources.

- Do not select any context, keep it empty
- Add your webtop and Network Access
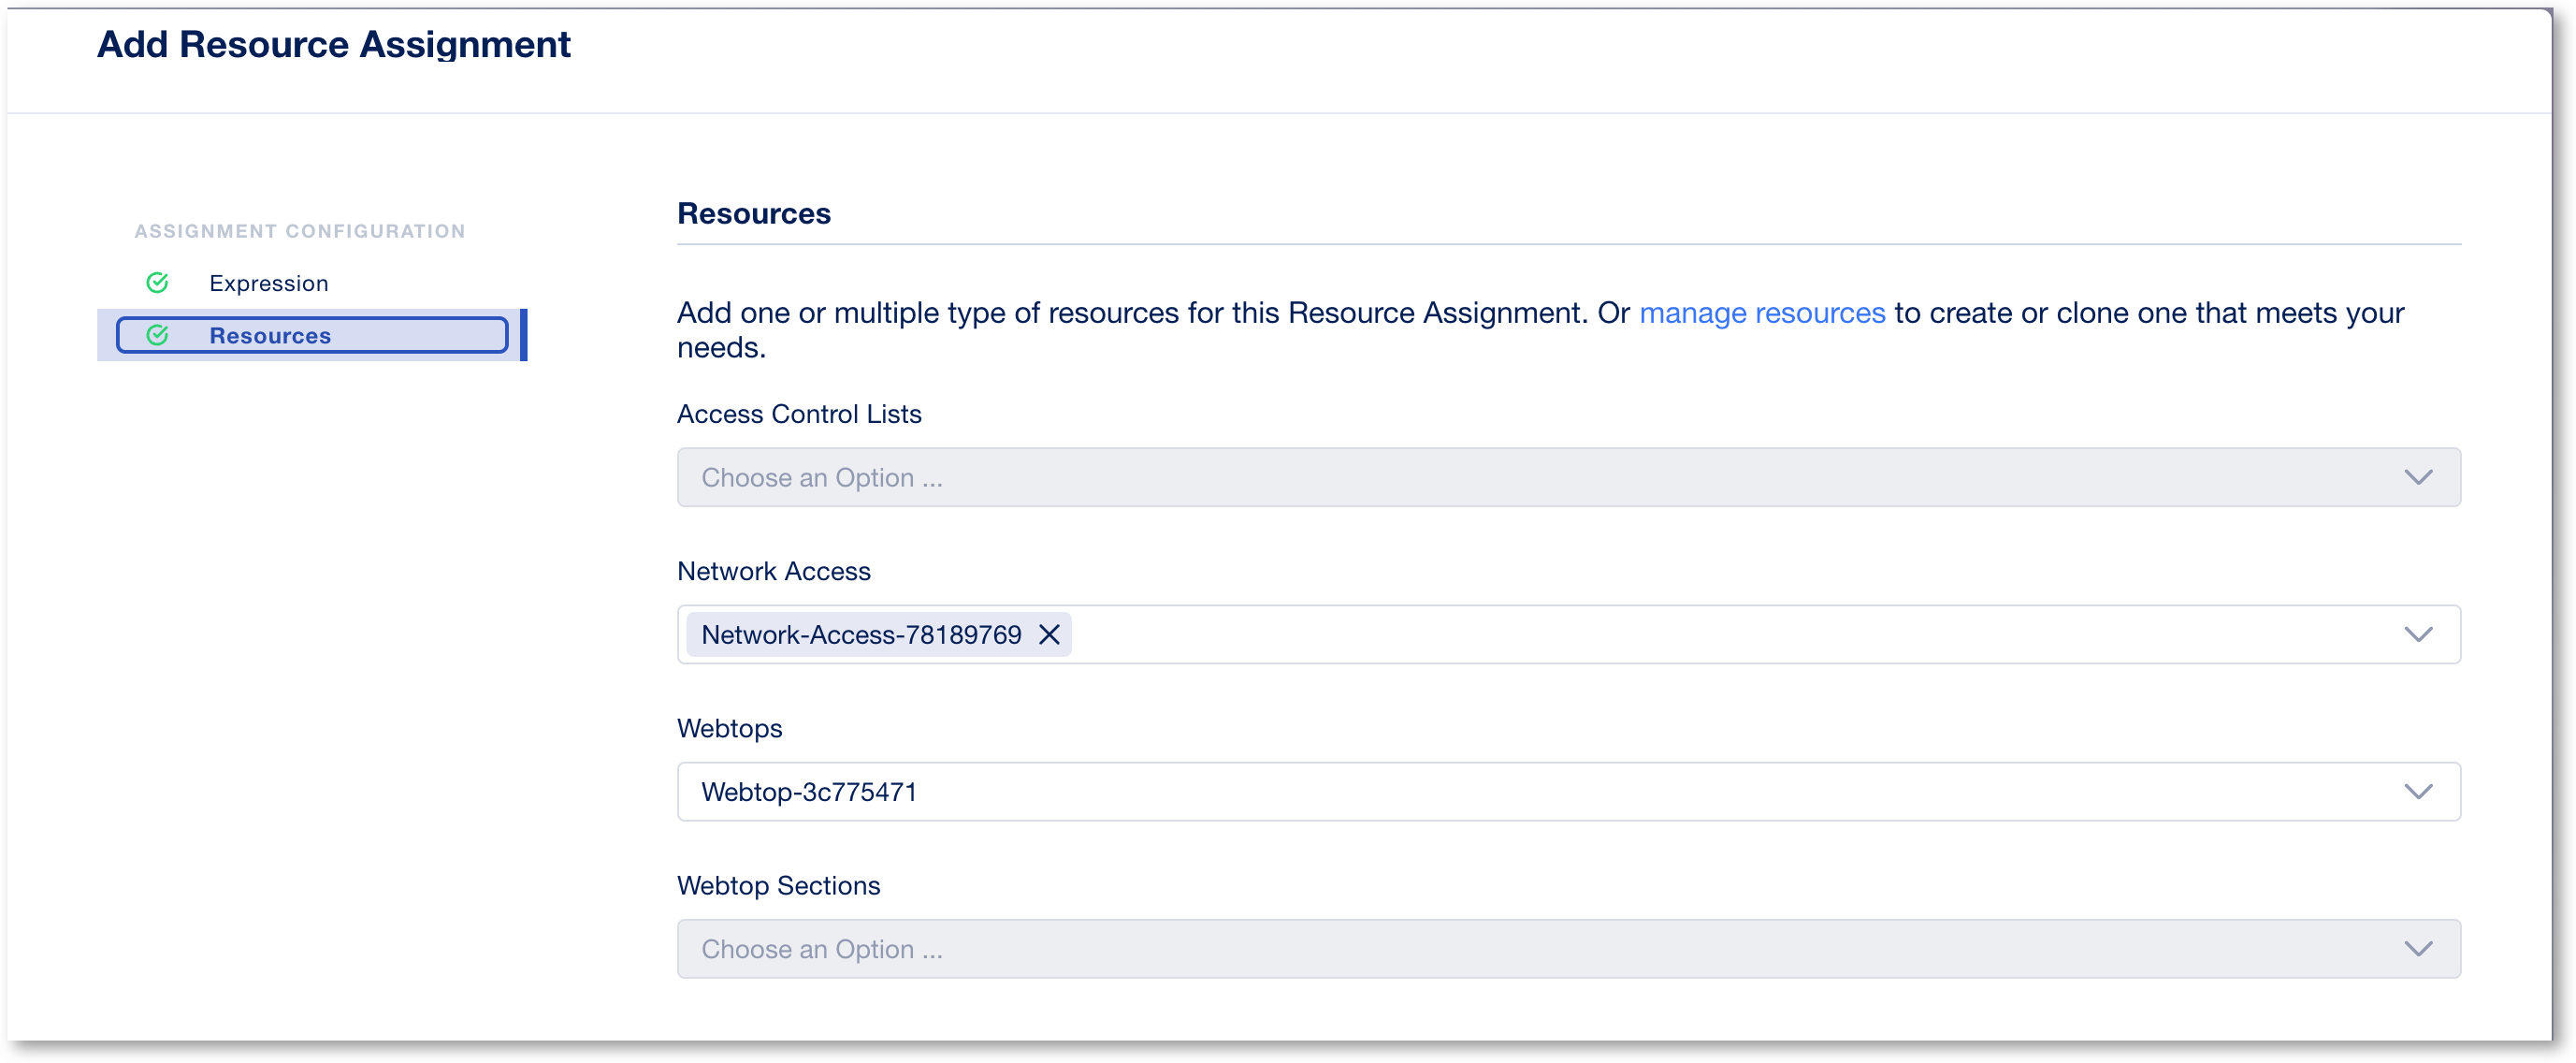
- Click finish and save your Advanced Resource Assign rule (by clicking to continue).
- Click on the Collapse button to close the Rules and Flow box so you’re back to the main VPD. S
- On the Allow branch, change the ending to Allow.
- Save the policy and close the VPD by clicking on Exit.
You have completed creating a security policy. Next we will deploy an Application and assigned the access policy.