F5 BIG-IP Next Access Labs > Use Cases > Lab 1 - SSL VPN remote access Source | Edit on
Lab 1.2 - Create an Application
Creating an application and assign an Access policy to the application
- Access BIG-IP Next Central Manager if you’re not already logged in.
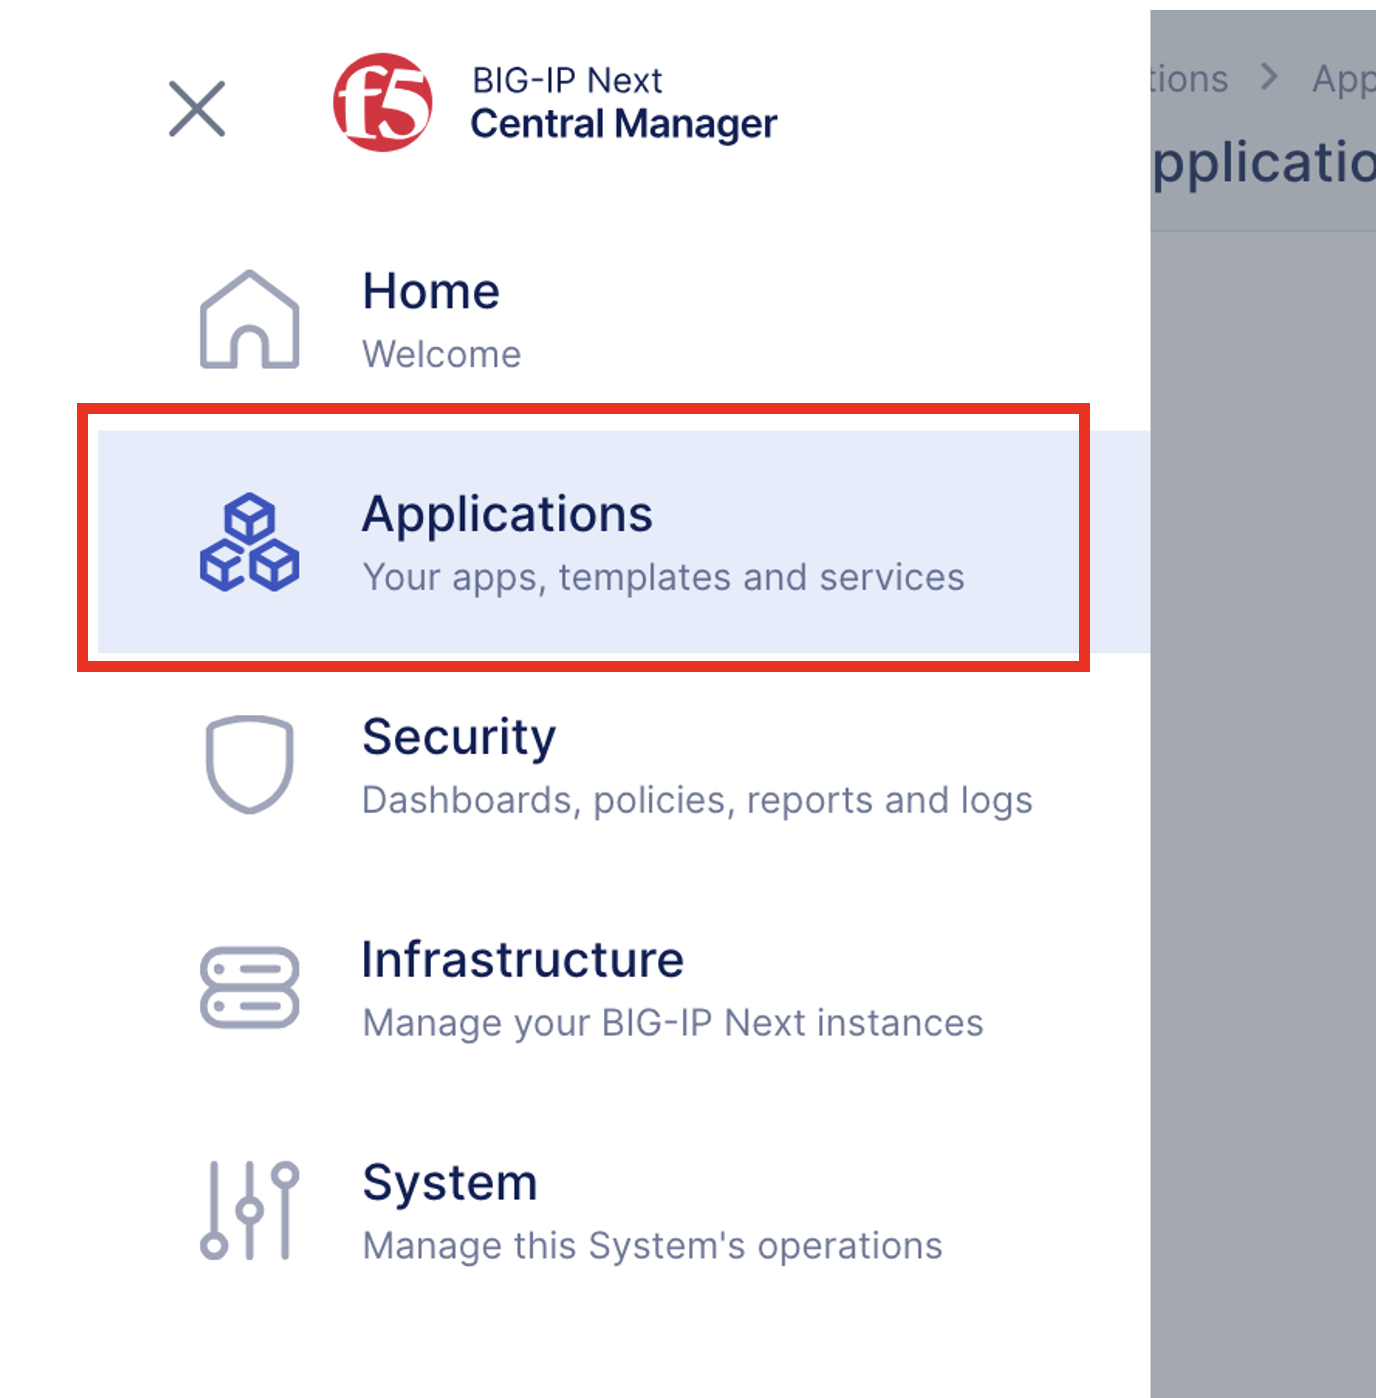
- Click on the Workspace icon and select Application.
- Click on Start Adding Apps button to create an Application.
- In the Add Application screen, set the following parameters:
- In Application Service Name type: vpn-app
- Under What kind of Application Service are you creating?: select Standard
- Click on Start Creating button
- In the Application Services Properties, click Start Creating.
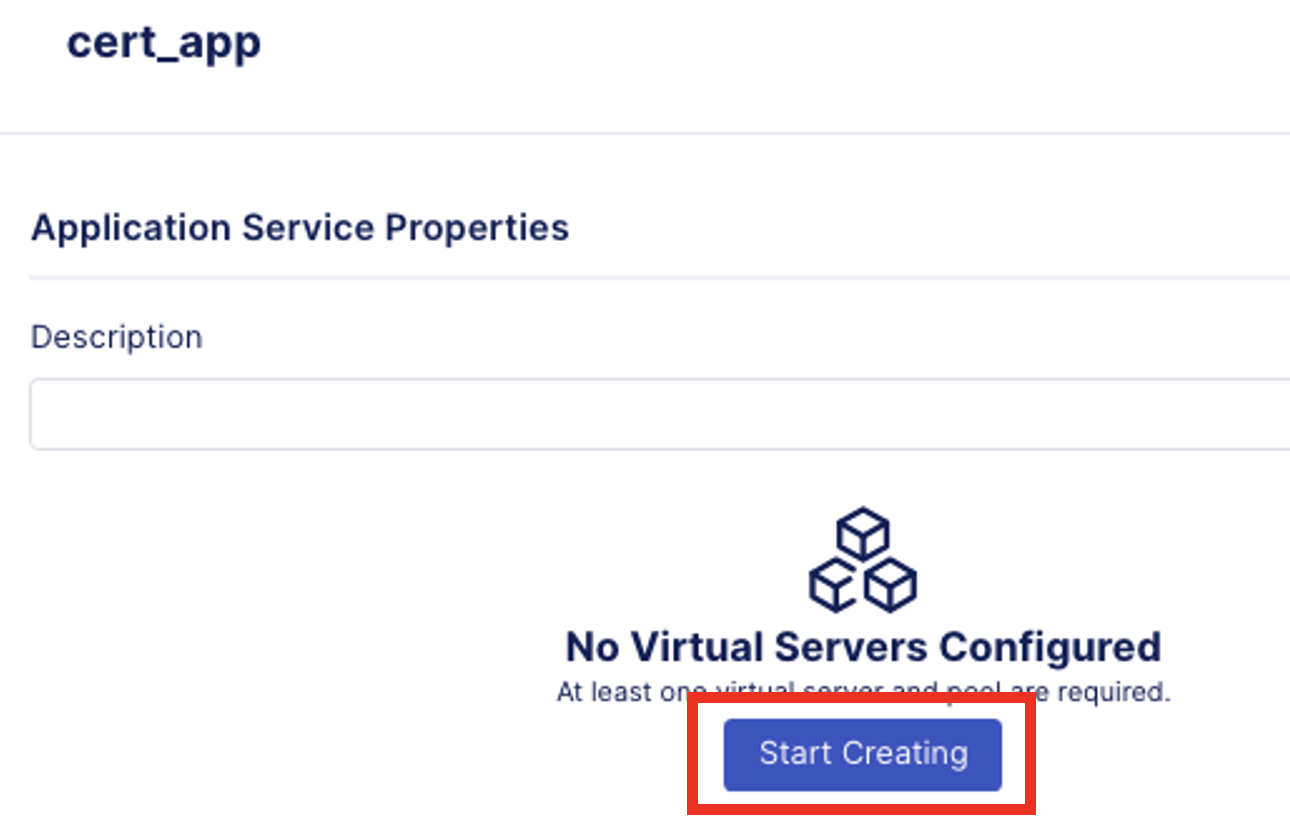
- In the Virtual Servers configuration screen, we will not create pool, this is not required.
- Stay in the Virtual Servers tab. Now let’s define the Virtual Server properties.
- Virtual Server Name: vs-vpn
- Virtual Port: 443
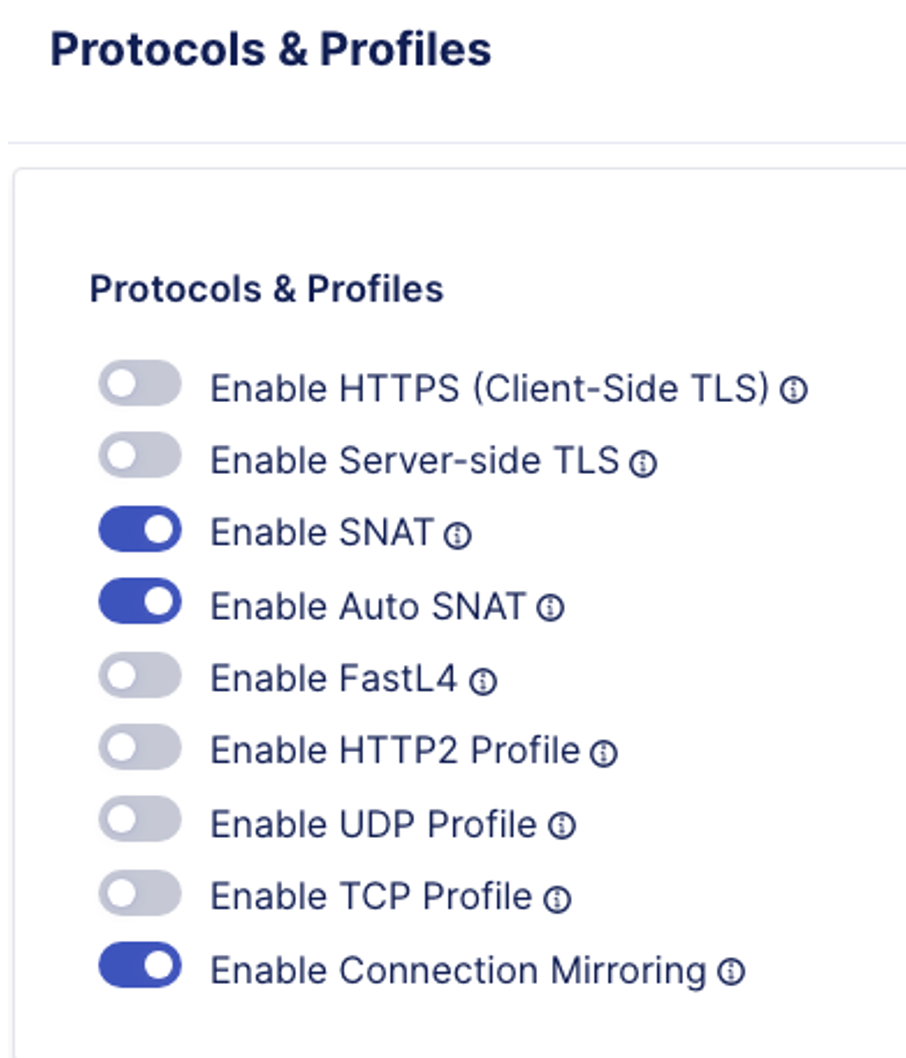
- Click on the Edit button under Protocols & Profiles to enable HTTPS
- In the Protocols and Profiles, tick the slider button for Enable HTTPS (Client-Side TLS). This will enable the features under HTTPS.
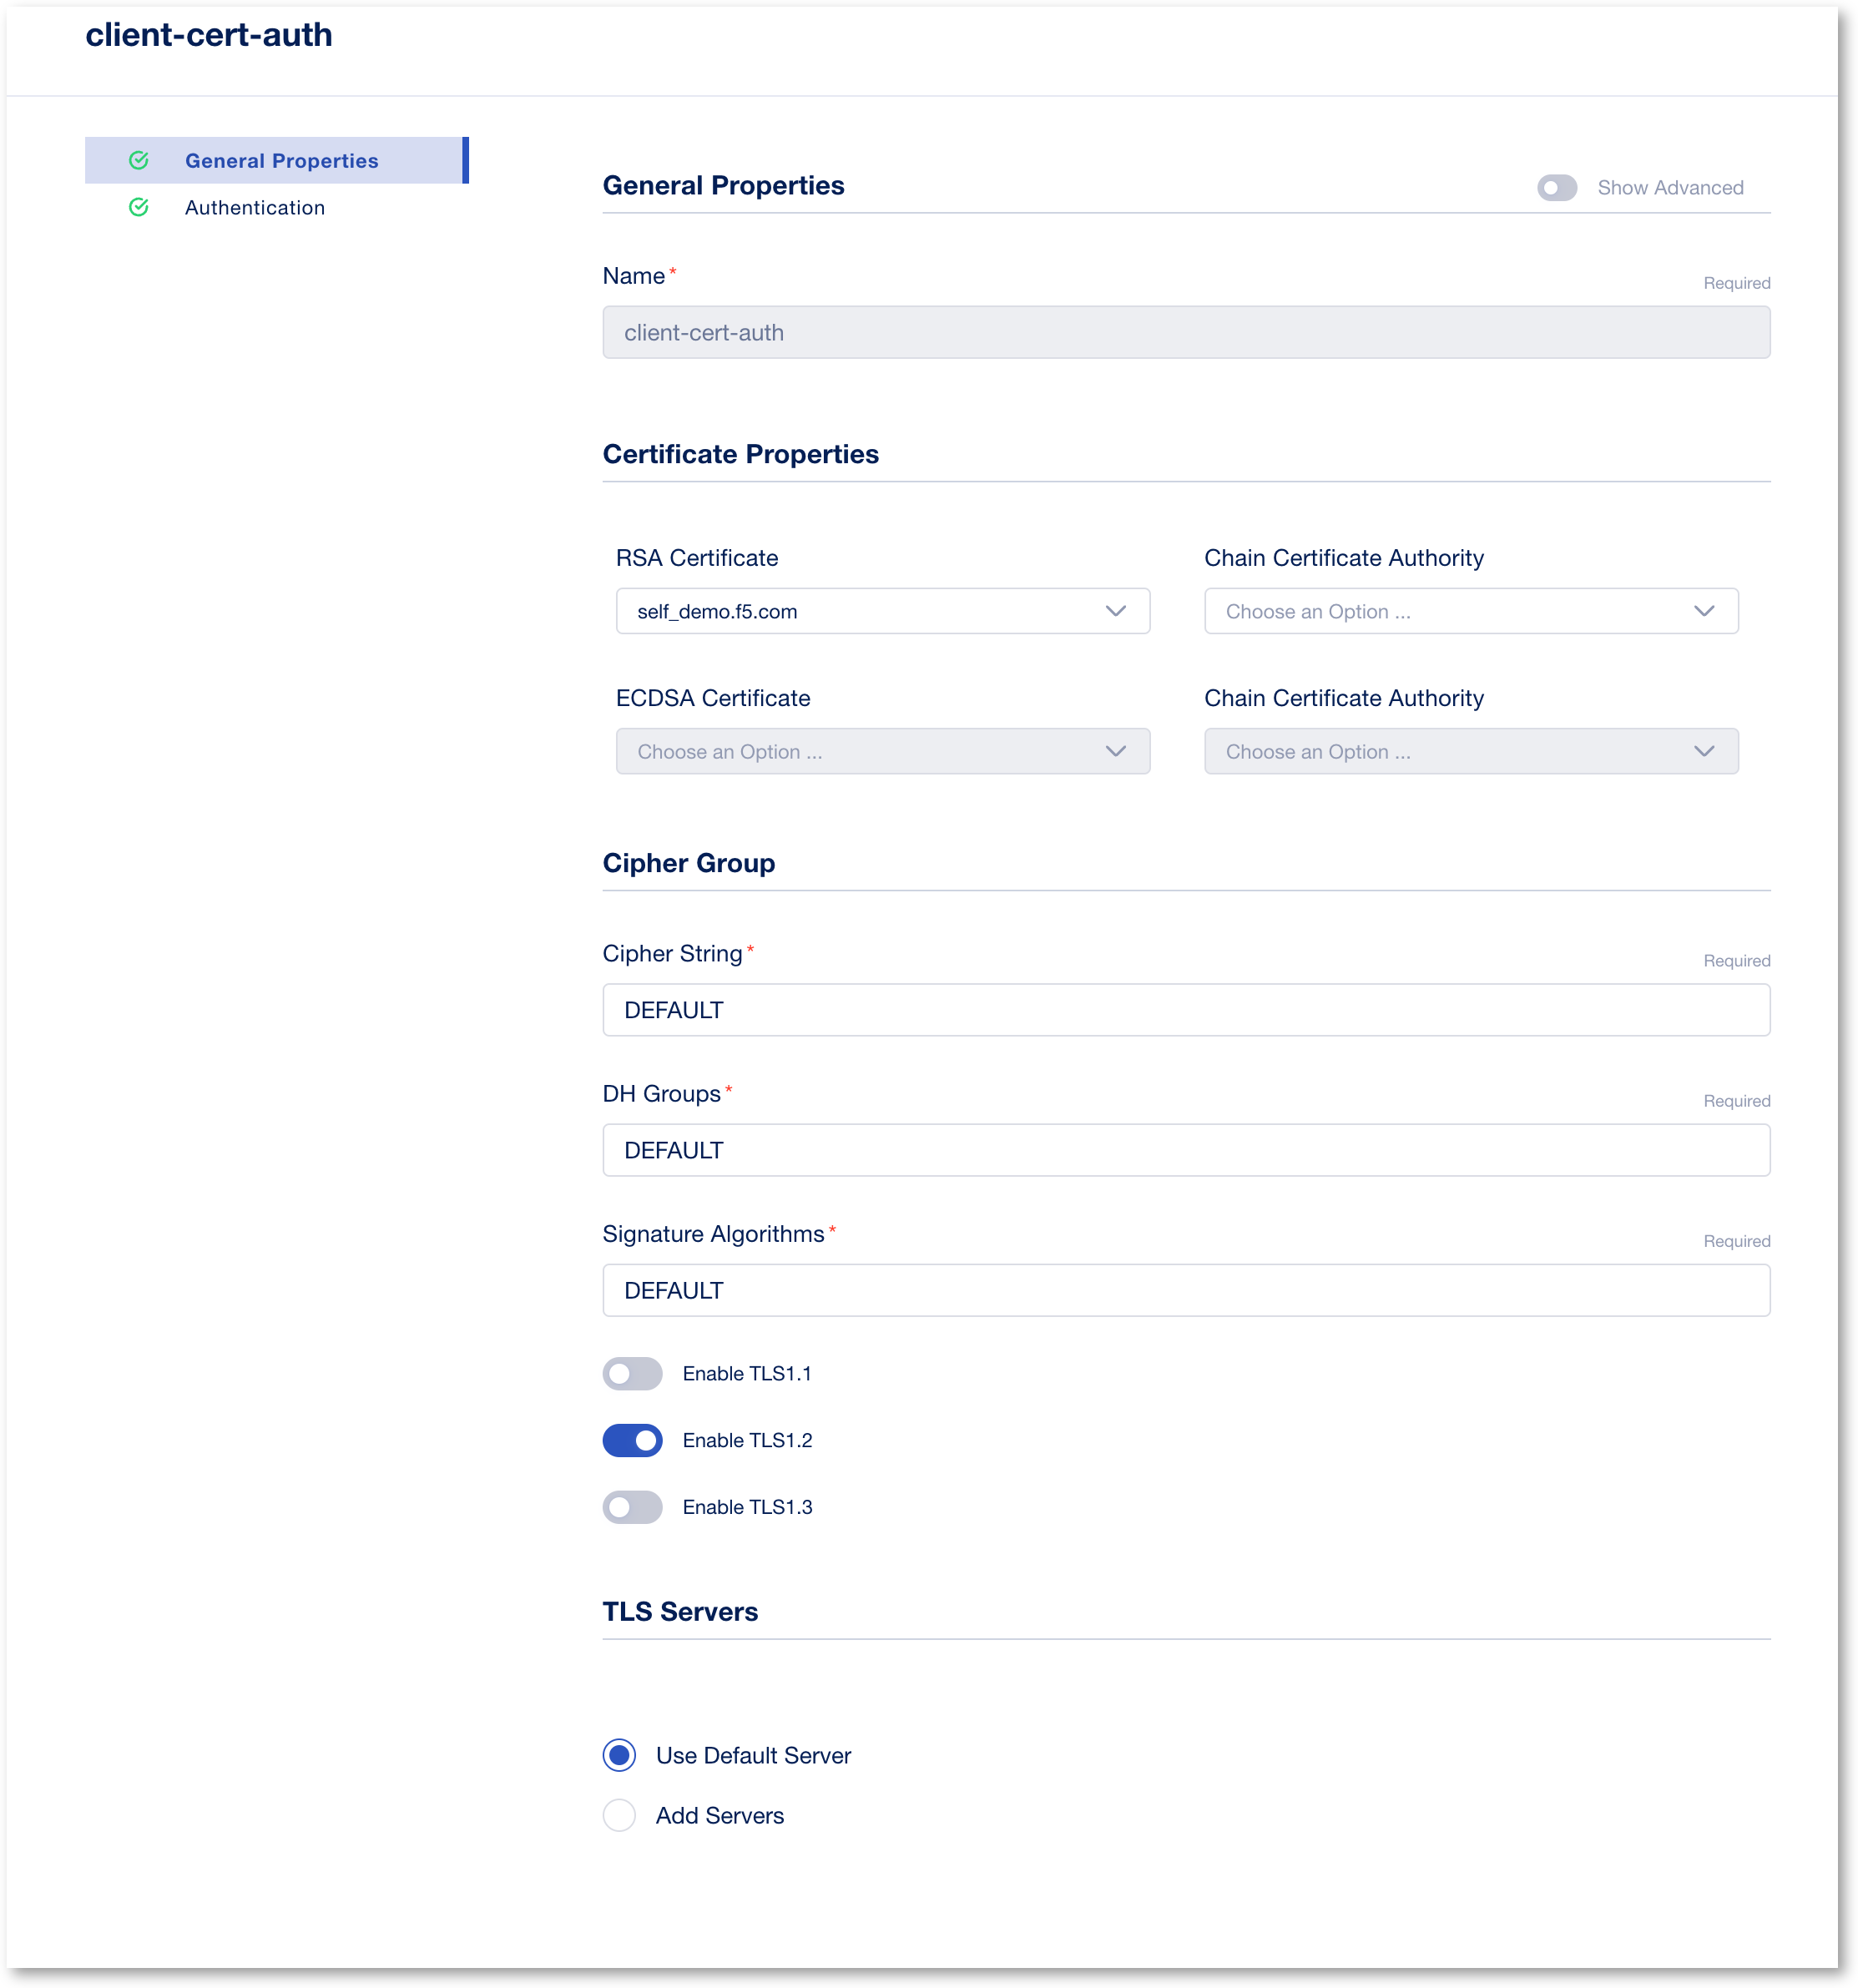
- Click on the Add button to create a new client ssl profile, and add the following information
- Name: client-cert-auth
- RSA Certificate: self_demo.f5.com
- Click Continue
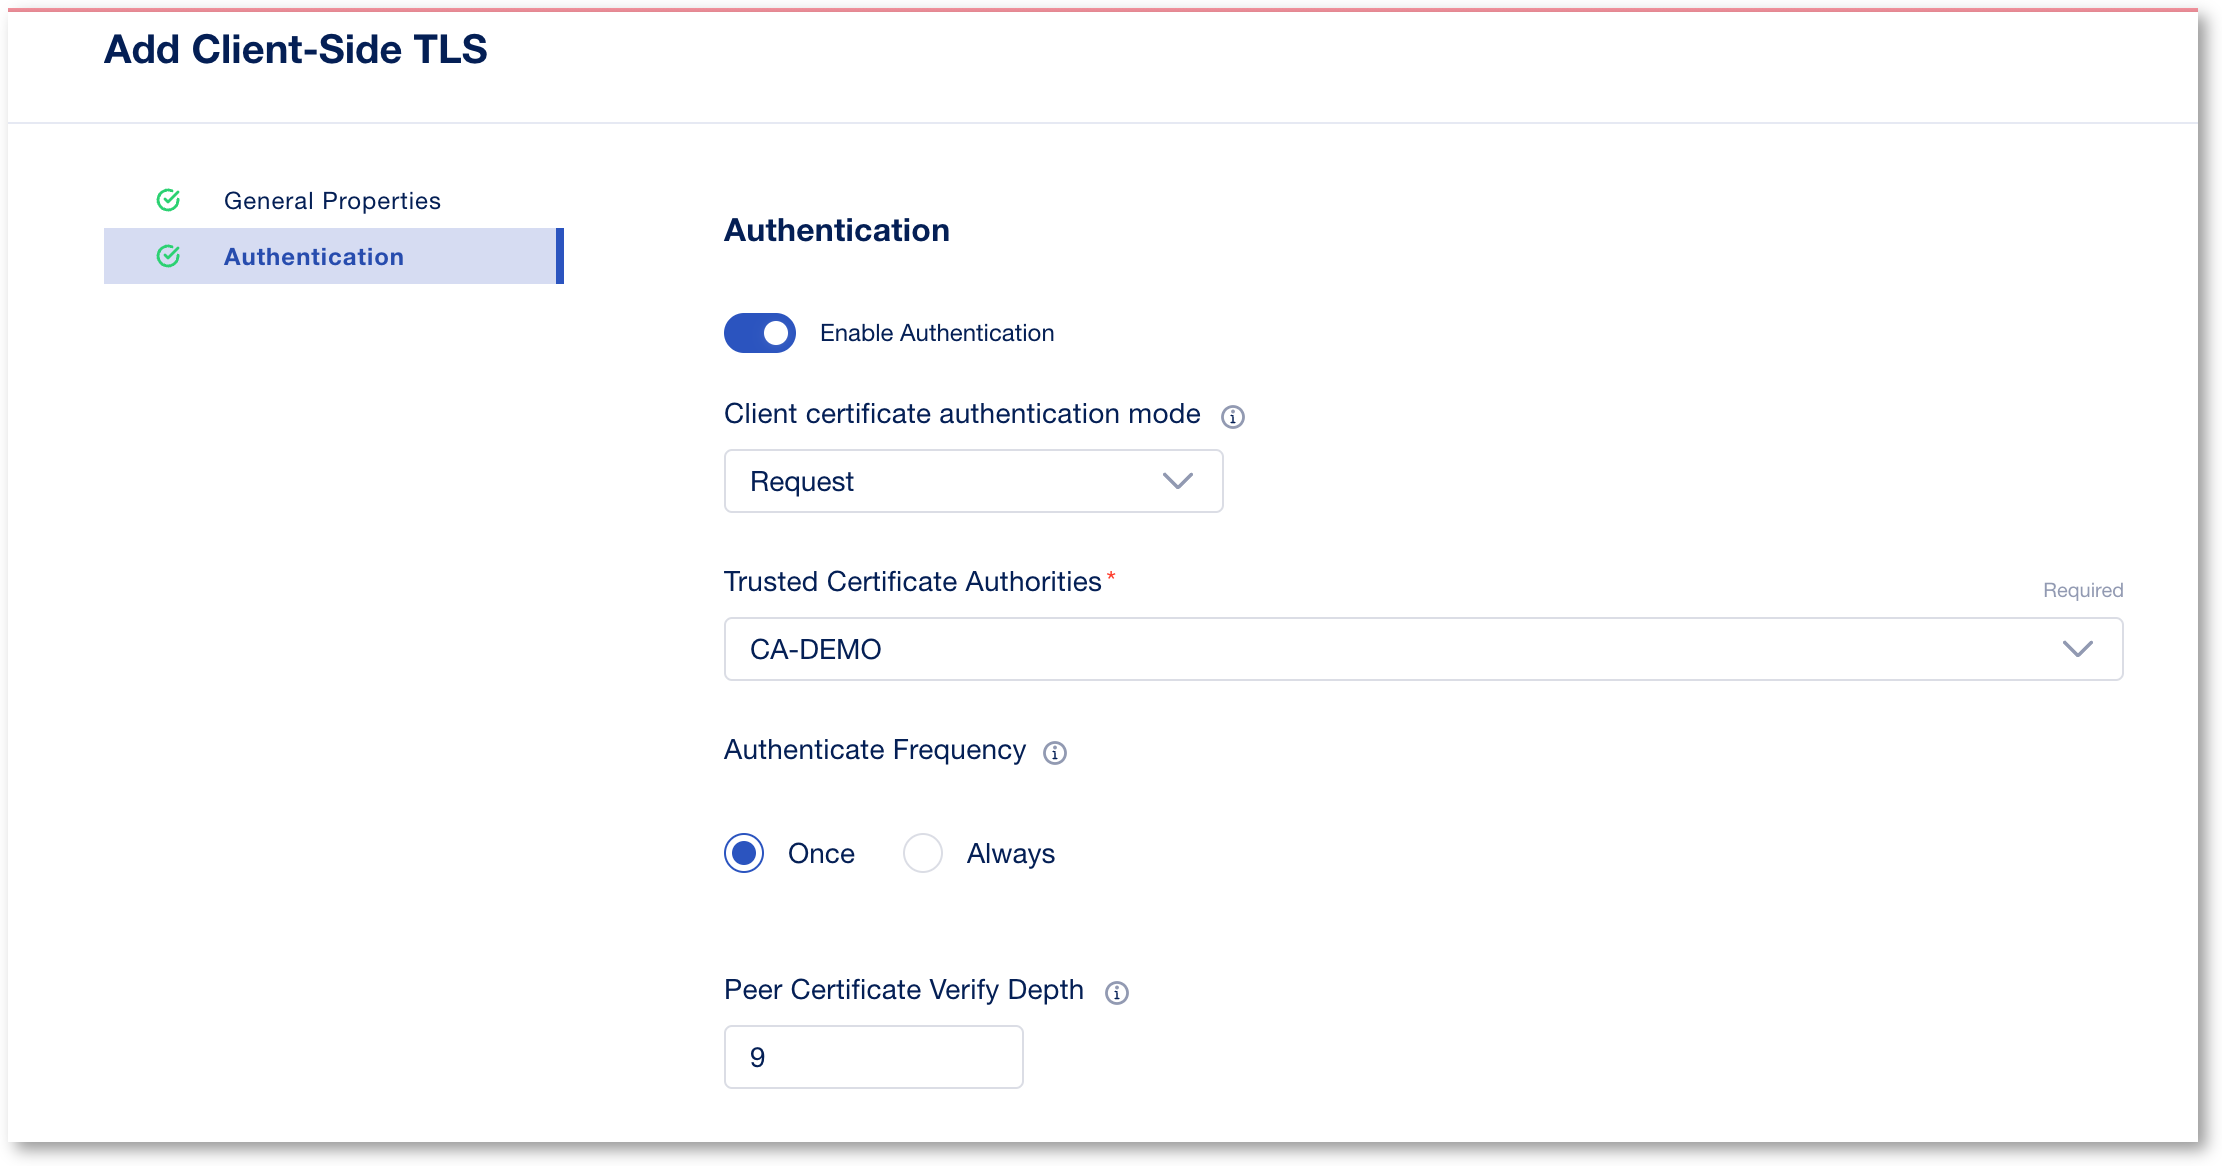
- In Authentication menu, Enable Authentication with the following information
- Client certificate authentication mode : Request
- Trusted Certificate Authorities : CA-DEMO
- Click Save
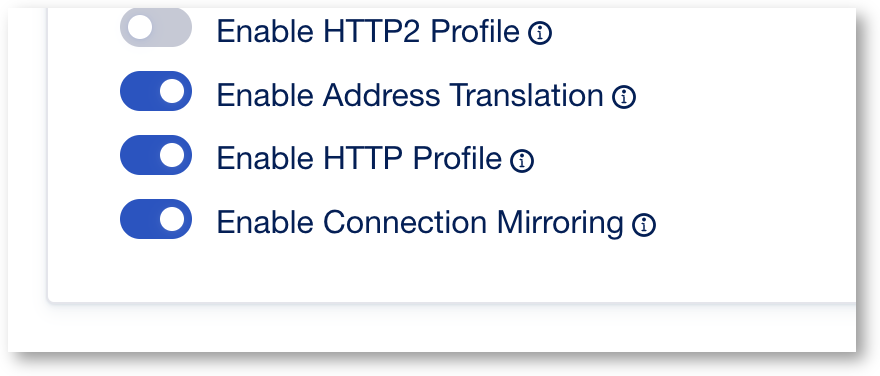
- This will take you back to the Protocols and Profiles screen. Enable the HTTP Profile. Click Save.
- This will take you back to the Virtual Server screen. Now we will attach the Access Policy we created previously to this application. Click on the Edit button under Security Policies.

- This will open the Security Policies screen. Slide the button next to Use an Access Policy. Under Specify the Access Policy for this Application, click the drop-down box and select the ssl-vpn created previously. Click Save.
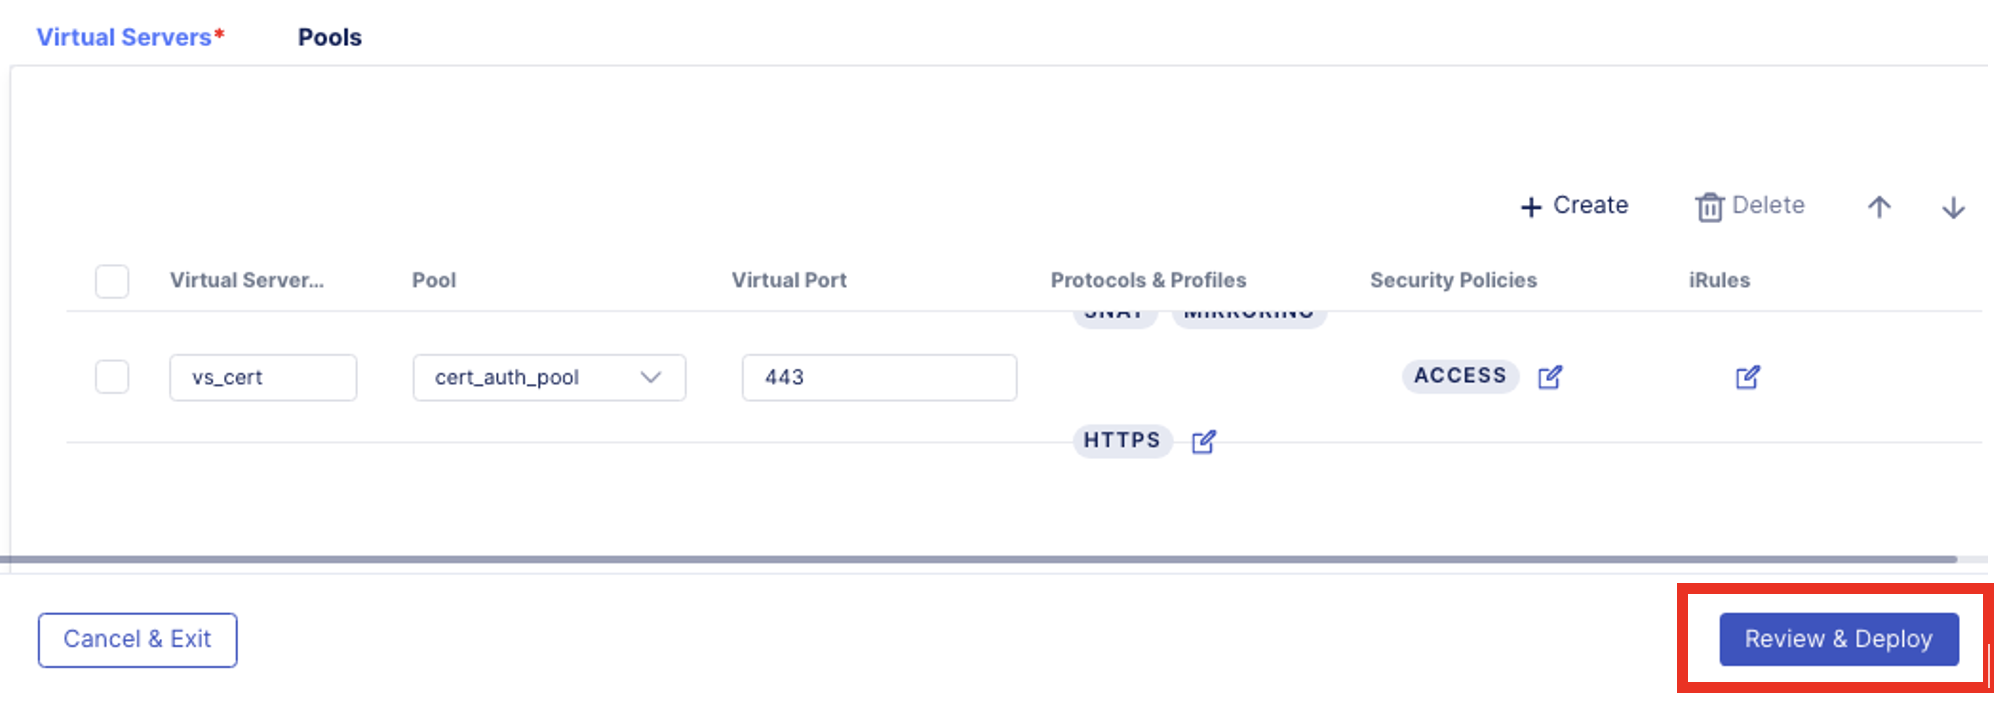
- After clicking Save, you should be returned to the Virtual Server property page. Click on Review & Deploy at the bottom right-hand corner.
- In the Deploy screen, this is where you define which BIG-IP Next instance to deploy the application. Click on Start Adding to select a BIG-IP Next Instance.
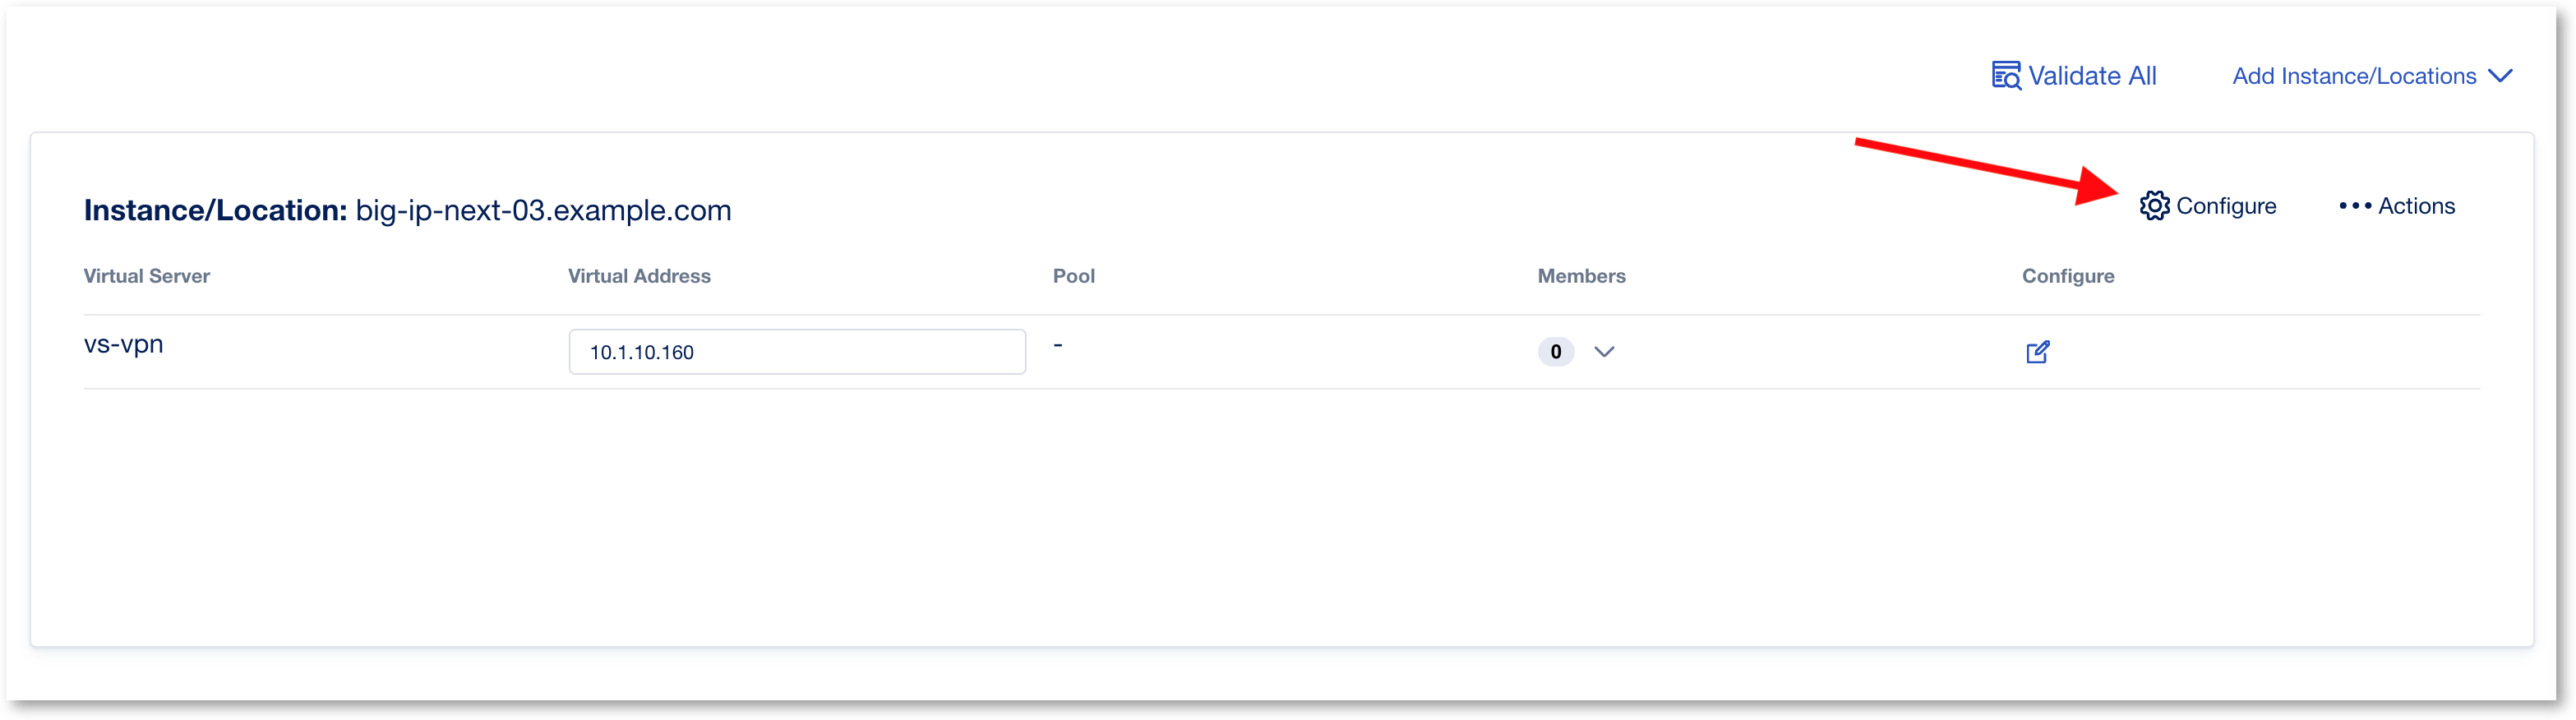
- In the drop down box, select big-ip-next-03.example.com, then click on Add to List button.
- In the Virtual Address: box type: 10.1.10.160 to associate with the virutal server vs-vpn.
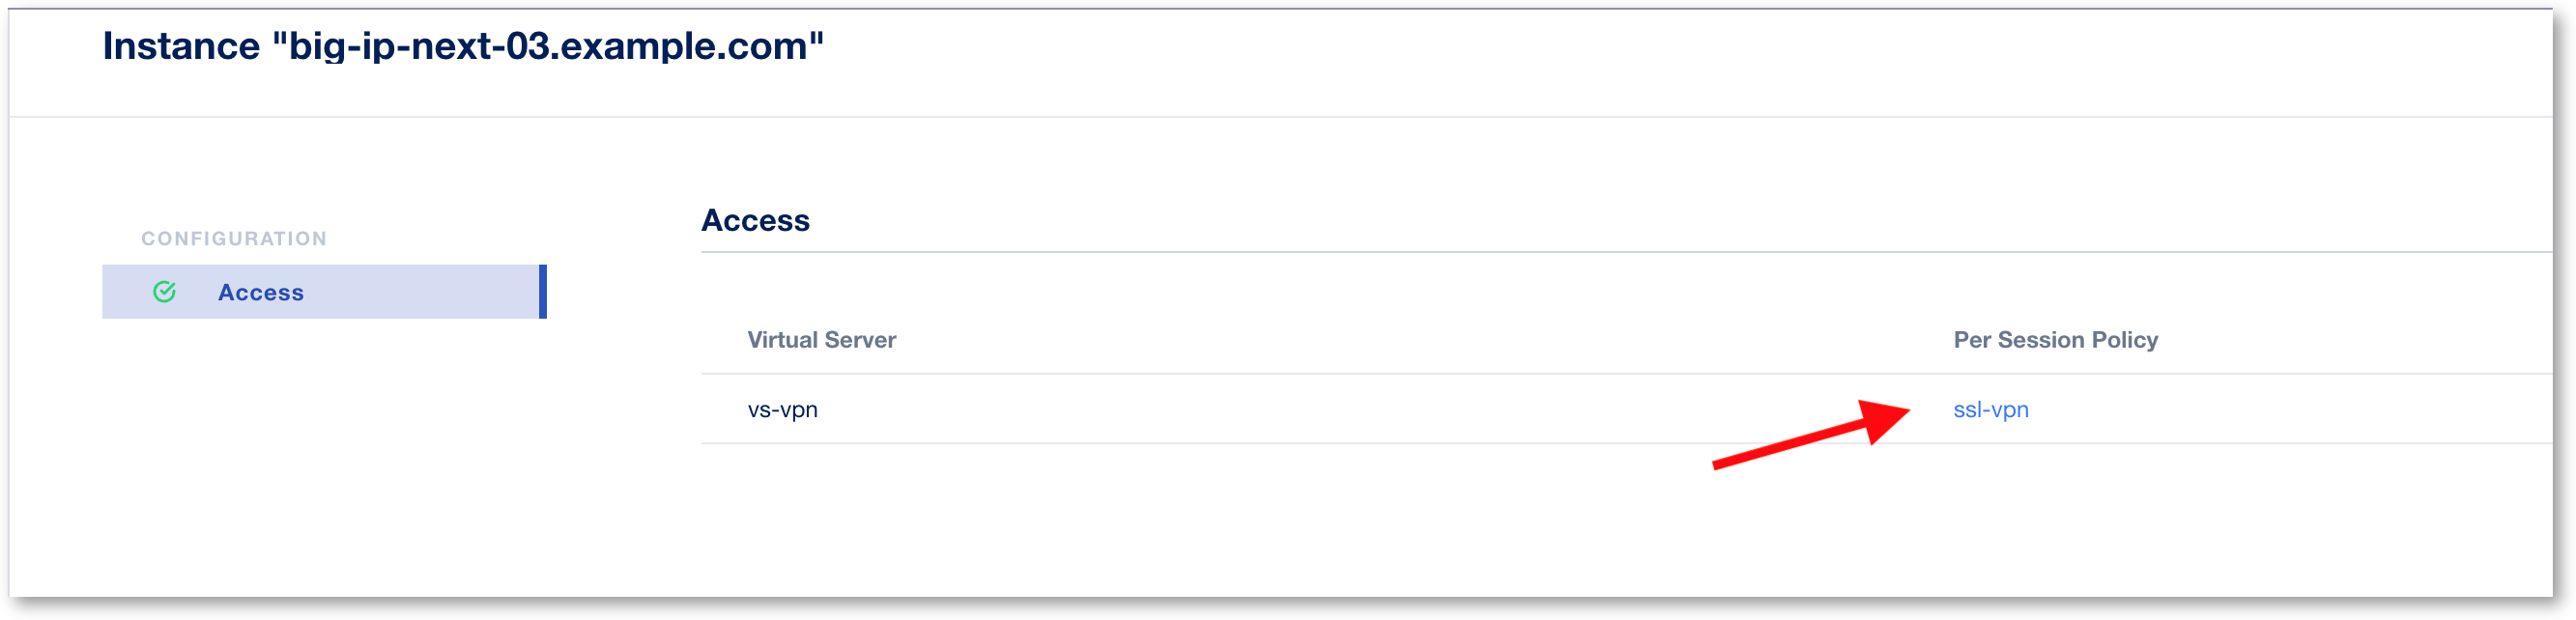
- You must configure your Lease Pool for this Next instance. To do so, click on Configure (the one next to the …Actions button)
- Click on your Per-Session policy and set the Lease Pool range to
10.1.20.230to10.1.20.235
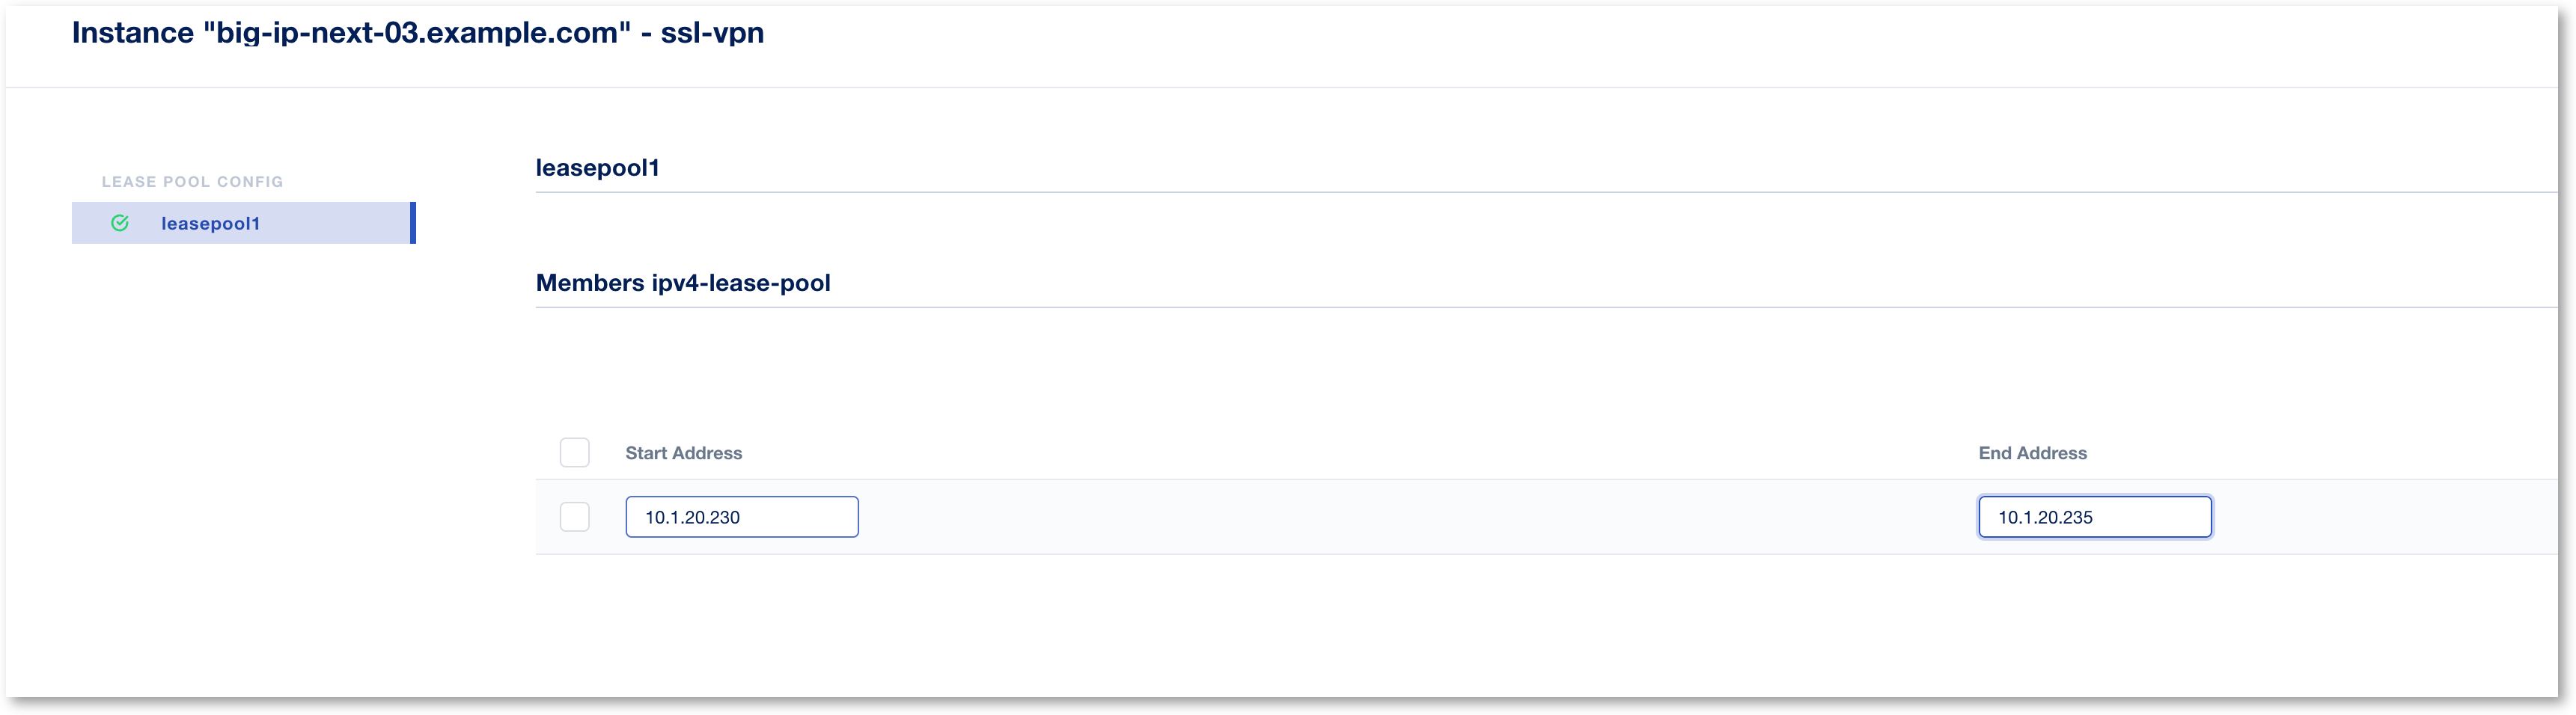
- Click Save and Finish
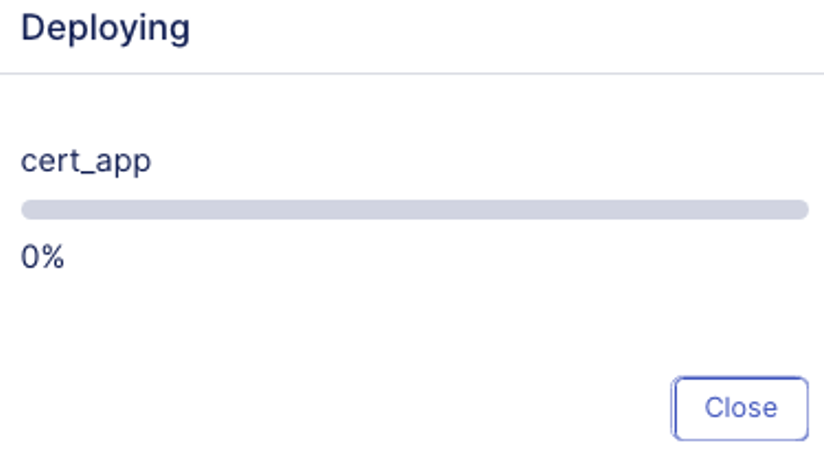
- Now you’re ready to Deploy your application. Click on Deploy Changes at the bottom right-hand corner.
- Confirm in the pop-up window that you’re deploy to big-ip-next-03.example.com instance.
- Click on Yes, Deploy
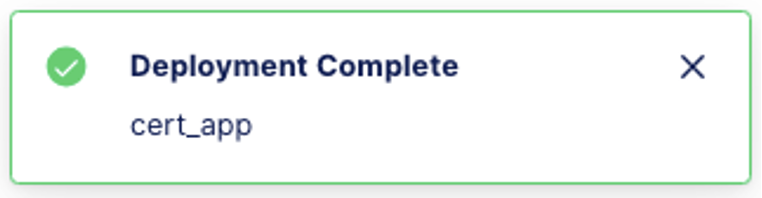
- You will get a status pop up window, and after a few seconds the screen should refresh and show you the My Application Service dashboard, with a confirmation that Deployment Complete.
- My Application Services Dashboard should show you one application has been deployed, and Health is Good.
You have successfully created an application and assigned an access policy to it. Let’s test the application!