F5 Solutions for Containers > Appendix > Appendix 3: Build an Openshift v3 Cluster Source | Edit on
Lab 1.1 - Prep CentOS
Note
This installation will utilize centOS v7.6.
Warning
The lab assumes that each VM is a single interface only. If multi-interface be sure to update default route to use the interface required for your deployment. Openshift always defaults to the interface with a default route.
Important
The following commands need to be run on all three nodes unless otherwise specified.
From the jumpbox open mRemoteNG and start a session to each of the following servers. The sessions are pre-configured to connect with the default user “centos”.
- okd-master1
- okd-node1
- okd-node2
“git” the demo files
Note
These files should be here by default, if NOT run the following commands.
git clone -b develop https://github.com/f5devcentral/f5-agility-labs-containers.git ~/agilitydocs

cd ~/agilitydocs/openshift
Ensure the OS is up to date
sudo yum update -y

#This can take a few seconds to several minutes depending on demand to download the latest updates for the OS.
Install various support packages
sudo yum install -y vim ntp make python git curl tcpdump
Reboot to ensure fully operational OS
sudo rebootFor your convenience we’ve already added the host IP & names to /etc/hosts. Verify the file:
cat /etc/hostsThe file should look like this:

If entries are not there add them to the bottom of the file be editing “/etc/hosts” with ‘vim’
sudo vim /etc/hosts

#cut and paste the following lines to /etc/hosts

10.1.1.10    okd-master1
10.1.1.11    okd-node1
10.1.1.12    okd-node2
The lab VM’s have updated host names and should match the “hosts” file. Verify the hostname:
hostname
If the hostname are incorrect on any of the VM’s use the appropriate command below:
sudo hostnamectl set-hostname okd-master1
sudo hostnamectl set-hostname okd-node1
sudo hostnamectl set-hostname okd-node2
Create, share, and test the SSH key. Master only
Note
SSH keys were configured to allow the jumphost to login without a passwd as well as between the master & nodes to facilitate the Ansible playbooks. The following steps are only necessary if SSH connectivity fails.
Create the key:
ssh-keygen #Accept the defaults.
Share the public key with each node:
ssh-copy-id -i ~/.ssh/id_rsa.pub centos@okd-master1
ssh-copy-id -i ~/.ssh/id_rsa.pub centos@okd-node1
ssh-copy-id -i ~/.ssh/id_rsa.pub centos@okd-node2
Test SSH connectivity from master to nodes:
ssh okd-master1
ssh okd-node1
ssh okd-node2
Install NetworkManager (openshift required)
sudo yum install -y NetworkManager
sudo systemctl start NetworkManager && sudo systemctl enable NetworkManager
Install the docker packages
sudo yum install -y docker
sudo systemctl start docker && sudo systemctl enable docker
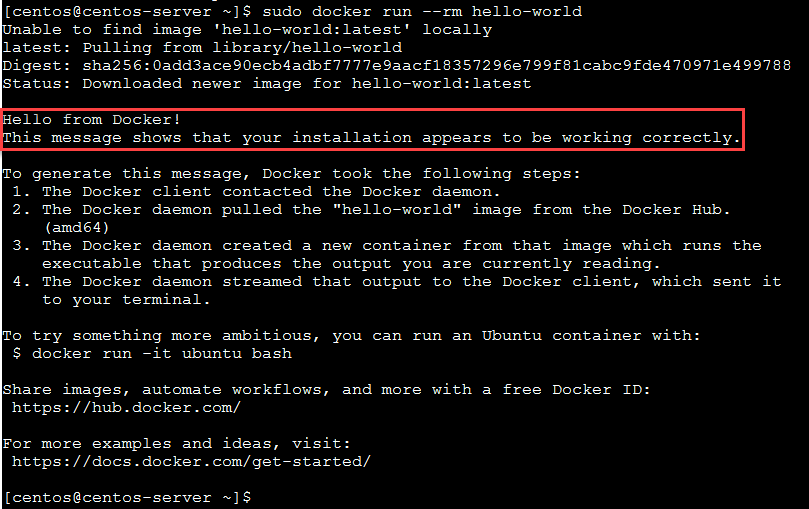
Verify docker is up and running
sudo docker run --rm hello-world
If everything is working properly you should see the following message