F5 Solutions for Containers > Appendix > Appendix 9: Build an Openshift v4 Cluster Source | Edit on
Lab 1.1 - Install OpenShift
Via RDP connect to the UDF lab “jumpbox” host.
Note
Username and password are: ubuntu/ubuntu
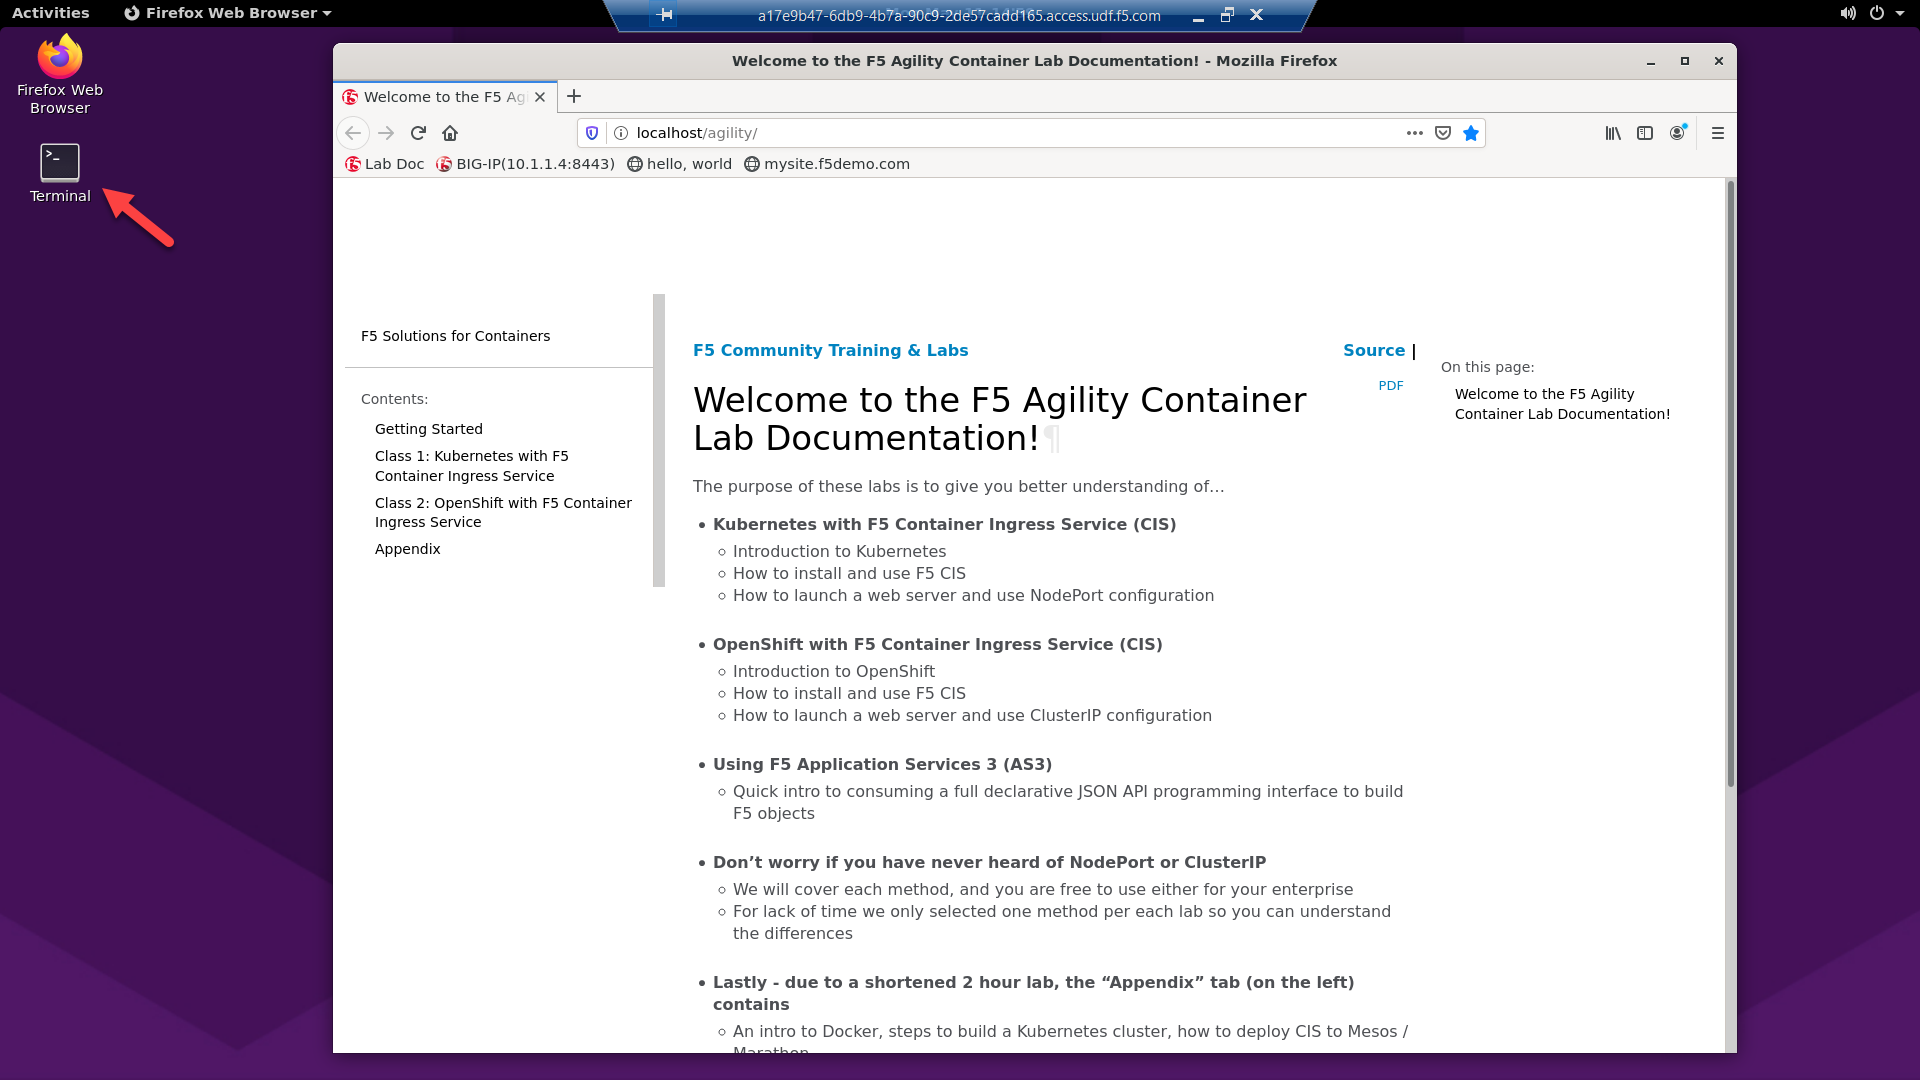
On the jumphost open a terminal and start an SSH session with kube-master1.

“git” the OKD Installer and Client tools
Note
These files are preinstalled on the Jumpbox image. If files are missing use the following instructions.
Download the linux client tools
Untar both files
tar -xzvf openshift-client-linux-4.8.0-0.okd-2021-10-10-030117.tar.gz
tar -zxvf openshift-install-linux-4.8.0-0.okd-2021-10-10-030117.tar.gz
Move “oc” & “kubectl” to “/usr/local/bin”
sudo mv oc /usr/local/bin
sudo mv kubectl /usr/local/bin
Move “openshift-install” to user home directory
mv openshift-install ~
“git” the demo files
Note
These files should be here by default, if NOT run the following commands.
git clone -b develop https://github.com/f5devcentral/f5-agility-labs-containers.git ~/agilitydocs
Go to the Terraform deployment directory
cd ~/agilitydocs/terraform
Create openshift ignition config
Important
This config is specific to the F5 UDF environment.
./scripts/deploy_okd.sh
Export KUBECONFIG for cluster access
export KUBECONFIG=$PWD/ignition/auth/kubeconfig
Prep terraform (Run each command one by one)
Important
If any errors are returned from the following commands, be sure to report them to the lab team.
terraform init --upgrade
terraform validate
terraform plan
Deploy cluster
Attention
Due to the nature of UDF this process can sometimes error out and fail. Simply rerun the command until the process finishes.
terraform apply -auto-approve
Update local hosts file with openshift api info
Important
This script finds the external LB’s public IP and adds an entry to /etc/hosts. This is required to find and connect to the newly created cluster from the jumpbox.
./scripts/update_hosts.sh
Once terraform successfully creates all the openshift objects, you can view the the node status.
Note
Run this command several times until all node status is “Ready”.
oc get nodes
To add the worker nodes to the cluster we need to approve the worker node CSR’s.
Note
It may take several minutes before the “Pending” CSR’s appear.
View all CSR’s
oc get csr
Approve pending CSR’s
Note
This command will need to be run twice. Run “oc get csr” between attemtps to see the approved and newly created pending csr’s.
oc get csr -o go-template='{{range .items}}{{if not .status}}{{.metadata.name}}{{"\n"}}{{end}}{{end}}' | xargs --no-run-if-empty oc adm certificate approve
Watch for cluster operators deploy.
Note
This process can take up to ~10 minutes
watch -n3 oc get co
Connect to the openshift web console
https://console-openshift-console.apps.okd4.agility.lab
Hint
To find the console password
cat ~/agilitydocs/terraform/ignition/auth/kubeadmin-passwordusername = kubeadmin
password = see hint above
Hint
The console will not be available until the “console” operator finishes deploying.