F5 Public Cloud Solutions > PC101 - Deploying F5 Solutions to AWS with CloudFormation Templates > F5 Admin SSH and Configuration Utility (WebUI) Access Source | Edit on
Check status of F5 instances before proceeding.
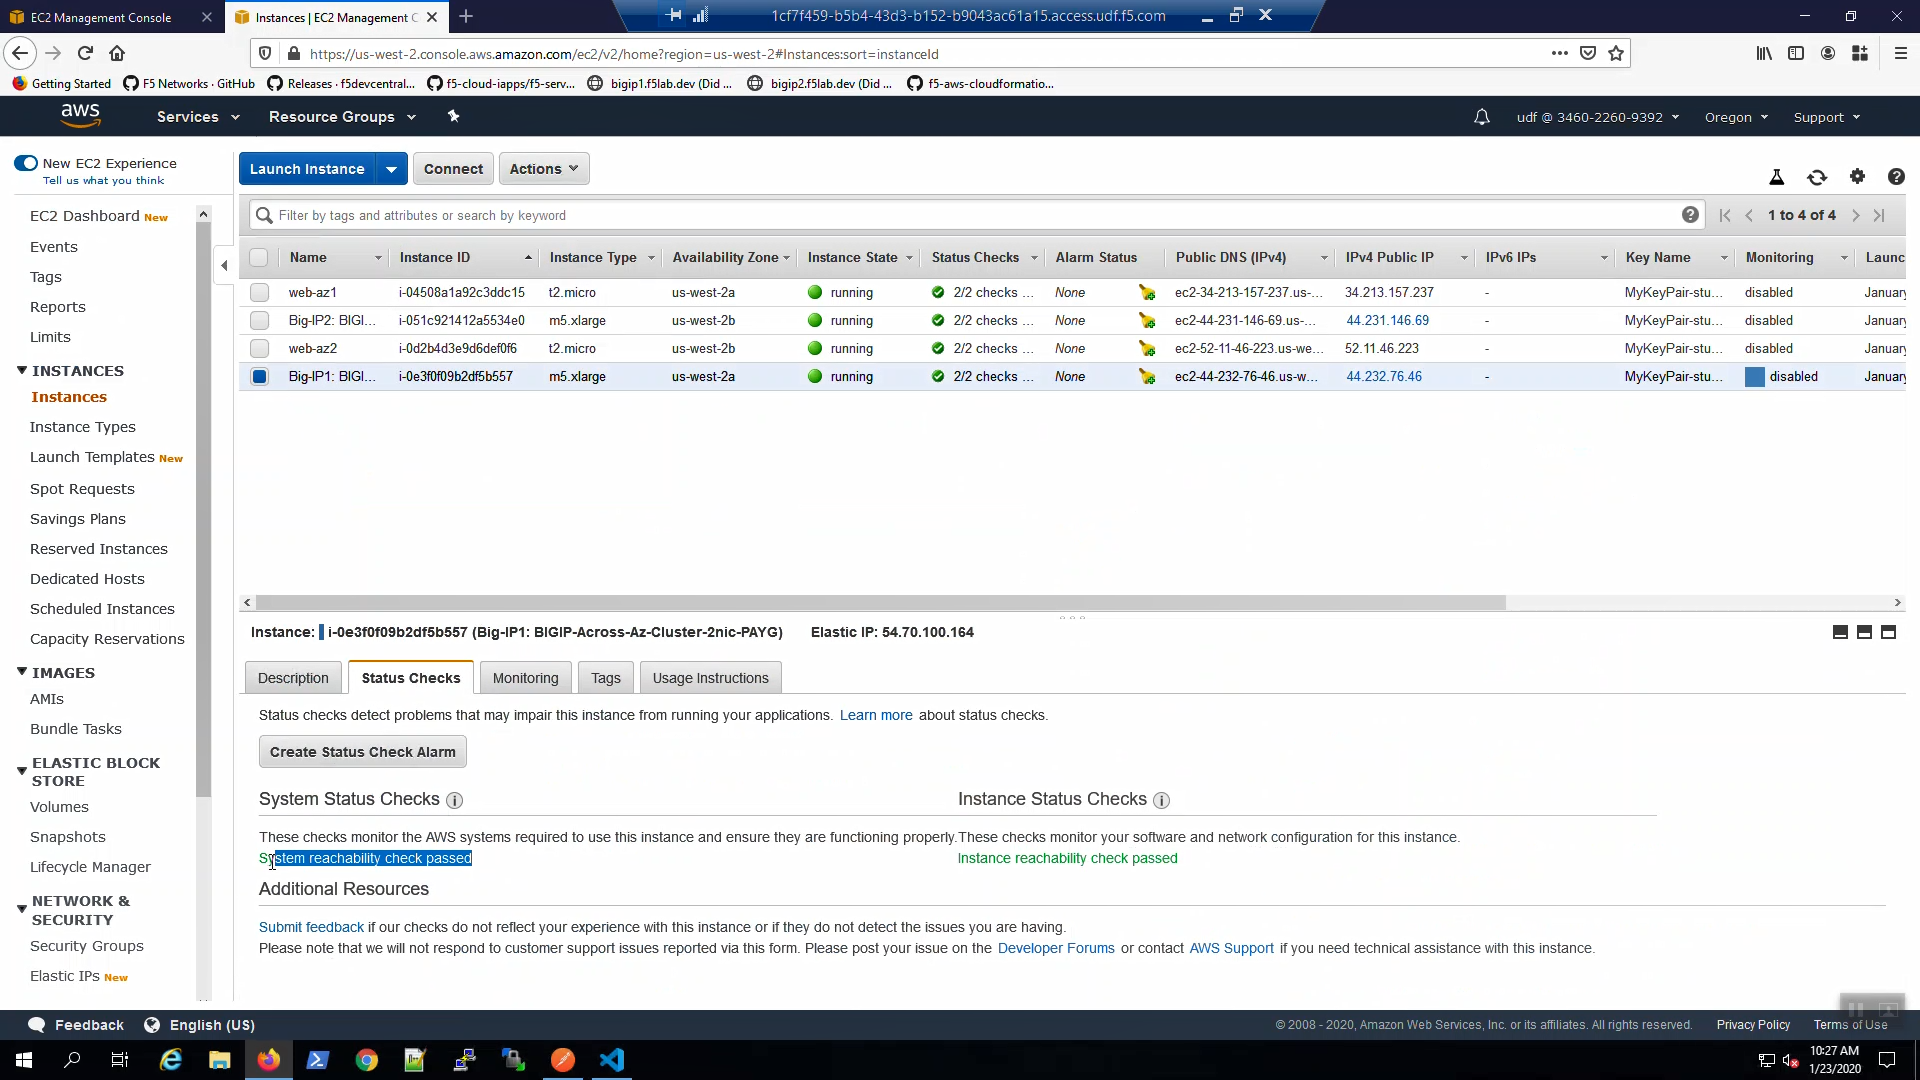
From the AWS Web Console => Services => EC2 => INSTANCES => Instances. Select the Big-IP1… Select the “Status Check” tab below.
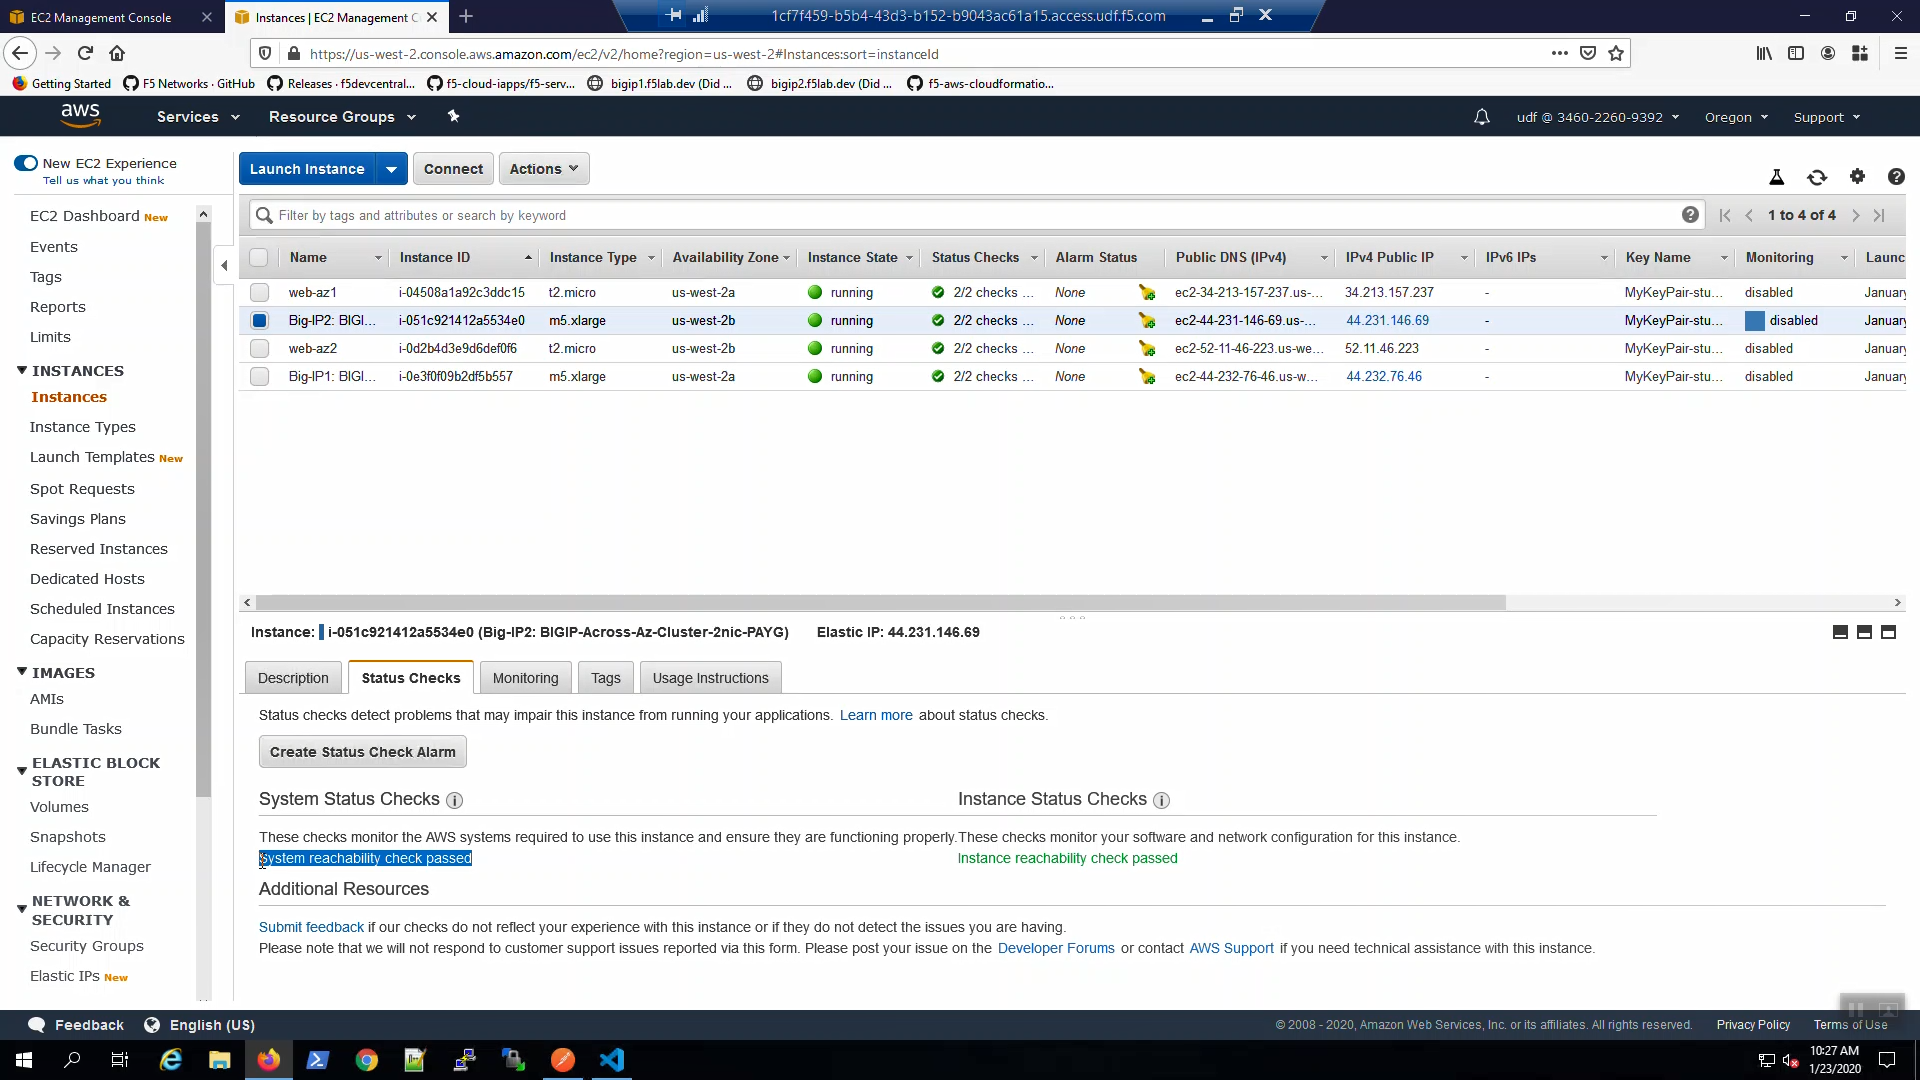
From the AWS Web Console => Services => EC2 => INSTANCES => Instances. Select the Big-IP2… Select the “Status Check” tab below.
Attention
Ensure both the System Status Checks and the Instance Status Checks have passed (green font) before proceeding.
Create terraform data resource to read CloudFormation outputs.
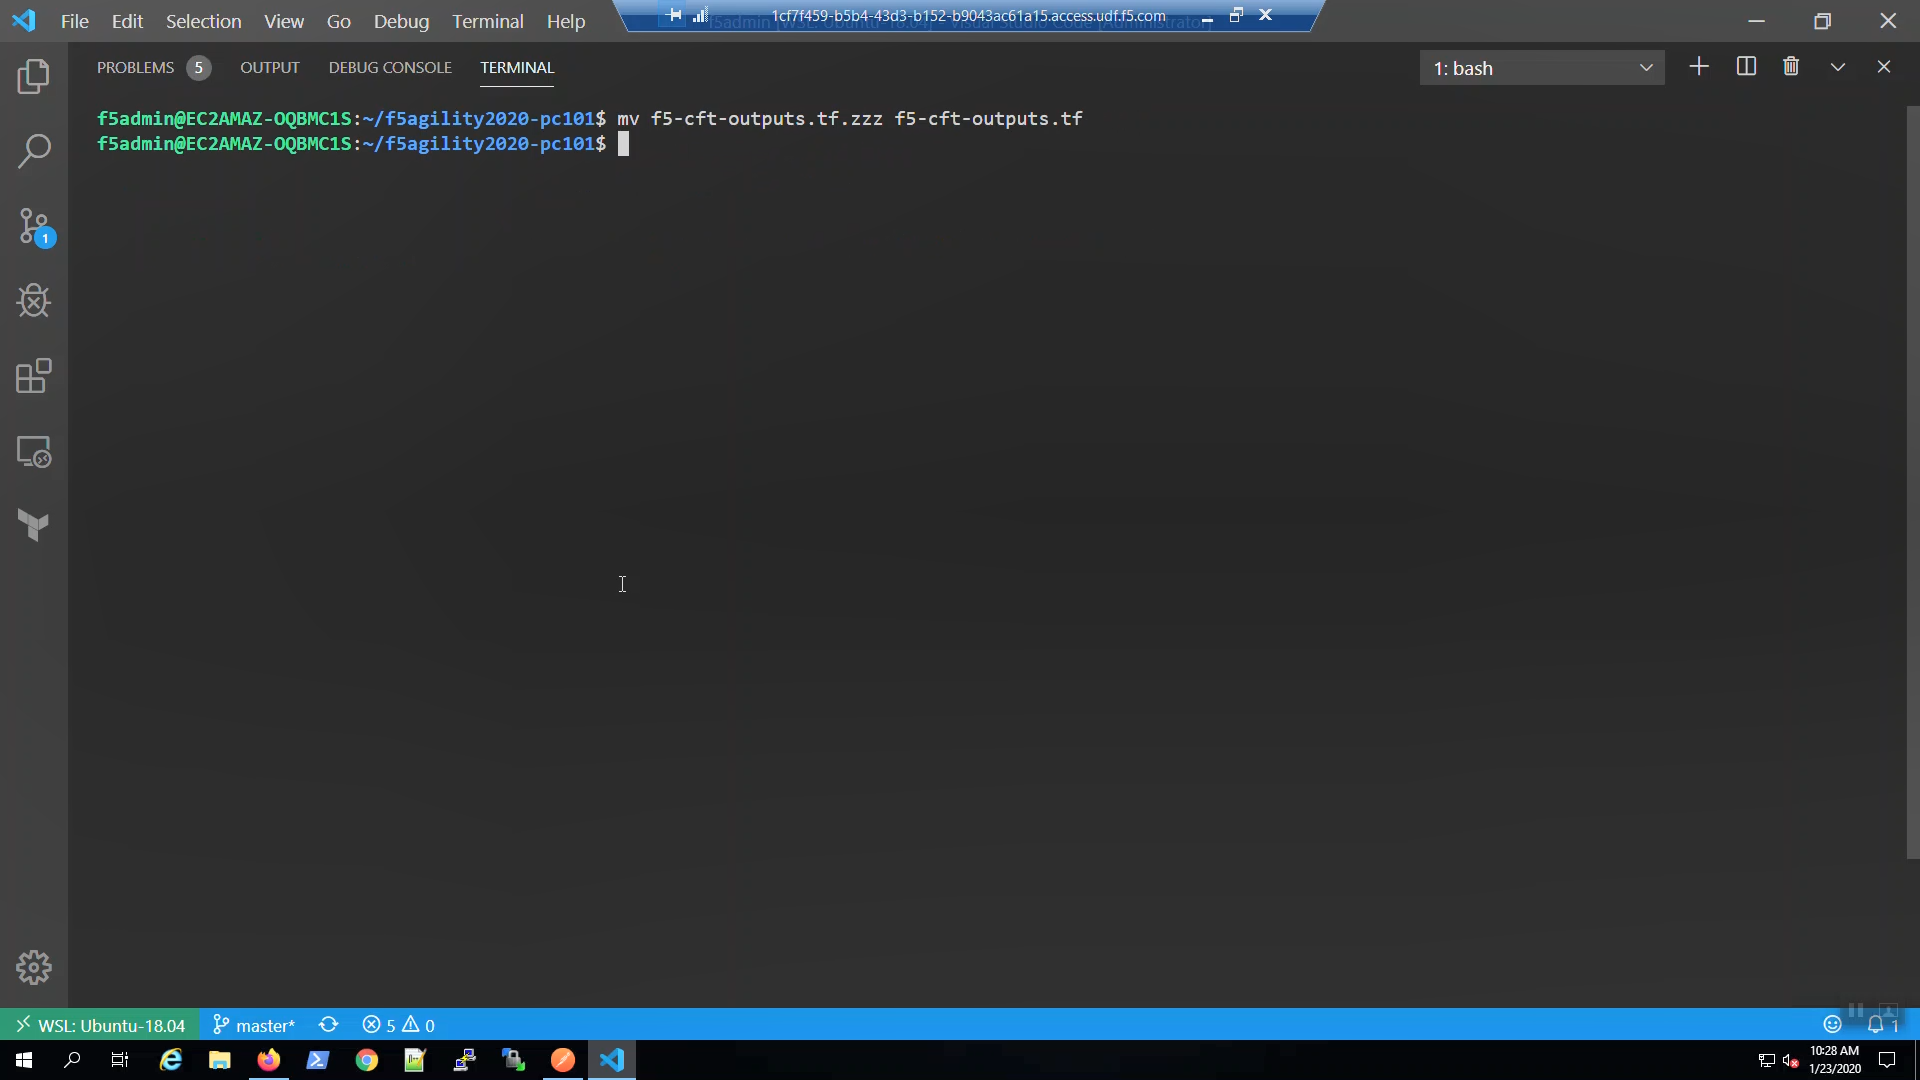
From the Visual Studio Code Terminal, enable the f5-cft-outputs.tf terraform file.
mv f5-cft-outputs.tf.zzz f5-cft-outputs.tf

terraform init
terraform init
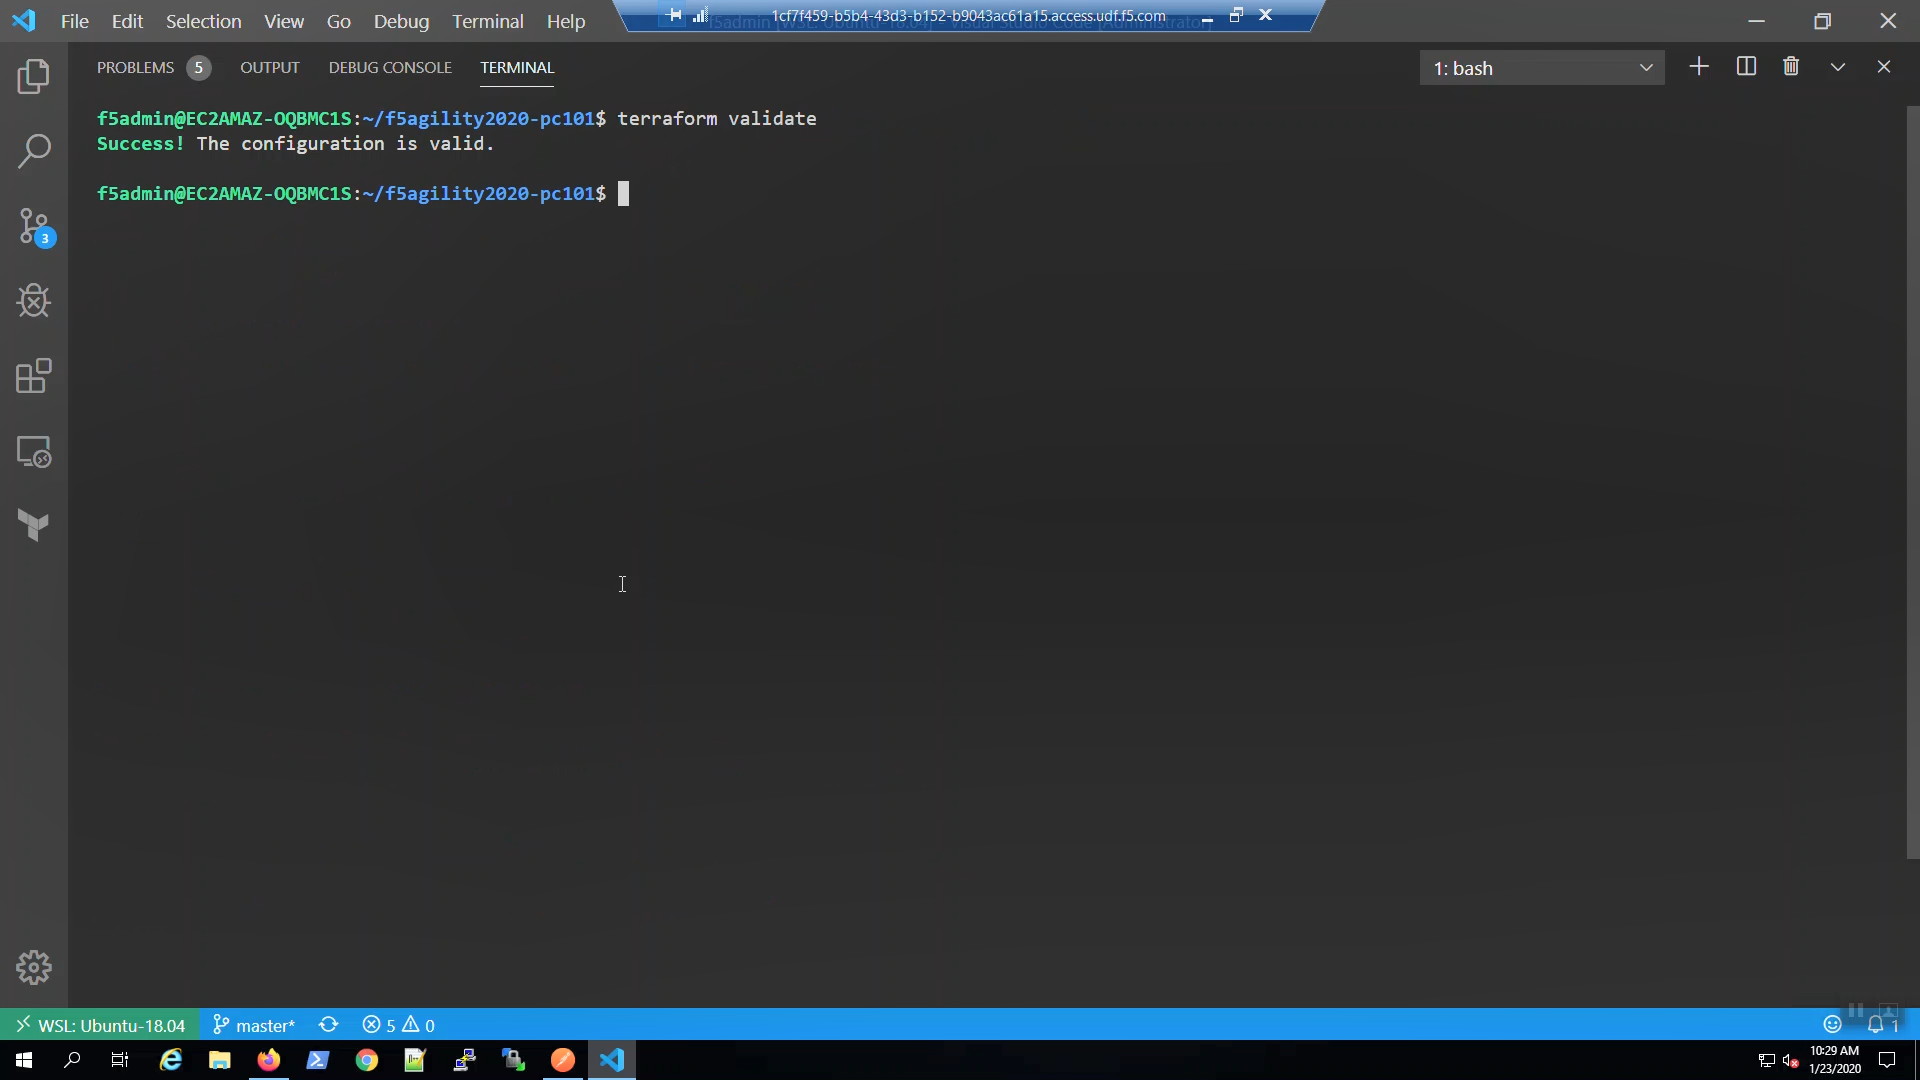
terraform validate
terraform validate
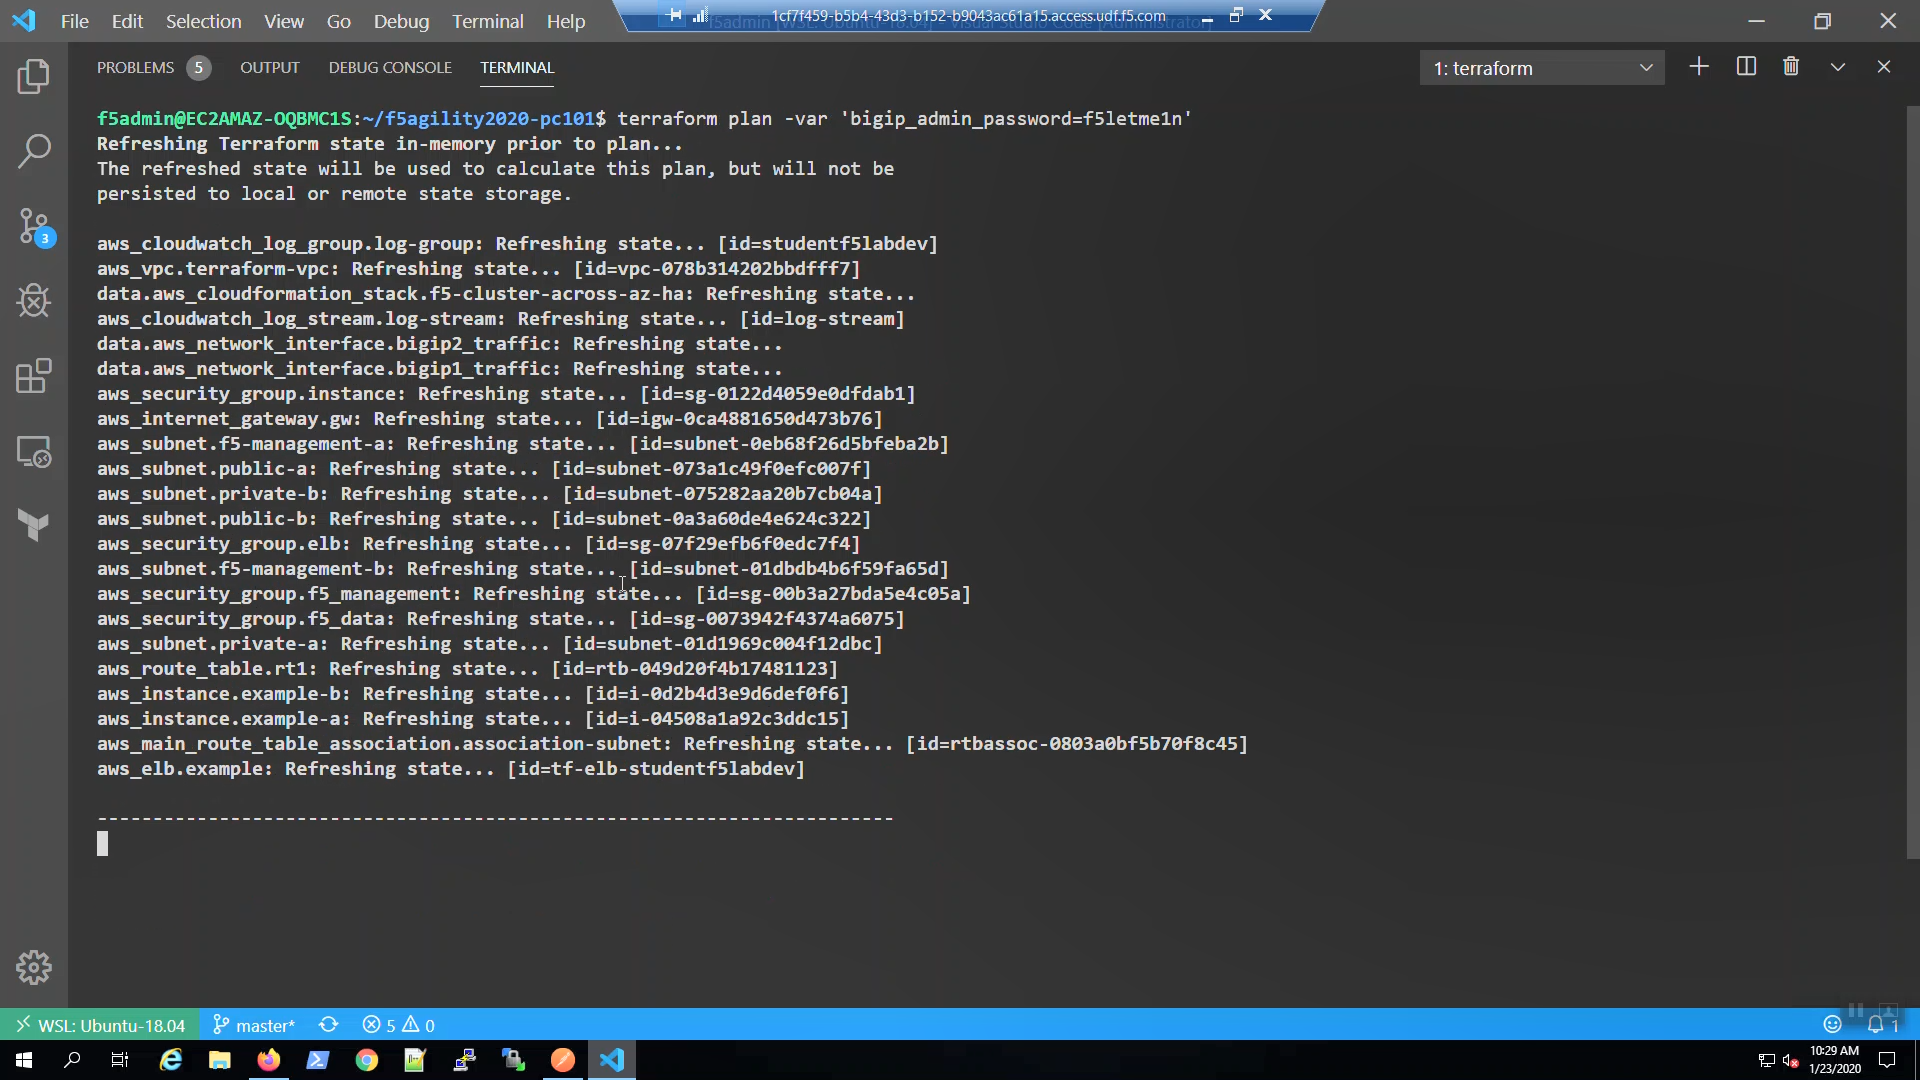
terraform plan
terraform plan -var 'bigip_admin_password=f5letme1n'
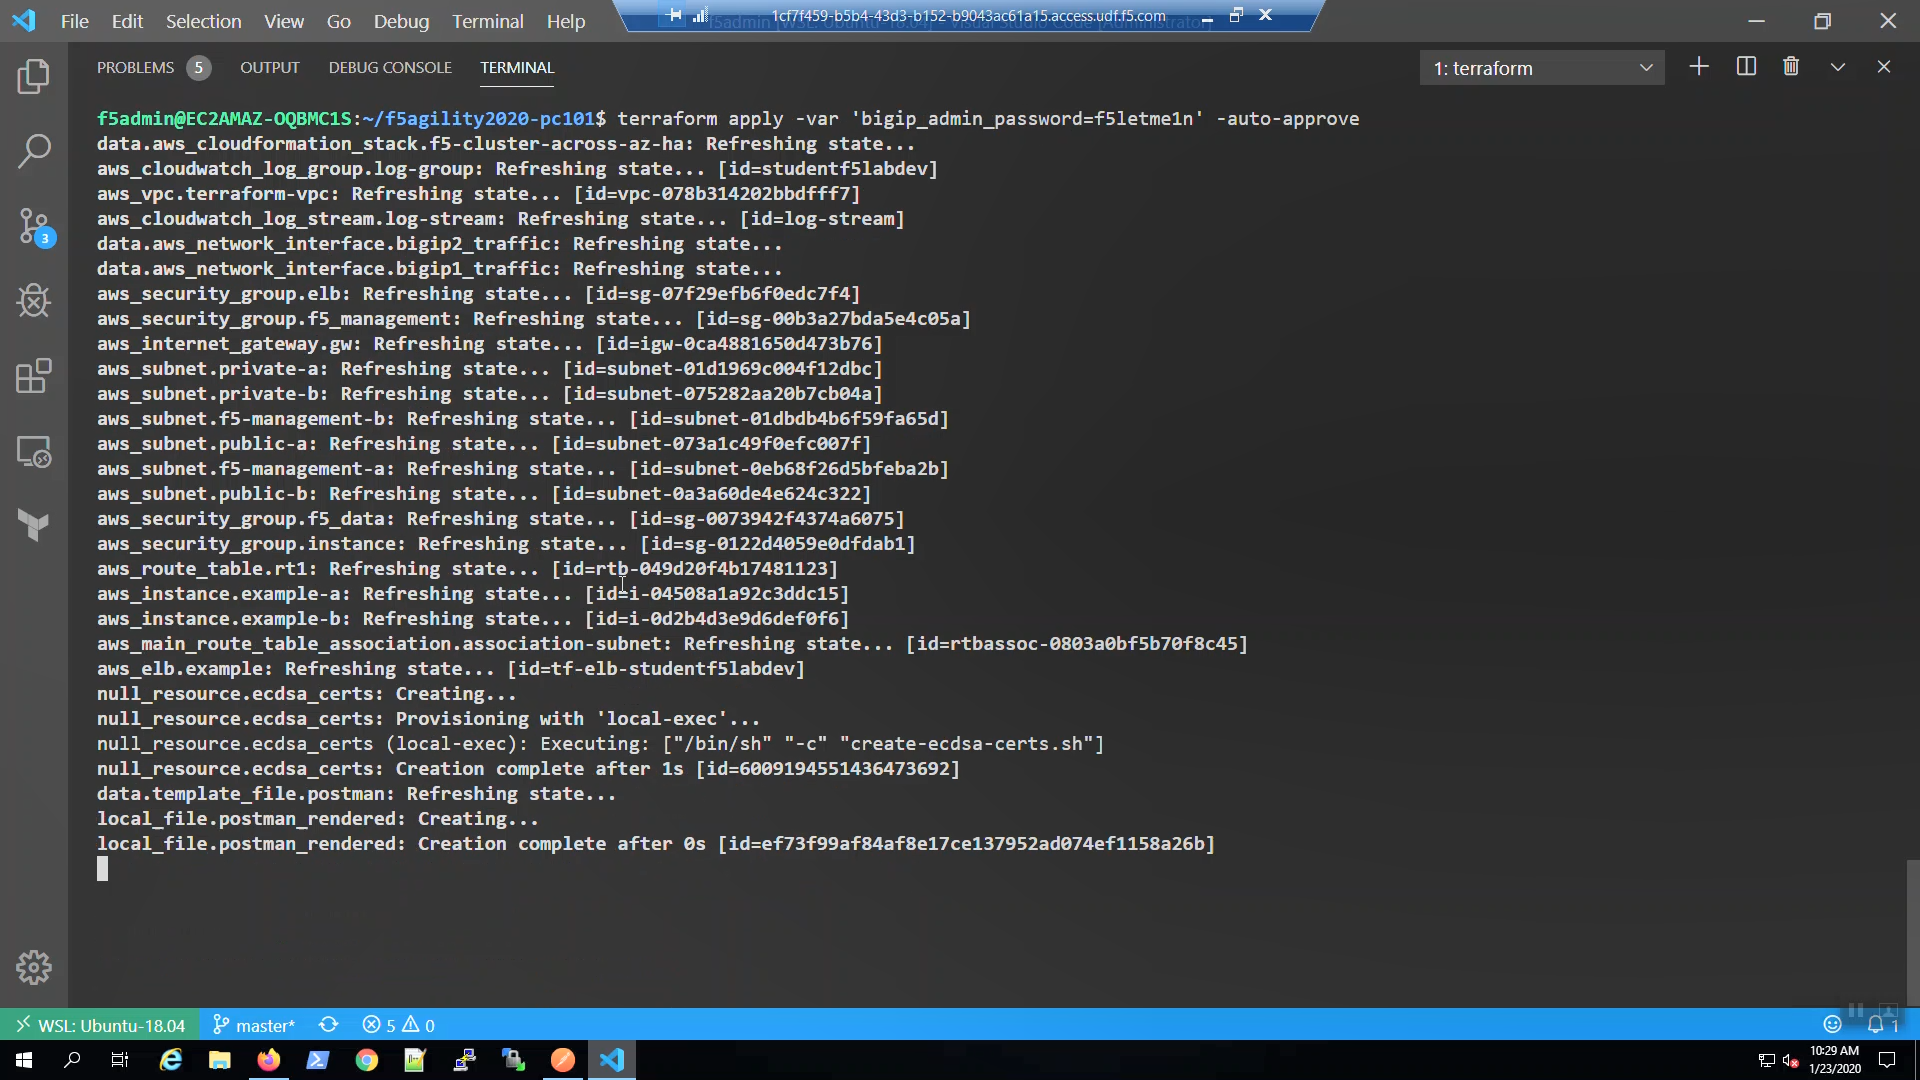
terraform apply
terraform apply -var 'bigip_admin_password=f5letme1n' -auto-approve
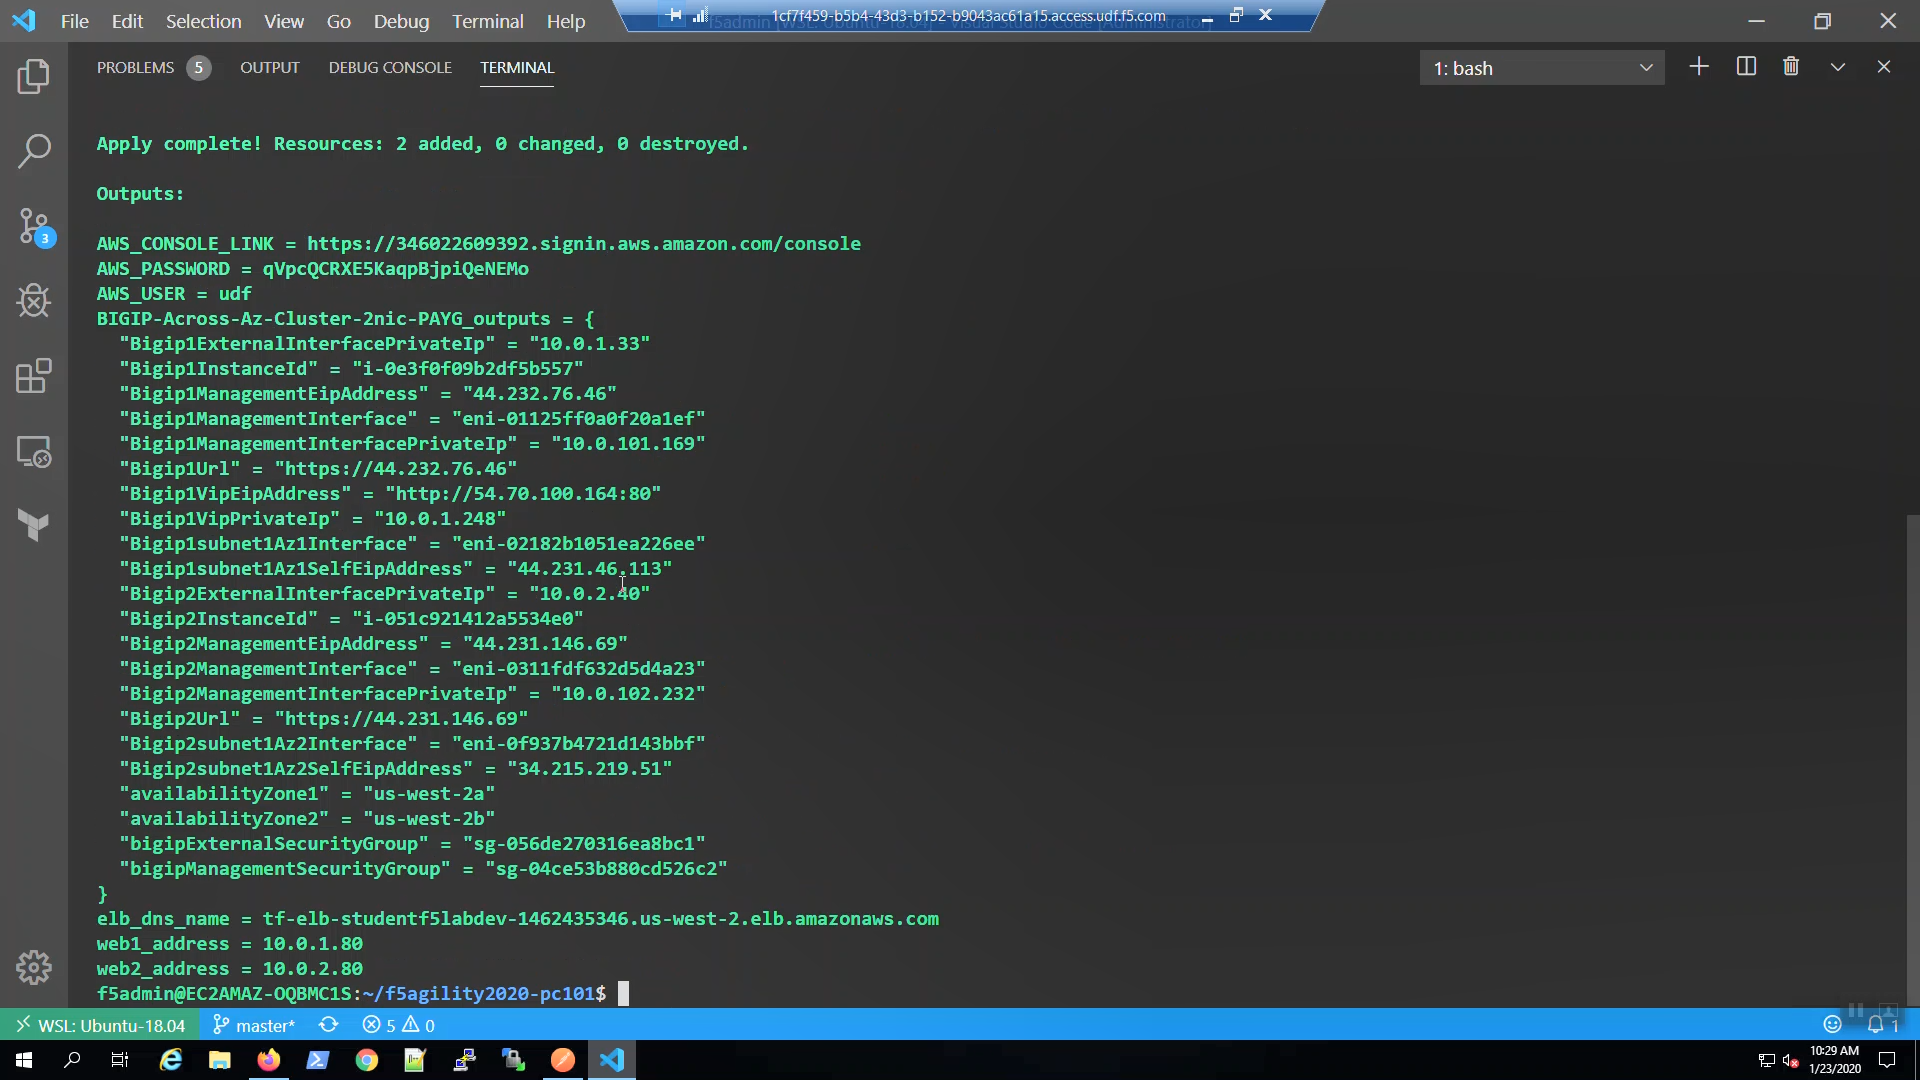
terraform apply completed.
SSH to Big-IP1 and Big-IP2
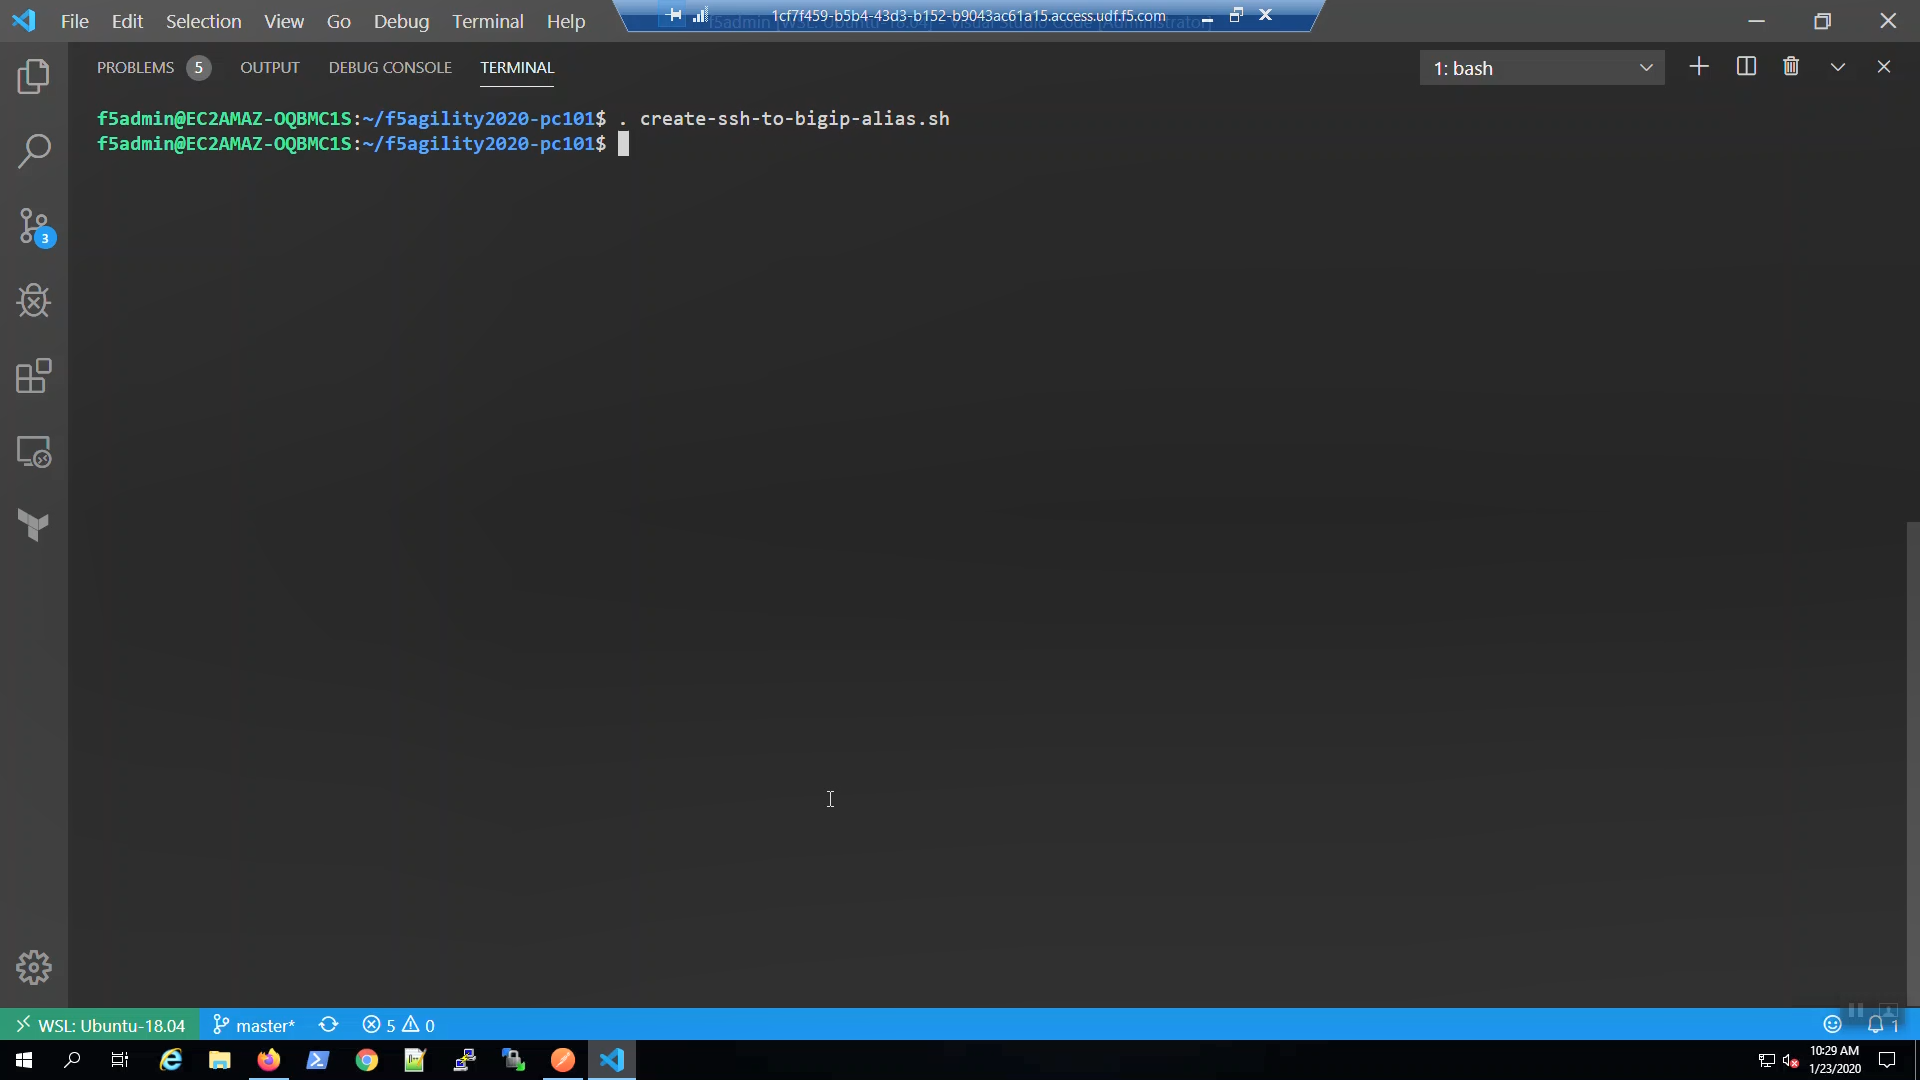
Run the create-ssh-to-bigip-alias.sh shell script to create convenient command aliases for bigip1 and bigip2.
source create-ssh-to-bigip-alias.sh
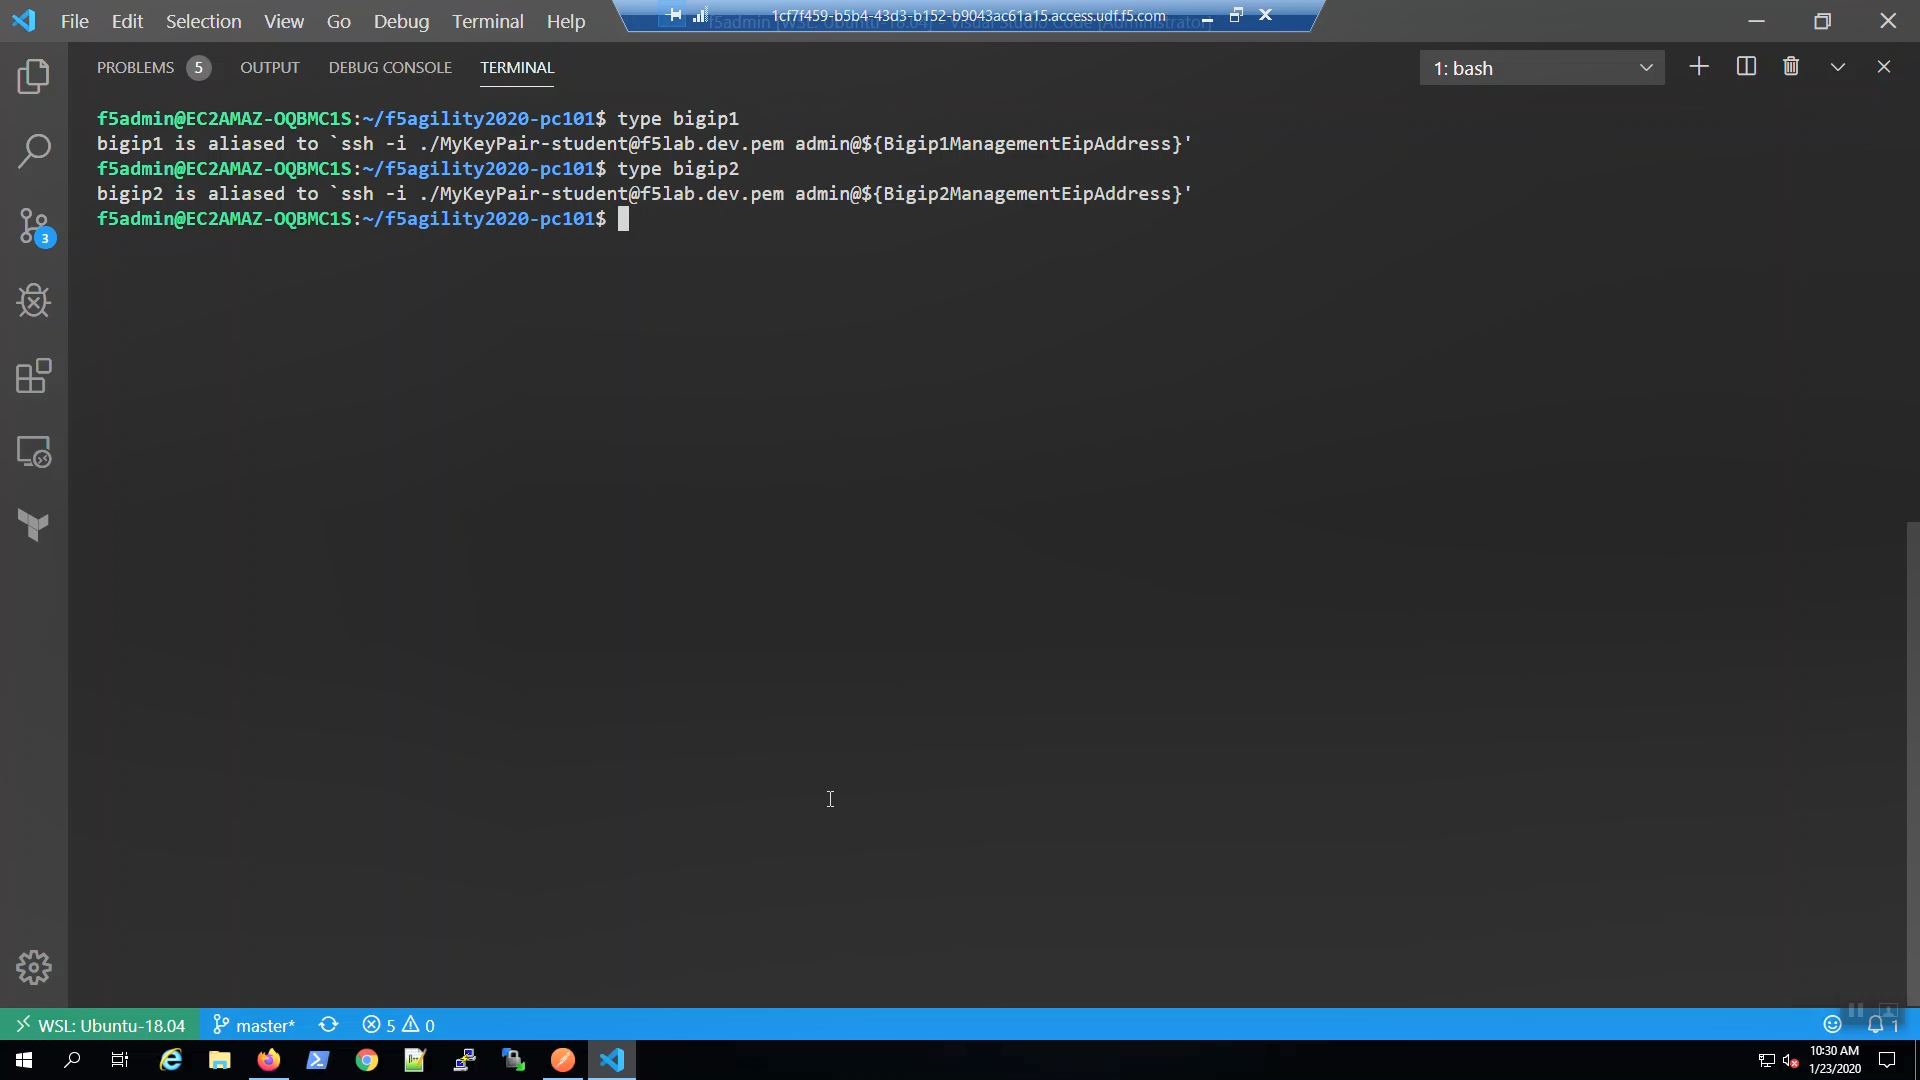
Confirm the bigip1 and bigip2 aliases were created.
type bigip1
type bigip2
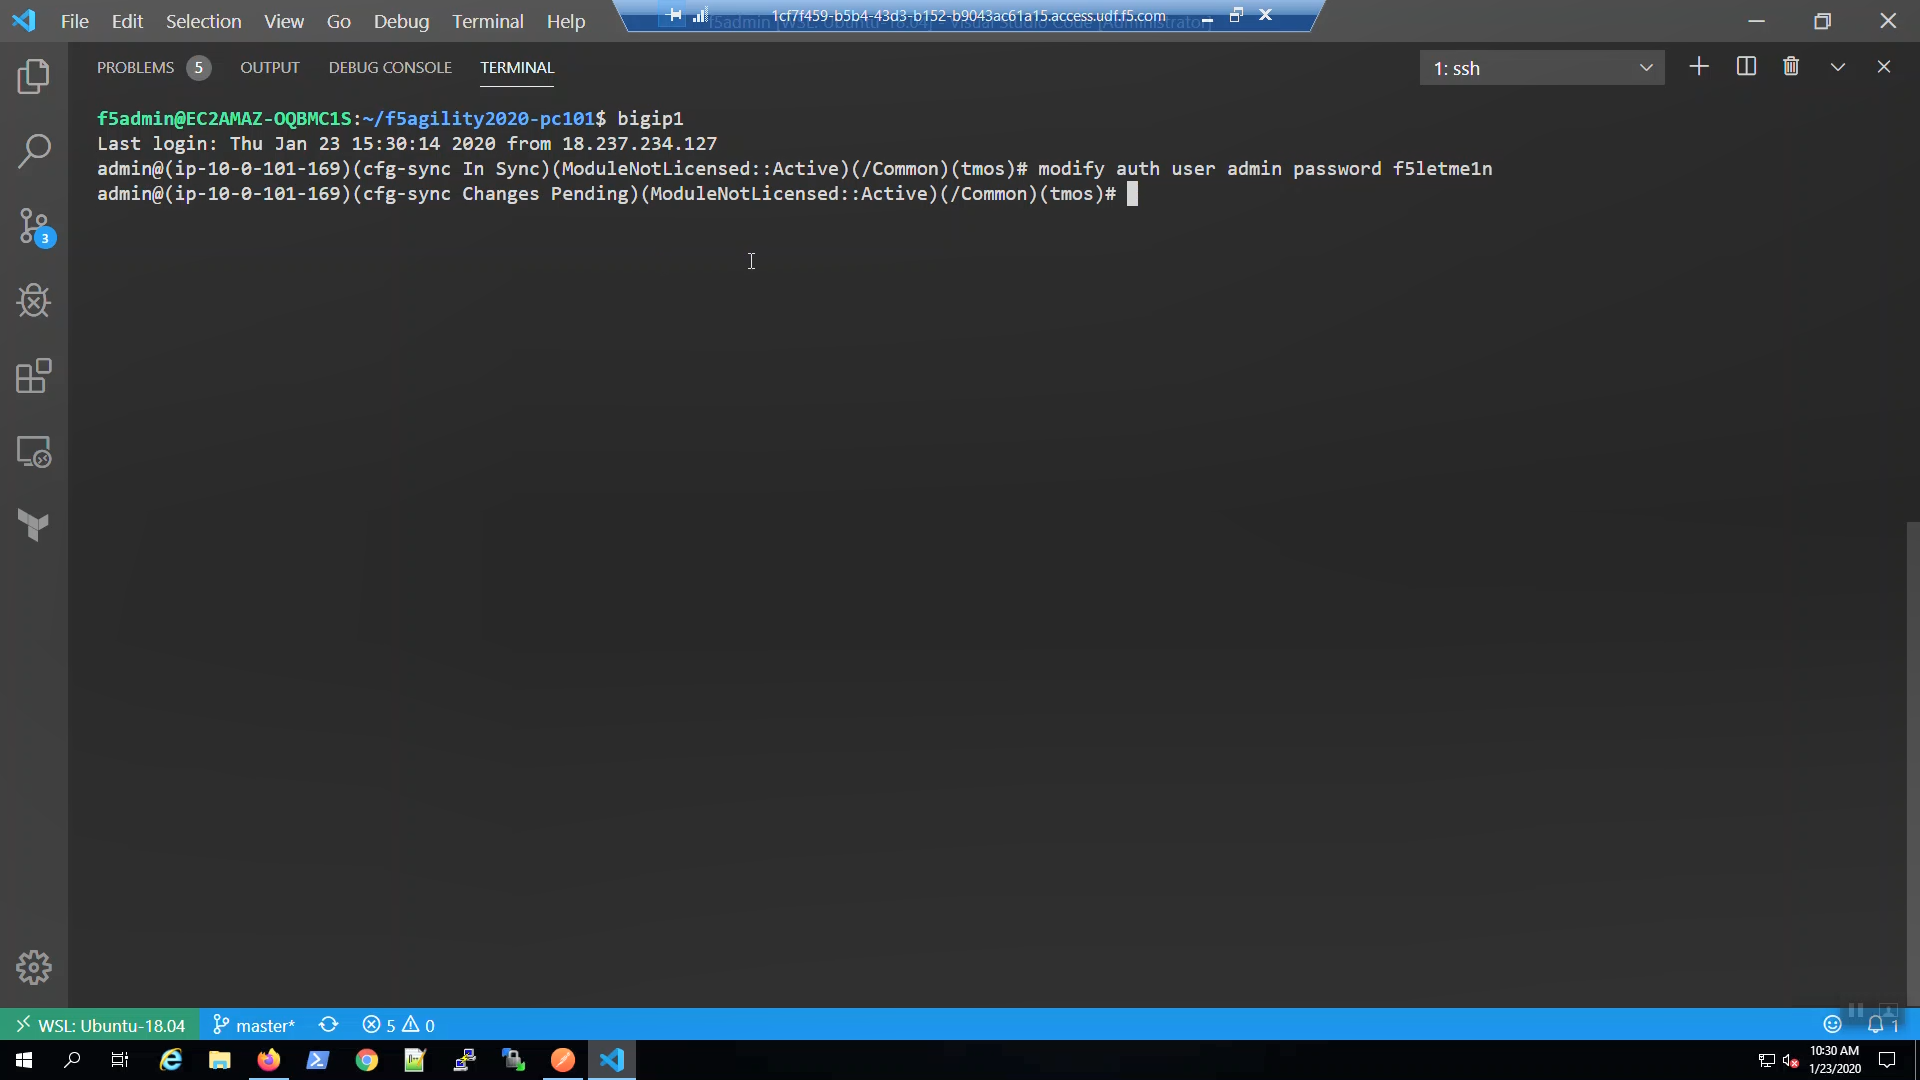
SSH to Big-IP1 to confirm state and change the admin password.
Attention
Ensure the system status prompt is either Active or Standby before proceeding. All other status prompts indicate the system is not ready. Use the screenshots as a guide.
bigip1
Acknowledge the ssh remote host when prompted “Are you sure you want to continue connecting (yes/no)?”
yes
modify auth user admin password f5letme1n
modify /sys global-settings gui-setup disabled
save /sys config
quit

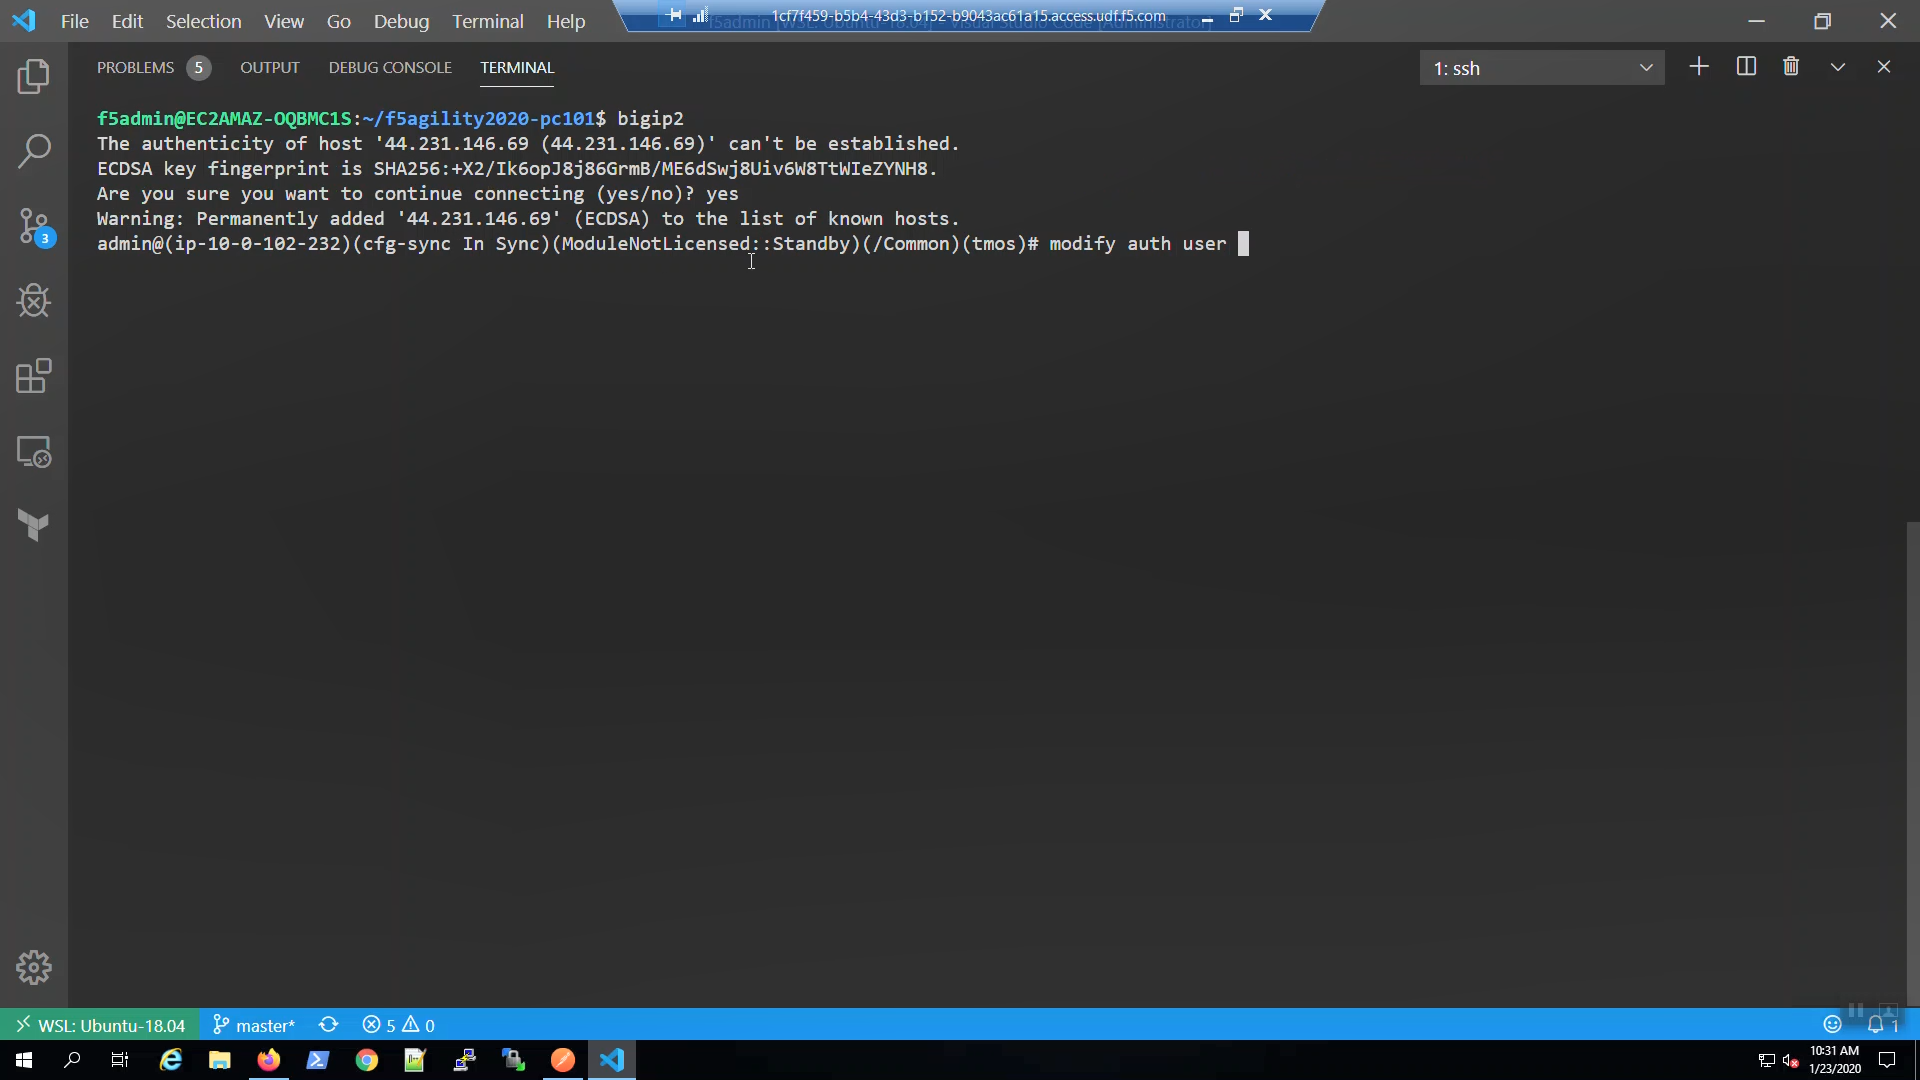
SSH to Big-IP2 to confirm state and change the admin password.
Attention
Ensure the system status prompt is either Active or Standby before proceeding. All other status prompts indicate the system is not ready. Use the screenshots as a guide.
bigip2
Acknowledge the ssh remote host when prompted “Are you sure you want to continue connecting (yes/no)?”
yes
modify auth user admin password f5letme1n
modify /sys global-settings gui-setup disabled
save /sys config
quit
Configuration Utility (WebUI) HTTPS access to Big-IP1 and Big-IP2
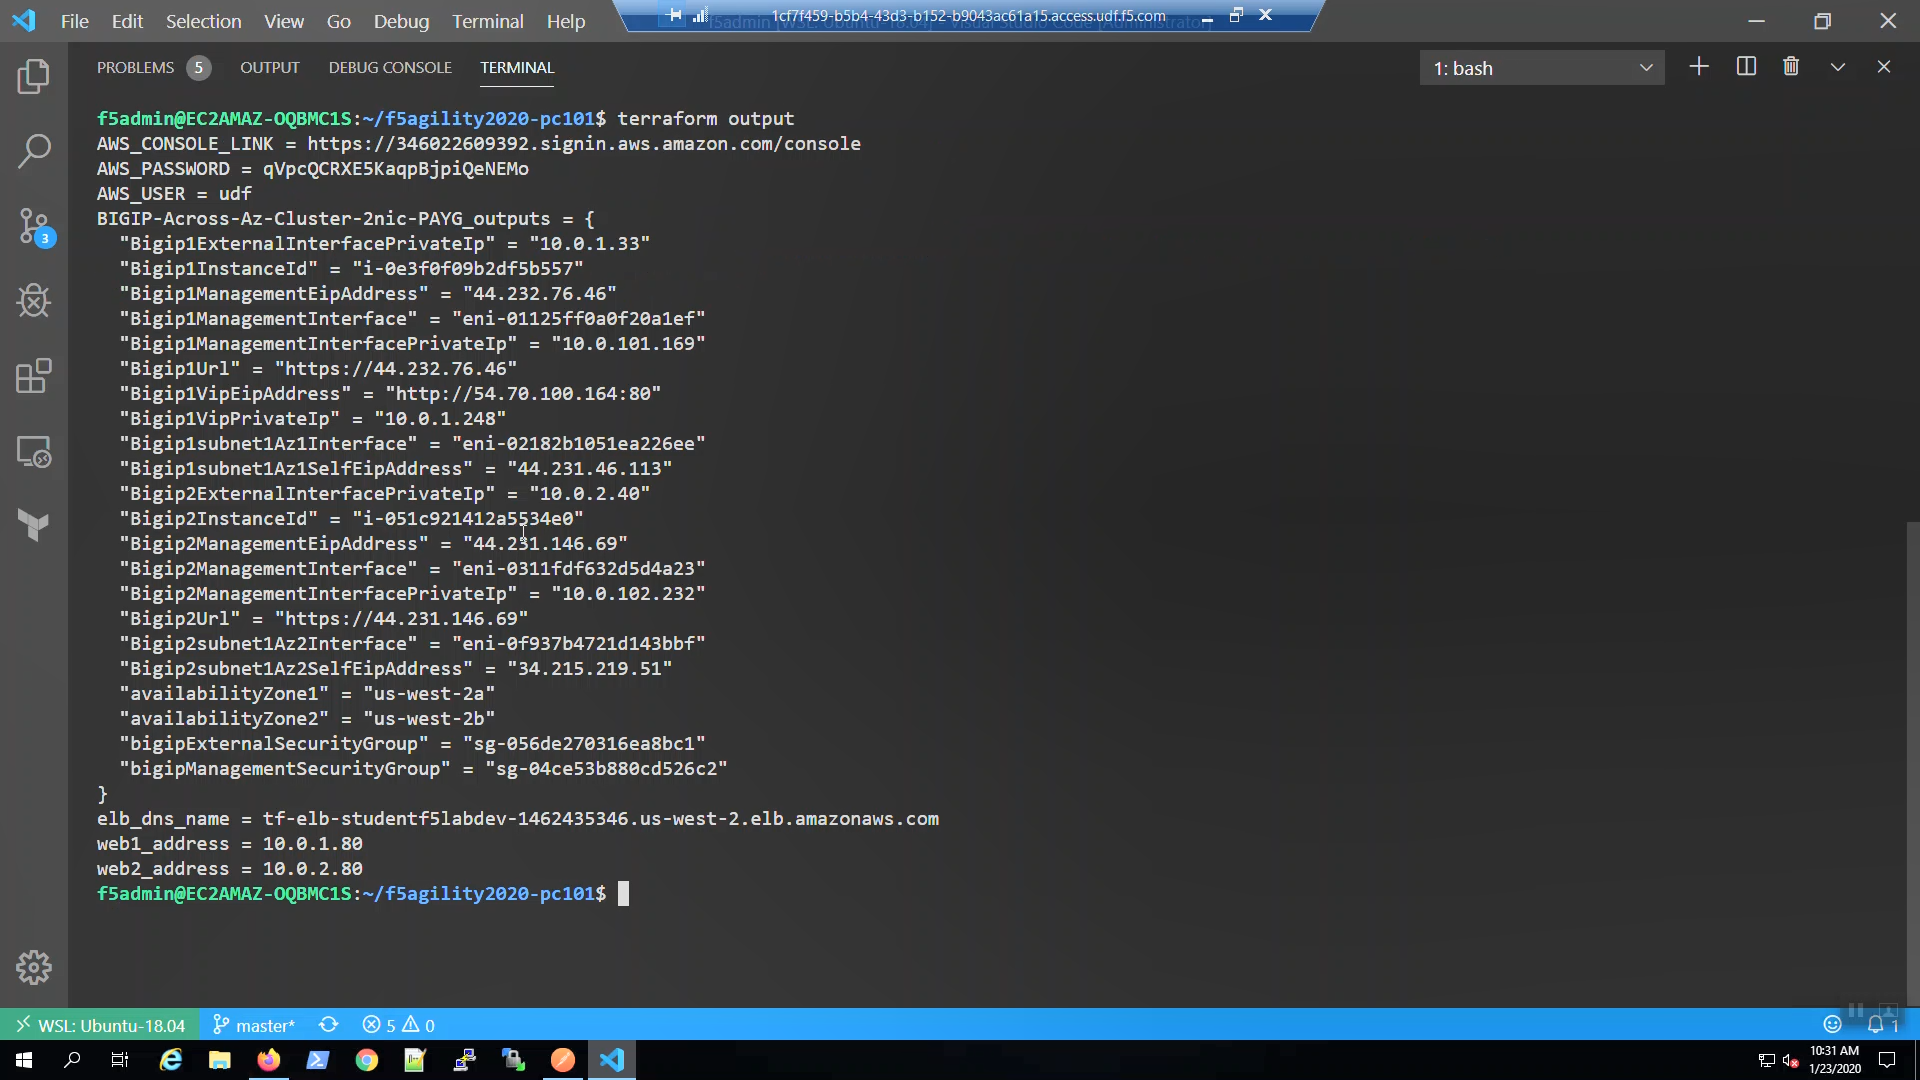
We need the management address to connect to the Configuration utility (WebUI). Invoke terraform output and look for:
Bigip1Url
Bigip2Url
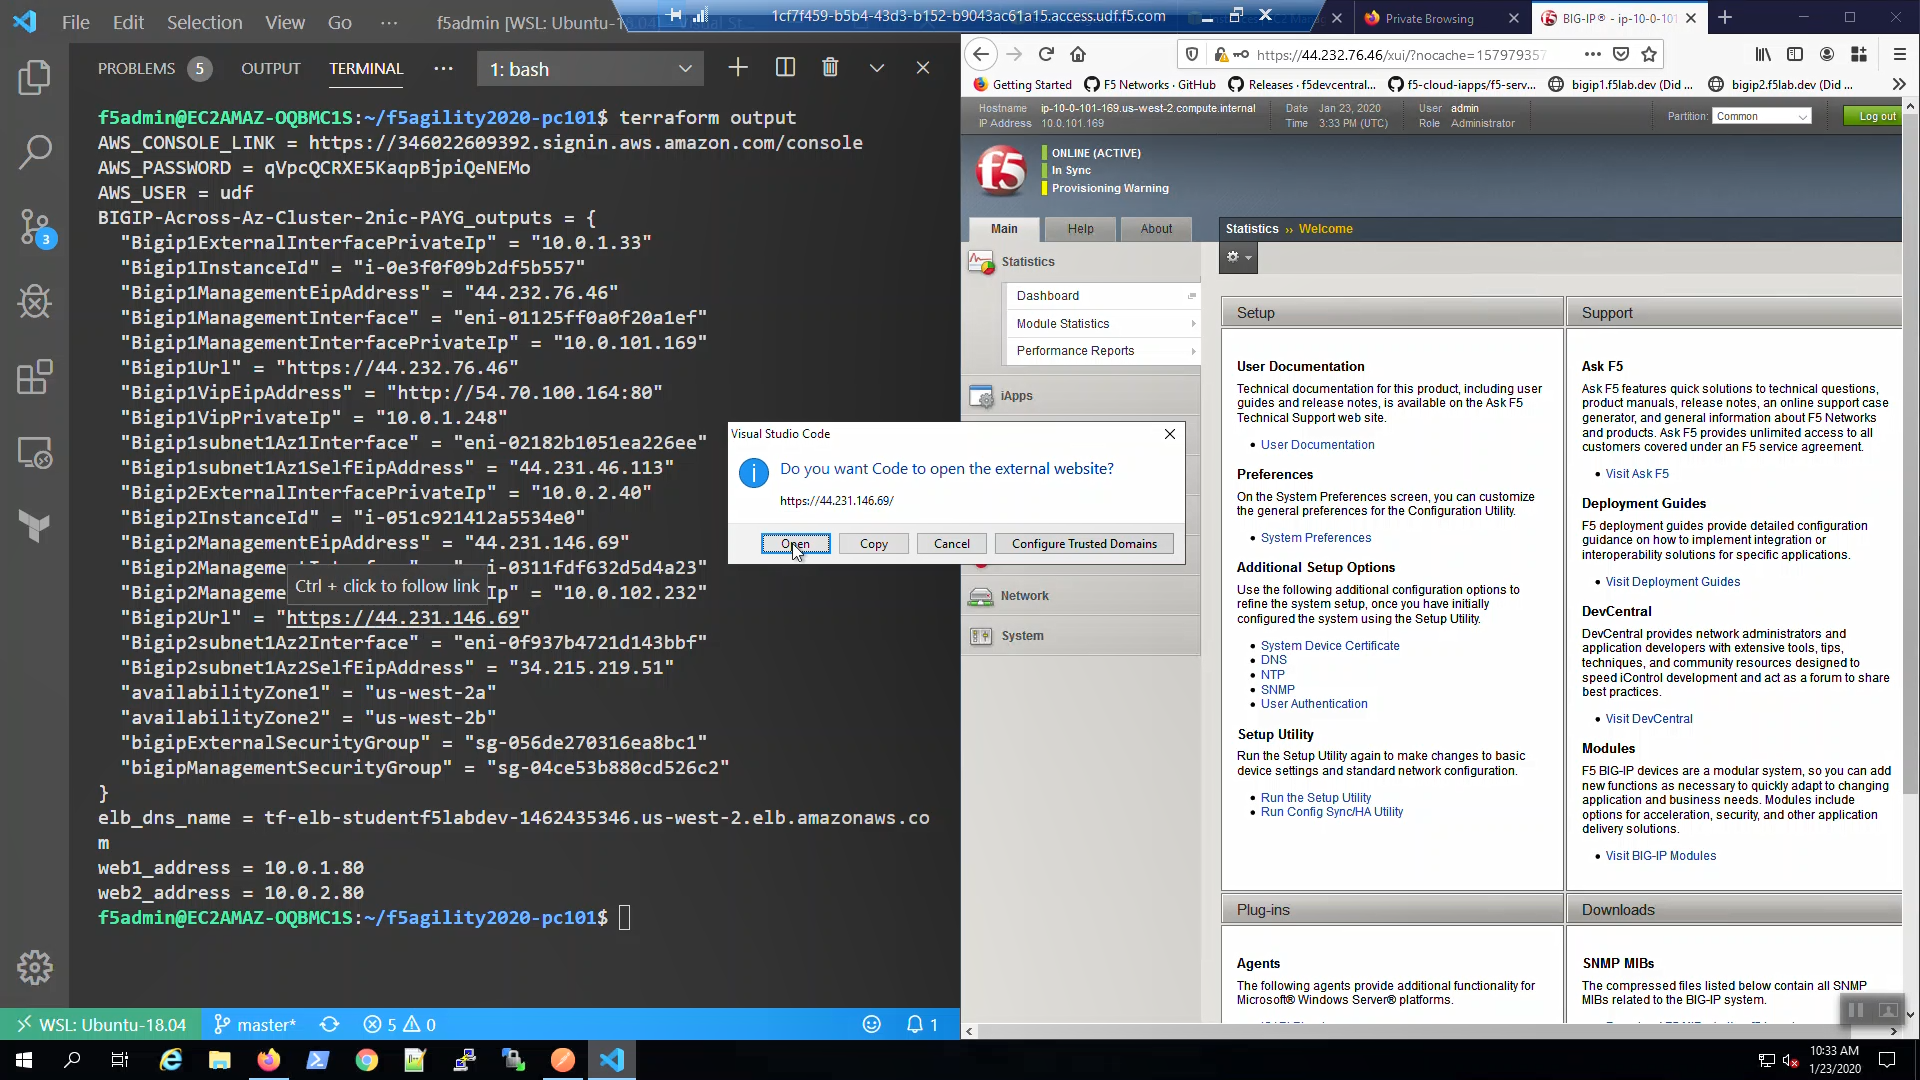
terraform output
From the Visual Studio Code Terminal, Ctrl + click to follow link for “BigIP1Url” =
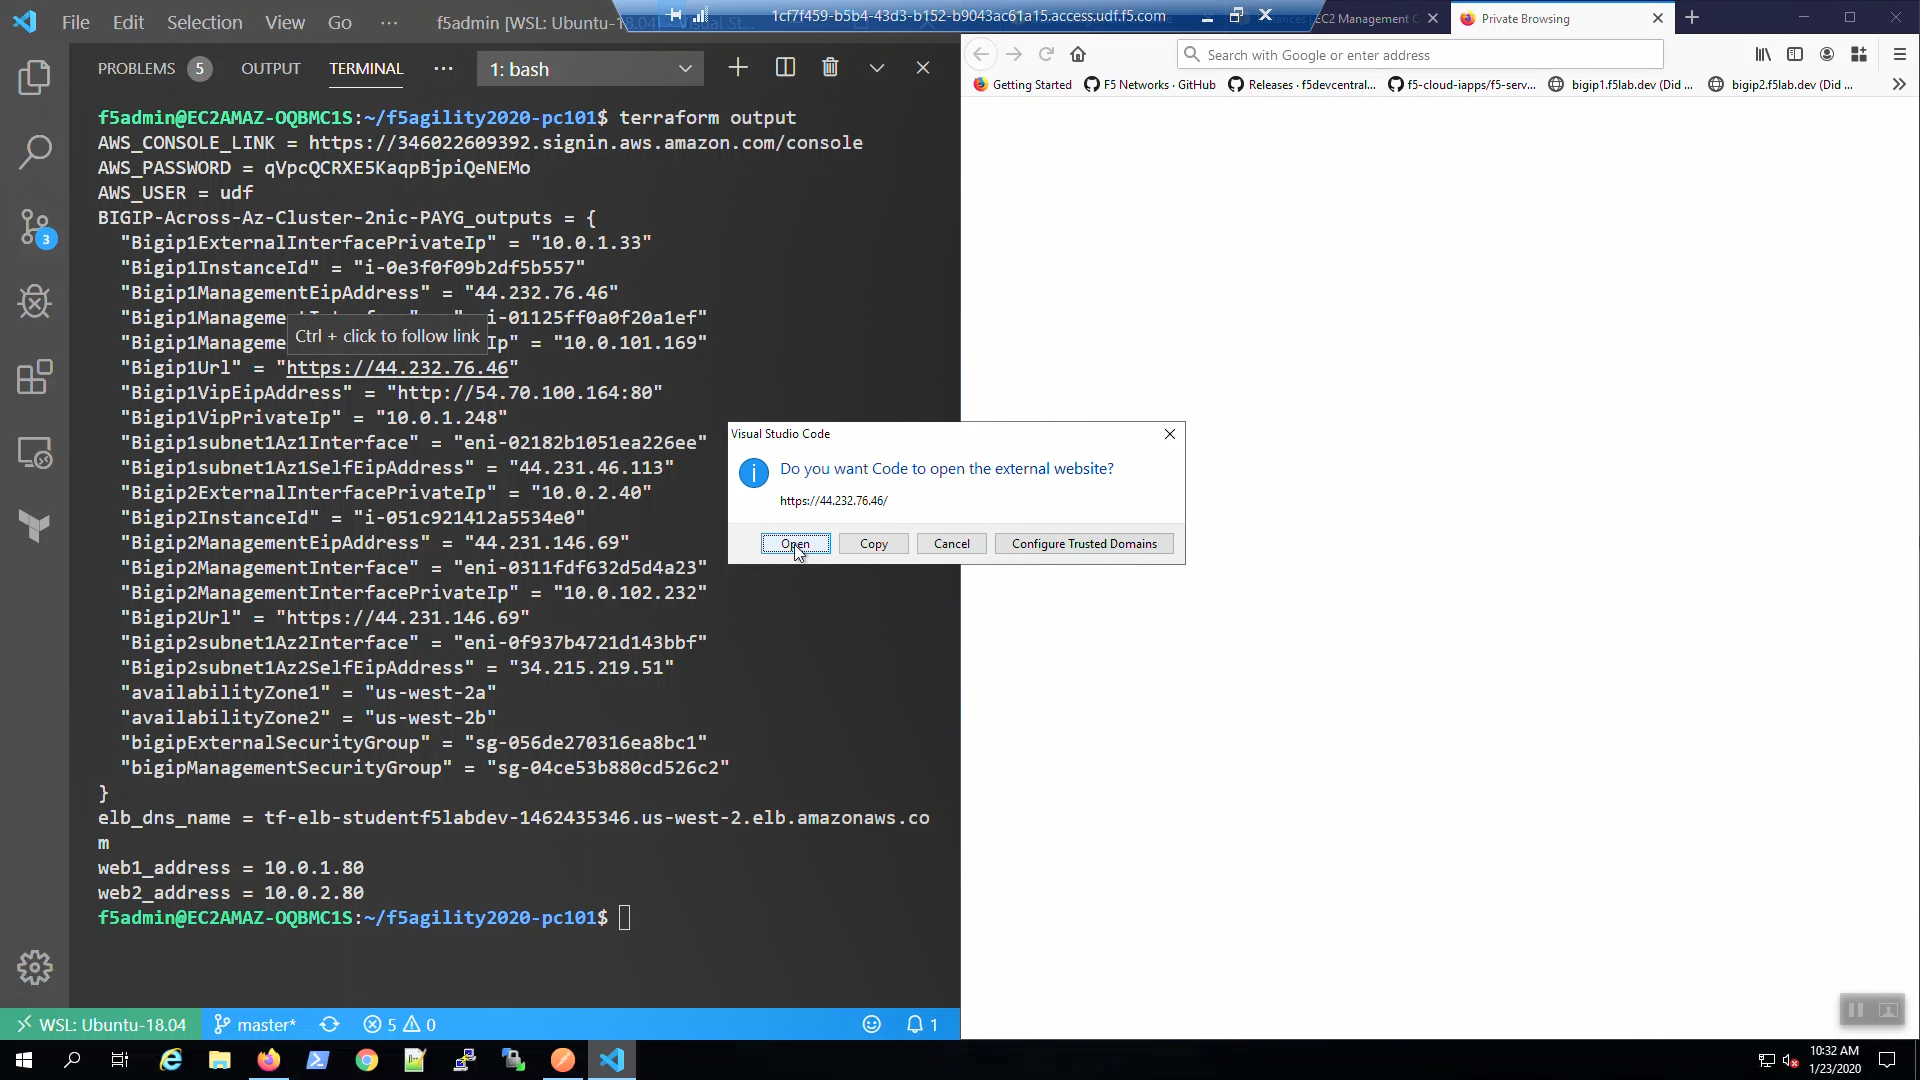
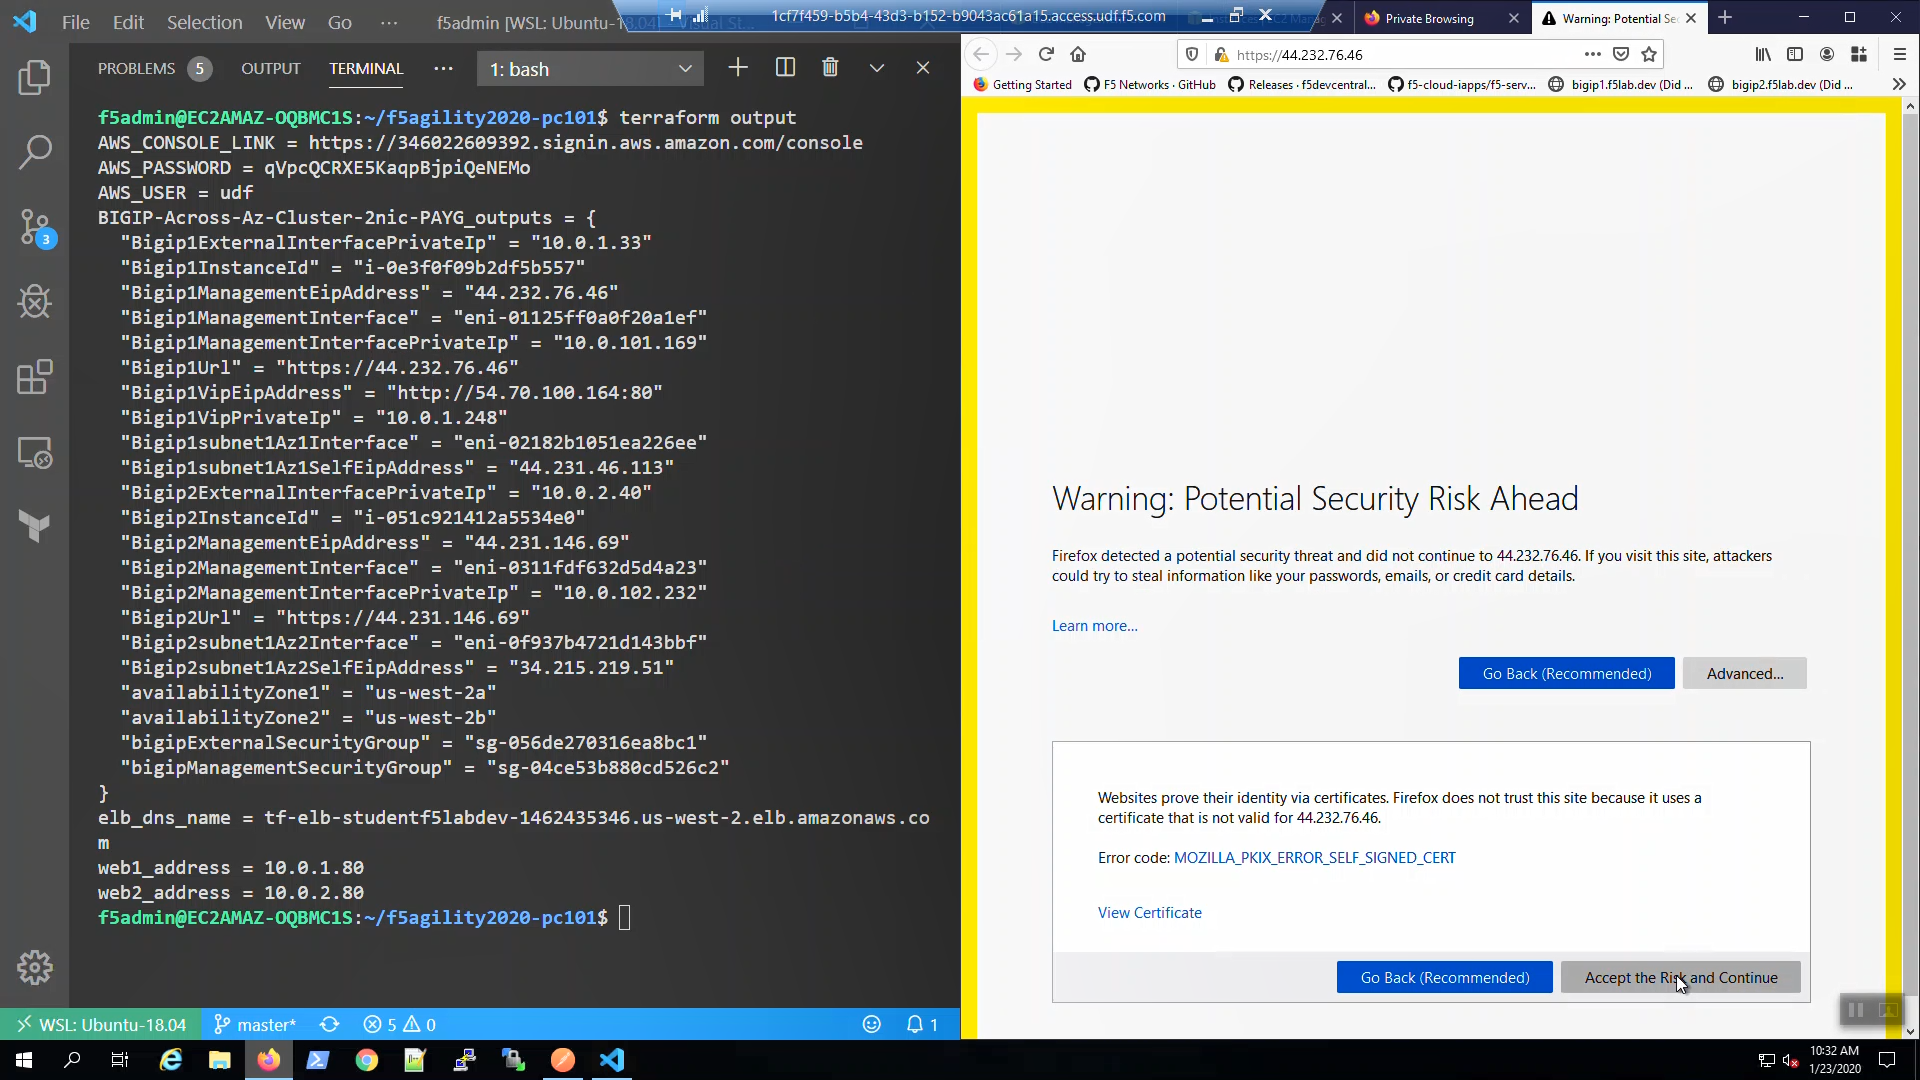
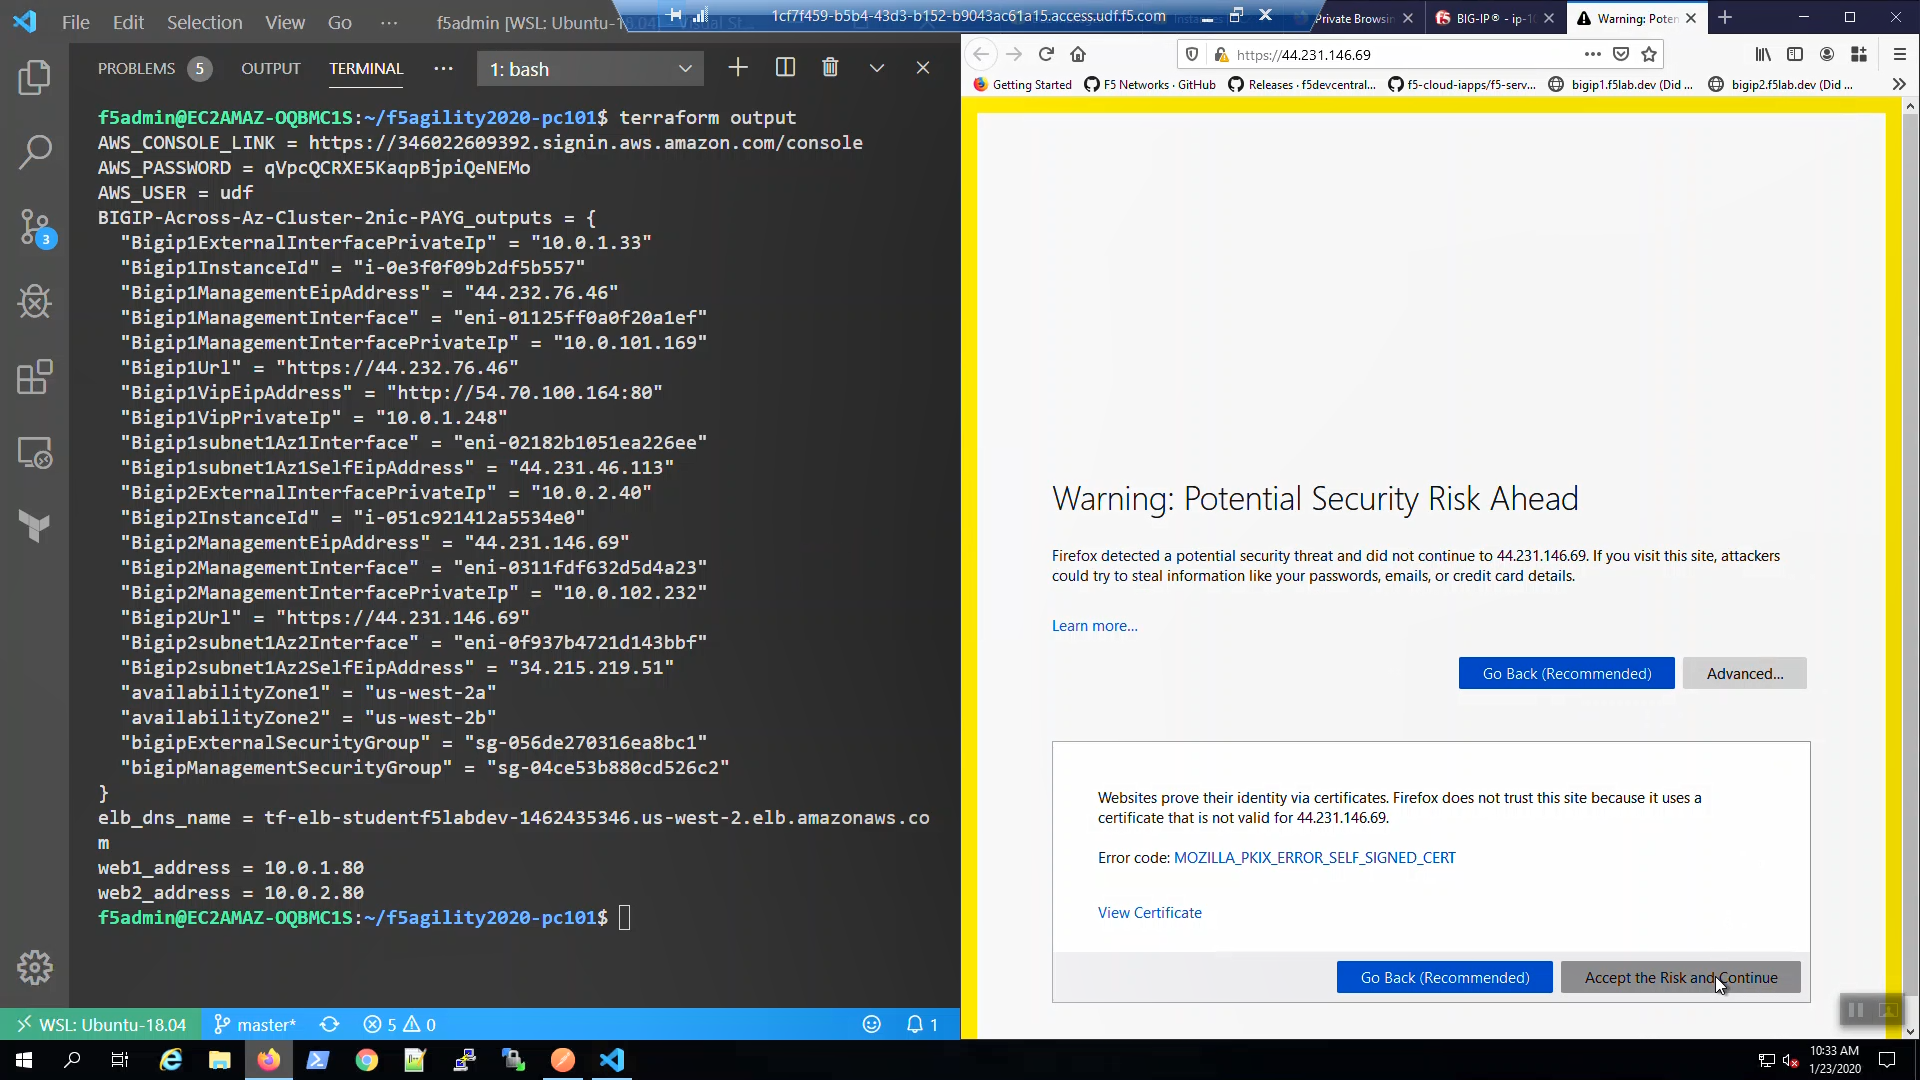
We are using self-signed certificates in the lab. Bypass the TLS warnings. “Accept the Risk and Continue”.
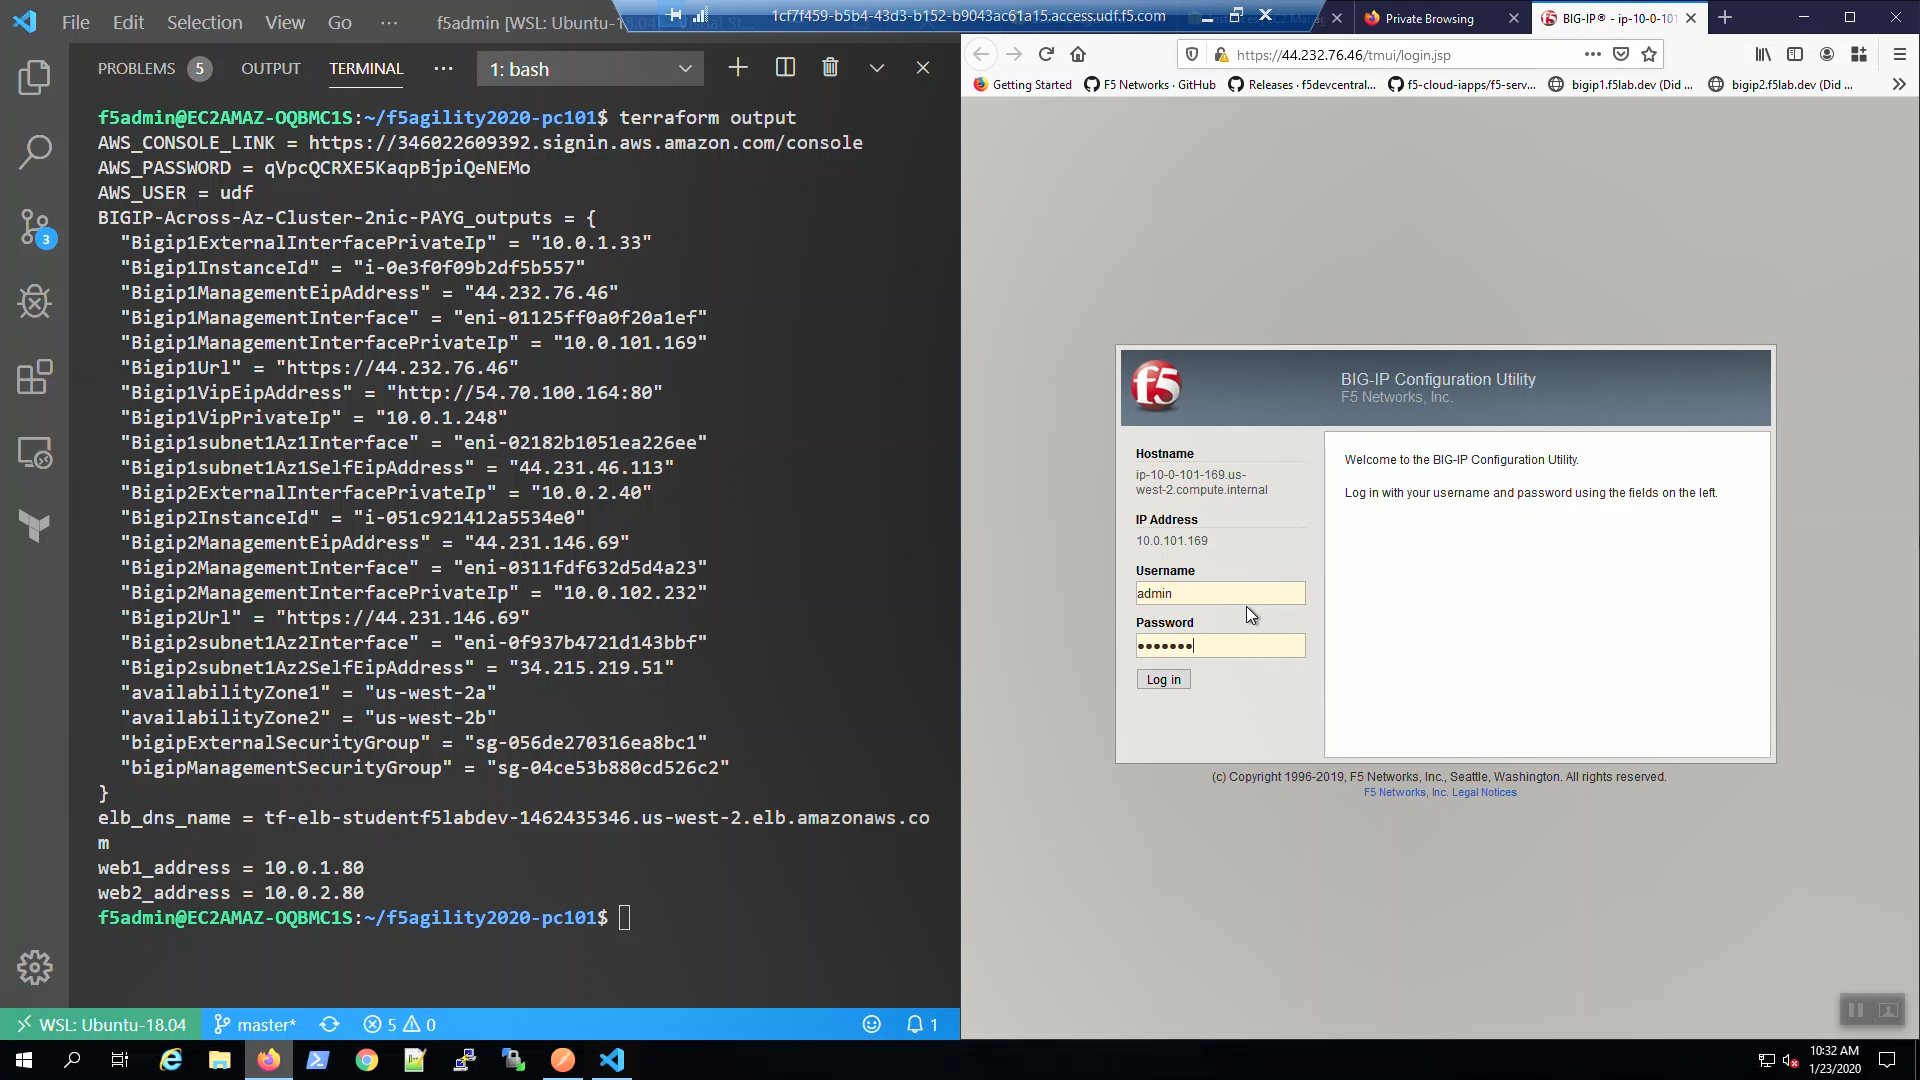
Login to the Big-IP1 Configuration Utility (WebUI):
Username: admin
Password: f5letme1n
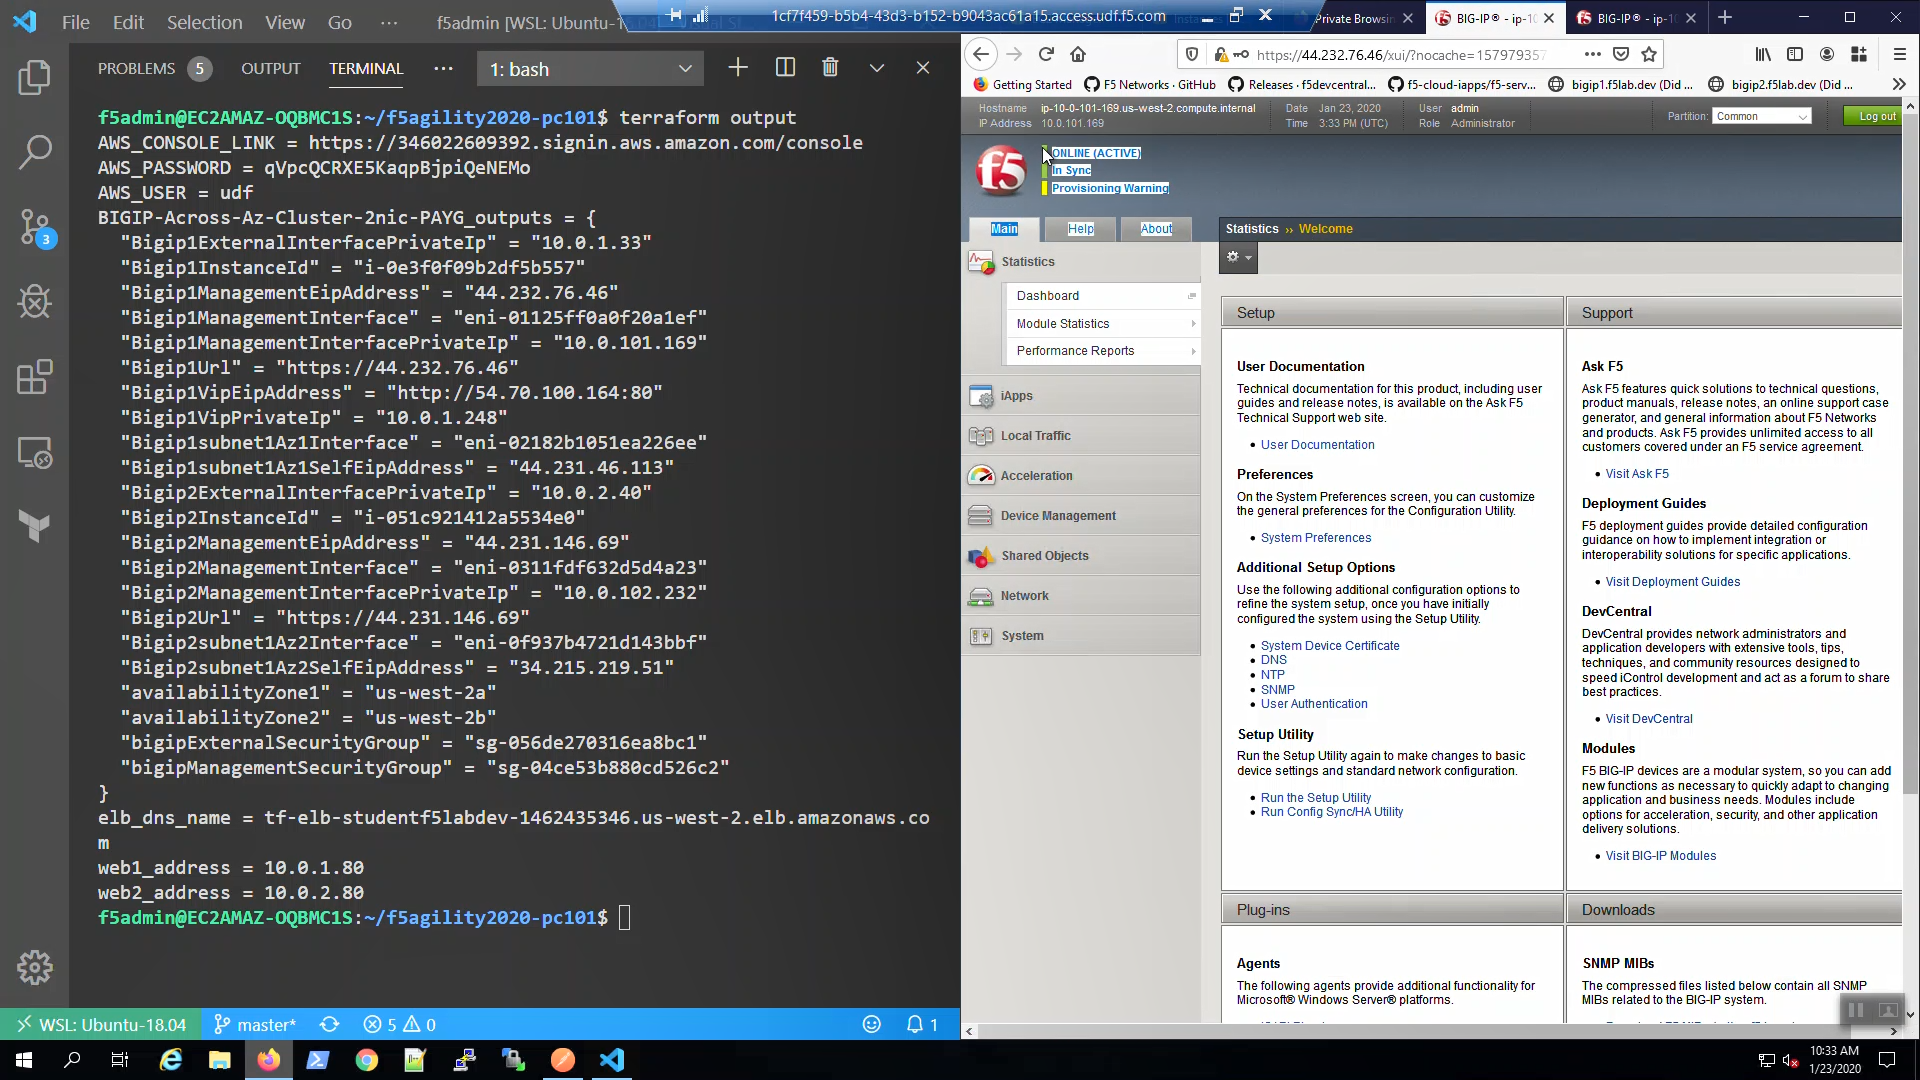
Look in the upper-left-hand corner. Note whether this is the active or standby unit.
From the Visual Studio Code Terminal, Ctrl + click to follow link for “BigIP2Url” =
We are using self-signed certificates in the lab. Bypass the TLS warnings. “Accept the Risk and Continue”.
Login to the Big-IP2 Configuration Utility (WebUI):
Username: admin
Password: f5letme1n

Look in the upper-left-hand corner. Note whether this is the active or standby unit.
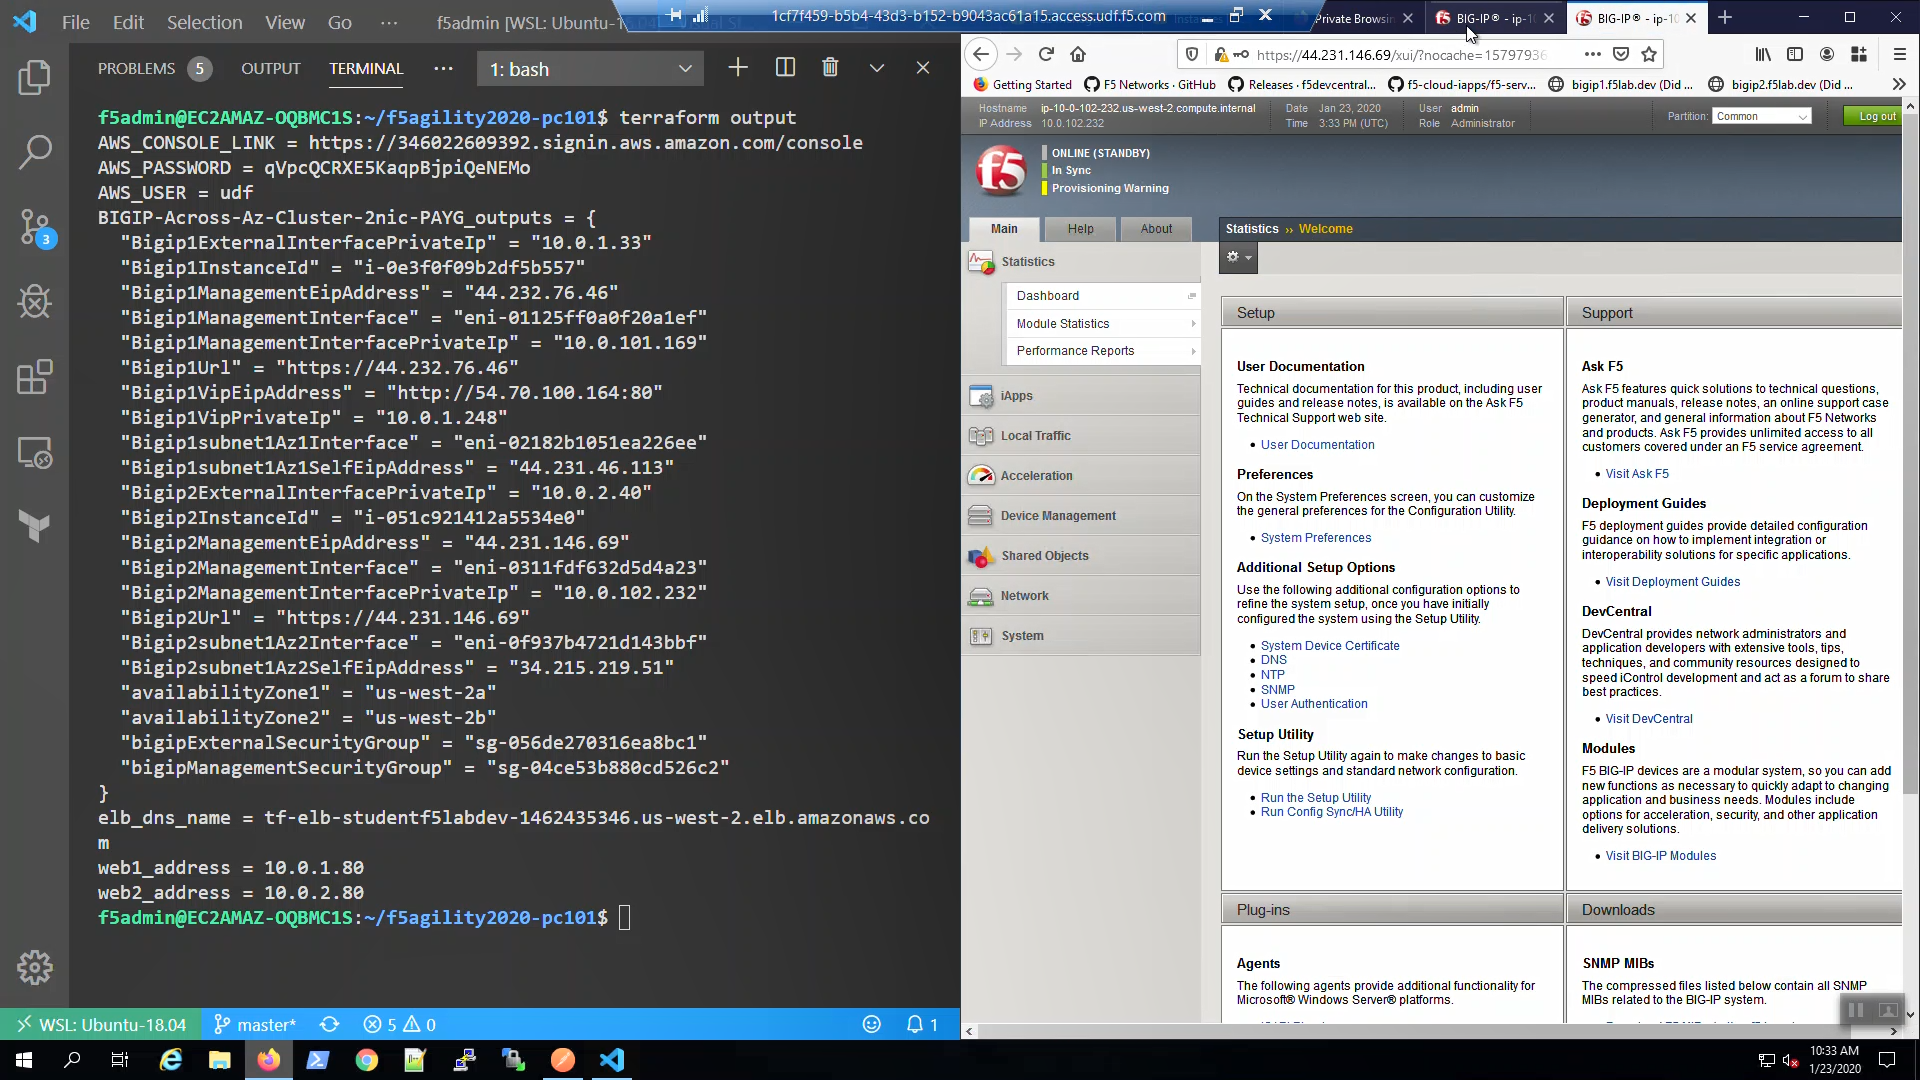
Attention
Make sure Big-IP1 is active and Big-IP2 is standby before proceeding. To force Big-IP2 to standby: “Device Management” => “Devices” => bigip2.f5lab.dev => [Force to Standby].