F5 Public Cloud Solutions > Deploying F5 Solutions to GCP with Terraform and The F5 Automation Toolchain > F5 Admin SSH and Configuration Utility (WebUI) Access Source | Edit on
Configuration Utility (WebUI) HTTPS access to Big-IP1 and Big-IP2
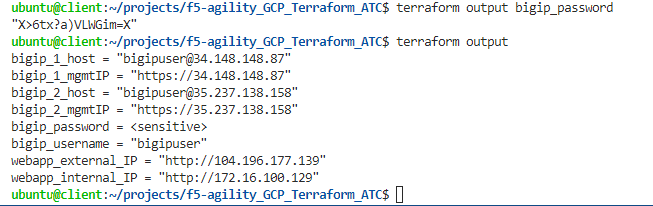
From the terraform outputs, take the link for bigip_X_mgmtIP and open the WebUI for each BIG-IP. From the VS Code terminal, you can type “terraform output” to see the outputs again.
Note
Below we show how to easily get the link to open the TMUI for the devices you just created. As you proceed through the initial labs, you may want to keep the terminal output displayed so you know which device you are actually on as the names have not been set and are the same.
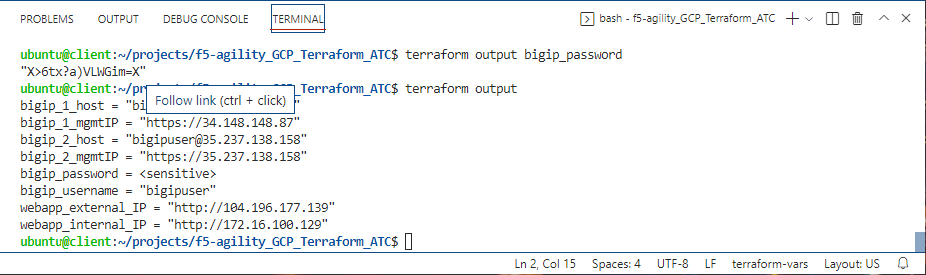
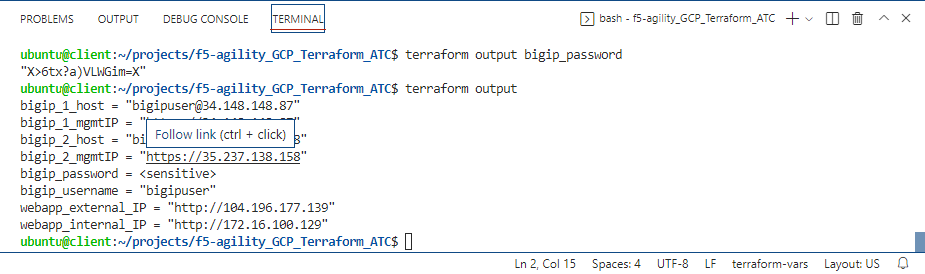
The username and password are part of the “terraform output” results.
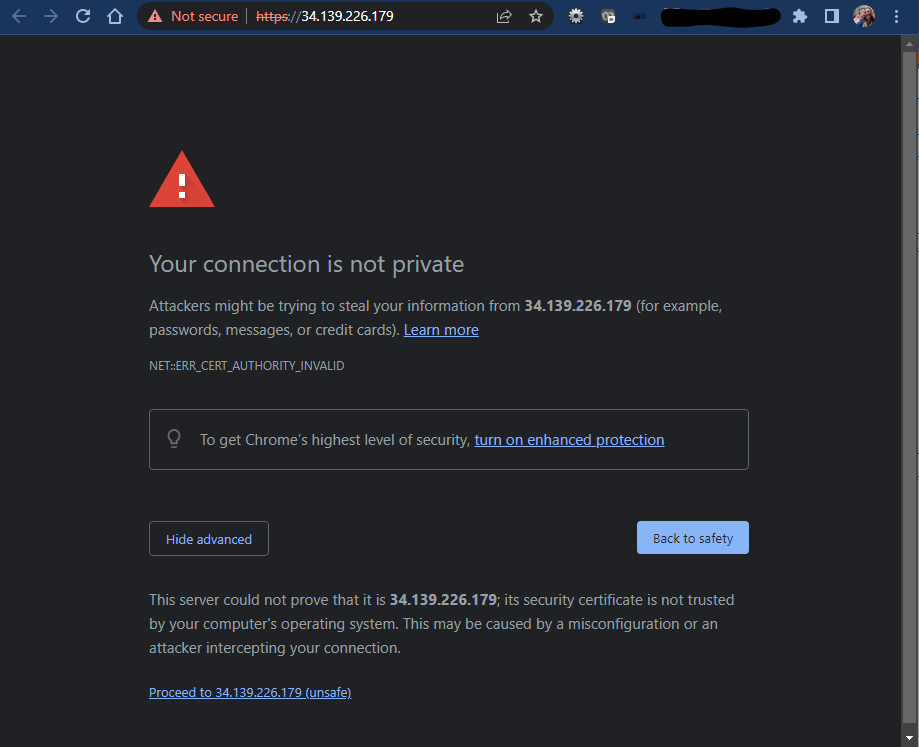
As is default in the BIG-IP, we are using self-signed certificates in the lab. Bypass the TLS warnings. “Accept the Risk and Continue”.
Note
If you are using Chrome and are not given the option to bypass the certificate warning you can either use a different browser, or type ‘thisisunsafe’ on that tab and you’ll bypass the warning.
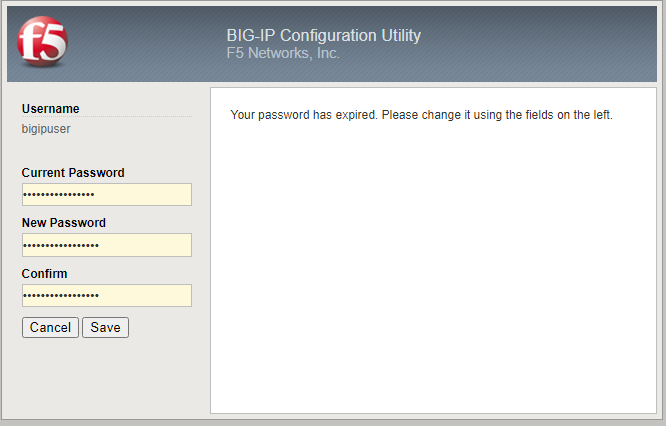
Login to the Big-IP1 Configuration Utility (WebUI) using the values found in “terraform output”
Due to new security settings you will be prompted to change your password. Simply add your student number to the end of the pasword the system provided earlier.
The system has not been configured with anything other than a management IP address and admin account. Here are some things to check to show you within the GUI that you will change later:
- Network -> Self-IP addresses
- Network -> Routes
- Network -> Interfaces
- LTM -> Virtual Servers
- Device Management -> Devices
Repeat these steps and verify the same items for Big-IP2.
Note
It is normal that bigip2 is also named bigip1.example.com at this time, because it is not yet configured