F5 Public Cloud Solutions > Deploying F5 Solutions to GCP with Terraform and The F5 Automation Toolchain > Prepare to Use the F5 Declarative Automation Tools Source | Edit on
Prepare the F5 Extension
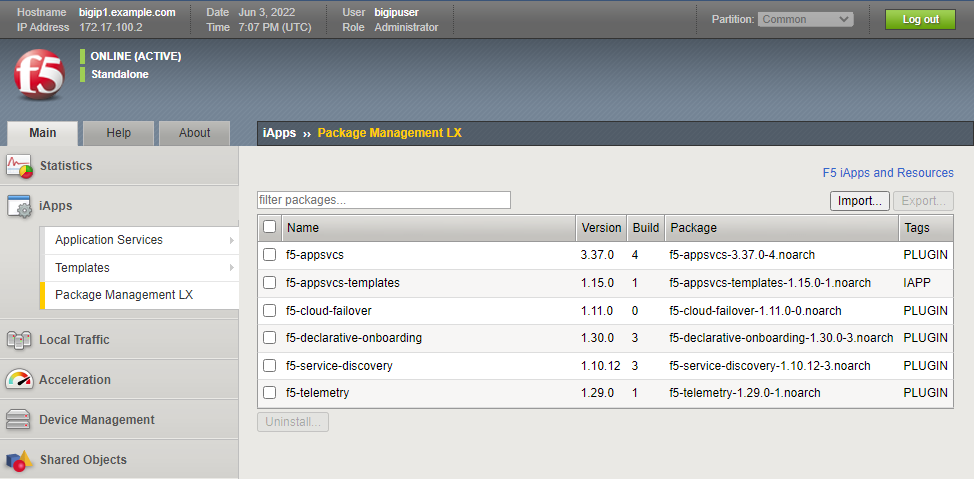
The rest of the lab we will be working with the F5 Automation Toolchain. This is a set of declarative API endpoints that you can install on top of TMOS to allow you to more simply manage BIG-IPs through an API. As part of the upcoming GCP Terraform module, these modules will be installed by default. Navigate in the TMUI to “iApps -> Package management LX” and you’ll see four packages (The fifth is Service Discovery and is now a subset of AS3):
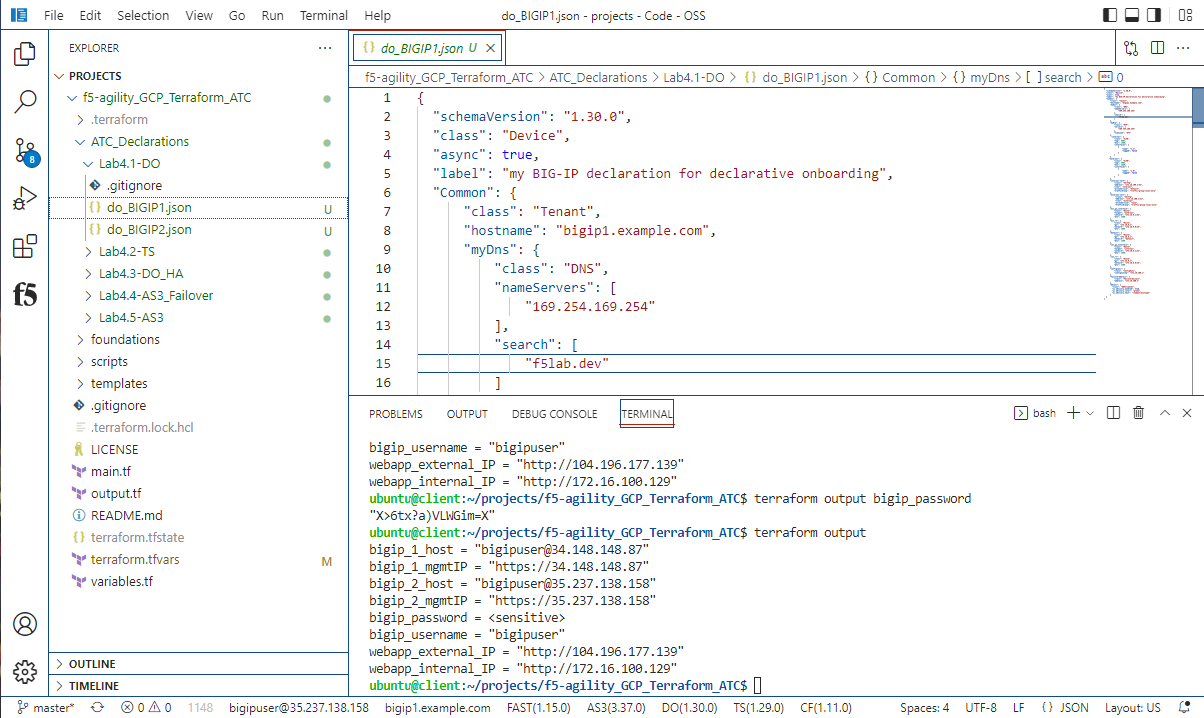
The terraform apply you performed in the last step generated the necessary declaration files for rest of the lab. They are located under the f5-agility_GCP_Terraform_ATC/ATC_Declarations folder.
Connect the F5 Extension to the BIG-IPs
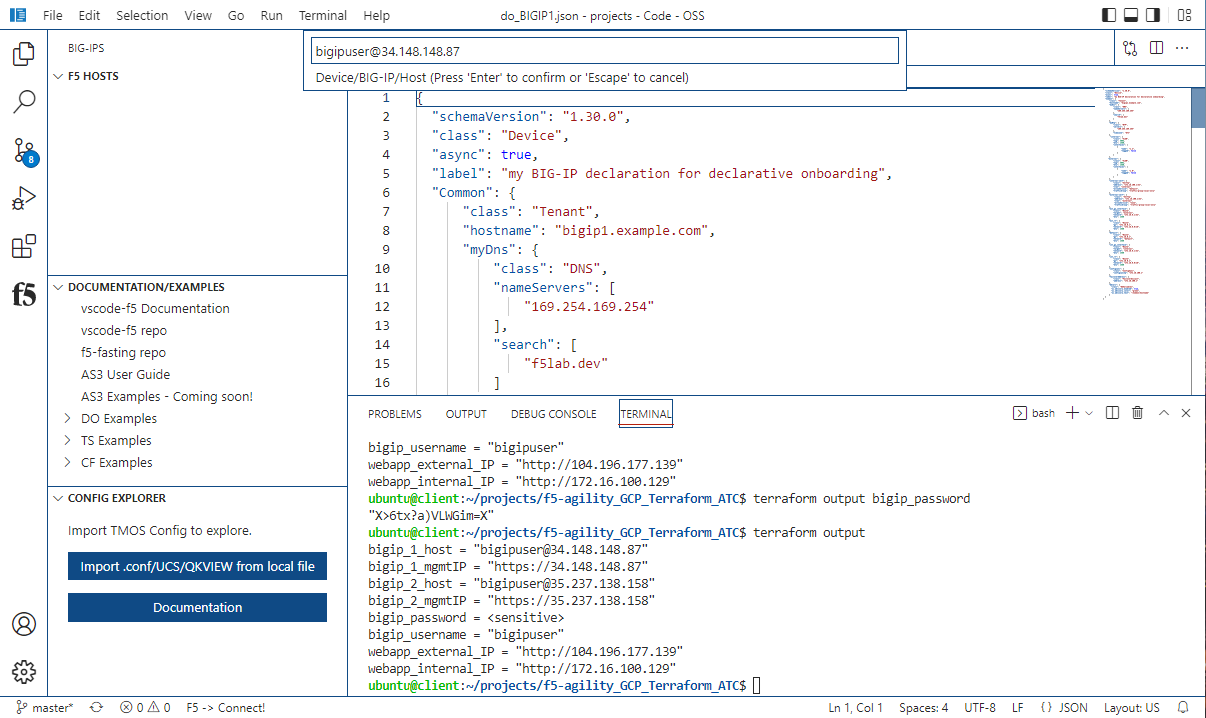
The first step will be to configure the F5 Extension to connect to the two BIG-IPs
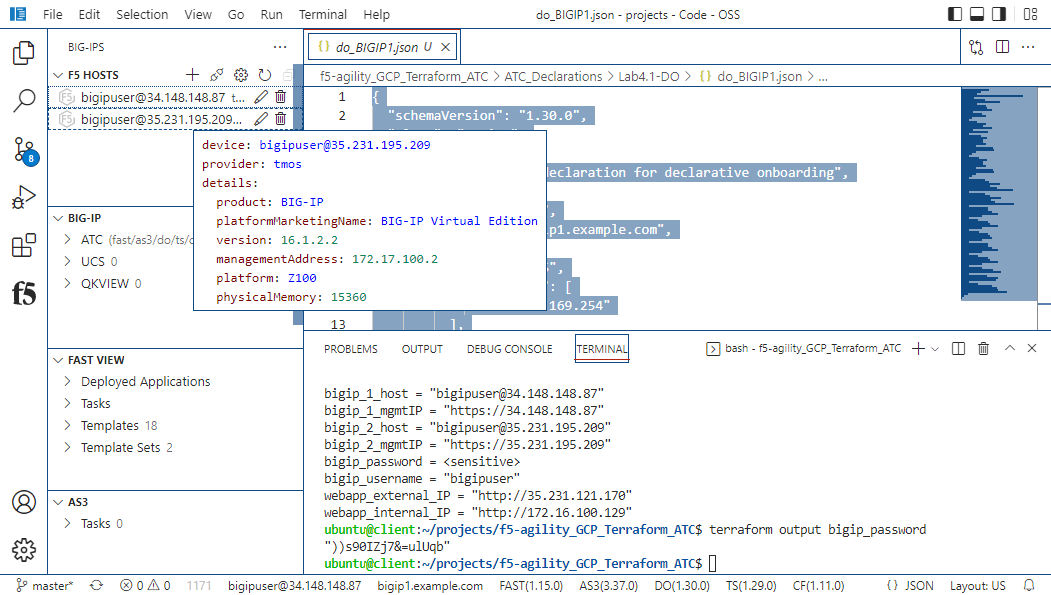
Copy bigip_1_host information then click on add host then paste and enter.
Warning
There is a bug that when you use the mouse buttons in the password input, it will disappear without taking any information. Should you overlook this warning block, simply refresh the browser window that vscode is running in and you can enter it by using the keyboard.
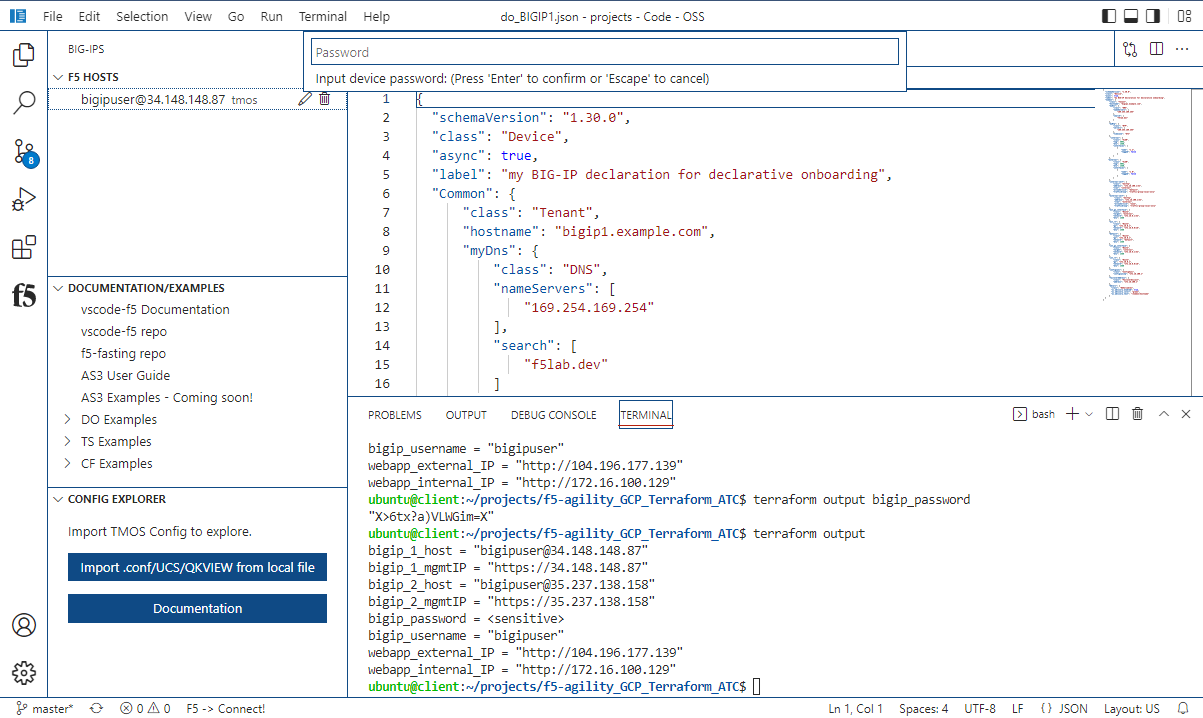
Once the name loads on the side column click on the host and paste in the bigip_password.
Do the same for big-ip 2.
Warning
In both labs where you are making Declarative Onboarding (DO) posts, it is critical to verify that you are connected to the correct BIG-IP based on the IP Addresses from the terraform output. Keeping your terminal window with the terraform output visible can minimize the risk of selecting the wrong BIG-IP when moving between them in this lab.
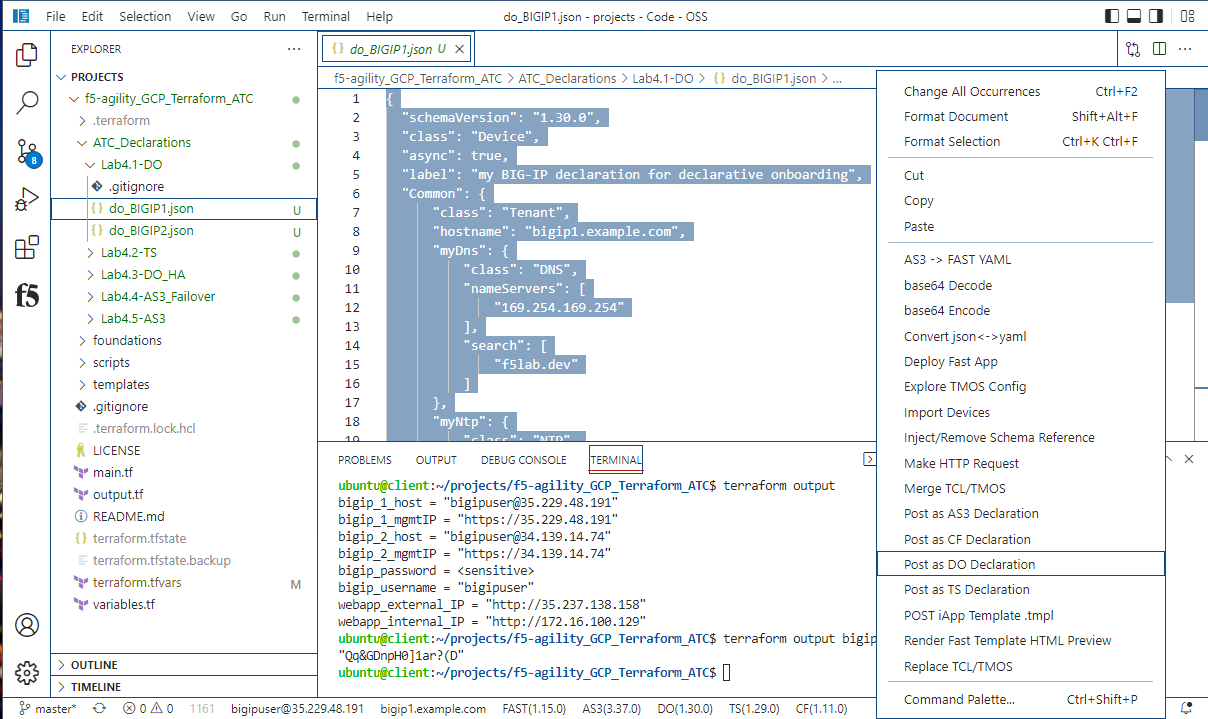
Submit Declarative Onboarding declarations
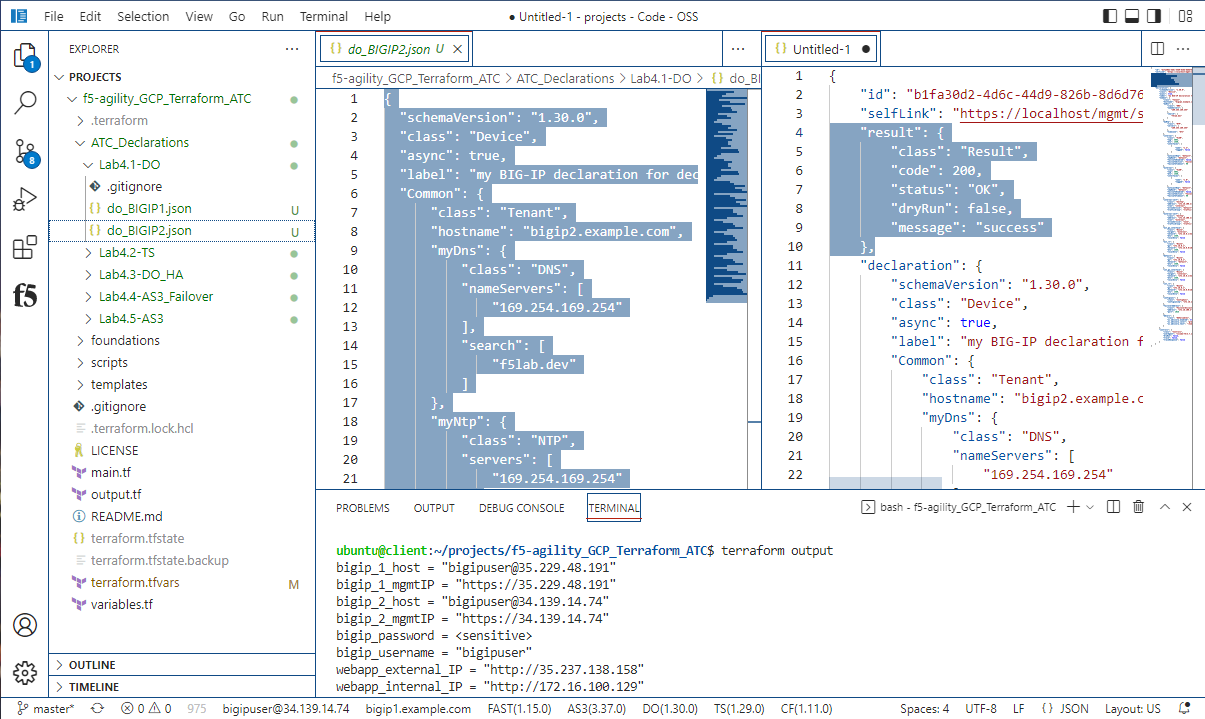
From f5-agility_GCP_Terraform_ATC click on Lab4.1-DO under the drop down menu, select “do_BIGIP1.json” request.

Make sure that your “target” is BIG-IP1:

Right Click “Post as DO Declaration”. The Status will return as “200 SUCCESS” or “202 RUNNING”.

Check the status of DO by ckicking on the DO(1.30.0) in the white bar at the bottom.

Wait a few minutes until status is 200 OK
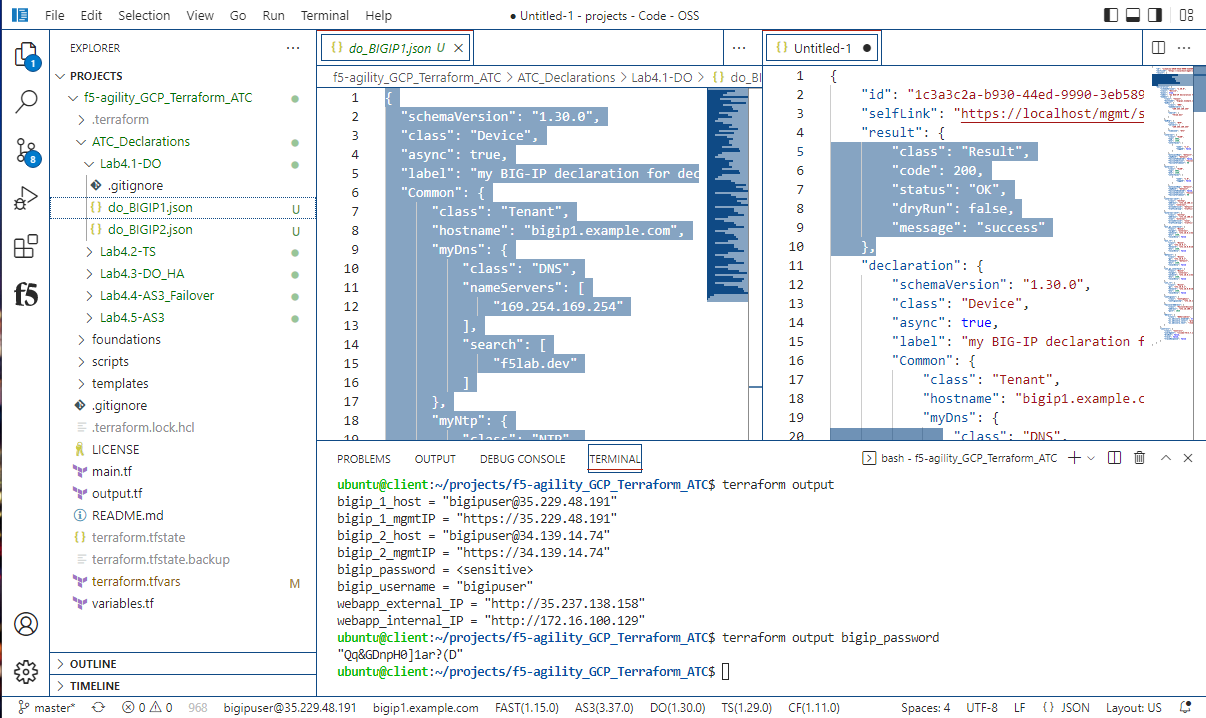
At the bottom of the VS Code window in the white bar, you can click on the DO (1.30.0) to submit a “GET” request to get the status of the DO execution as you did above. Wait until you get a status of “200 OK.”
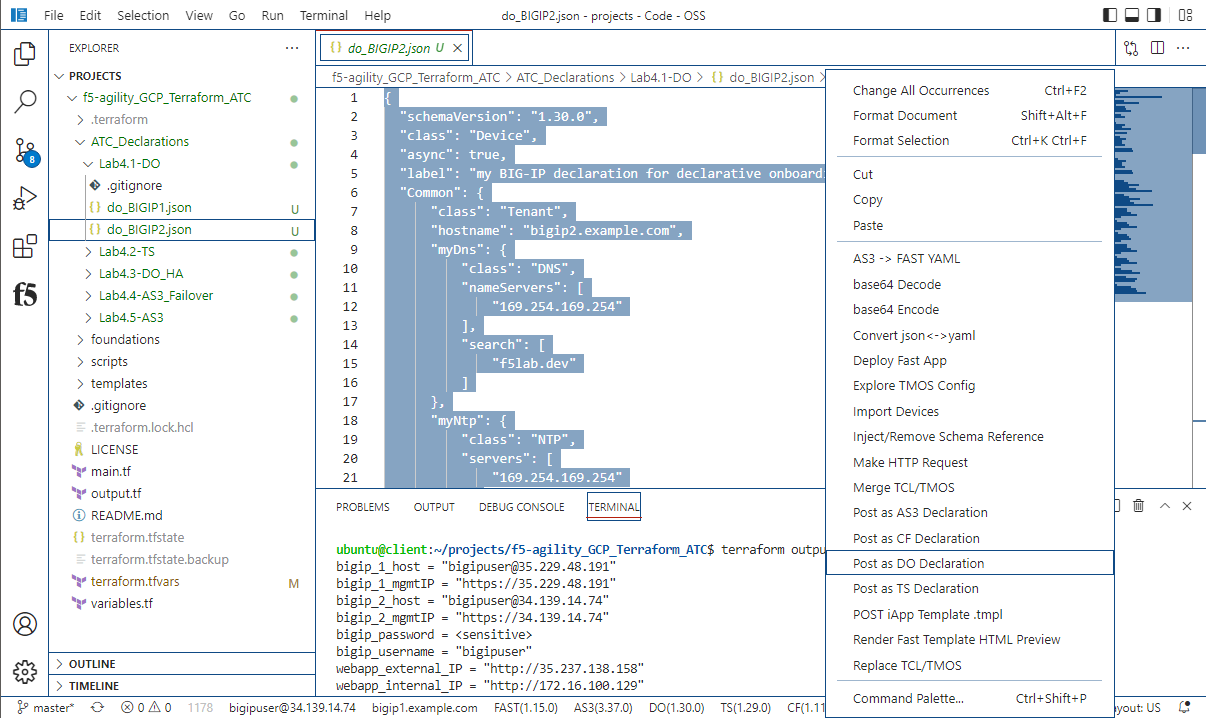
Now sign into BIG-IP Host 2 by clicking on the F5 Extension icon and left clicking on the second BIG-IP.
Now return to the folder explorer and click on Lab4.1-DO under the drop down menu, select “do_step2.json” request. Right Click “Post as DO Declaration”.
Wait a few minutes until status is 200 OK
Note
Even though you just sent a DO declaration to the device, the status bar from the F5 Extension still reflects the name set on initial start up. This will get updated the next time you connect to that device.