F5 Public Cloud Solutions > Deploying F5 Solutions to GCP with Terraform and The F5 Automation Toolchain > F5 Declarative Onboarding (DO) - HA Config Sync Source | Edit on
Establish Device Trust between Big-IPs
Please click on the F5 Extension icon on the left of the screen, and select bigip1.example.com.
Warning
It is critical to verify that you are connected to the correct BIG-IP based on the IP Addresses from the terraform output. Keeping your terminal window with the terraform output visible can minimize the risk of selecting the wrong BIG-IP when moving between them in this lab. The first DO lab should have assigned host names that will be displayed in the status bar at the bottom of the screen. Posting these declarations to the wrong BIG-IP will result in an error.
Warning
When resetting the password during the initial device gui login, if you did not simply add your student number to the password, then you will need to update the declarations to use the password that you used. A failure to do so may result in an error.
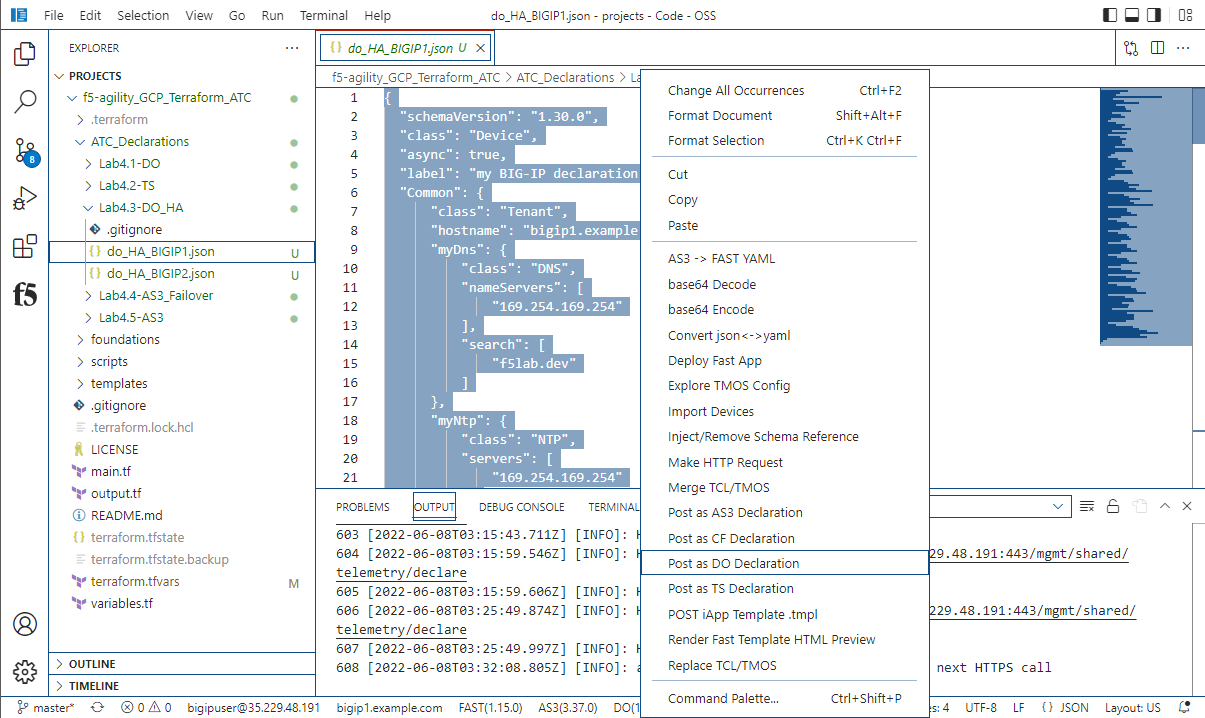
From f5-agility_GCP_Terraform_ATC/ATC_Declarations click on Lab4.3-DO_HA under the drop down menu, select “do_HA_BIGIP1.json” request.
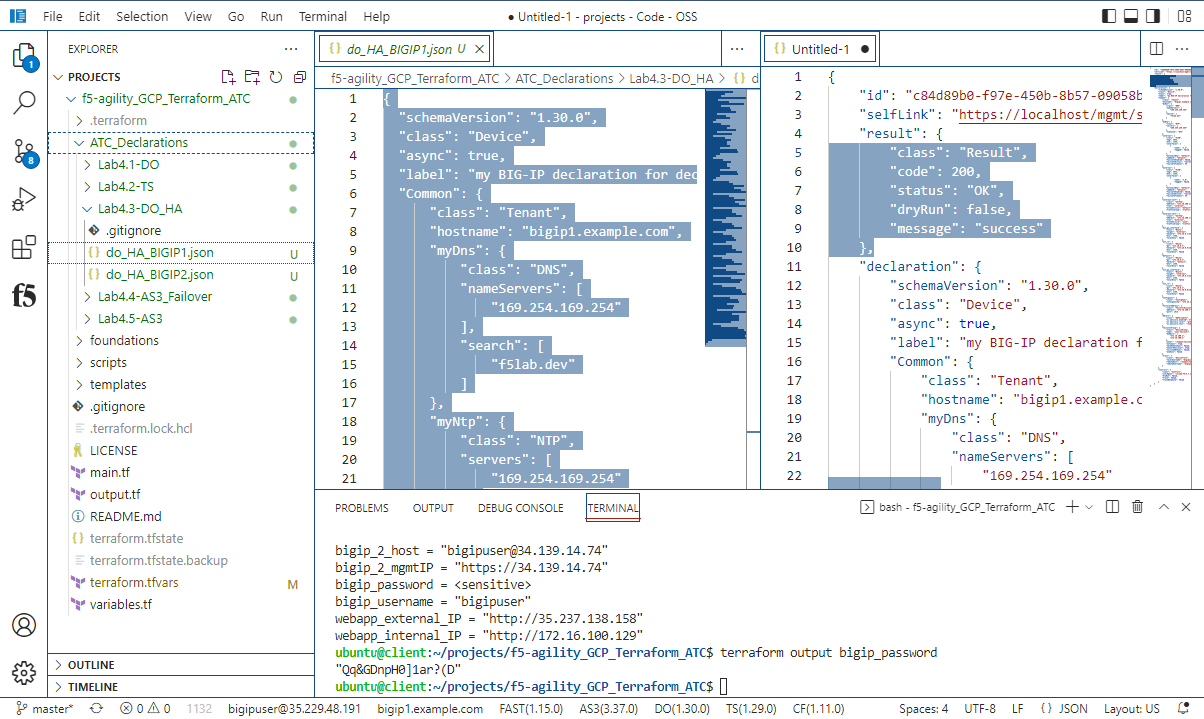
Wait a few minutes until status returns. A 200 or a 202 status is OK. Use the DO verification in the white status bar at the bottom of VS Code to refresh the status.
Warning
If the DO returns anything other than a “202 Accepted” or a “200 OK” then it is suggested that you ssh in the terminal pane as admin@<ip address> to the BIG-IP in question, and issue the command “bigstart restart restnoded” and once done, re-submit the DO declaration.
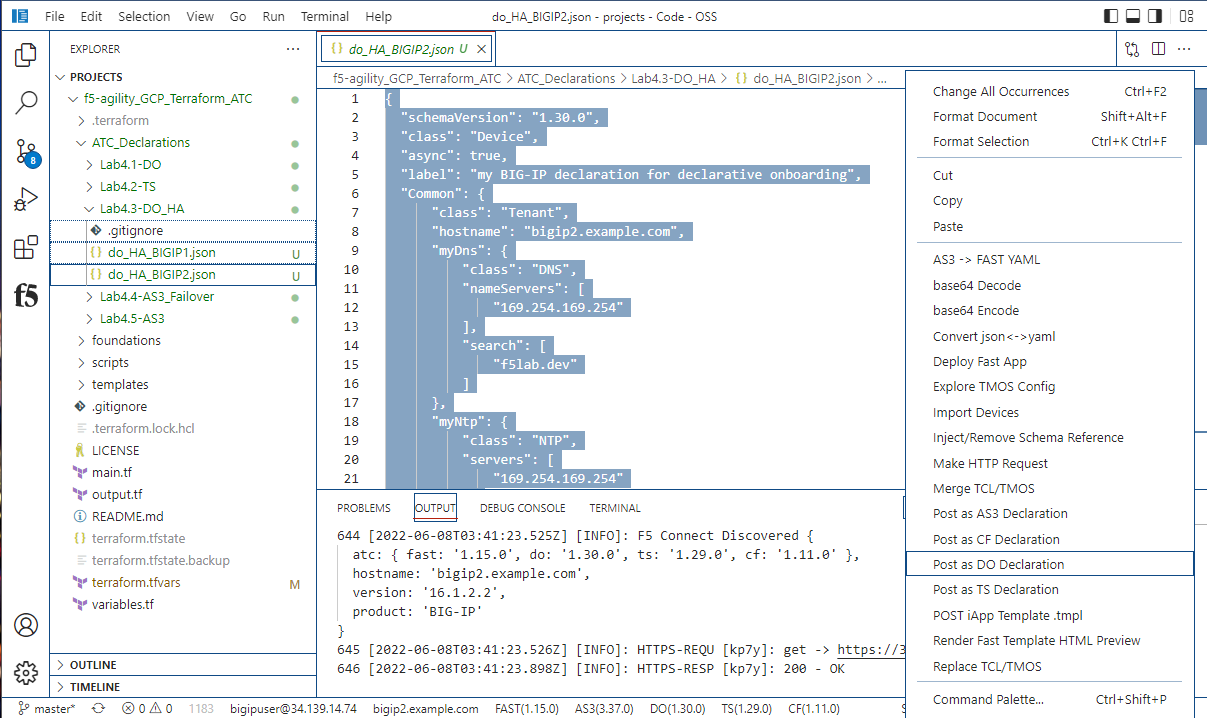
Now sign into BIG-IP Host 2 via the F5 Extension. Click on Lab4.3-DO_HA under the drop down menu, select “do_HA_BIGIP2.json” request.
Wait a few minutes until status is 200 OK
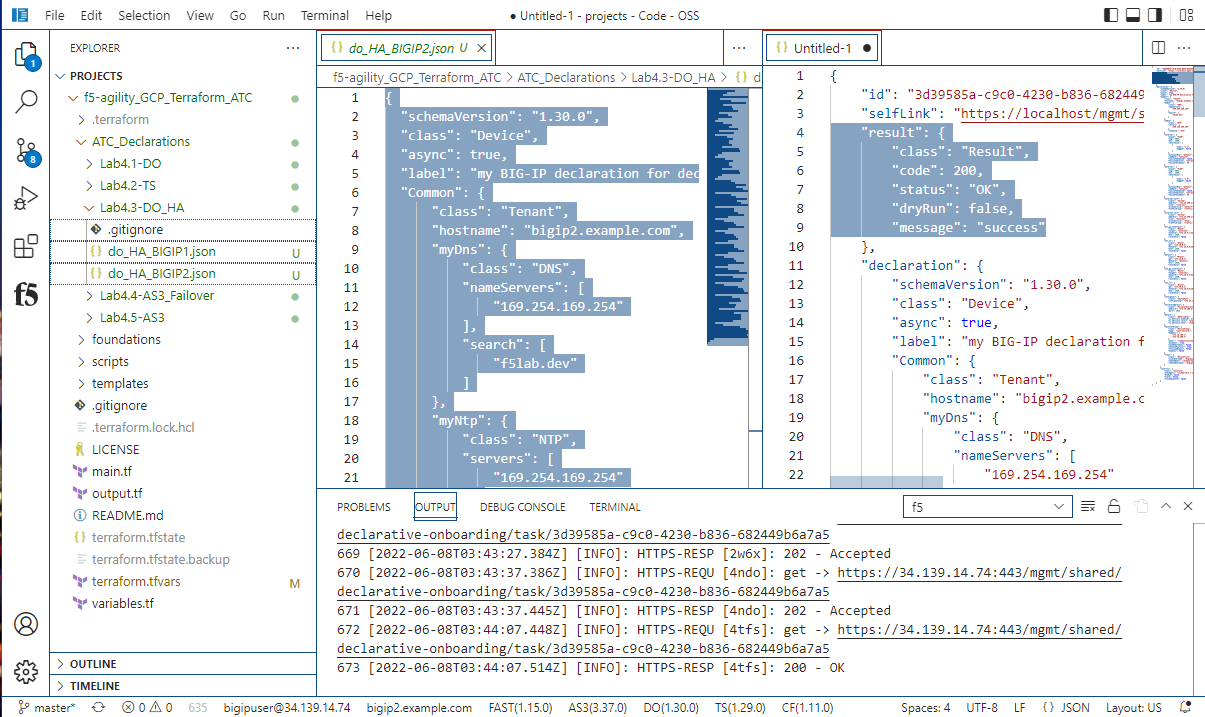
At the bottom of the VS Code window in the white bar, you can click on the DO (1.30.0) to submit a “GET” request to get the status of the DO execution.
Warning
Make sure Big-IP1 is active and Big-IP2 is standby before proceeding. To force Big-IP2 to standby: “Device Management” => “Devices” => bigip2.example.com => [Force to Standby].
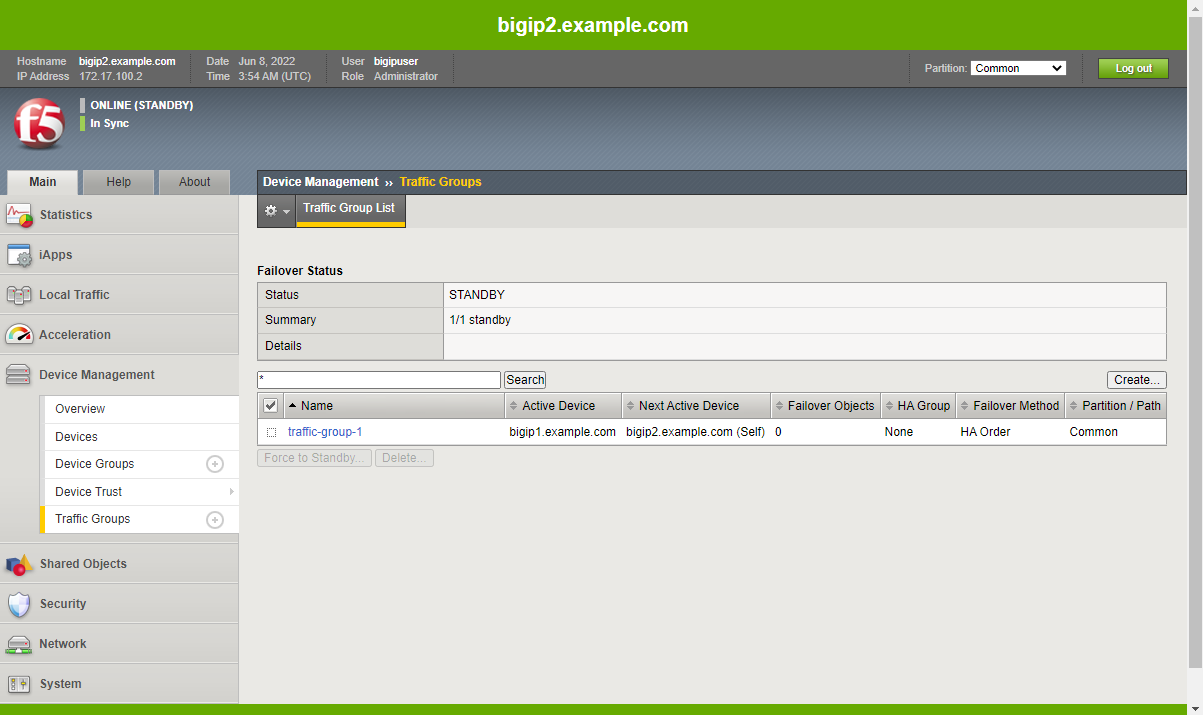
From the Big-IP2 Configuration Utility (WebUI), note that bigip2.example.com is the “ONLINE (ACTIVE)” device and “In Sync”.
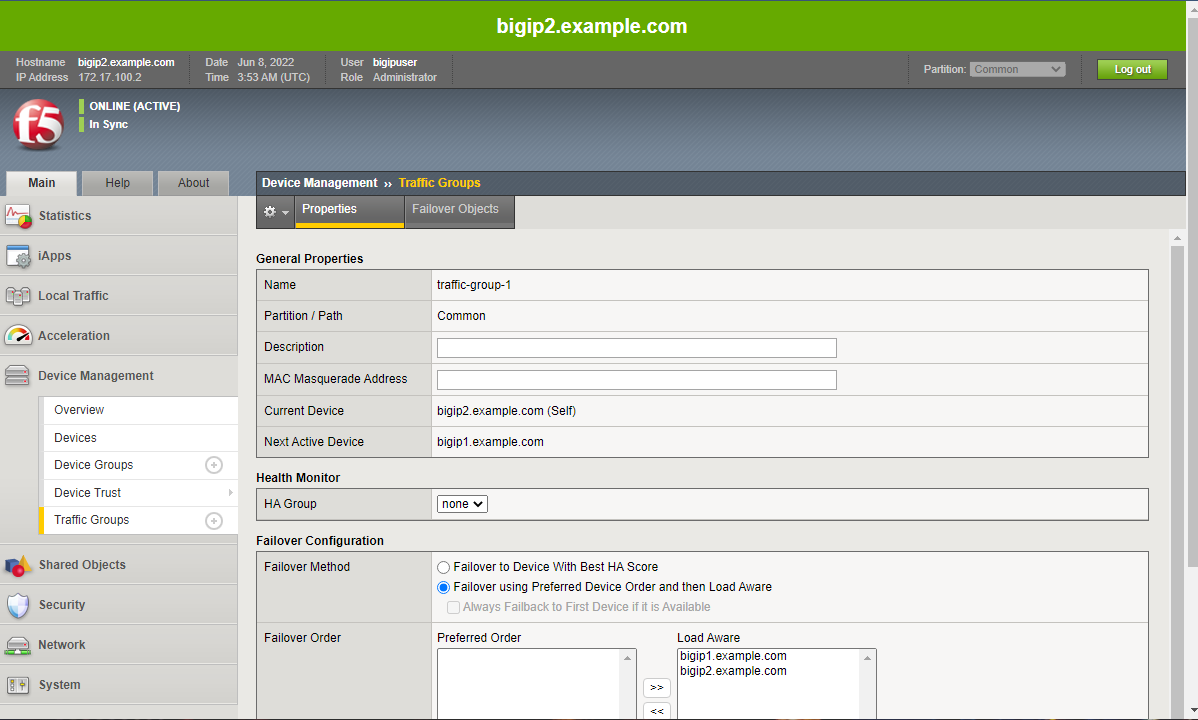
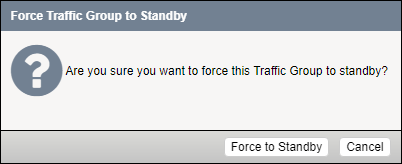
From the Big-IP2 Configuration Utility (WebUI), Click the word Active in the upper left corner. Scroll to the bottom of the page and click the “Force to Standby” button. The gui will ask you to confirm this action.
From the Big-IP2 Configuration Utility (WebUI), note that bigip2.example.com is the “ONLINE (STANDBY)” device and “In Sync”.