Getting started
This document describes each stage of the Service Proxy for Kubernetes (SPK) integration process, and the command line interface (CLI) tools required to complete the integration. A careful review of this document ensures a positive experience.
 Note: You can click Next at the bottom of each page, or scroll through the SPK PDF to follow the integration process.
Integration tools
Install the CLI tools listed below on your Linux based workstation:
- Helm CLI - Manages the SPK Pod installations.
- OpenSSL toolkit - Creates SSL certificates to secure Pod communication.
- Docker CLI - Tags and pushes images to a local registry.
Integration stages
Integrating the SPK software images involves four essential stages to begin processing application traffic, and two optional stages to enable logging collection and session-state data persistence:
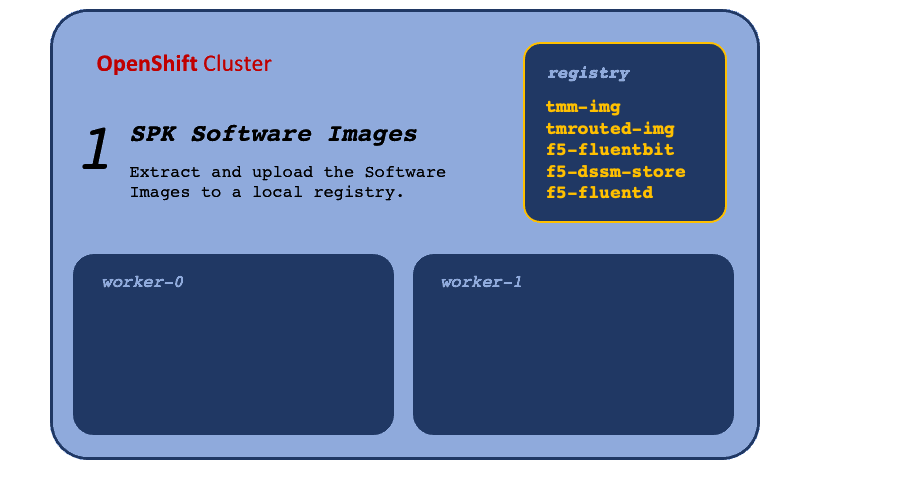
- Software Images - Extract and upload the software images to a local container registry.
- gRPC Secrets - Secure communication between the Ingress Controller and Service Proxy Pods.
- Fluentd Logging - Optional: Centralize logging data sent from each of the installed SPK Pods.
- dSSM Database - Optional: Store session-state data for the Service Proxy TMM Pod.
- Ingress Controller - Prepare the cluster to proxy and load balance application traffic.
- Custom Resources - Configure a Custom Resource (CR) to begin processing application traffic.
Integration stages:
Next step
Continue to the Software Images guide to extract and make the images available to the cluster.
Feedback
Provide feedback to improve this document by emailing spkdocs@f5.com.