How to Deploy a Solution
To access your dedicated lab environment, you will require a web browser and Remote Desktop Protocol (RDP) client software. The web browser will be used to access the Lab Environment. The RDP client will be used to connect to the Jump Host, where you will be able to access the BIG-IP management interfaces (HTTPS, SSH).
Establish a RDP connection to jumphost.f5lab.local with the following credentials:
- Username
f5lab\user1
- Password
user1
After successful logon the Chrome browser auto launch and open the site https://portal.f5lab.local. This process usually takes 30 seconds.
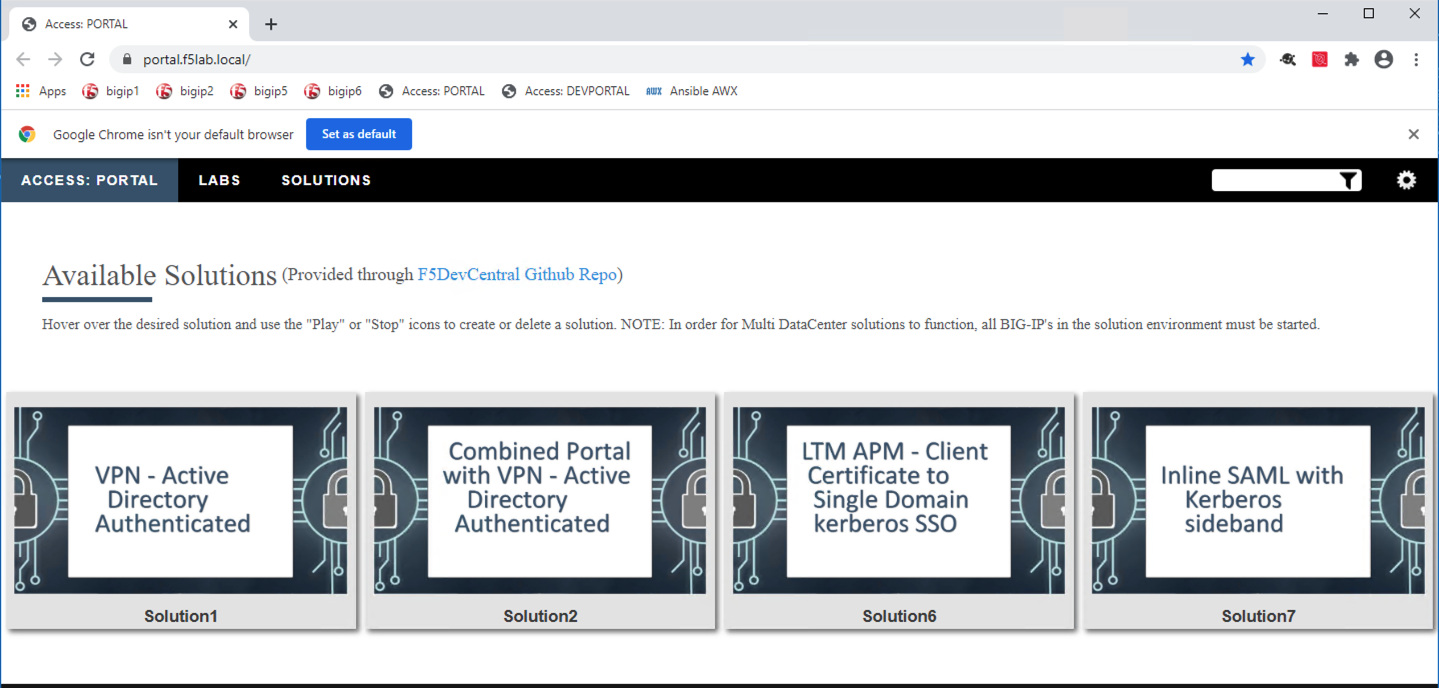
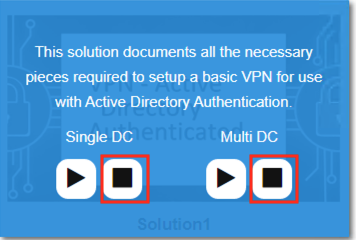
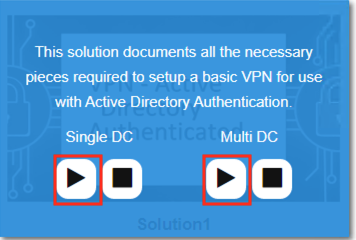
Hover over the solution you would like to deploy. A start and stop icon should appear under a single Data Center(DC) deployment option. If the automation supports a multi-datacenter deployment option a second set of icon will also be displayed.
Note
While multiple solutions can normally be deployed, solutions involving an IDaaS must be restricted to a single deployment at a time. That is eliminates the configuration changes required on the IDaaS by having SAML applications resolve to sp.acme.com and OAuth applications resolve to rs.acme.com.
4 . Click the play button under the deployment option you wish the automation to configure. Scroll to the bottom of the automation workflow to ensure all requests succeeded. If you you experience errors try running the automation a second time or open an issue on the access-solutions repo.
Note
Wait 15 seconds and the screen should refresh with the automation status
The accompanying solution guide will provide details on how to access the application that was just deployed.
Once you are done working in that solution return to https://portal.f5lab.local and click the stop to delete everything related to that solution