F5 Application Study Tool Labs > Class 1: Introduction to F5 Application Study Tool > Module 2: Installing, Configuring, Updating, and Accessing the F5 AST Source | Edit on
Lab 1 - Accessing and Using the GitHub Repository
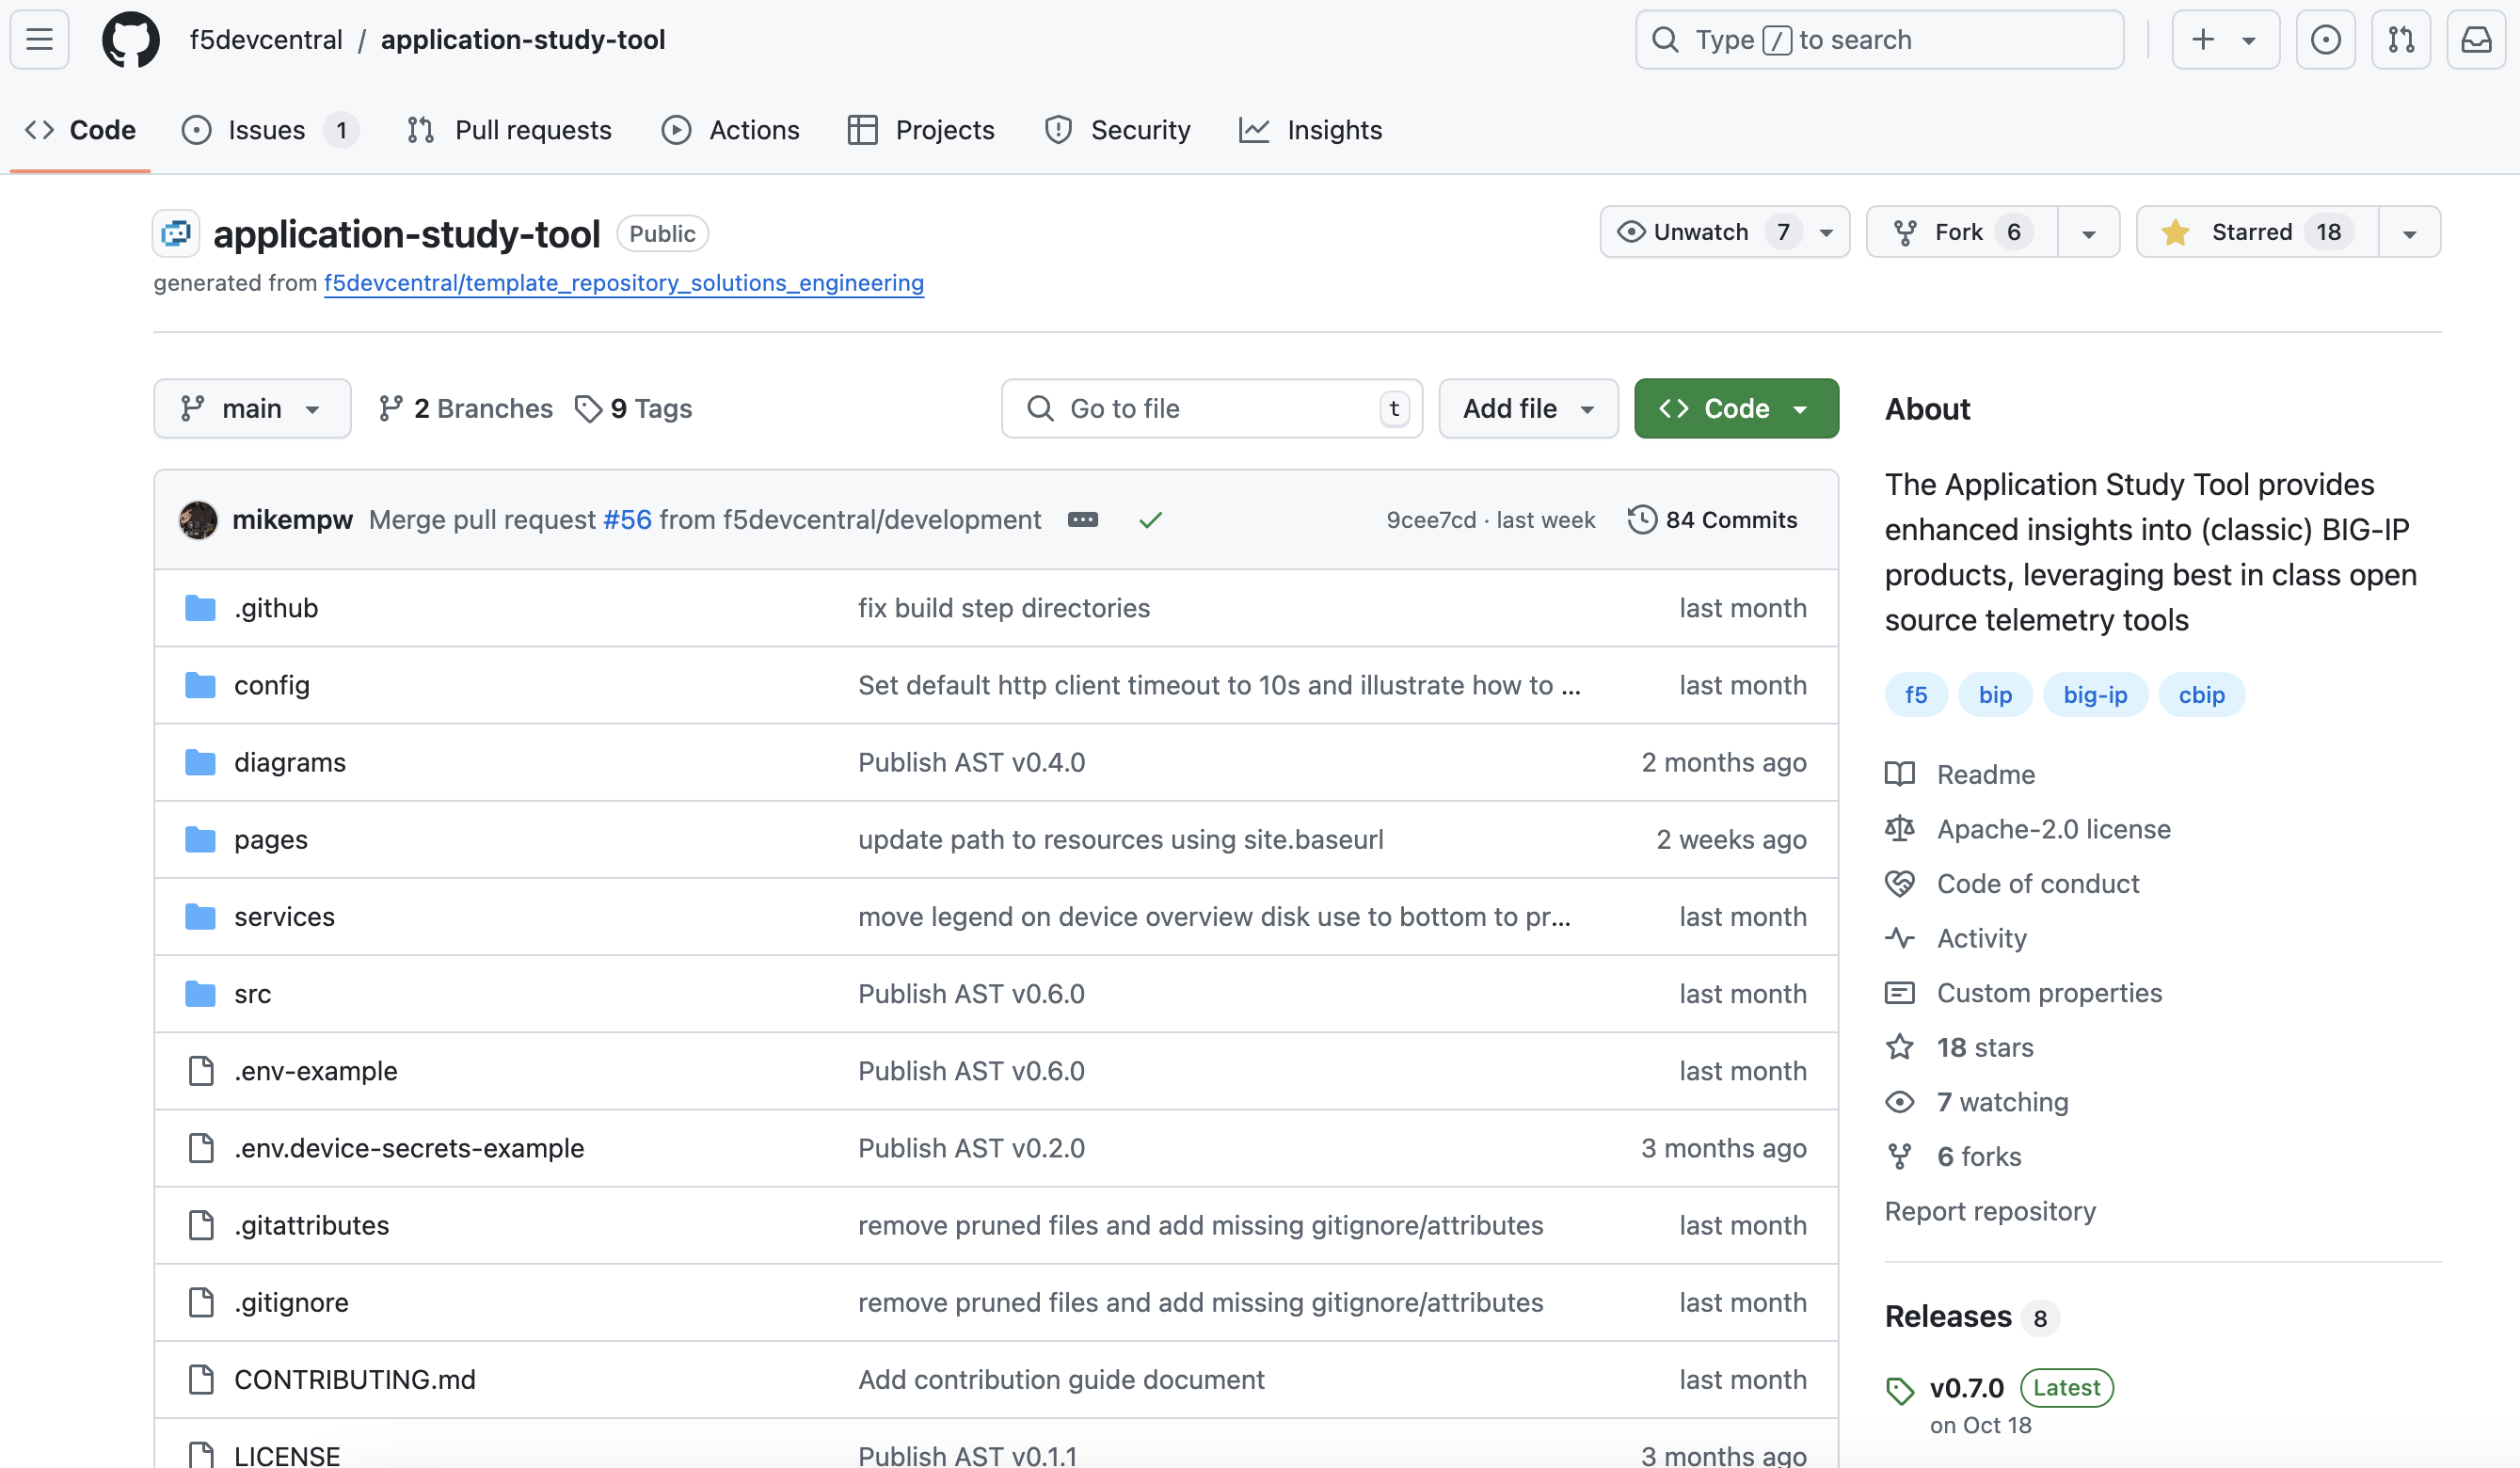
F5 DevCentral Application Study Tool GitHub Repo
Here it is, served to you on a nice, bountiful SaaS platter: f5devcentral / application-study-tool
Navigate to the F5 Application Study Tool link above and observe the GitHub Repo main page
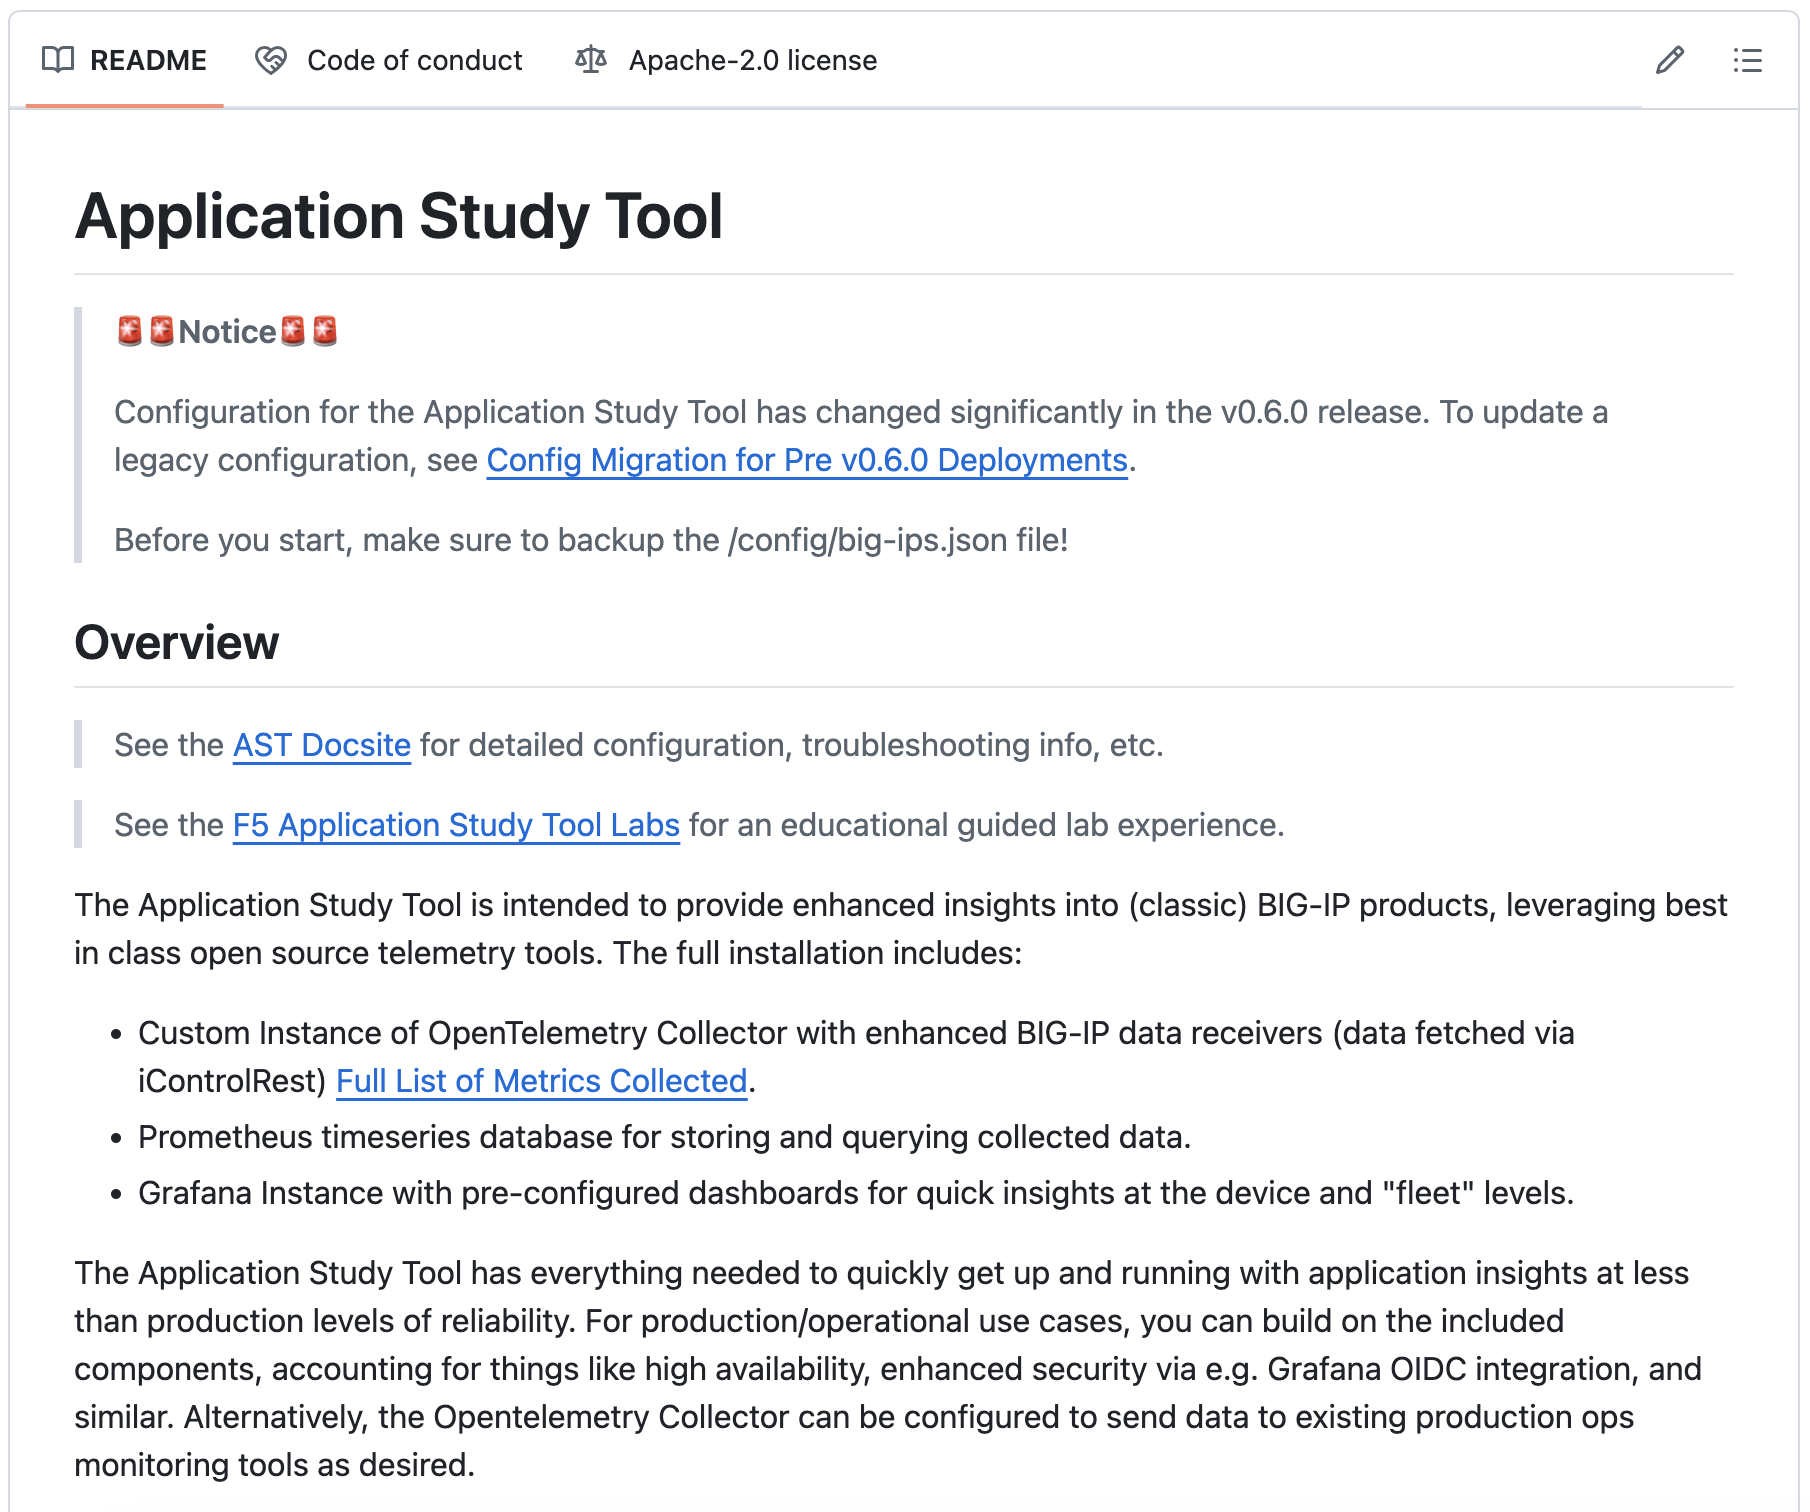
Scroll down the page and you will soon find the Readme.
Note
This is a fairly comprehensive guide for installing, managing, and updating the F5 AST. We won’t follow it verbatim, but will touch on the fundamentals.
We recommend you fully review and keep the F5 Application Study Tool repo and the Docsite in your bookmarks.
On the right side of the page are links to Releases and Packages
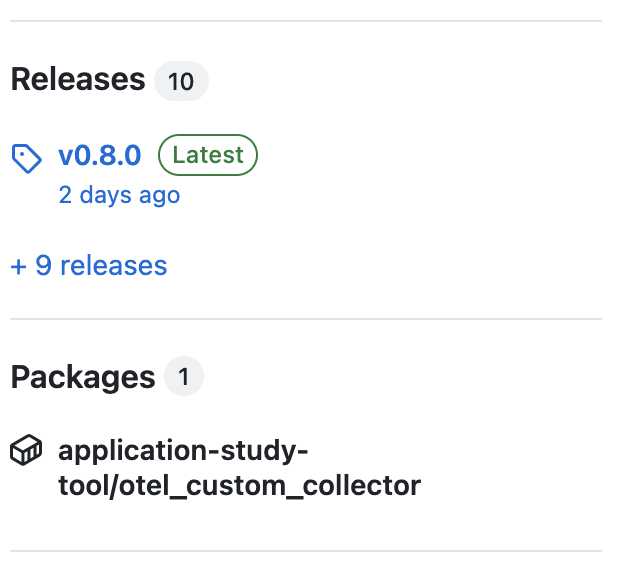
Within a given Release you will find full details about it, as well as the source code (zip and tar.gz).
The Packages section contains the
otel_custom_collectorimage, which is referenced within thedocker-compose.yamlfile in the repo’s root directory.Note
Building on the brief intro to managing containers with Docker, it is possible to run multiple containers in conjunction with one another through the use of Docker Compose.
docker-compose.yamlcontains the set of instructions that is interpreted by Docker Compose, which is responsible for orchestrating the OTel Collector, Grafana, and Prometheus containers.Let’s review the repo’s installation instructions:
# Clone the repo
git clone https://github.com/f5devcentral/application-study-tool.git
cd application-study-tool
# Edit the following file with Grafana variables as required
cp .env-example .env
# Edit the following file with device secrets as required (see "Configure Device Secrets" below)
cp .env.device-secrets-example .env.device-secrets
# Edit the default settings for your environment as required
# (see "Configure Default Device Settings" below)
vi ./config/ast_defaults.yaml
# Edit the config file with device / connection info
# (see "Configure Devices To Scrape" below)
vi ./config/bigip_receivers.yaml
# Run the configuration generator
docker run --rm -it -w /app -v ${PWD}:/app --entrypoint /app/src/bin/init_entrypoint.sh python:3.12.6-slim-bookworm --generate-config
# Start the tool
docker-compose up
In the UDF lab environment, a copy of the F5 Application Study Tool has already been installed, partially configured, and started on the Application Study Tool UDF system, exposed via http://10.1.1.11:3000.
If you’d like to perform a full installation yourself, please continue on to Lab 2 - Full Installation of the F5 AST.
If you’d rather skip the full installation process, Lab 3 - Reviewing, Updating, and Accessing the Pre-Installed F5 AST Instance is the place to be. There’s an F5 BIG-IP in the UDF course lab environment which is not yet being monitored by the pre-installed F5 AST instance and needs to be added to the config/bigip_receivers.yaml file. This will give you an opportunity to review, familiarize yourself, and interact with the current pre-installed F5 AST configuration. It’s a nice chance to get your hands dirty by modifying it and restarting the OTel container using Docker.
Please select Next below and continue on to Lab 2 - Full Installation of the F5 AST