F5 Solutions for Containers > Appendix > Appendix 2: Build a Kubernetes Cluster Source | Edit on
Lab 2.1 - Prep Ubuntu
Note
This installation will utilize Ubuntu v18.04 (Bionic)
Important
The following commands need to be run on all three nodes unless otherwise specified.
From the jumpbox open mRemoteNG and start a session to each of the following servers. The sessions are pre-configured to connect with the default user “ubuntu”.
- kube-master1
- kube-node1
- kube-node2
Tip
These sessions should be running from the previous Docker lab.

If not already done from the previous Docker lab elevate to “root”
su -

#When prompted for password enter "default" without the quotes
Your prompt should change to root@ at the start of the line :

For your convenience we’ve already added the host IP & names to /etc/hosts. Verify the file
cat /etc/hostsThe file should look like this:
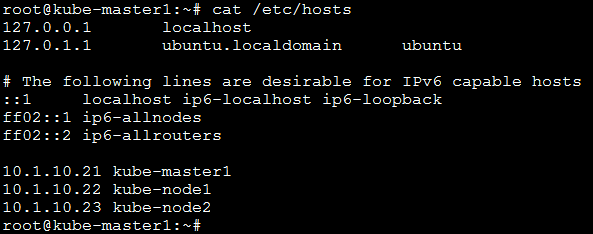
If entries are not there add them to the bottom of the file be editing “/etc/hosts” with ‘vim’
vim /etc/hosts

#cut and paste the following lines to /etc/hosts

10.1.1.7    kube-master1
10.1.1.8    kube-node1
10.1.1.9    kube-node2
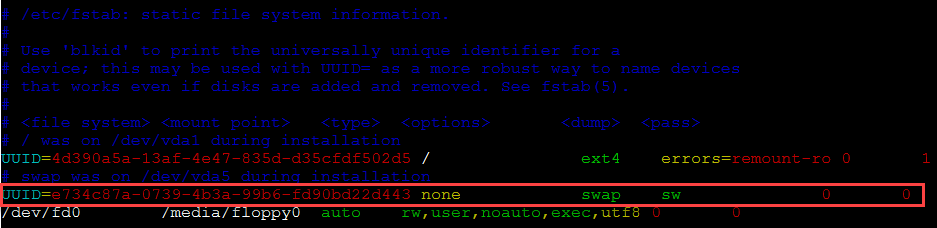
The linux swap file needs to be disabled, this is not the case by default. Again for your convenience we disabled swap. Verify the setting
Important
Running a swap file is incompatible with Kubernetes. Lets use the linux top command, which allows users to monitor processes and system resource usage
top

If you see a number other than “0” you need to run the following commands (press ‘q’ to quit top)
swapoff -a

vim /etc/fstab

#rem out the highlighted line below by adding "#" to the beginning of the line, write and save the file by typing ":wq"
Ensure the OS is up to date, run the following command
Tip
You can skip this step if it was done in the previous Docker lab.
apt update && apt upgrade -y

#This can take a few seconds to several minute depending on demand to download the latest updates for the OS.
Install docker-ce
Attention
This was done earlier in Appendix 1 / Module1 / Lab 1.1: Install Docker . If skipped go back and install Docker by clicking the link.
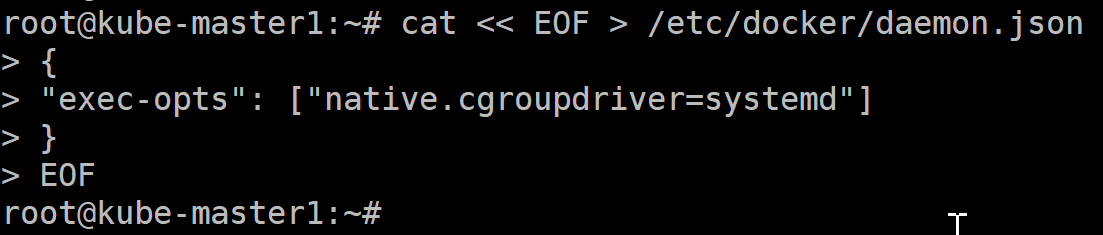
Configure docker to use the correct cgroupdriver
Important
The cgroupdrive for docker and kubernetes have to match. Kubernetes defaults to “systemd”. In this lab “systemd” is the correct driver.
Note
This next part can be a bit tricky - just copy/paste the 5 lines below exactly as they are and paste via buffer to the CLI (and press return when done)
cat << EOF > /etc/docker/daemon.json
{
"exec-opts": ["native.cgroupdriver=systemd"]
}
EOF
It should look something like this image below:
Add the kubernetes repo
curl -s https://packages.cloud.google.com/apt/doc/apt-key.gpg | apt-key add -

cat <<EOF > /etc/apt/sources.list.d/kubernetes.list
deb http://apt.kubernetes.io/ kubernetes-xenial main
EOF
Install the kubernetes packages
apt update && apt install kubelet kubeadm kubectl -y
Limitations
See also
For a full list of the limitations go here: kubeadm limitations
Important
The cluster created has a single master, with a single etcd database running on it. This means that if the master fails, your cluster loses its configuration data and will need to be recreated from scratch.