F5 Solutions for Containers > Class 1: Kubernetes with F5 Container Ingress Service > Module 3: Expose Service with NGINX Ingress Controller Source | Edit on
Lab 3.1 - Deploy the NGINX Ingress Controller
Important
The Kubernetes project also has an “NGINX Ingress Controller” that is DIFFERENT than the “NGINX Ingress Controller” being used in this lab. The Kubernetes project “NGINX Ingress Controller” is NOT supported/developed by NGINX (F5). The “NGINX Ingress Controller” from NGINX (F5) is.
Attention
In this lab we’re simply using the free version of NGINX.
In a customer environment, an NGINX+ container would need to be built using a cert and key from the F5 Customer Portal.
Click here to see the Key Differences
NGINX Ingress Controller runs two processes. One is a management plane process that subscribes to Kubernetes API events and updates the NGINX configuration file and/or API (for NGINX+) as needed. The second process is the data plane NGINX or NGINX+ process.
Note
In this lab we are using NGINX for the data plane. This version has diminished capabilities (lacks enhanced health checks; faster updating of pods).
See also
The following steps are adapted from “Installing the Ingress Controller”.
Prep the Kubernetes Cluster
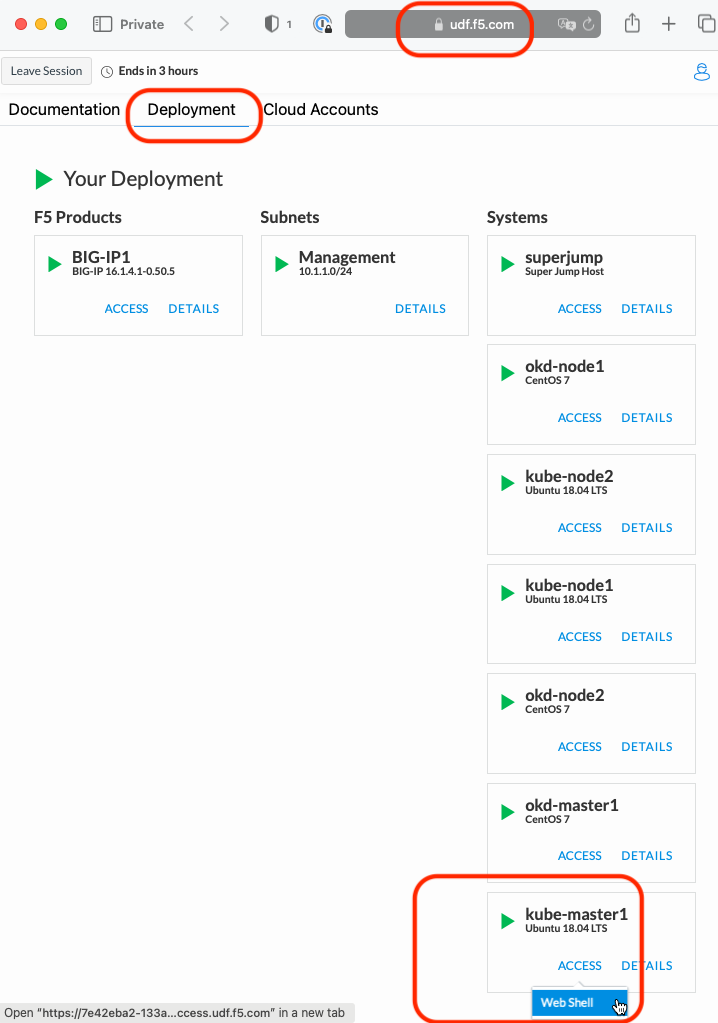
Go back to the Web Shell session you opened in the previous task. If you need to open a new session go back to the Deployment tab of your UDF lab session at https://udf.f5.com to connect to kube-master1 using the Web Shell access method, then switch to the ubuntu user account using the “su” command:
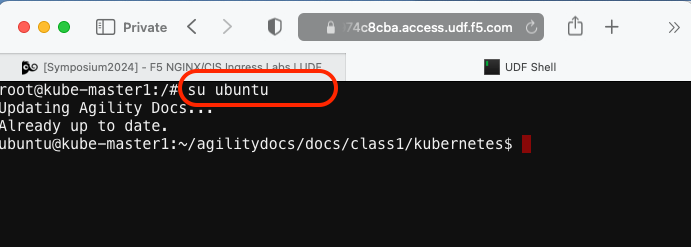
su ubuntu“git” the NGINX ingress controller repo and set the working directy with the “cd” command.
git clone https://github.com/nginxinc/kubernetes-ingress/ --branch v2.4.2 ~/kubernetes-ingress

cd ~/kubernetes-ingress/deployments/
Configure RBAC
Create NameSpace and Service Account
The NGINX Ingress Controller runs in an isolated NameSpace and uses a separate ServiceAccount for accessing the Kubernetes API. Run this command to create the “nginx-ingress” namespace and service account:
kubectl apply -f common/ns-and-sa.yaml
In this lab environment RBAC is enabled and you will need to enable access from the NGINX Service Account to the Kubernetes API.
kubectl apply -f rbac/rbac.yaml
Note
The
ubuntuuser is accessing the Kubernetes Cluster as a “Cluster Admin” and has privileges to apply RBAC permissions.
Create Common Resources
Create NGINX IC custom resource definitions for VirtualServer and VirtualServerRoute, TransportServer and Policy resources
Note
This step is required for Module 4 - F5 IngressLink. It has no affect on this module and the basic Nginx Ingress Controller deployment we’re creating.
kubectl apply -f common/crds/k8s.nginx.org_virtualservers.yaml
kubectl apply -f common/crds/k8s.nginx.org_virtualserverroutes.yaml
kubectl apply -f common/crds/k8s.nginx.org_transportservers.yaml
kubectl apply -f common/crds/k8s.nginx.org_policies.yaml
The Ingress Controller will use a “default” SSL certificate for requests that are not configured to use an explicit certificate. The following loads the default certificate into Kubernetes:
kubectl apply -f common/default-server-secret.yaml
Note
NGINX docs state “For testing purposes we include a self-signed certificate and key that we generated. However, we recommend that you use your own certificate and key.”
Create a NGINX ConfigMap
kubectl apply -f common/nginx-config.yaml
Note
NGINX Ingress Controller makes use of a Kubernetes ConfigMap to store customizations to the NGINX+ configuration. Configuration snippets/directives can be passed into the
datasection or a set of NGINX and NGINX+ annotations are available.Create an IngressClass resource
kubectl apply -f common/ingress-class.yaml
Warning
The Ingress Controller will fail to start without an IngressClass resource. This applies to Kubernetes >= v1.18.
Create a Deployment
We will be deploying NGINX as a deployment. There are two options:
- Deployment. Use a Deployment if you plan to dynamically change the number of Ingress controller replicas.
- DaemonSet. Use a DaemonSet for deploying the Ingress controller on every node or a subset of nodes.
Deploy NGINX
kubectl apply -f deployment/nginx-ingress.yaml
Verify the deployment
kubectl get pods -n nginx-ingress
You should see output similar to:

Attention
Be patient this step will talk a few minutes before the nginx deployment is “Running” and ready to use.
Expose NGINX via NodePort
Finally we need to enable external access to the Kubernetes cluster by defining
a service. We will create a NodePort service to enable access from outside
the cluster. This will create an ephemeral port that will map to port 80/443 on
the NGINX Ingress Controller.
Create NodePort service
kubectl create -f service/nodeport.yaml
Retrieve and record the NodePort number that follows “80:”
kubectl get svc -n nginx-ingress

In the example above port 32251 maps to port 80 on NGINX.
Important
You will have a different port value! Record the value for the next lab exercise.
Access NGINX From Outside the Cluster
Go back to your UDF superjump -> Firefox access window and “browse” to the kube-master1’s internal host IP address (10.1.1.7) with the previously recorded port. For example:
http://10.1.1.7:32251Warning
You will have a different port value!
You should expect to see something like this:
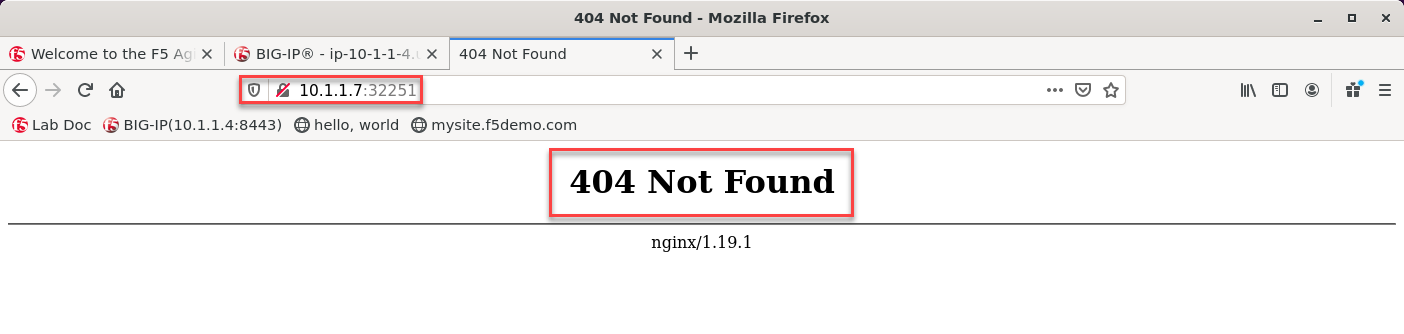
Note
The 404 error is expected since we’ve not yet configured any services to use the NGINX Ingress Controller.
As explained in the NGINX docs:
“The default server returns the Not Found page with the 404 status code for all requests for domains for which there are no Ingress rules defined.”