F5 Solutions for Containers > Class 1: Kubernetes with F5 Container Ingress Service > Module 4: Using F5 IngressLink Source | Edit on
Lab 4.1 - Configure F5 IngressLink with Kubernetes
BIG-IP Setup
When we configure CIS below, NGINX requires “Proxy-Protocol” to provide the application POD with the original client IP. BIG IP will pass the original client IP to NGINX via PROXY PROTOCOL, and NGINX will pass the client IP to the application POD via X-Real-IP HTTP header. The following iRule provides the necessary header with IP information.
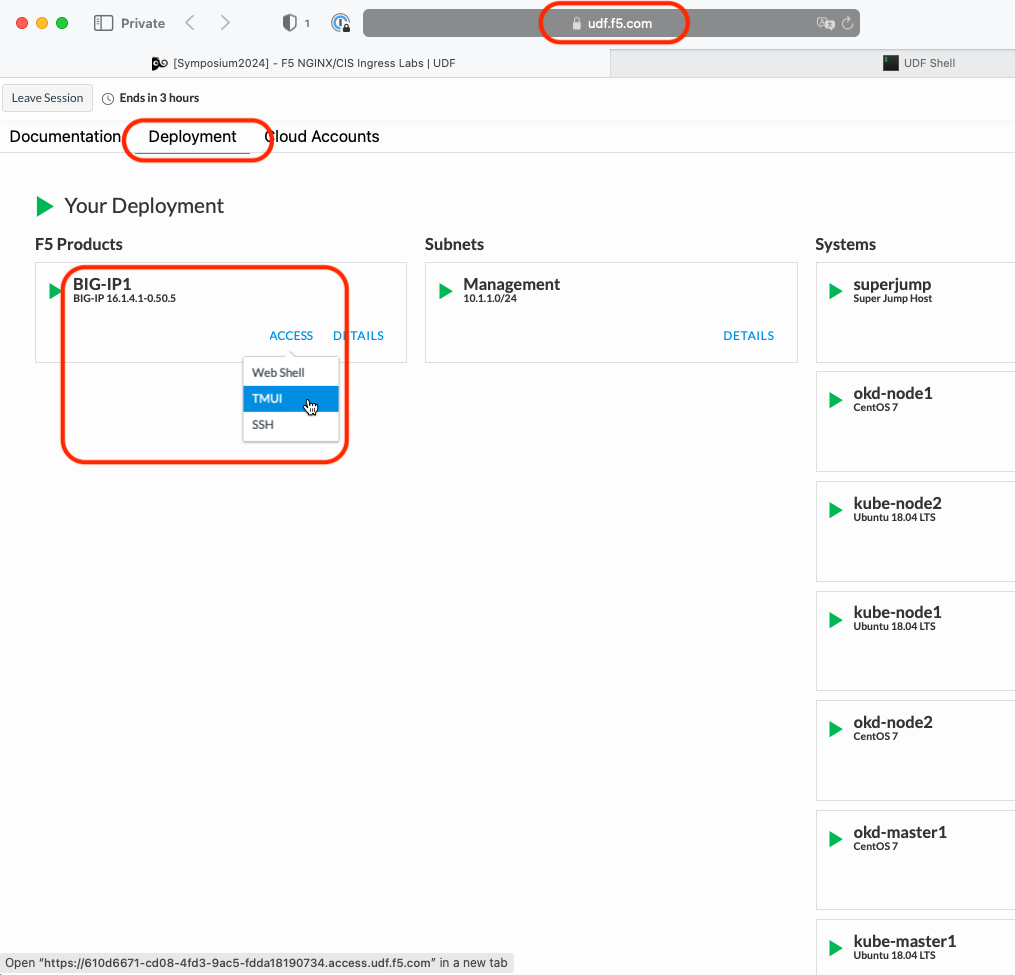
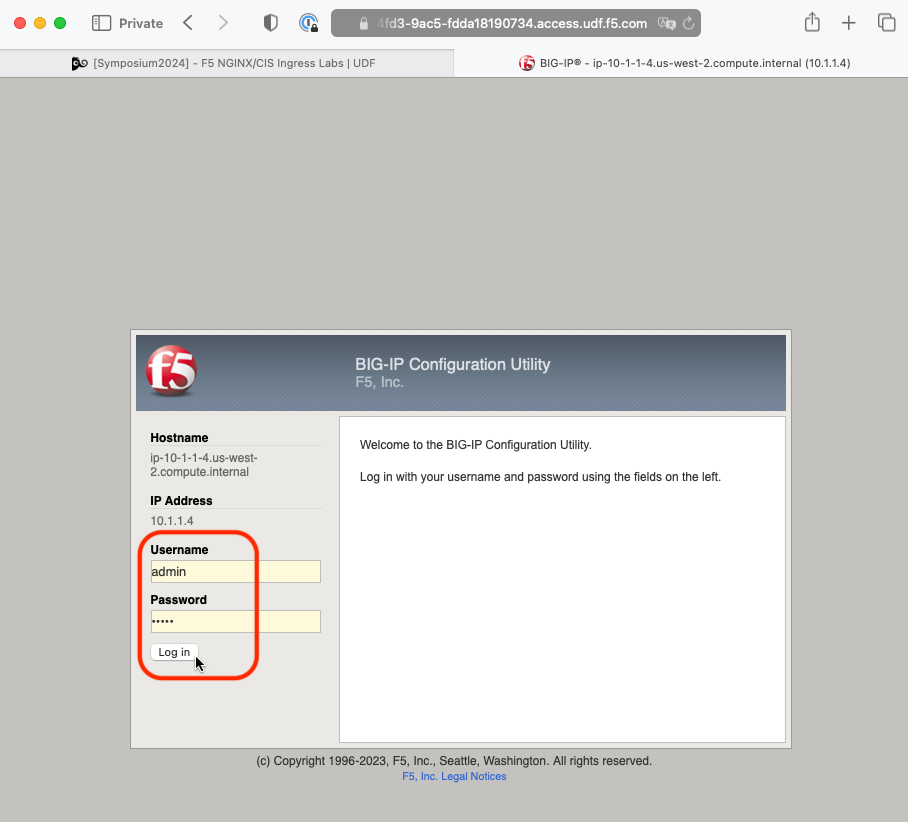
Go back to the TMUI session you opened in a previous task. If you need to open a new session go back to the Deployment tab of your UDF lab session at https://udf.f5.com and connect to BIG-IP1 using the TMUI access method (username: admin and password: admin)
On the Main tab go to
Click Create.
In the Name field, type name as “Proxy_Protocol_iRule”.
Important
Be sure to use the name as shown. The IngressLink Resource will reference that specific name.
In the Definition field, Copy the following definition
Proxy_Protocol_iRule¶# PROXY Protocol Receiver iRule # iRule used for F5 IngressLink # Layer 4 irule since BIG-IP is passthrough when CLIENT_ACCEPTED { set proxyheader "PROXY " if {[IP::version] eq 4} { append proxyheader "TCP4 " } else { append proxyheader "TCP6 " } append proxyheader "[IP::remote_addr] [IP::local_addr] [TCP::remote_port] [TCP::local_port]\r\n" } when SERVER_CONNECTED { TCP::respond $proxyheader }
Click Finished
Configure CIS
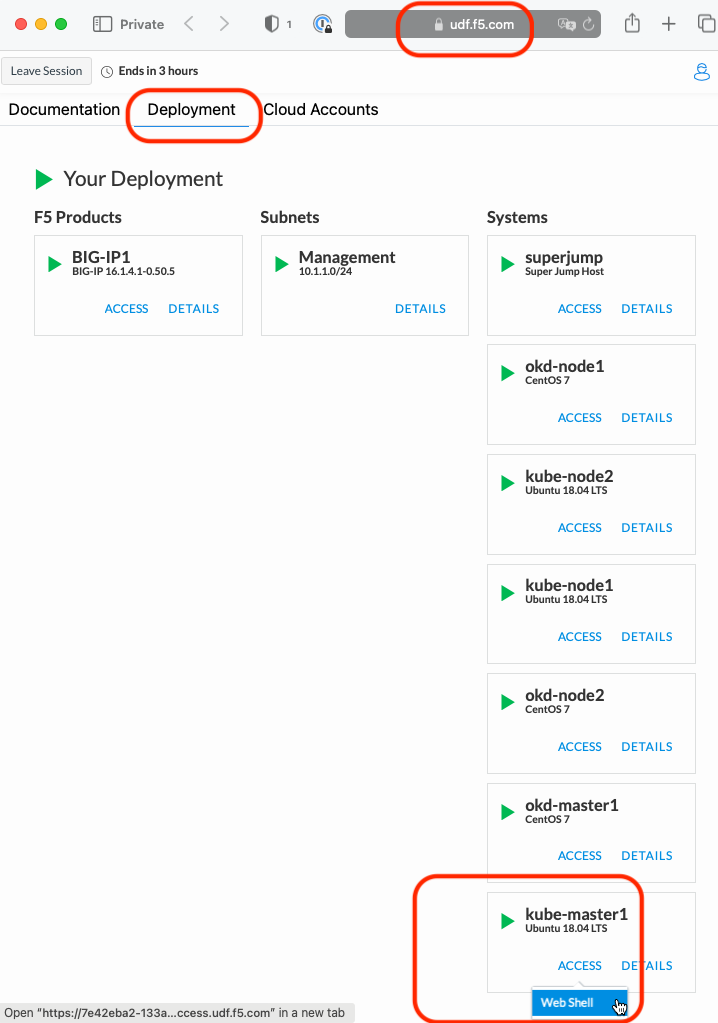
Go back to the Web Shell session you opened in the previous task. If you need to open a new session go back to the Deployment tab of your UDF lab session at https://udf.f5.com to connect to kube-master1 using the Web Shell access method, then switch to the ubuntu user account using the “su” command:
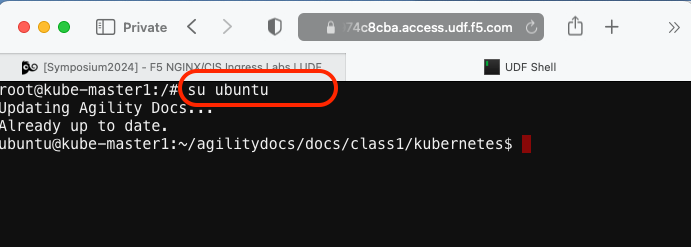
su ubuntuChange to the default working directory with all the yaml files
cd ~/agilitydocs/docs/class1/kubernetes/
Ensure the previously deployed “CIS ClusterIP deployment” is deleted
kubectl delete -f cluster-deployment.yaml
Attention
This was most likely done in a previous step but we need to ensure the previous deployment is removed. It does not hurt to run the command again so do so now.
Create the CIS IngressLink custom resource definition. The schema is used to validate the JSON data during creation and updates so that it can prevent invalid data, or moreover, malicious attacks.
kubectl create -f ingresslink/ingresslink-customresourcedefinition.yaml
Create a service for the Ingress Controller pods for ports 80 and 443
kubectl create -f ingresslink/nginx-service.yaml
Verify the service
kubectl describe svc nginx-ingress-ingresslink -n nginx-ingress
The default nginx config needs to be updated with proxy-protocol. This is necesary for IngressLink to properly operate.
Note
BIG IP will pass the original client IP to NGINX via PROXY PROTOCOL, and NGINX will pass the client IP to the application POD via X-Real-IP HTTP header.
nginx-config.yaml¶1kind: ConfigMap 2apiVersion: v1 3metadata: 4 name: nginx-config 5 namespace: nginx-ingress 6data: 7 proxy-protocol: "True" 8 real-ip-header: "proxy_protocol" 9 set-real-ip-from: "0.0.0.0/0"
Apply the config changes to nginx ingress
kubectl apply -f ingresslink/nginx-config.yaml
Hint
The use of “apply” allows us to modify an already running object.
Inspect the deployment yaml
Note
To enable IngressLink you’ll notice two additional “args”
"--custom-resource-mode=true",
"--ingress-link-mode=true",
You’ll see this difference in the deployment file
ingresslink-deployment.yaml¶1apiVersion: apps/v1 2kind: Deployment 3metadata: 4 name: k8s-bigip-ctlr 5 namespace: kube-system 6spec: 7 replicas: 1 8 selector: 9 matchLabels: 10 app: k8s-bigip-ctlr 11 template: 12 metadata: 13 name: k8s-bigip-ctlr 14 labels: 15 app: k8s-bigip-ctlr 16 spec: 17 serviceAccountName: k8s-bigip-ctlr 18 containers: 19 - name: k8s-bigip-ctlr 20 image: "f5networks/k8s-bigip-ctlr:2.4.1" 21 imagePullPolicy: IfNotPresent 22 env: 23 - name: BIGIP_USERNAME 24 valueFrom: 25 secretKeyRef: 26 name: bigip-login 27 key: username 28 - name: BIGIP_PASSWORD 29 valueFrom: 30 secretKeyRef: 31 name: bigip-login 32 key: password 33 command: ["/app/bin/k8s-bigip-ctlr"] 34 args: [ 35 "--bigip-username=$(BIGIP_USERNAME)", 36 "--bigip-password=$(BIGIP_PASSWORD)", 37 "--bigip-url=https://10.1.1.4:8443", 38 "--insecure=true", 39 "--custom-resource-mode=true", 40 "--bigip-partition=kubernetes", 41 "--pool-member-type=cluster", 42 "--flannel-name=/Common/fl-tunnel" 43 ]
Create the CIS deployment
kubectl create -f ingresslink/ingresslink-deployment.yaml
Verify the new CIS pod is “Running”
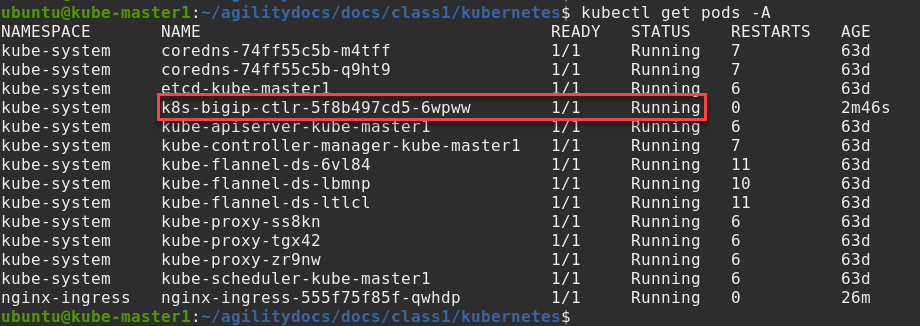
kubectl get pods -A
You should see something similar to the following. Verify a new pod named “K8s-bigip-ctrl…” has started.
Hint
Note the use of “-A” for all namespaces in the kubectl command.
Create an IngressLink Resource
Inspect the IngressLink resource
Attention
Ensure the IP ADDR in the IngressLink resource matches the required IP. In this lab we’re using 10.1.1.4 as the virtual IP. This IP ADDR will be used to configure the BIG-IP device to load balance the Ingress Controller resources.
vs-ingresslink.yaml¶1apiVersion: "cis.f5.com/v1" 2kind: IngressLink 3metadata: 4 name: vs-ingresslink 5 namespace: nginx-ingress 6spec: 7 virtualServerAddress: "10.1.1.4" 8 iRules: 9 - /Common/Proxy_Protocol_iRule 10 selector: 11 matchLabels: 12 app: nginx-ingress
Important
The name of the app label selector in the IngressLink resource should match the labels of the nginx-ingress service created in module 3 where we deployed NGINX.
Create the IngressLink
kubectl create -f ingresslink/vs-ingresslink.yaml
To validate IngressLink deployment we’ll verify the pool member created on BIGIP consist of one IP and it matches the NGINX ingress controller. To find the IP run the following command and take note of the Endpoint IP.
kubectl describe svc nginx-ingress-ingresslink -n nginx-ingress
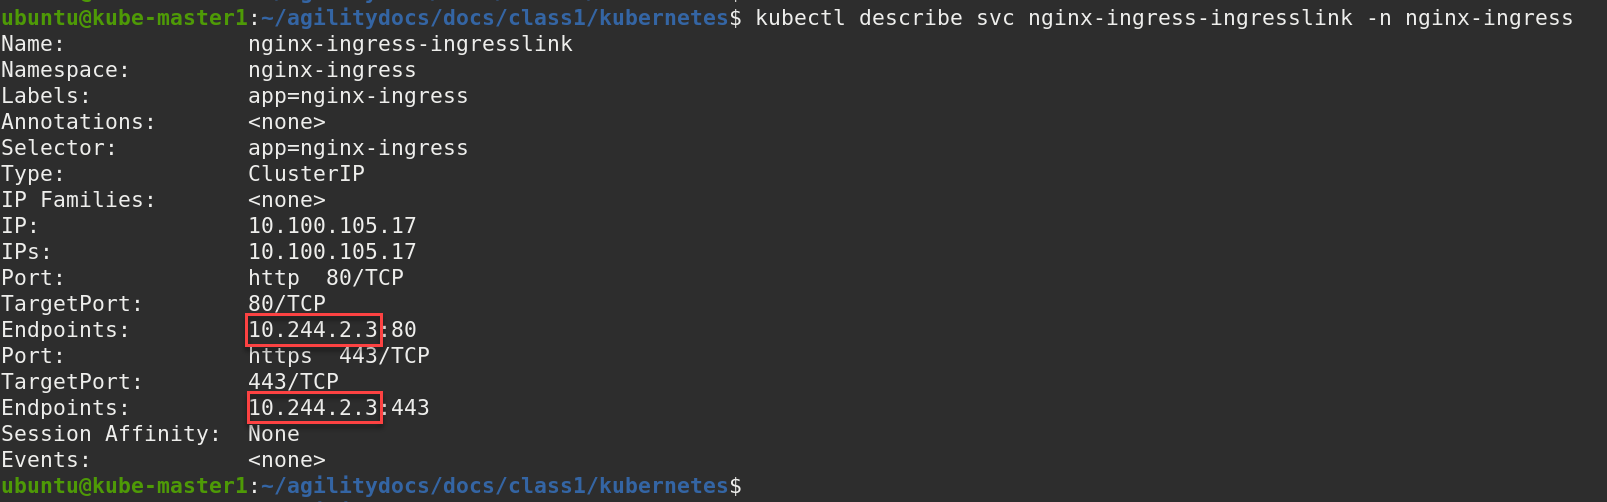
Note
Your Endpoint/IP will most likely be different.
Go back to the TMUI session you opened in a previous task. If you need to open a new session go back to the Deployment tab of your UDF lab session at https://udf.f5.com and connect to BIG-IP1 using the TMUI access method (username: admin and password: admin)
Browse to:
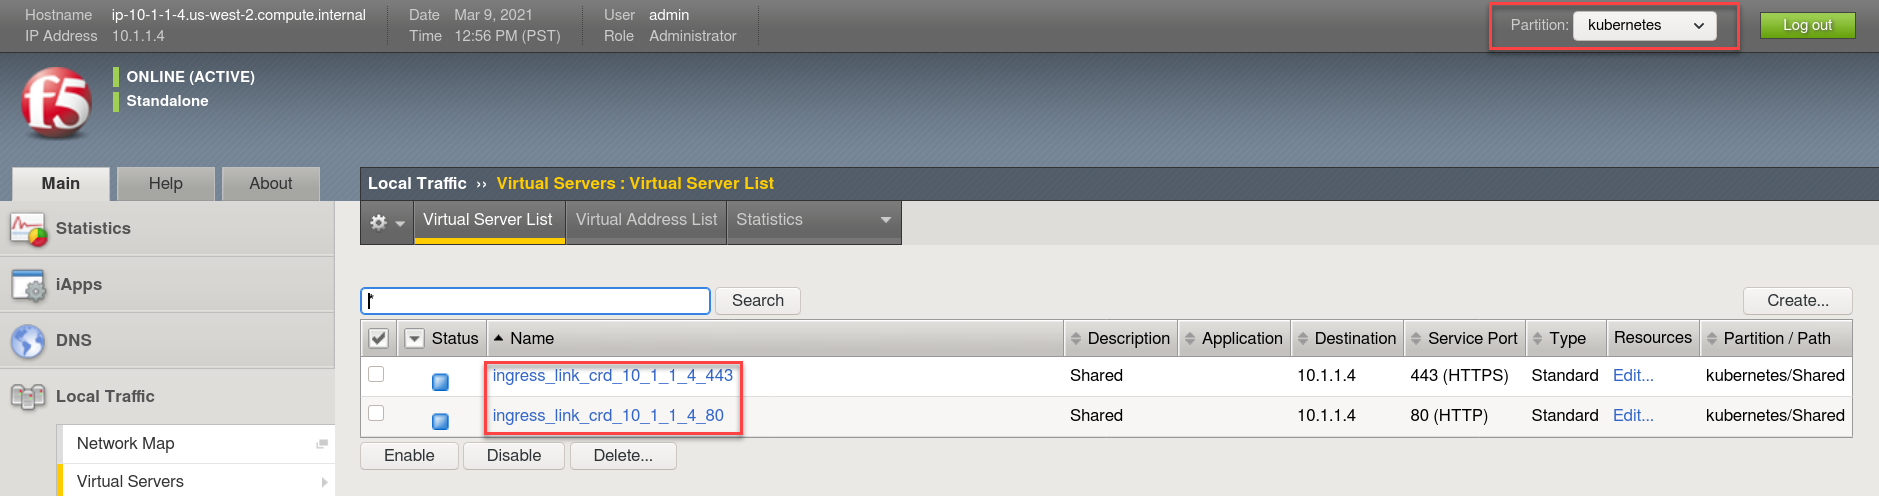
Warning
Don’t forget to select the “kubernetes” partition or you’ll
see nothing.
Here you can see two new Virtual Servers, “ingress_link_crd_10.1.1.4_80” and “ingress_link_crd_10.1.1.4_443” was created, in partition “kubernetes”.
Check the Pools to see a new pool and the associated pool members.
Browse to: and select either of the “nginx_ingress_nginx_ingress_ingresslink” pool objects. Both have the same pool member but are running on different ports. Click the Members tab.
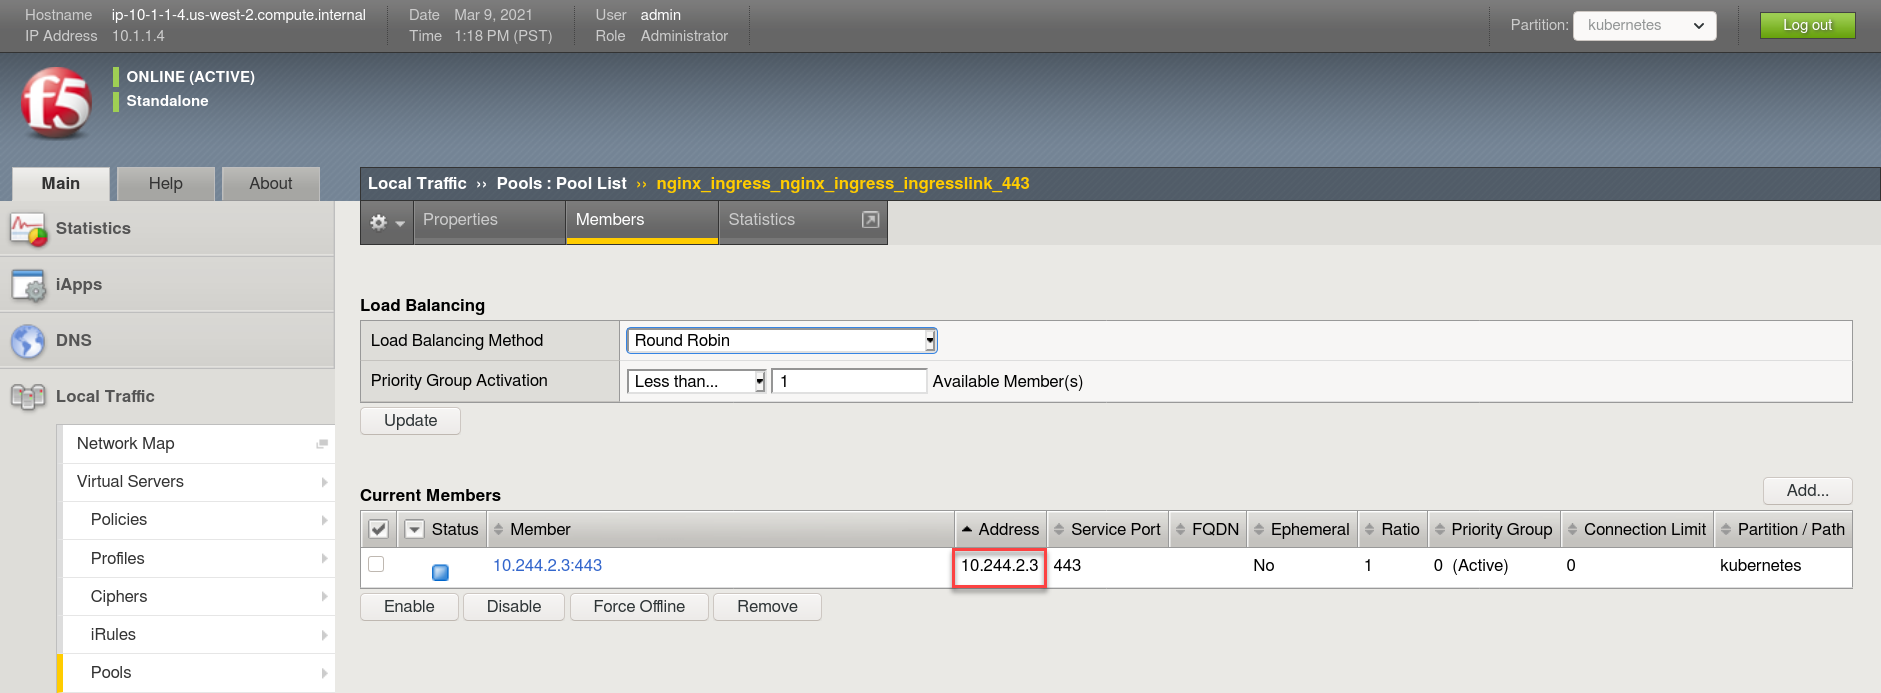
Note
You can see that the pool member listed is the same Endpoint/IP discovered in the earlier step above.