F5 Identity and Access Management Solutions > Archived Identity & Access Management Labs > 100 Series: Access Foundational Concepts Source | Edit on
Lab 1: Webtop Links
A full webtop provides an access policy ending for an access policy branch to which you can optionally assign portal access resources, app tunnels, remote desktops, and webtop links, in addition to network access tunnels.
In this lab you will explore how to create a Webtop Link resource that will enable an administrator to add bookmarks to commonly used Webpages that do not require rewriting. Webtop links point to external sites or even other sites hosted and protected by BIG-IP APM Virtual Servers.
Task 1 - Setup Lab Environment
To access your dedicated student lab environment, you will require a web browser and Remote Desktop Protocol (RDP) client software. The web browser will be used to access the Lab Training Portal. The RDP client will be used to connect to the Jump Host, where you will be able to access the BIG-IP management interfaces (HTTPS, SSH).
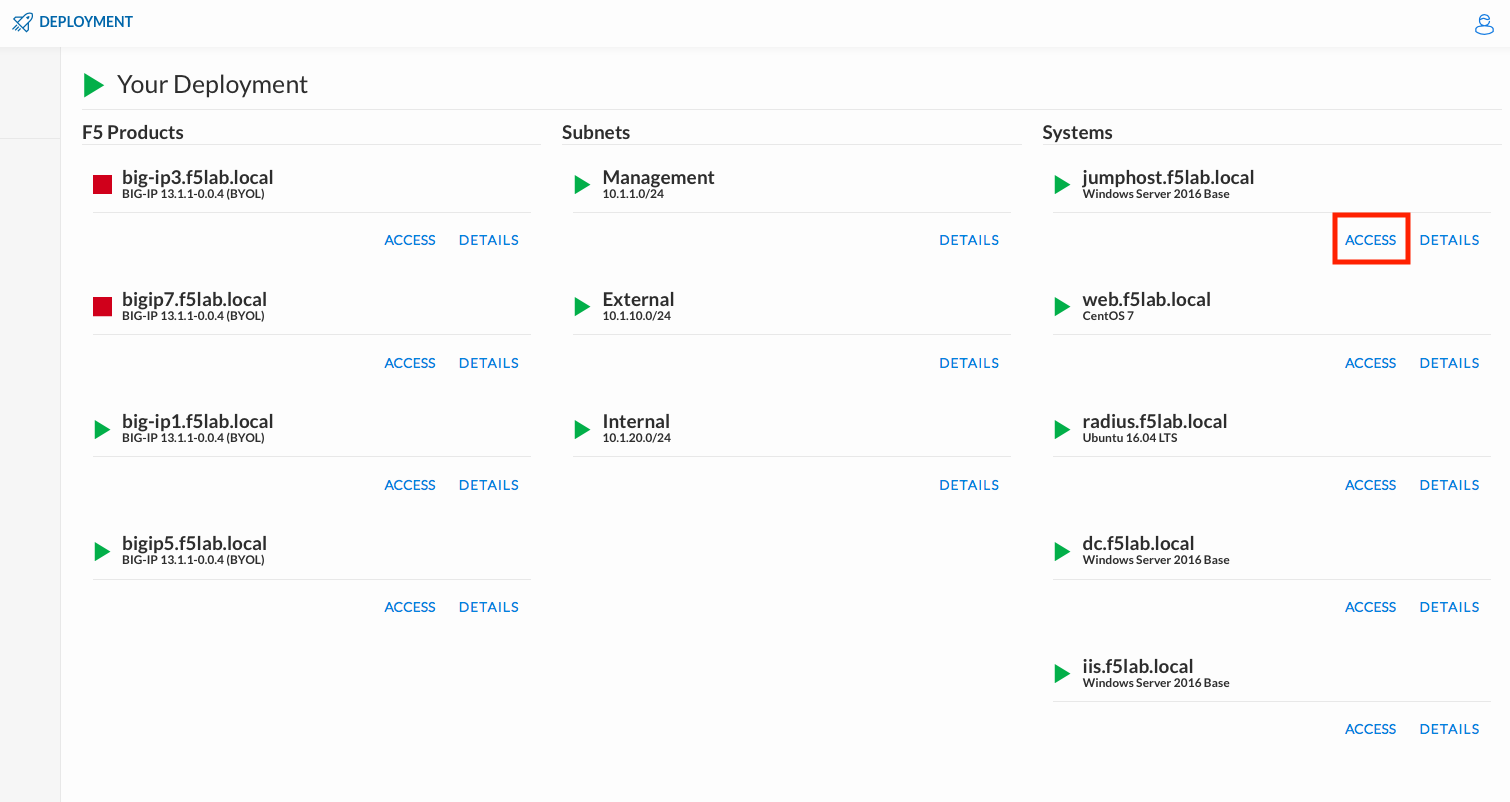
Click DEPLOYMENT located on the top left corner to display the environment
Click ACCESS next to jumpohost.f5lab.local
Select your RDP resolution.
The RDP client on your local host establishes a RDP connection to the Jump Host.
Login with the following credentials:
- User: f5lab\user1
- Password: user1
After successful logon the Chrome browser will auto launch opening the site https://portal.f5lab.local. This process usually takes 30 seconds after logon.
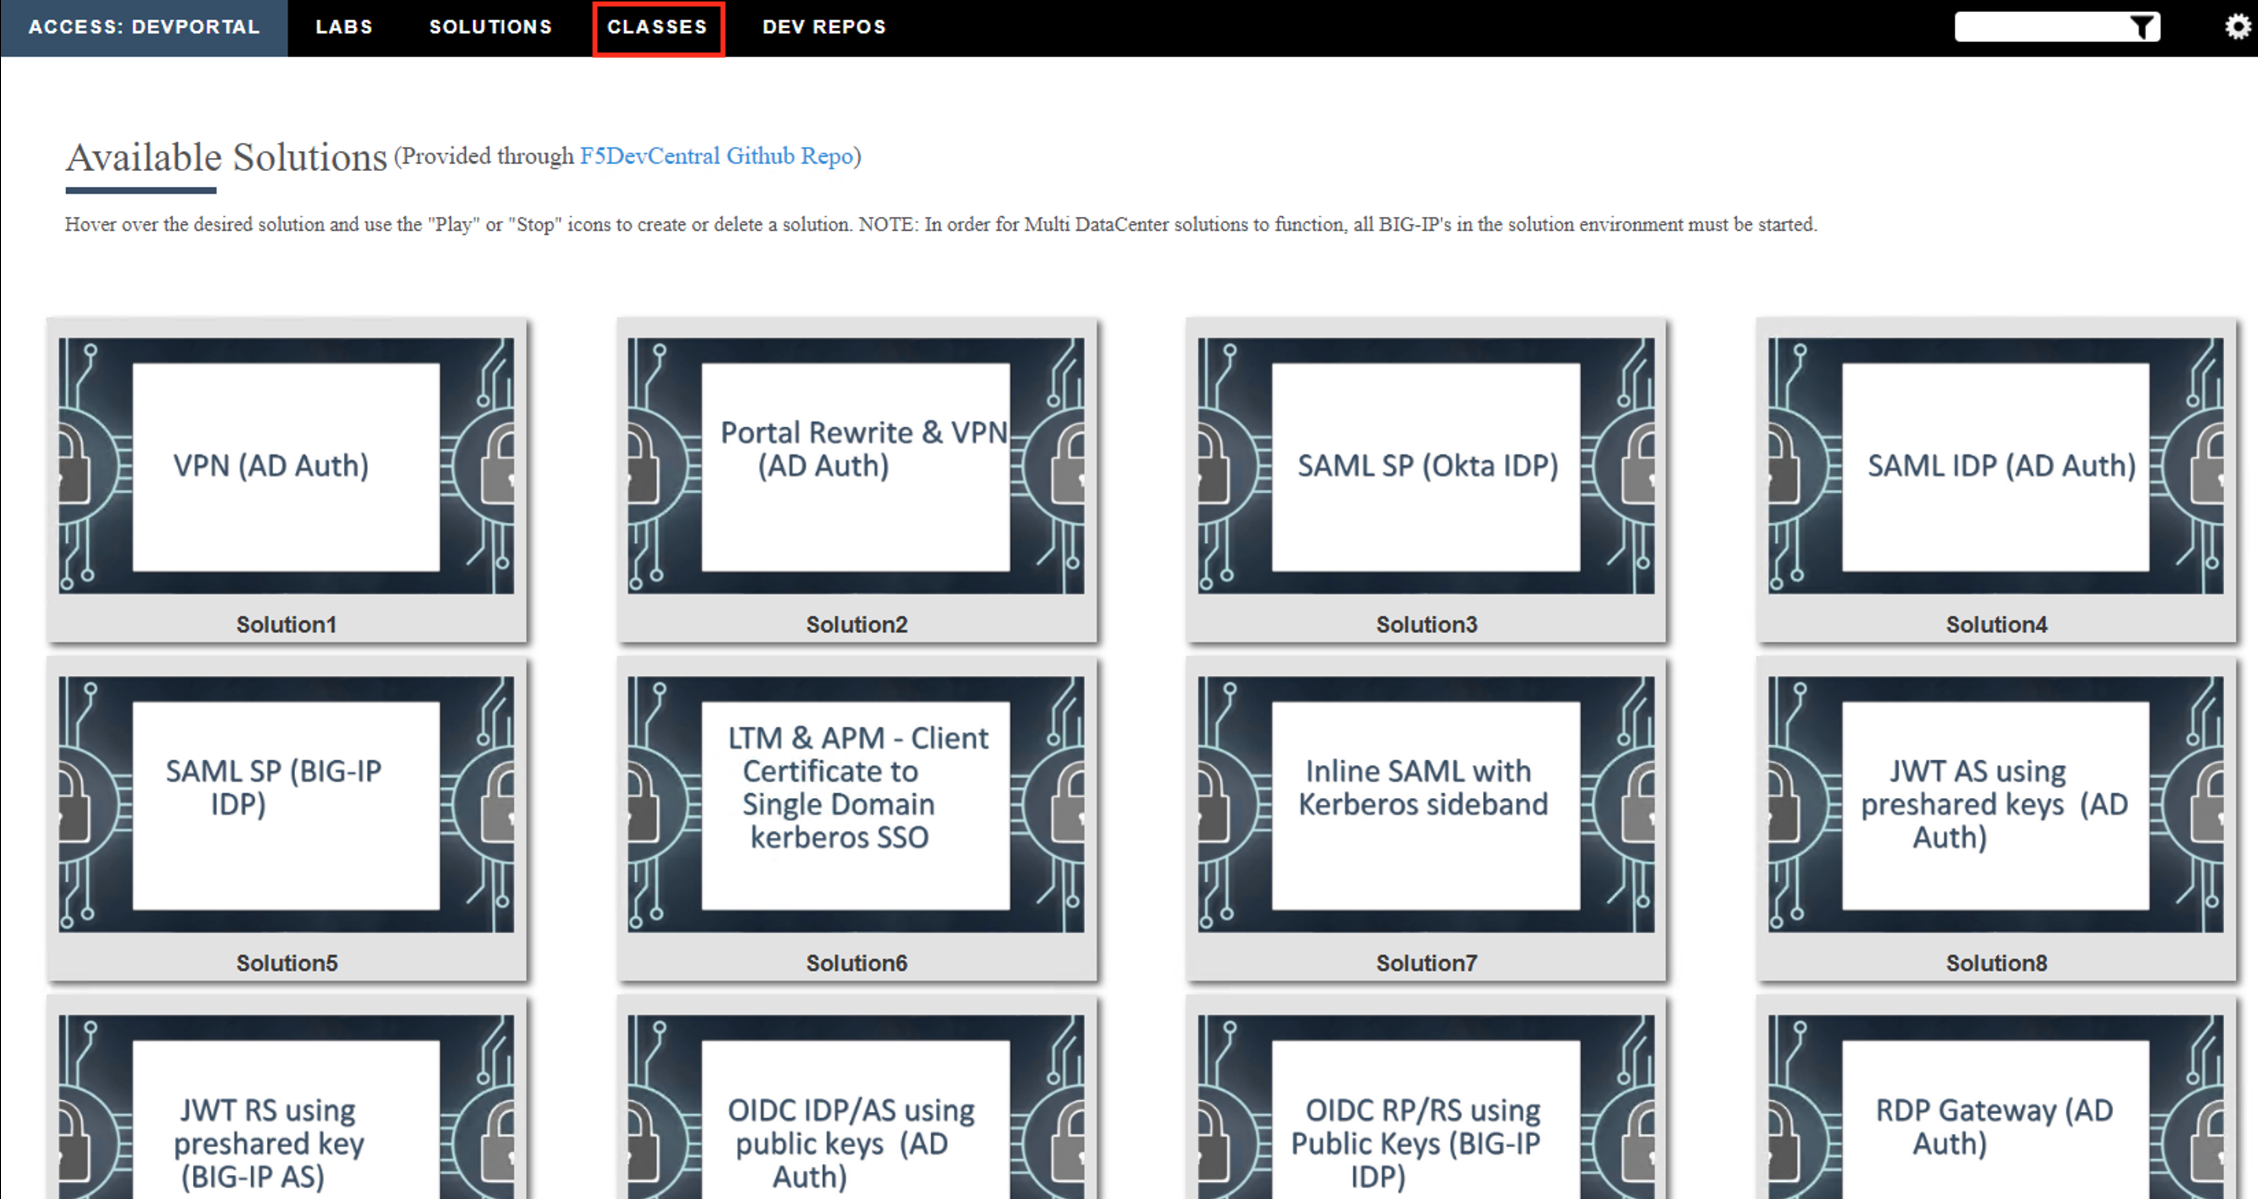
Click the Classes tab at the top of the page.
Scroll down the page until you see 102 Webtop Features on the left
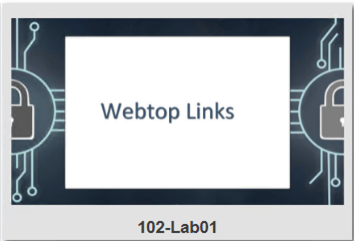
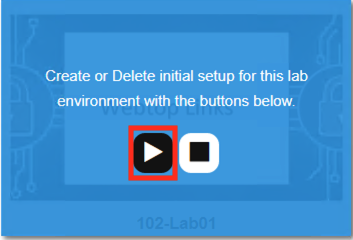
Hover over tile Webtop Links. A start and stop icon should appear within the tile. Click the Play Button to start the automation to build the environment
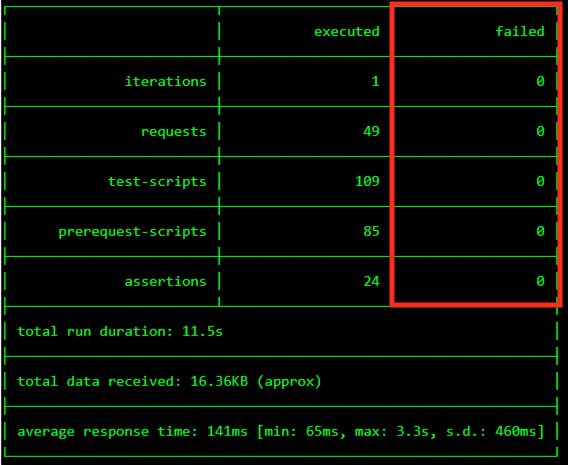
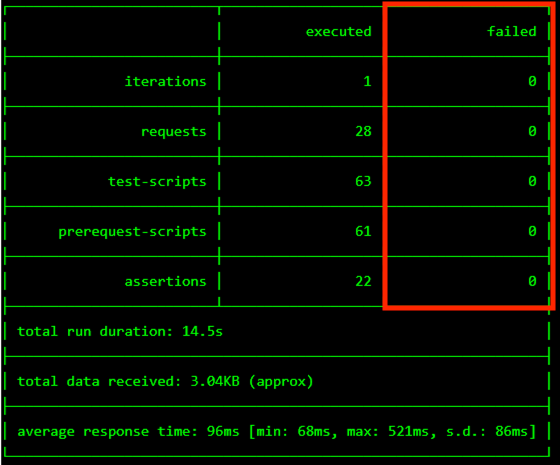
The screen should refresh displaying the progress of the automation within 30 seconds. Scroll to the bottom of the automation workflow to ensure all requests succeeded. If you experience errors try running the automation a second time or open an issue on the Access Labs Repo.
Task 2 - Create a Webtop
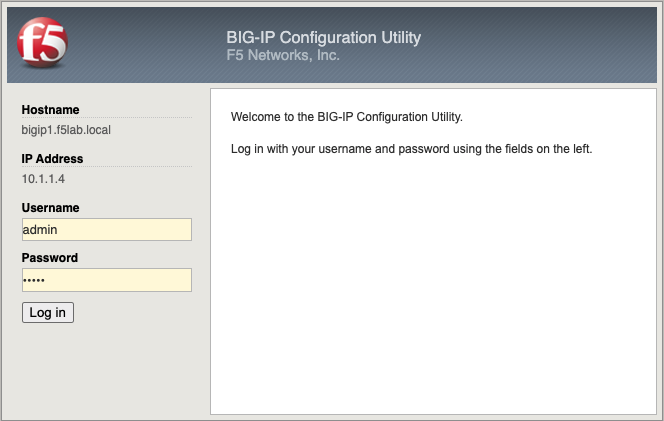
From a browser navigate to https://bigip1.f5lab.local
Login with username admin and password admin
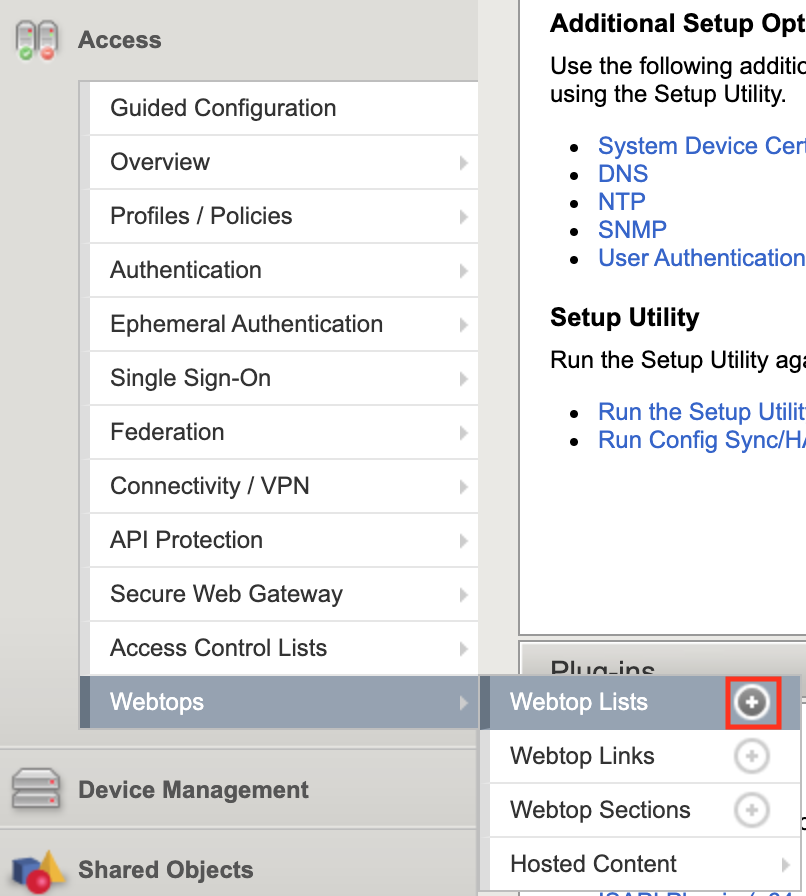
Navigate to Access >> Webtops >> Webtop Lists >> click the Plus Sign(+).
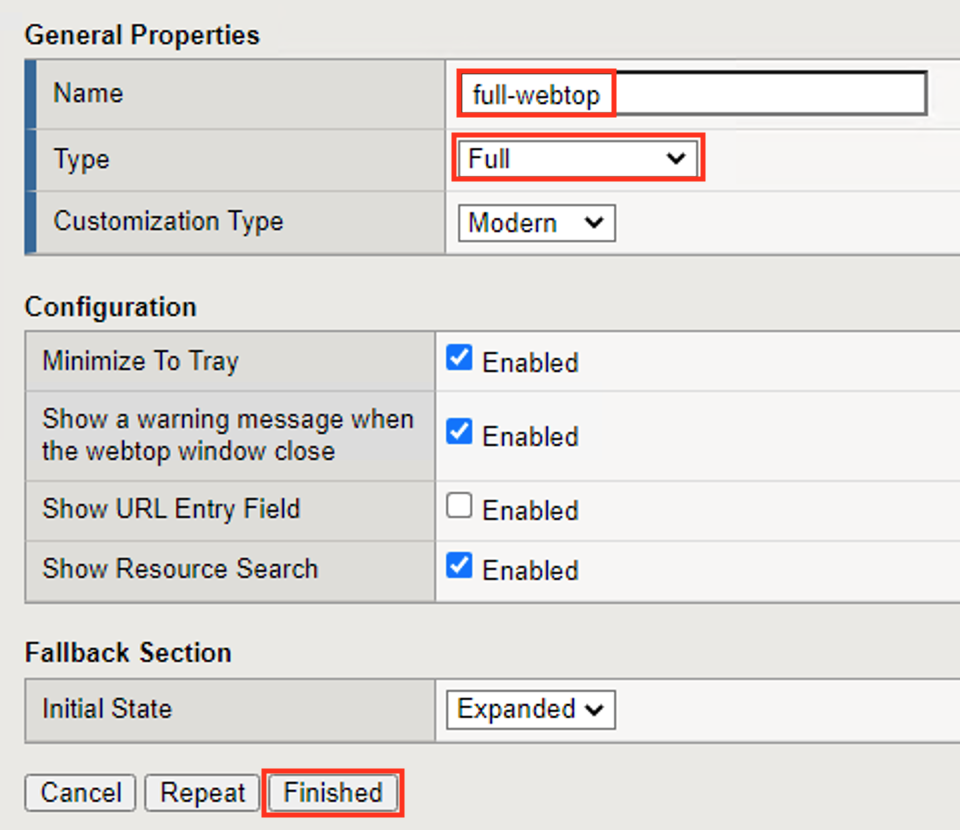
Enter the Name full-webtop
From the Type dropdown menu select Full
Click Finished.
Task 3 - Create a webtop Link Resource
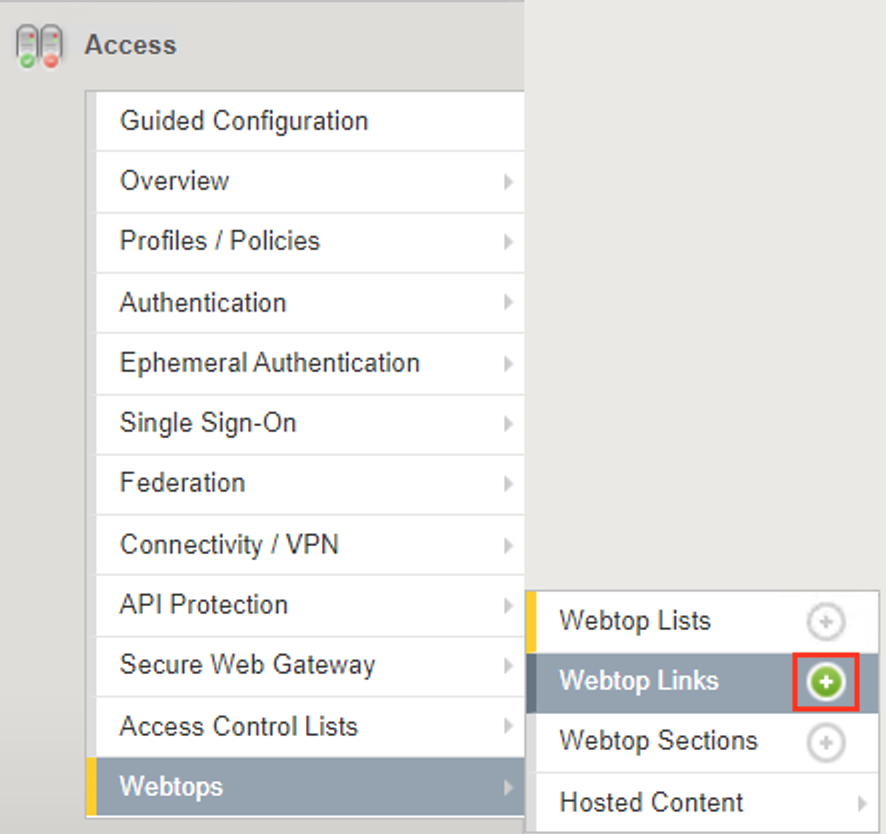
Navigate to Access > Webtops > Webtop Links >> click the Plus Sign(+).
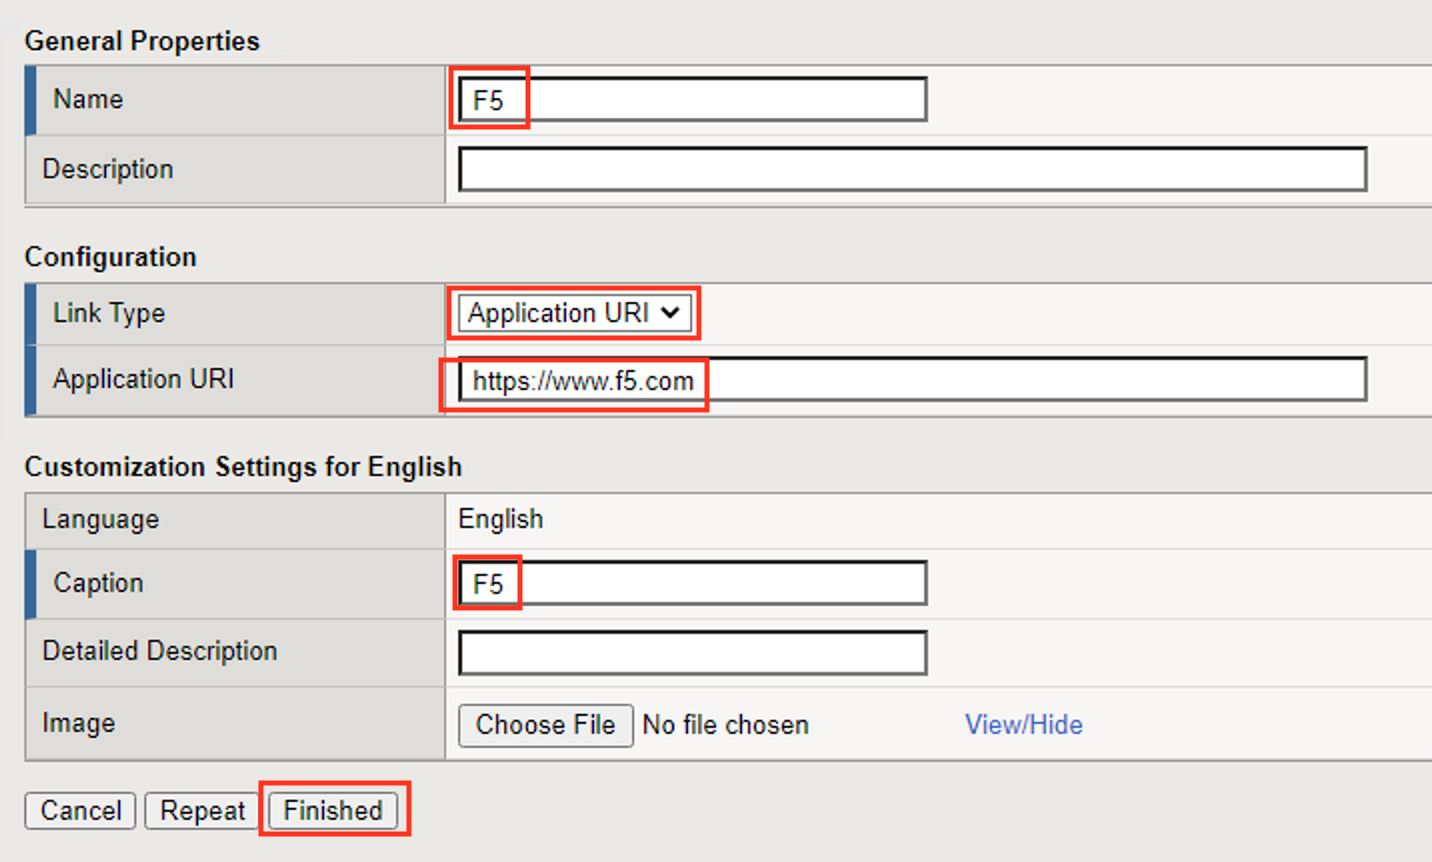
Enter the Name F5
From the Link Type dropdown menu select Application URI
Enter the Application URI https://www.f5.com
Enter the Caption F5
Click Finished
Task 4 - Add a Webtop Resource to an existing Policy
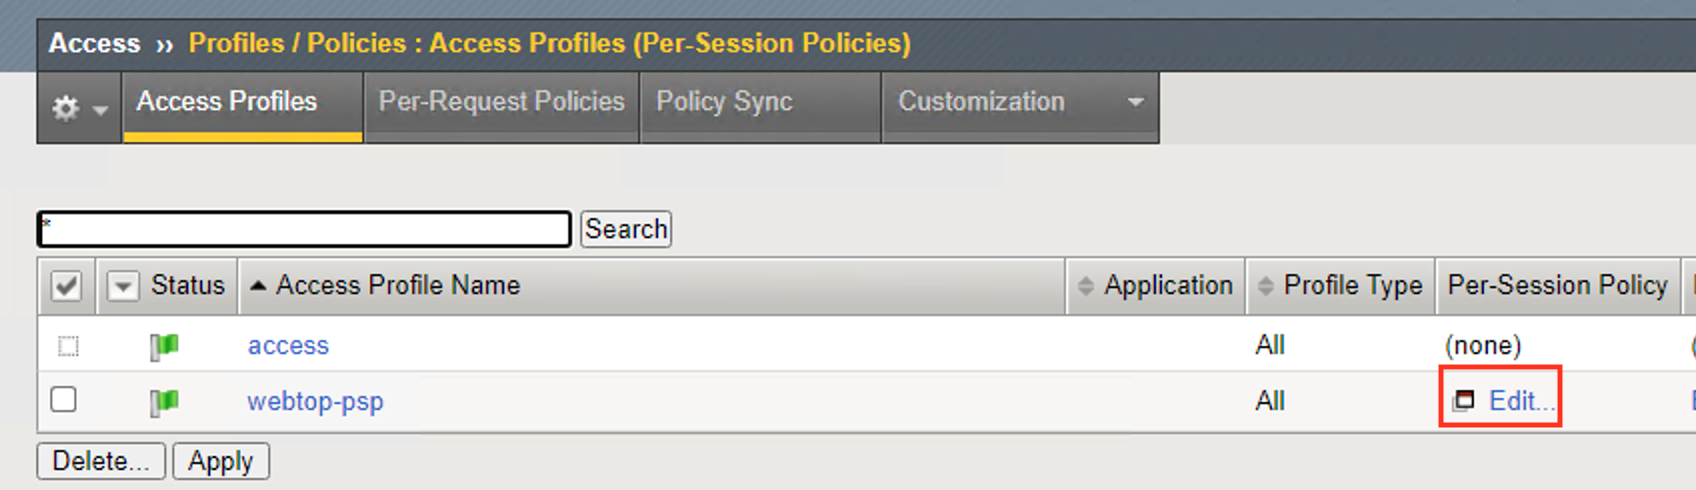
Navigate to Access > Profiles / Policies > Access Profiles (Per-Session Policies),
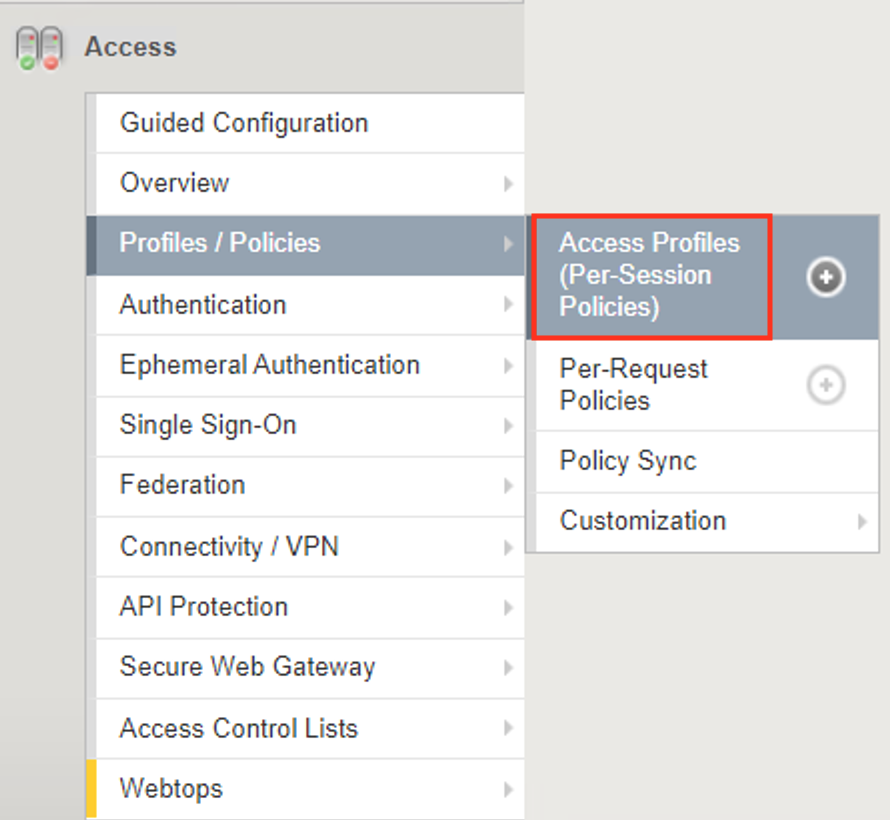
Click on Edit for webtop-psp.
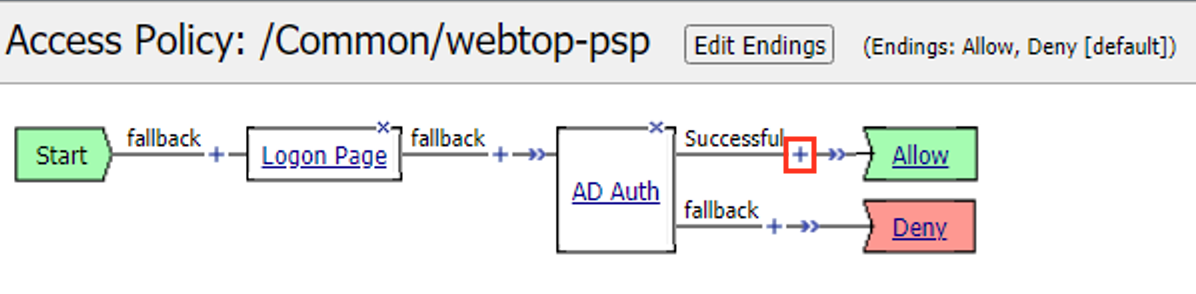
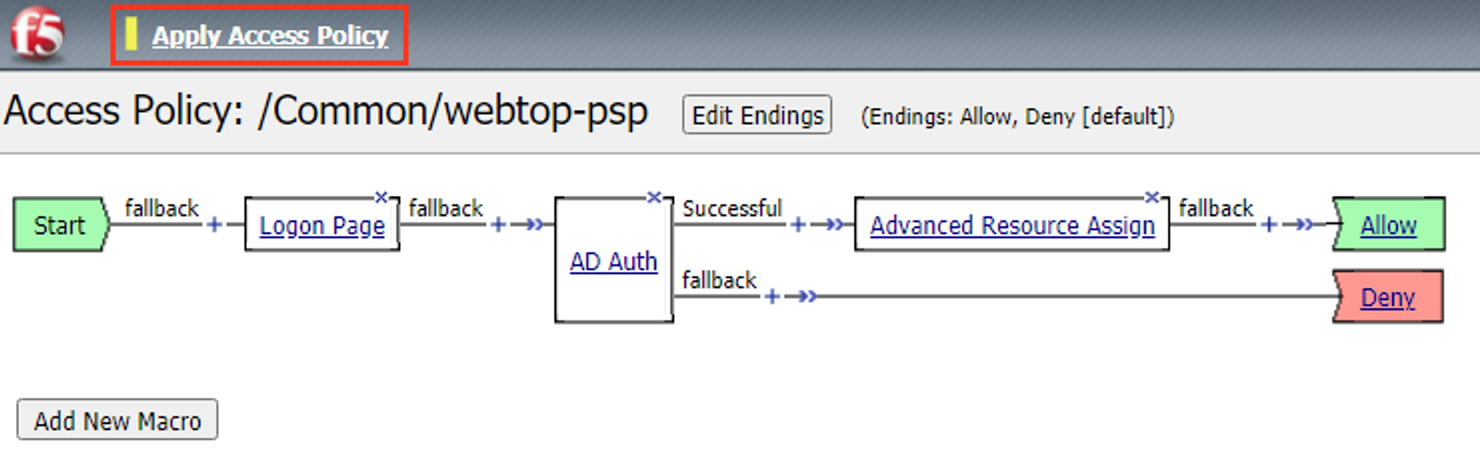
Click the Plus Sign(+) in between the AD Auth policy item and the Allow Terminal .
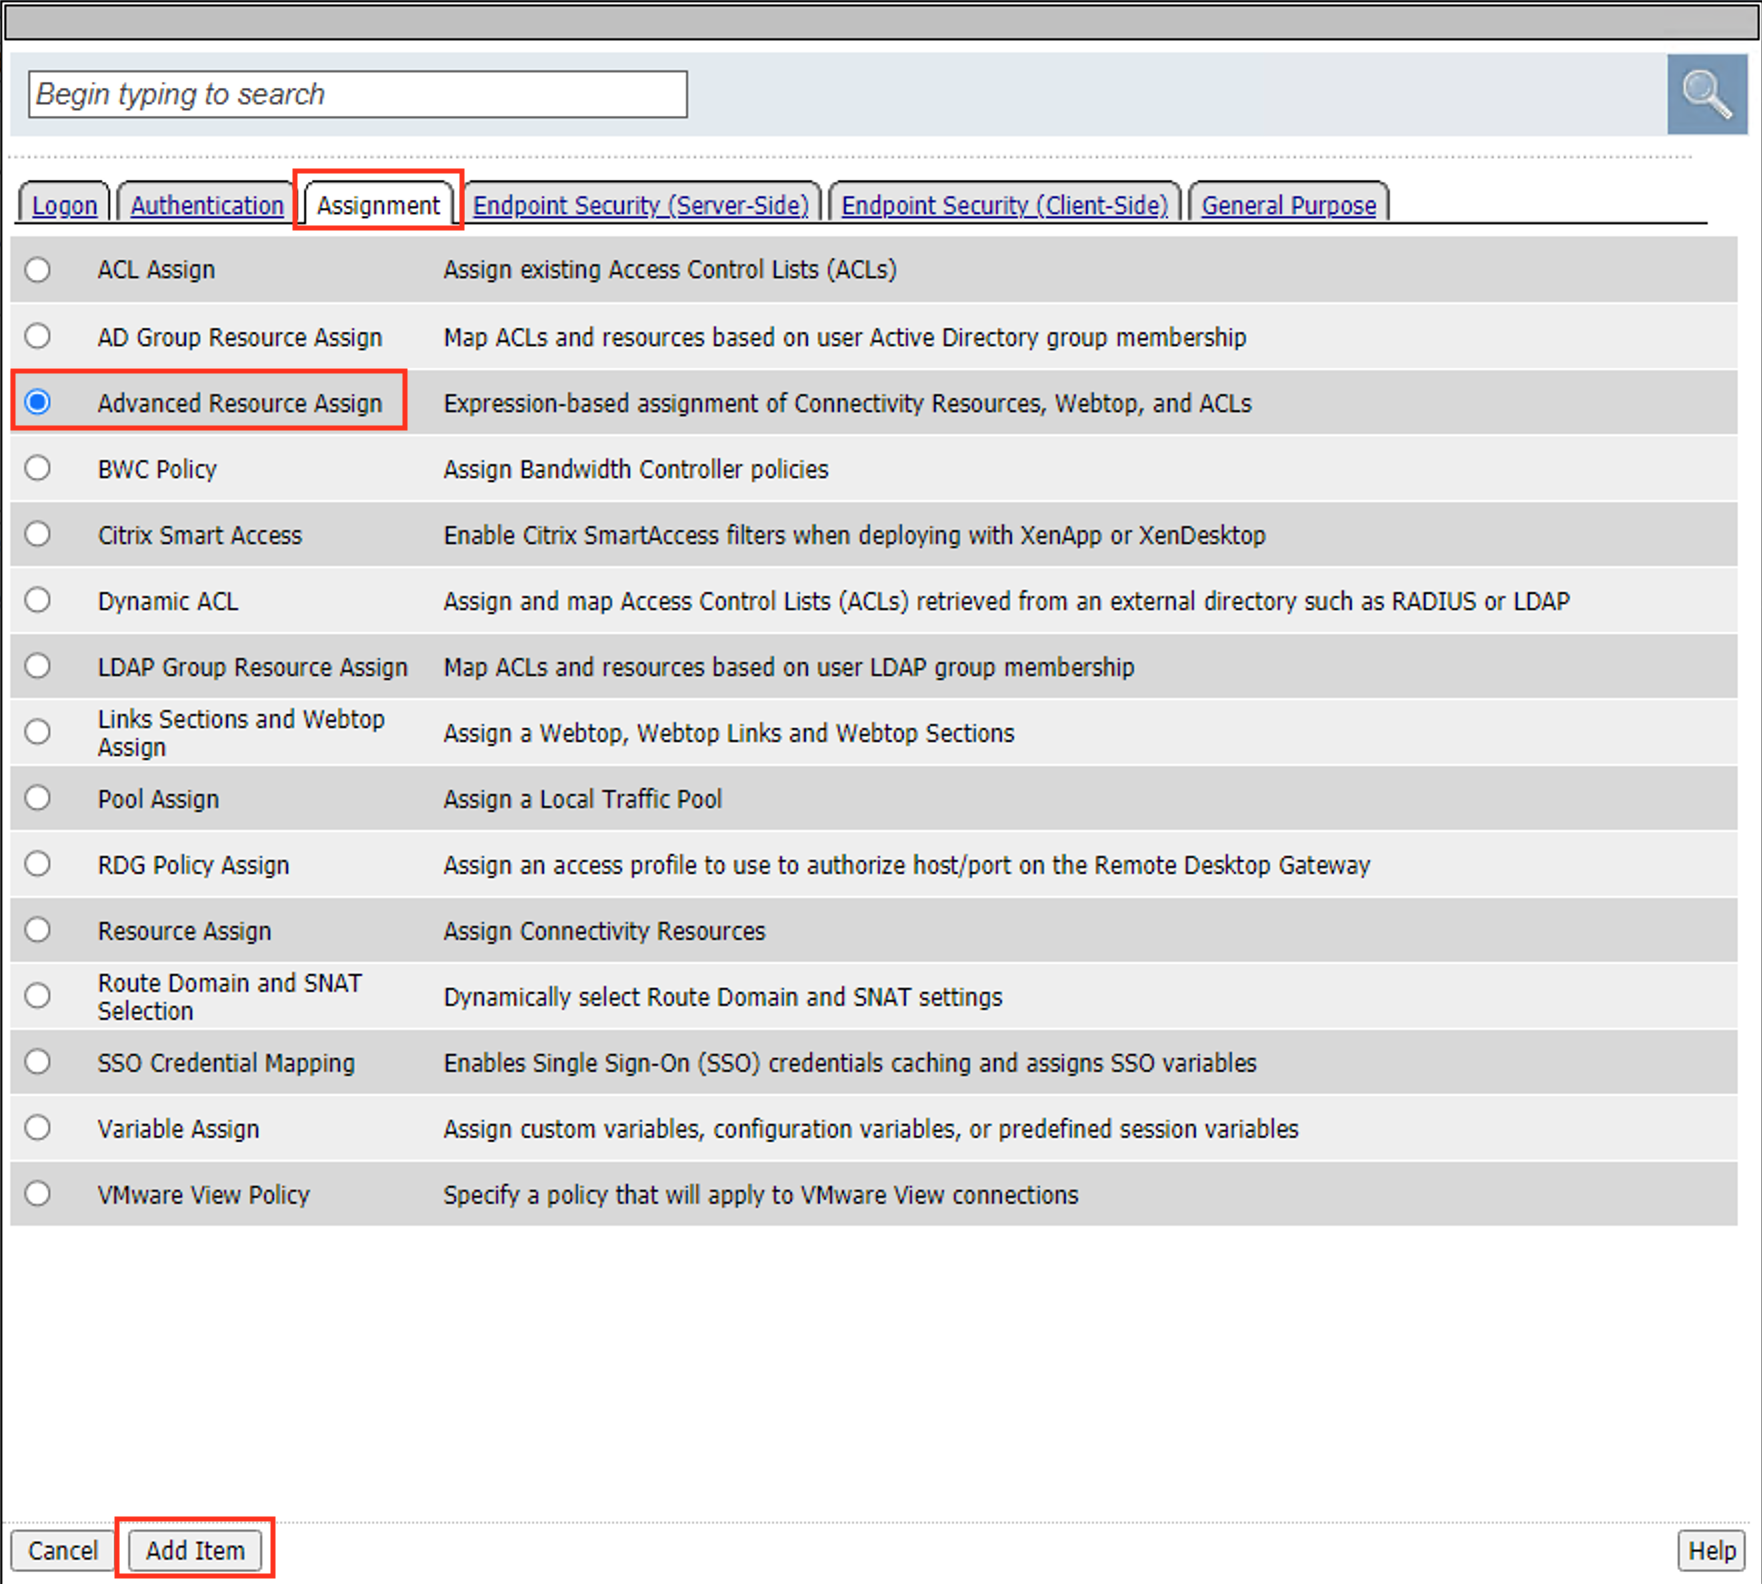
Click on the Assignment Tab
Select the Advanced Resource Assign radio button
Click Add Item
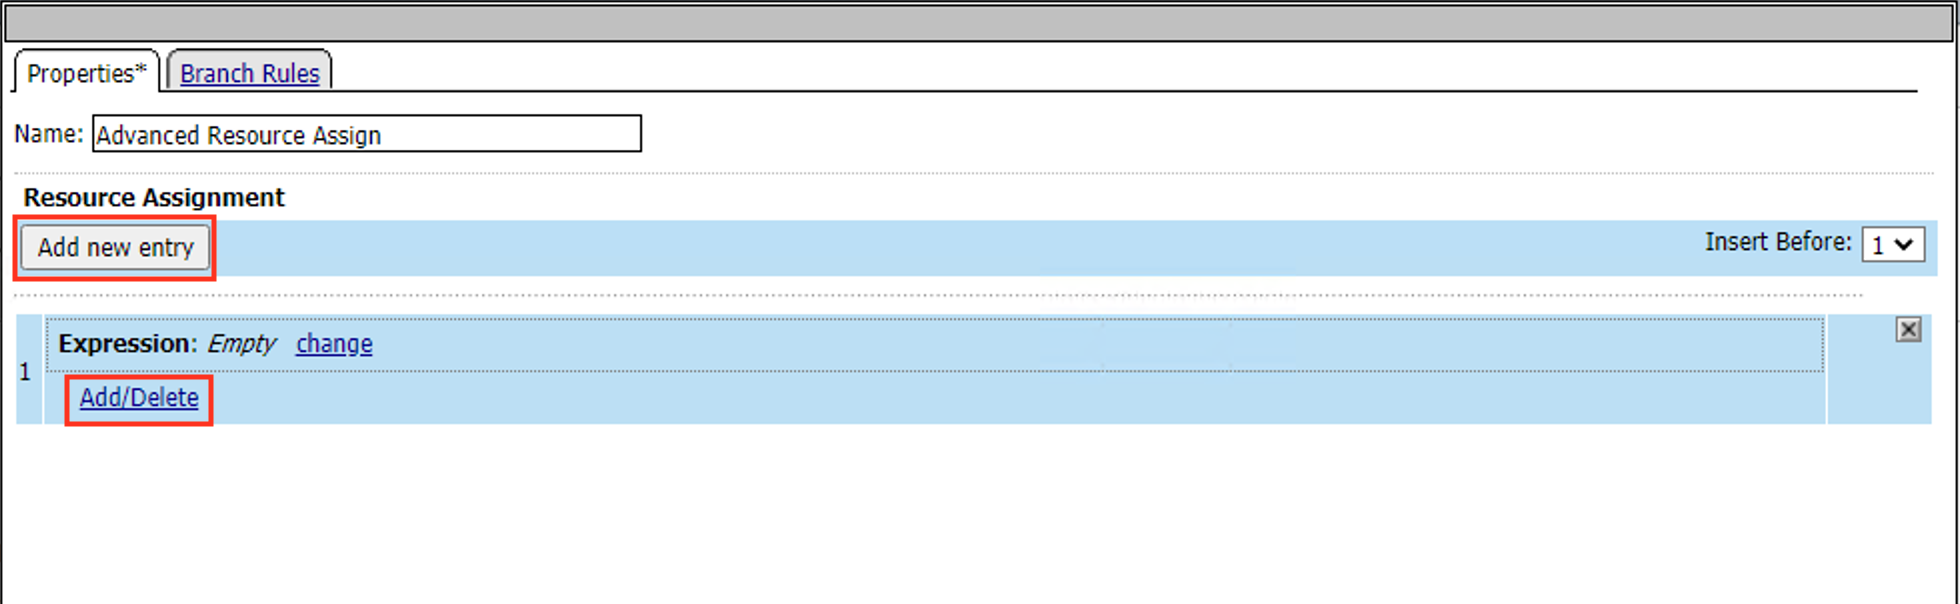
Click the Add New Entry button.
Click the Add/Delete button
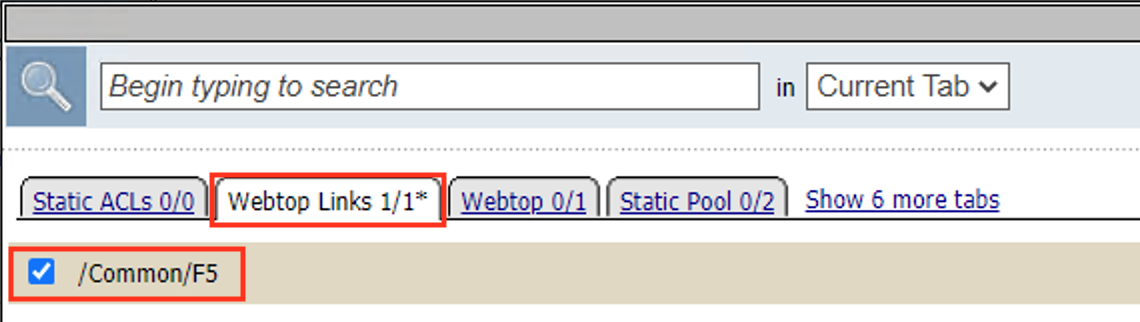
Click on the Webtop Links tab
Select the radio button for /Common/F5
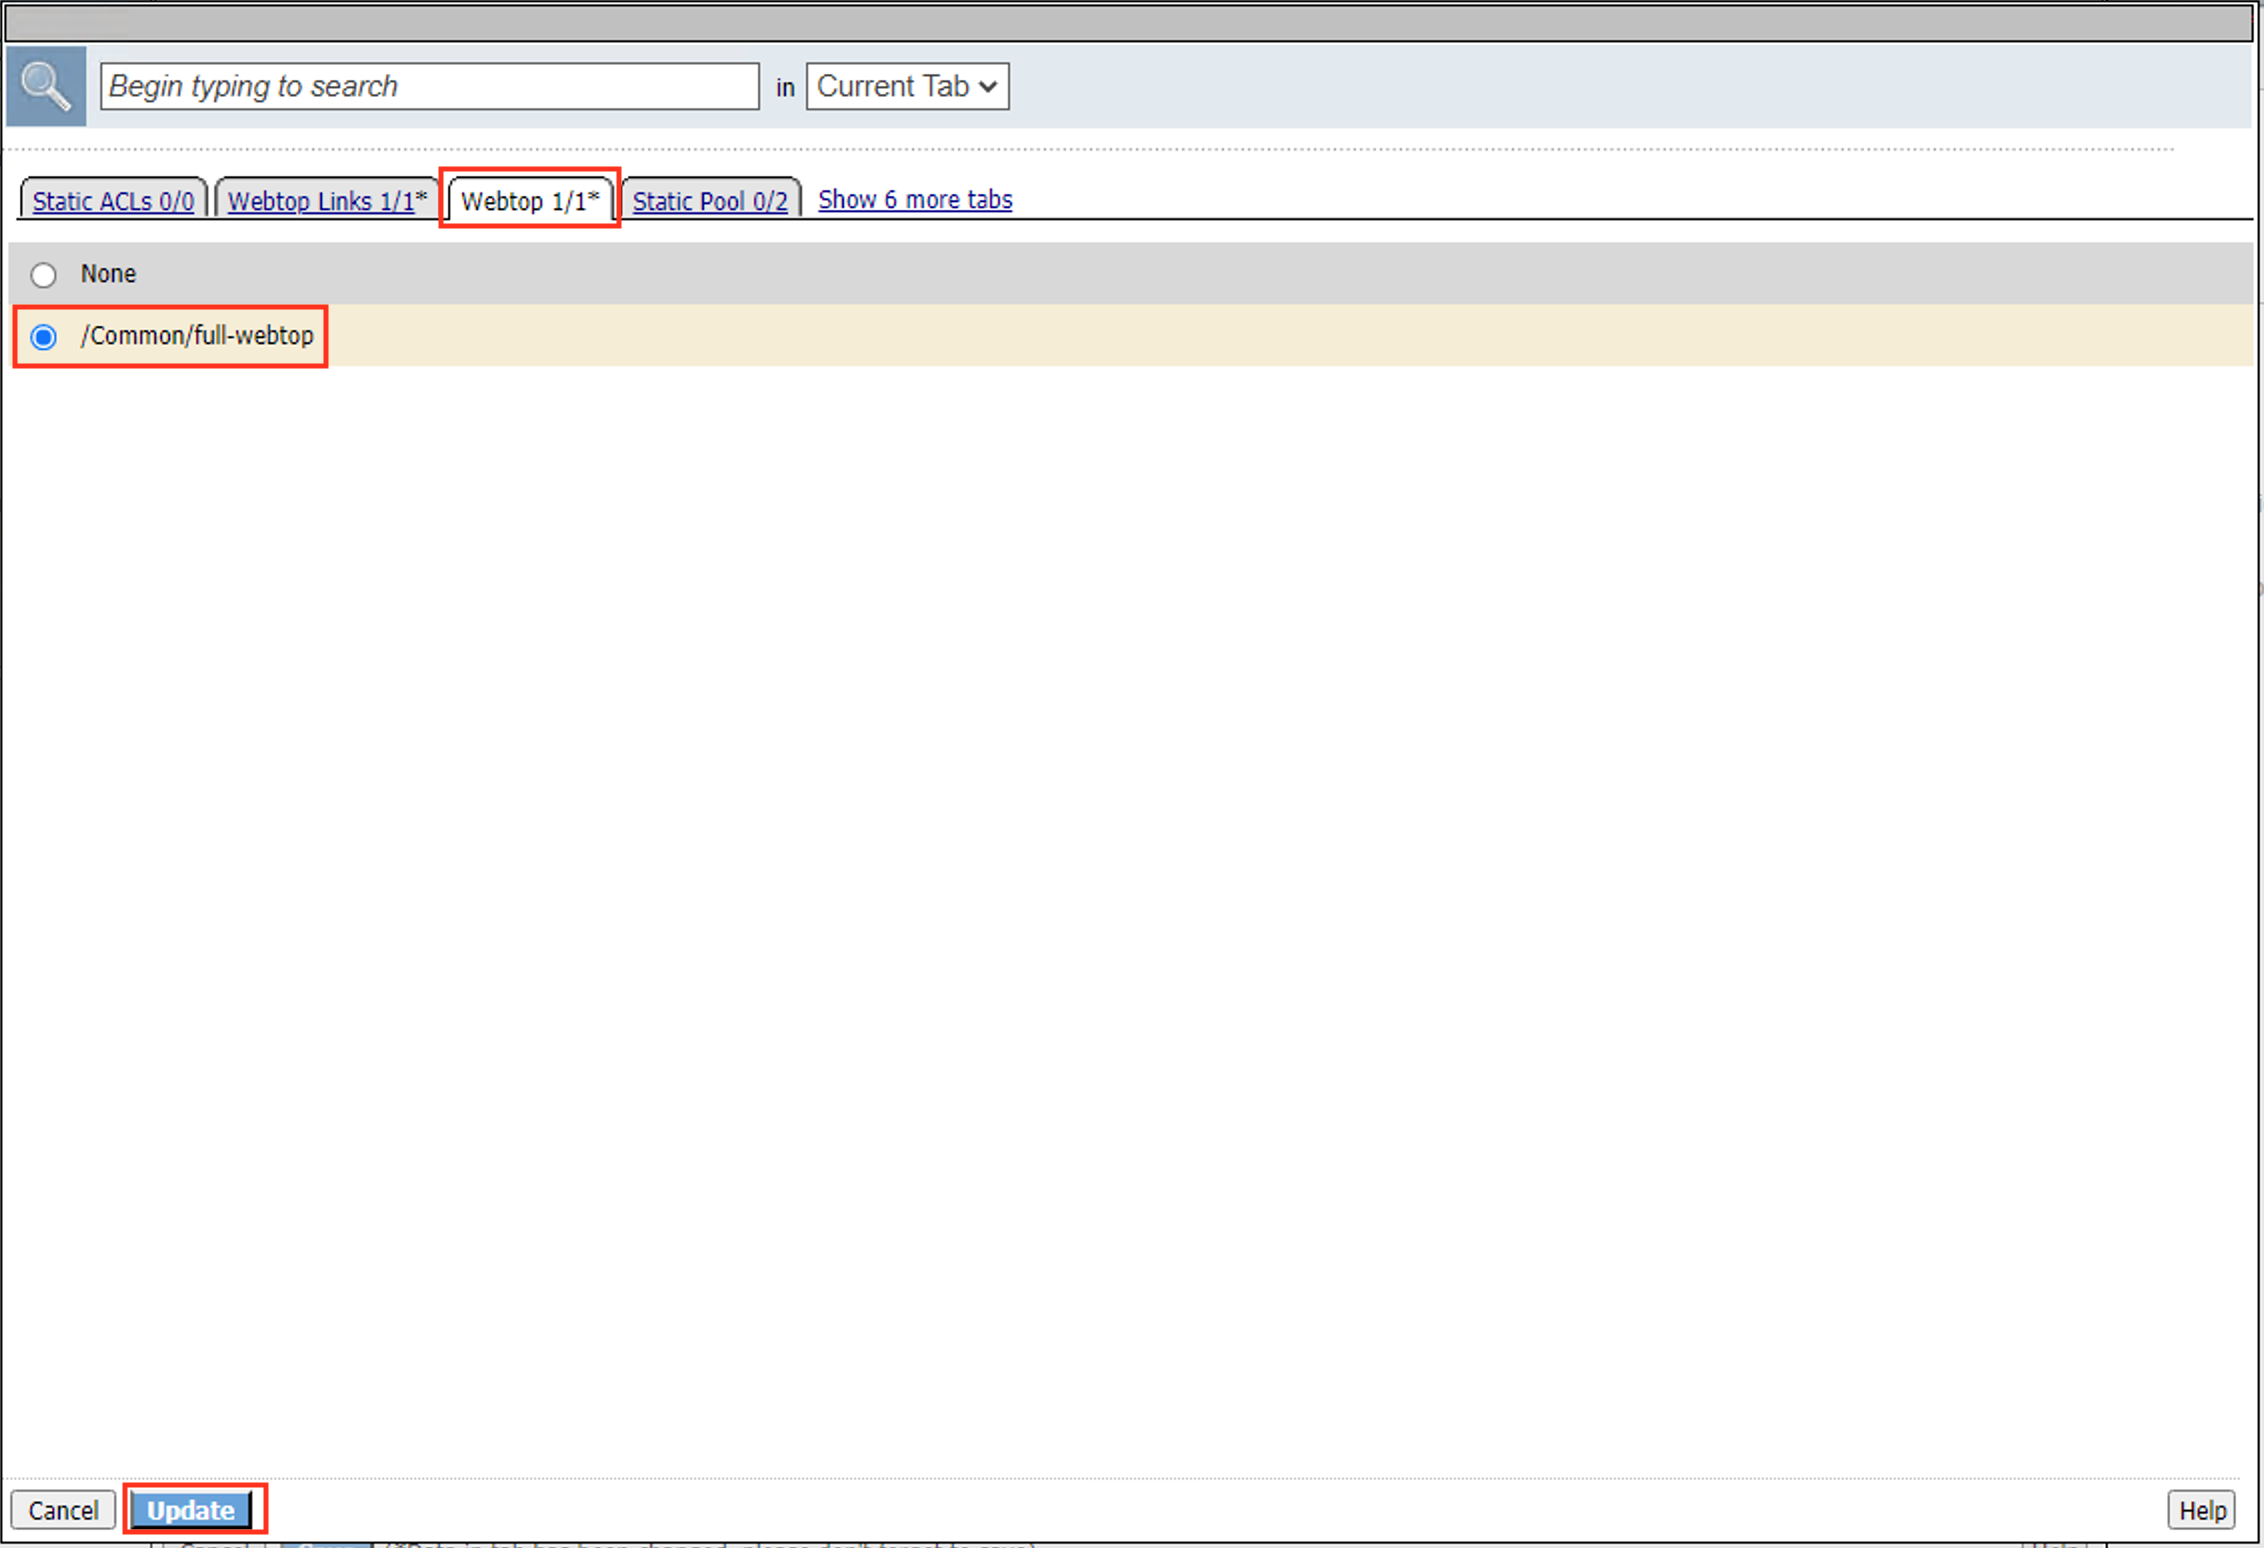
Click on the Webtop tab
Select the radio button for /Common/full-webtop
Click the Update button at the bottom of the screen.
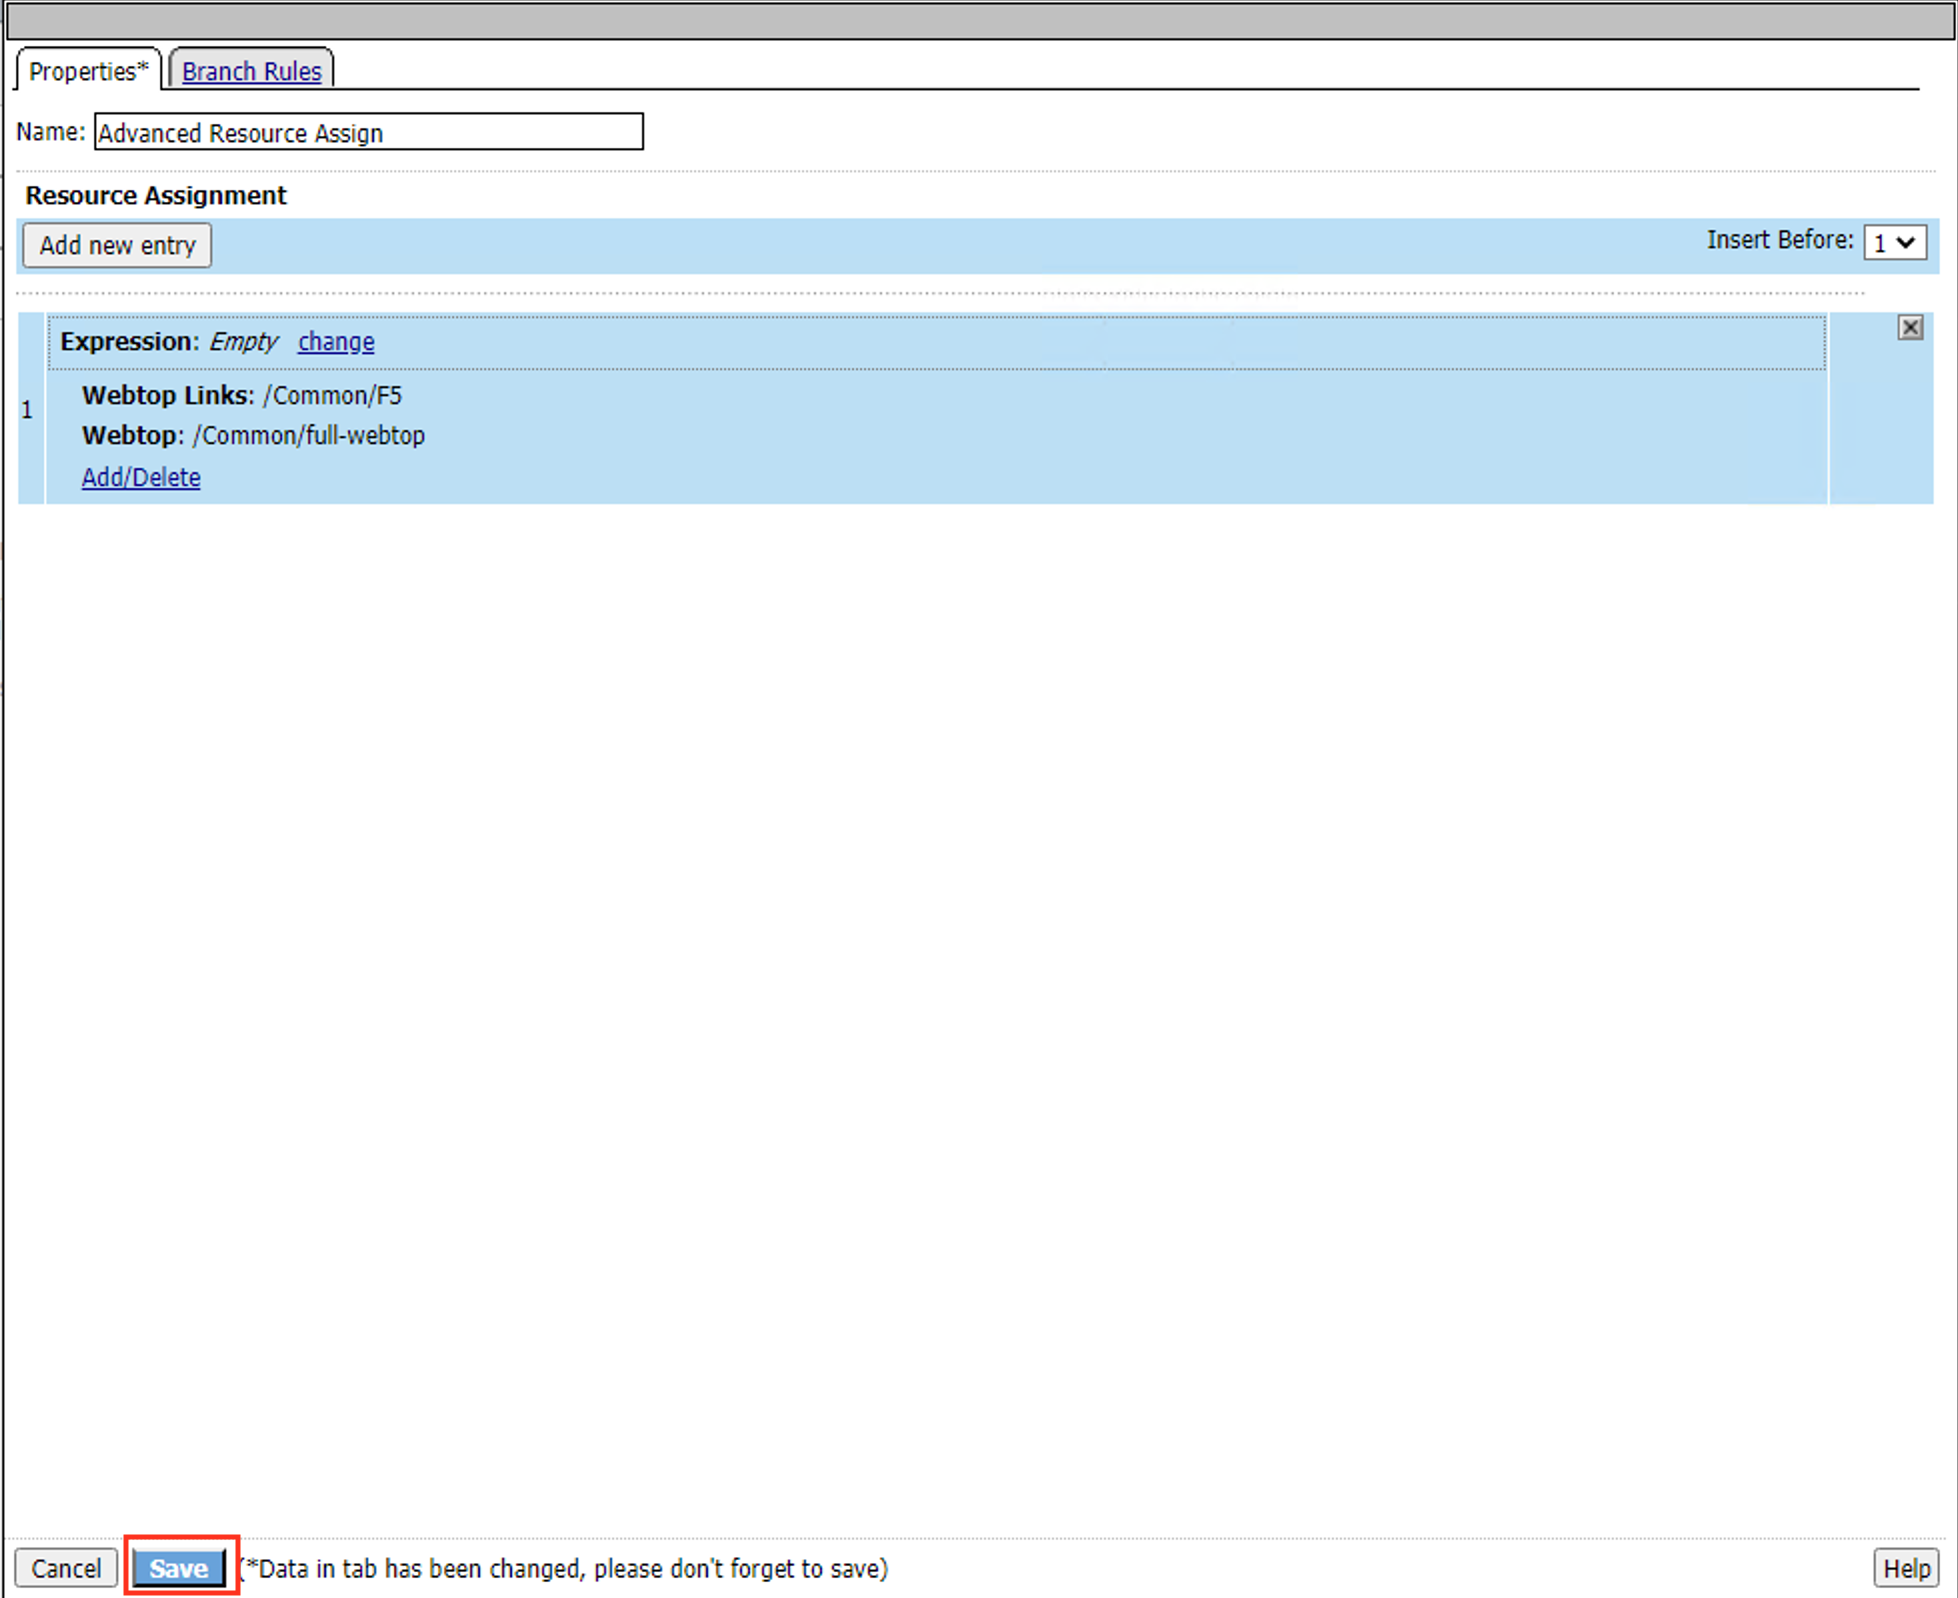
Click Save.
At the top left of the browser window, click on Apply Access Policy
Task 5 - Test the Configuration
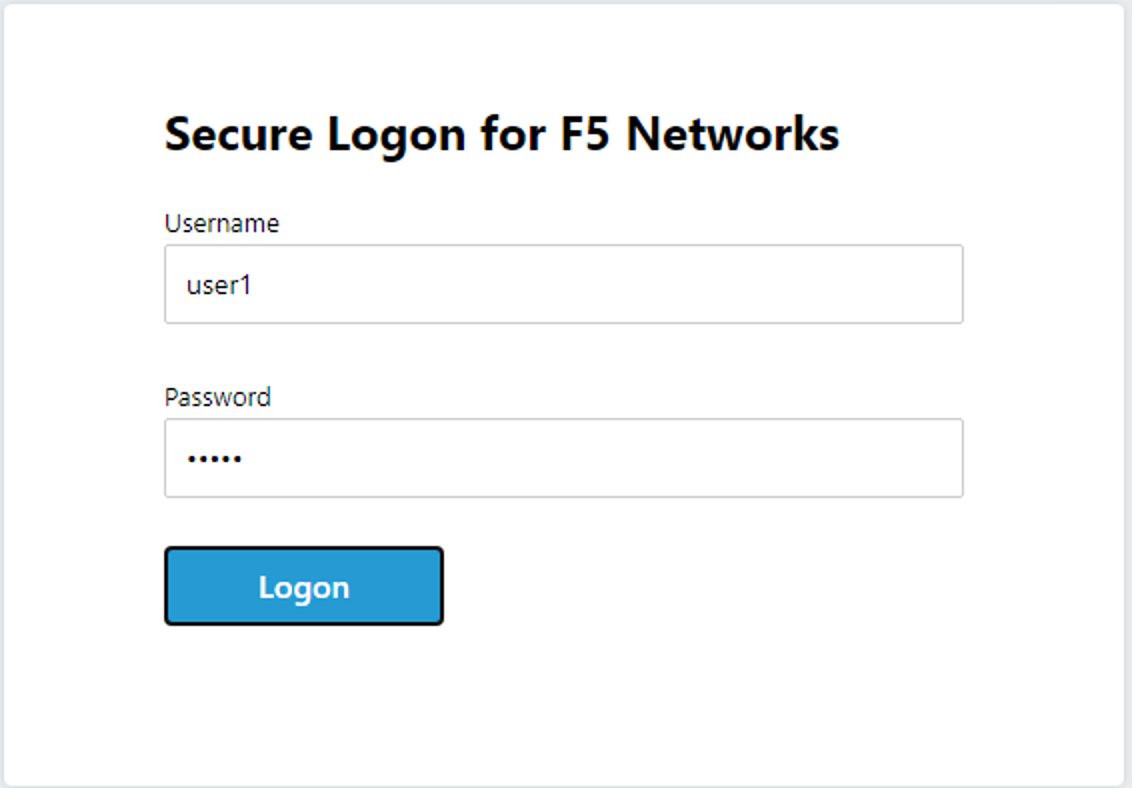
Open a New Incognito web browser and navigate to https://webtop.acme.com.
Enter the following credentials:
Username: user1 Password: user1 Click Logon.
Note
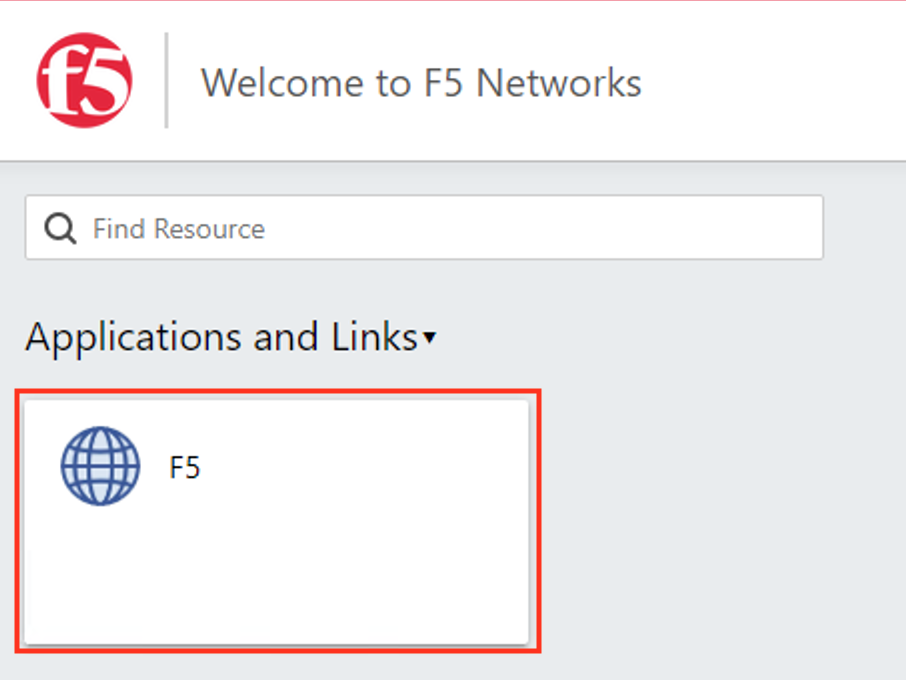
This will open the APM landing page that shows the resources you are allowed to access. In this lab, we’ve only configured a single resource but you can add as many as you want and they will appear on this Webtop page.
Click the F5 Resource on the webtop
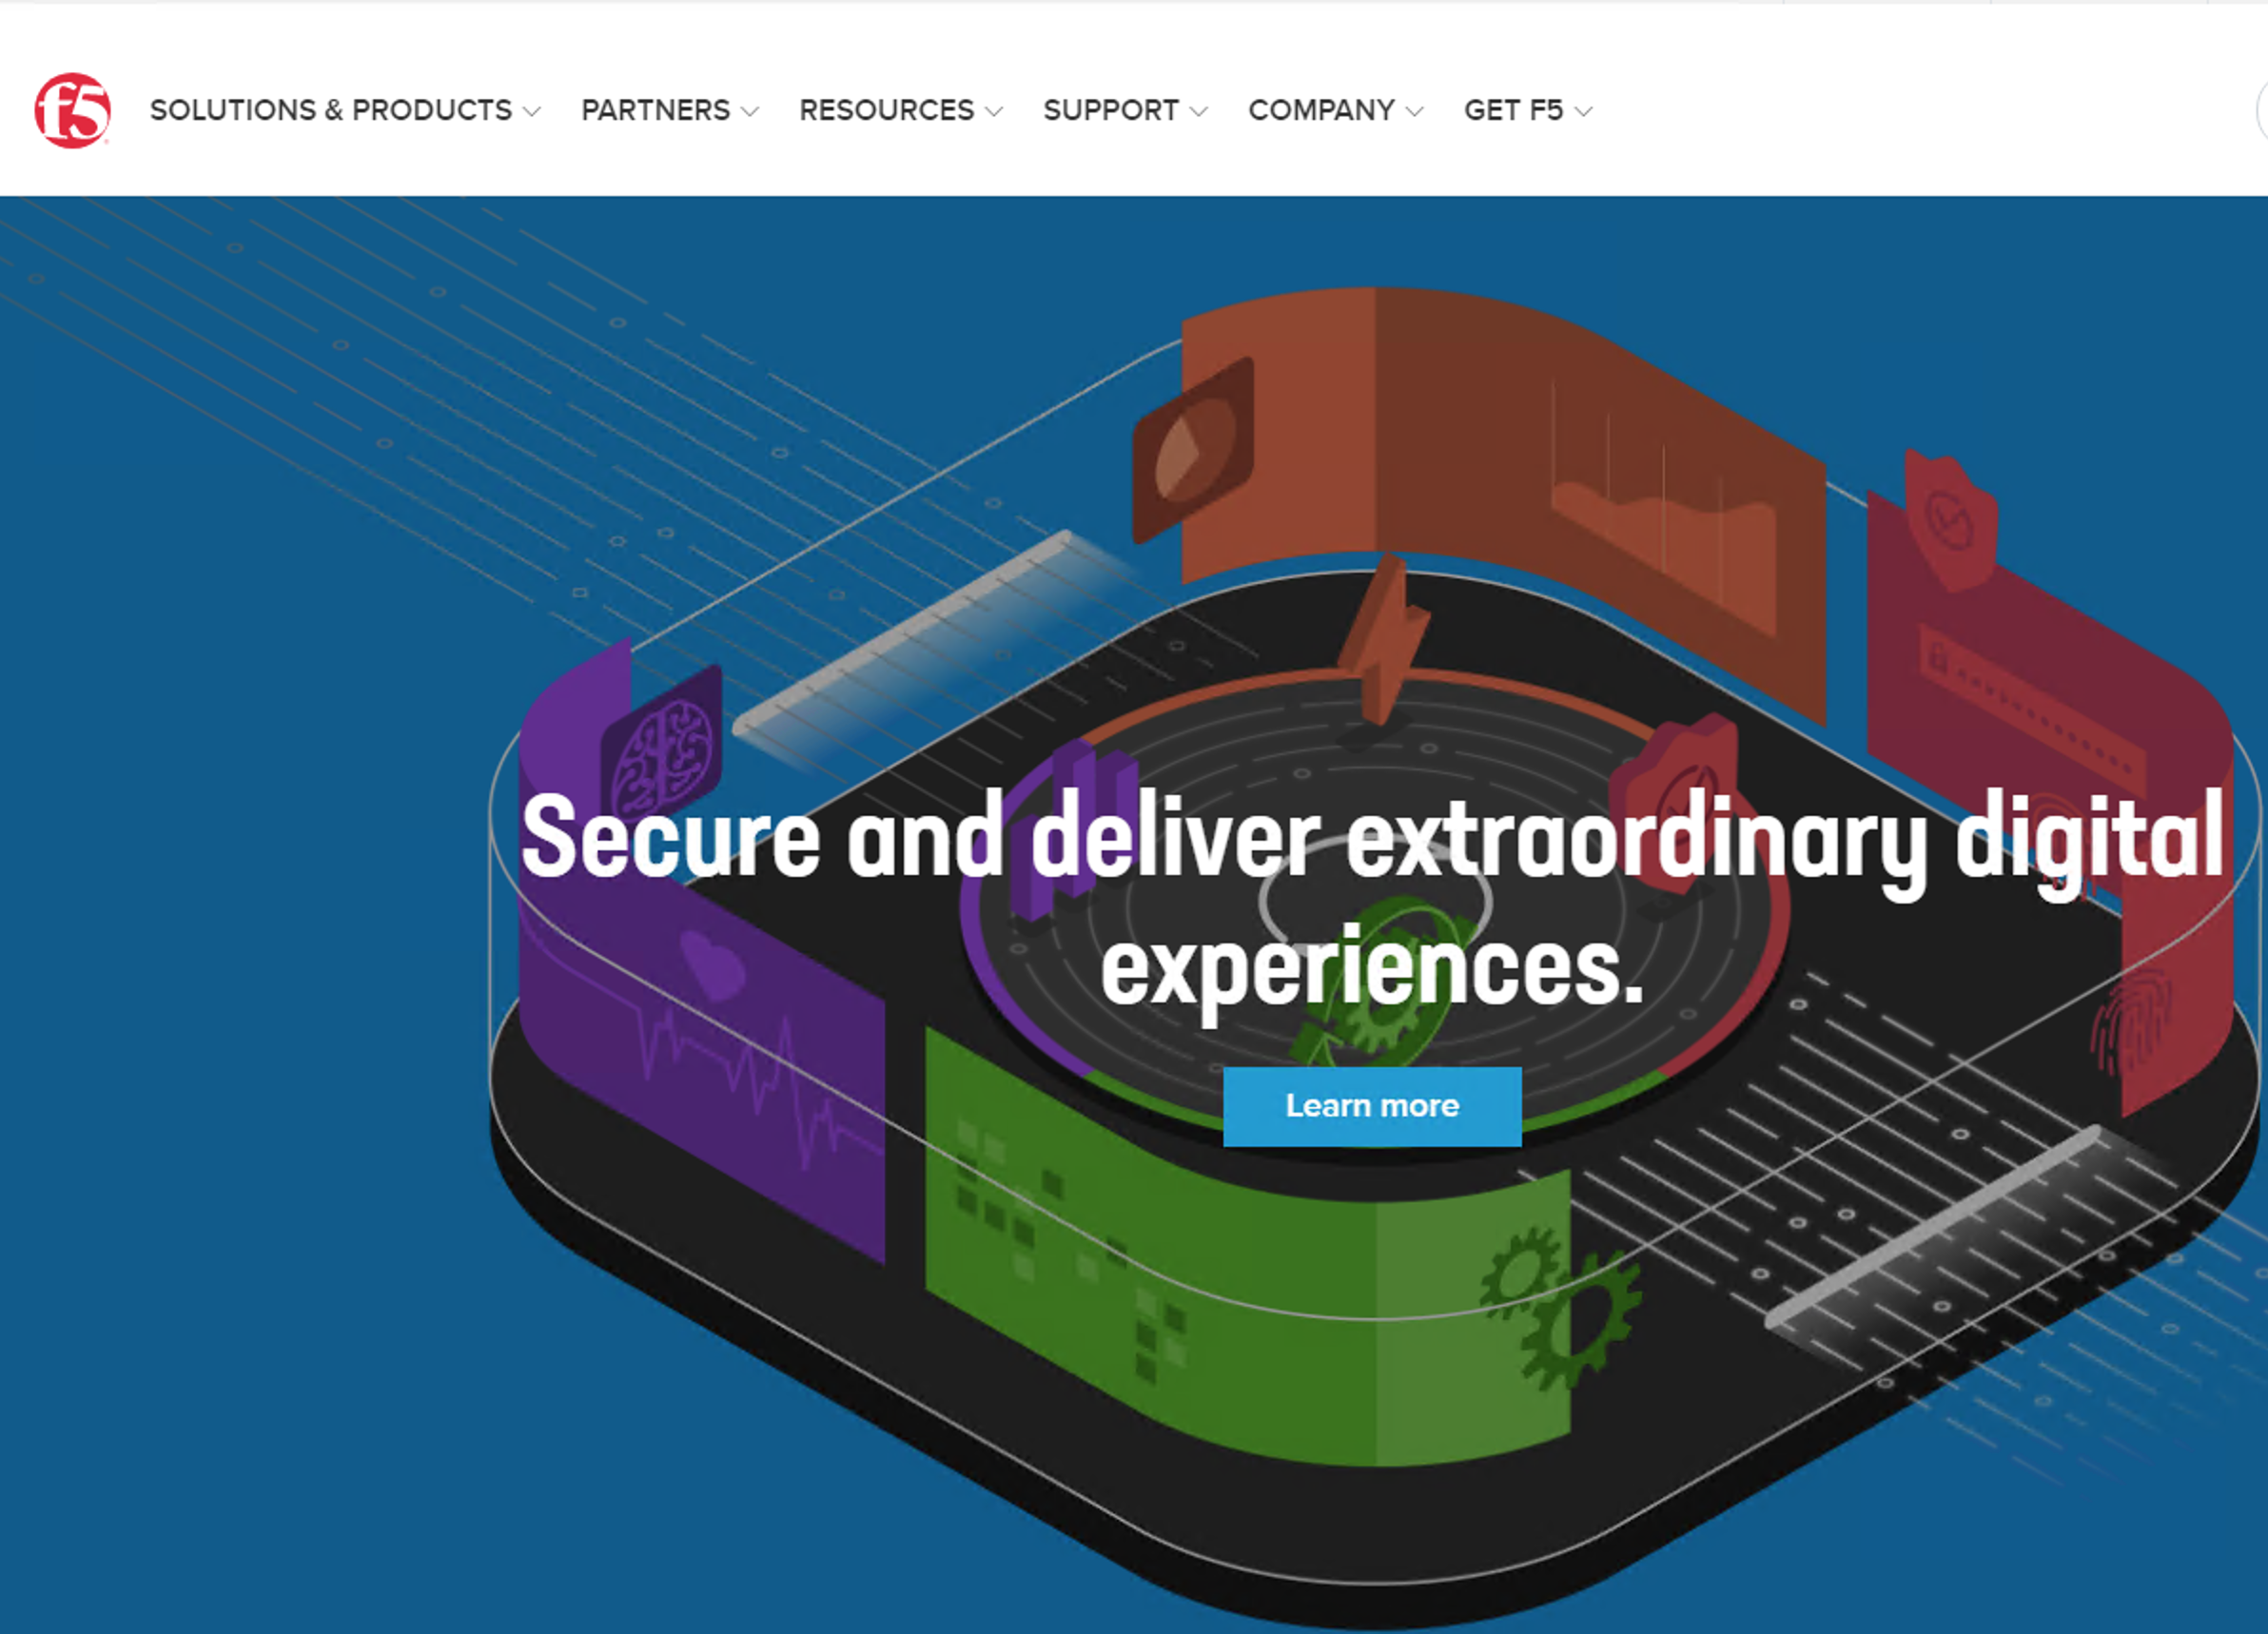
You are redirected to the https://www.f5.com website.
Task 9 - Lab Cleanup
From a browser on the jumphost navigate to https://portal.f5lab.local
Click the Classes tab at the top of the page.
Scroll down the page until you see 102 Webtop Features on the left
Hover over tile Webtop Links. A start and stop icon should appear within the tile. Click the Stop Button to trigger the automation to remove any prebuilt objects from the environment
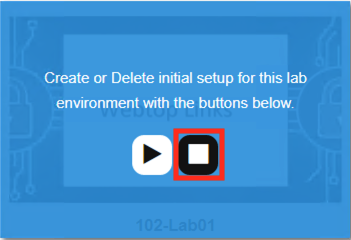
The screen should refresh displaying the progress of the automation within 30 seconds. Scroll to the bottom of the automation workflow to ensure all requests succeeded. If you experience errors try running the automation a second time or open an issue on the Access Labs Repo.
This concludes the lab.