F5 Identity and Access Management Solutions > Archived Identity & Access Management Labs > Class 9: Multi-Factor Auth for Cloud Applications > Lab 2: Setup an AWS Connector Source | Edit on
Lab – Setup AWS Connector
This lab will teach you how to create a SAML AWS connector. Estimated completion time: 30 minutes
Task - Download AWS metadata
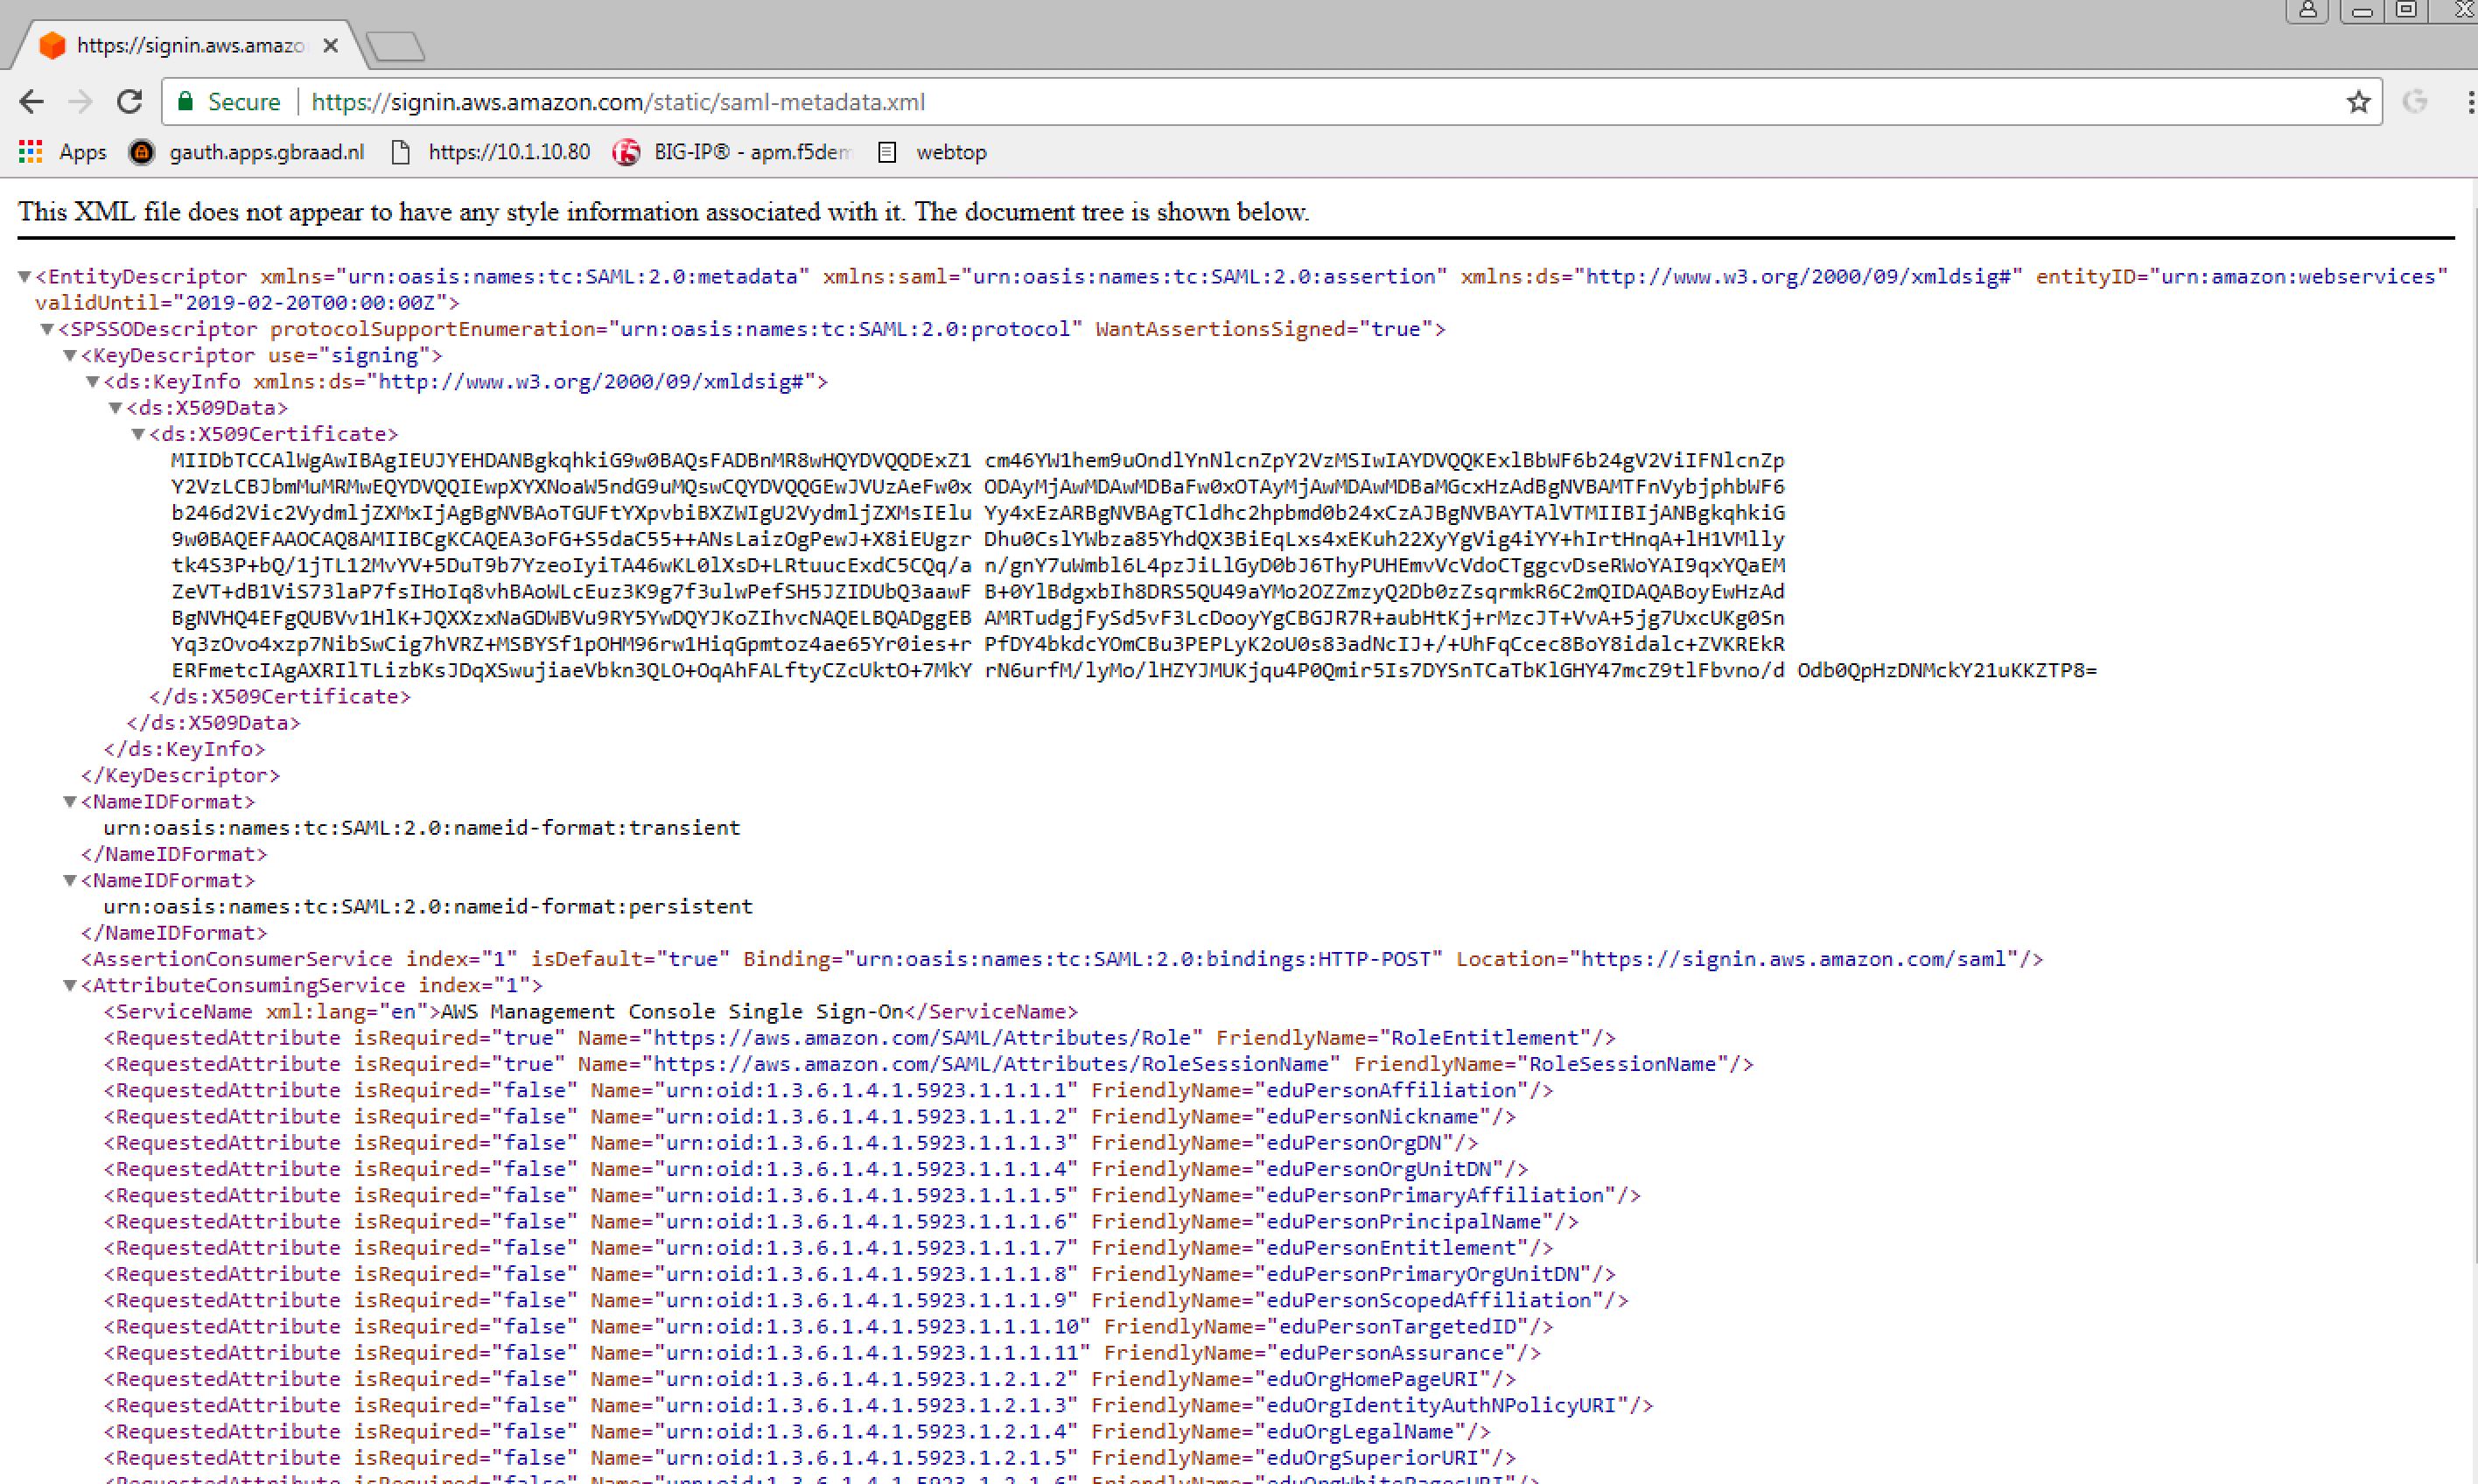
1. From the jumpbox machine (Win7) , open new window
browser tab to
https://signin.aws.amazon.com/static/saml-metadata.xml
and download de xml file to the Desktop.
This file will be used to create and AWS external SP Connector
on the BIG-IP. |
 |
Task - Create an external SP connector to AWS
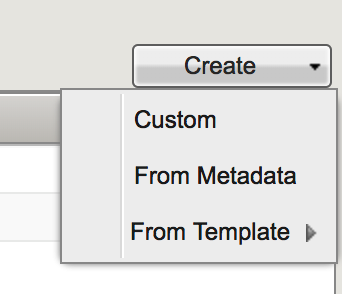
| 1. Logon onto BIG-IP, then go to Access -> Federation: SAML Identity Provider -> External SP Connectors -> Create -> From Metadata | 
 |
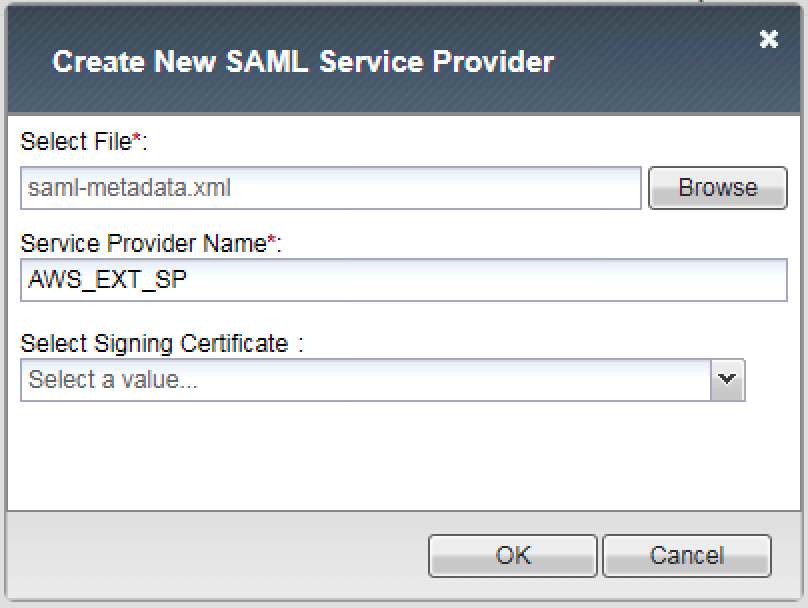
2. Enter the following values (leave others default) then click OK
|
 |
Task - Create a local IDP Service to AWS
| 1. Logon onto BIG-IP, then go to Access -> Federation: SAML Identity Provider -> Local Idp Services -> Create |  |
|
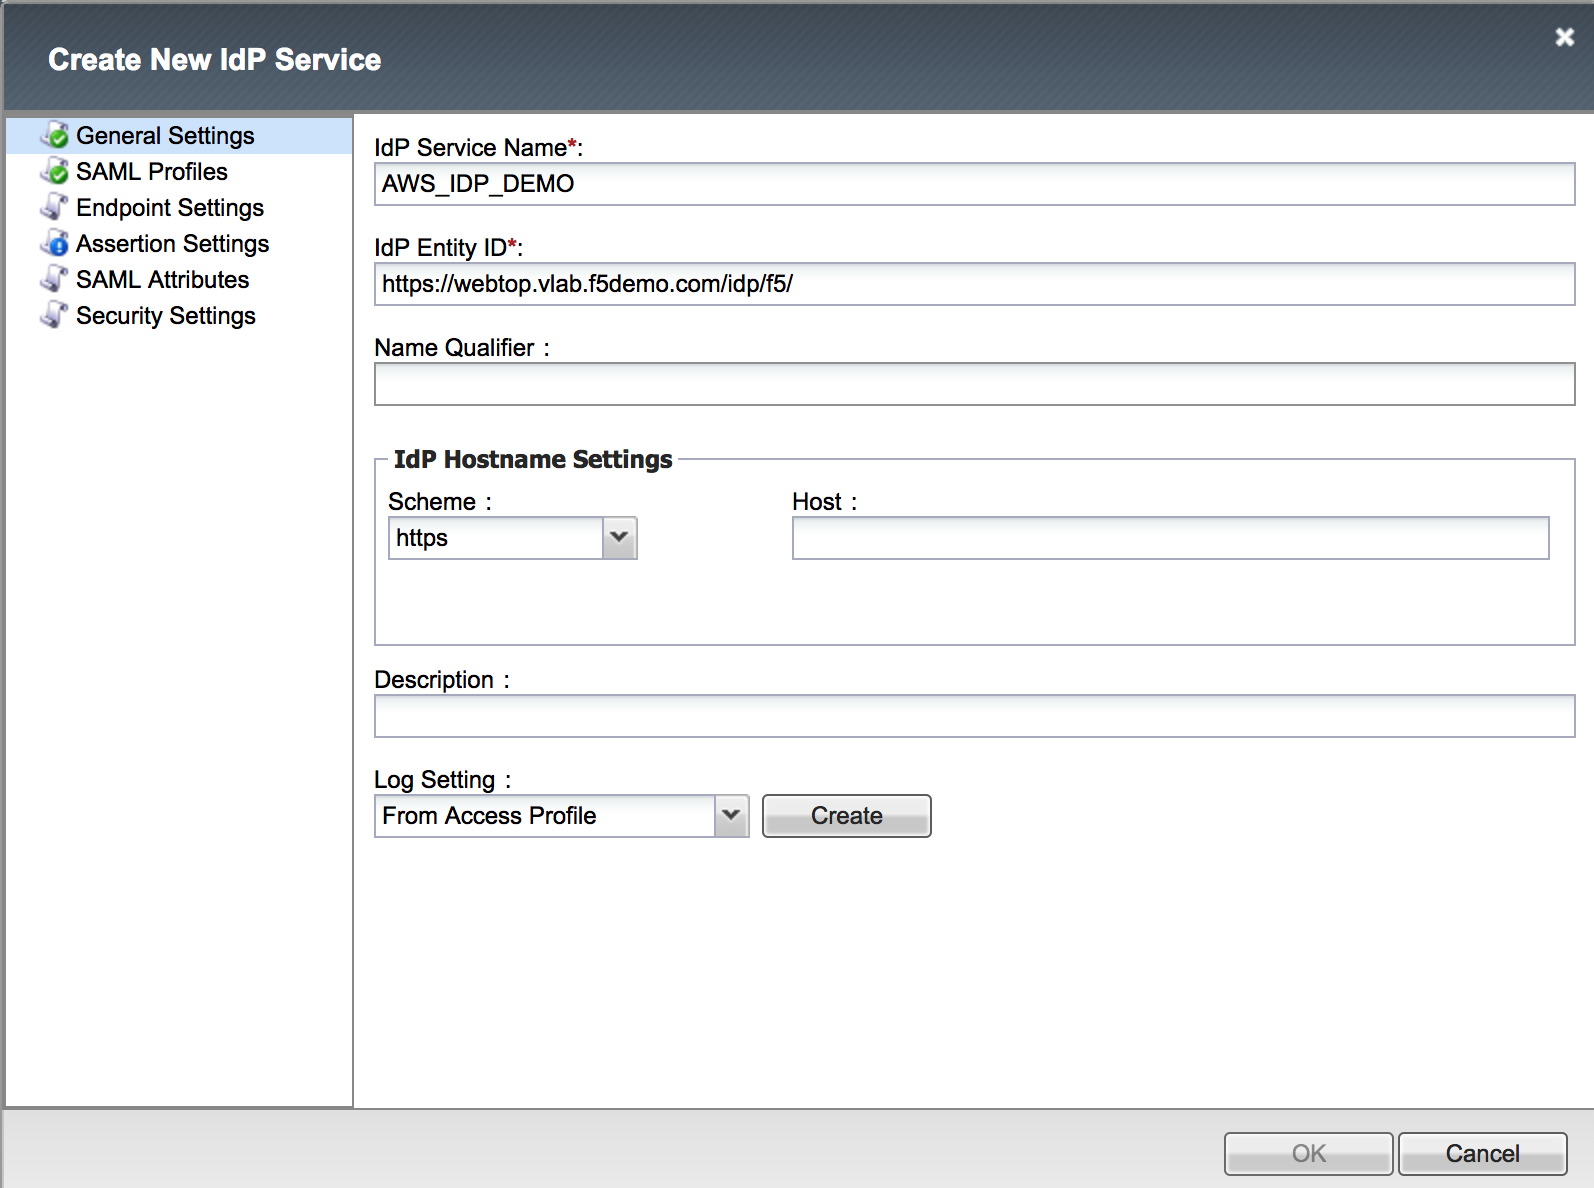 |
3. Enter the following values (leave others default) on the Assertion Settings.
|
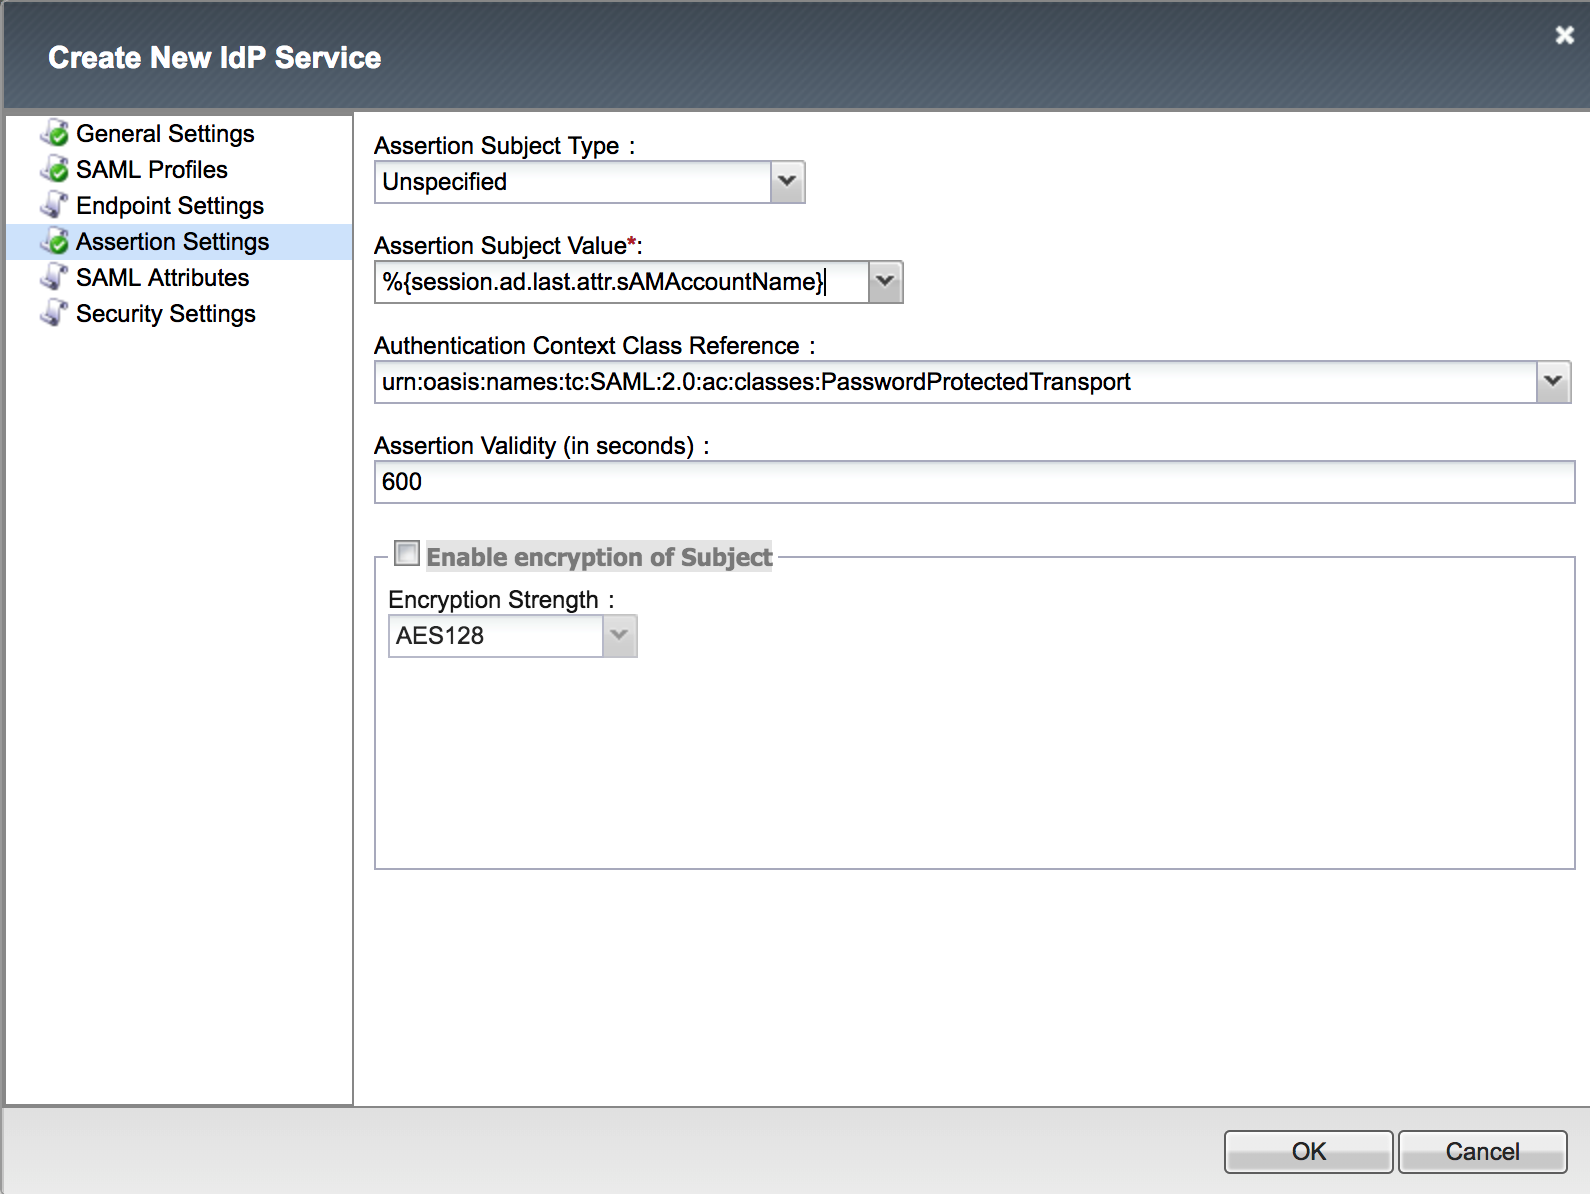 |
|
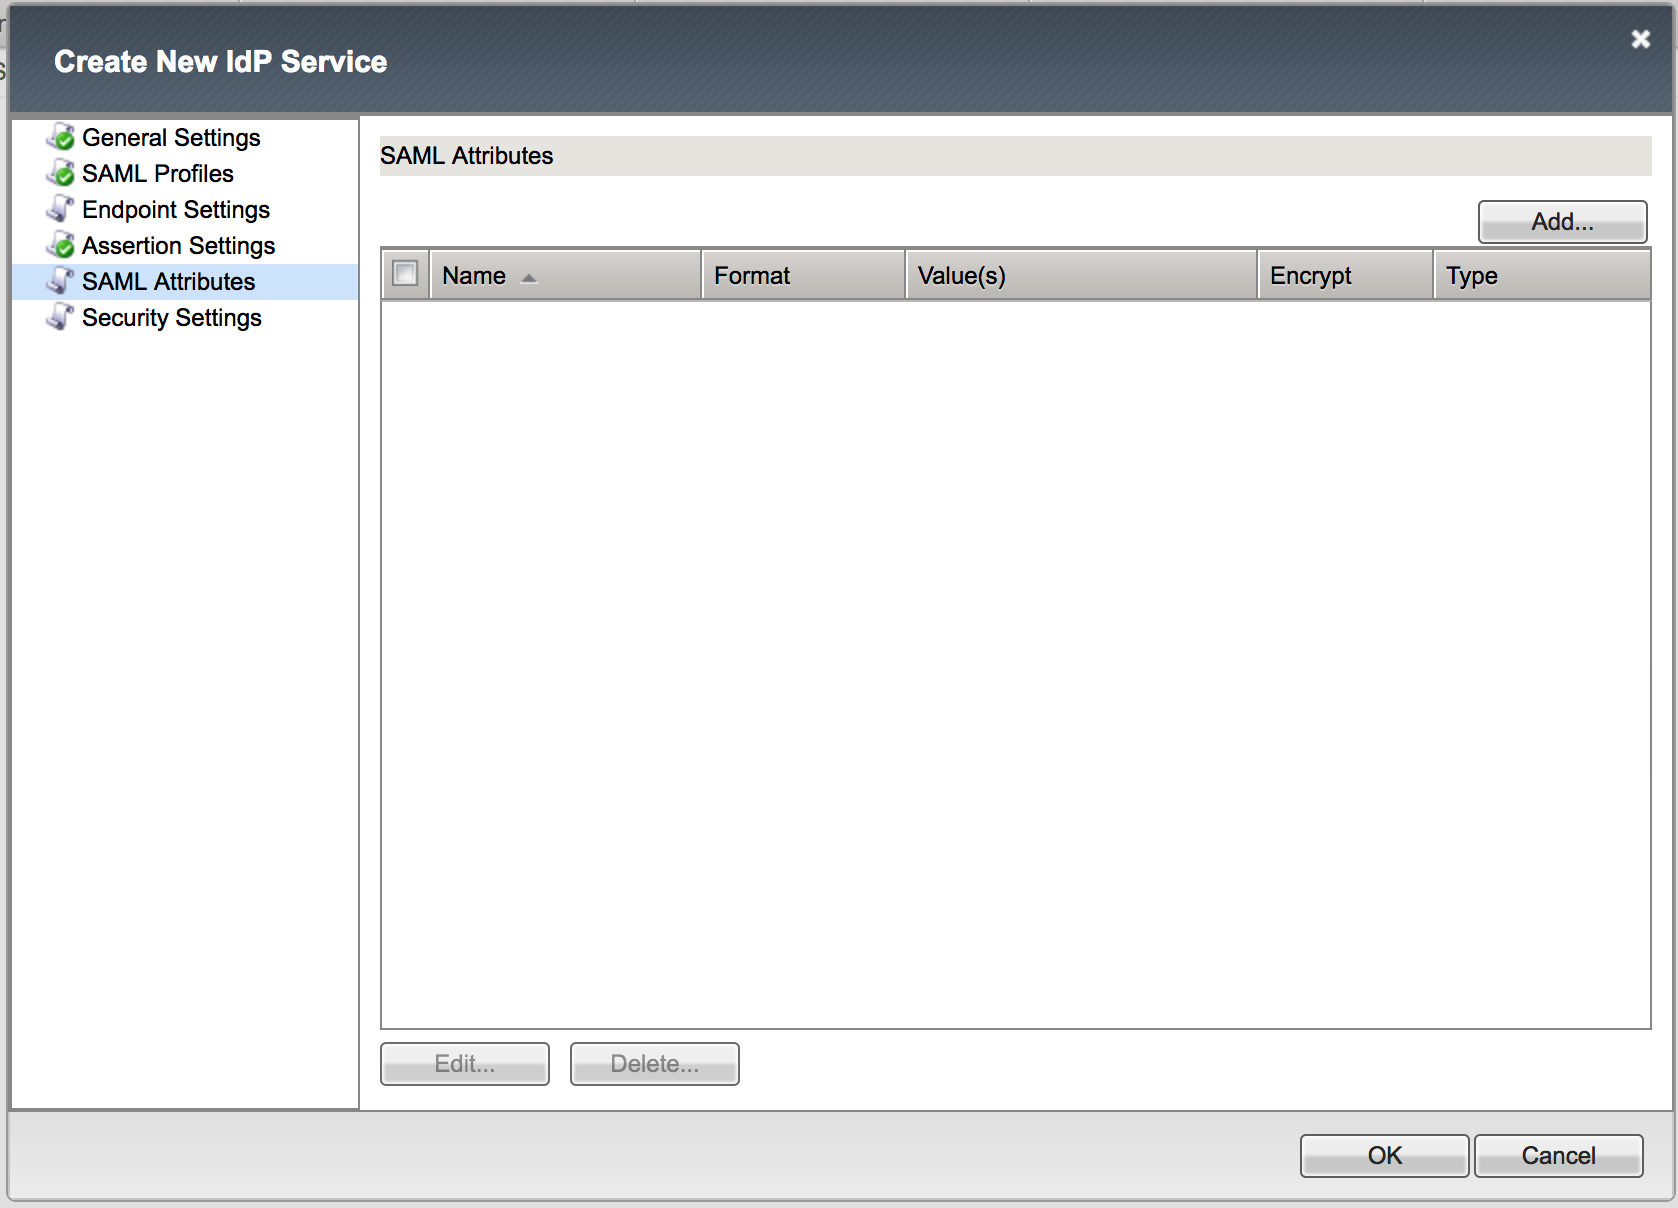 |
5. Create the RoleSessionName Attribute with the following values (leave others default), click Update, then click OK
|
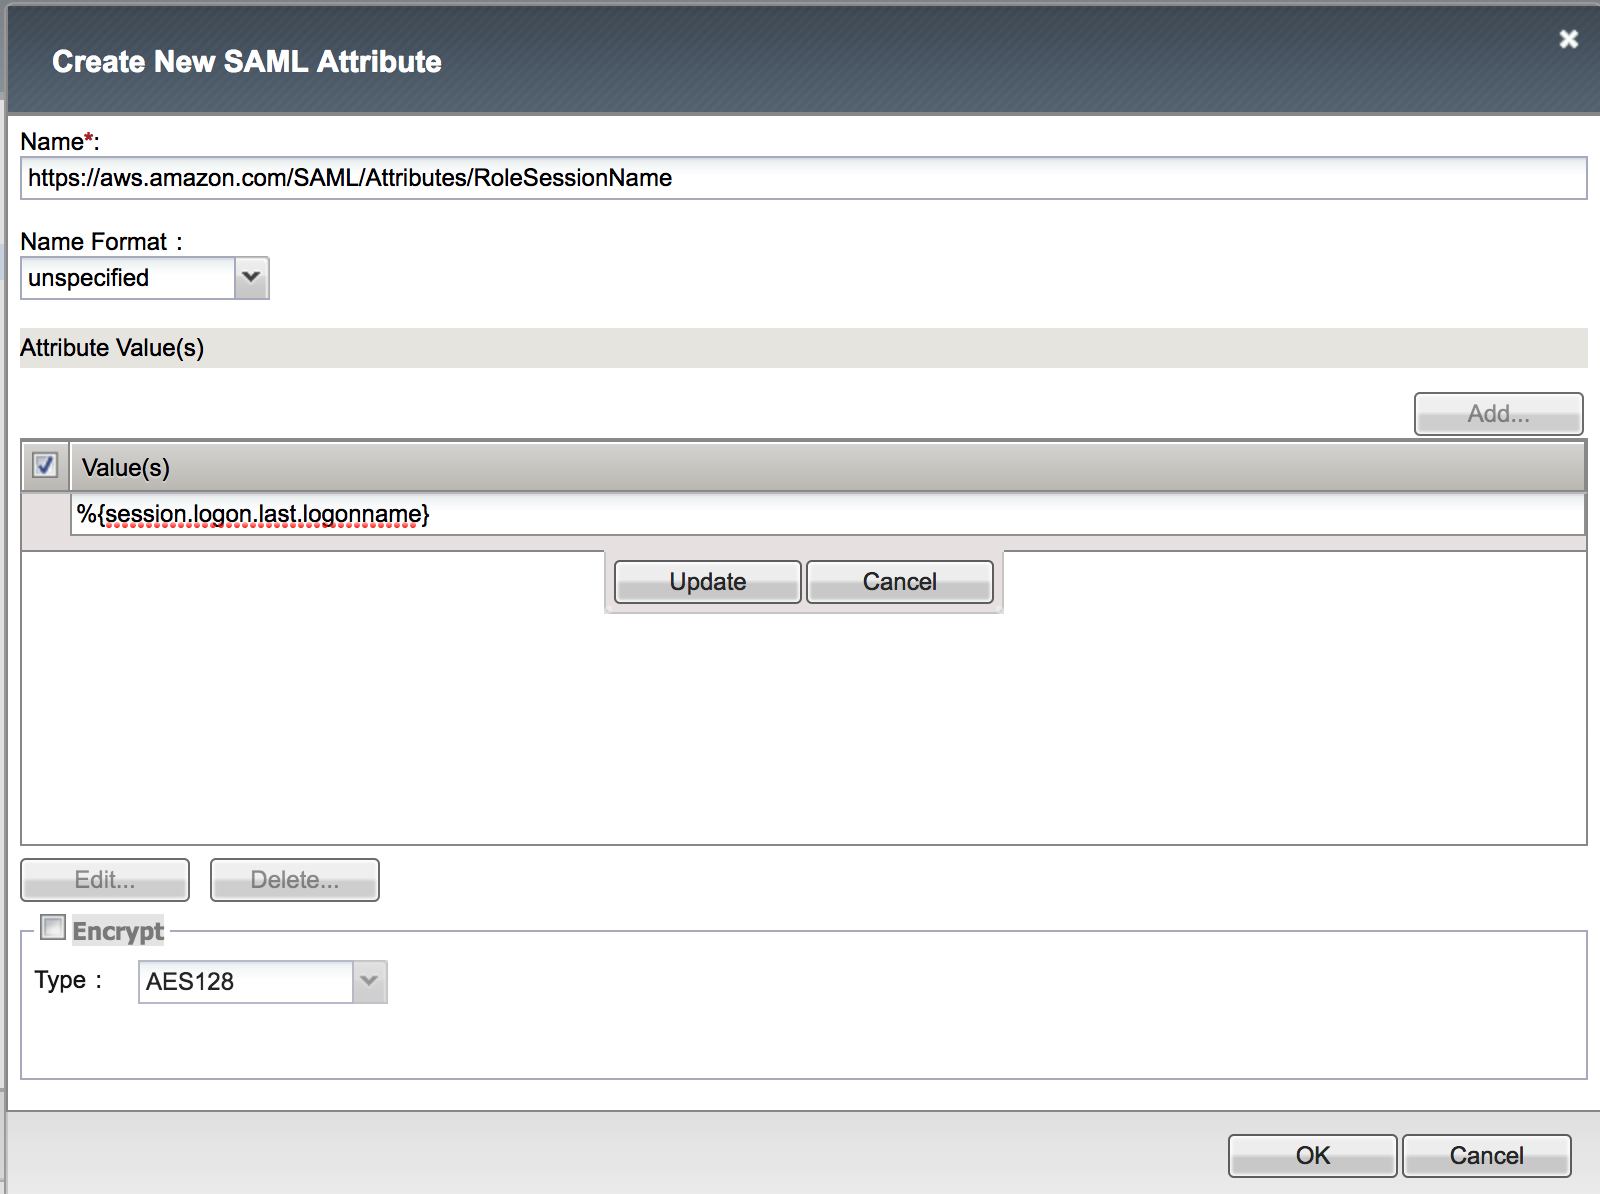 |
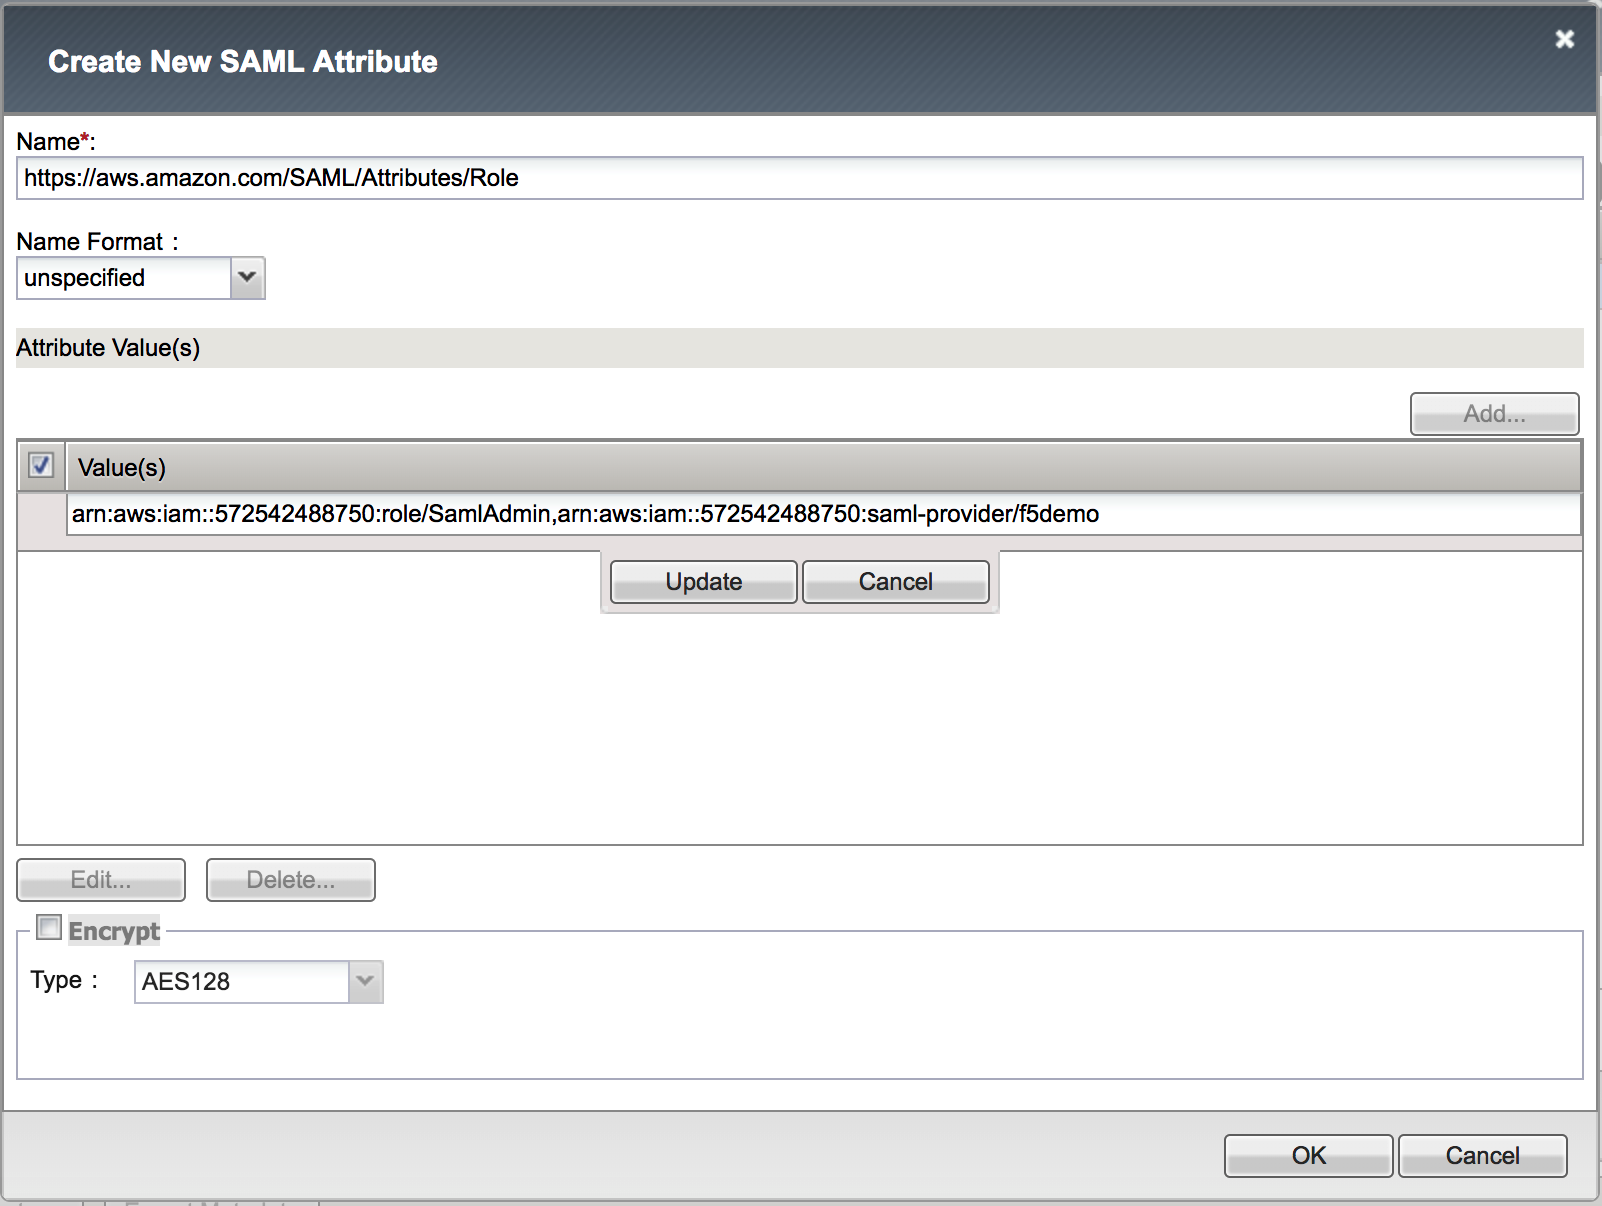
6. Create the Role Attribute with the following values (leave others default), click Update, then click OK
Take the |
 |
|
 |
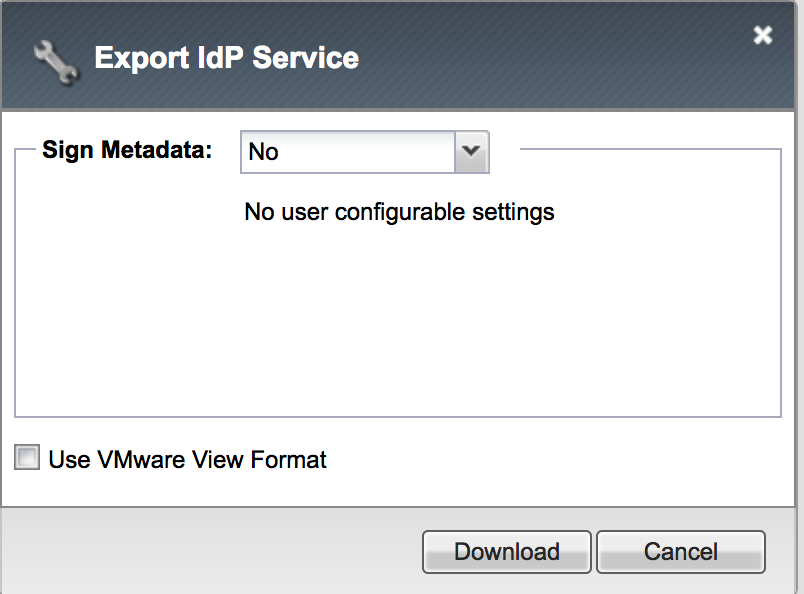
Task - Download IdP metadata from BIG-IP for AWS
1. Go to Access -> Federation: SAML Identity Provider
-> Local IdP Services, select the AWS_IDP_DEMO object,
then click Export Metadata. Leave the Sign Metadata
to No, and then click Download. |
|

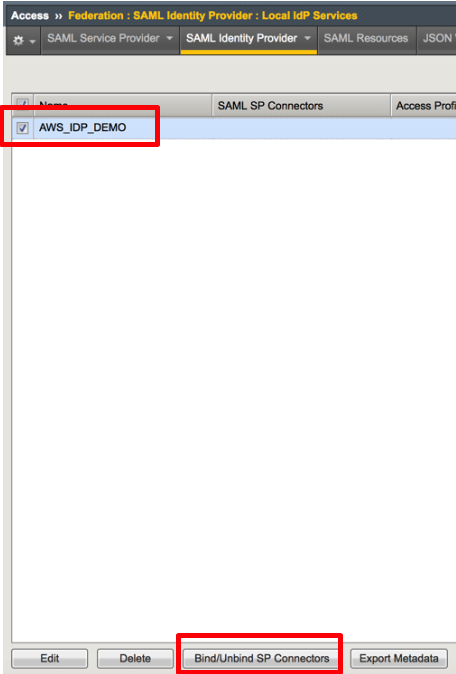
Task - Bind IdP and SP Connector to AWS
1. Go to Access -> Federation: SAML Identity Provider
-> Local IdP Services, select the AWS_IDP_DEMO object,
then click Bind/Unbind SP Connector. Then select
/Common/AWS_EXT_SP as SP connector and click OK. |
|

Task - Create an IdP provider in AWS
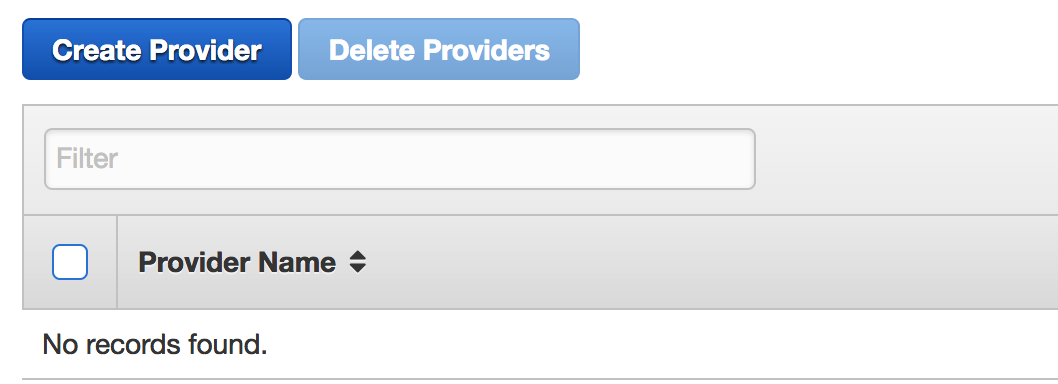
1. Sign in to the AWS Management Console and open the
IAM console at https://console.aws.amazon.com/iam/
then click Identity Provider |
 |
|
 |
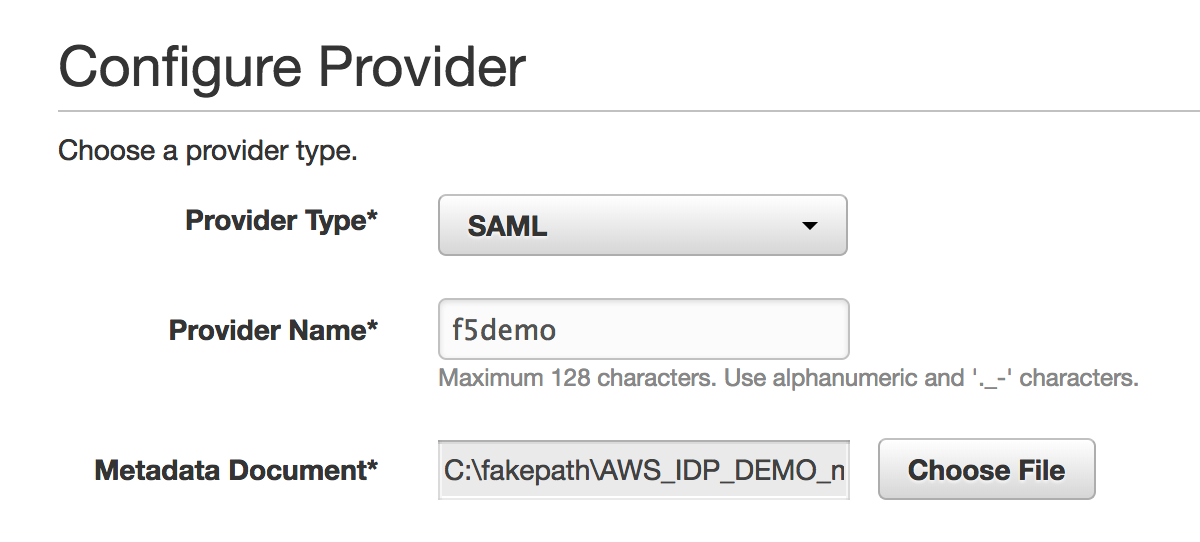
3. Enter the following values (leave others default) on the Configure Provider tab, then click Next Step
|
 |
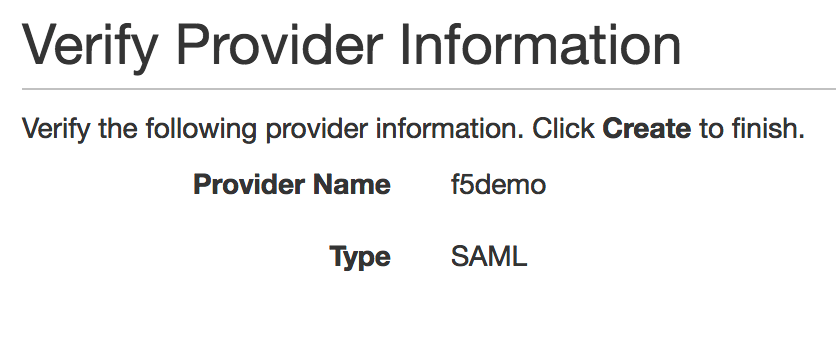
4. Verify the information you have provided, and then
click Create. |
 |
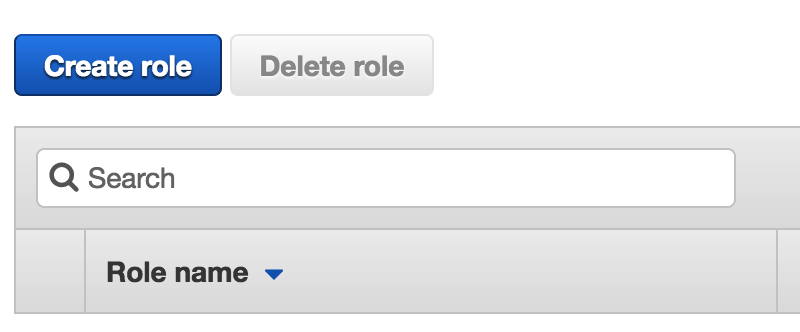
Task - Create a new Role in AWS
|
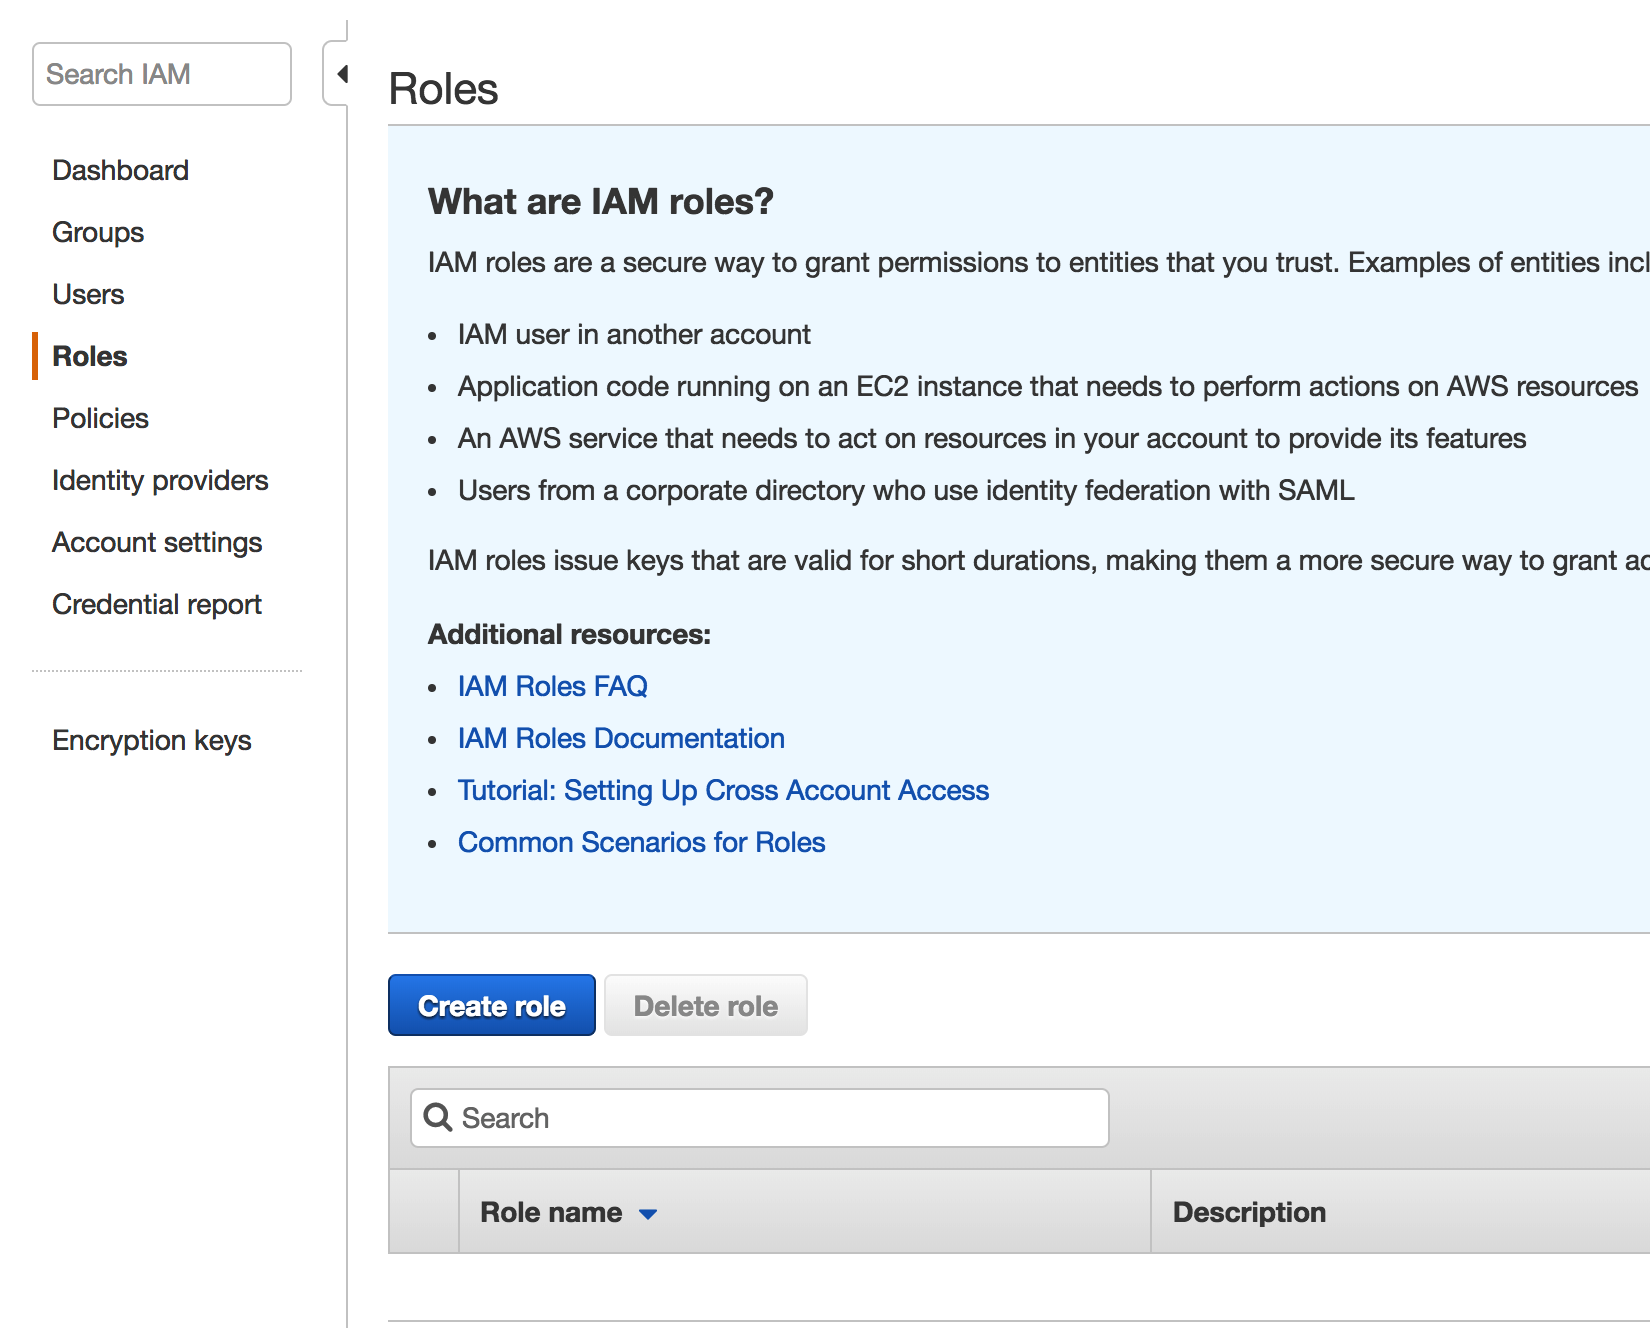 |
|
 |
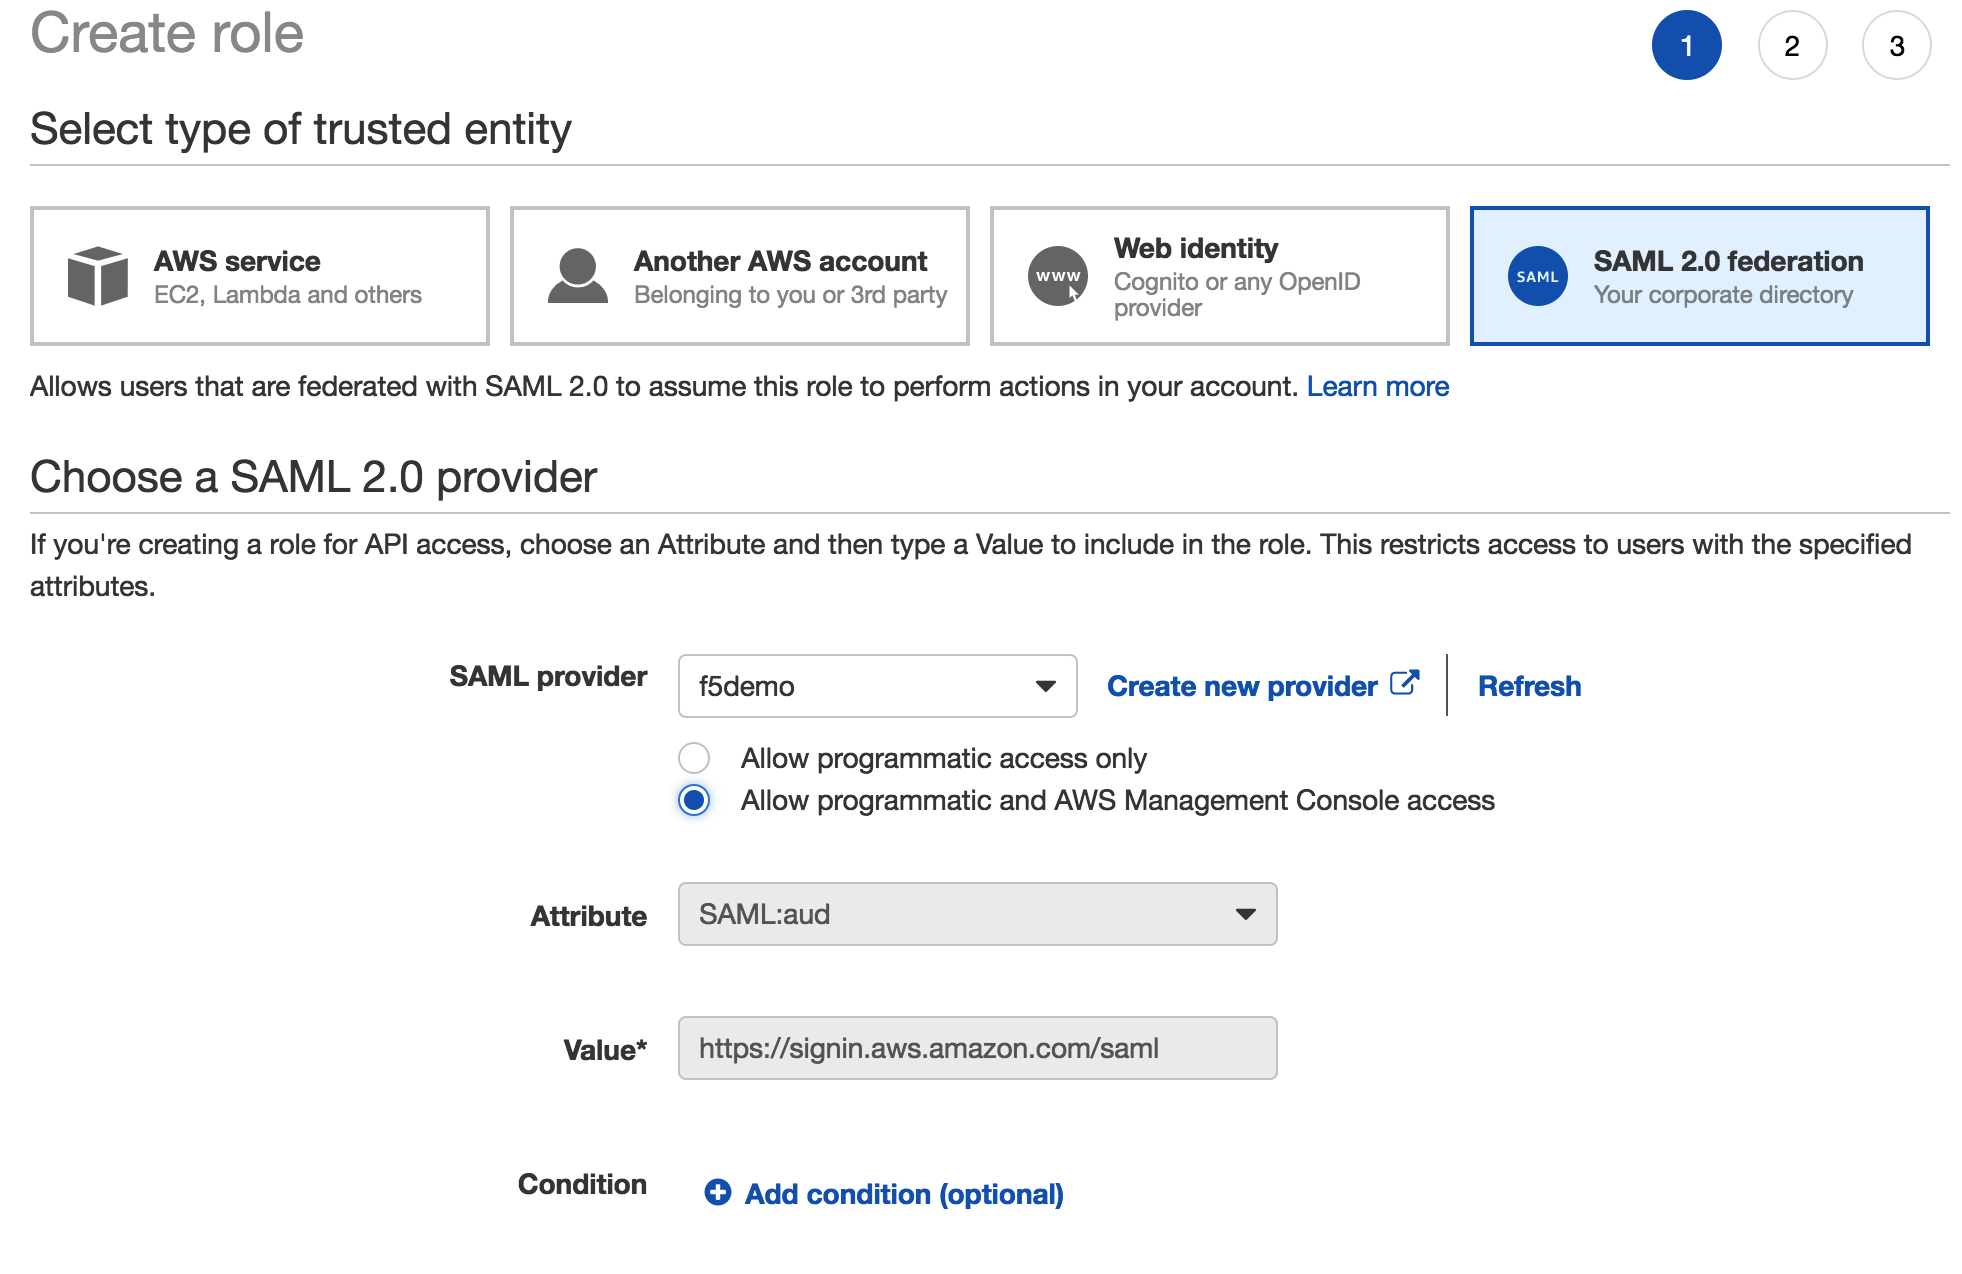
3. Enter the following values (leave others default) on the Select type of trusted entity tab, then click Next: Permisions
|
 |
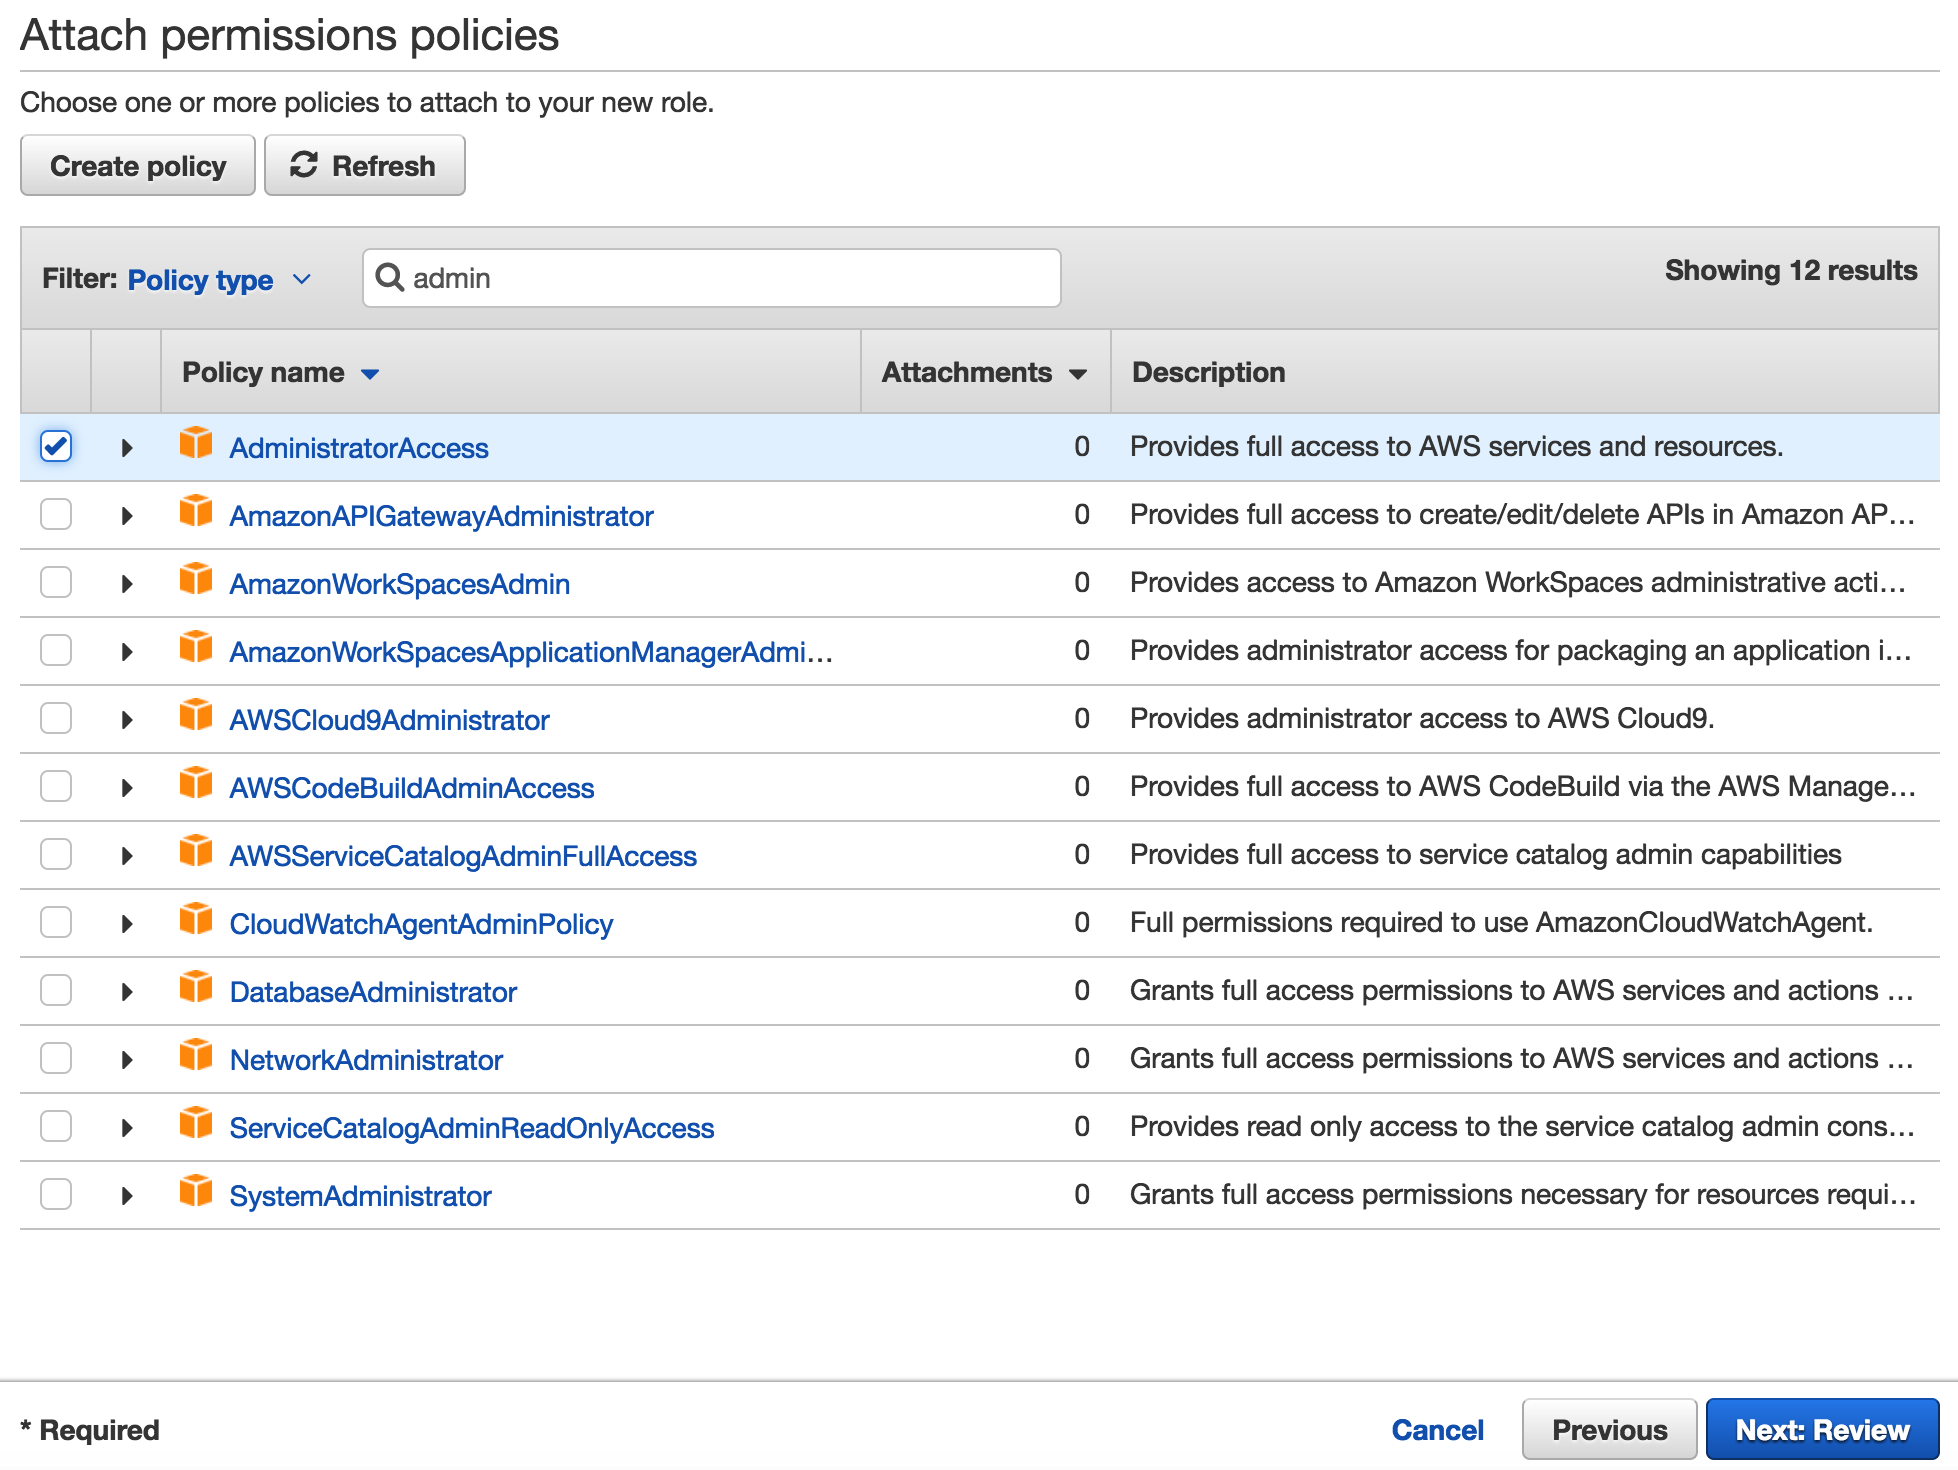
4. Enter the following values (leave others default) on the Attach permissions policies tab, then click Next: Review
|
 |
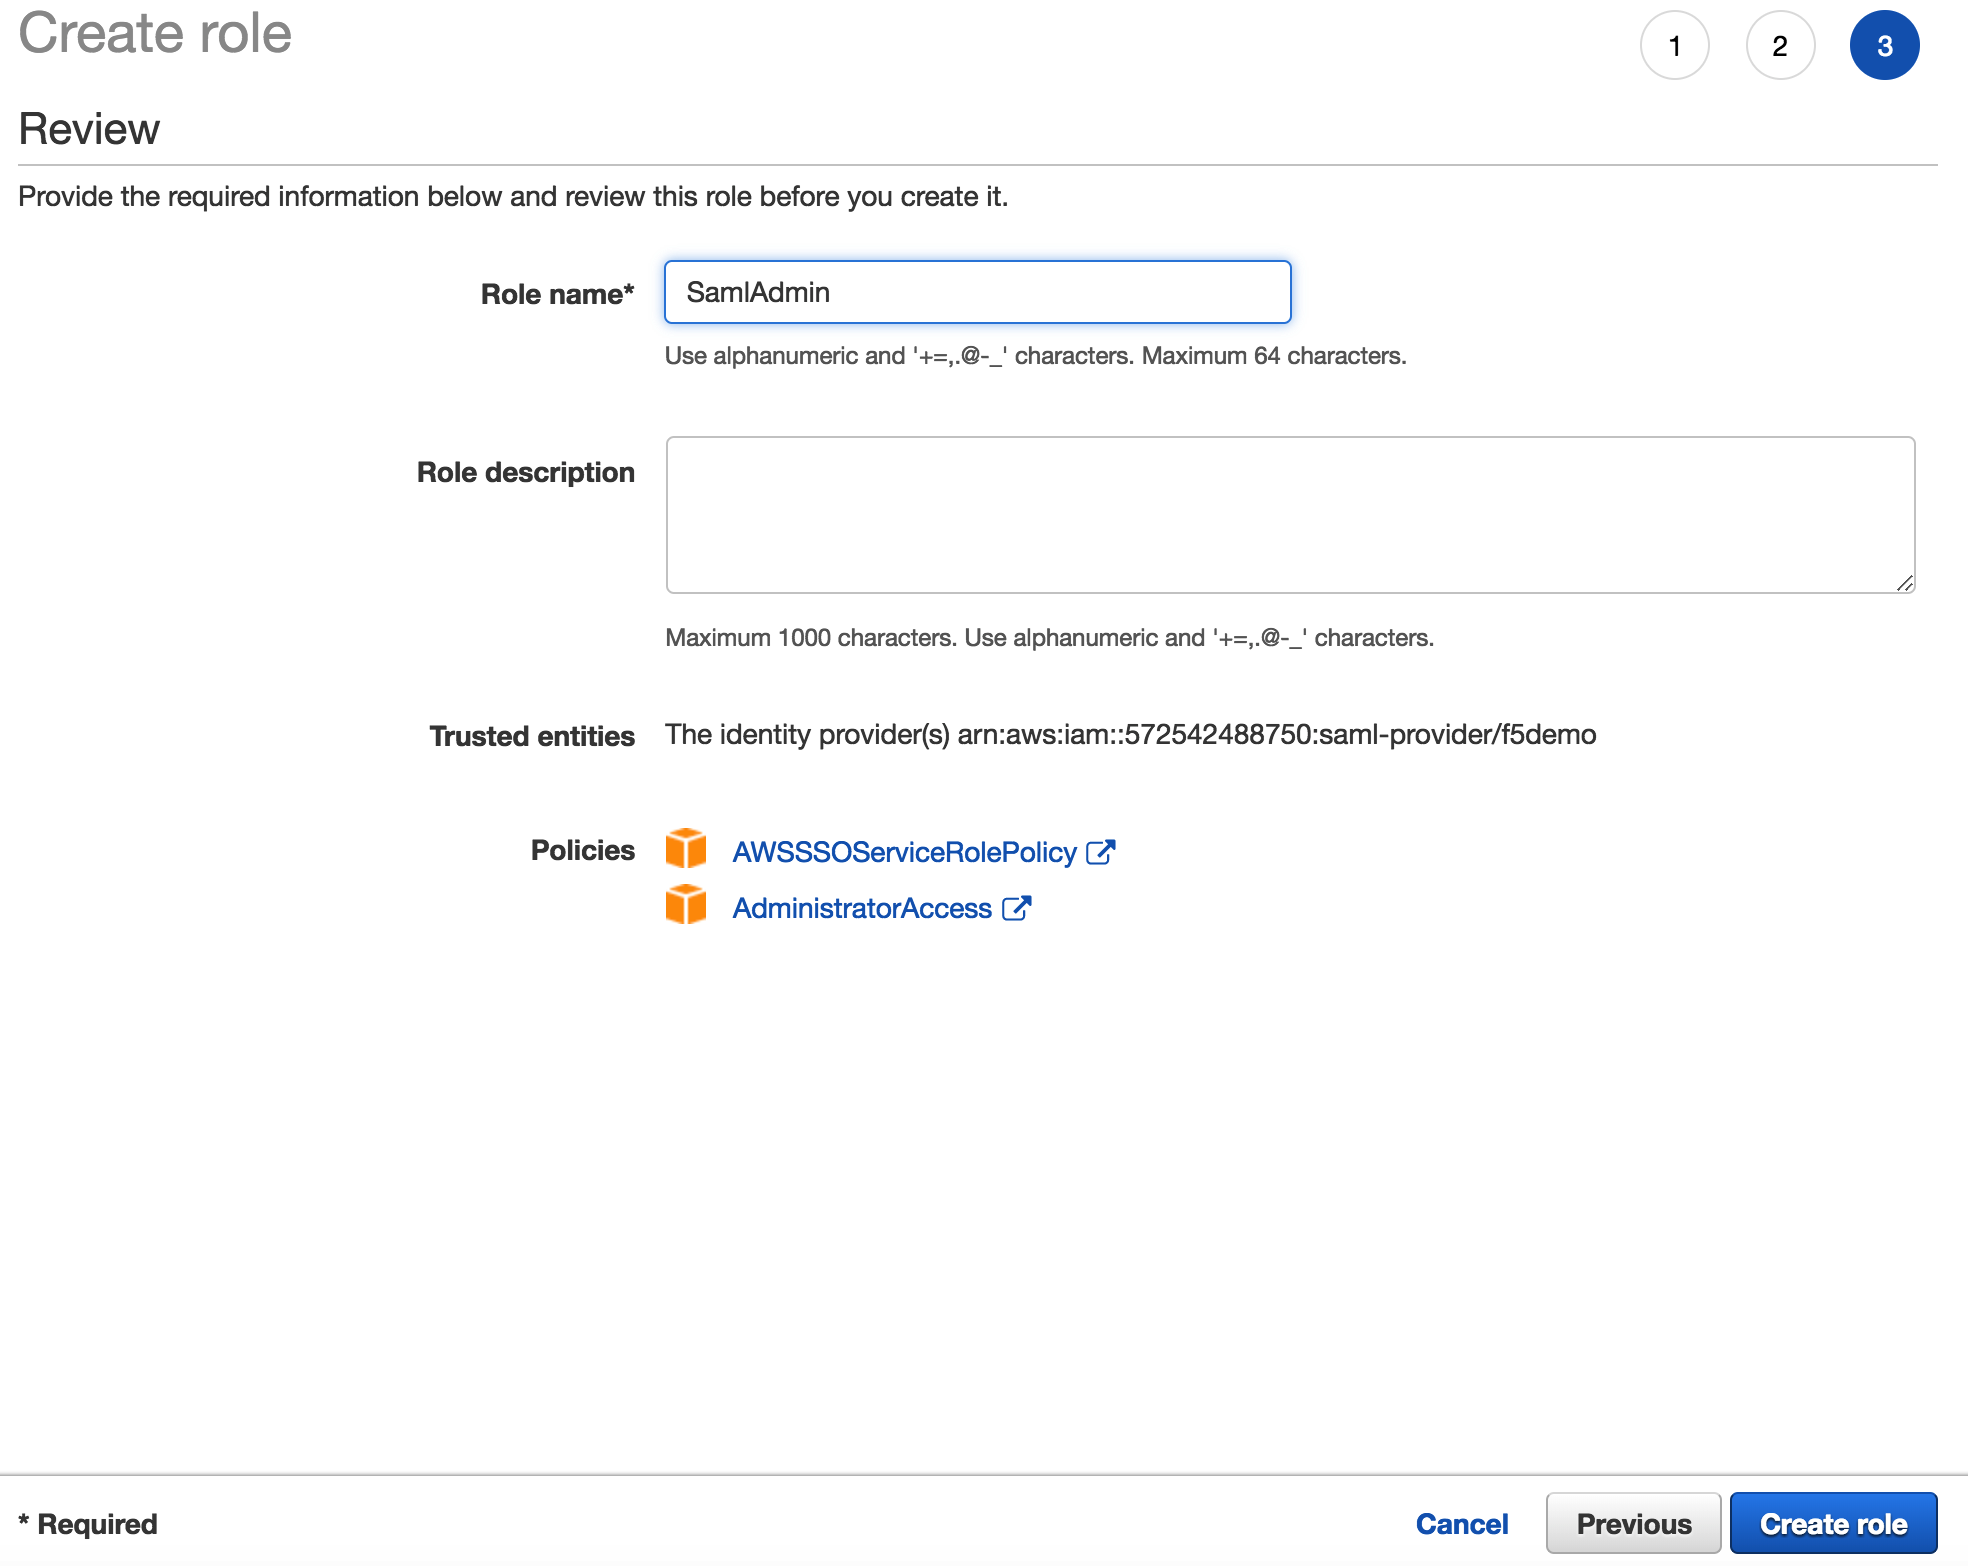
5. Enter the following values (leave others default) on the Review tab, then click Create Role
|
 |
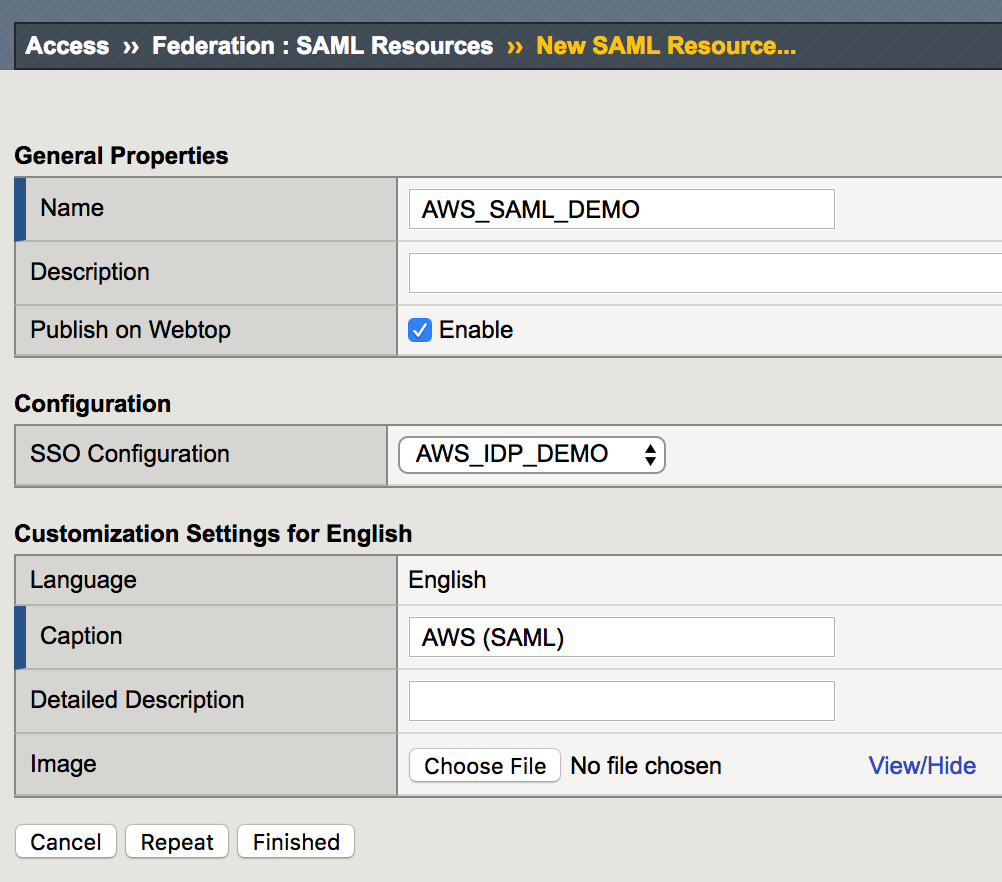
Task - Create a AWS SAML resource in BIG-IP
| 1. Go to Access -> Federation: SAML Resources -> Create. |  |
2. Enter the following values (leave others default) on the New SAML Resource tab, then click Finished.
|
 |
Task - Assign the AWS SAML resource
| 1. Go to Access -> Profiles/Policies -> Access Profiles, then click Edit for webtop_demo, a new browser tab will open |  |
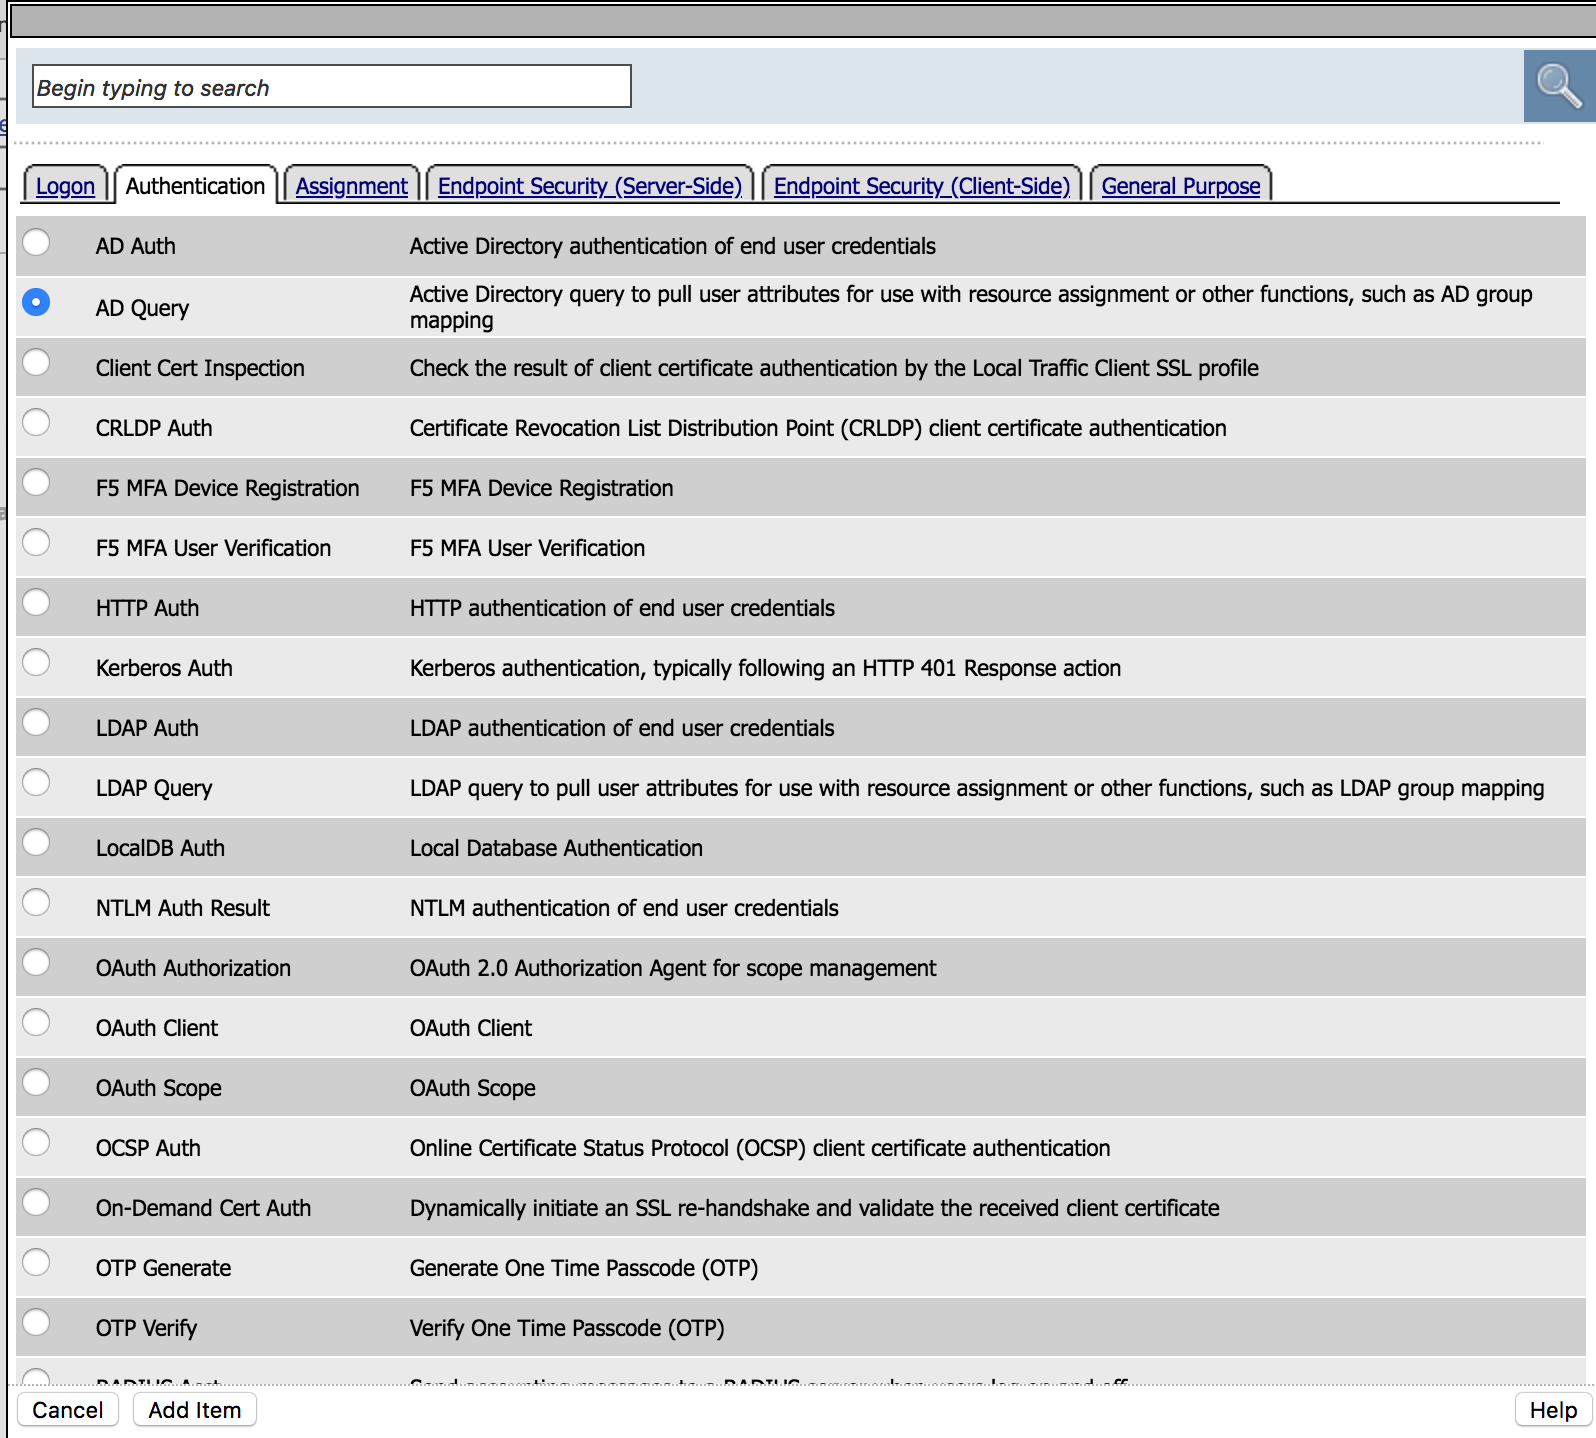
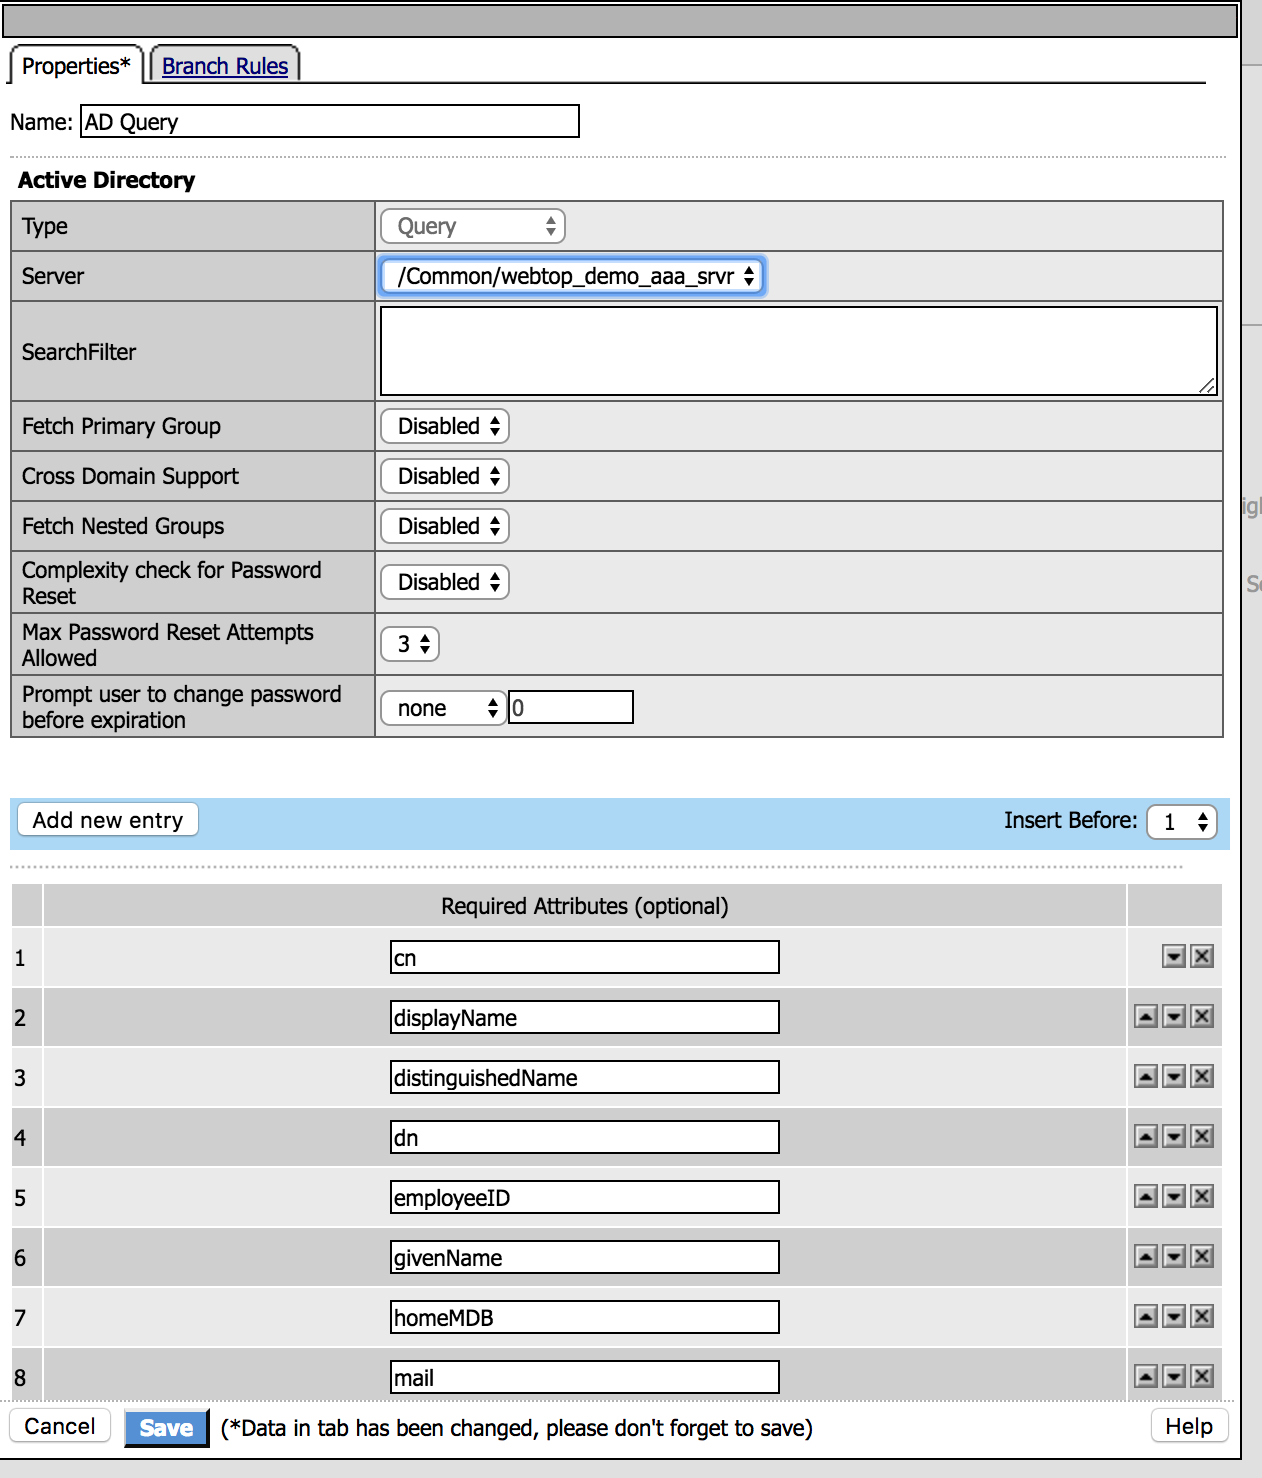
2. Click the + between AD Auth and
Advanced Resource Assign, select AD Query from the
Authentication tab, click Add Item |
|
3. Enter the following values (leave others default) then click Save
|
 |
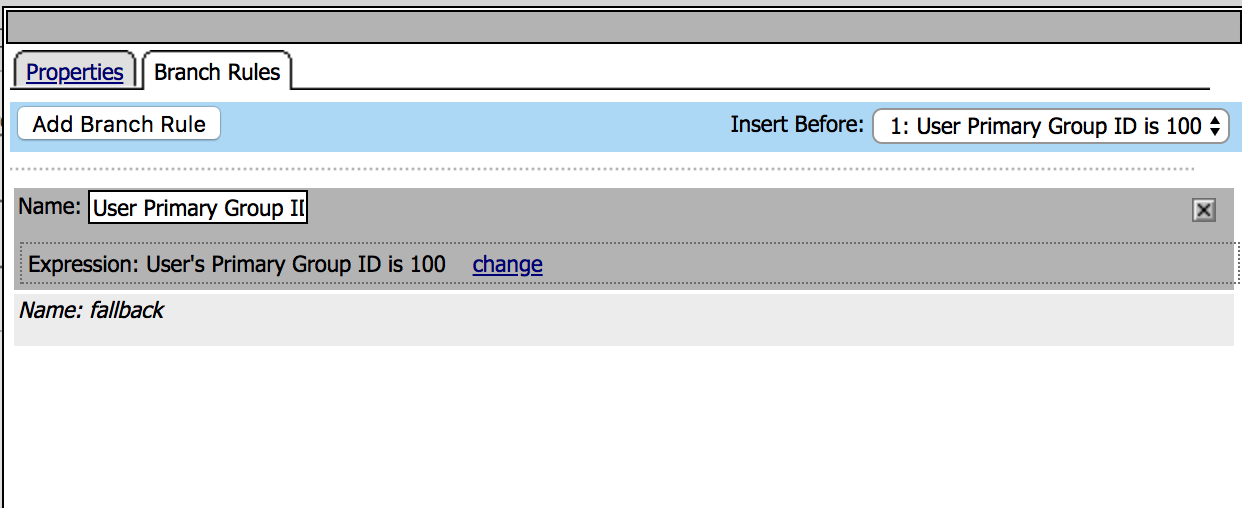
| 4. Click on the AD Query object, a new window will open. Click on the Branch Rules tab |
|
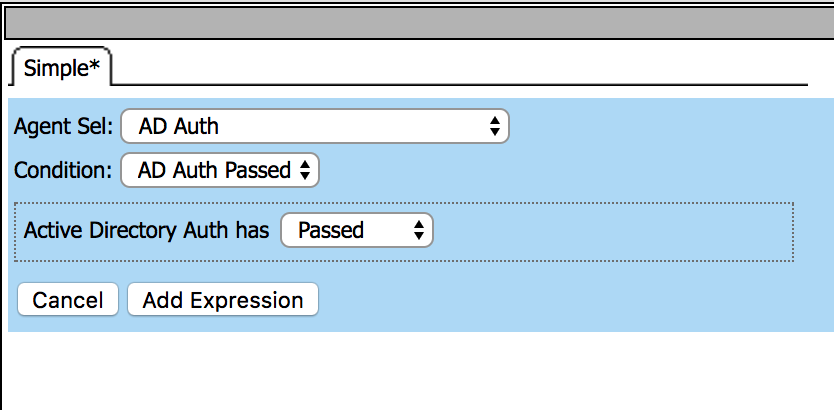
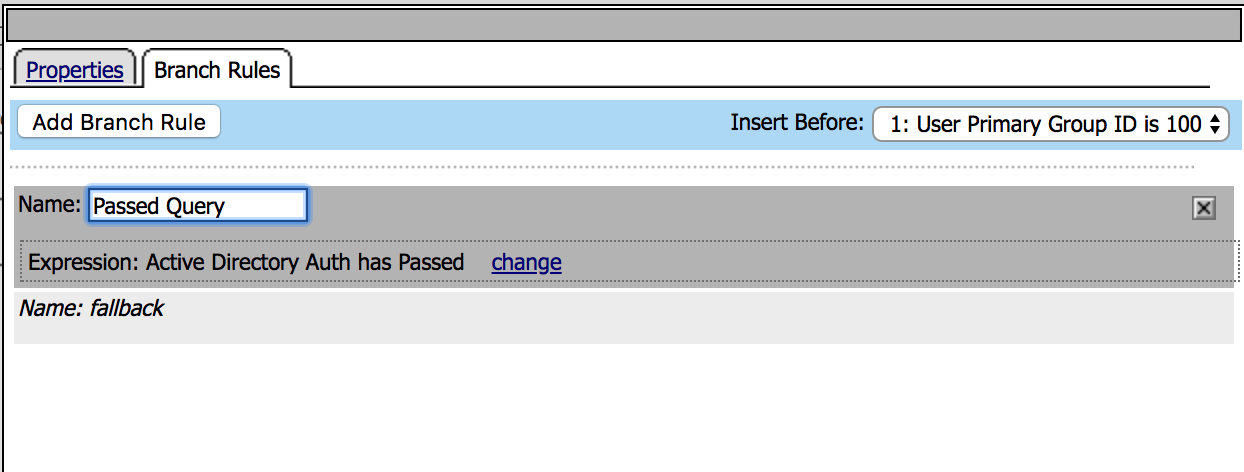
5. Click on change link, and then delete the expression
using X. After that select AD Auth from Agent Sel
parameter then click Add Expression. Click Finished
and change the name to Passed Query then Save. |
|
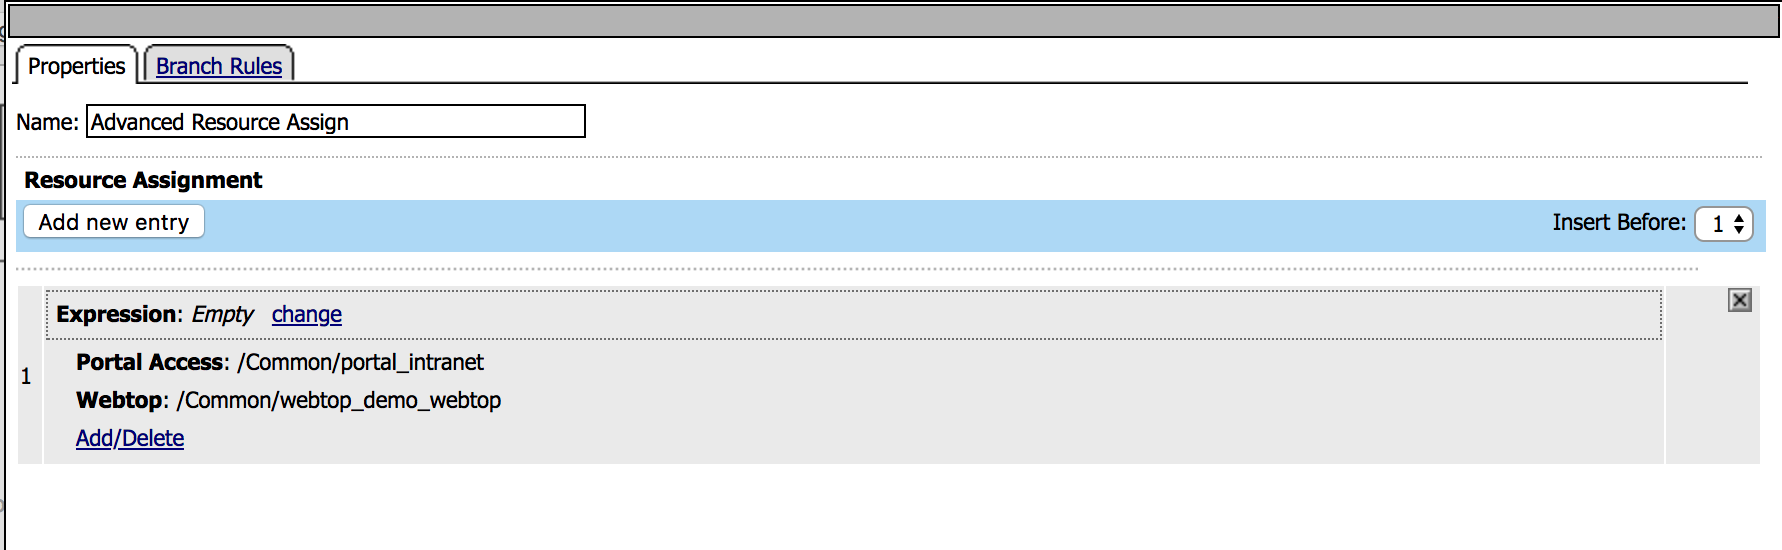
6. Click on the Advanced Resource Assign object, a new
window will open. Click Add/Delete, then choose
/Common/AWS_SAML_DEMO from the SAML tab and click
Update, then Save. |
|
| 7. Click Apply Access Policy in the top left and then close the browser tab | 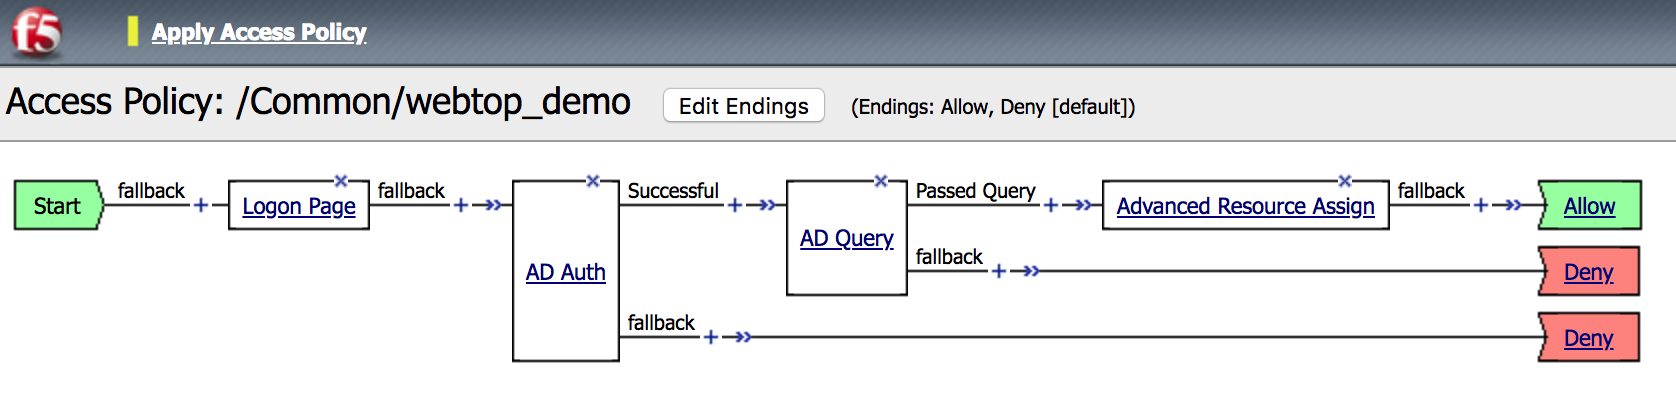 |
You should see an AWS (SAML) object that you just created. |
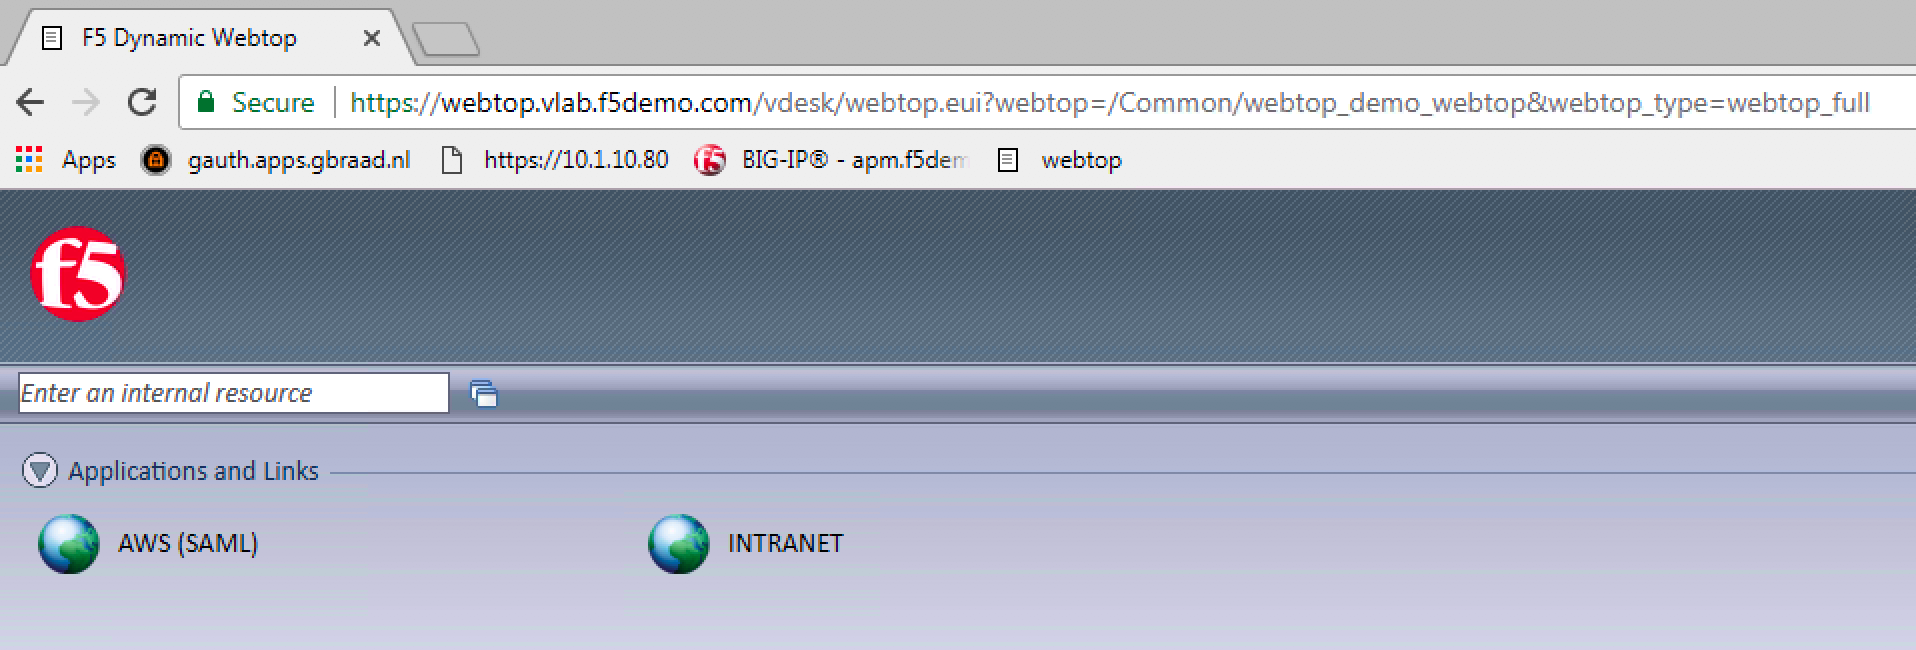 |
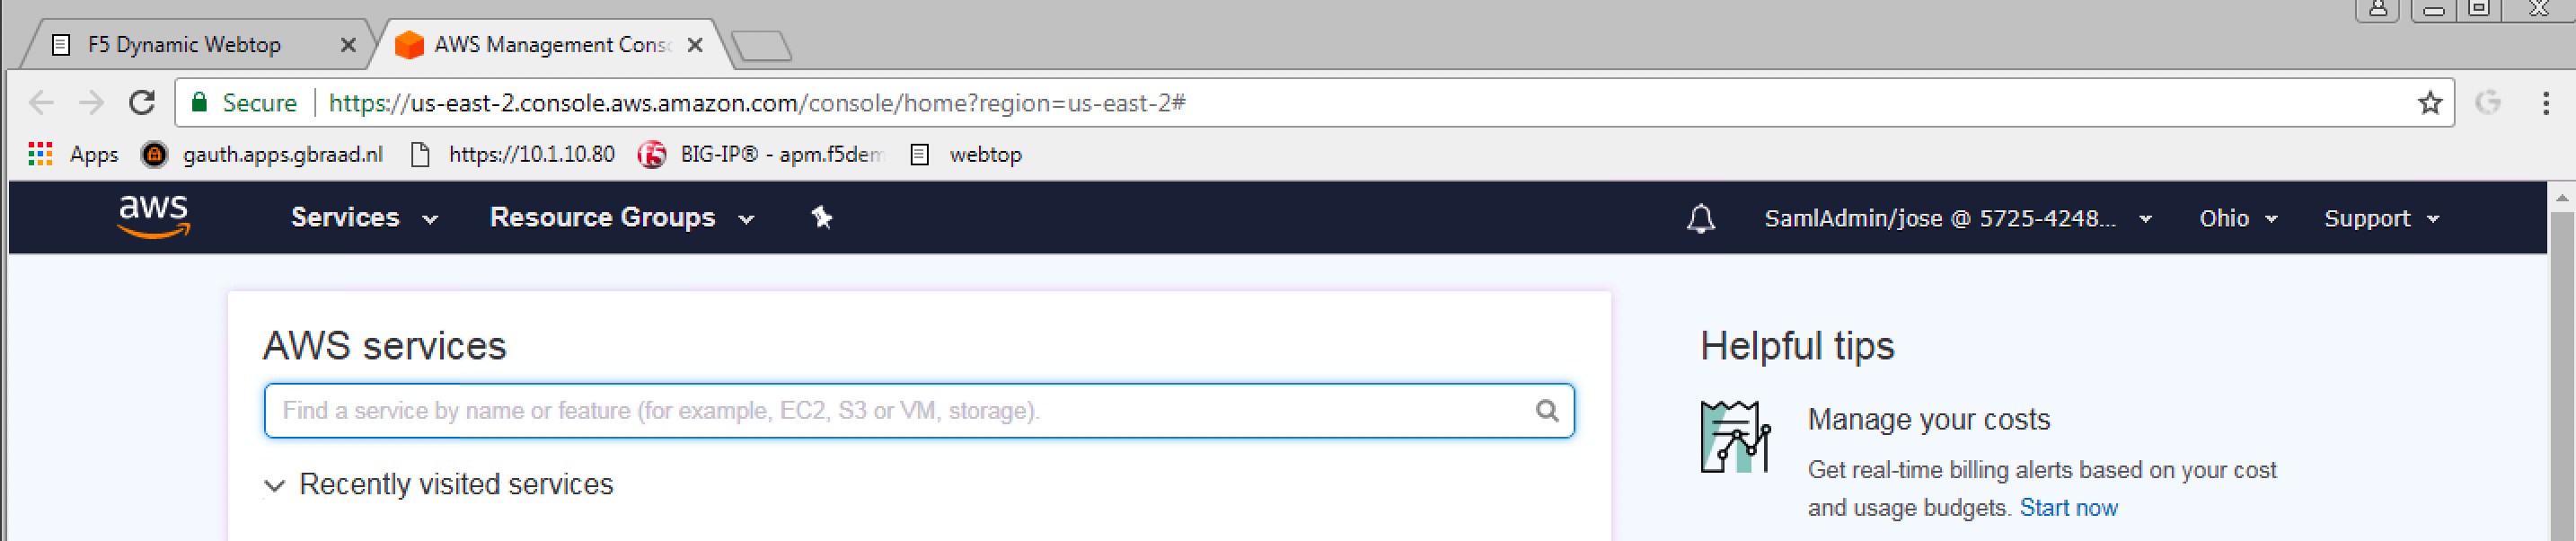
9. Click on the AWS link. You should be able to access
AWS GUI because of SSO (SAML Federation). |
 |