F5 Identity and Access Management Solutions > Archived Identity & Access Management Labs > Class 9: Multi-Factor Auth for Cloud Applications > Lab 3: Setup a Salesforce Connector Source | Edit on
Lab – Setup Salesforce Connector
This lab will teach you how to create a SAML Salesforce connector. Estimated completion time: 30 minutes
Task - Create a local IDP Service to Salesforce
| 1. Logon onto BIG-IP, then go to Access -> Federation: SAML Identity Provider -> Local Idp Services -> Create |  |
2. Enter the following values (leave others default) on the General Settings
|
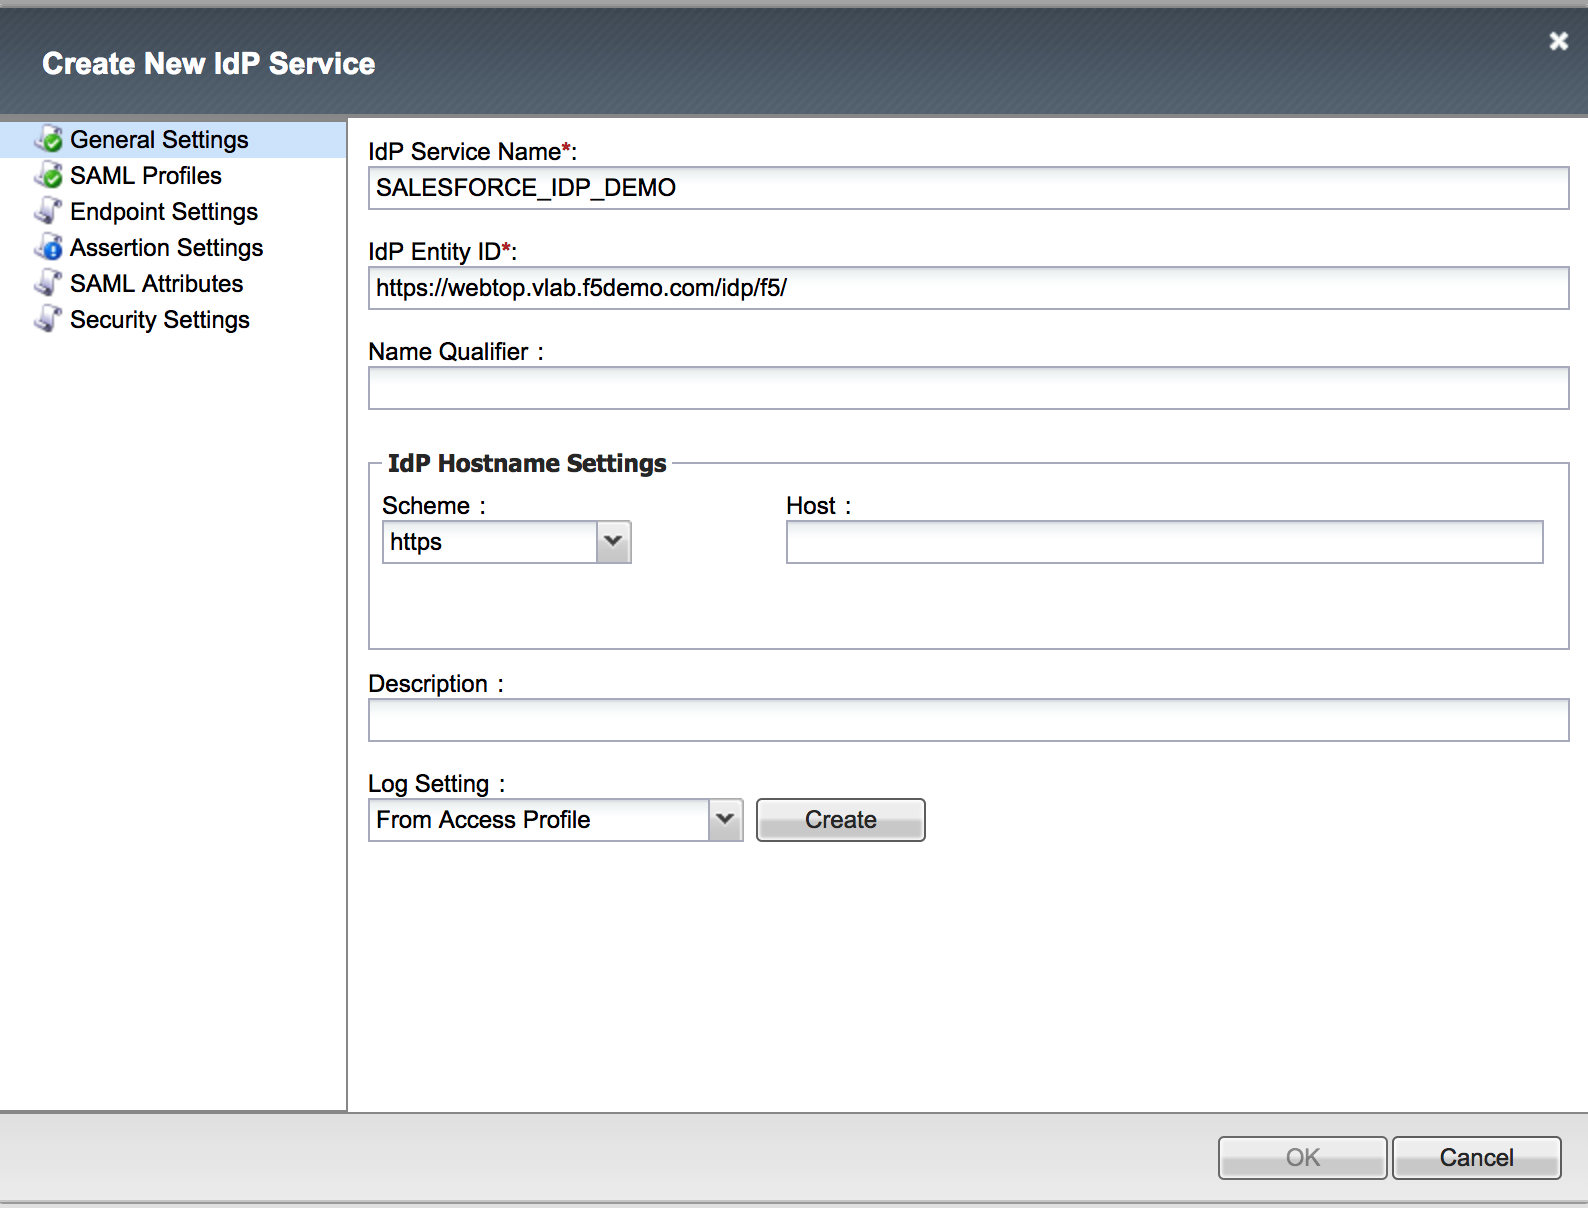 |
3. Enter the following values (leave others default) on the Assertion Settings.
|
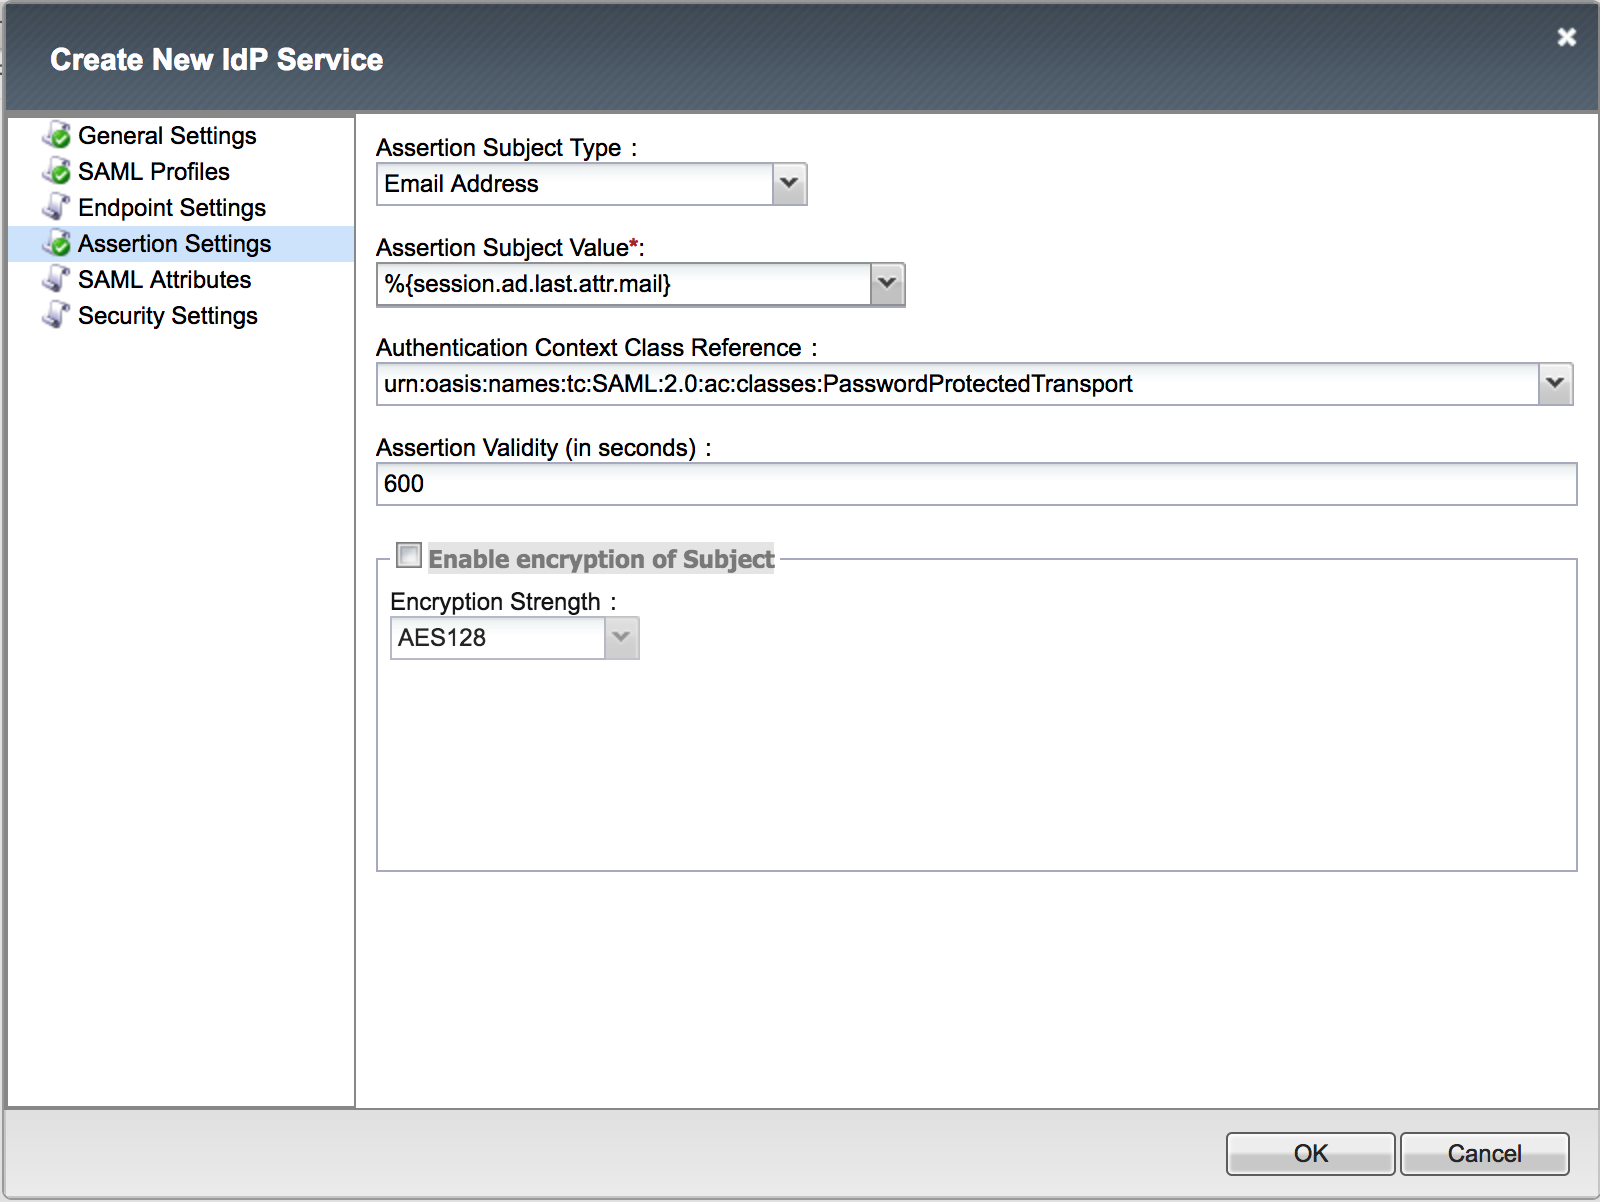 |
4. Enter the following values (leave others default) on the Security Settings.
|
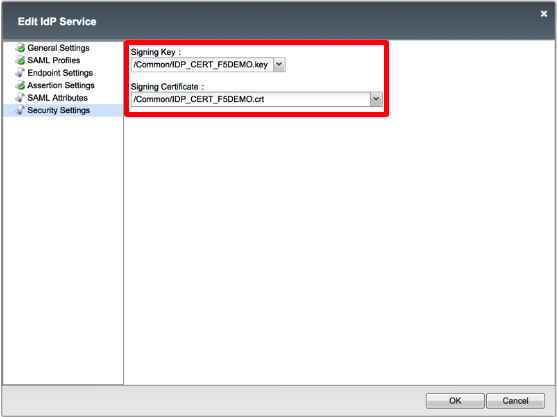 |
Task - Download IdP metadata from BIG-IP for Salesforce
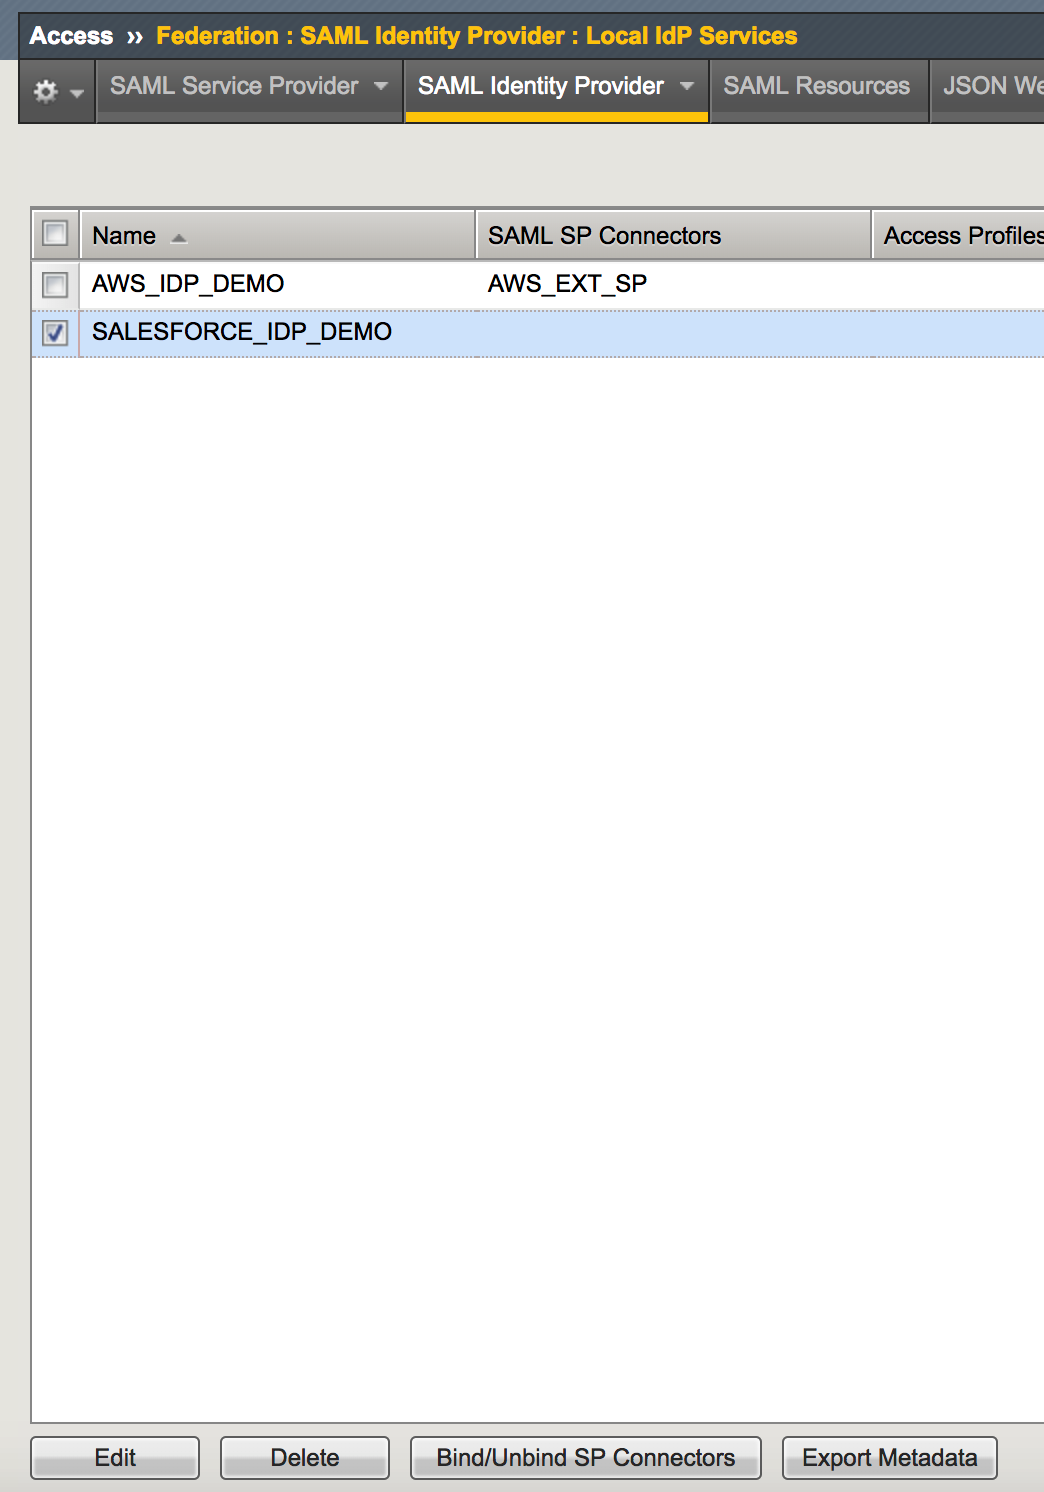
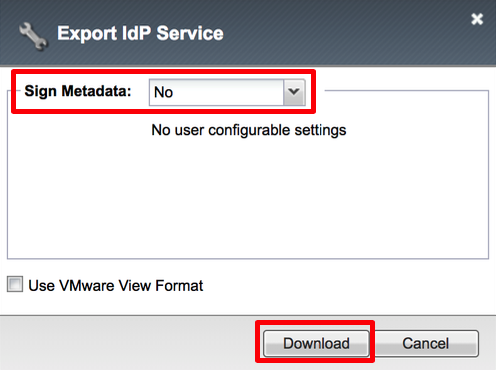
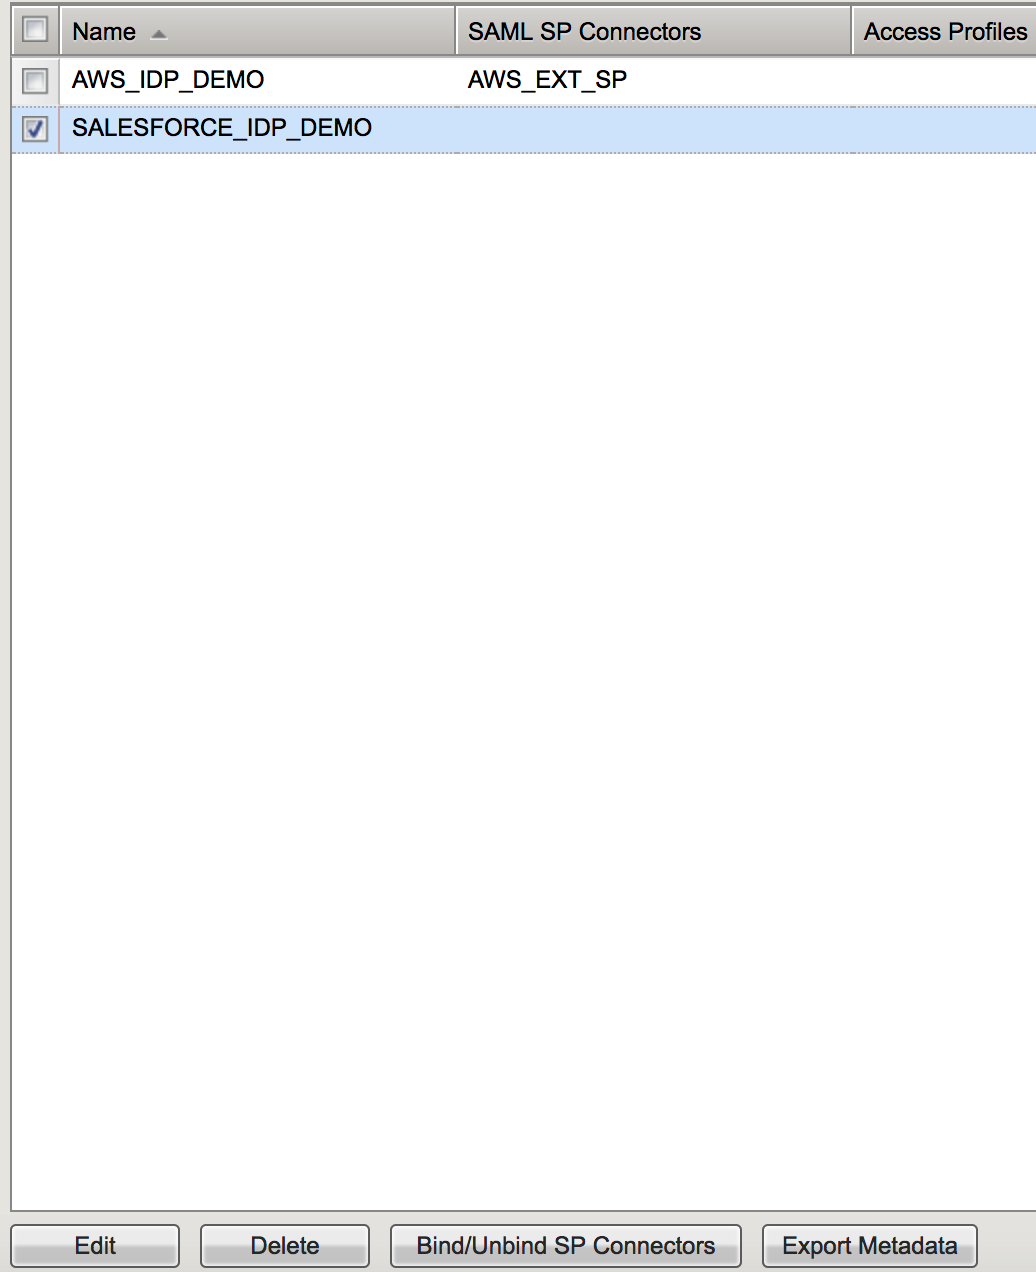
| 1. Go to Access -> Federation: SAML Identity Provider -> Local IdP Services, select the SALESFORCE_IDP_DEMO object, then click Export Metadata. Leave the Sign Metadata to No, and then click Download. |
|
Task - Create an IdP provider in Salesforce
|
 |
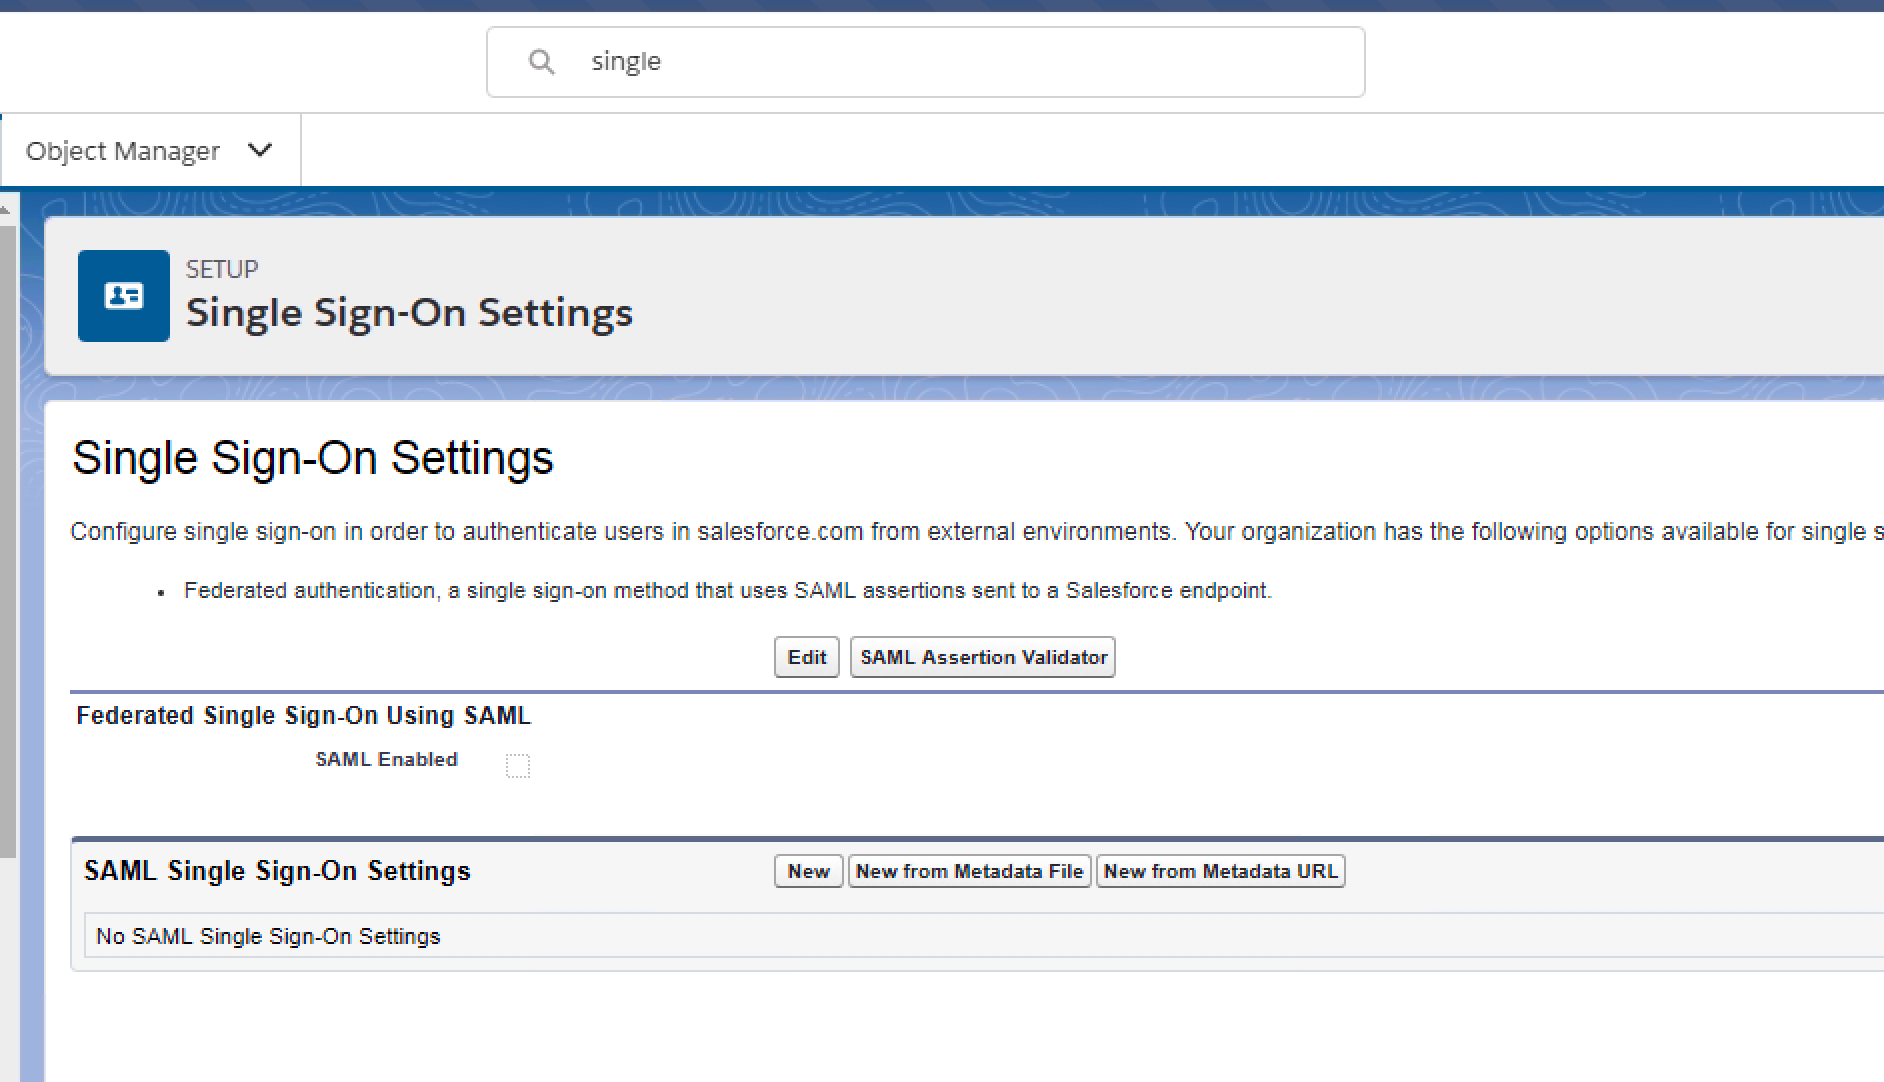
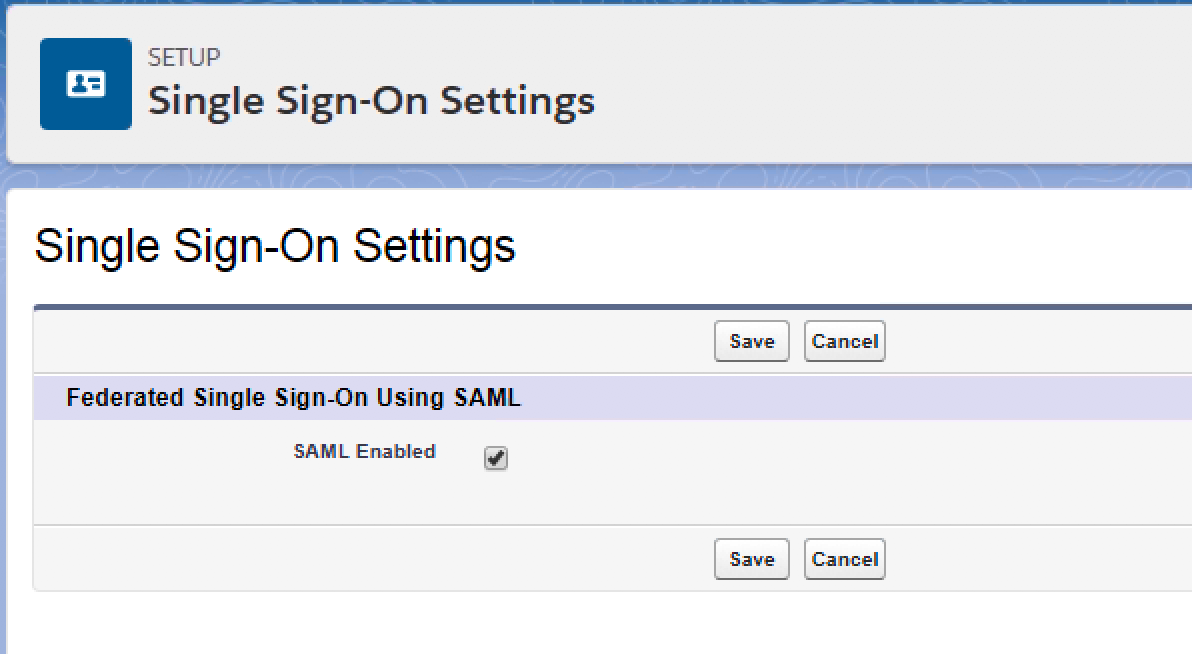
| 2. In Quick Find search box, type single, and then click Single Sign-On Settings. After that click the Edit button and check the SAML Enabled box, and then click Save. |
|
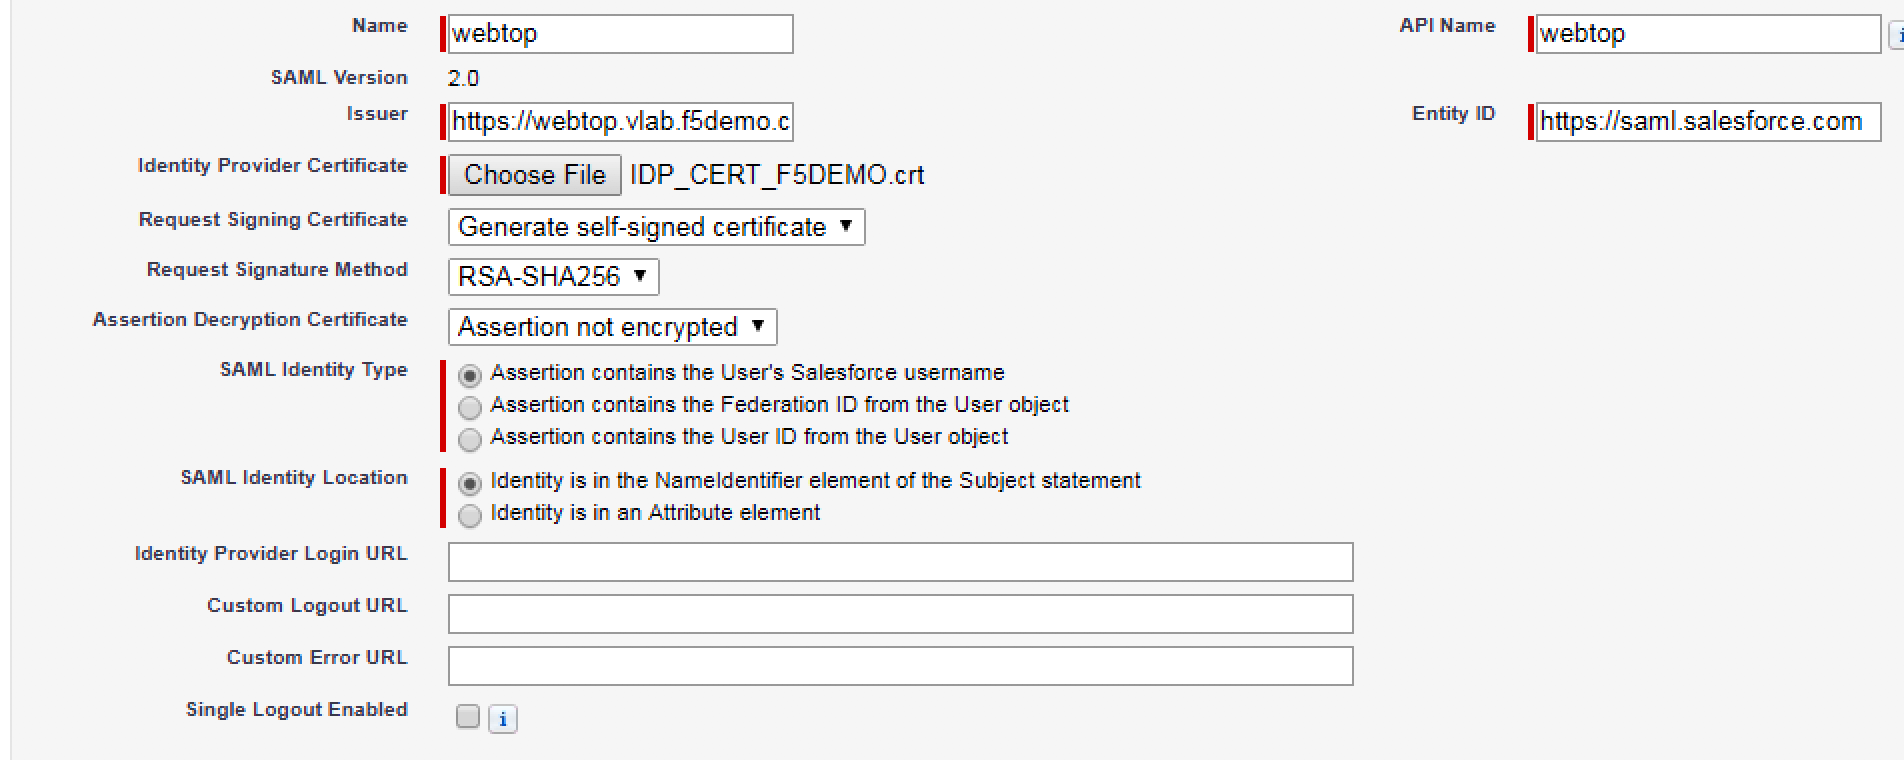
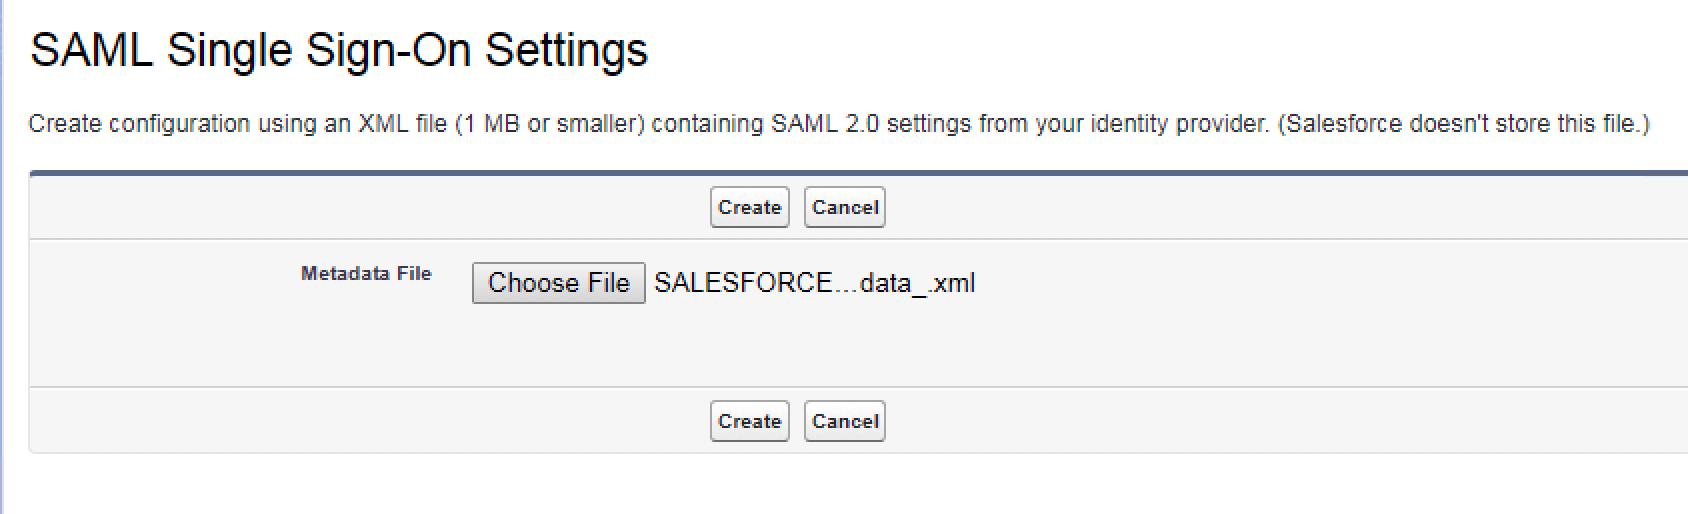
3. Click New from Metadata file.Then click Choose File,
select SALESFORCE_IDP_DEMO_metadata.xml export file you
downloaded from BIG-IP, and then click Create. |
|
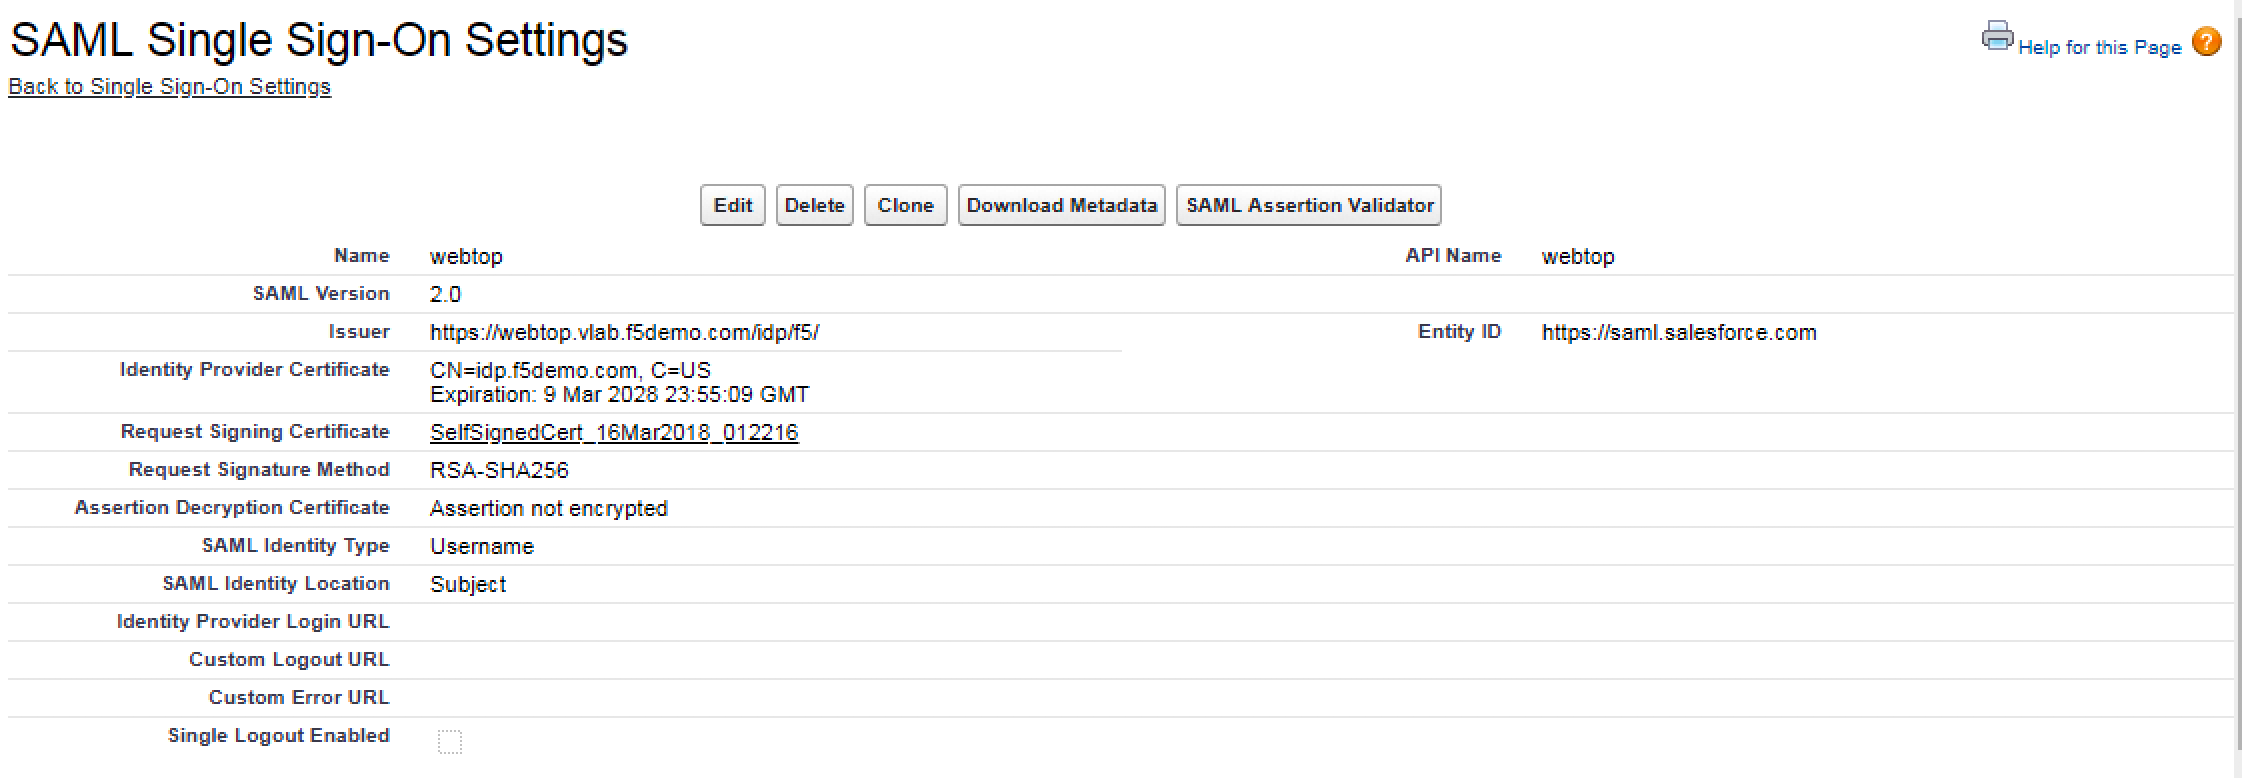
4. In the Identity Provider Certificate area, click
Choose File and navigate to Downloads to select
the certificate named IDP_CERT_F5DEMO.crt.
Uncheck the Single Logout box and Save. |
 |
|
 |

Task - Create a new user in Salesforce
|
|
| 2. Under Administration, click Users -> Users -> New User. | 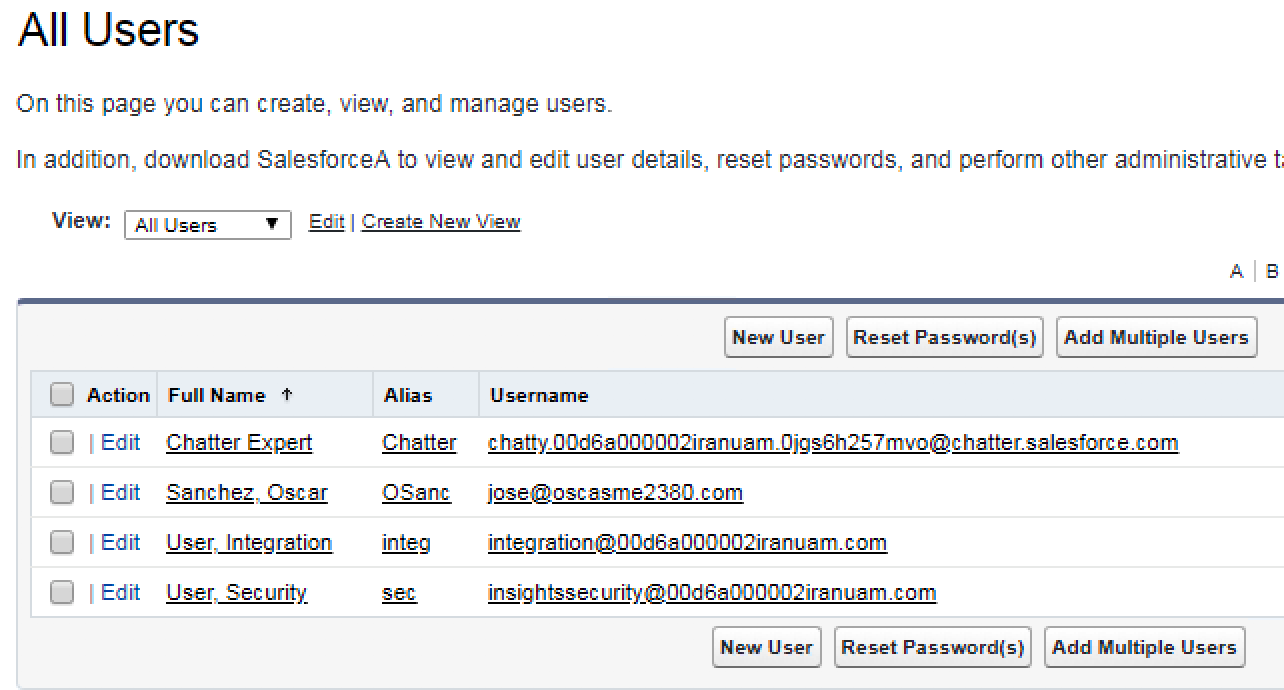 |
3. Enter the following values (leave others default) on the New User.
Repeat steps to the following users and change the Role as you want: Sales User = Partner User = |
 |
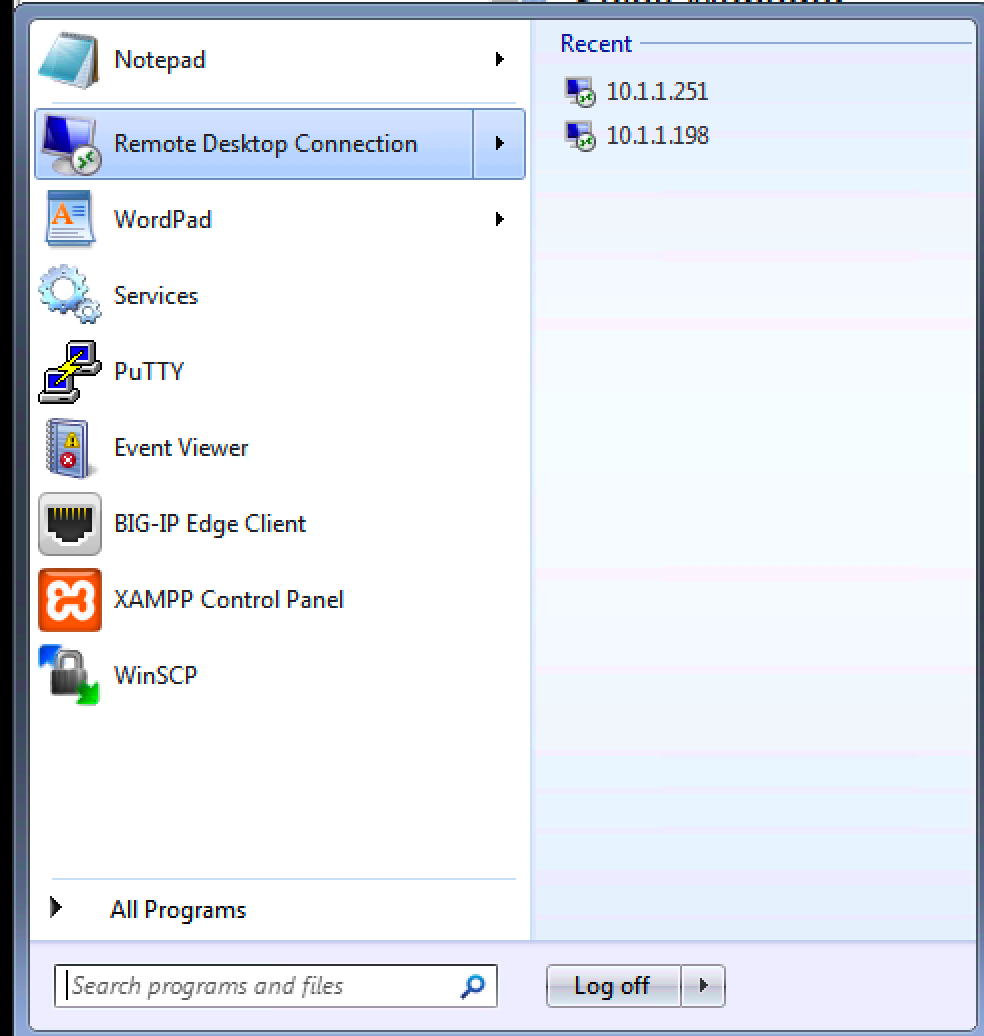
Task - Modify the users in Active Directory
1. From the Win 7 Jumpbox open a
Remote Desktop Connection to Win 2008 server 10.1.1.251
Log in using username: administrator and password:
password. |
 |
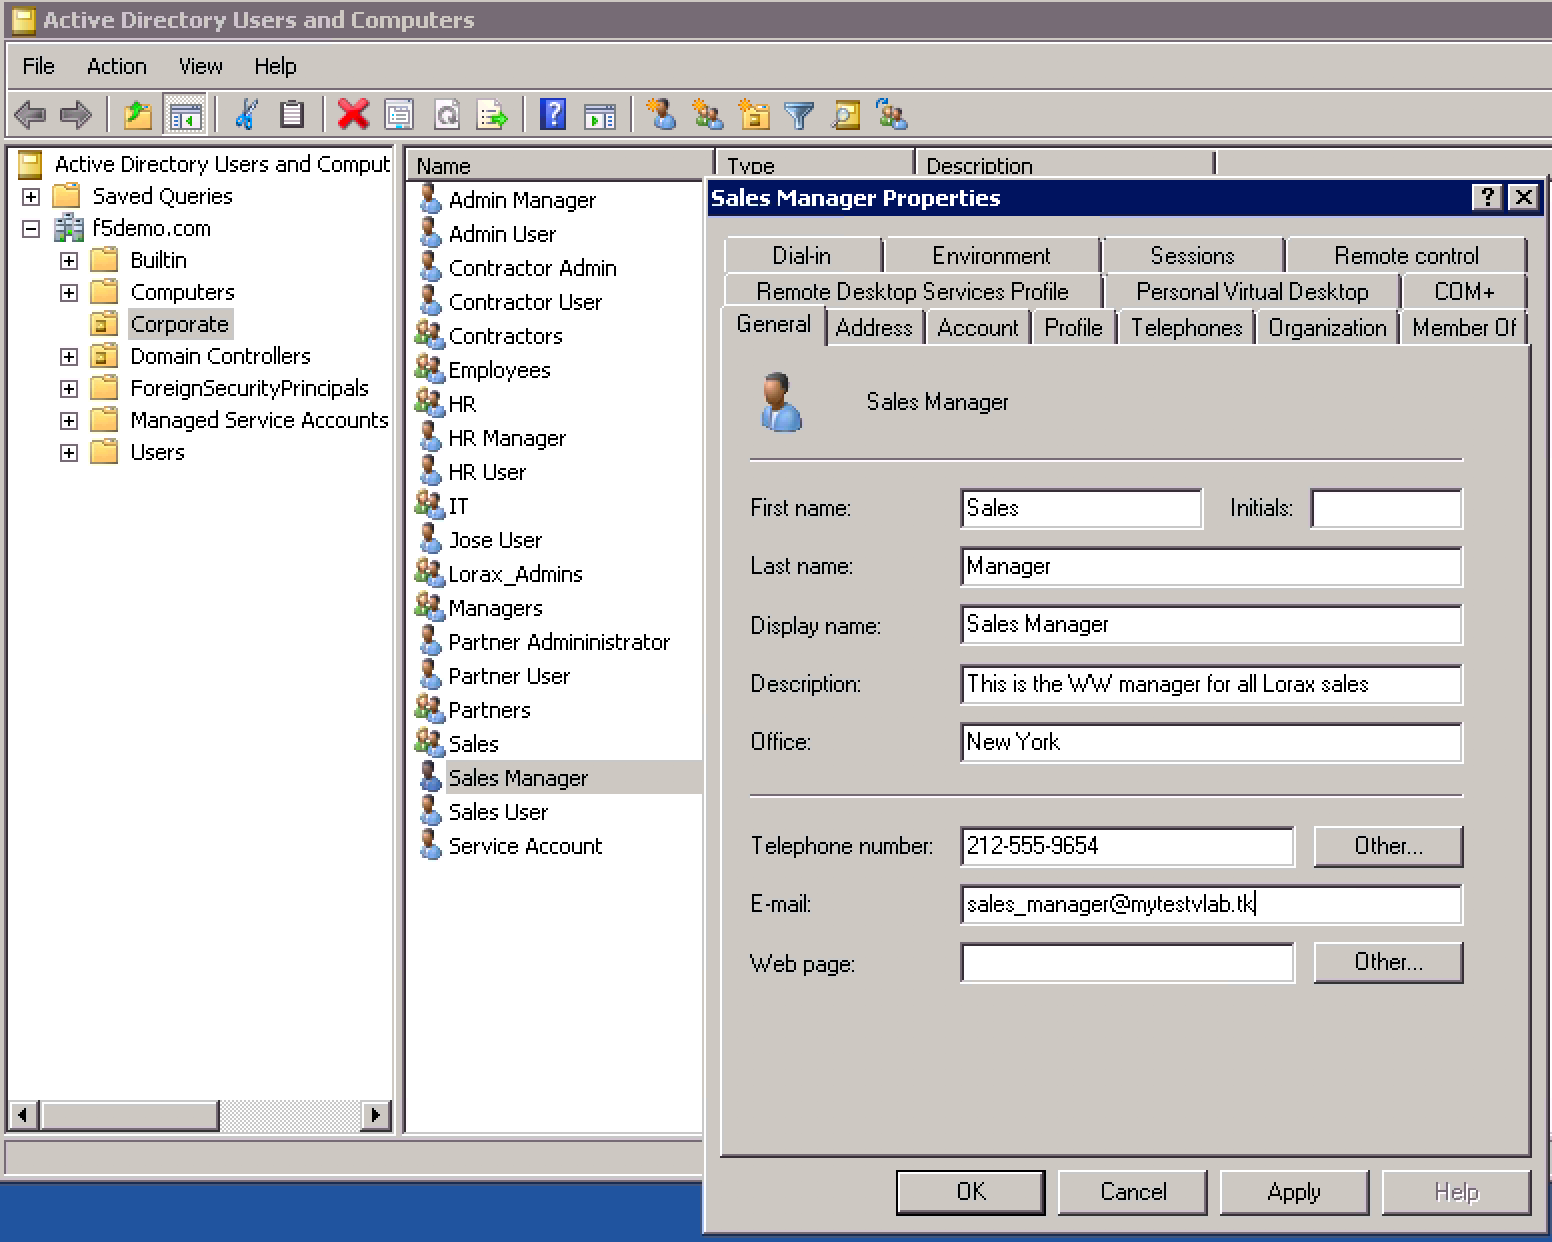
2. Open the Active Directory Users and Computers**console,
then right-click on the **Sales Manager user and then
click Properties, modify the
|
 |
Task - Create an external SP connector to Salesforce
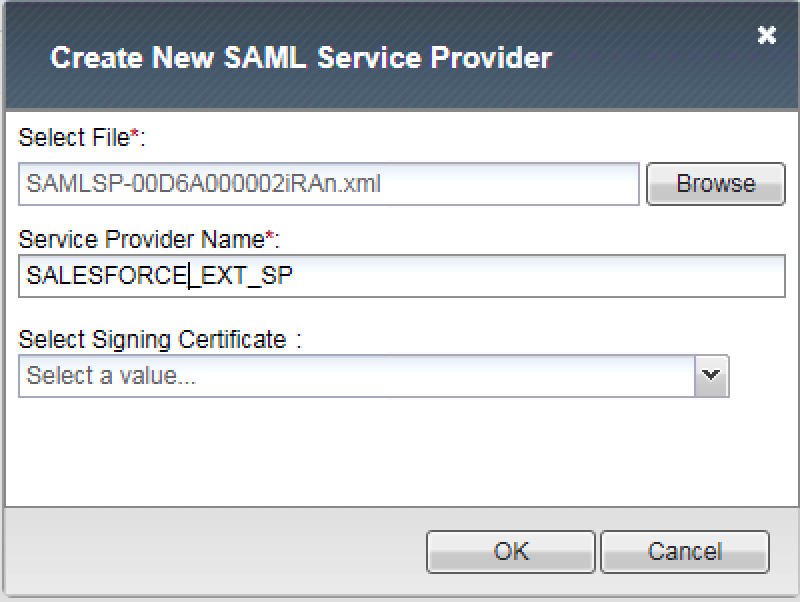
| 1. Logon onto BIG-IP, then go to Access -> Federation: SAML Identity Provider -> External SP Connectors -> Create -> From Metadata | 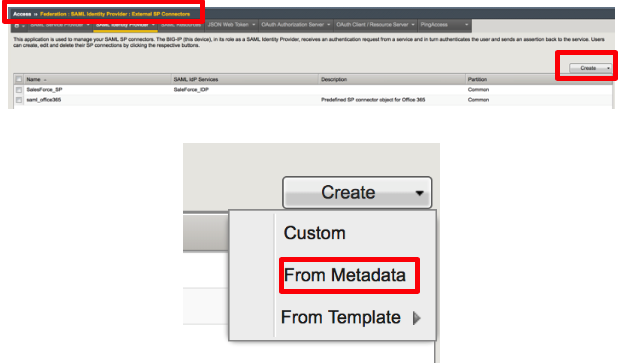 |
2. Enter the following values (leave others default) then click OK
Use the |
 |
Task - Bind IdP and SP Connector to Salesforce
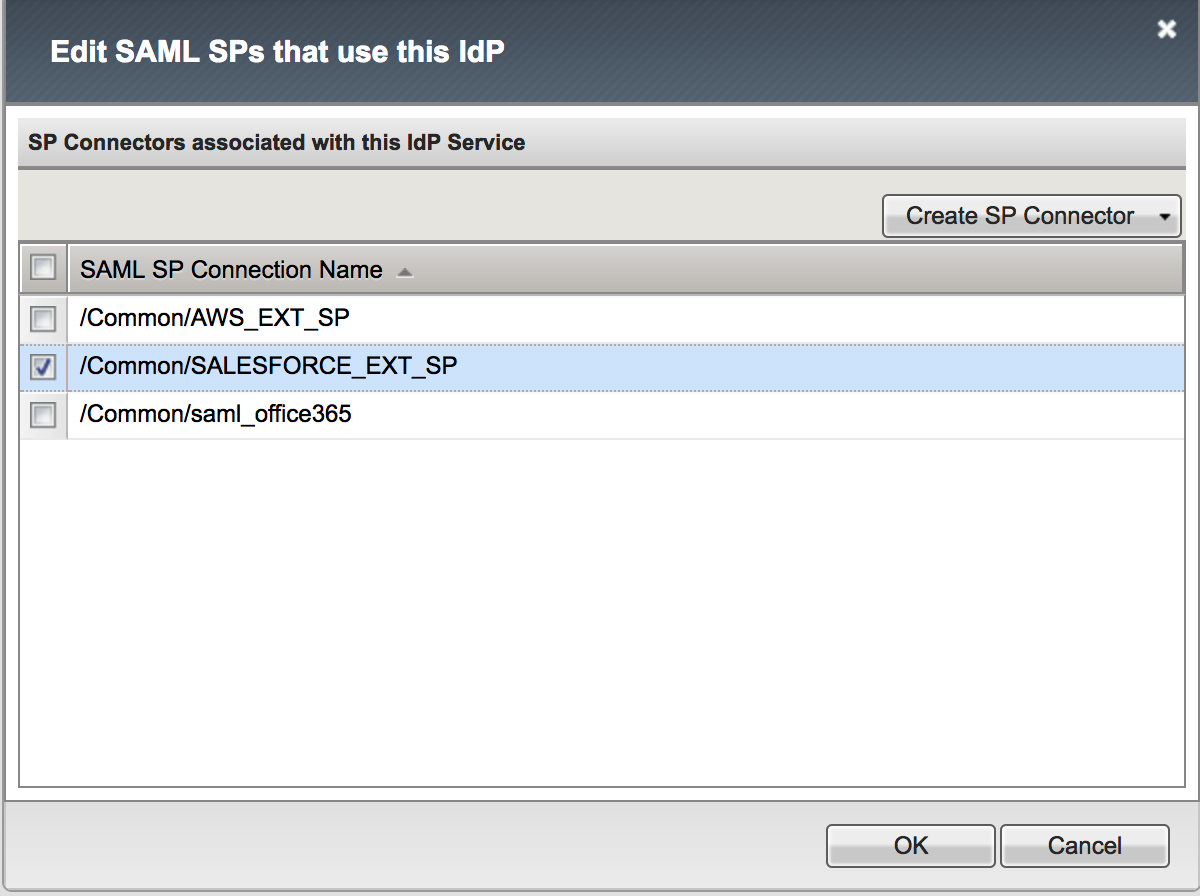
1. Go to Access -> Federation: SAML Identity Provider
-> Local IdP Services, select the SALESFORCE_IDP_DEMO
object, then click Bind/Unbind SP Connector. Then select
Common/SALESFORCE_EXT_SP as SP connector, and click OK. |
|
Task - Create a Salesforce SAML resource in BIG-IP
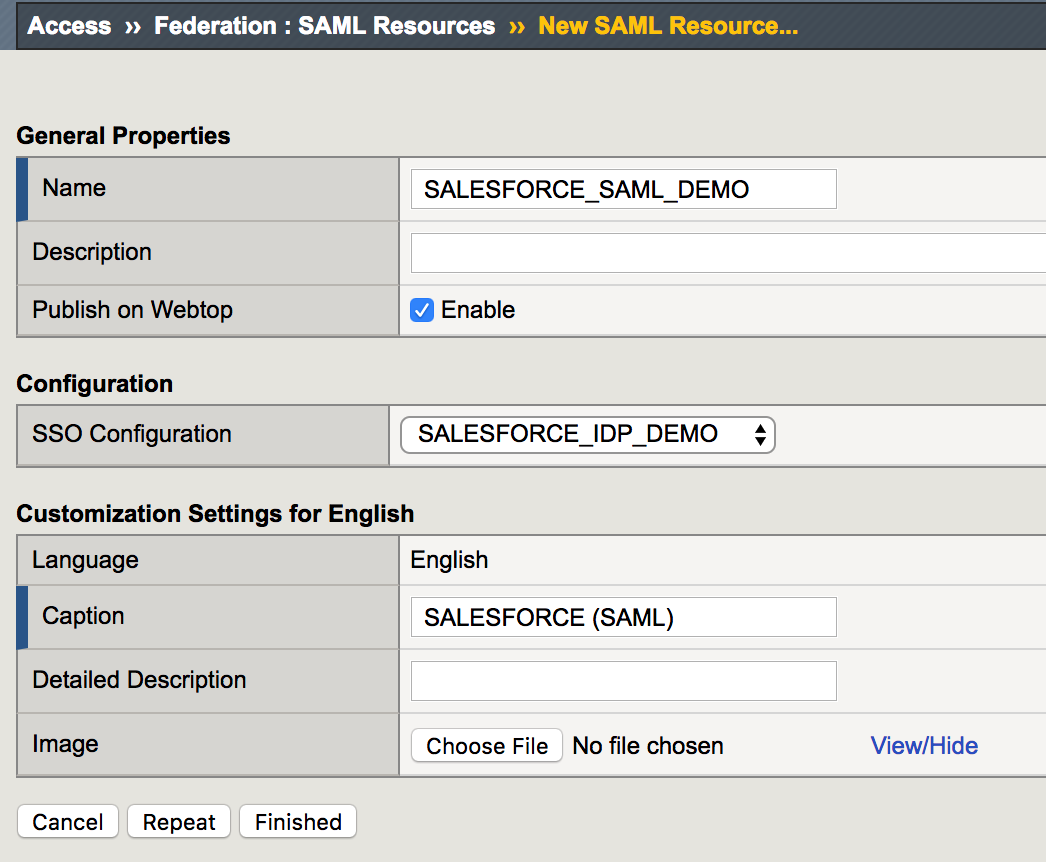
| 1. Go to Access -> Federation: SAML Resources -> Create. |  |
2. Enter the following values (leave others default) on the New SAML Resource tab, then click Finished.
|
 |
Task - Assign the SALESFORCE SAML resource
1. Go to Access -> Profiles/Policies ->
Access Profiles, then click Edit for webtop_demo,
a new browser tab will open |
 |
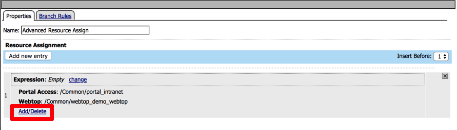
2. Click on the Advanced Resource Assign object, a new
window will open. Click Add/Delete, then choose
/Common/AWS_SAML_DEMO and /Common/SALESFORCE_SAML_DEMO
from the SAML tab and click Update, then Save. |
|
| 3. Click Apply Access Policy in the top left and then close the browser tab | 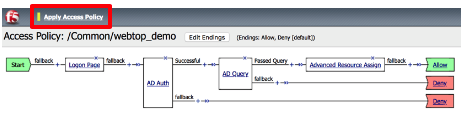 |
You should see two |
 |
5. Click on the AWS and SALESFORCE links. You should
be able to access both because of SSO (SAML). |