F5 Identity and Access Management Solutions > 100 Series: Zero Trust Application Access (ZTAA) Source | Edit on
Lab 1: Configure Identity Aware Proxy(16.0)
The Zero Trust Architecture shifts many of the objects that would exist in a per-session policy to the per-request policy thereby creating a more secure authentication and authorization scheme. The authenticity of each request is further enhanced through the use of F5’s Access Guard agent installed on a client. This agent provides a PKI signed report of the posture assessment performed on the client real-time rather than the historical way plug-ins reported status. Previously, after a user connected to an application they would experience a delay in access as the agent performed the posture assessment to provide an unsigned report to the BIG-IP.
IMPORTANT: The F5 Access Guard is DEPRECATED and the available configuration procedure is no longer supported for all the BIG-IP versions.
Topics Covered
- Real-time Posture Assessments
- Per-Request Frameworks
- Contextual Access
- HTTP Connector
Expected time to complete: 1 hour
Setup Lab Environment
To access your dedicated student lab environment, you will need a web browser and Remote Desktop Protocol (RDP) client software. The web browser will be used to access the Unified Demo Framework (UDF) Training Portal. The RDP client will be used to connect to the jumphost, where you will be able to access the BIG-IP management interfaces (HTTPS, SSH).
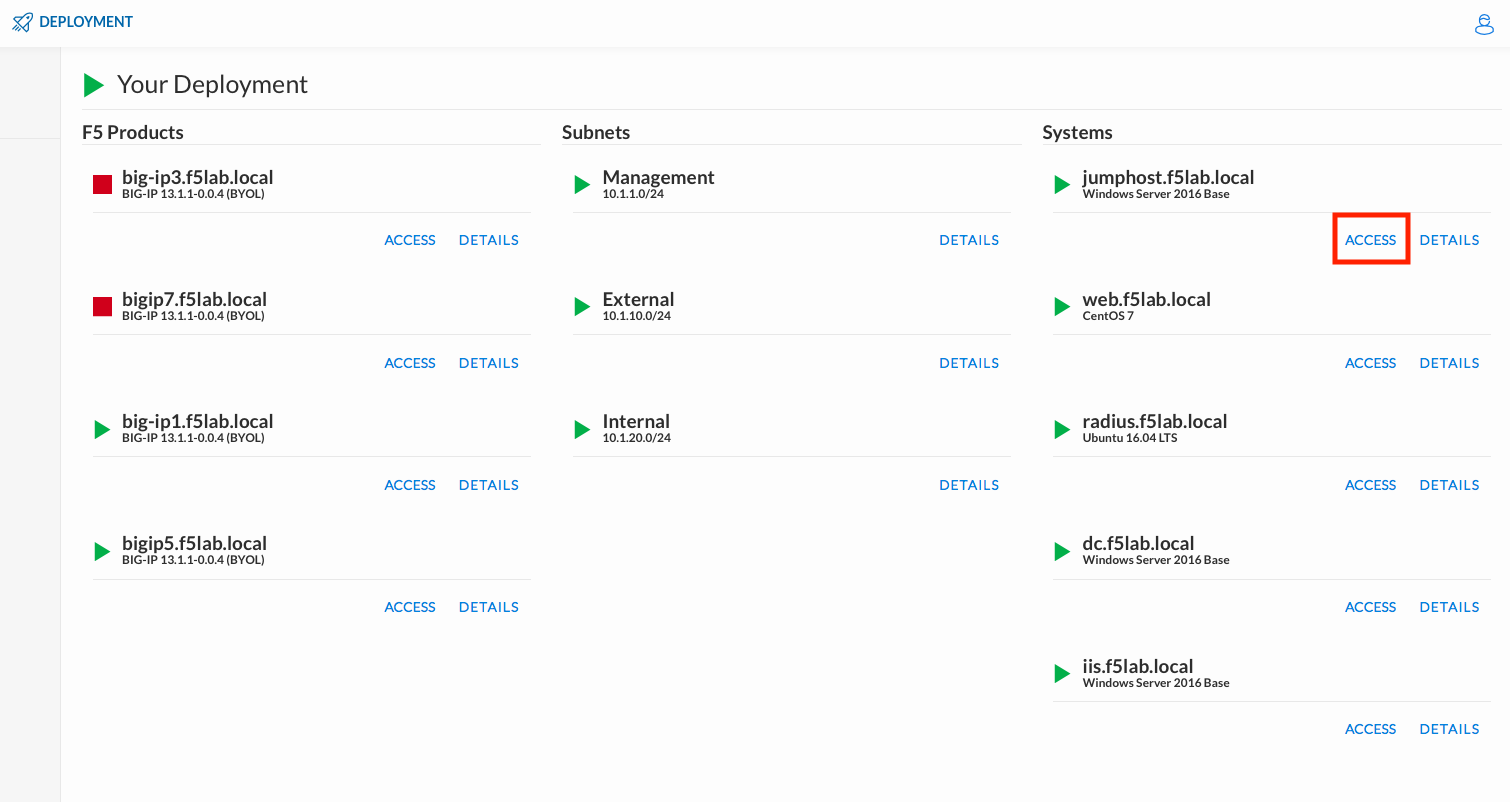
Click DEPLOYMENT located on the top left corner to display the environment
Click ACCESS next to jumphost.f5lab.local
Select your RDP resolution.
The RDP client on your local host establishes a RDP connection to the Jump Host.
Login with the following credentials:
- User: f5lab\user1
- Password: user1
After successful logon the Chrome browser will auto launch opening the site https://portal.f5lab.local. This process usually takes 30 seconds after logon.
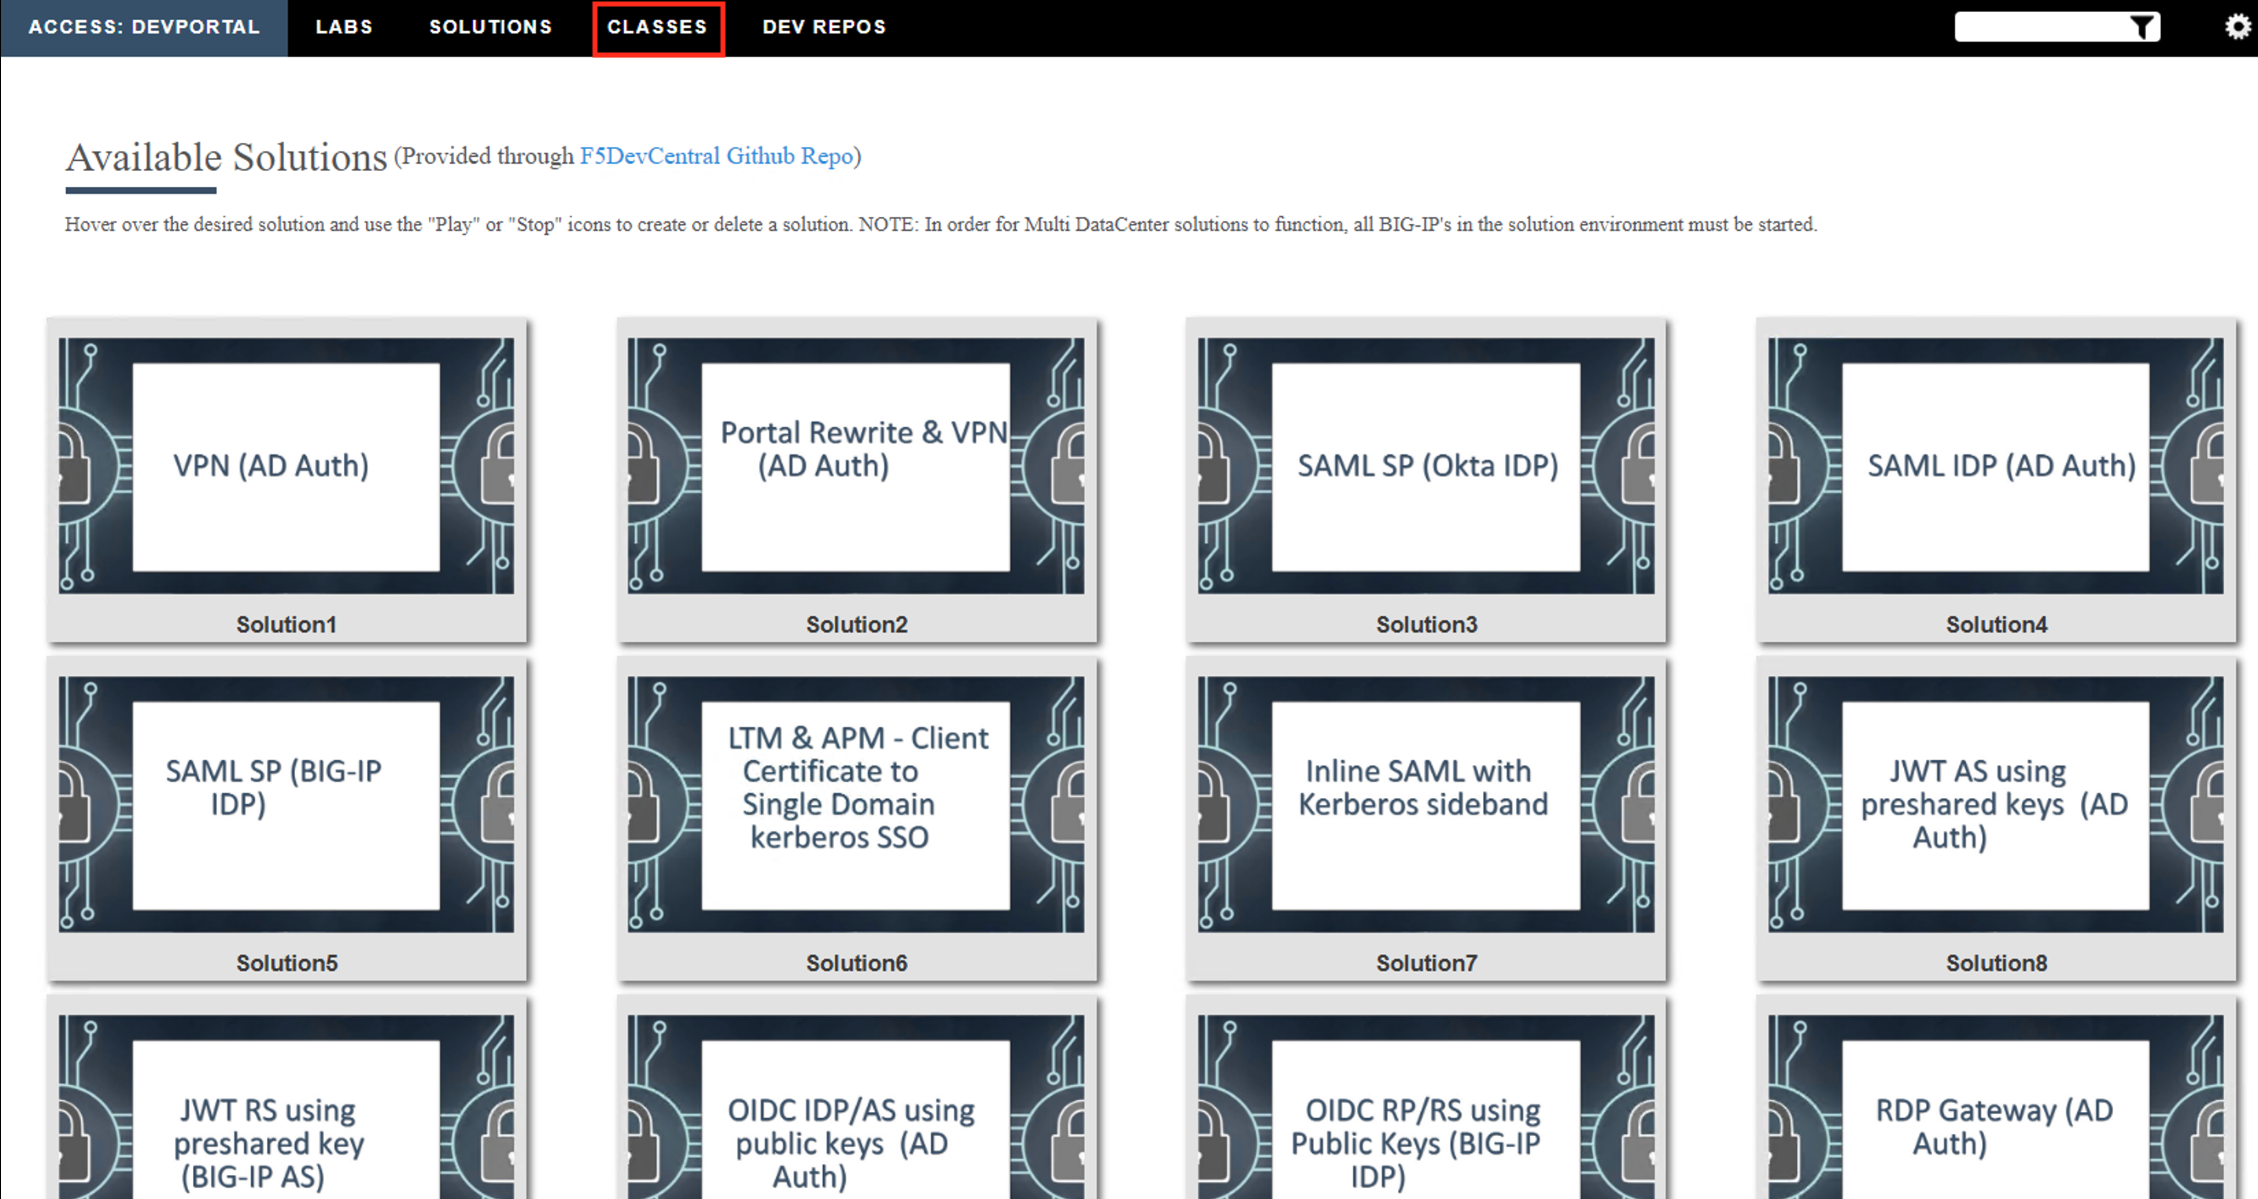
Click the Classes tab at the top of the page.
Scroll down the page until you see 201- 16.0 Zero Trust - Identity Aware Proxy on the left
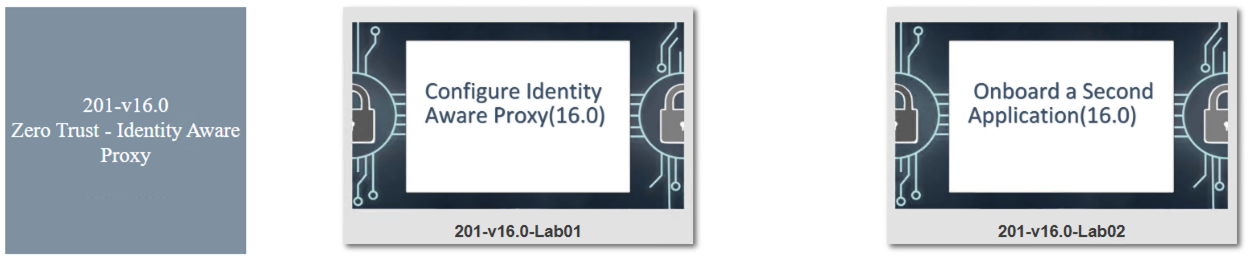
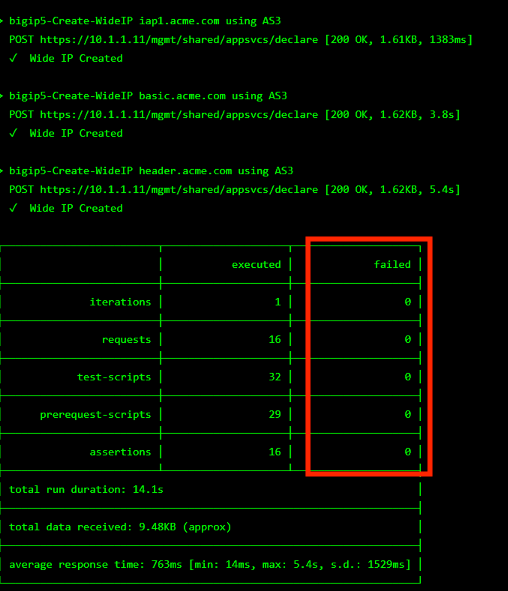
Hover over tile Configure Identity Aware Proxy(16.0). A start and stop icon should appear within the tile. Click the Play Button to start the automation to build the environment
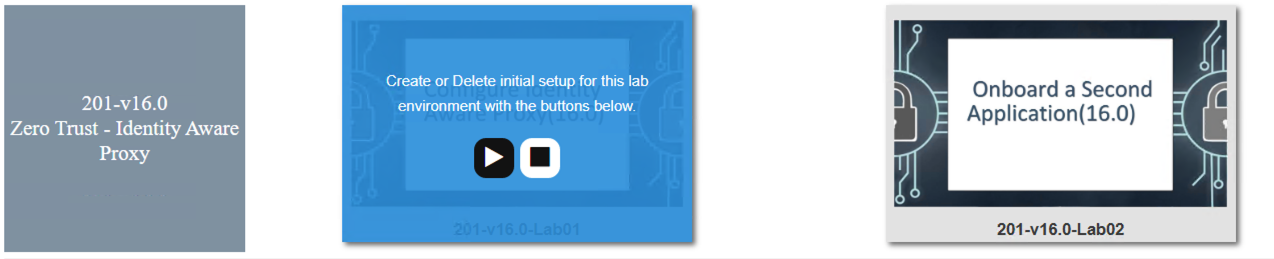
The screen should refresh displaying the progress of the automation within 30 seconds. Scroll to the bottom of the automation workflow to ensure all requests succeeded. If you you experience errors try running the automation a second time or open an issue on the Access Labs Repo.
Close Chrome.
Section 1.1 - Access Guided Configuration
The first step in deploying the IAP is accessing Guided Configuration
Task 1 - Access the Zero Trust IAP guided configuration
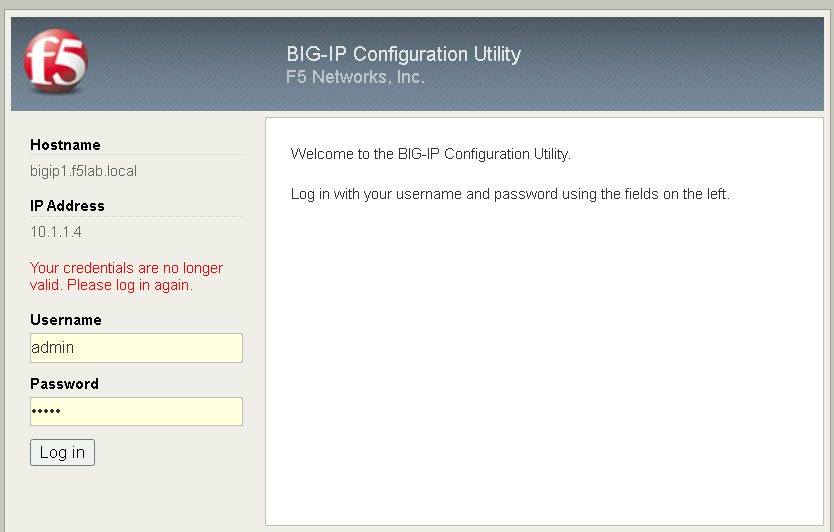
Open Firefox, and navigate to https://bigip1.f5lab.local
Login with username admin and password admin
Click on the Access tab located on the left side
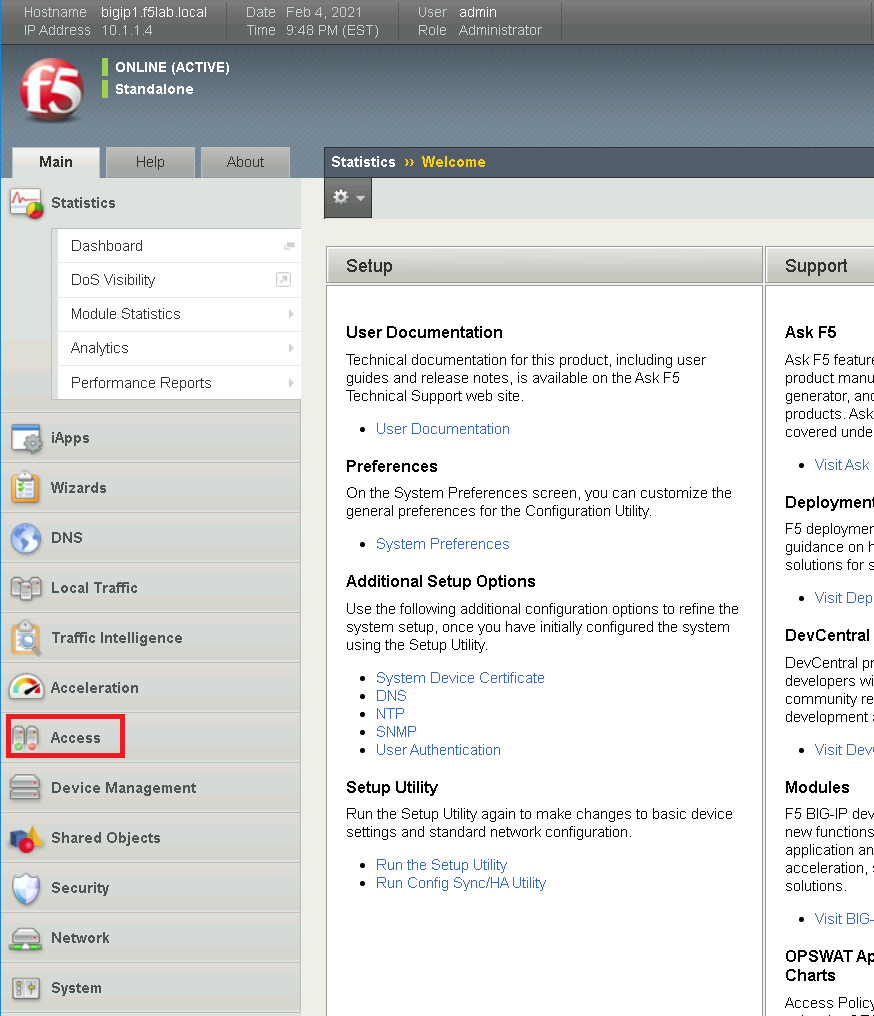
Click Guided Configuration

Click Zero Trust
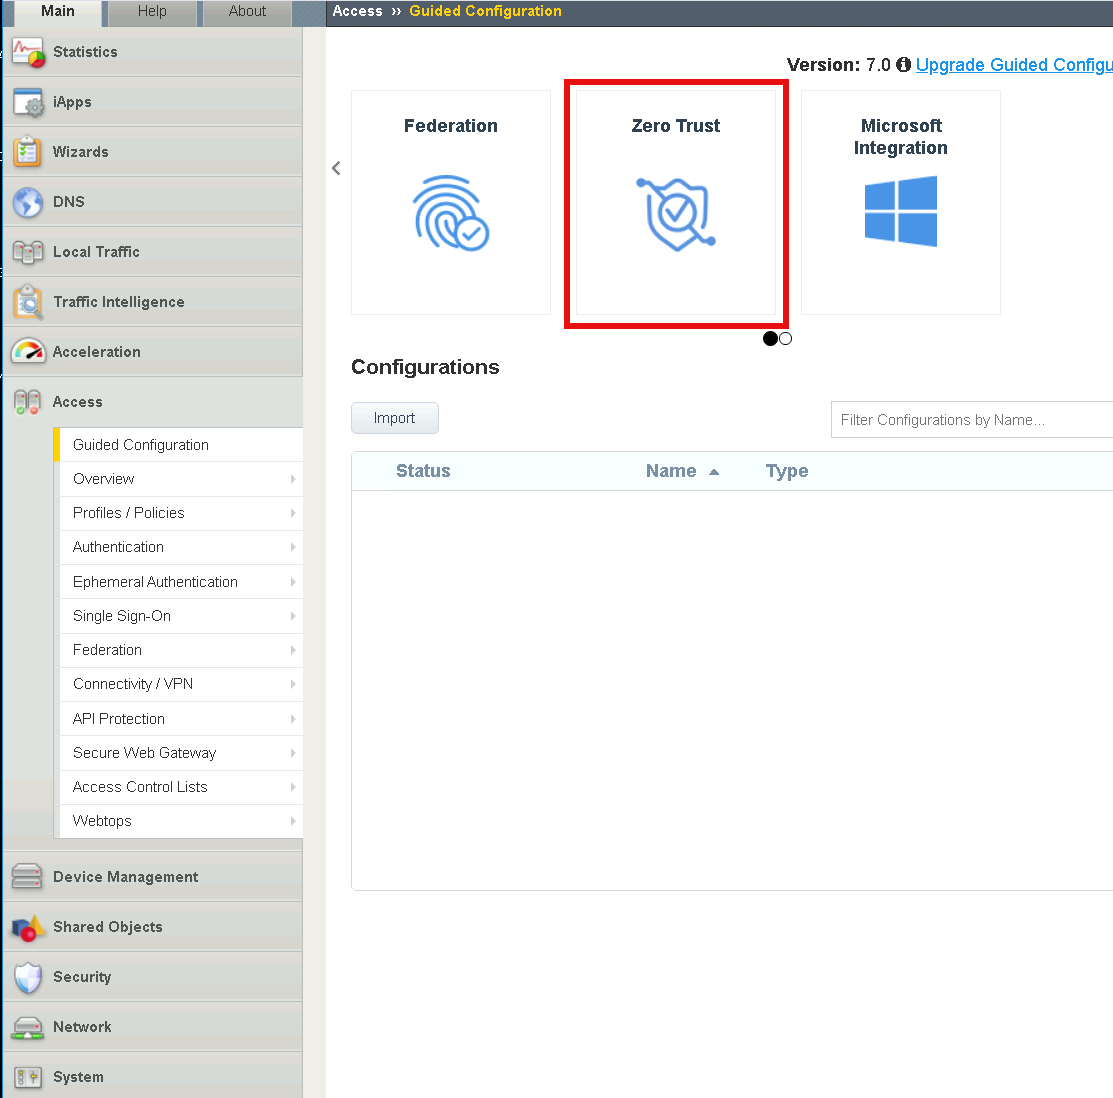
Click Identity Aware Proxy
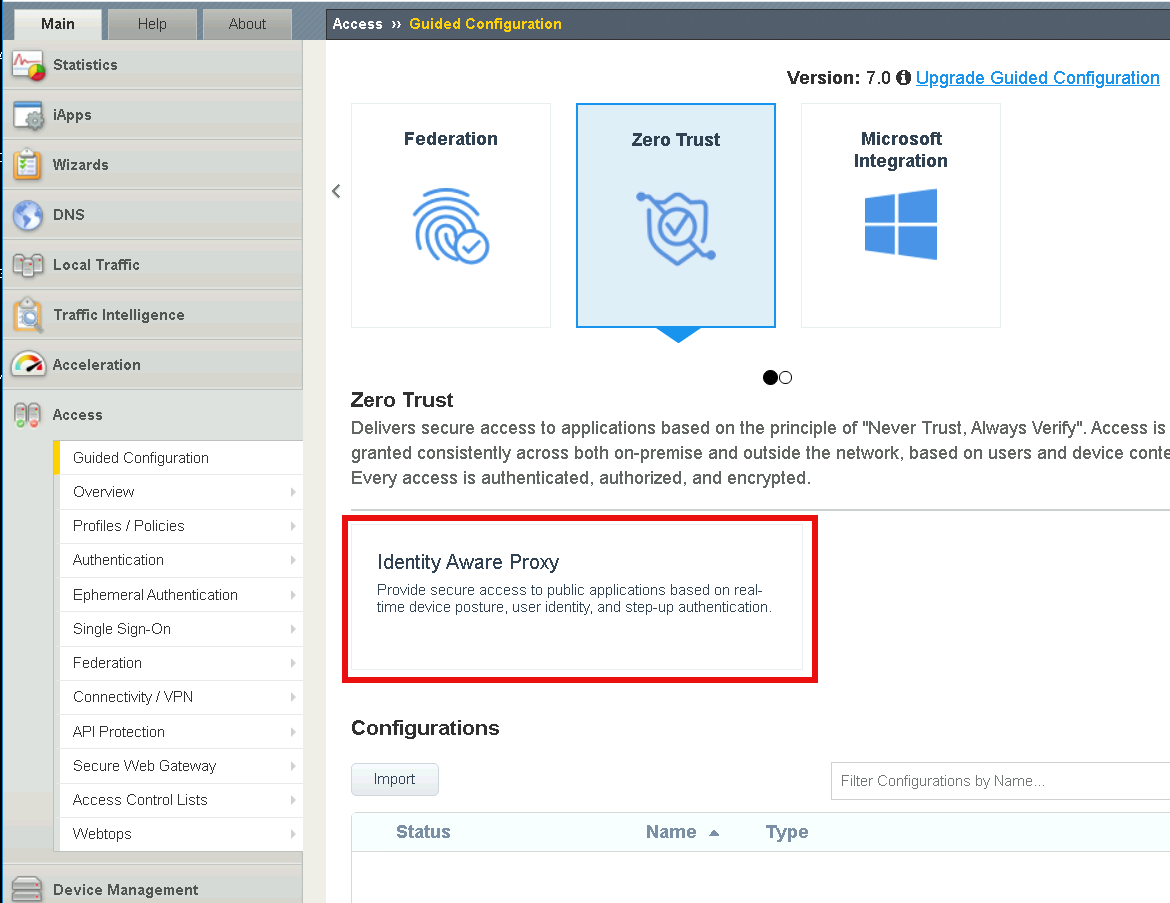
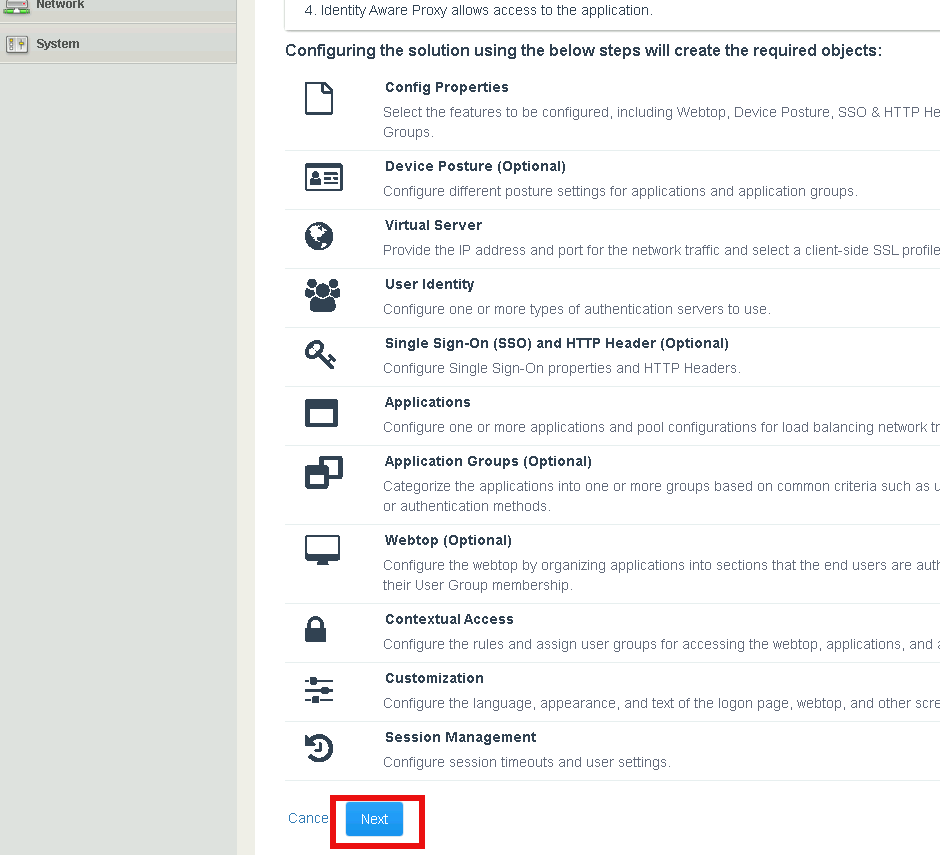
Click Next
Note
Review the design considerations for deploying IAP in a Single Proxy versus a Multi-proxy solution.
Section 1.2 - General Properties
In this section, you will configure the IAP policy to perform posture assessment from client devices.
Task 1 - Select the component to configure for Lab 1
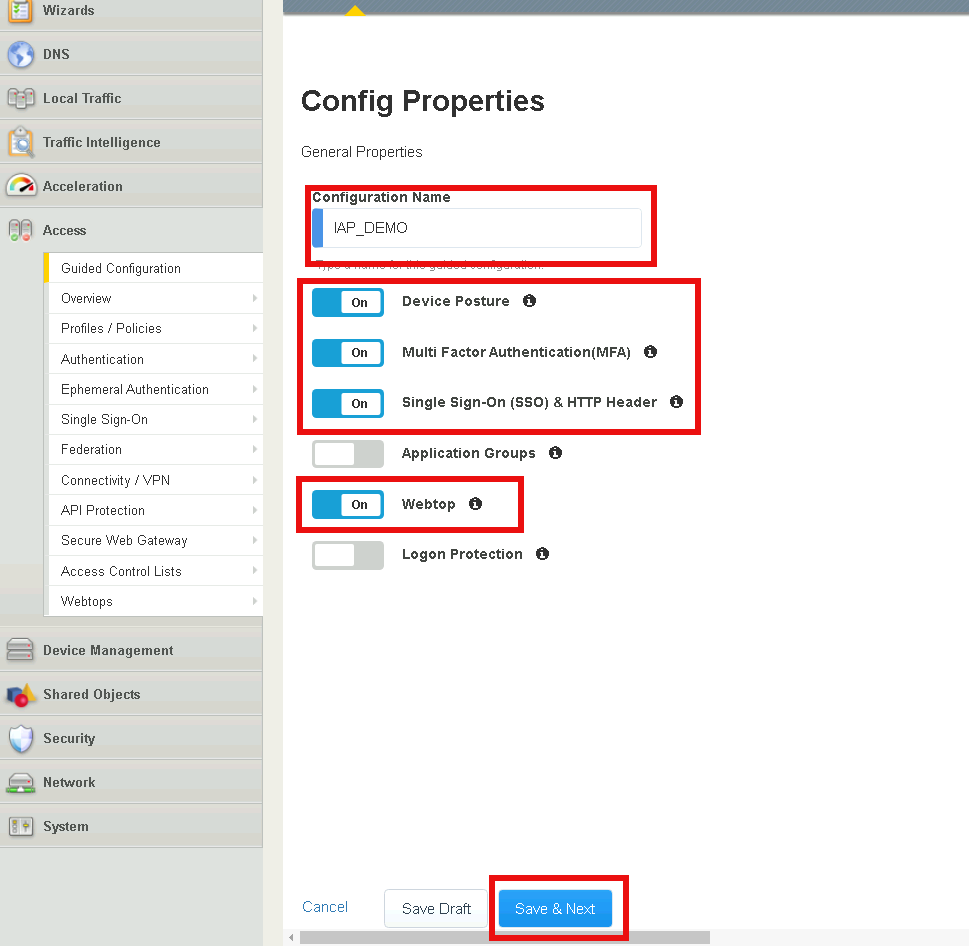
Define the configuration name IAP_DEMO
Click Device Posture
Click Multi Factor Authentication
Click Single Sign-On (SSO)& HTTP Header
Click Webtop
Click Save & Next
Section 1.3 - Device Posture
Task 1 - Enable Posture Checks
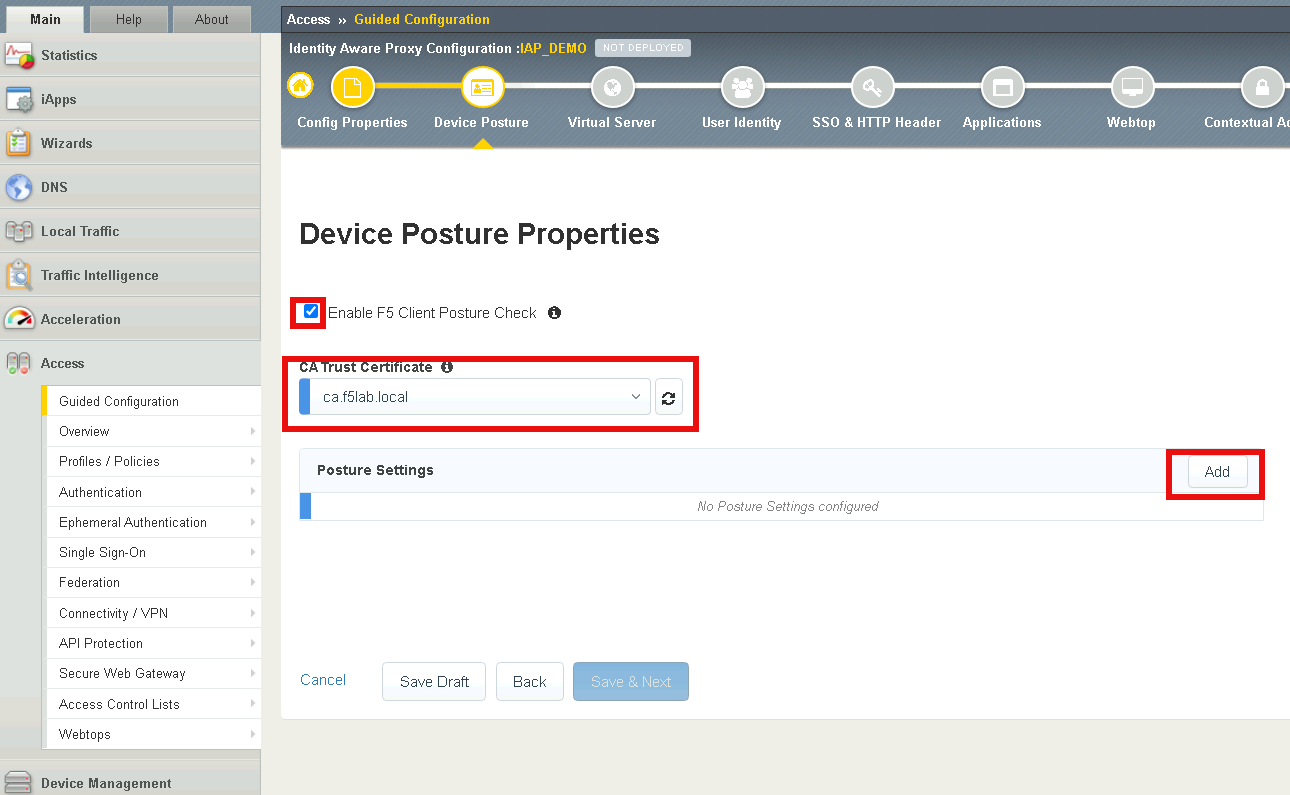
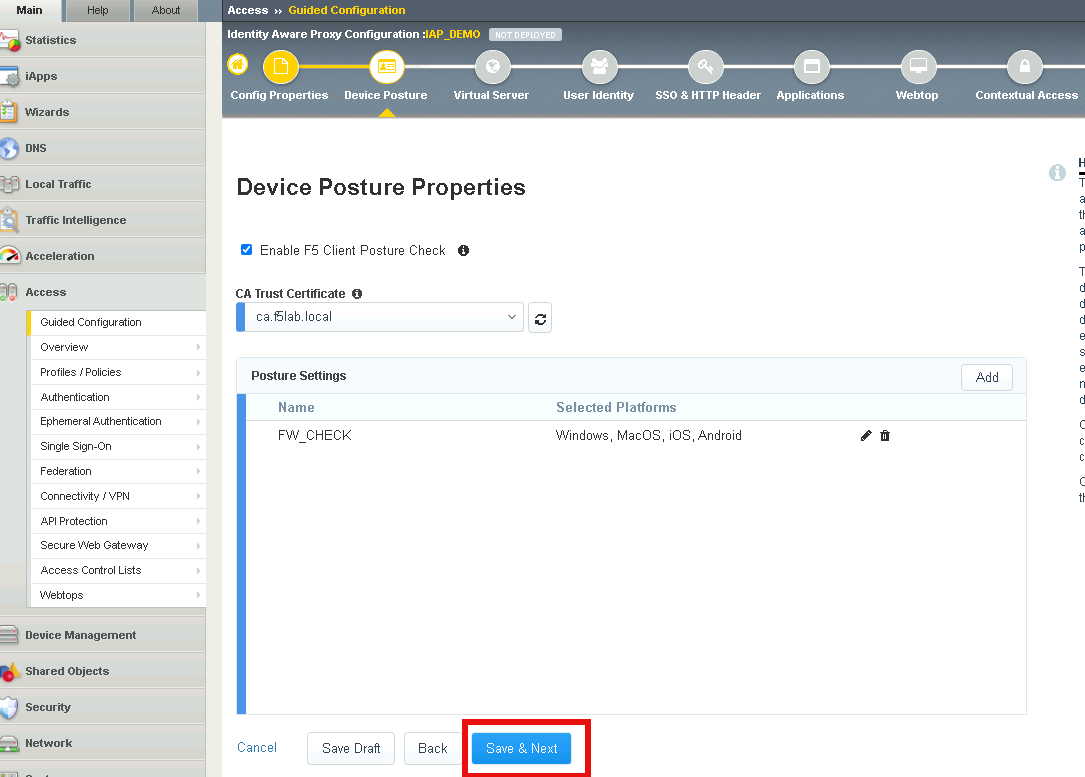
Check Enable F5 Client Posture Check
select ca.f5lab.local from the CA Trust Certificate dropdown list
Select Add to create a posture assessment group
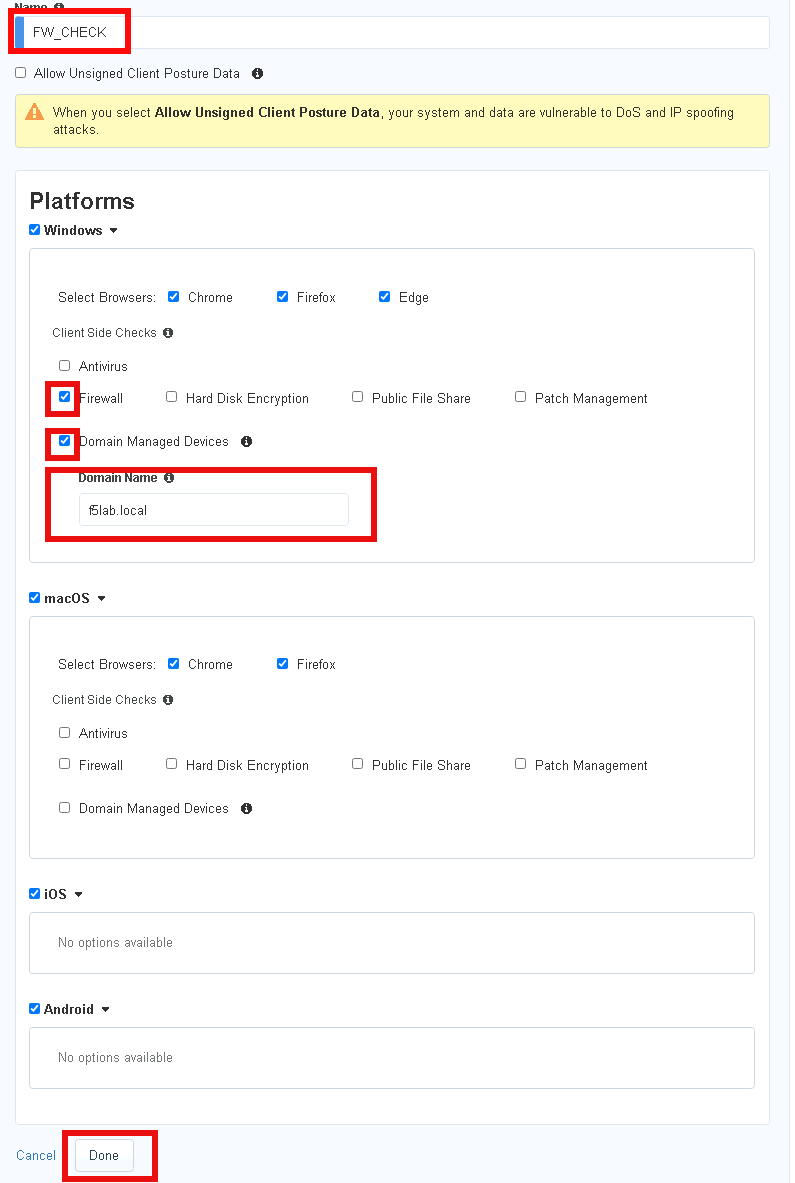
Task 2 - Define a firewall Posture Assessment
Define the Posture Group Name FW_CHECK
Check the Firewall box
Check the Domain Managed Devices box
Enter the Domain Name f5lab.local
Click Done
Task 3 - Verify the posture assessment
The Posture Settings box should contain FW_CHECK
Click Save & Next
Section 1.4 - Virtual Server
In this section, you will define the virtual server IP address and its SSL profile settings
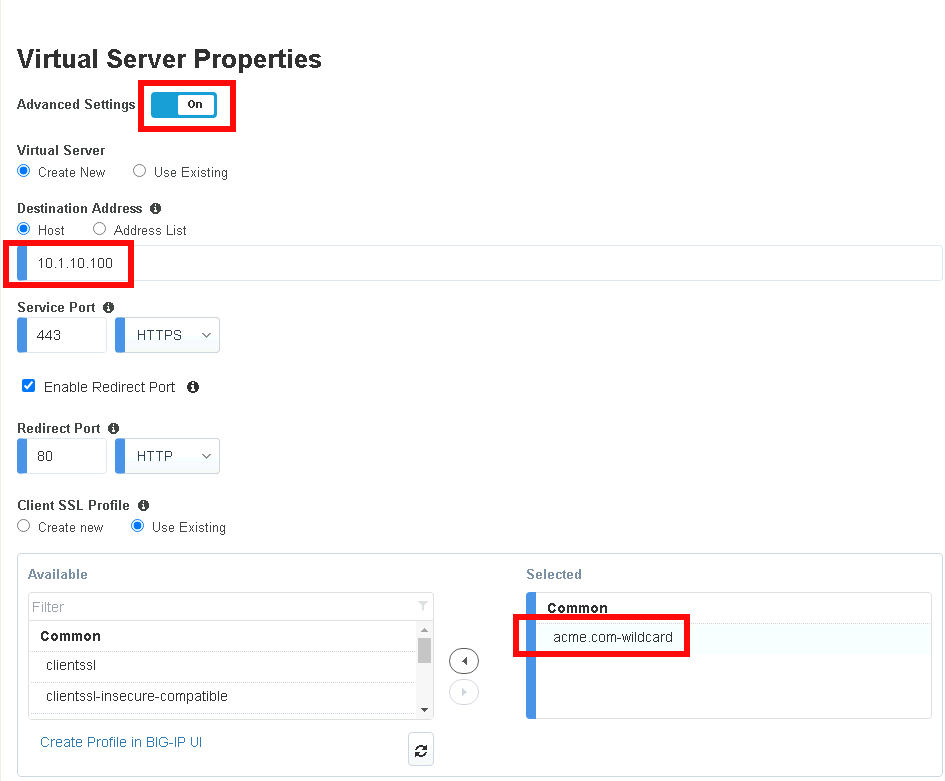
Task 1 - Create a virtual server
Enable Advanced Settings located in the top left corner
Enter the IP address 10.1.10.100 in Destination Address
In the Client SSL Profile section, move clientssl profile to Available side
Double click the acme.com-wildcard to move the profile to Selected
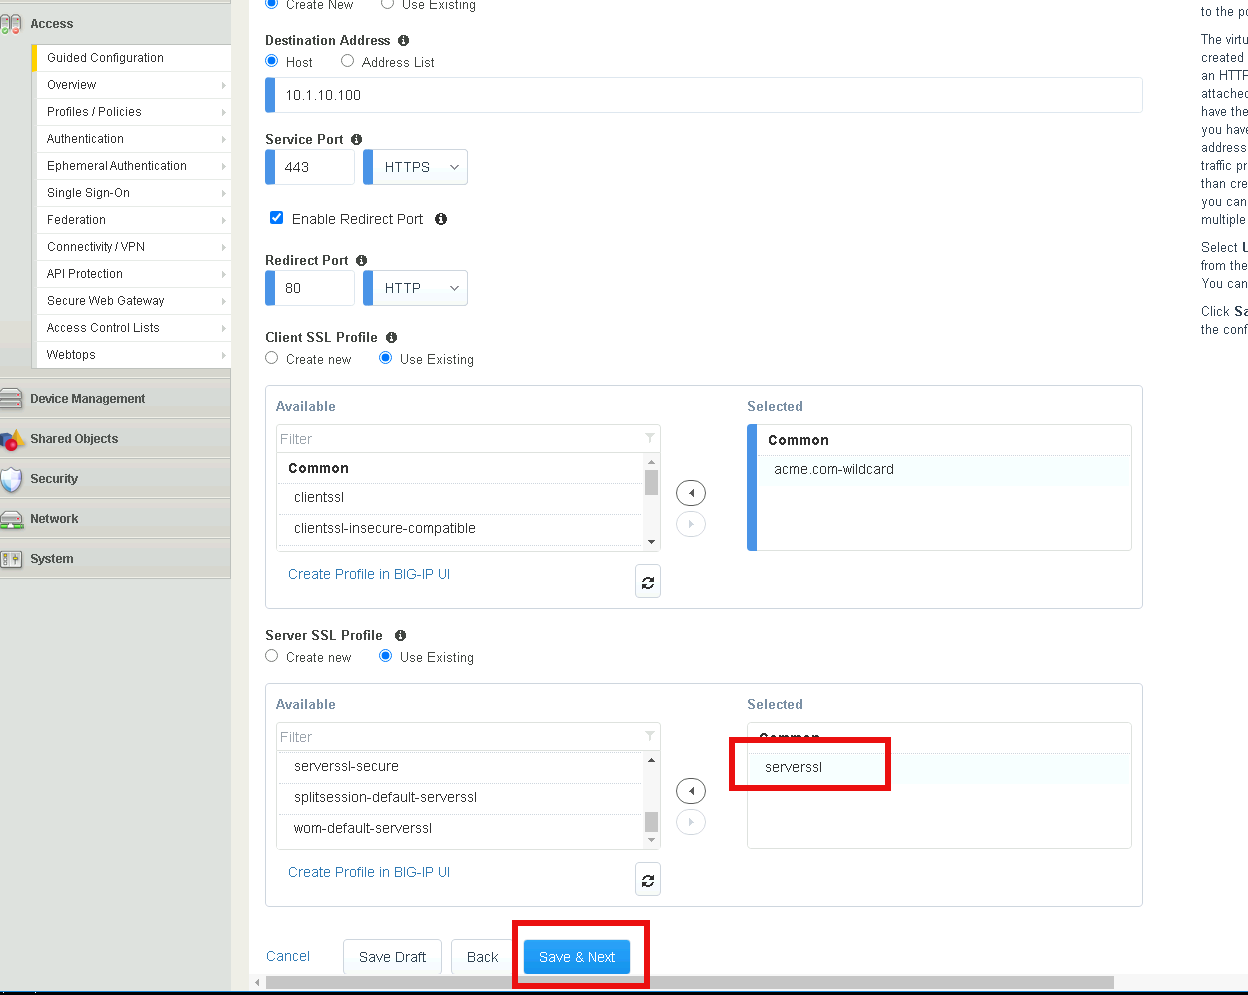
In the Server SSL Profile section, double-click the serverssl SSL Profile to move it to the Selected side (or select it and then click the right-arrow to move)
Click Save & Next
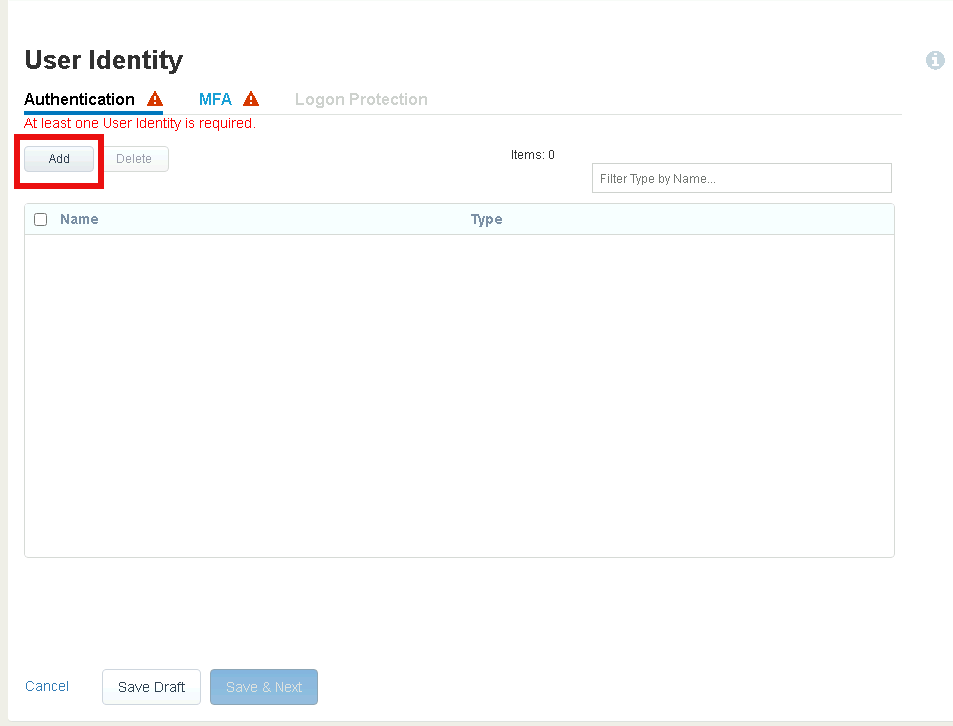
Section 1.5 - User Identity
In this section you will configure a single User Identity using Active Directory.
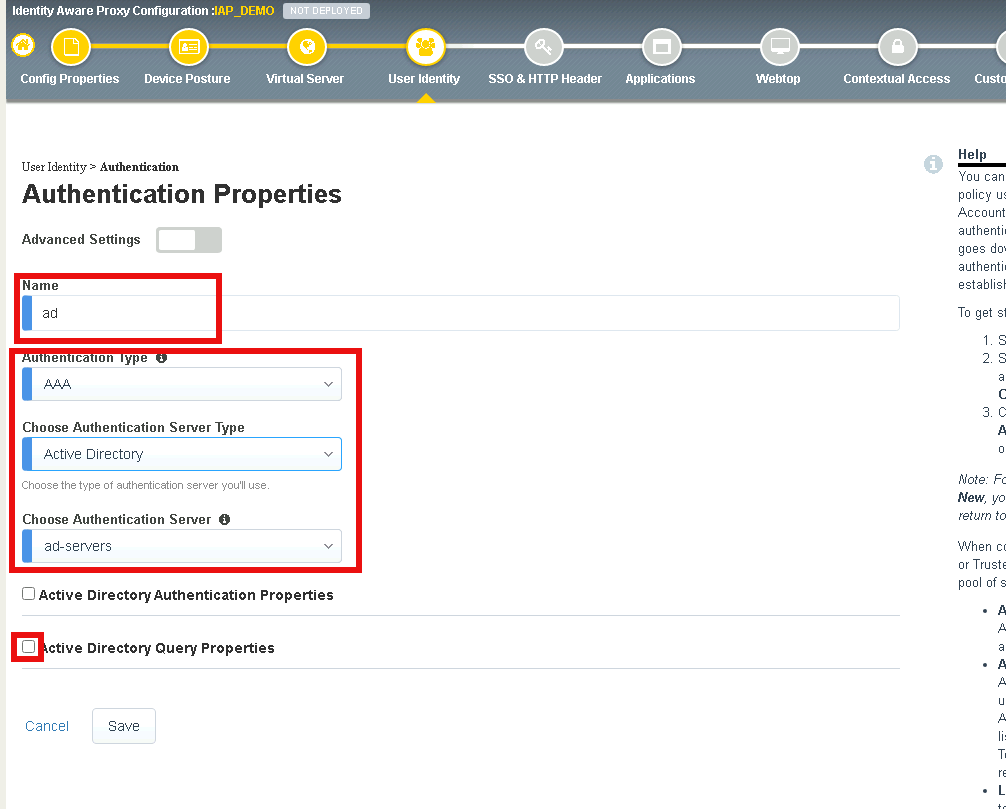
Task 1 - Configure Active Directory AAA
Click Add
Enter “ad” for the name
Ensure the Authentication Type is AAA
Ensure the Choose Authentication Server Type is set to Active Directory
Select ad-servers from the Choose Authentication Server dropdown box
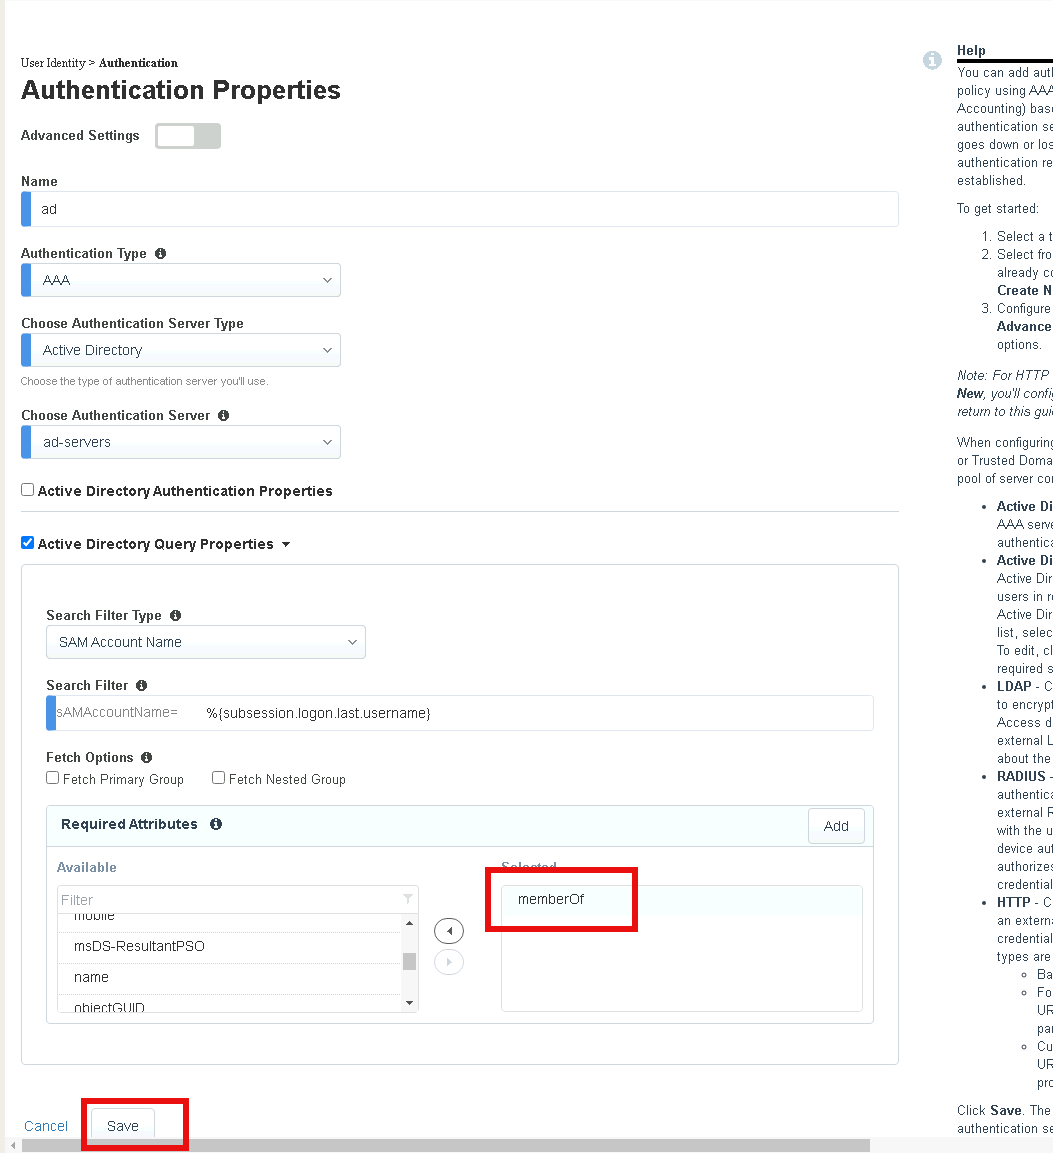
Check Active Directory Query Properties
Double-click memberOf in the Required Attributes box
Click Save
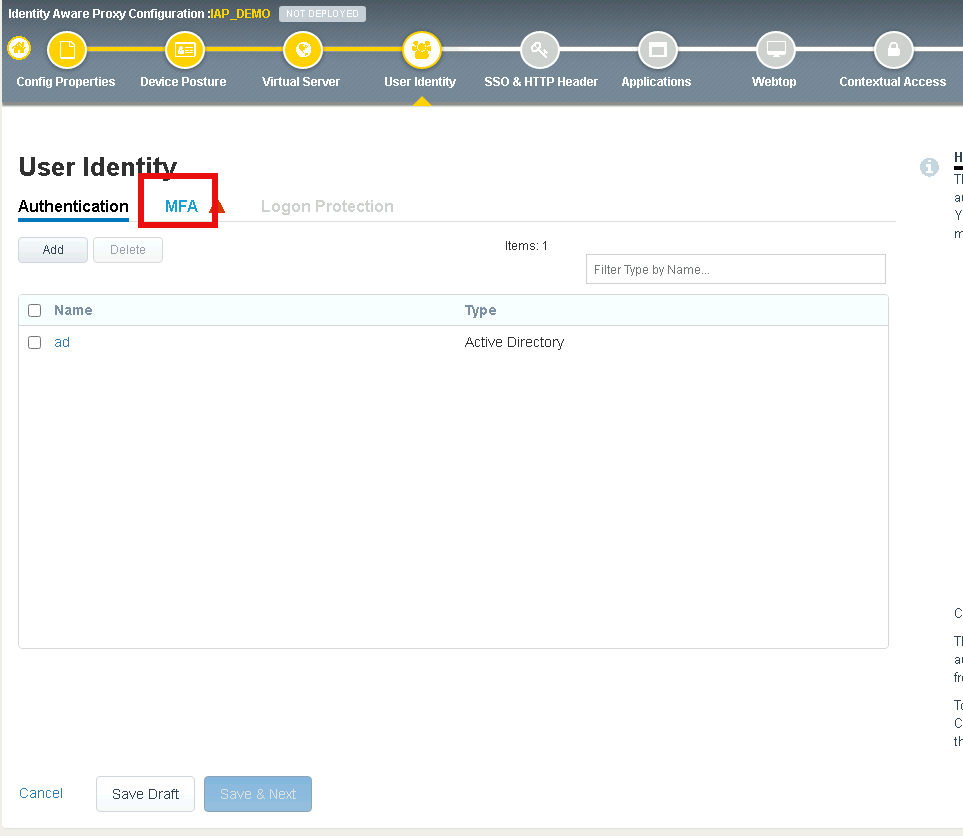
Section 1.6 - MFA
In this section you will configure a RADIUS server to enable simulated MFA capabilities.
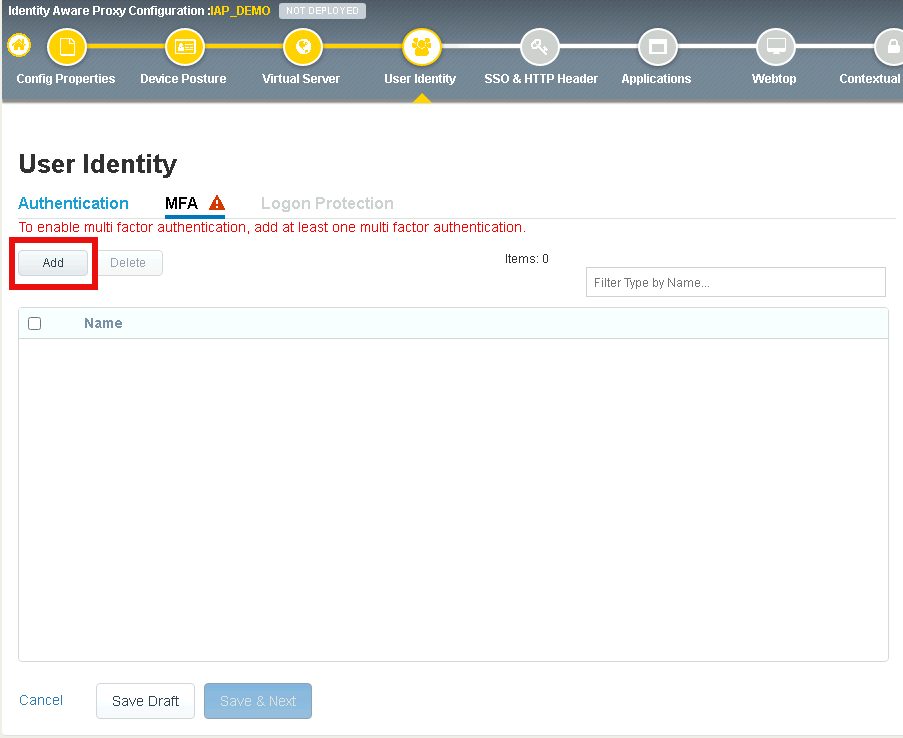
Task 1 - Configure a RADIUS AAA Server
Click the MFA tab
Click Add
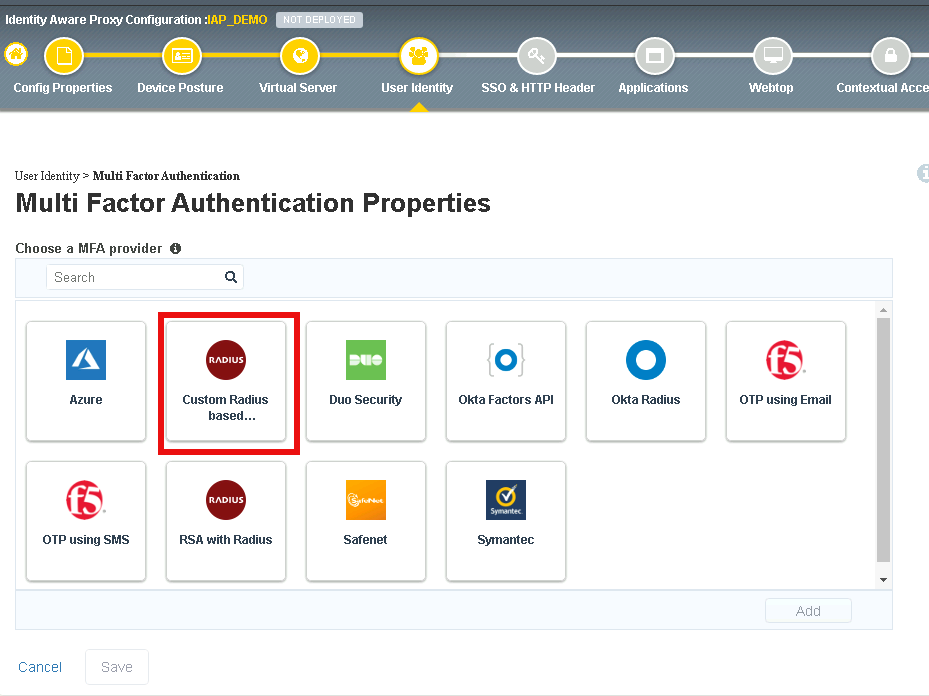
Double click Custom Radius Based
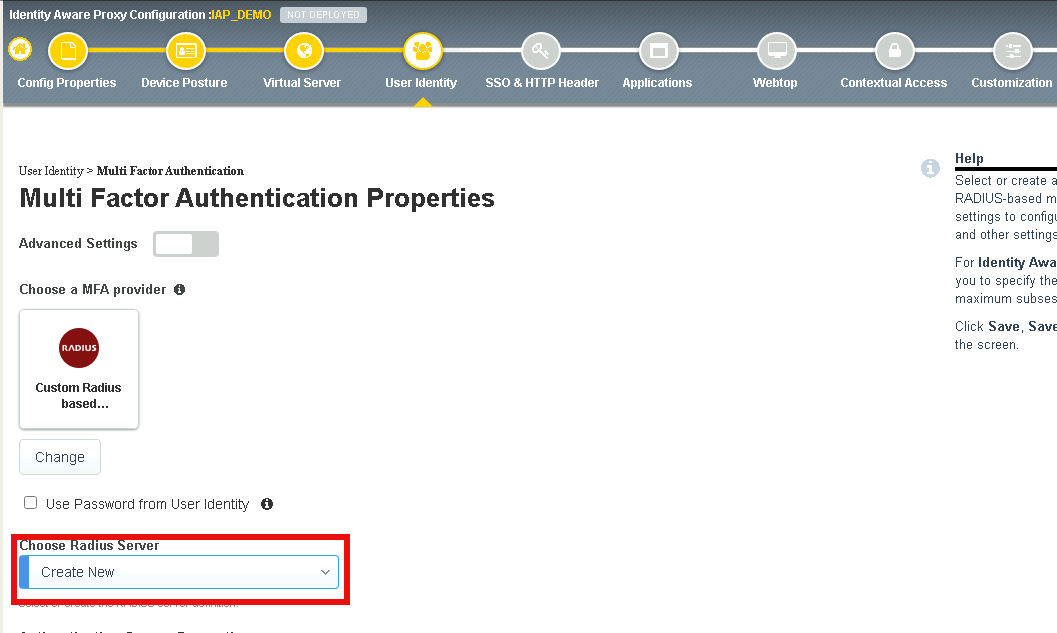
Select Create New from the Choose RADIUS Server dropdown
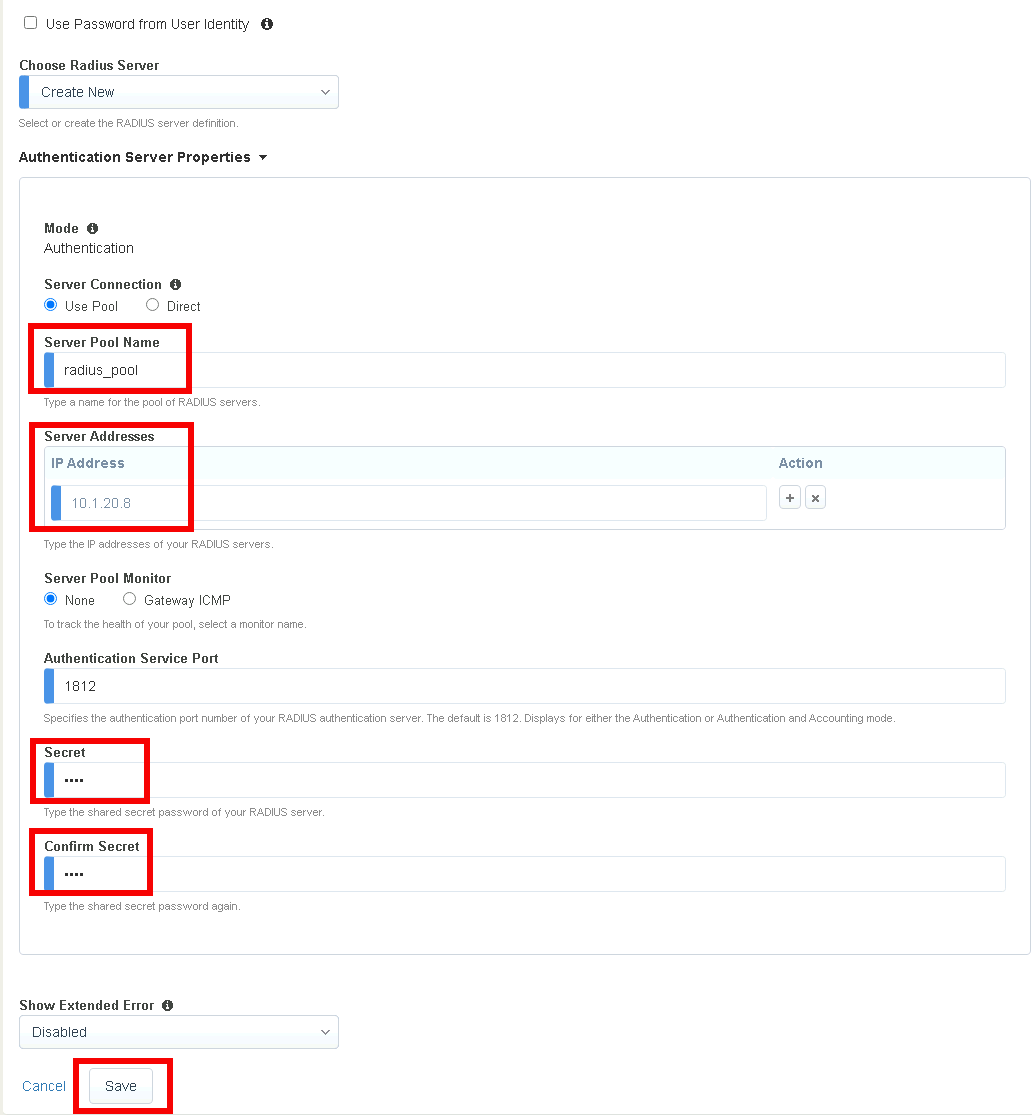
Enter the Server Pool Name radius_pool
Enter the Server Address 10.1.20.8
Enter the Secret secret
Click Save
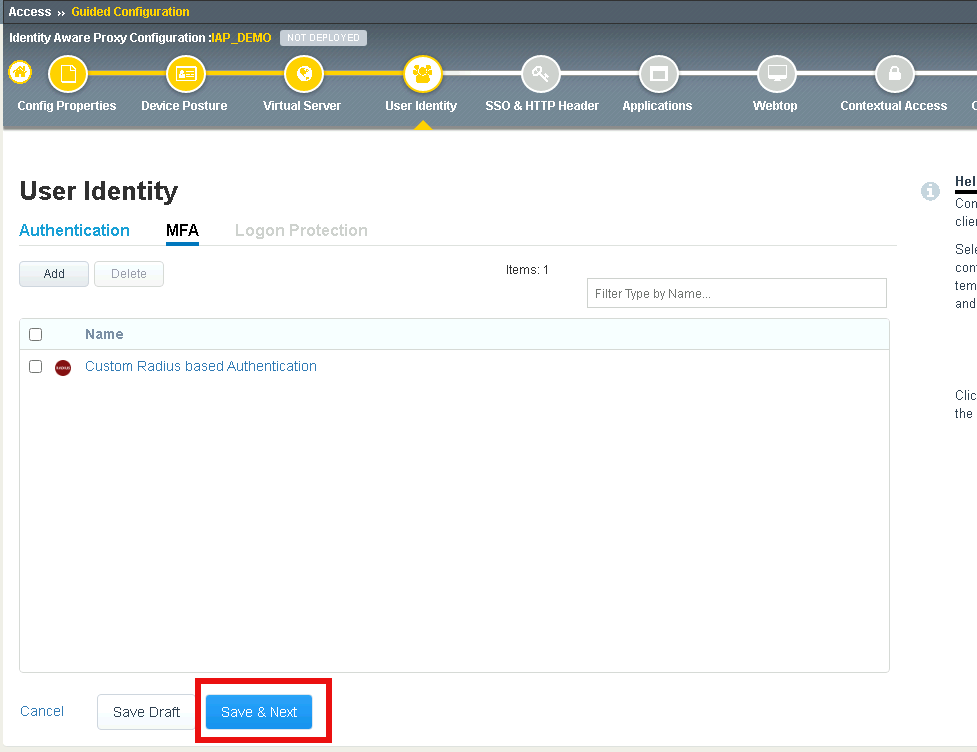
Verify Custom RADIUS based Authentication appears
Click Save & Next
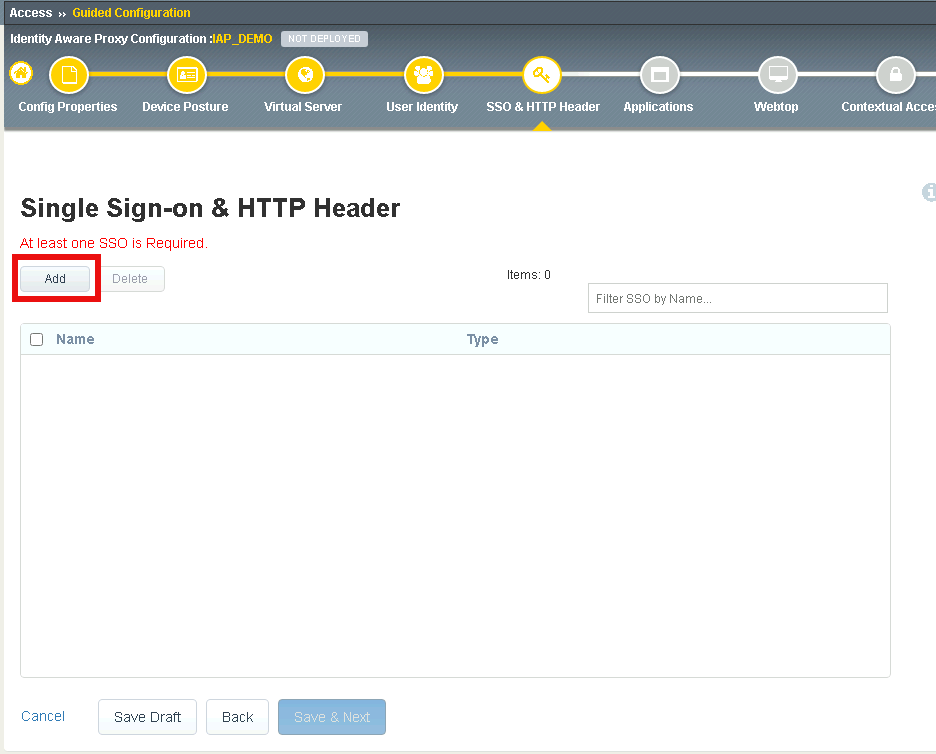
Section 1.7 - SSO & HTTP Header
In this section you will configure HTTP Basic SSO.
Task 1 - Create a HTTP basic SSO object
Click Add
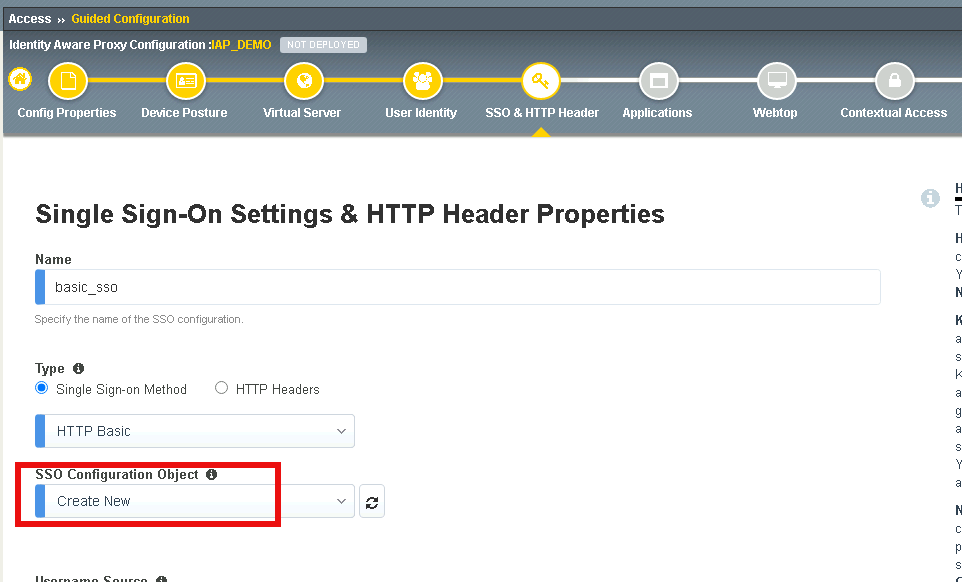
Enter the name basic_sso
Verify HTTP Basic is selected
Select Create New from the SSO Configuration Object dropdown box
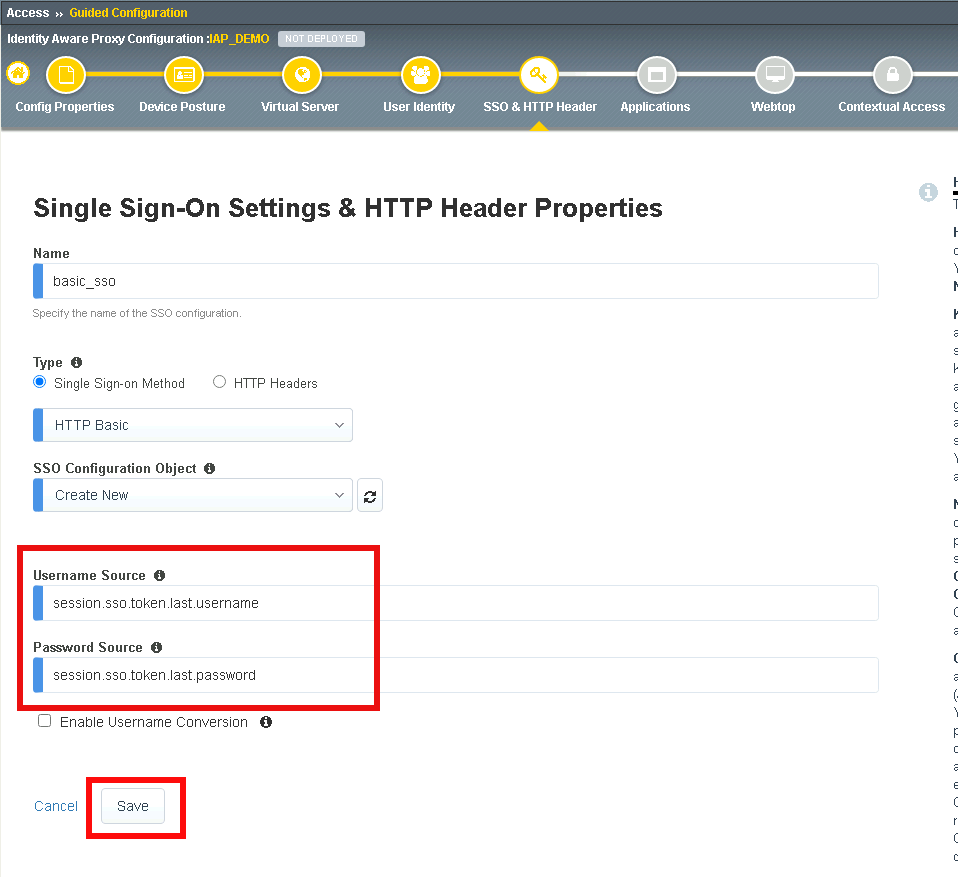
Verify the Username Source is session.sso.token.last.username
Verify the Password Source is session.sso.token.last.password
Click Save
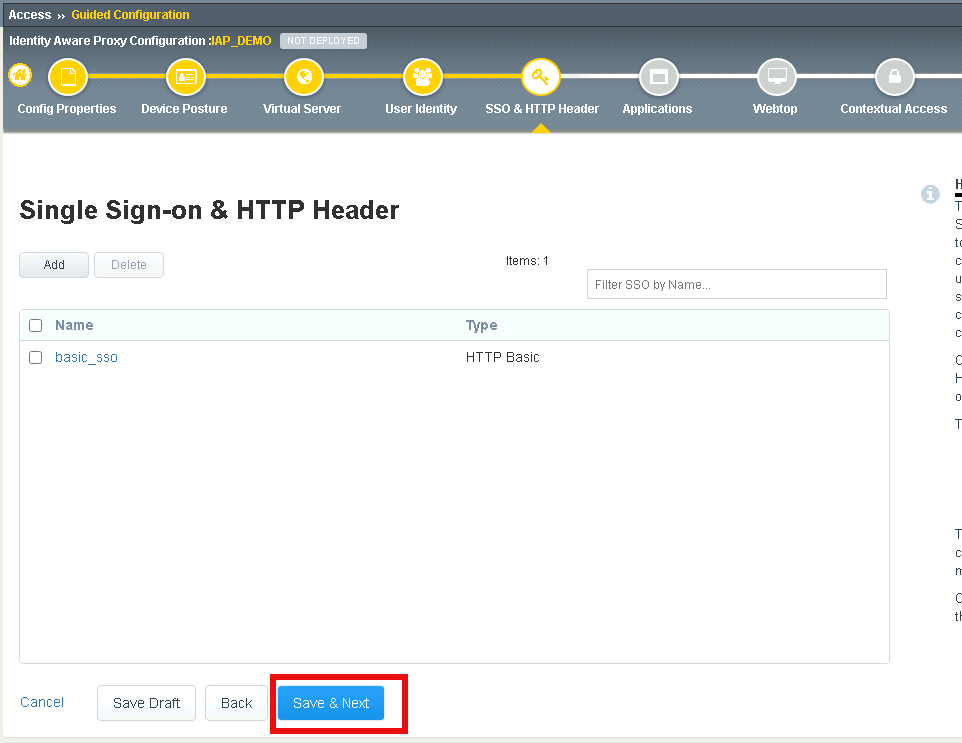
Verify the basic_sso object was created
click Save & Next
Section 1.8 - Applications
In this section you will define a single application
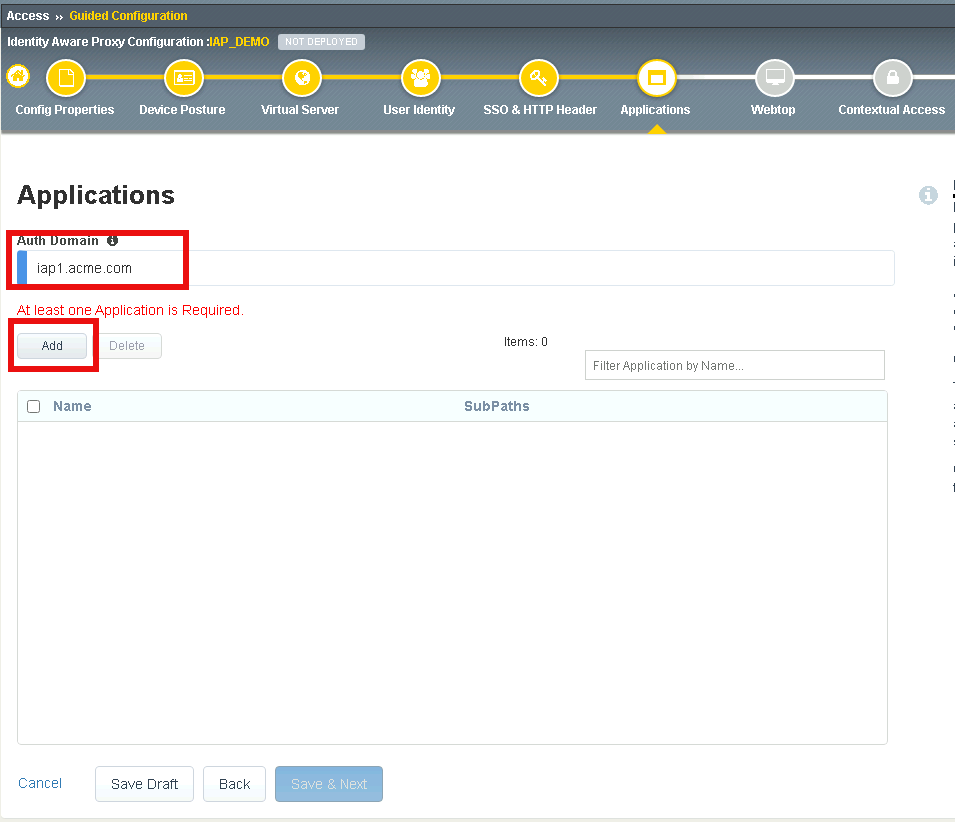
Task 1 - Create basic.acme.com application
Enter Auth Domain iap1.acme.com
Click Add
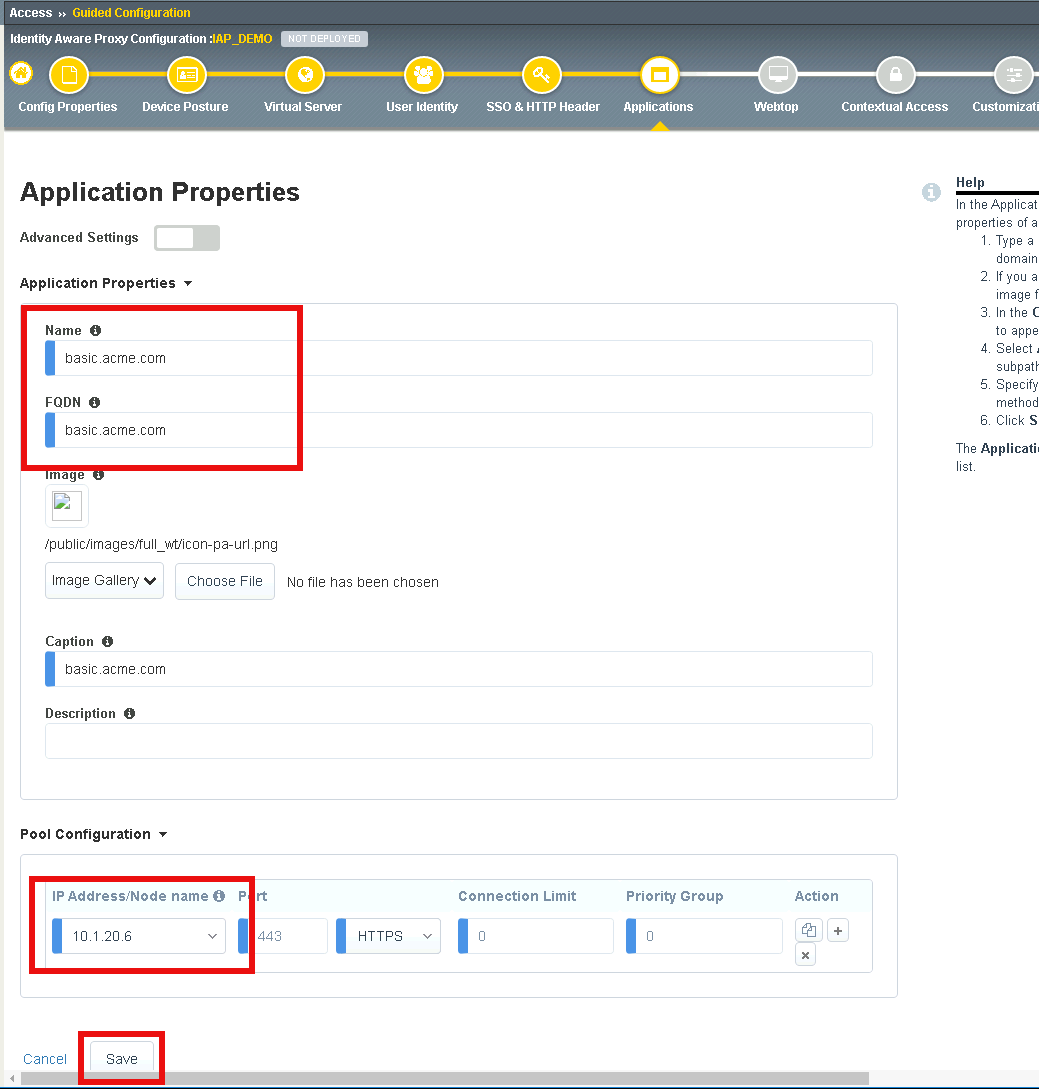
Enter basic.acme.com for the application name
Enter basic.acme.com for the FQDN
Enter the IP address 10.1.20.6 for the pool member
Click Save
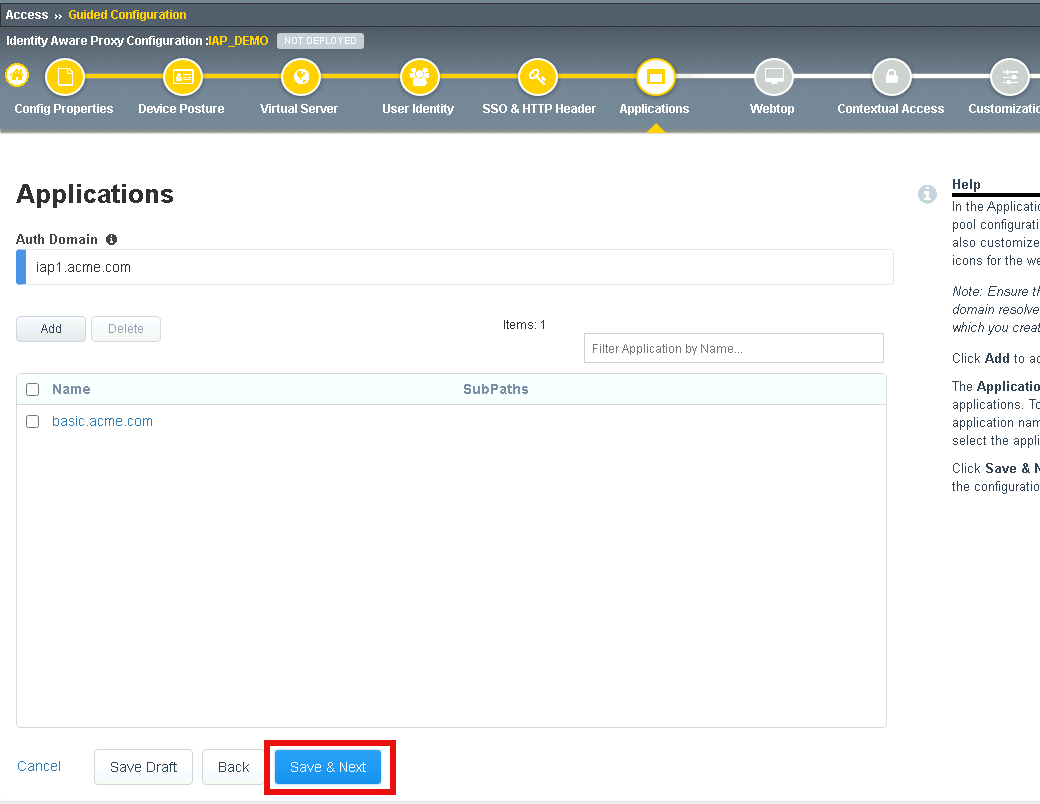
Verfiy basic.acme.com application was created
Click Save & Next
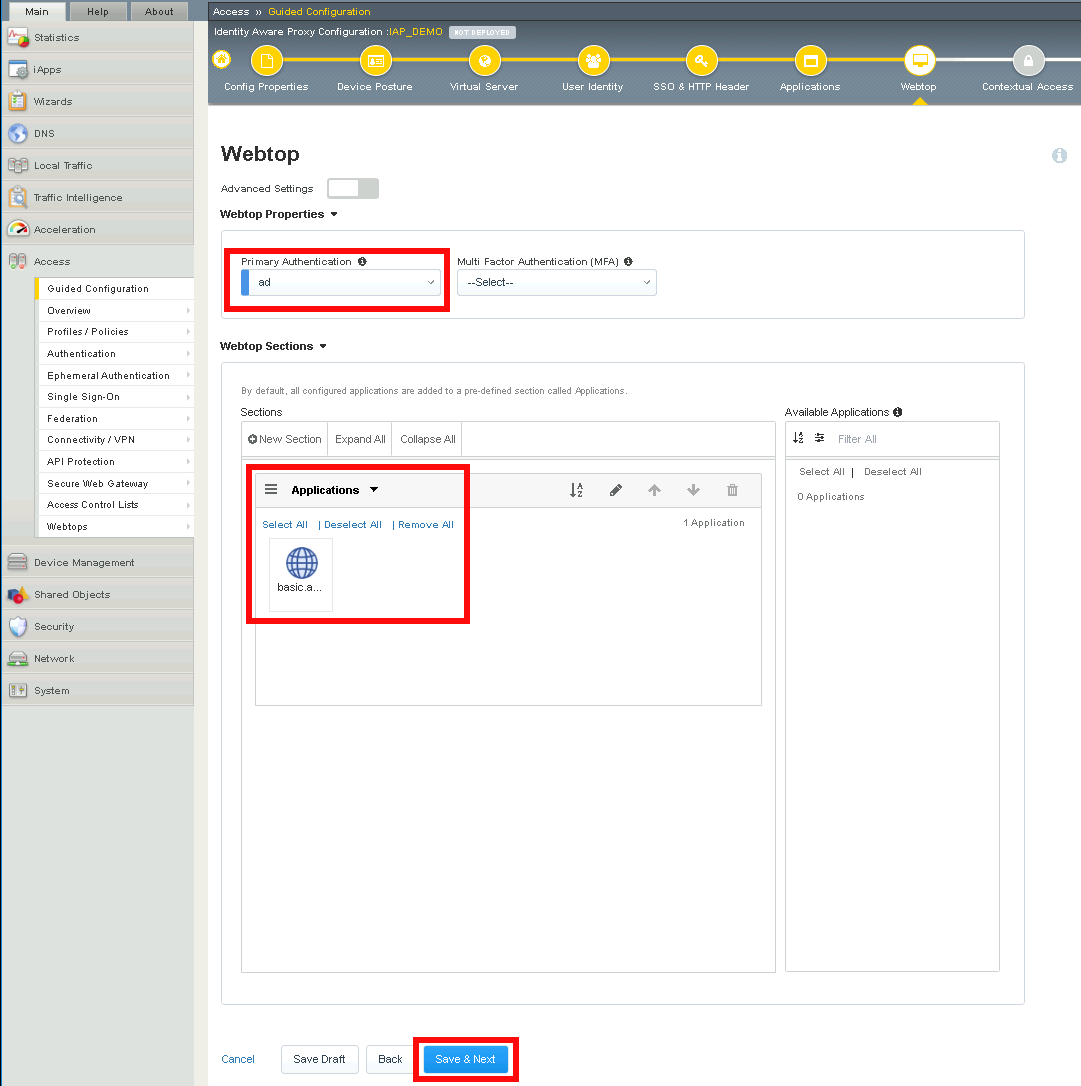
Section 1.9 - Webtop
Task 1 - Modify the Webtop setting
Set the Primary Authentication to ad
Verify basic.acme.com is listed under Application
Click Save & Next
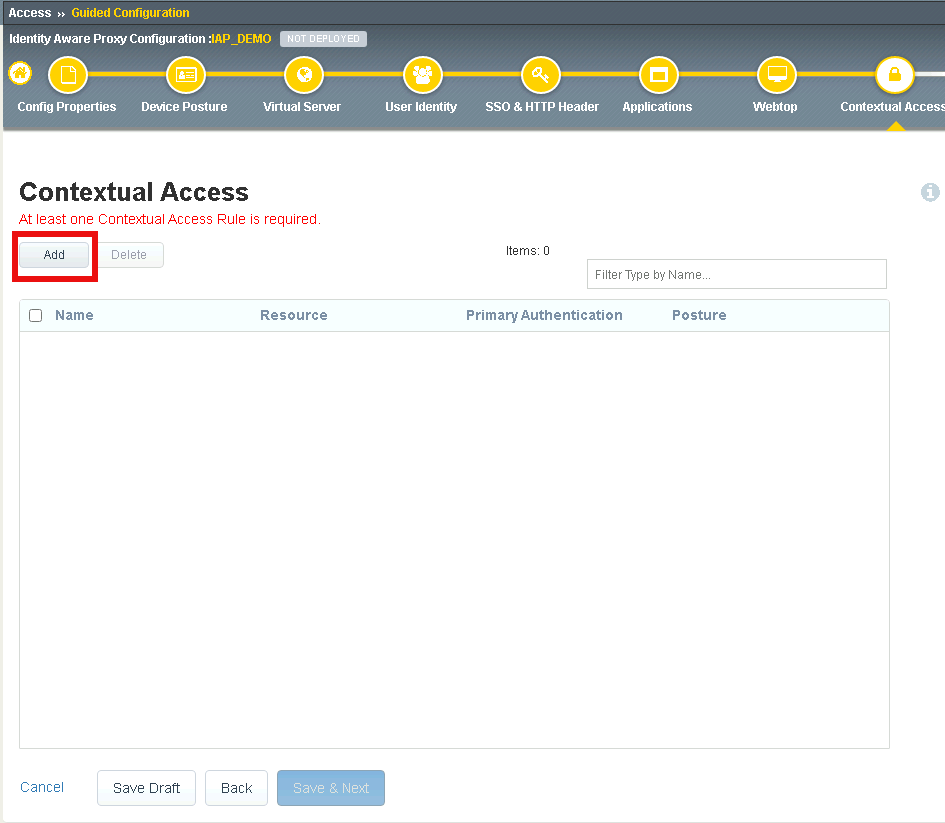
Section 1.10 - Contextual Access
In this section you will define contextual access for the previously created application. Context access is where all of the previously created objects are put together to provide fine-grain access control.
Task 1 - Create Contextual Access for basic.acme.com
Click Add
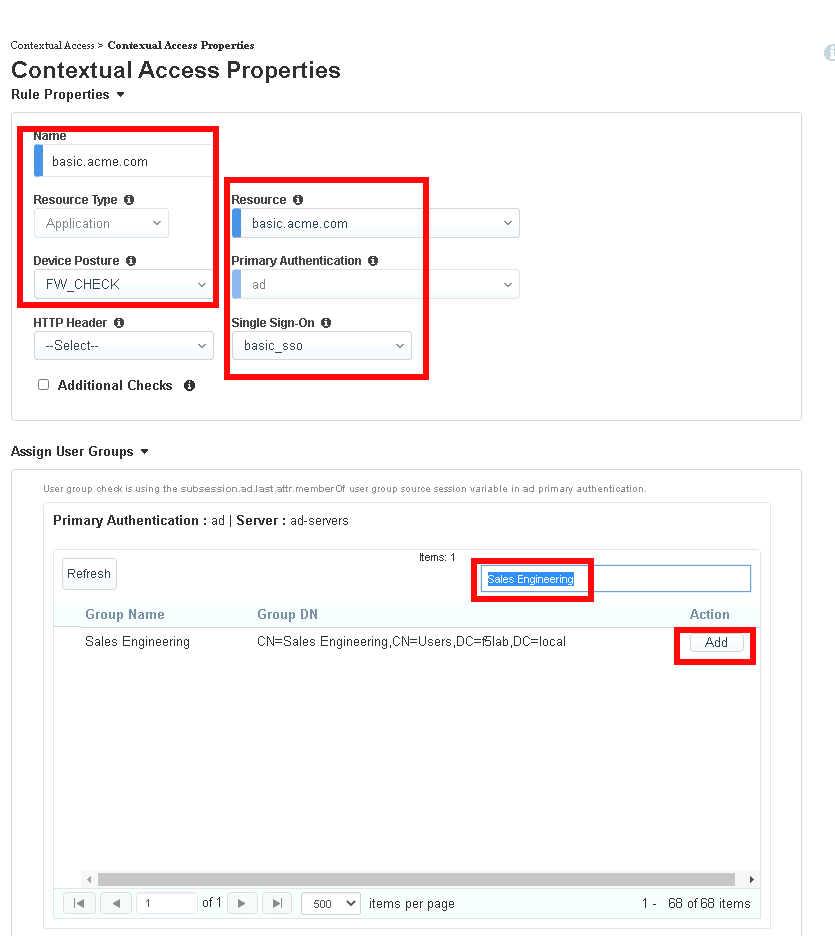
Enter basic.acme.com for the contextual access name
Select basic.acme.com from the Resource dropdown box
Select fw_check from the Device Posture dropdown box
Select ad from the Primary Authentication dropdown box
Select basic_sso from the Single Sign-On dropdown box
Enter Sales Engineering in the Filter by Group Name. This group assignment section controls the display of resources on the Webtop. It does not control the access to the actual resource. That will be covered in lab2.
Click Add beside the Group Name
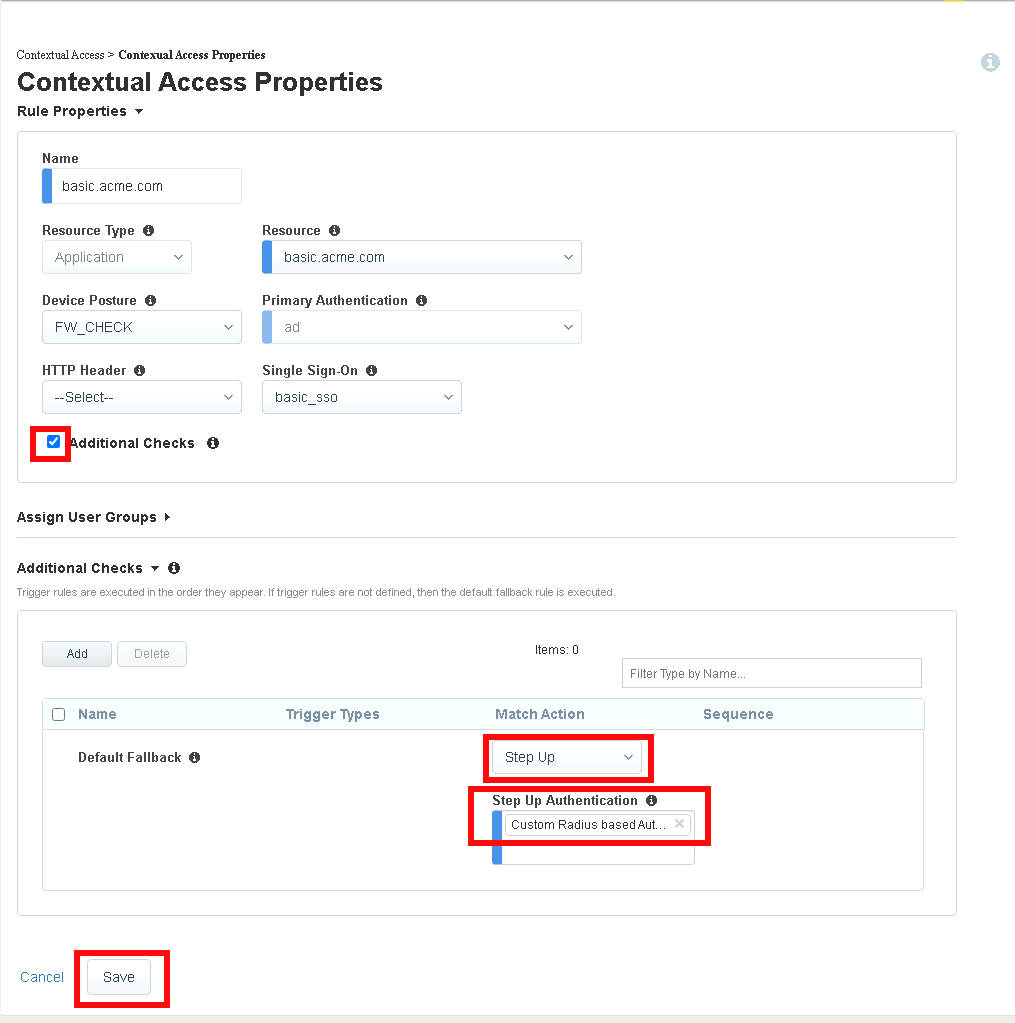
Check Additional Checks
For the Default Fallback rule, select Step Up from the dropdown box under Match Action
Select Custom Radius based Authentication (MFA) from the Step Up Authentication box
Click Save
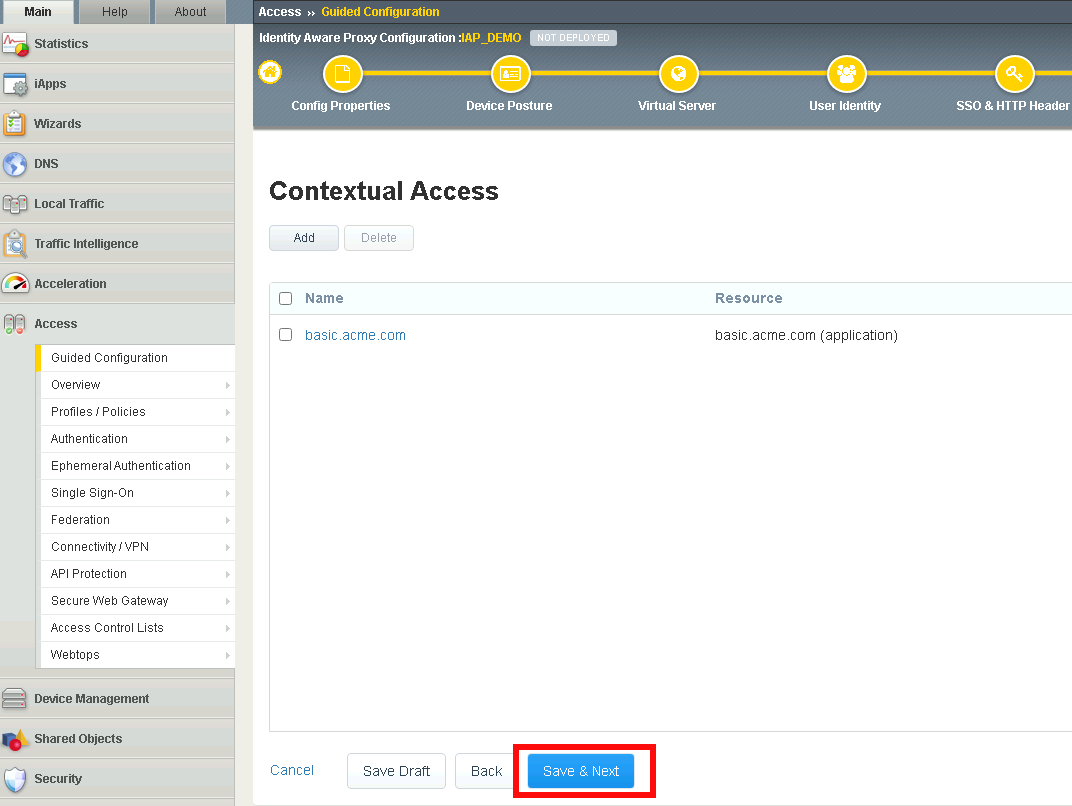
Verify basic.acme.com Contextual Access
Click Save & Next
Section 1.11 - Customization
The Customization section allows an administrator to define the images, colors, and messages that are presented to a user.
Task 1 - Customize the Remediation Page URL
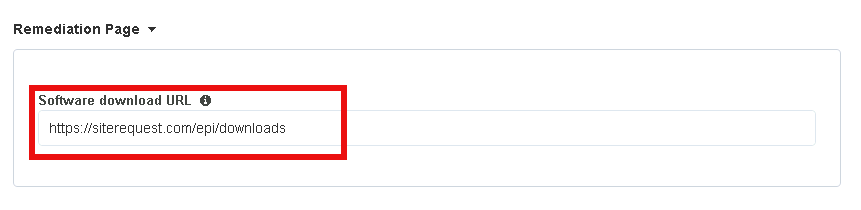
The default remediation Page URL uses the hostname site request.com. This should be changed to reference a real host where users can download and install the EPI updates.
Scroll down to the Remediation Page Section
Enter the URL https://iap1.acme.com/epi/downloads
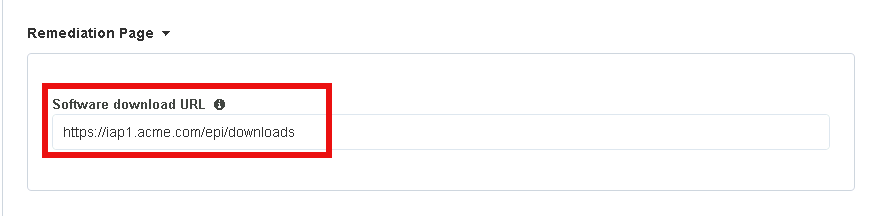
Click Save & Next
On the Session Management Properties menu, Click Save & Next
Section 1.12 - Summary
The Summary page allows you to review the configuration that is about to be deployed. In the event a change is required anywhere in the configuration the pencil icon on the right side can be selected to quickly edit the appropriate section.
Task 1 - Deploy the configuration
Click Deploy
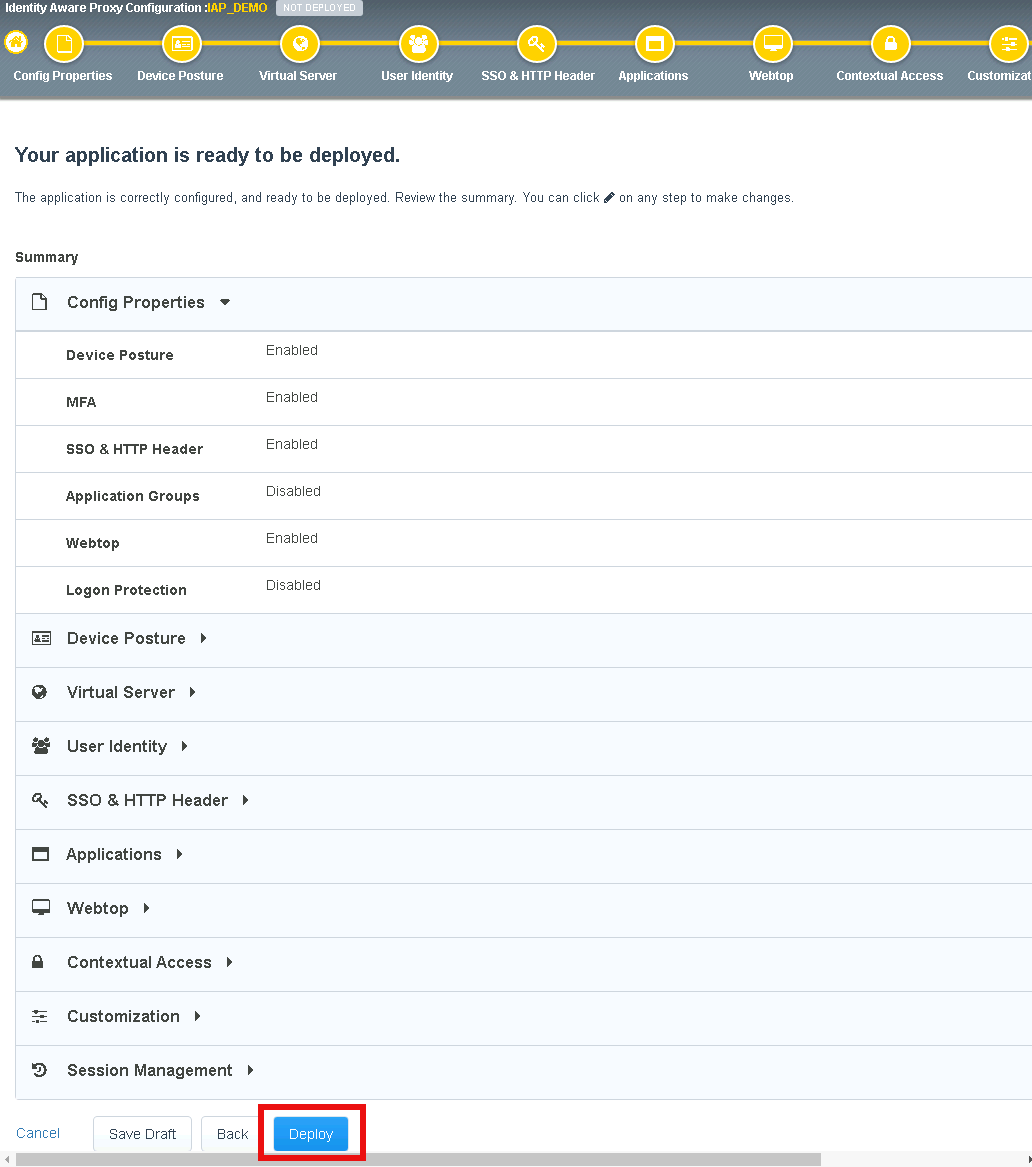
Once the deployment is complete, click Finish
Section 1.13 - Testing
In this section you will access the application basic.acme.com and watch how the BIG-IP restricts access when a device fails it’s posture assessment.
Warning
You must use Firefox for testing!
Task 1 - Access basic.acme.com
Note
Posture Assessments in a Per-Request Policy use F5 Access Guard(running on clients) to perform posture assessments prior to accessing an application. This improves the user experience since posture checks do not introduce any delay when accessing the application. This also improves security by allowing posture assessments to occur continuously throughout the life of the session.
From the jumpbox, browse to https://iap1.acme.com
At the logon page enter the Username:user1 and Password:user1
Click Logon
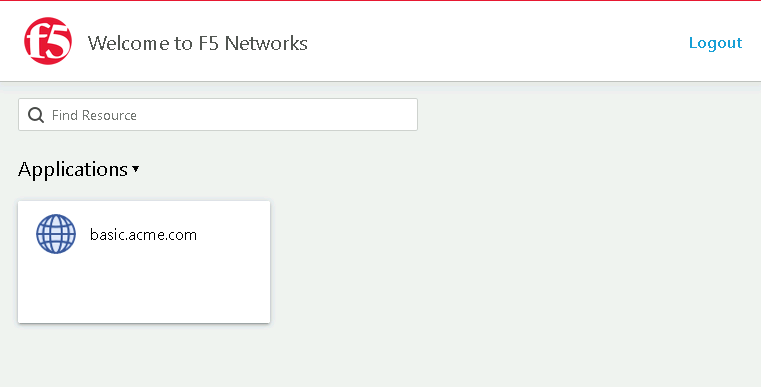
Click the basic.acme.com tile on the webtop
The RADIUS logon page, prepopulates the username:user1. Enter the PIN: 123456 in the password field
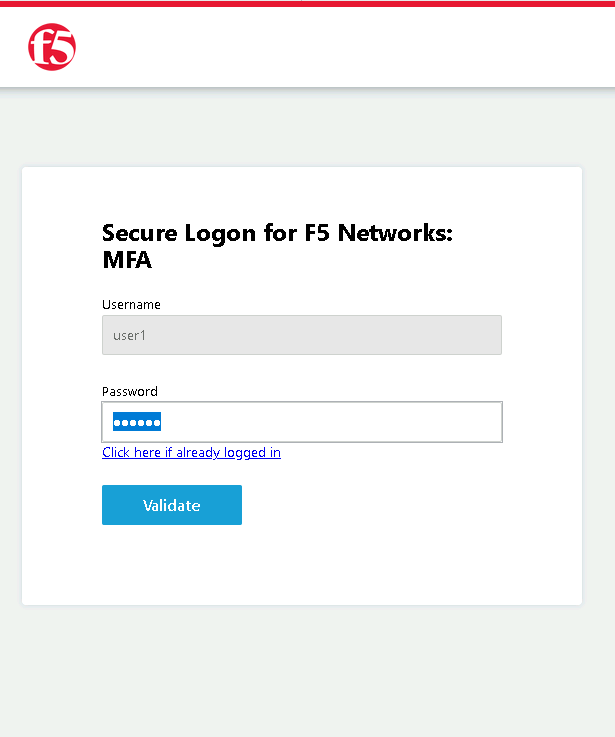
The SSO profile passes the username and password to the website for logon.
Close the browser Window to ensure there is not cached data
Task 2 - Disable Windows Firewall
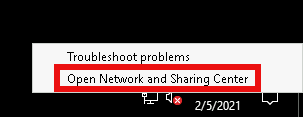
Right click the computer icon in the taskbar and open Network and Sharing Center
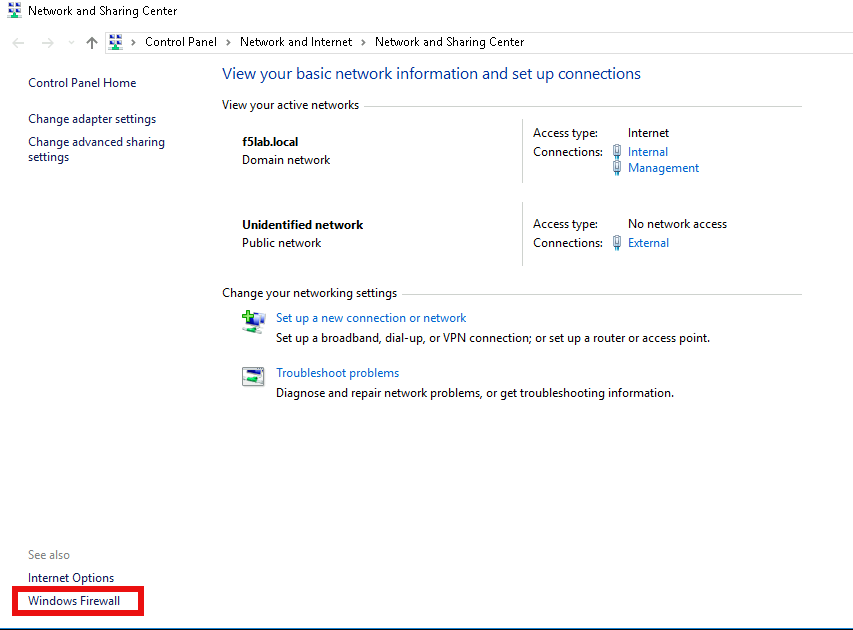
Click Windows Firewall
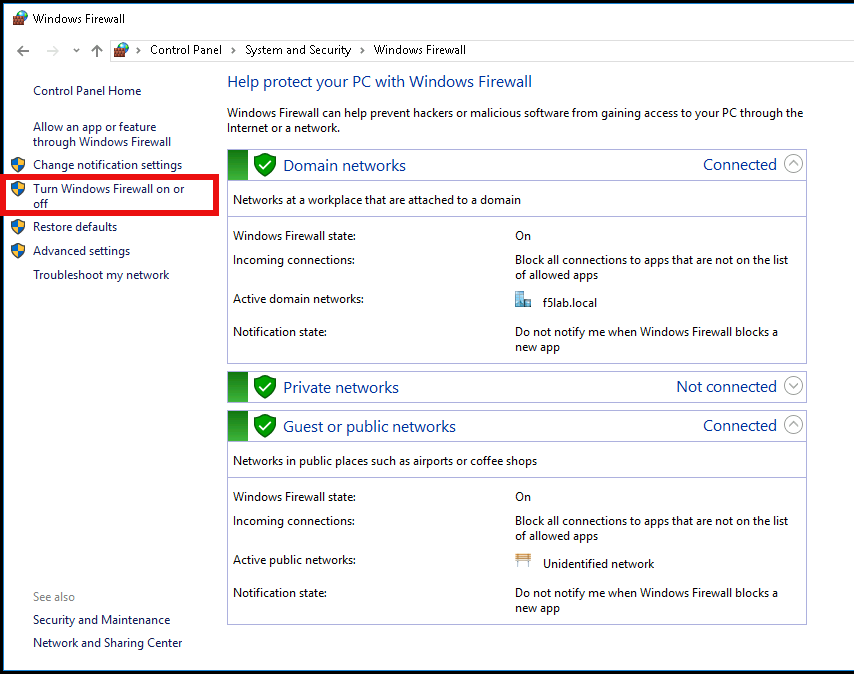
Click Turn Windows Firewall on or off
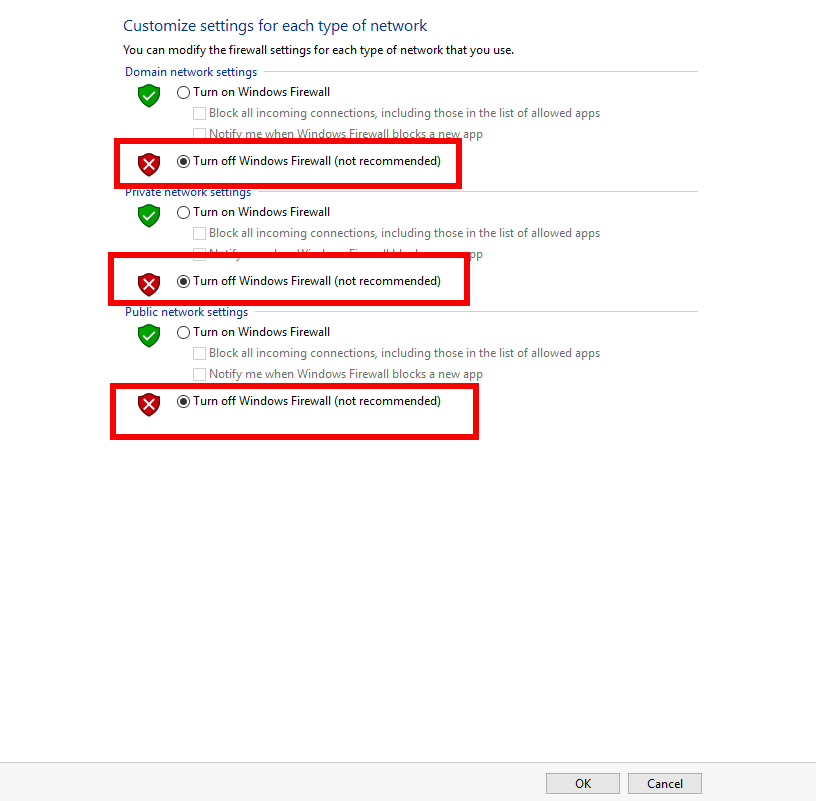
Click the radio button Turn off Windows Firewall
Click Ok
Task 3 - See Deny Page iap1.acme.com
From the jumpbox, browse to https://iap1.acme.com
At the logon page enter the Username:user1 and Password:user1
Click Logon
Click the basic.acme.com tile on the webtop
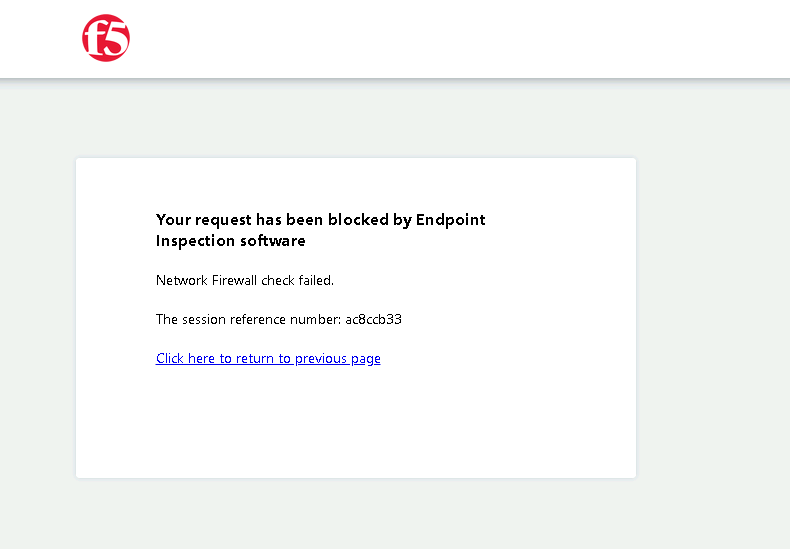
After approximately 15 seconds you will receive a deny page from the IAP stating that you have failed the network firewall check
Close the browser Window to ensure there is no cached data
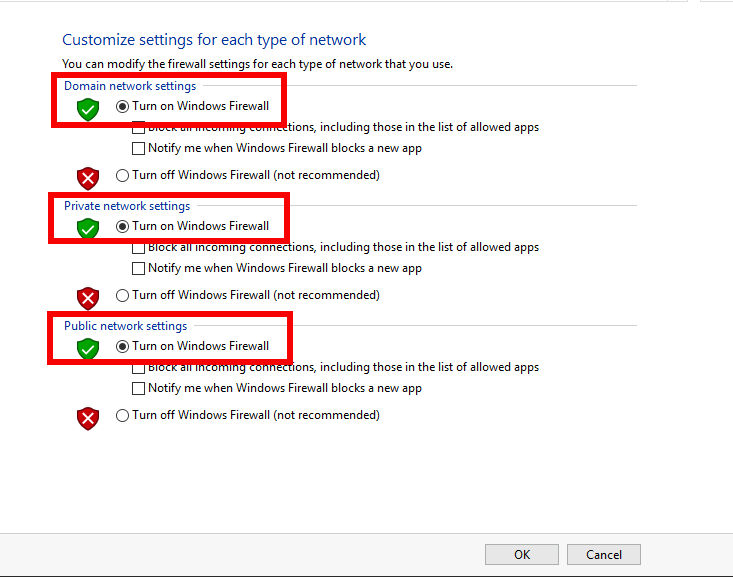
Task 4 - Enable Windows Firewall
Right click the computer icon in the taskbar and open Network and Sharing Center
Click Windows Firewall
Click Turn Windows Firewall on or off
Click the radio button Turn on Windows Firewall
Click Ok
From the jumpbox, connect to https://iap1.acme.com webtop, and then access the basic.acme.com application
This concludes lab 1.