F5 Identity and Access Management Solutions > 100 Series: Zero Trust Application Access (ZTAA) Source | Edit on
Lab 2: Onboard a Second Application(16.0)
Guided Configuration supports more than a single application per Identity Aware Proxy Deployment. In this module you will learn how to modify an existing IAP deployment to onboard new authentication methods, SSO methods, and applications.
This Module also introduces the Application Group to provide different contextual access controls on parts of a website.
Section 2.1 - Access Guided Configuration
To onboard a new application to the IAP, you will first access the Guided Configuration menu.
Task 1 - Access the Zero Trust IAP guided configuration
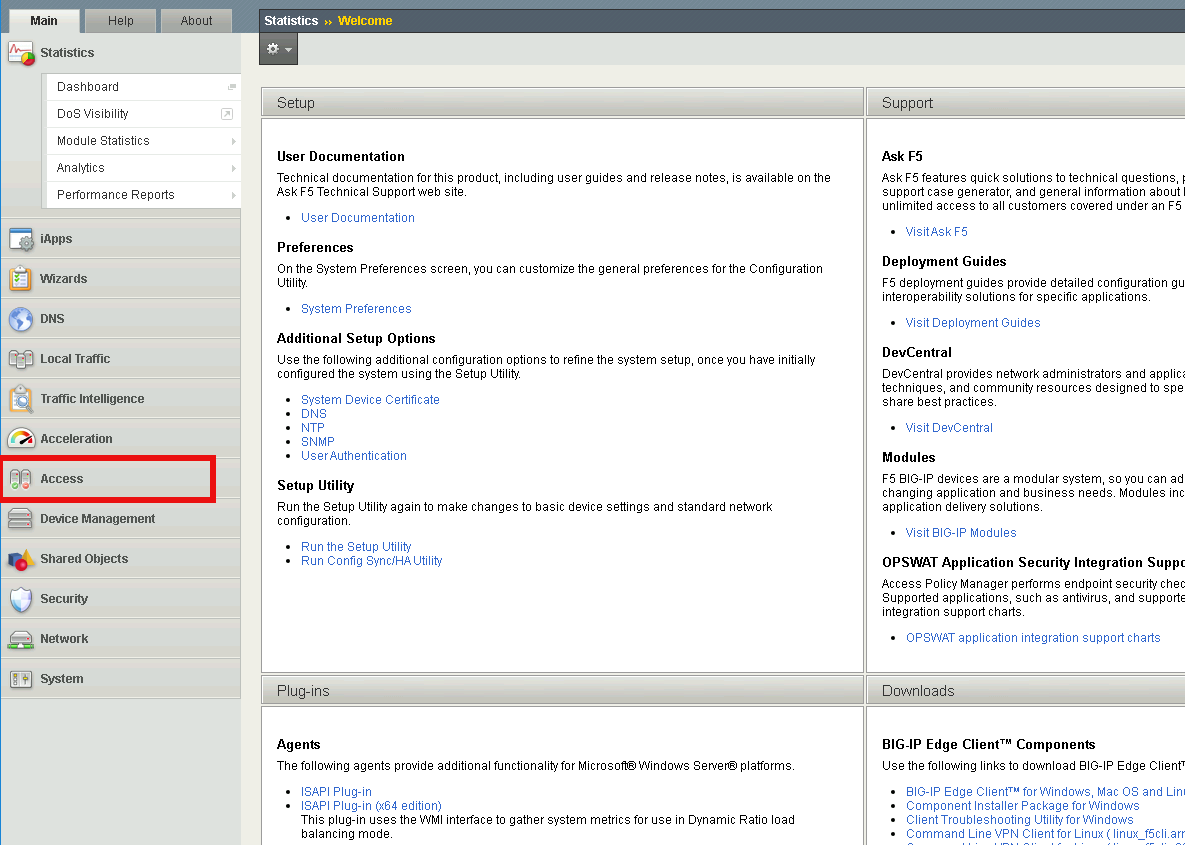
From Firefox, click on the Access tab located on the left side.
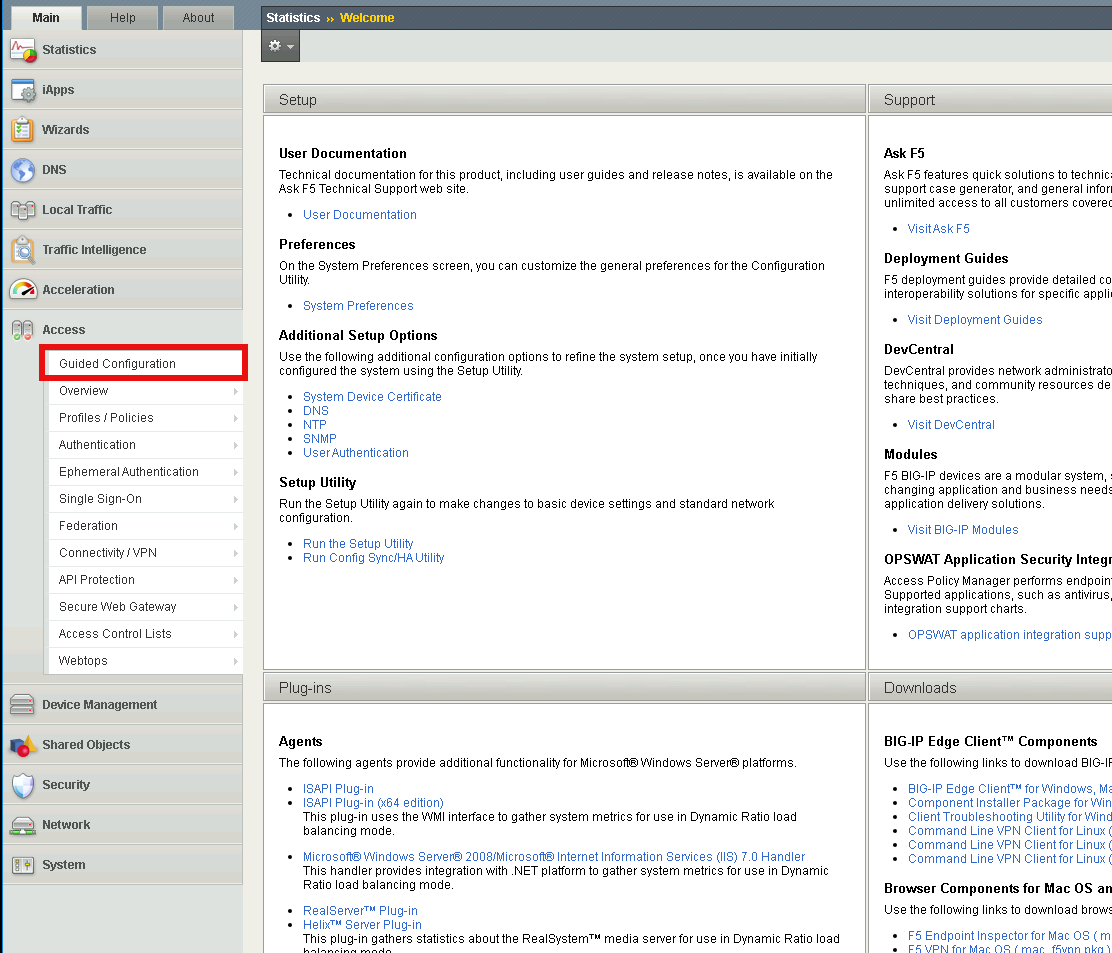
Click Guided Configuration
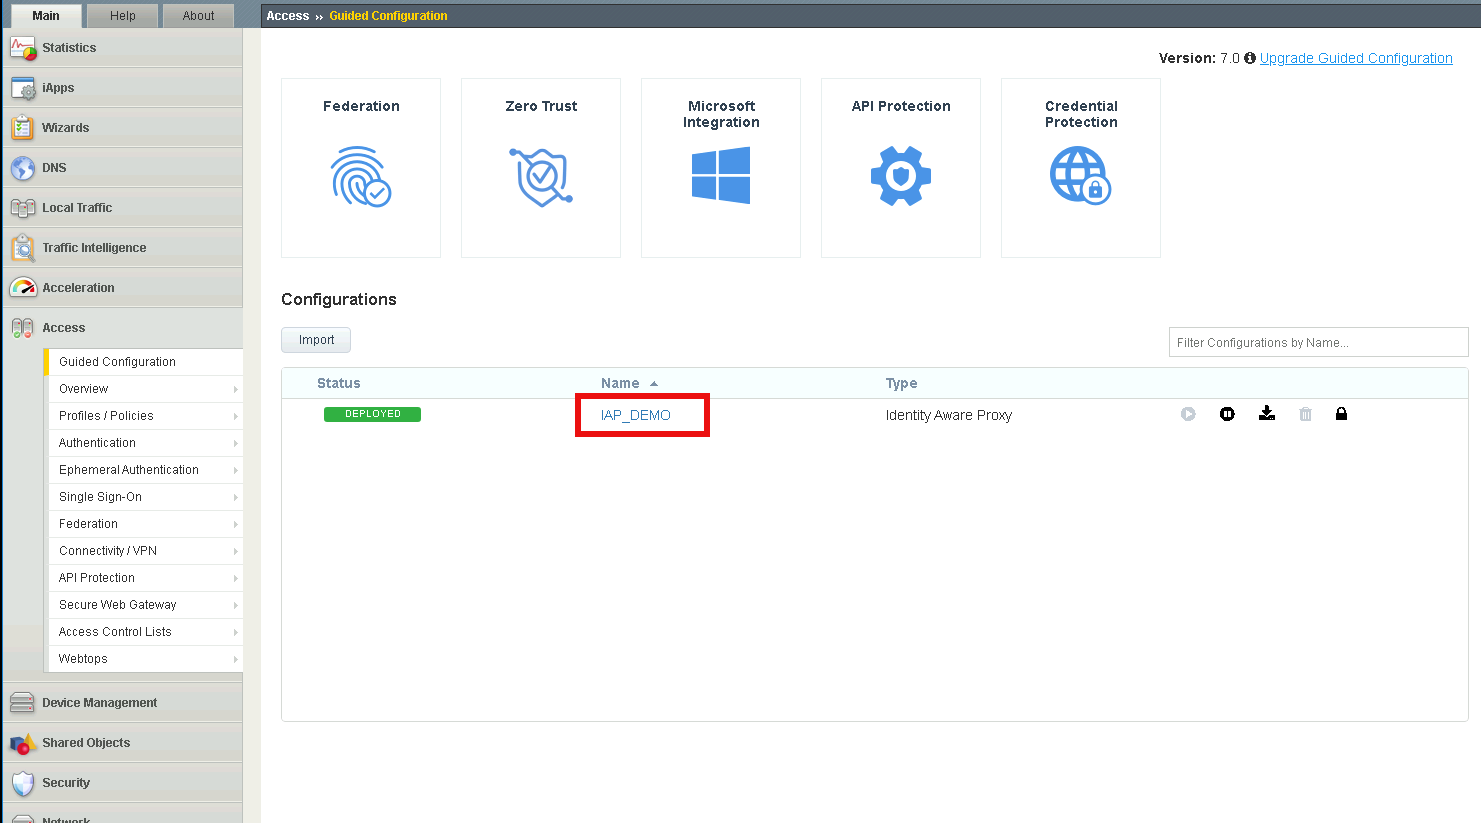
Click IAP_DEMO
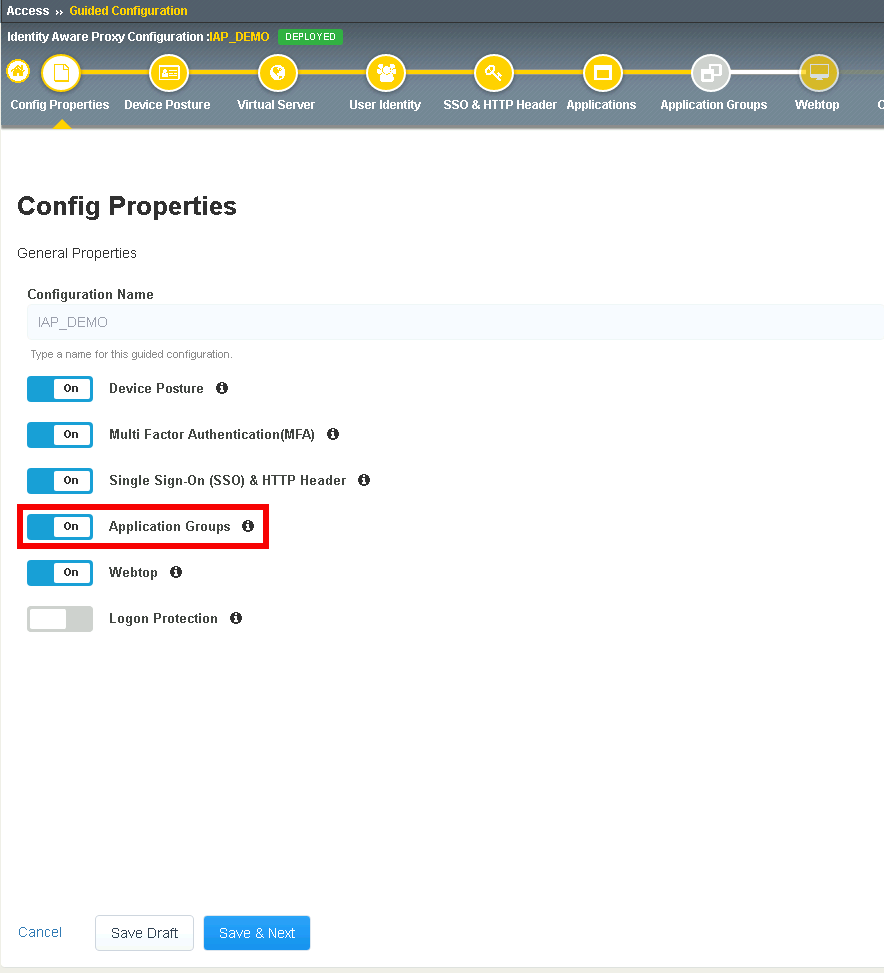
Click Config Properties from the top ribbon
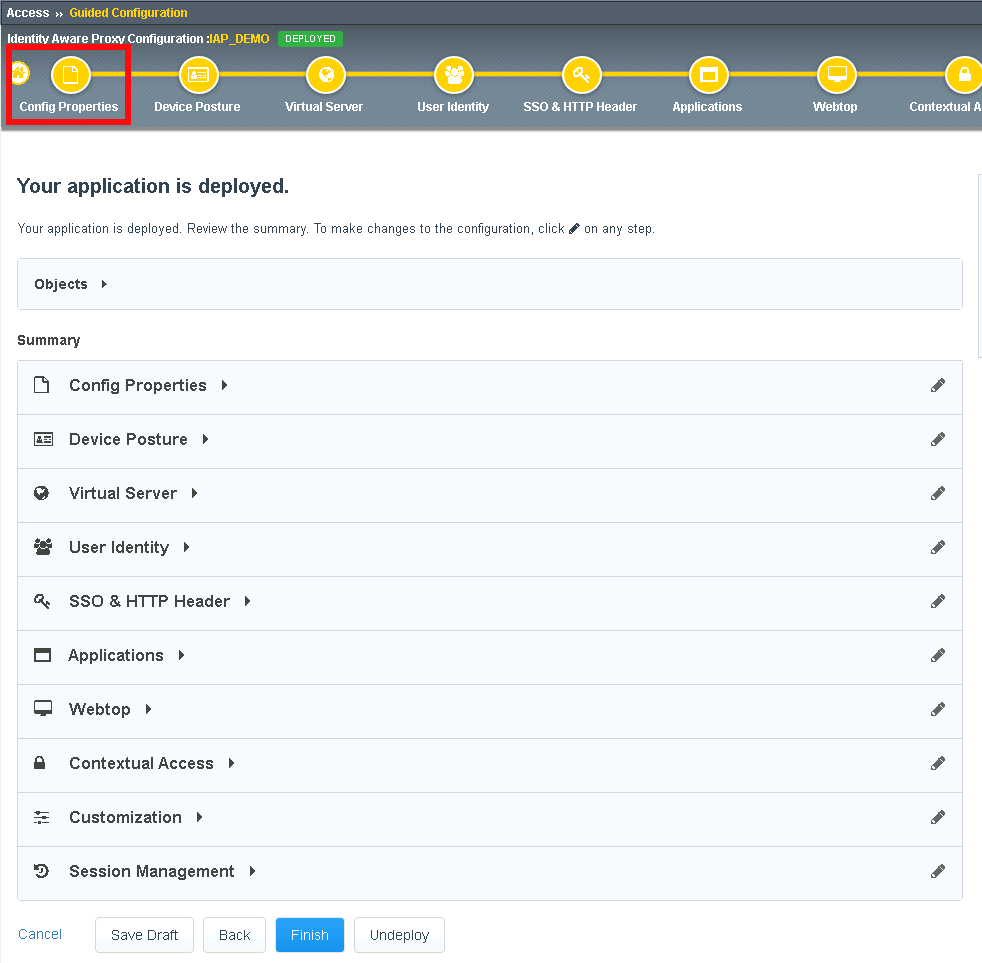
Enable Application Groups
Click Save & Next
Section 2.2 - User Identity
Adding an additional User Identity to IAP is just a few simple steps.
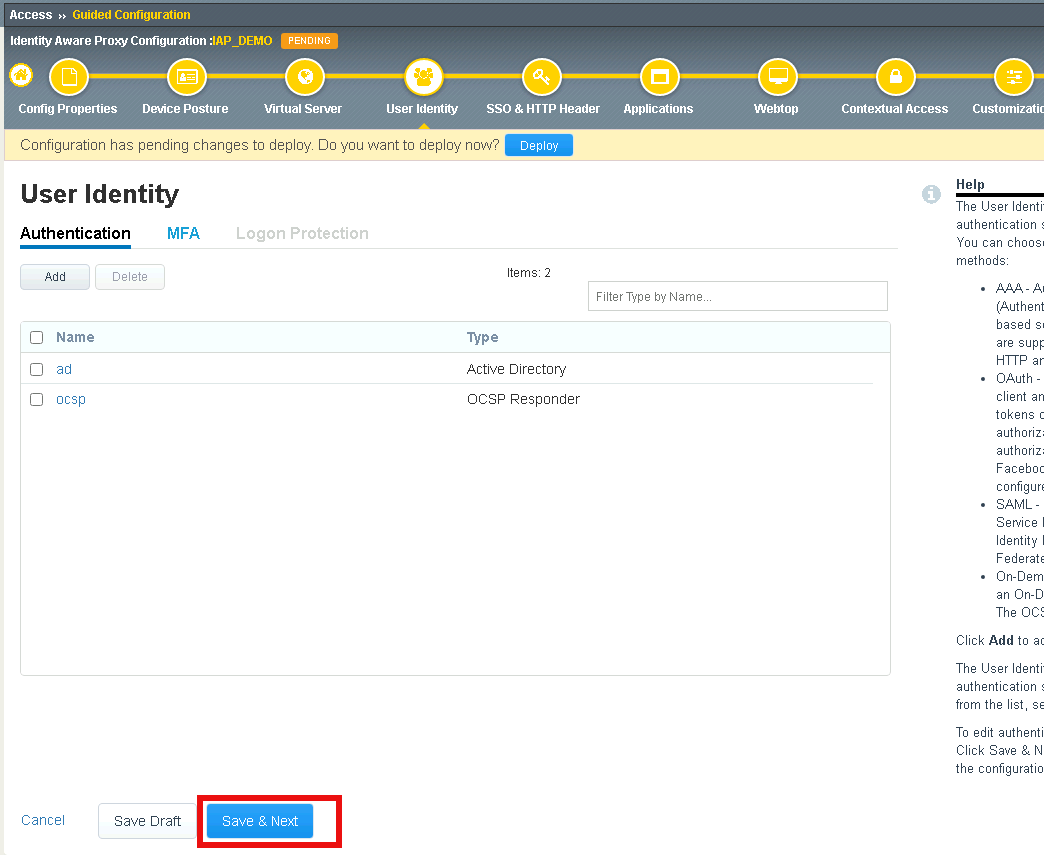
Task 1 - Configure Certificate Authentication with OCSP
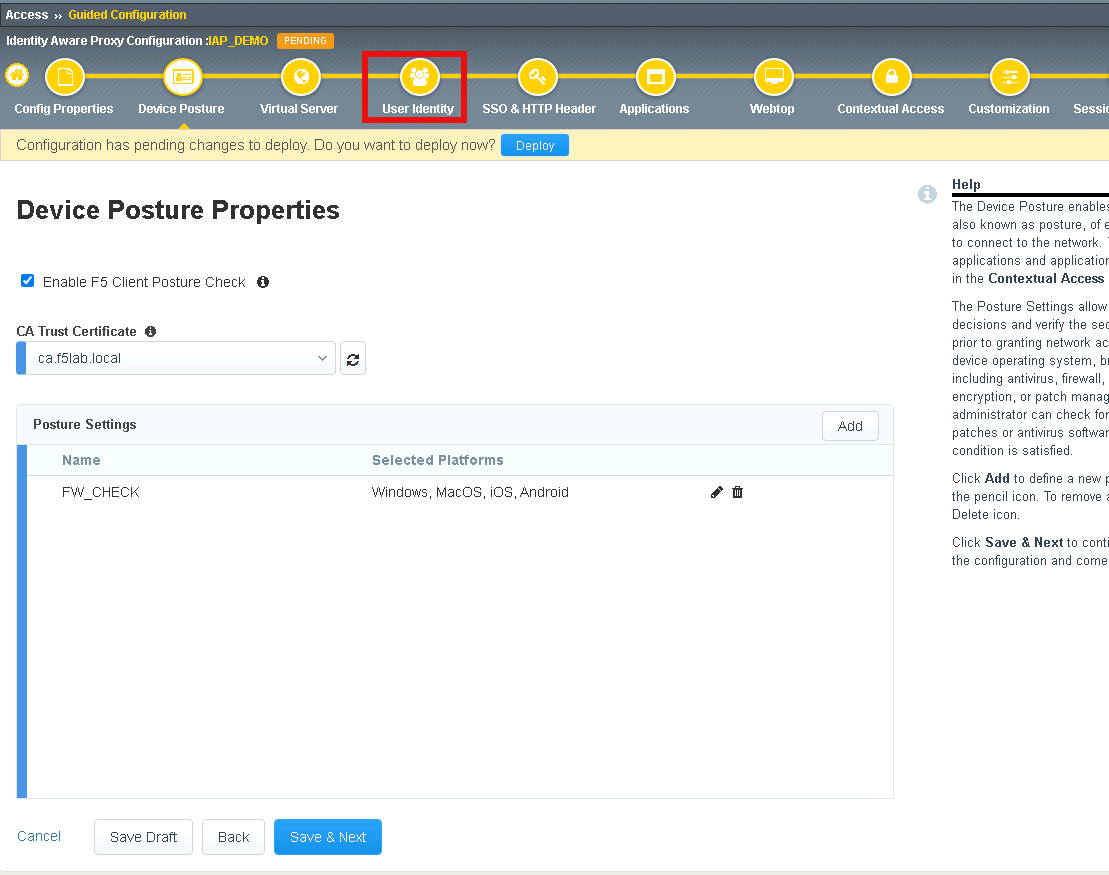
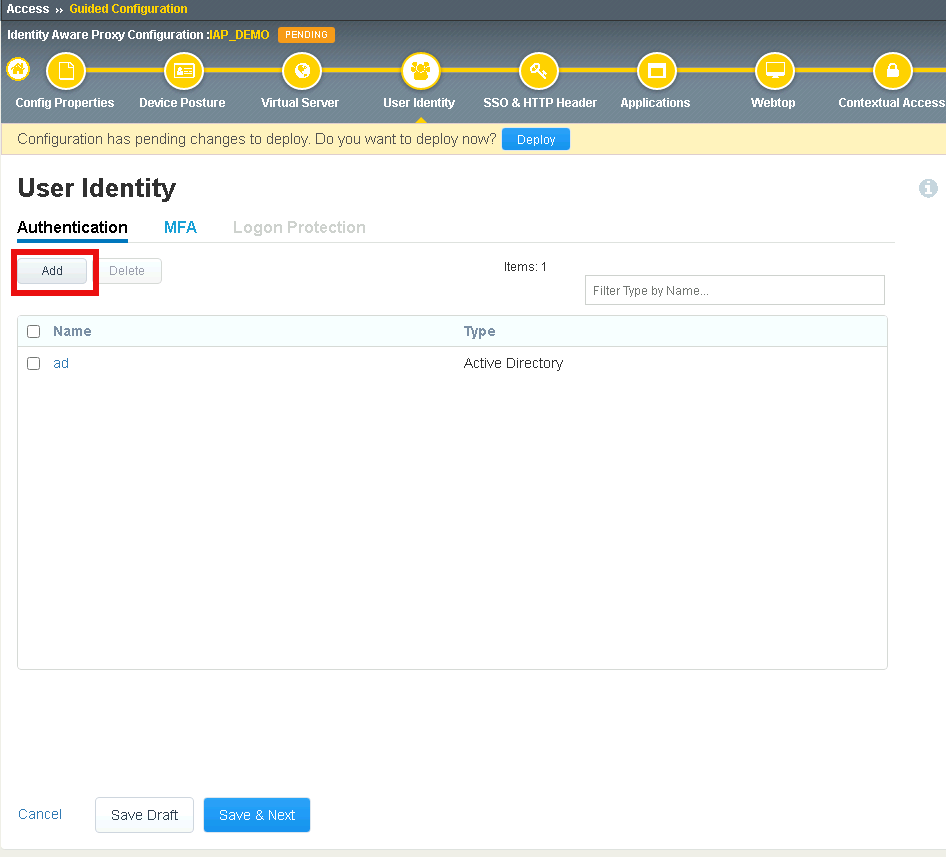
Click User Identity in the Ribbon
Click Add to create a new User Identity
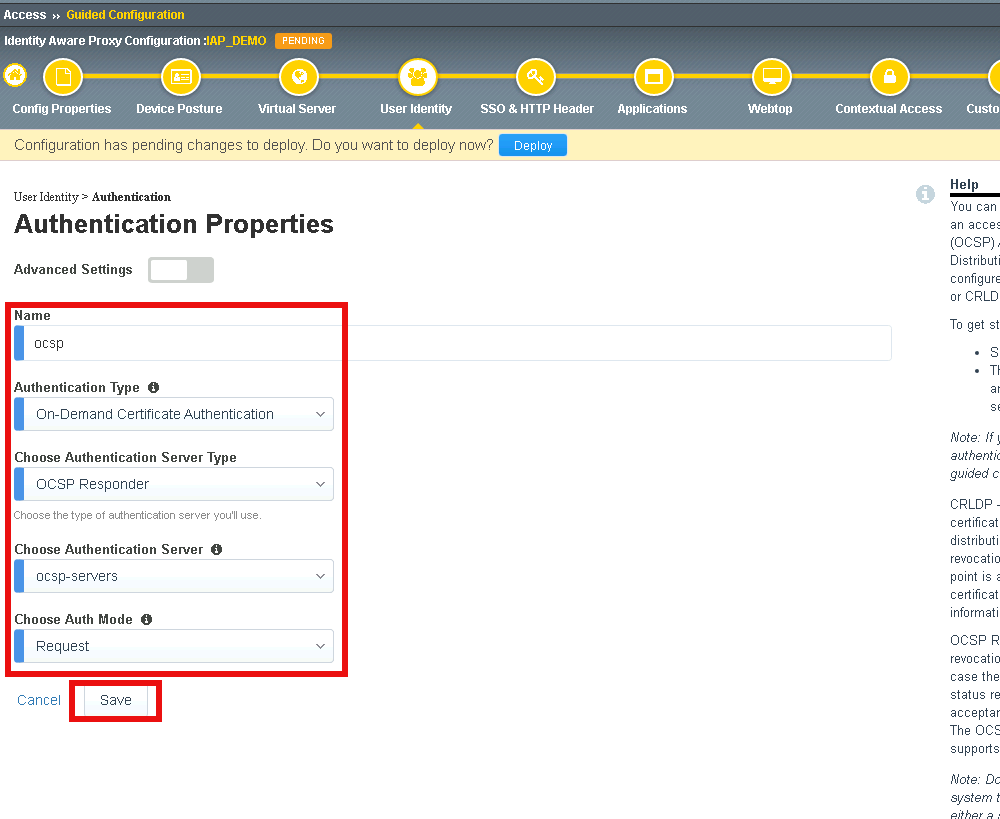
Enter Name ocsp
Select On-Demand Certificate Authentication from the Authentication Type dropdown
Select OCSP Responder from the Authentication Server Type dropdown
Select ocsp-servers from the Authentication Server dropdown
Leave Request selected under Choose Auth Mode
Click Save
Verify the ocsp object was created and click Save & Next
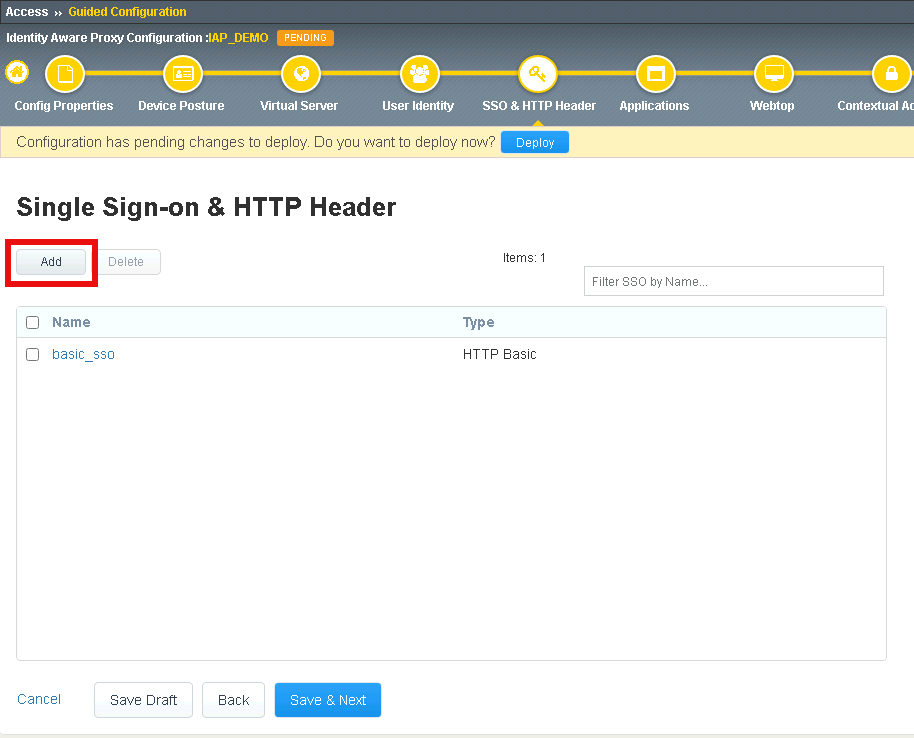
Section 2.3 - SSO & HTTP Header
In this section, you will create a custom header value to pass to the web server.
Task 1 - Create Custom Header
Click Add
Enter Name header_sso
Change radio button for Type to HTTP Headers
In the SSO Headers section, enter userID in the Header Name Field
Click Save
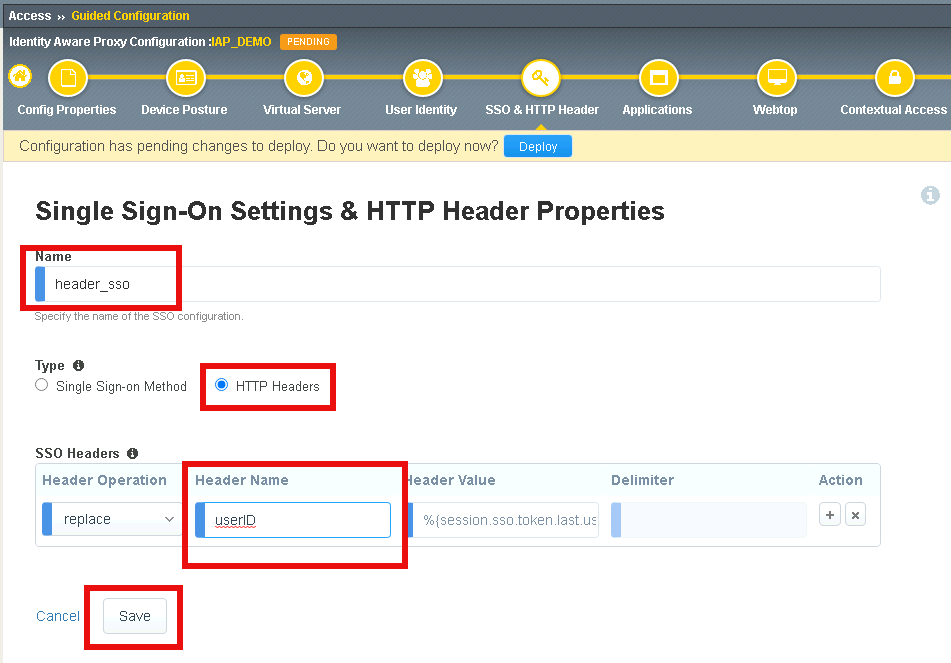
Verify the header_sso object was created and click Save & Next

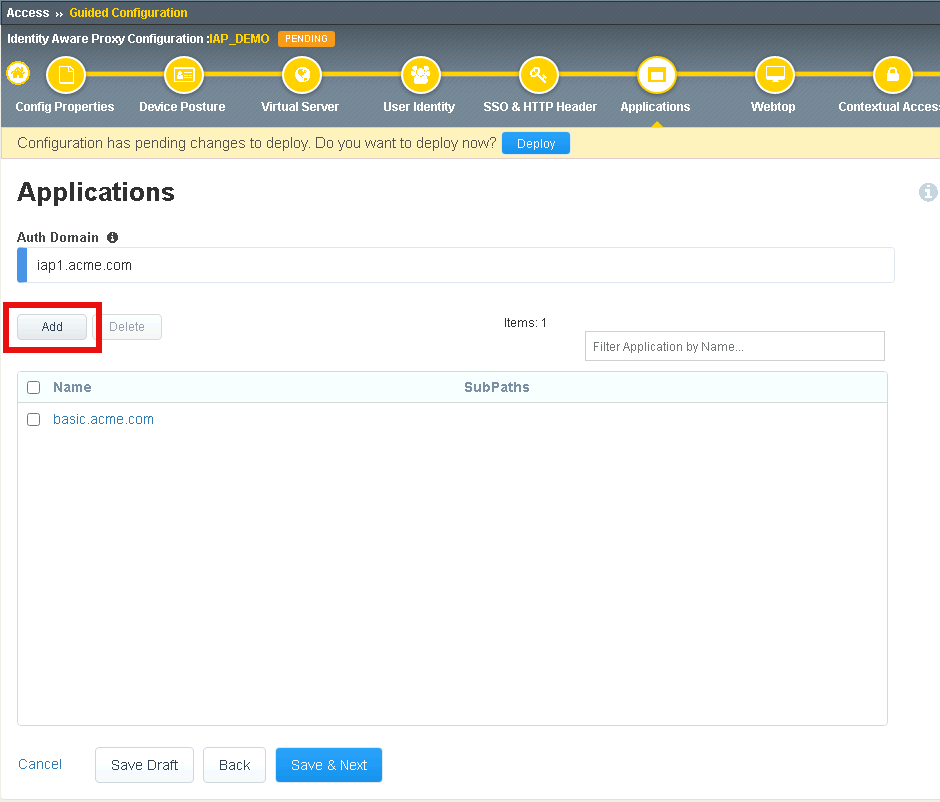
Section 2.4 - Applications
In this section you will define a second application with subpaths.
Task 1 - Configure Application header.acme.com
Click Add to create a new application
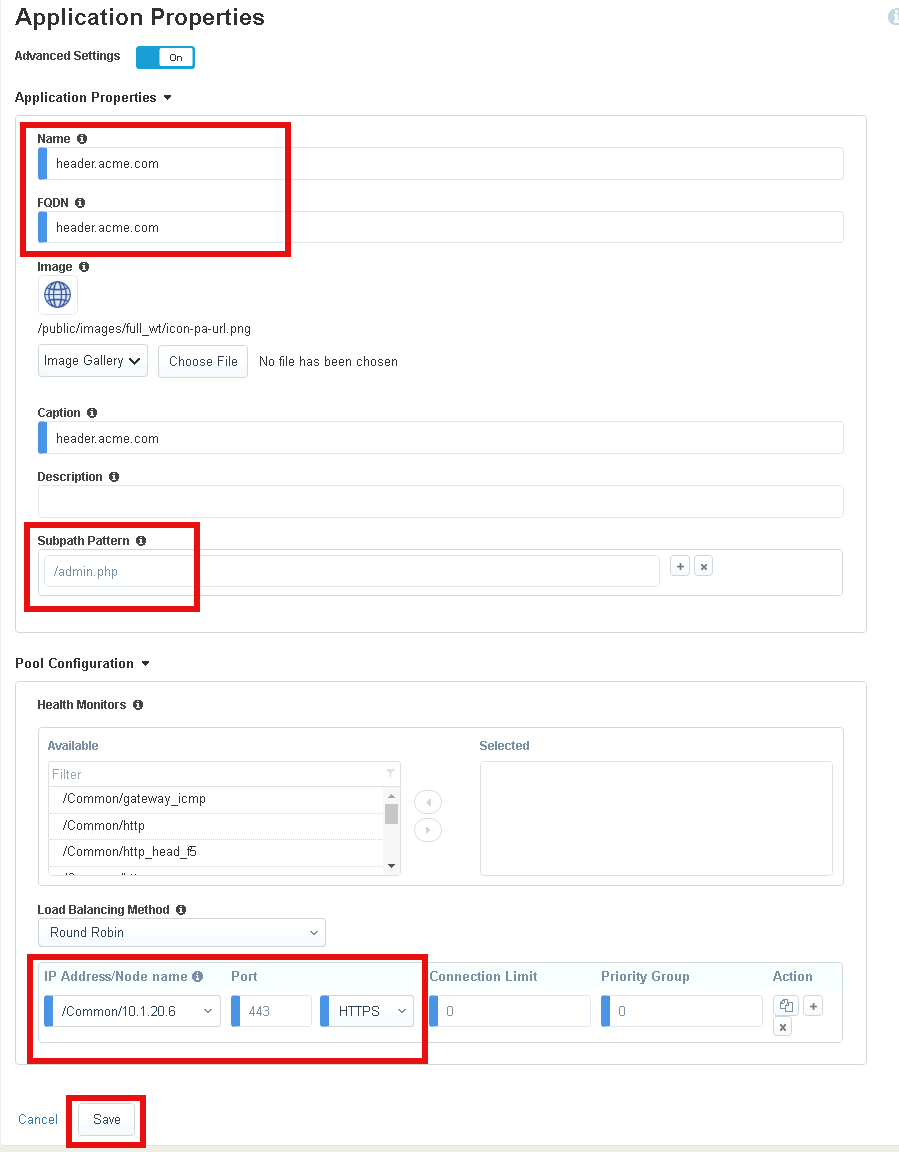
Toggle Advanced Setting to ON in the top left corner to see additional properties
Enter Name header.acme.com
Enter FQDN header.acme.com
Enter Subpath Pattern /admin.php
Under Pool Configuration, you will create a node by entering 10.1.20.6 in the IP Address/Node name field. Note This may already exist in the drop down menu.
Verify the pool member properties of Port 443 and Protocol HTTPS
Click Save
Note
Subpaths are used in Application Groups to define contextual access on portions of an application (separate from the default contextual Access Policy). If necessary, an application can be split up into multiple Application Groups to meet an organization’s access control needs.
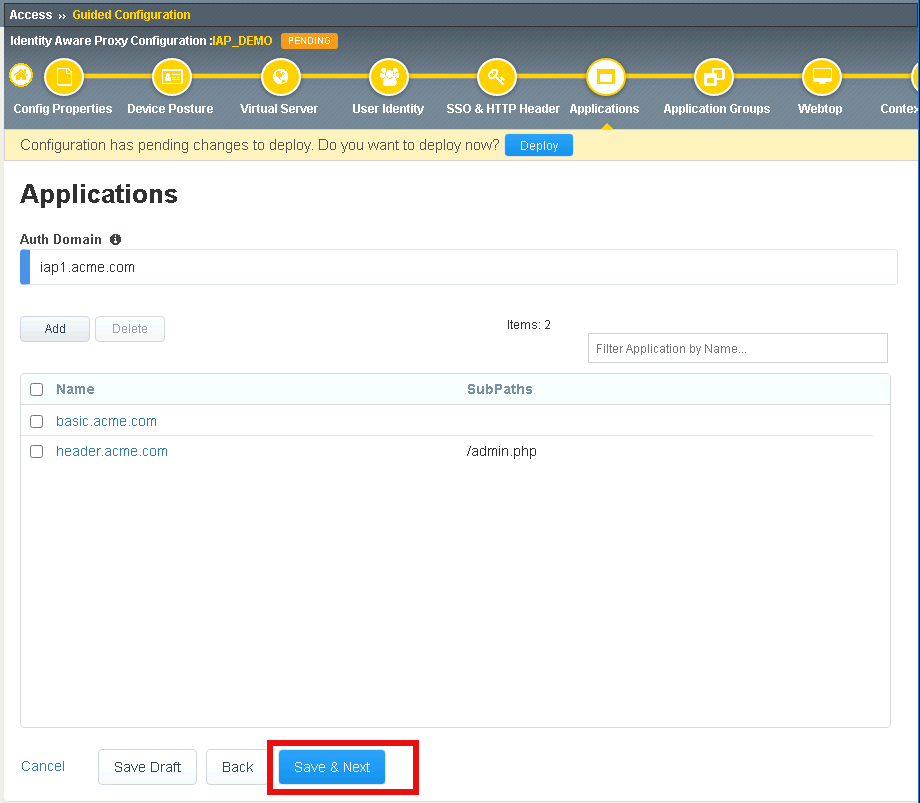
Verify header.acme.com was created and click Save & Next
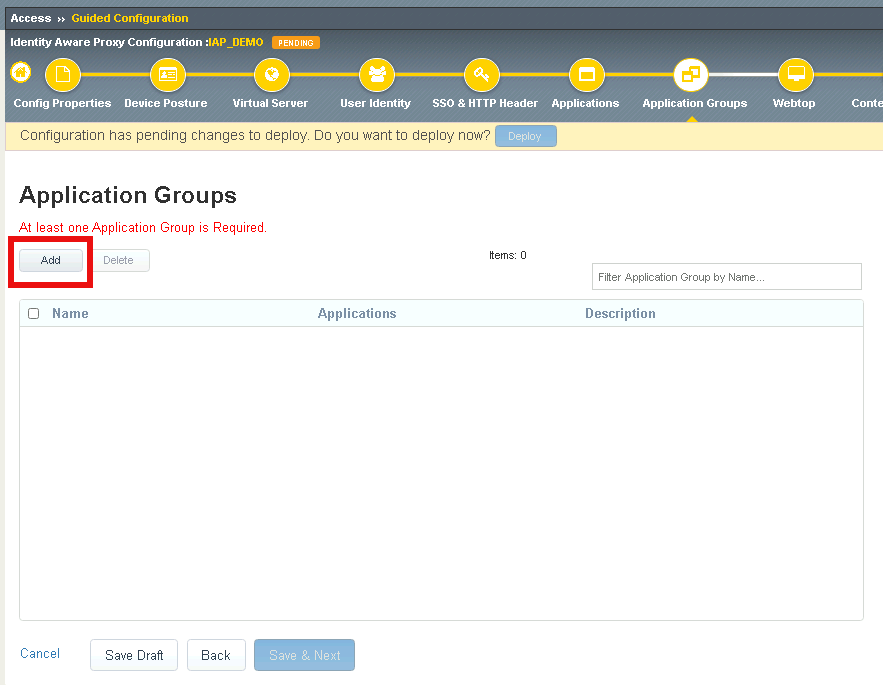
Section 2.5 - Application Groups
In this section you will configure two Application groups to enforce different policies on parts of the header.acme.com website.
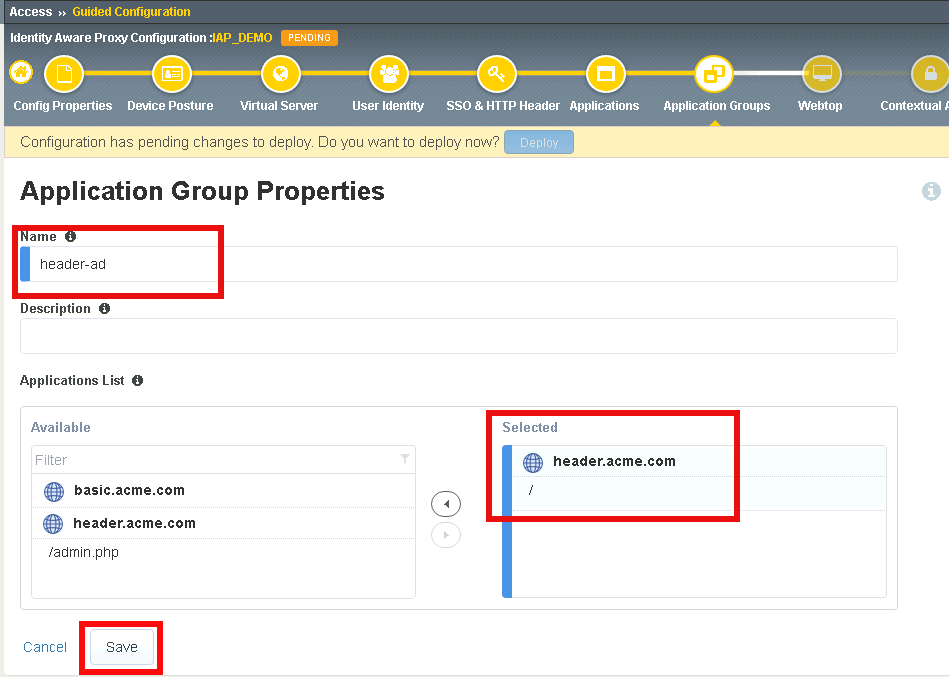
Task 1 - Create header-ad Group
- Click Add
Enter Name header-ad
Under Applications List, select / and click the arrow to move it into the Selected box
Click Save
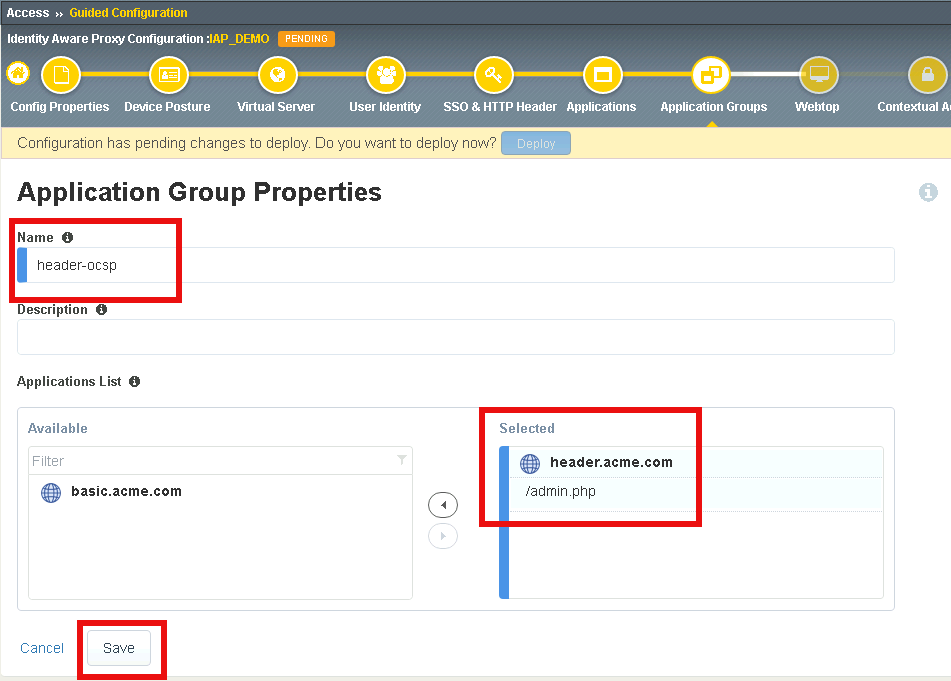
Task 2 - Create header-ocsp Group
Click Add to create a second application group

Enter Name header-ocsp
Under Applications List, select /admin.php and click the arrow to move it into the Selected box
Click Save
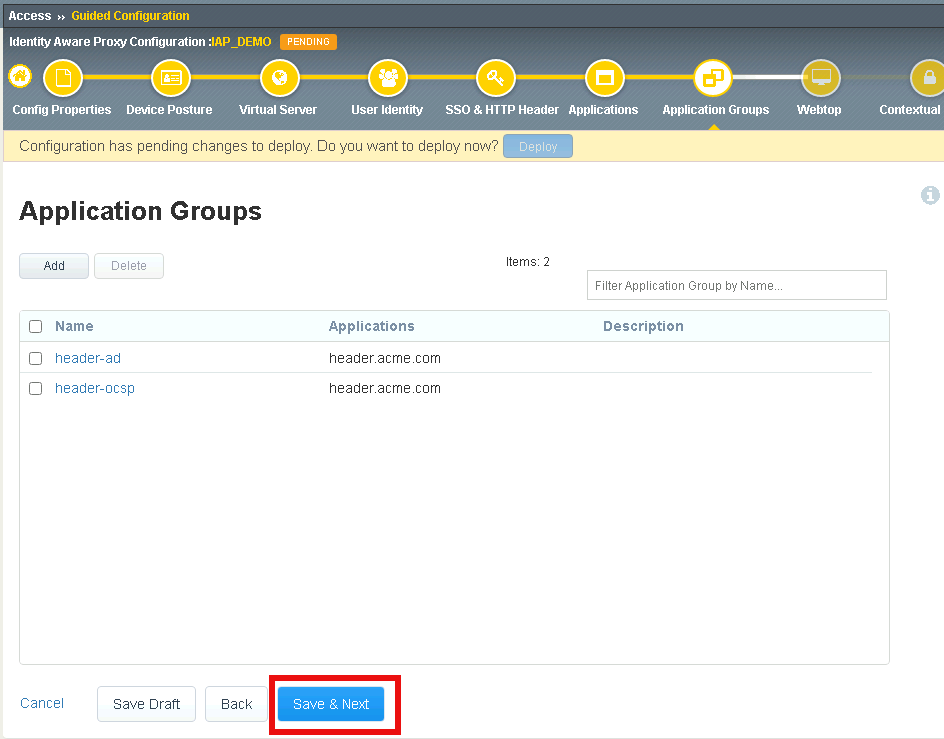
Verify both applications groups have been created.
Click Save & Next
Section 2.6 - Webtop
In this section you will verify that two applications are added to the Webtop Sections
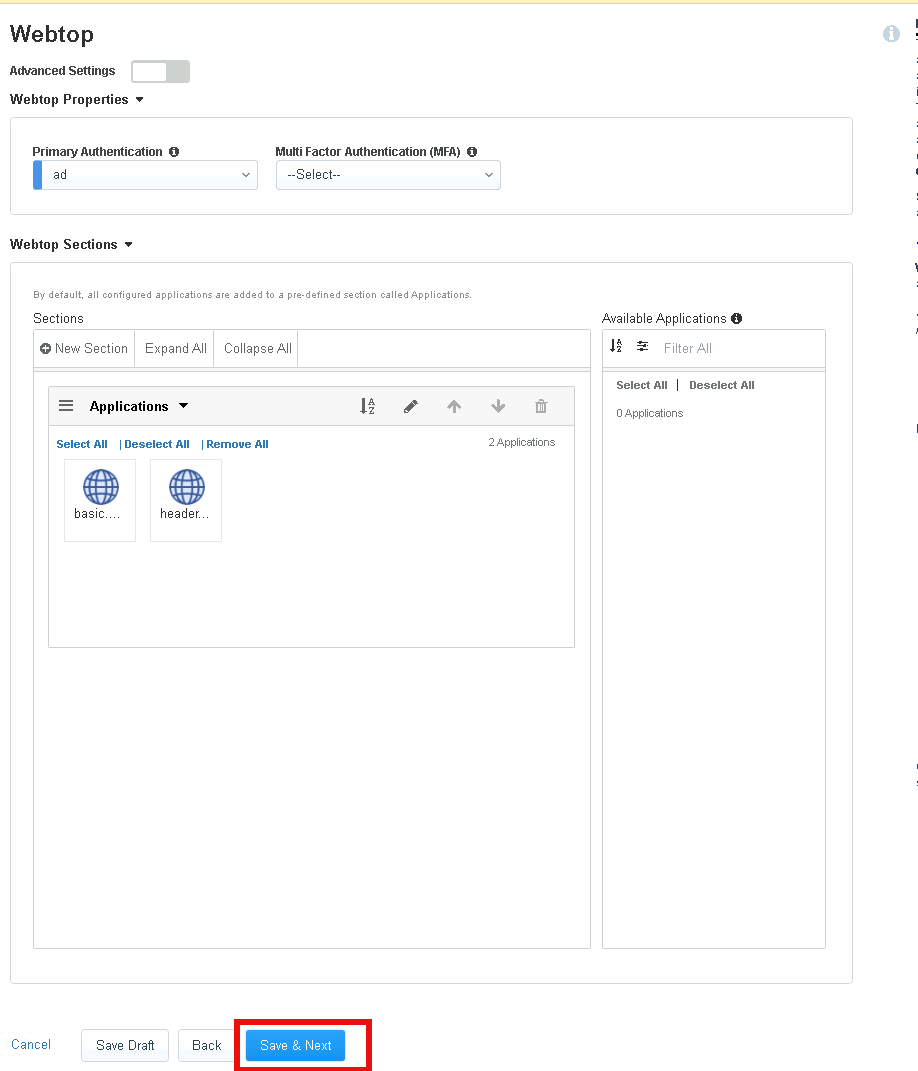
Task 1 - Verify applications
Ensure that both applications are listed under Webtop Sections and click Save & Next
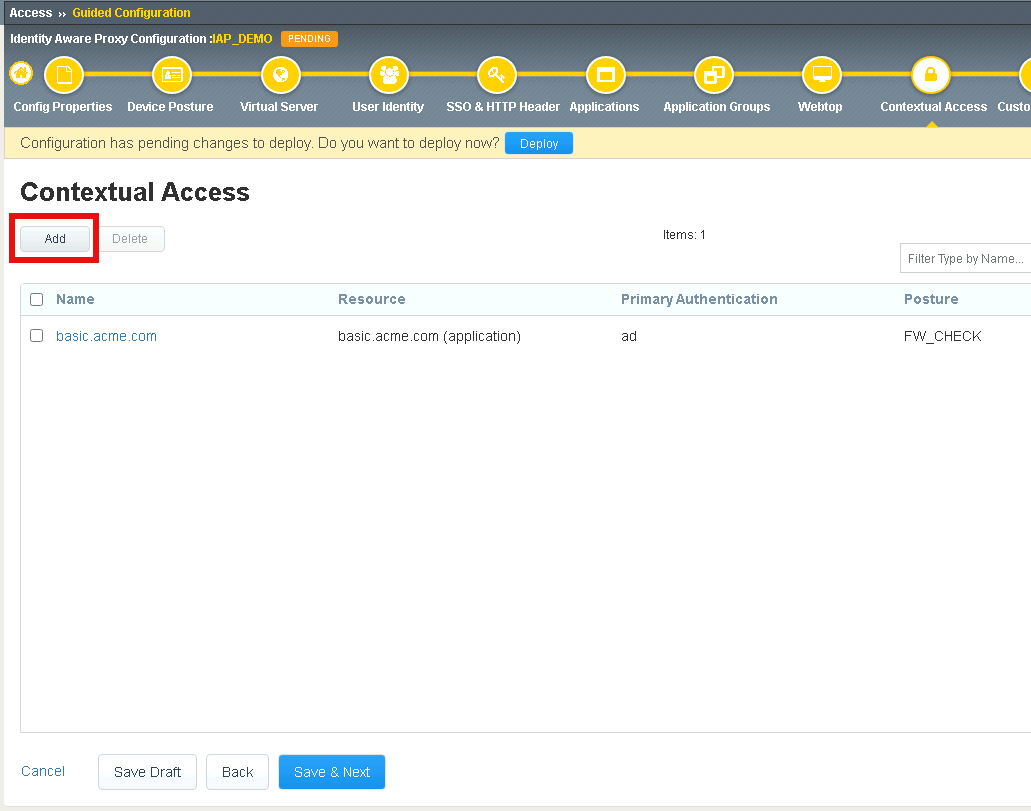
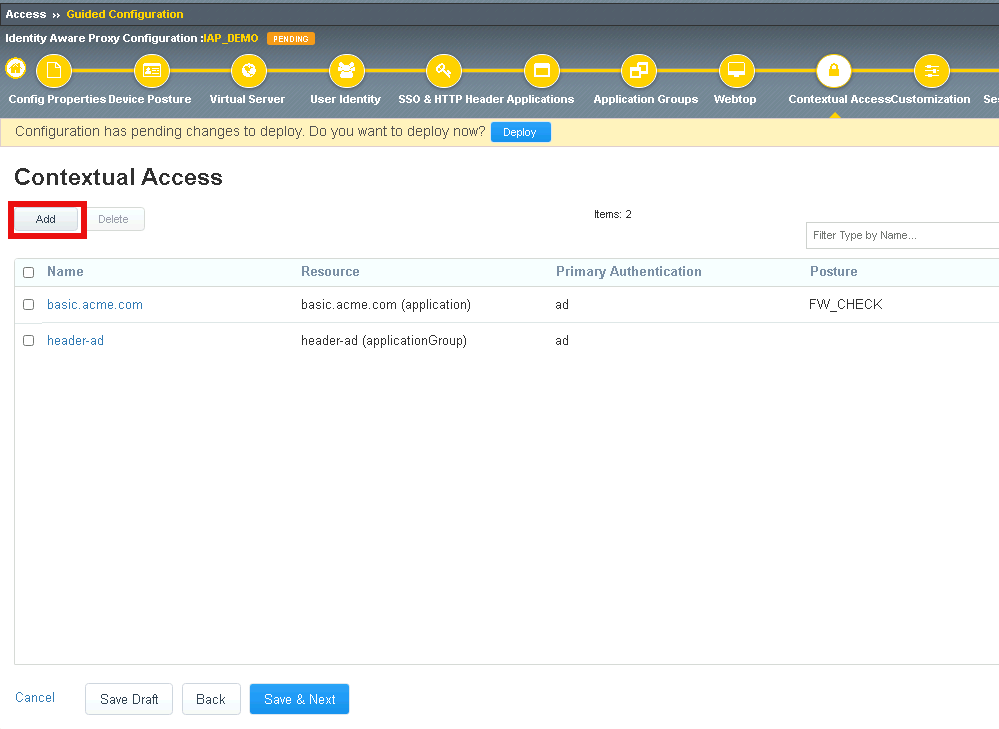
Section 2.7 - Contextual Access
In this section you will configure Contextual Access for the previously created Application Groups
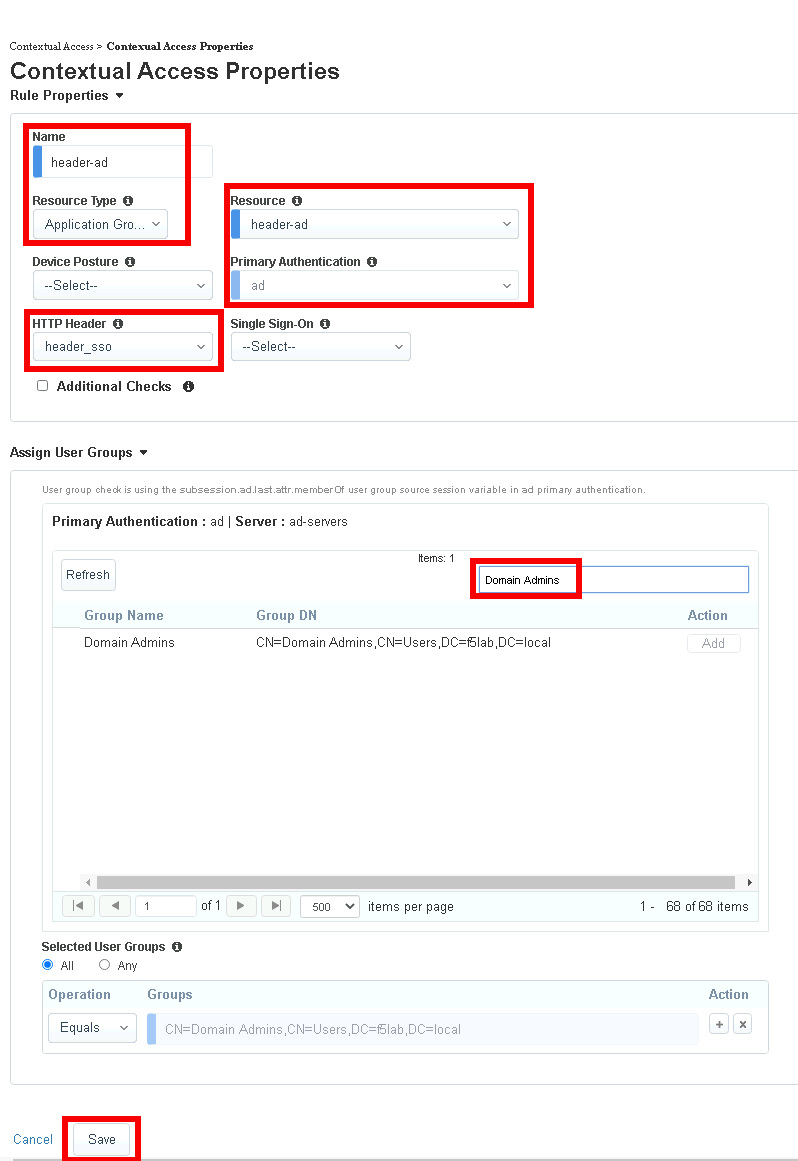
Task 1 - Configure Contextual Access for header_ad Group
Click Add
Enter Name header-ad
Select Application Group from the Resource Type dropdown
Select header-ad from the Resource dropdown
Select ad from the Primary Authentication dropdown
Select header_sso from the HTTP_Header dropdown
Enter Domain Admins in the Primary Authentication filter Group Name
Click Add beside Domain Admins
Click Save
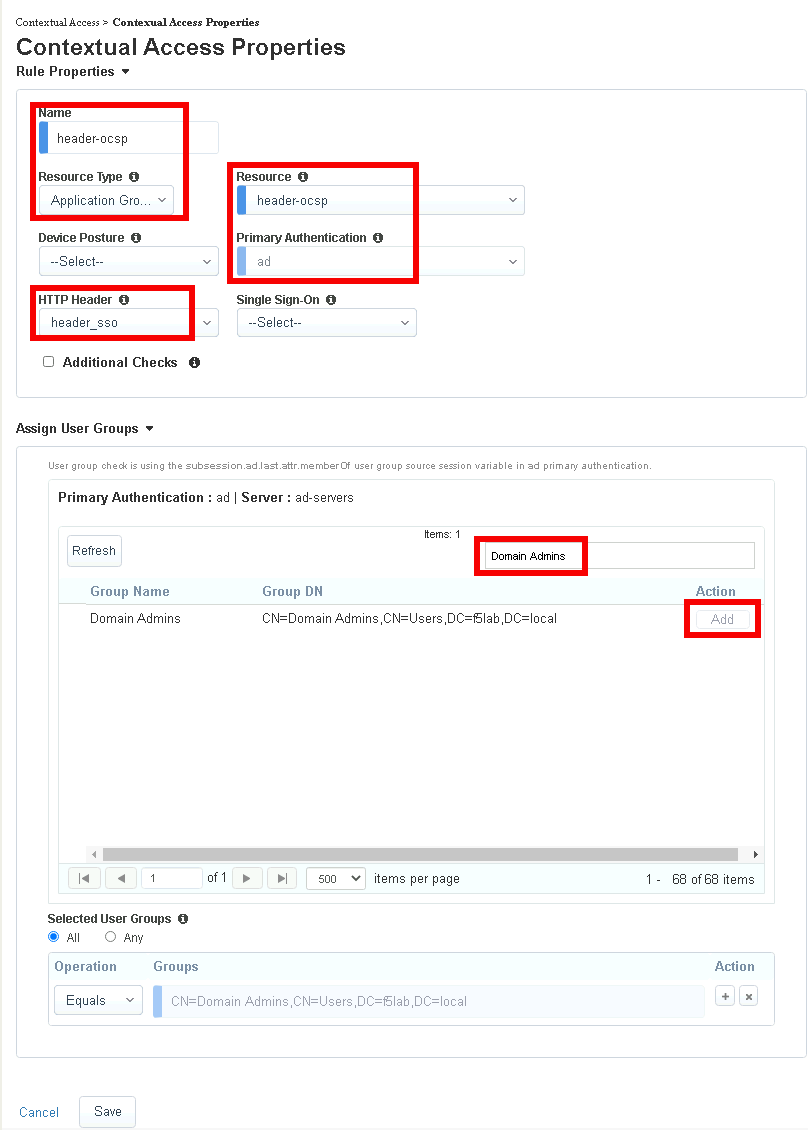
Task 2 - Configure Contextual Access for header-ocsp Group
Click Add
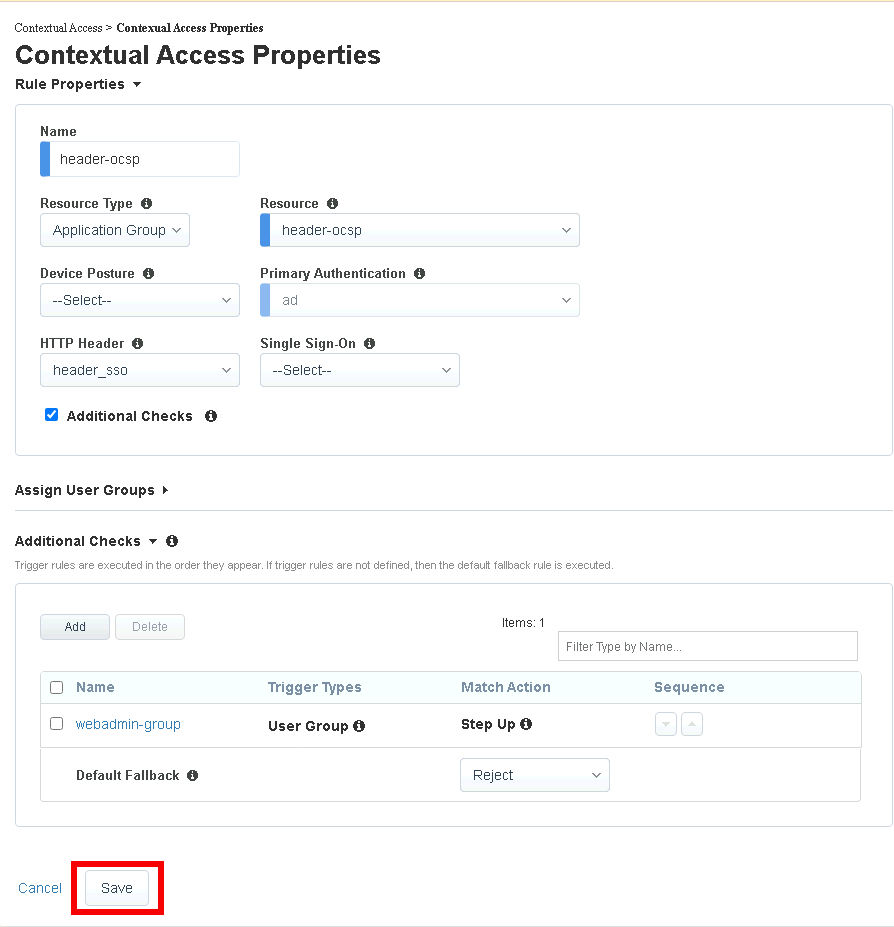
Enter Name header-ocsp
Select Application Group from the Resource Type dropdown
Select header-ocsp from the Resource dropdown
Select ad from the Primary Authentication dropdown
Select header_sso from the HTTP_Header dropdown
Enter Domain Admins in the Primary Authentication filter Group Name
Click Add beside Domain Admins
Check Additional Checks
Click Add under Additional Checks
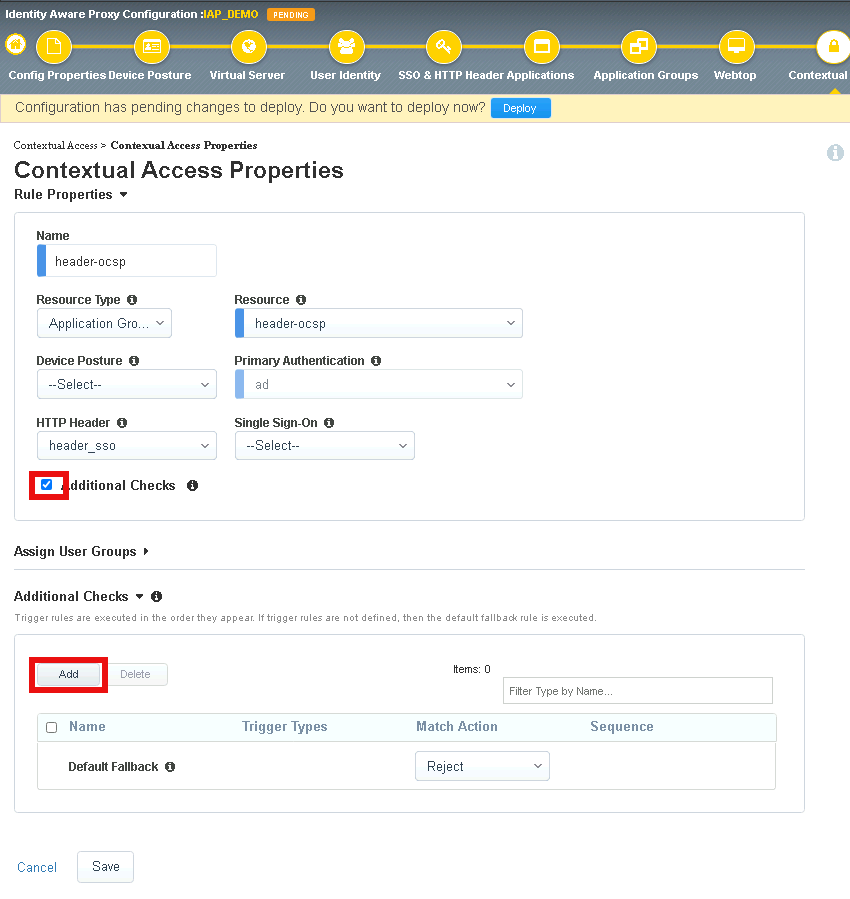
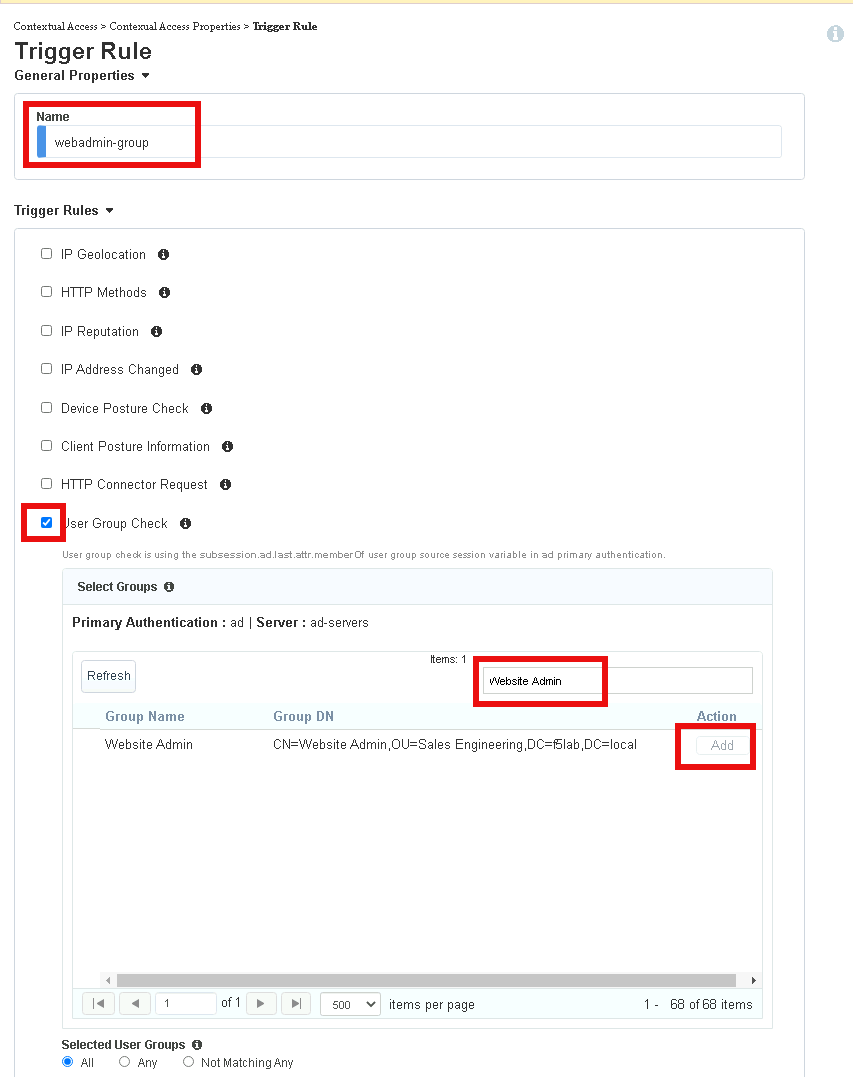
Enter Name webadmin-group
Check User Group Check
Enter Website Admin in the Primary Authentication filter Group Name
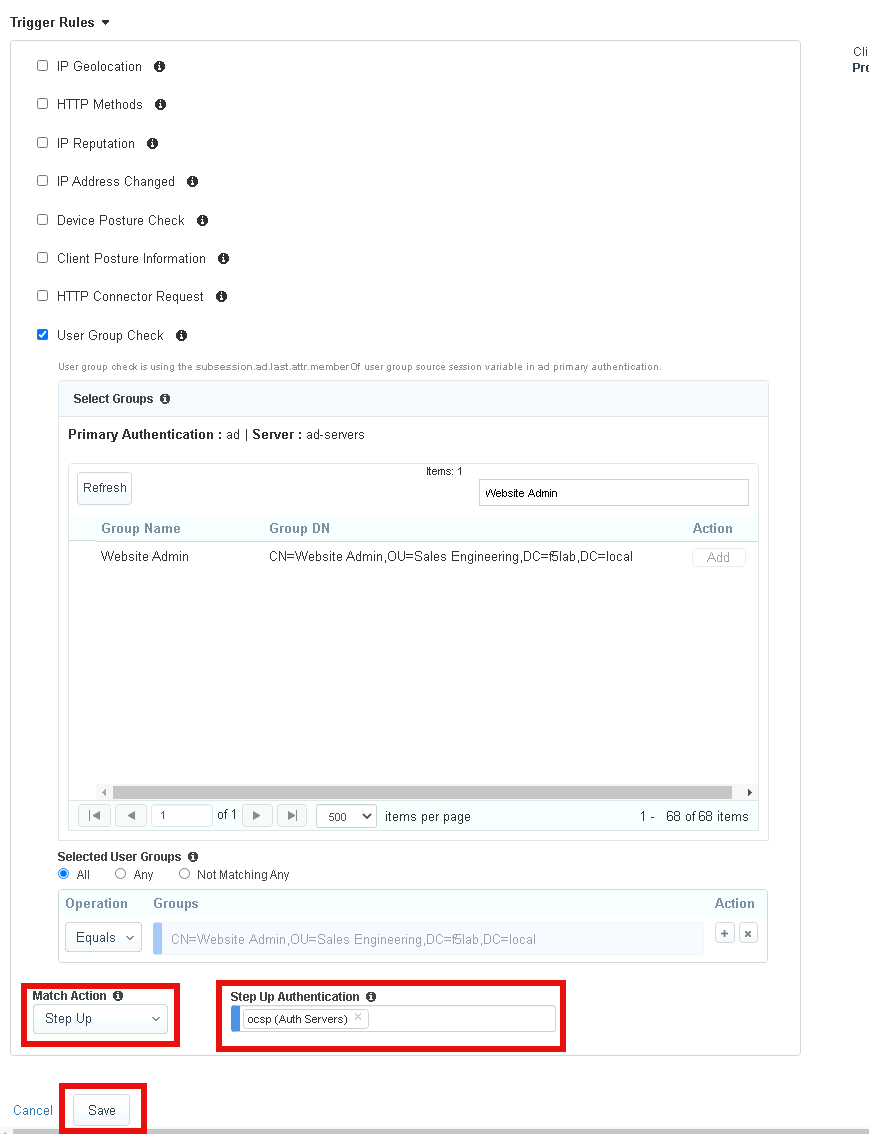
Click Add beside Website Admin
Select Step Up from the Match Action dropdown
Select ocsp from the Step Up Authentication dropdown
Click Save
Click Save again to save the Contextual Access Properties for ocsp-header
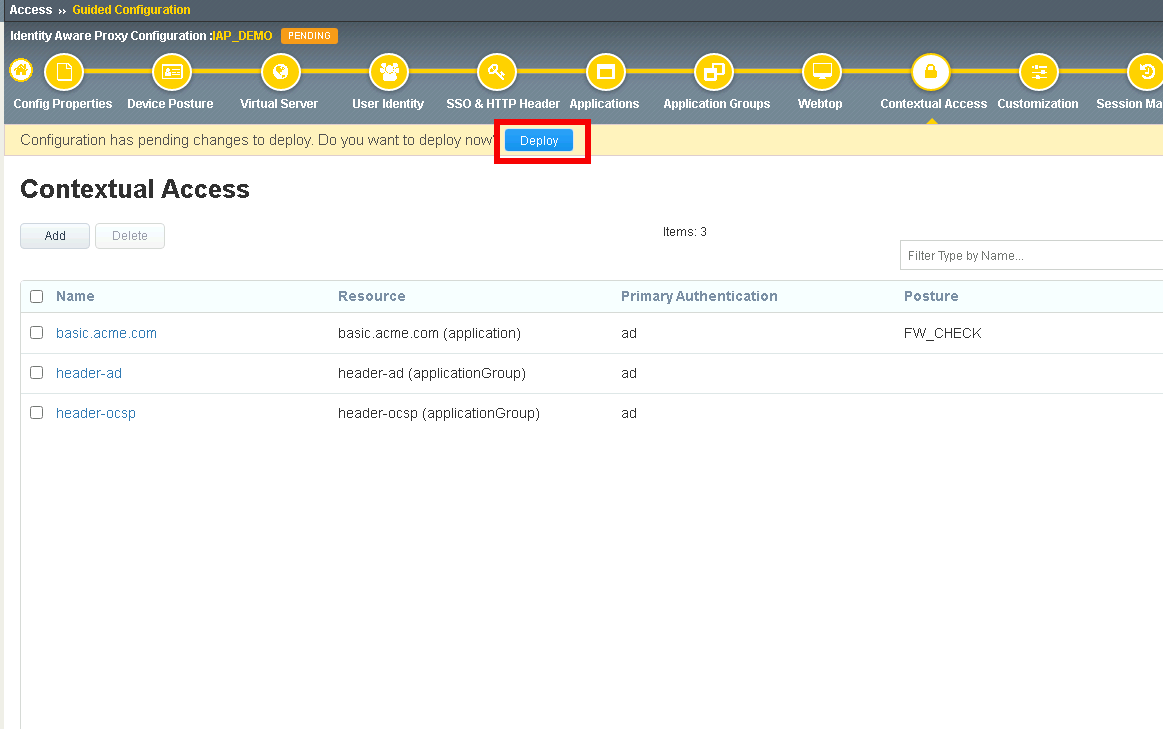
Click Deploy located under the ribbon. Deployment will take a few moments.
Section 2.8 - Testing
In this section you will use user1’s credentials to default website header.acme.com. However, when you attempt to access the admin page you will be prompted for certificate based authentication. After a successful login you will close your browser and login to default website using user2’s credentials. User2 will be denied due to not having the correct AD groups.
Warning
You must use Firefox for testing!
Task 1 - Login to header.acme.com using user1
Open Firefox
Access the site https://iap1.acme.com
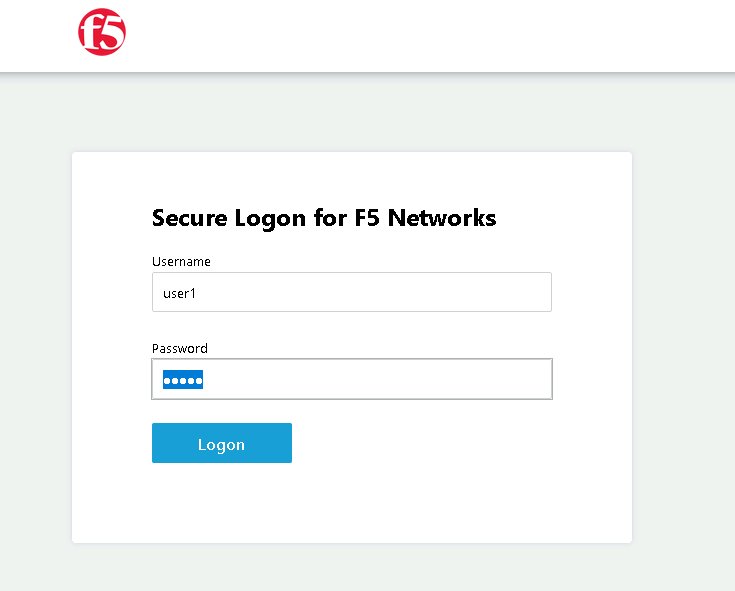
At the logon page enter the Username: user1 and Password: user1
Click Logon
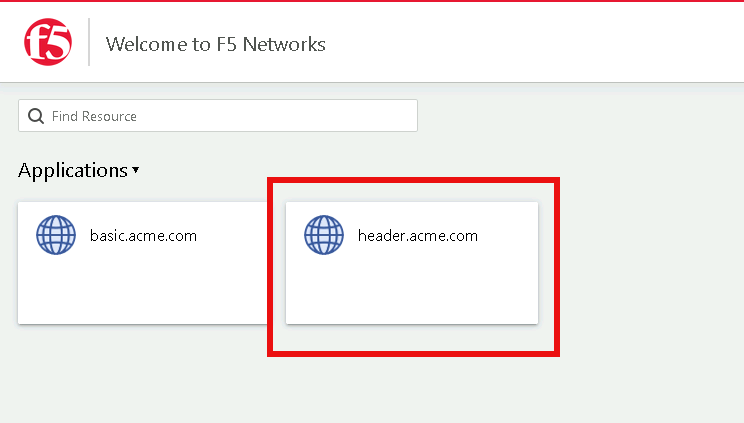
Click the header.acme.com tile
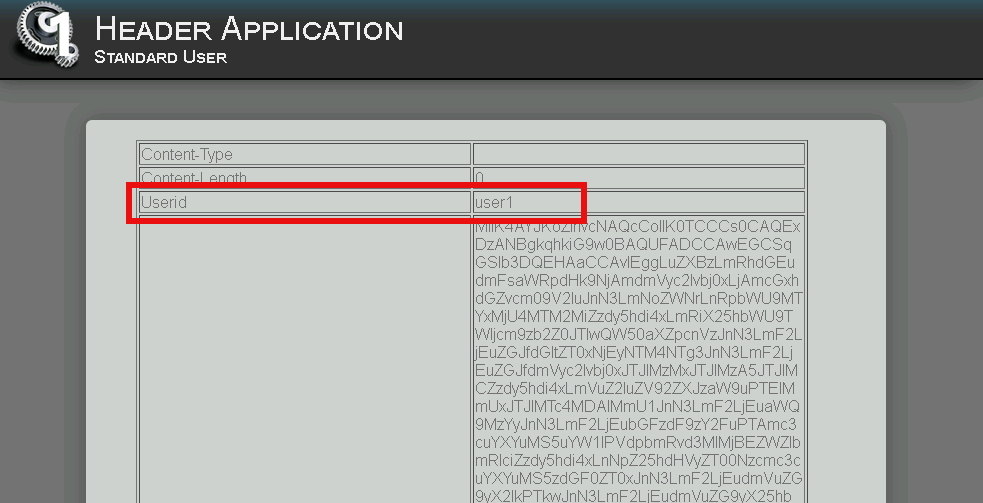
Notice the custom header UserID has a value of user1
Access the admin portion of the website https://header.acme.com/admin.php
Select the certificate user1
Click OK
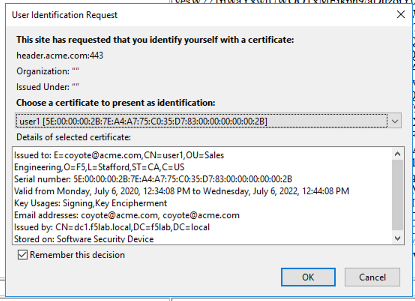
You should be successfully logged into the admin portion of the site.

Close the browser completely.
Task 2 - Login to header.acme.com using user2
Open a new browser window.
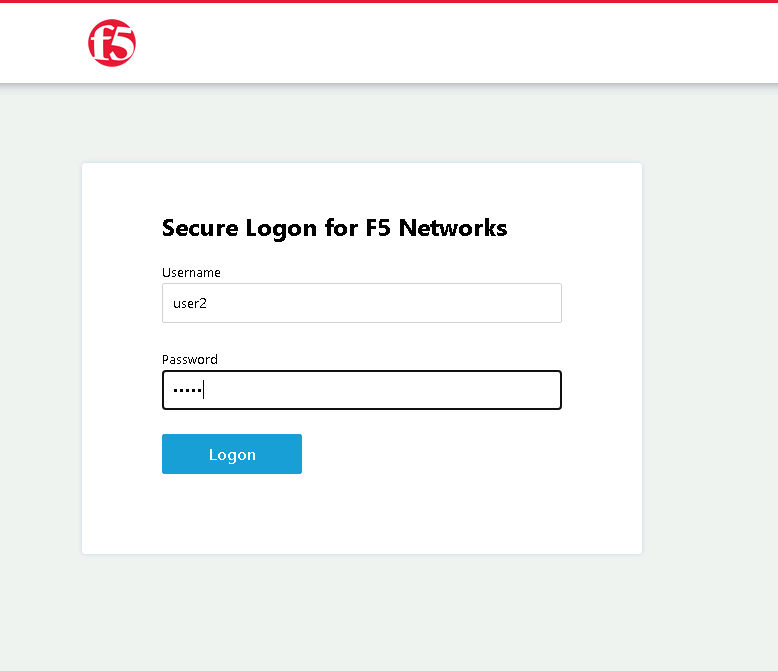
Access the site https://iap1.acme.com
At the logon page enter the Username: user2 and Password: user2
Click Logon
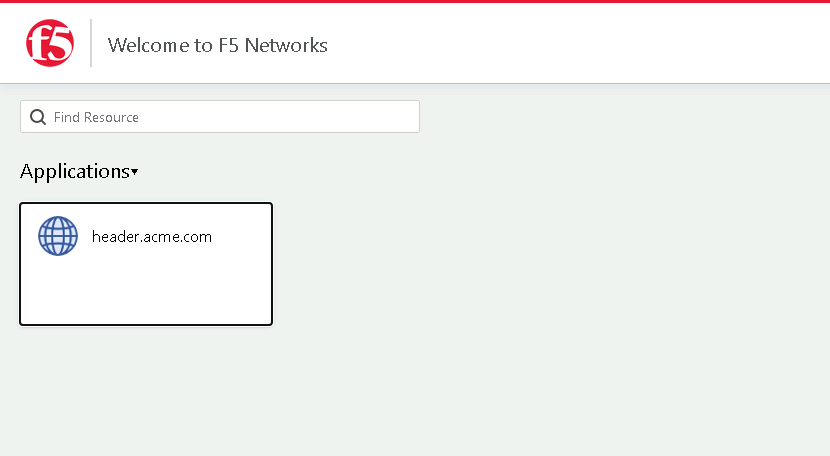
Notice the missing basic.acme tile. User2 is not a member of the required group Sales Engineering to view the application
Click the header.acme.com tile
Notice the custom header UserID has a value of user2
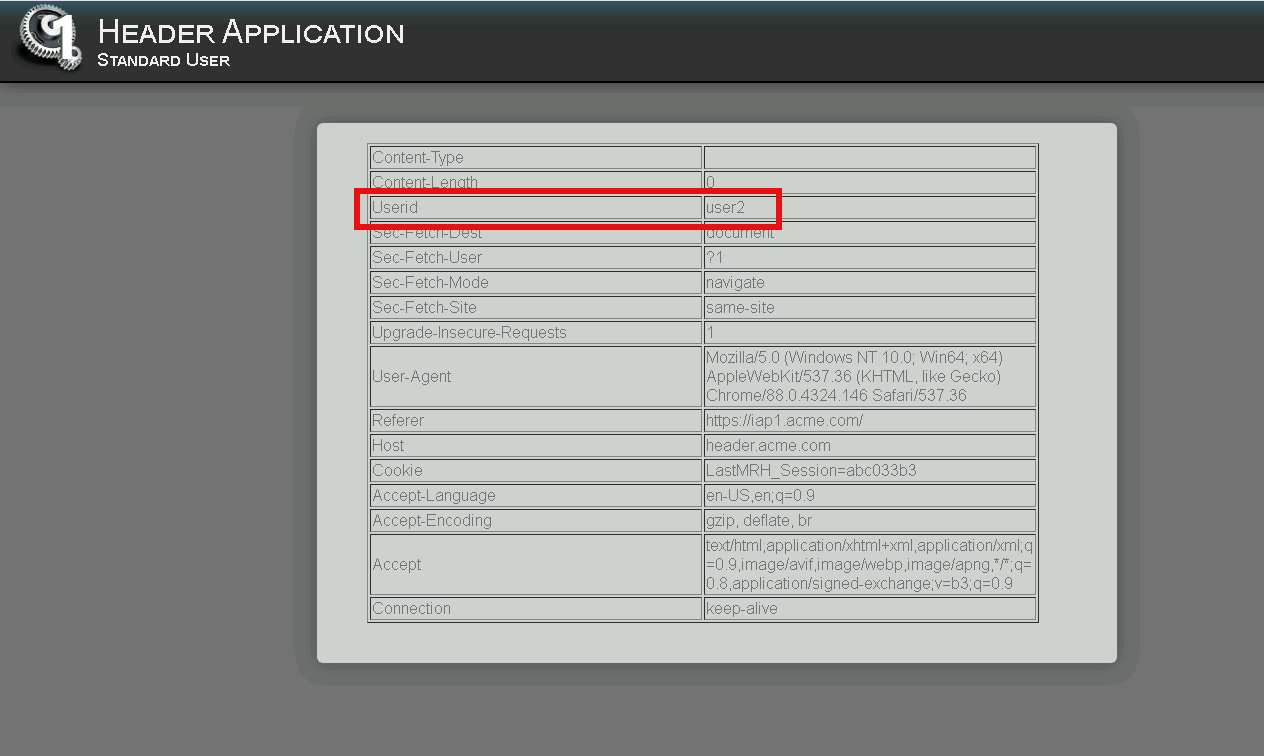
Access the admin portion of the website https://header.acme.com/admin.php
You receive a Access Denied page due to not having the correct group membership Website Admin

This concludes lab 2.