F5 Identity and Access Management Solutions > 300 Series: Advanced Use Cases & Solutions Source | Edit on
Lab 2: Access Policy Manager HTTP Connector with Open Policy Agent
HTTP Connector is a feature in BIG-IP Access Policy Manager that allows BIG-IP APM to make HTTP requests to another resource to update information or make additional access decision to a resource. This lab demonstrates using HTTP Connector with Open Policy Agent to enforce fine-grained user access policies.
The HTTP Connector is made up of two parts. The first part is called the HTTP Connector Transport, and it defines settings related to SSL, DNS, timeouts, and payload sizes. The second part is the HTTP Connector Request which contains specific details such as HTTP Method, URL, message body, and how to handle the HTTP responses.
The following tasks will be walked through or configured by the lab attendee:
Task 1 - Create a Per-Session Policy
Task 2 - Create HTTP Connector Transport
Task 3 - Create HTTP Connector Request
Task 4 - Create a Per-request policy
Task 5 - Create a Virtual Server
Task 6 - Test the policy
Expected time to complete: 40 minutes
Task 1 - Create a Per-Session Policy
You will create a Per-Session Policy that allows all access. This allows us to establish a session for connectivity and then apply a more granular per-request policy to process the authentication and authorization to the individual applications.
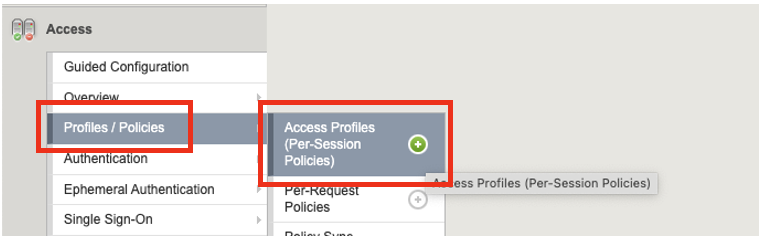
In the BIG-IP GUI –> Click on Access –> Click on Profiles/Policies –> Click Access Profiles (Per-Session Policies)
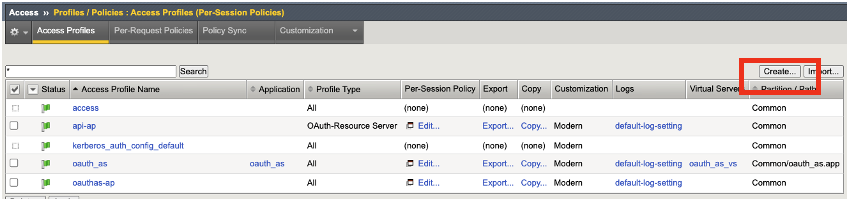
Click Create
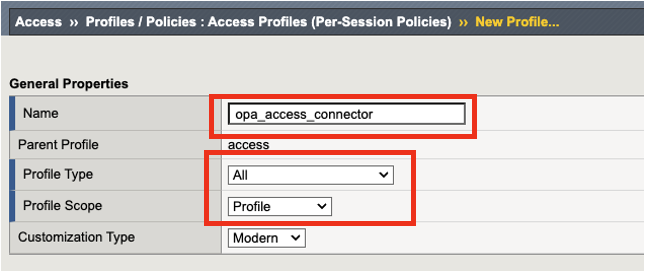
In the new Per-Session policy, add the following configurations:
Name: opa_access_connector
Profile: All
Profile Scope: Profile
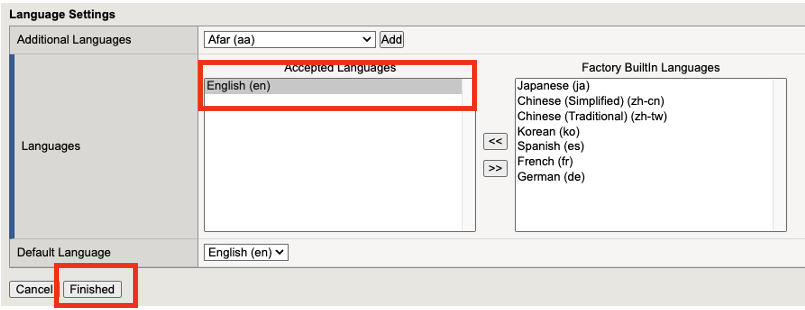
Language Settings: Select English and move it to left (scroll down to the bottom of the page)
The rest of the settings, we will keep the default settings. Click Finished.
Edit the Per-Session policy to allow all access

In the Visual Policy Editor –> Click Deny Ending, and change it to Allow –> Click Save
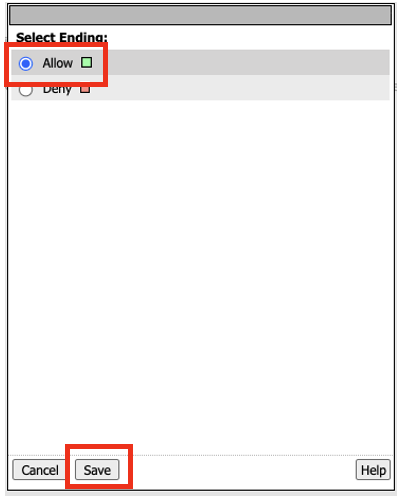
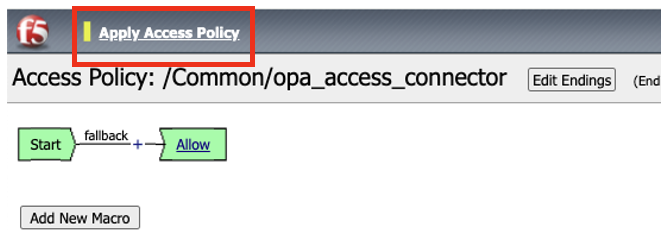
The policy should look the like the diagram below. Click on the Apply Access Policy button at the top left hand corner. Close the policy using the green Close button at the top right hand corner
Task 2 - Create HTTP Connector Transport
You will create an HTTP Connector Transport profile to provide connection details such as DNS.
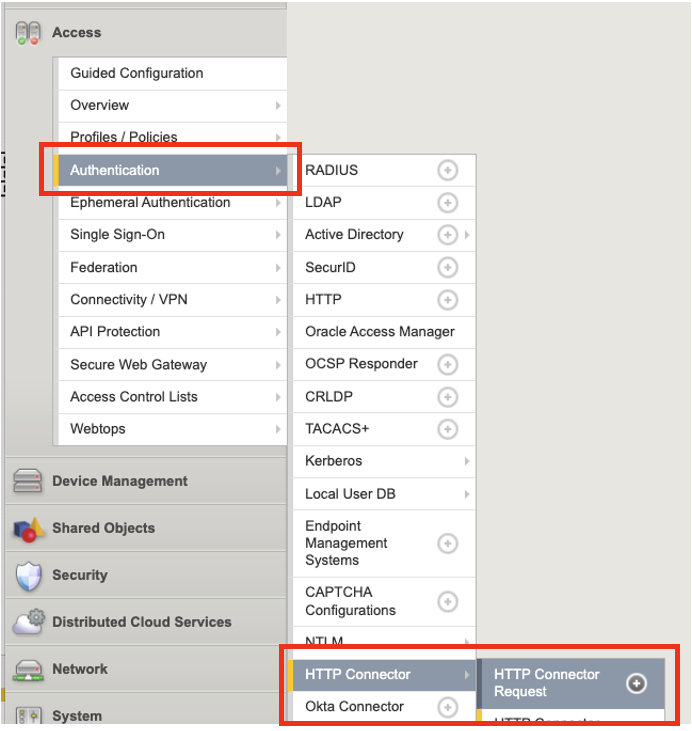
Click on Access –> Click on Authentication –> Click on HTTP Connector –> Click on HTTP Connector Transport
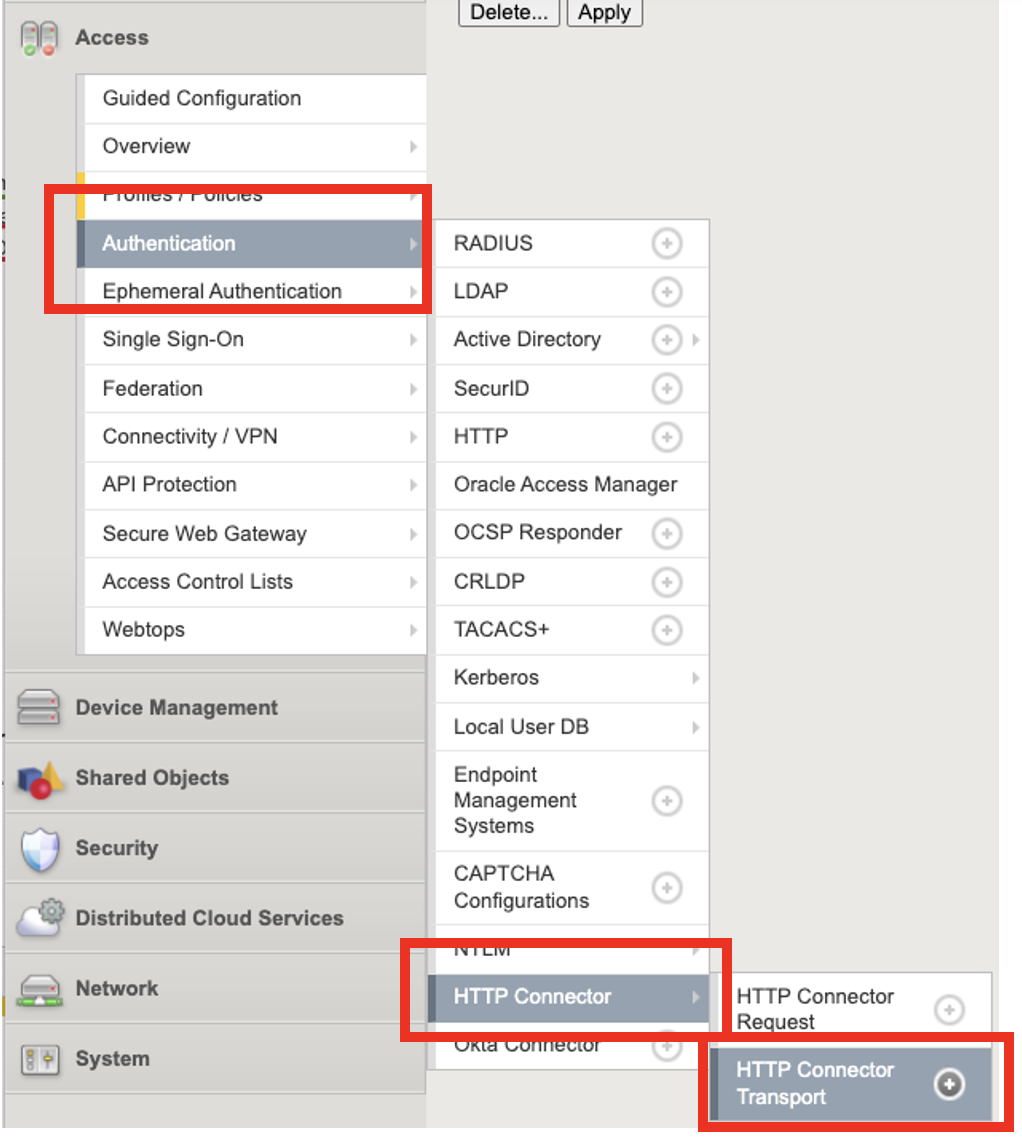
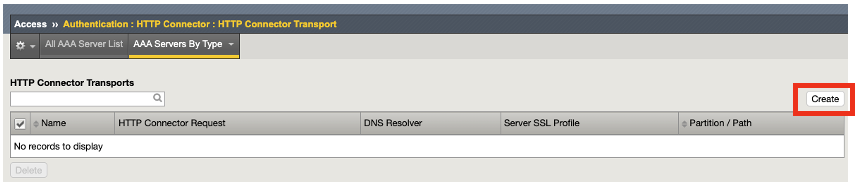
Click on Create button at the right-hand corner
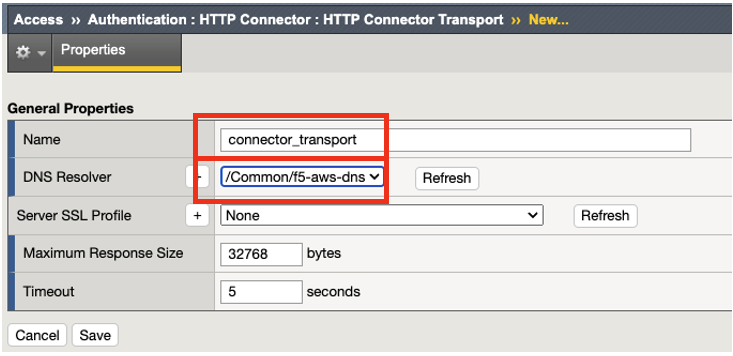
In the new HTTP Connector Transport Properties, set the following configurations:
Name: connector_transport
DNS Resolver: select /Common/f5-aws-dns from the drop down list
Keep the default settings for the rest of fields, and click Save.
Task 3 - Create HTTP Connector Request
You will create an HTTP Connector Request profile to define the queries that will be sent to the HTTP server, and how to handle the response.
Click on Access –> Click on Authentication –> Click on HTTP Connector –> Click on HTTP Connector_Request
Click on Create

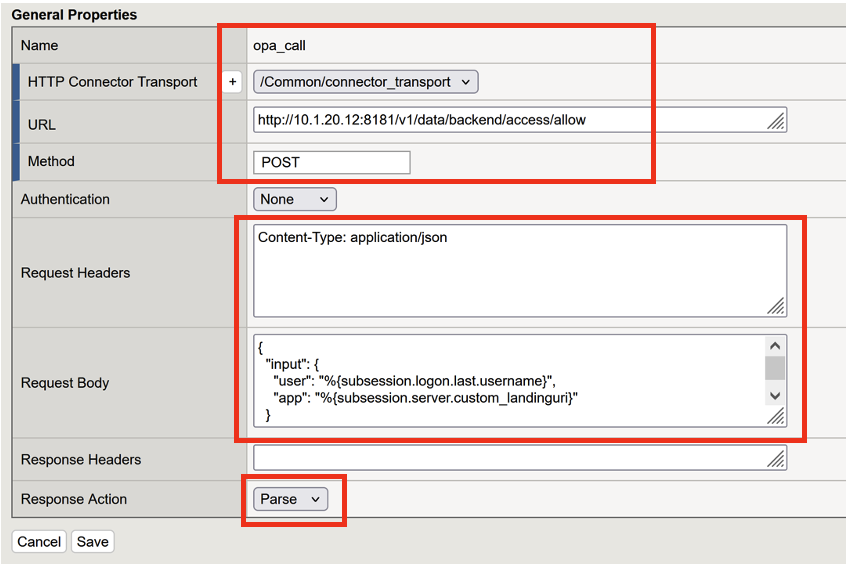
Under General Properties, set the following configurations:
Name: opa_call
HTTP Connector Transport: select /Common/connector_transport from the drop list
URL: http://10.1.20.12:8181/v1/data/backend/access/allow
Method: POST
Request Headers: Content-Type: application/json
Request Body:
Insert the following into the Request Body.
{

   "input": {

   "user": "%{subsession.logon.last.username}",

   "app": "%{subsession.server.custom_landinguri}"

   }

}
Response Action: Select Parse from the drop down list
Click Save
Task 4 - Create a Per-request policy
Now we will create a pre-request policy where we will define the logon page, define the authentication server, and the HTTP Connector.
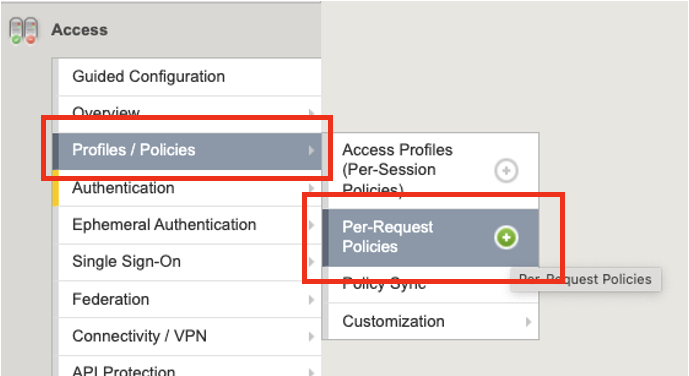
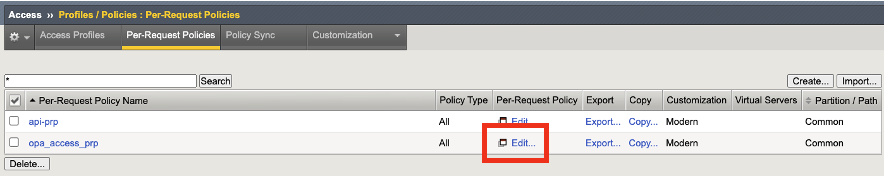
Click on Access –> Click on Profiles / Policies –> Click on Per-Request Policies
Click Create

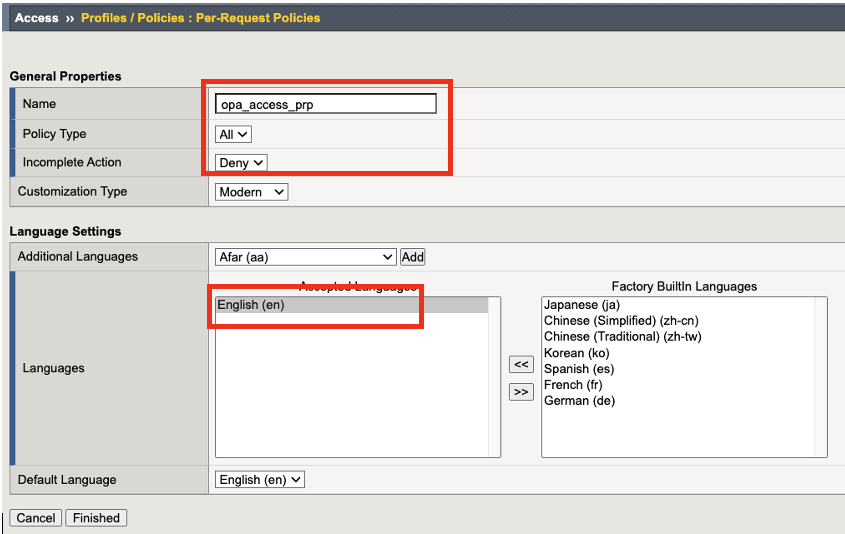
In the new Per-Request policy, set the following configurations.
Name: opa_access_prp
Policy Type: All
Incomplete Action: Deny
Language: select English, and move it under the Accepted Language column
Click Finished
Click on Edit
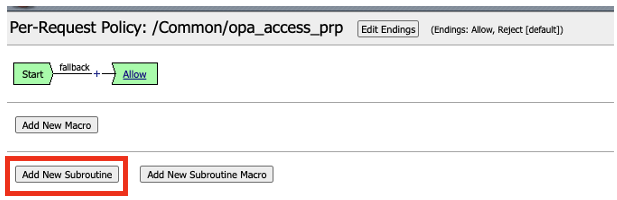
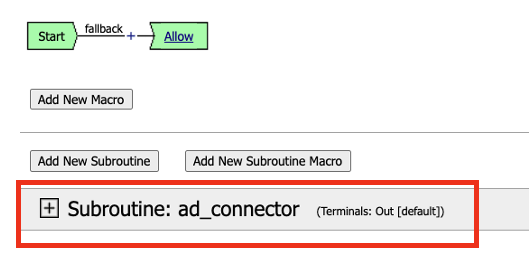
Create a subroutine for Logon, Authentication, and HTTP Connector. Click on Add New Subroutine
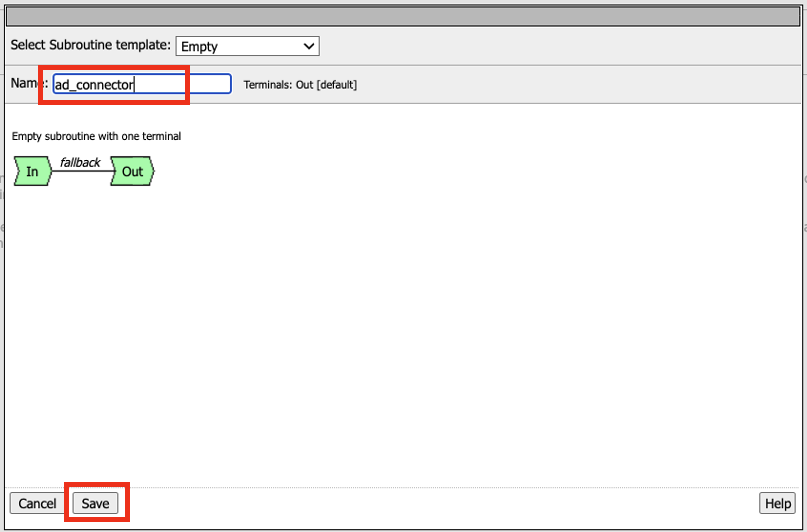
In the subroutine box type the name ad_connector and click Save
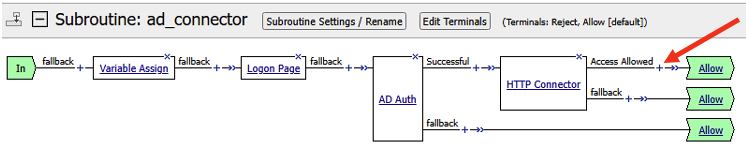
Expand Subroutine: ad_connector by click on the + sign
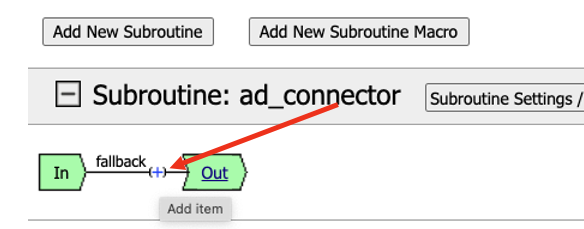
Click on the + sign to add a resource to the policy
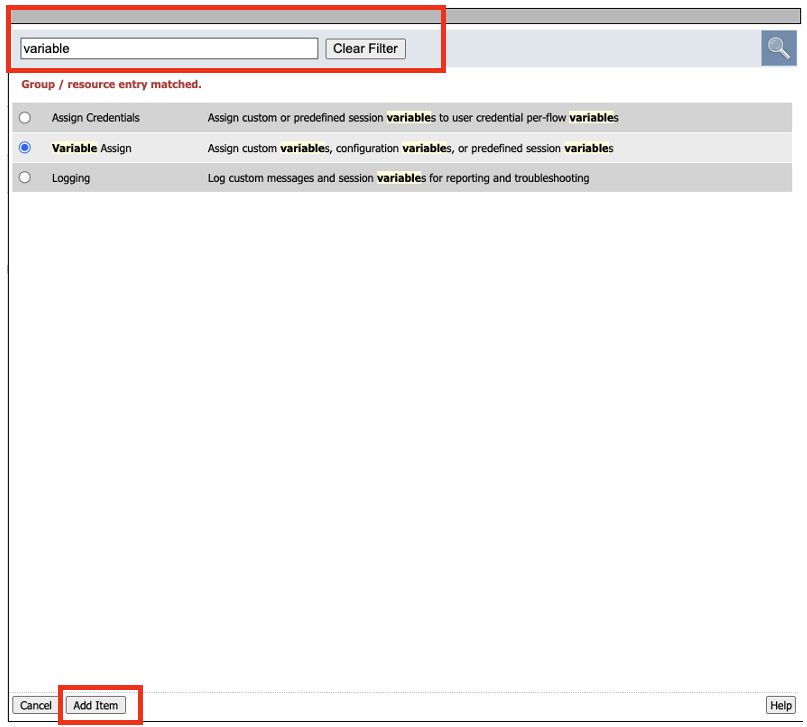
There are couple of ways to find Group/Resources to add to the Visual Policy Editor. This first method we’ll use the search feature. In the search box, type the word variable to search for “Variable Assign” resource. We will create a variable to retrieve the application uri into the per-request path.
Click on Variable Assign to select the resource, and click Add Item
- In the Variable Assign properties, click on Add new entry, and then click on change in the variable Assignment section.
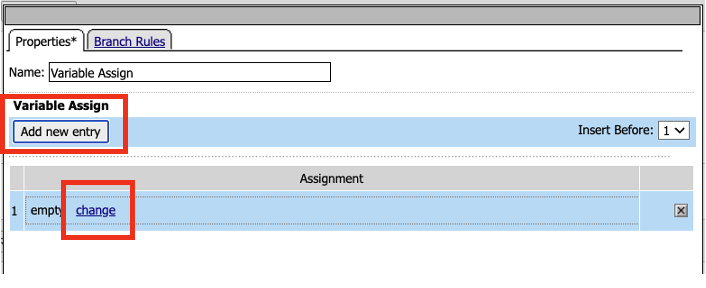
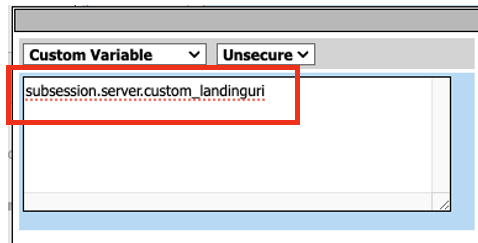
- In the Custom Variable box on the left-hand side type in the following variable
subsession.server.custom_landinguri
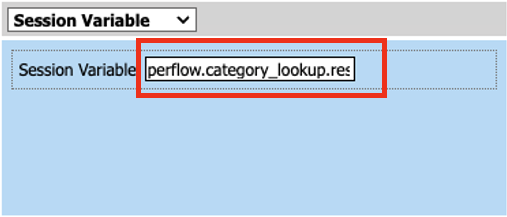
- In the Custom Expression box on the right-hand side click on the drop down box and select Session Variable, and enter the following variable
perflow.category_lookup.result.url
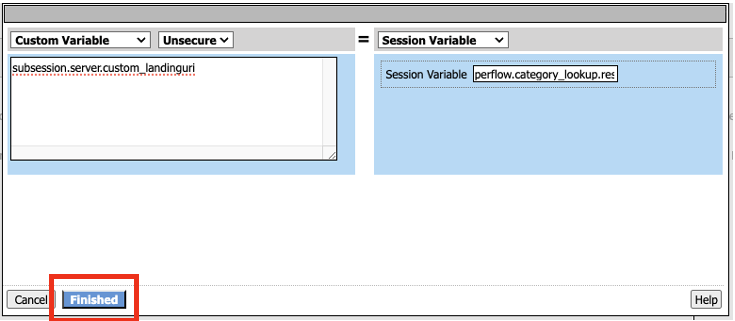
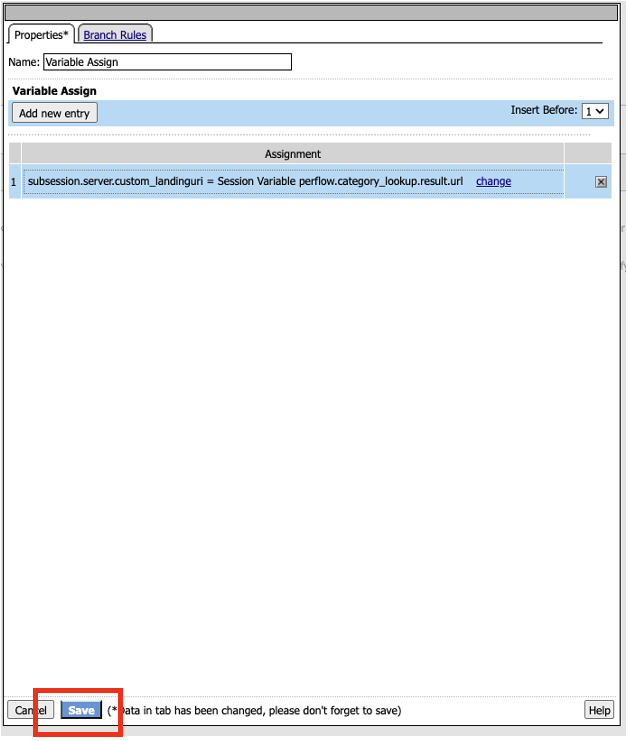
The finished variable should look like the following screenshot. Click Finished.
Click Save on the next window
- Click on the + sign located after Variable Assign to add another resource.

- Next we need to add an APM generated Logon Page for the per session policy. Click on Logon Page, and click Add Item.
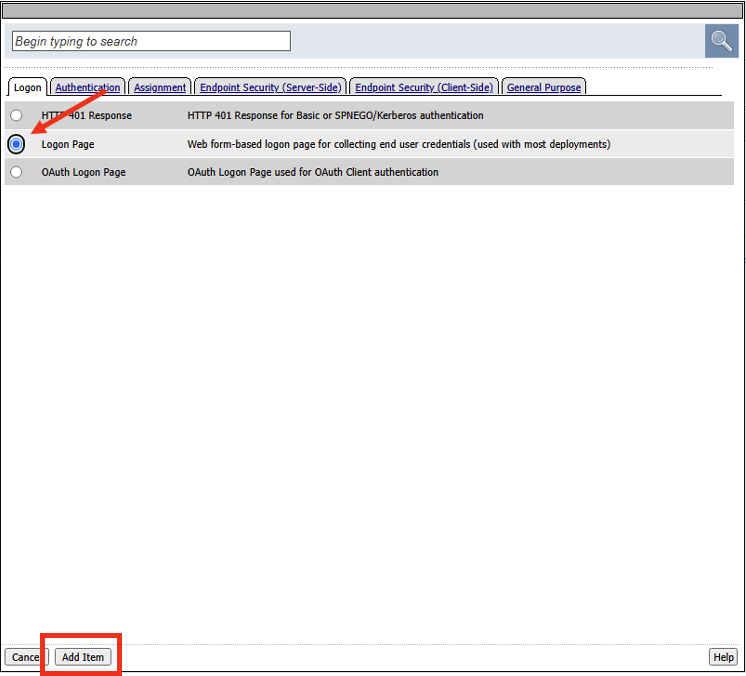
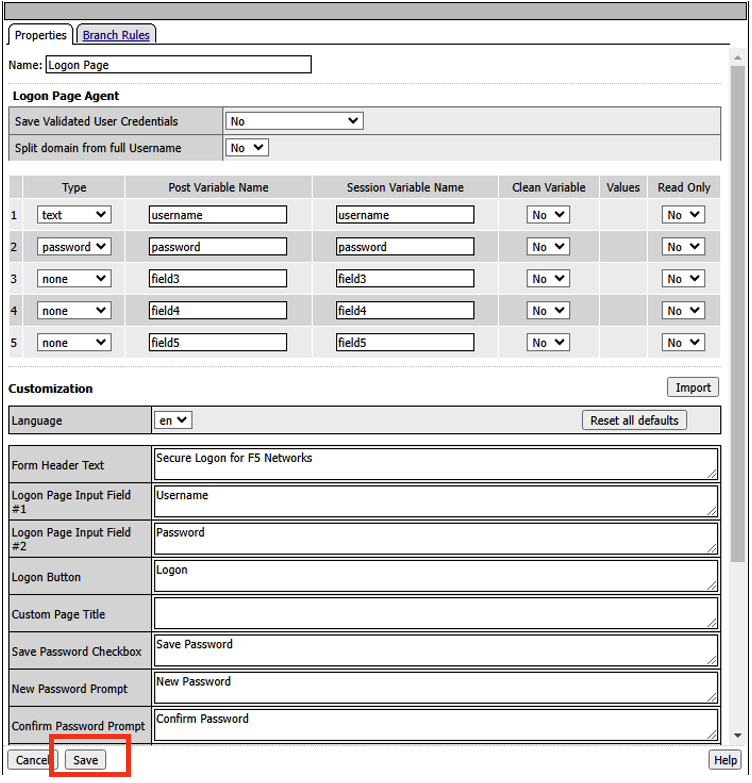
- In the Logon Page details we are prompting the user for their username, and password. Click Save.
- Click on the + sign located after Logon Page to add another resource.

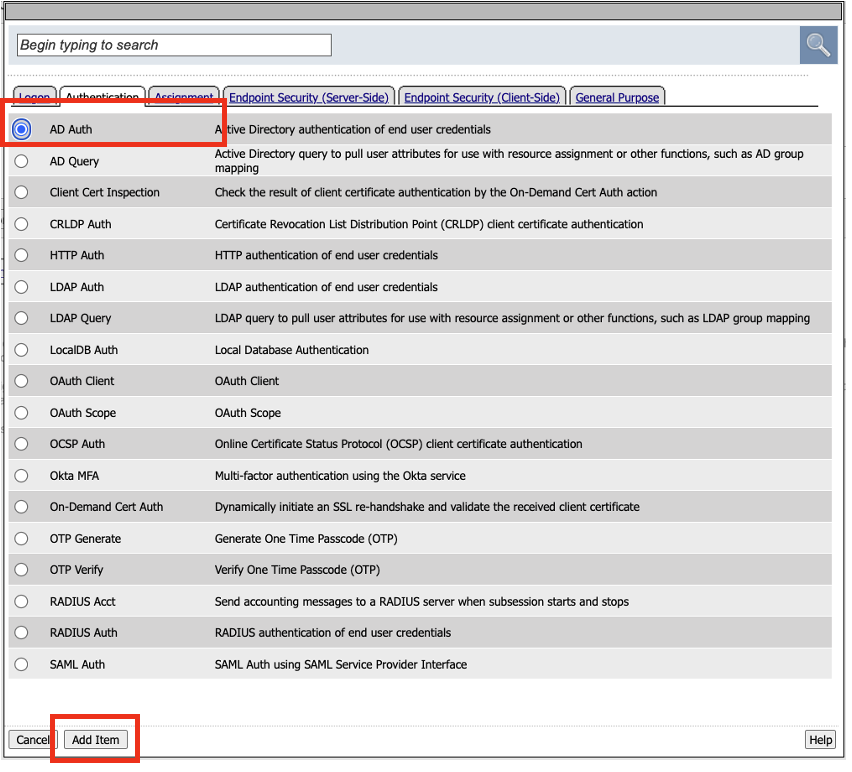
- Another way to find Group/Resources is to click through the tabs for the pertinent resource. The next item we need to add is Ad Auth. Click on Authentication tab, and select AD Auth. Click Add Item.
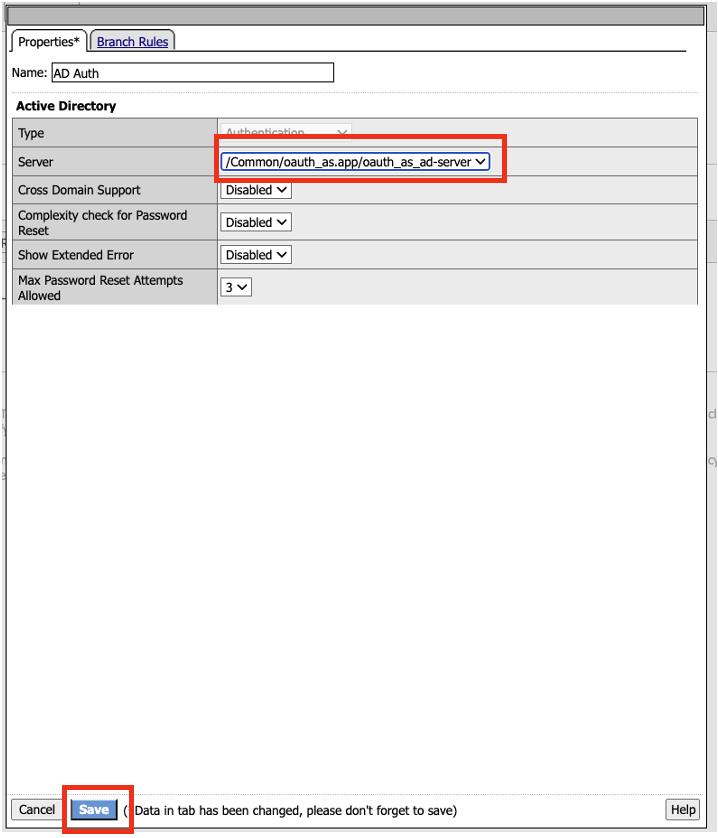
- In the AD Auth properties window, click on the drop down arrow next to Server, and select /Common/oauth_as.app/oauth_as_ad-server. Click Save.
- We will add another resource after the AD_Auth. Click on the + sign after the Successful branch.

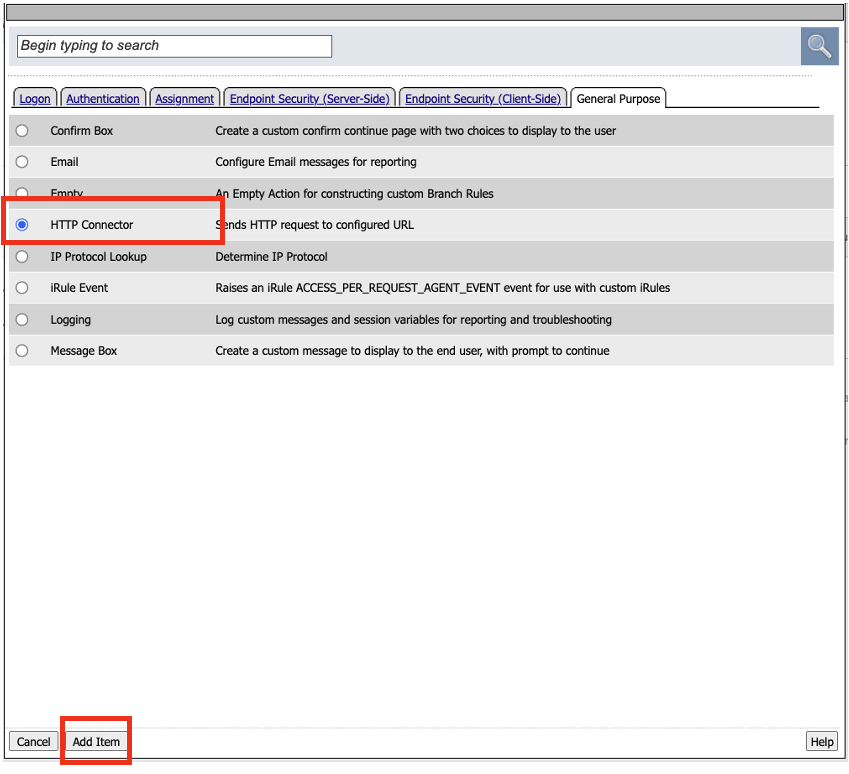
- This will bring the up the Group/Resource box. Click General Purpose tab. Select HTTP Connector.
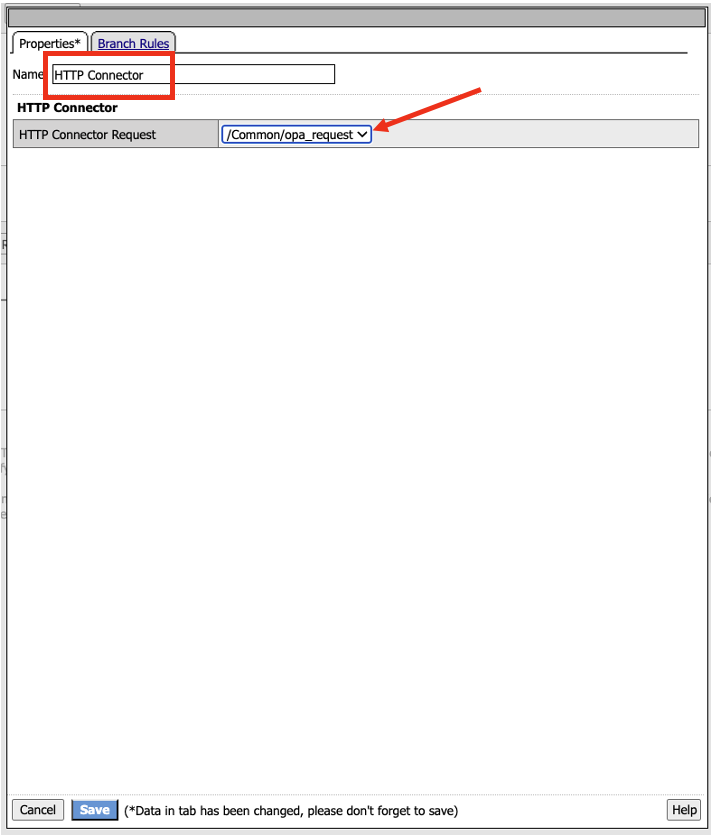
- In the HTTP Connector properties, click on the HTTP Connector Request and select /Common/opa_request
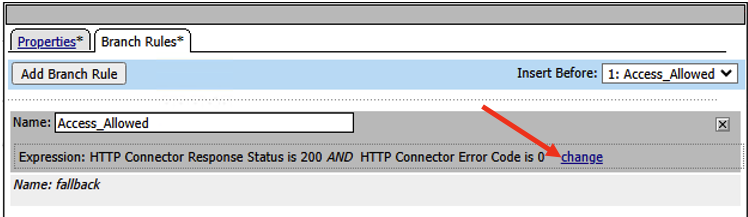
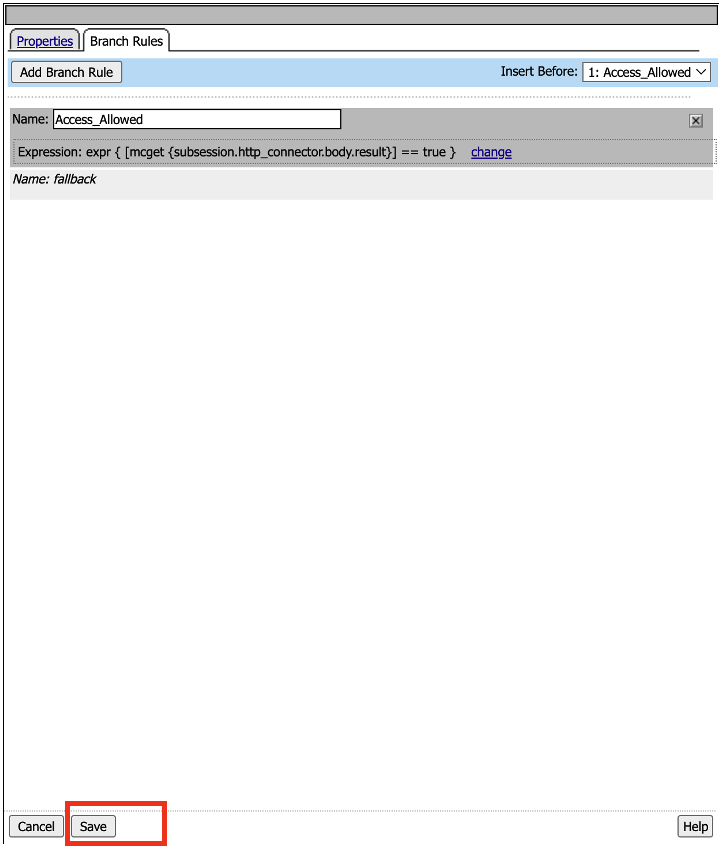
- Click on Branch Rules tab, in the Name field, change it to Access_Allowed, and then click on change link in the Expression box.
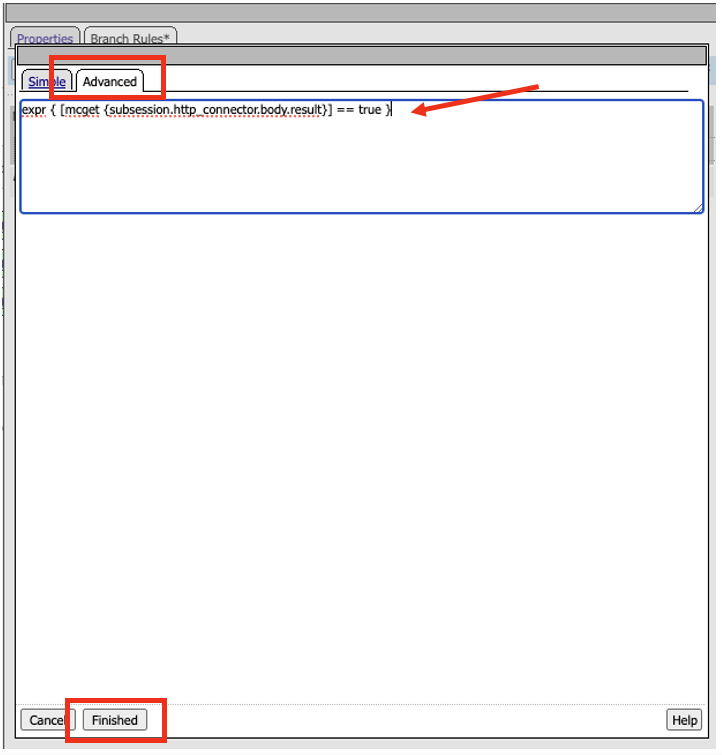
- In the next window, click on the Advanced tab.
- Remove the expression inside the box, and replace it with the following expression. Click Finish
expr { [mcget {subsession.http_connector.body.result}] == true }
- After clicking Finish, you should be at the screen below. Click Save.
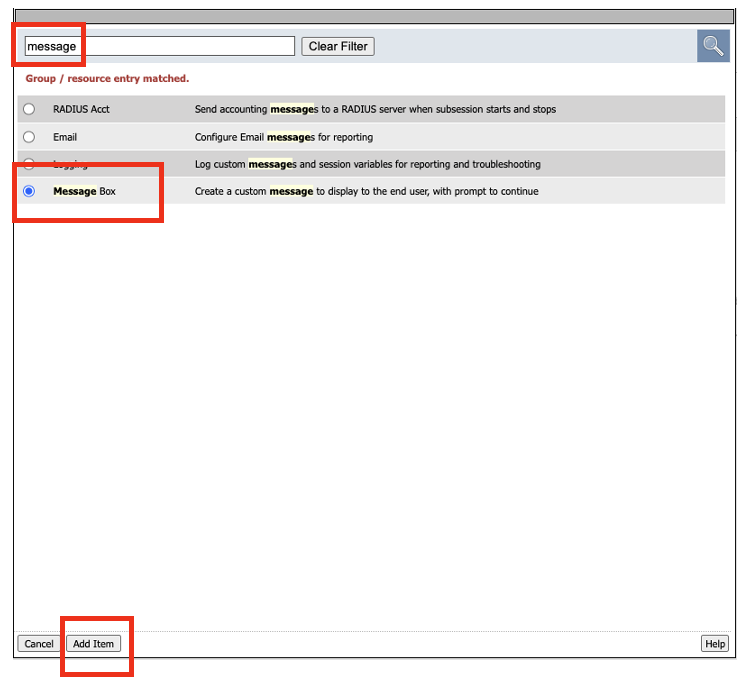
- Next you will add two message boxes to the flow. One after the Access_Allowed flow, and another after the Fallback flow. Click the + sign next to Access_Allowed flow. For ease, type in message in the search box to bring up the Message Box. Select Message Box, and click Add Item
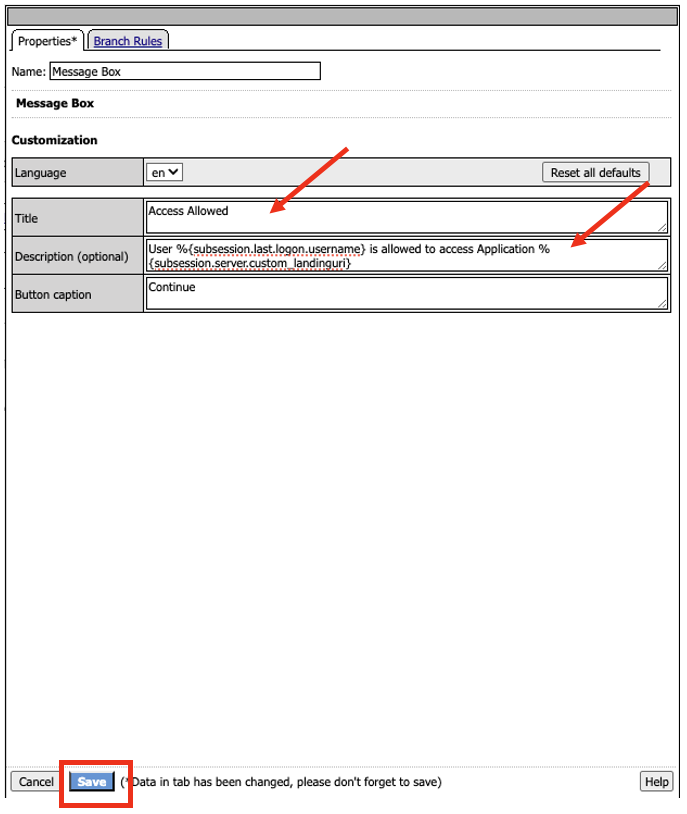
- In the Message box properties, copy and paste the following
Title: Access Allowed
Description (optional): User %{subsession.last.logon.username} is allowed to access Application %{subsession.server.custom_landinguri}
Click Save
- Add another Message box for the fallback branch.


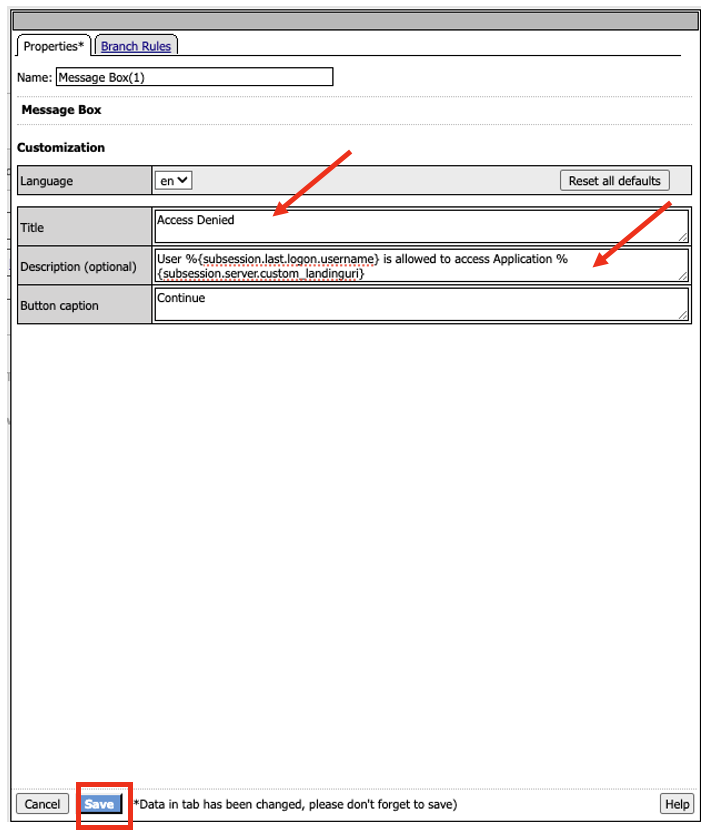
- In the Message Box properties copy and paste the following
Title: Access Denied
Description (optional): User %{subsession.last.logon.username} is not allowed to access Application %{subsession.server.custom_landinguri}
Click Save
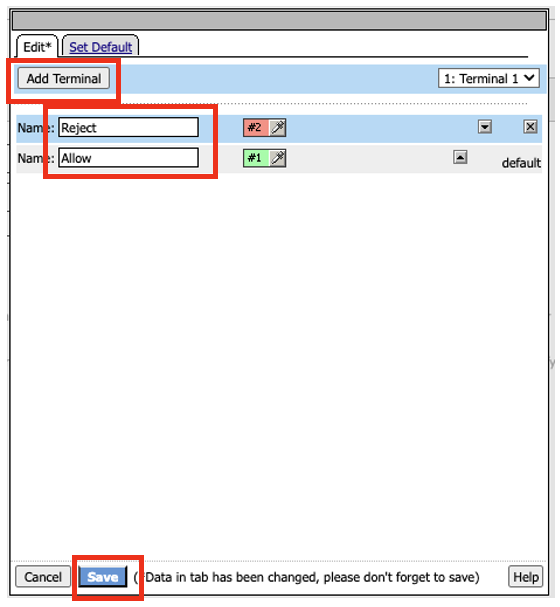
- The policy endings are currently set to Allow. We will need to adjust these appropriately. Click on Edit Terminals.

- In the Terminal properties, click on Add Terminal. Change the Name of the first terminal, Terminal 1 to Reject. Change the second terminal Name from Out to Allow. Click Save.
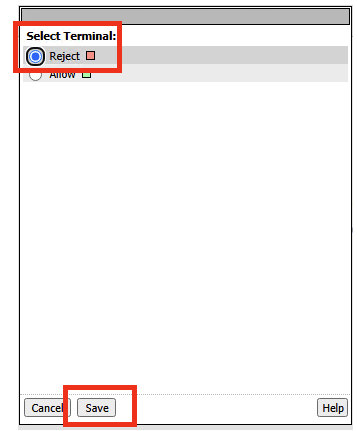
- Double click on the Allow ending after Message Box (1) and change it to Reject. Click Save. Do the same thing for the third Allow.

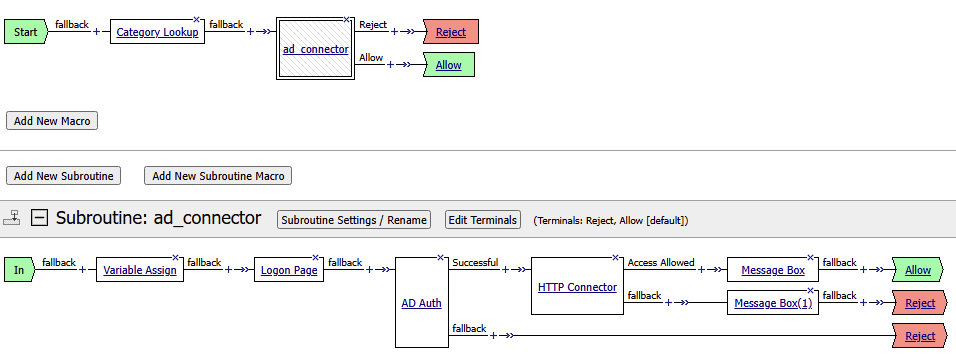
- The completed subroutine should look like the screenshot below

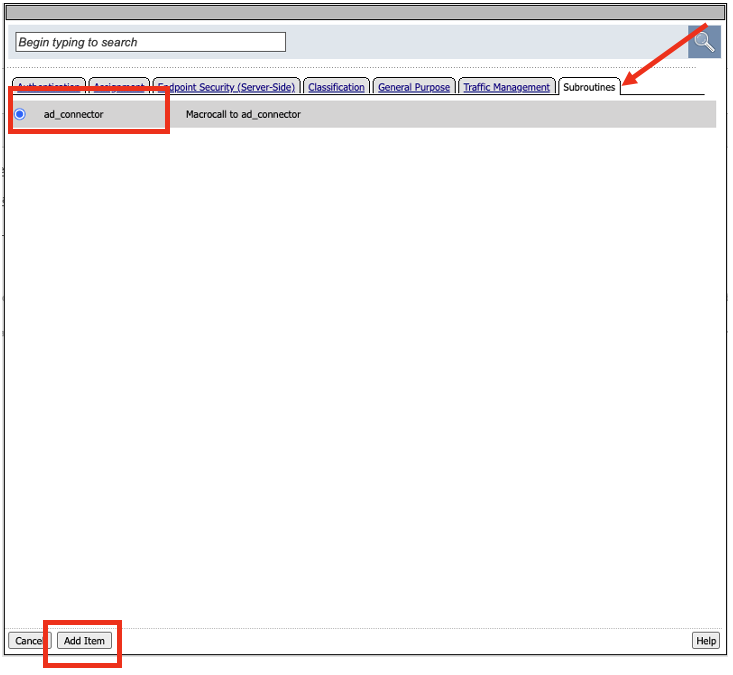
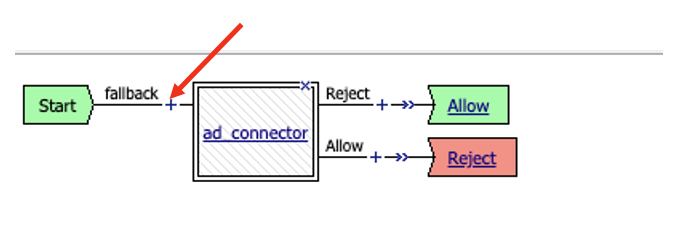
- We will now attach the subroutine to the main Per-Request policy. Click the + sign after the word fallback in the main policy.

- In the Group/Resource box, go the last tab, Subroutines. Select the subroutine call ad_connector, and click on Add Item.
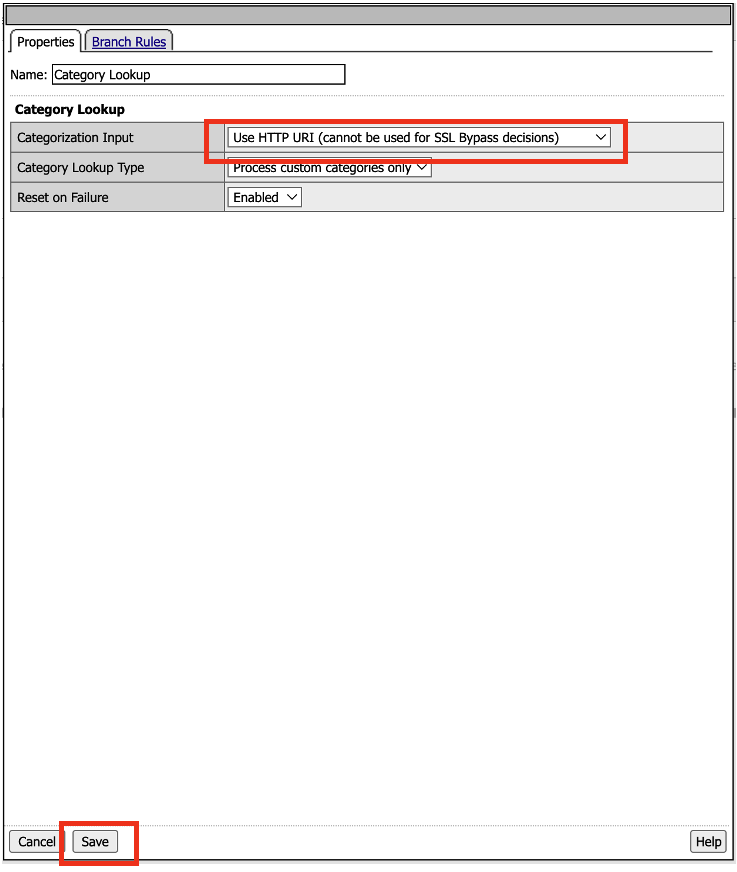
- Next we will need to add a Category Lookup for the URI. Click on the + sign between Start and ad_connector. Search for Category Lookup and add the item to the policy.
- In the Category Lookup property window, change the Categorization Input to User HTTP URI (cannot be used for SSL Bypass decisions). Click Save.
- Double check the terminal endings. Does Reject flow into the Reject ending? Does the Allow/Out flow in to Allow ending? If not adjust the terminal endings so they match the flow. See the screenshot below for reference.
Task 5 - Create a Virtual Server
In this task, you will create a virtual server, and attach the Access policies to the virtual server.
In the BIG-IP GUI, let’s start by creating a pool to assign to the virtual server. We have omit the step of creating a node, as one is already pre-defined. It’s a shared backend server running multiple applications for this lab environment.
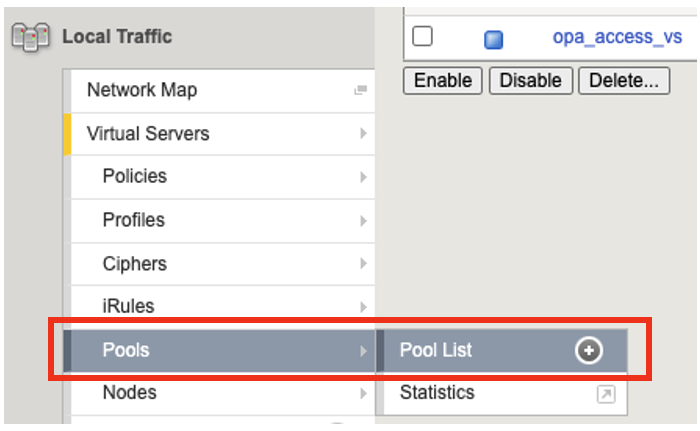
Click on Pools –> Pool List
Click Create

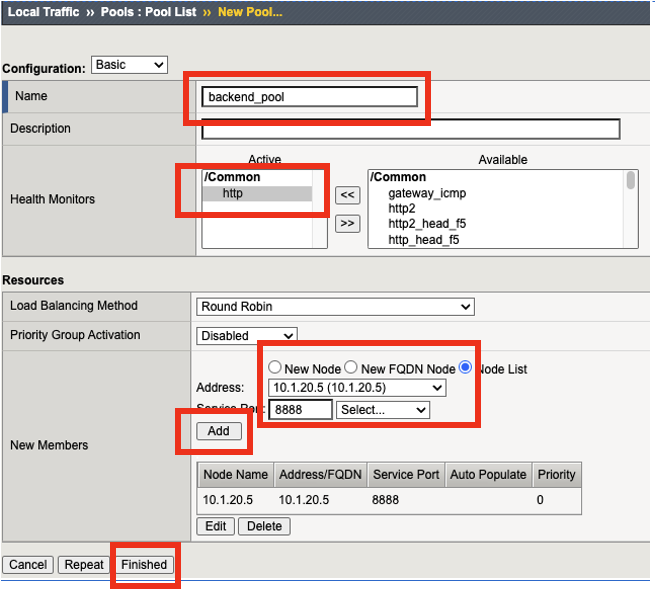
Set the following configuration settings for the pool
Name: backend_pool
Health Monitors: http
Node List: click the drop down list, and select 10.1.20.5
Service Port: 8888
Click Add Verify the member has been added before finishing the task, see screen shot below for reference.
Click Finished
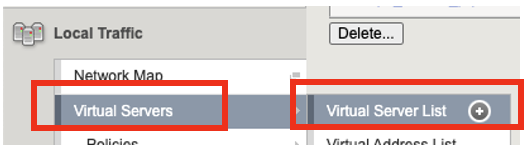
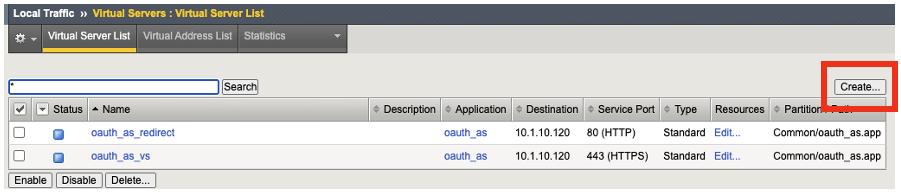
Next you’ll create the virtual server. Click on Local Traffic –> Virtual Servers –> Virtual Server List
Click Create
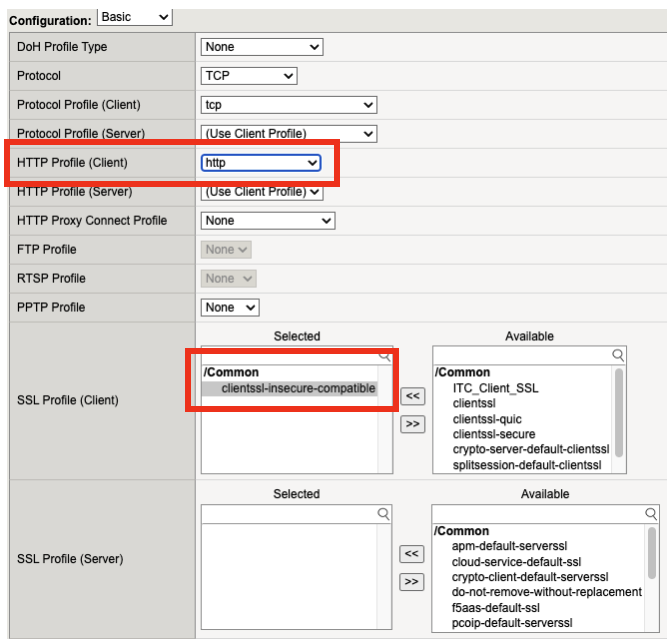
Set the following configurations for the virtual server.
Name: opa_access_vs
Destination Address/Mask: 10.1.10.121
Service Port: 443
HTTP Profile (Client): http
SSL Profile Client: clientssl-insecure-compatible
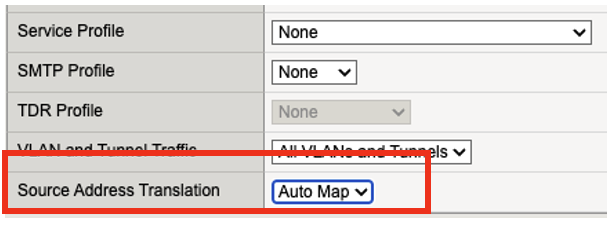
Source Address Translation: Auto Map
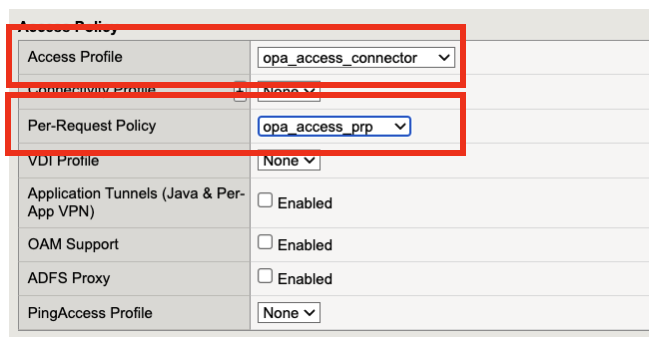
Access Profile: opa_access_connector
Per-Request Policy: opa_access_prp
Default Pool: click the drop down arrow, and select backend_pool
Click Finish


Task 6 - Test the policy
- Open Google Chrome. In the browser bookmark bar, there are shortcuts to App1 and App2.
NOTE: You may get a certificate warning. This is expected, and you can click on Advanced and Proceed to the site.
In the OPA policy, the users below have access to the specific apps.
Username: user1
Password: user@dMin_1234
Username: user2
Password: user@dMin_1234
Test logging on as user1 to App1. Were you successful? Why?
Try logging as user2 to App1. Were you successful? Why?
- This concludes lab 2.