NGINX Modern Apps > Class 4 - Introduction to NGINX Instance Manager > Module 1: Access the NGINX Instance Manager UI and Scan for instances Source | Edit on
Exercise 1.0: Acces the NIM UI and scan for instances
Objective
Discover new instances using the scan function of NGINX Instance Manager.
Guide
The lab environment contains several instances of NGINX (not including the
repository server and the nginx-manager server). We will use the NIM Scan feature
to discover the instances and list CVE information.
The scan uses NMAP stealth scan to look at ports the web servers or load balancers listen on. This is an optional component of nginx-manager but can be useful to keep track of NGINX instances since we can also call the function through an API. For this exercise, we will use the user interface to run the scan.
Step 1: Open UI
Navigate to the UDF dashboard for the lab and open the NGINX Manager instance, selecting
the Instance Manager UI option under ACCESS.

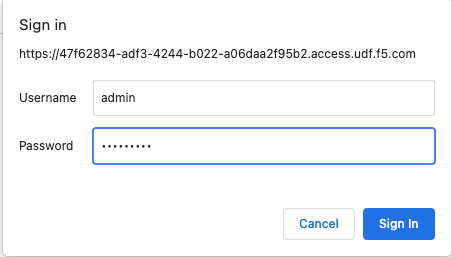
To sign in use the username admin and password NIM123!@#
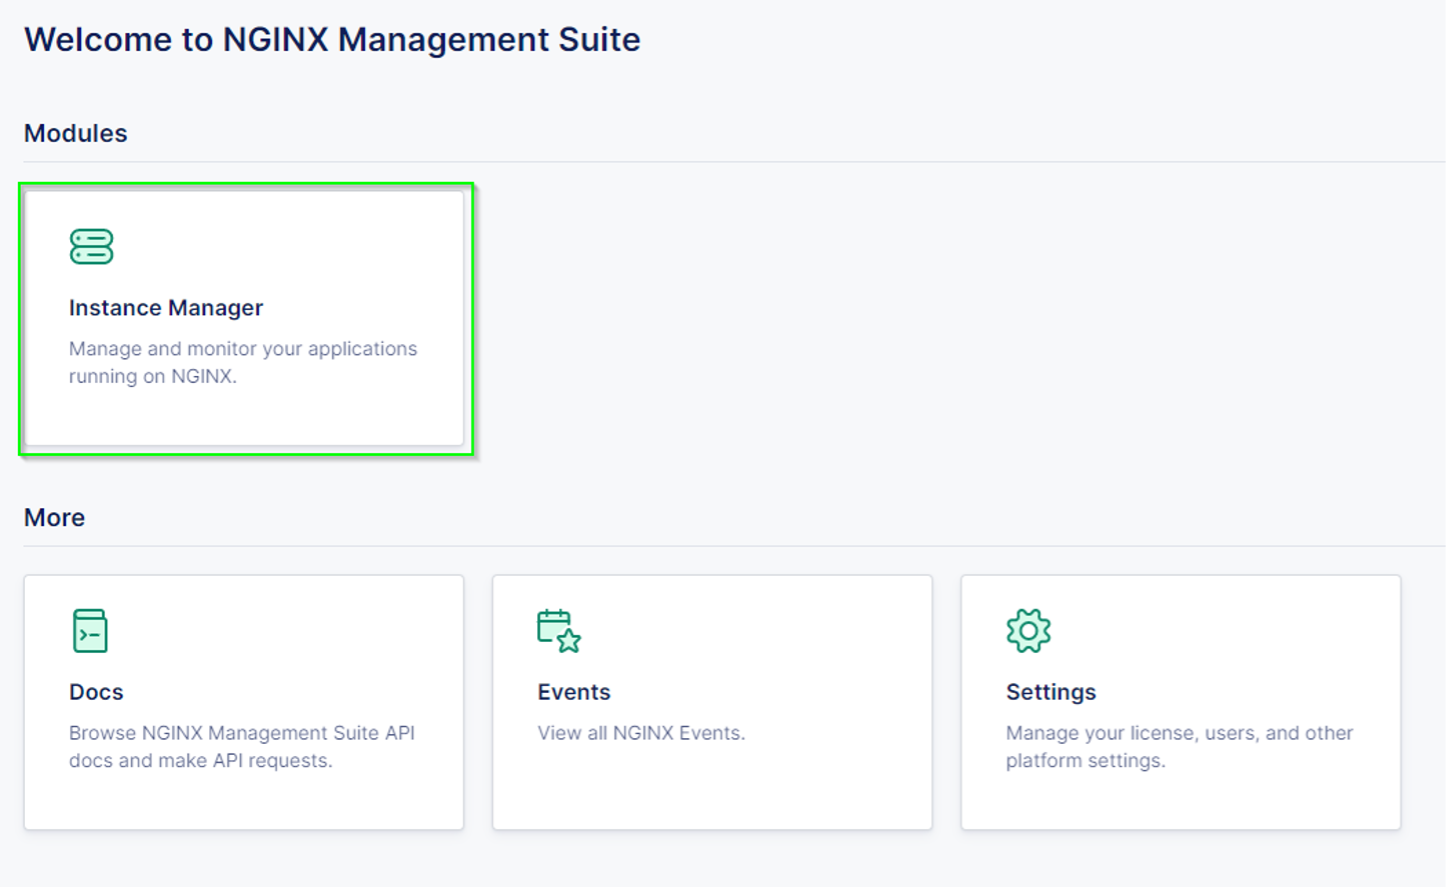
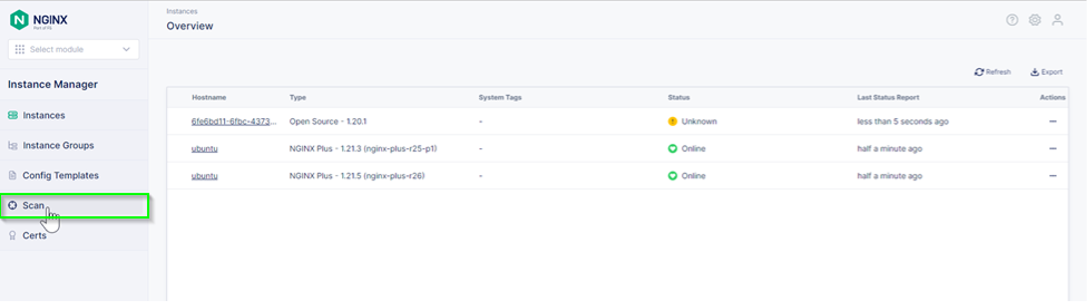
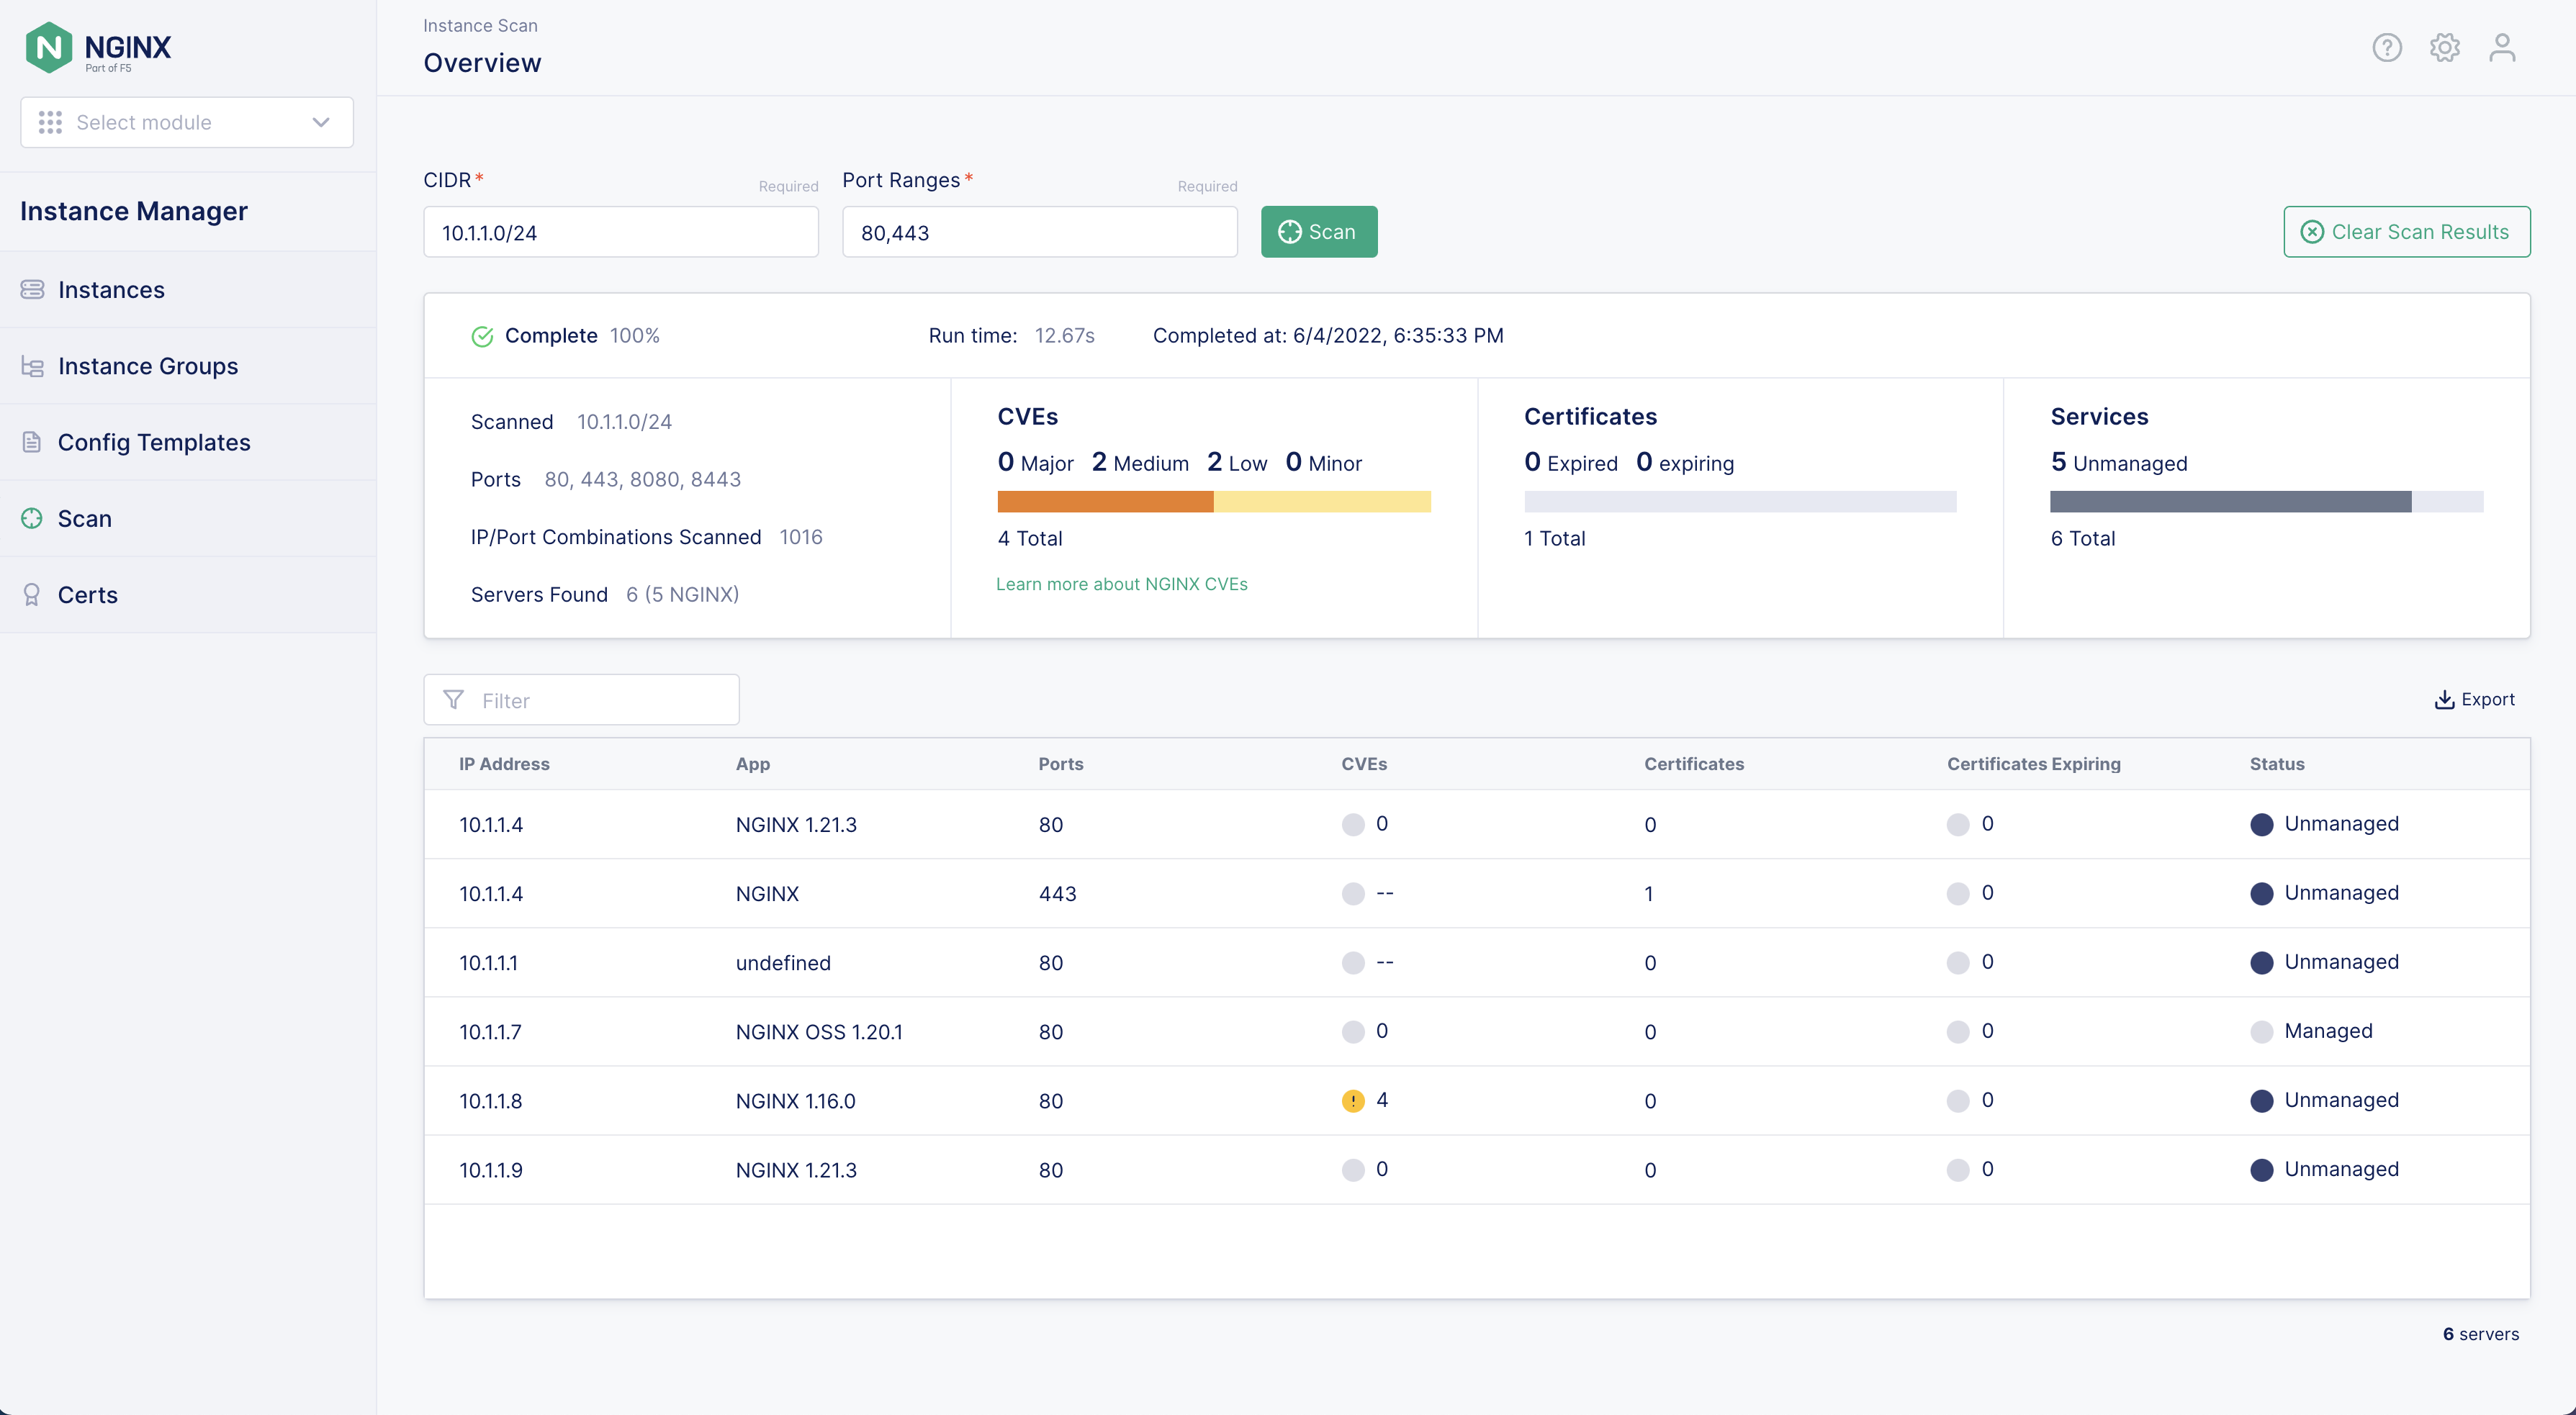
You should see a Welcome to NGINX Management Suite home screen, select Instance Manager, then click on the left navigation pane to select “Scan” and proceed to Step 2.
Step 2: Change scan options
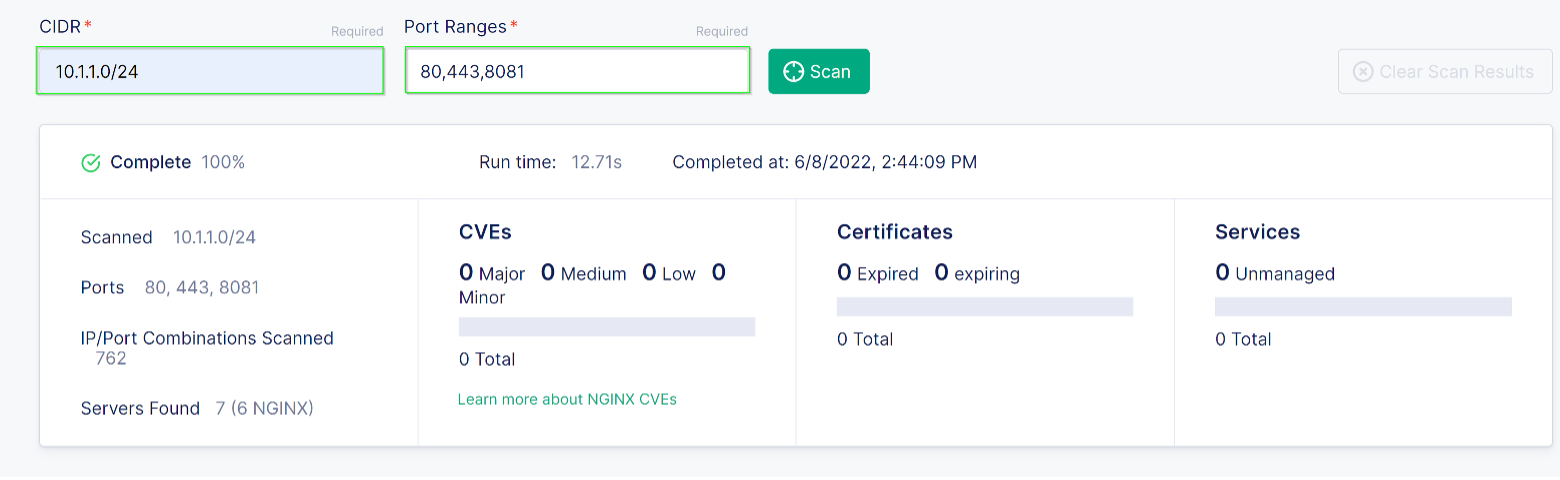
The scan tool needs to know the subnet mask and ports you want to scan. UDF
uses the subnet 10.1.1.0/24. Change the subnet to this value and leave the ports as 80,443,8081.
Note
For production runs, check with your organizations security and network policies. While the stealth scan is unlikely to cause alarms, any tool that looks at multiple IPs and ports could be viewed as a threat by detection systems.
Step 3: Run a scan
Click on the Scan button and let the scan run. You should see
some information on the screen as the scan runs.
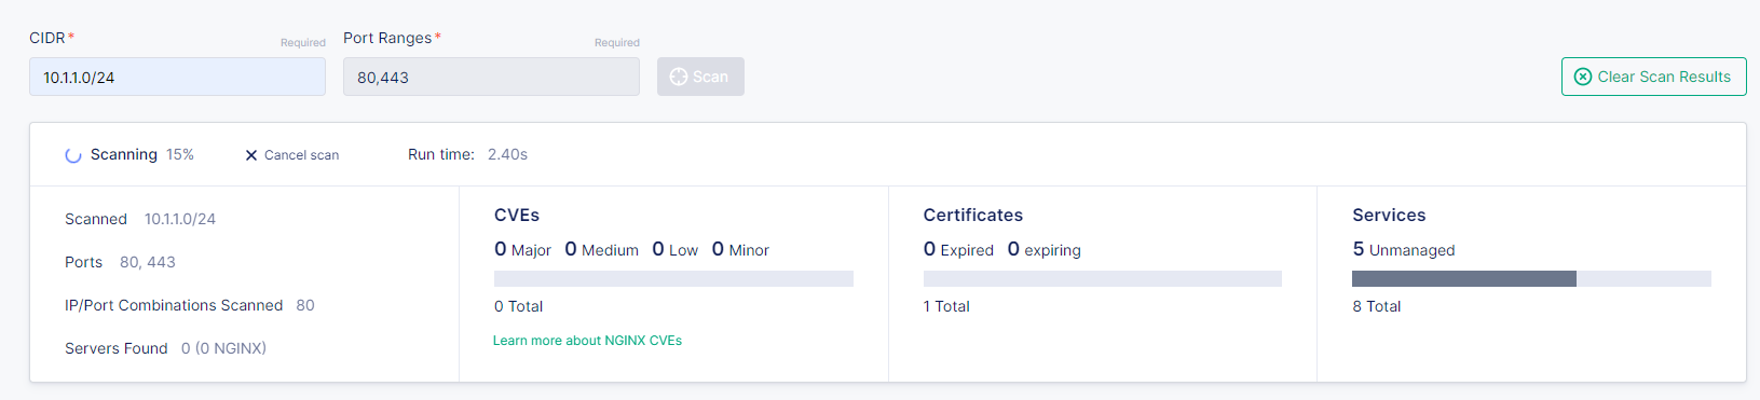
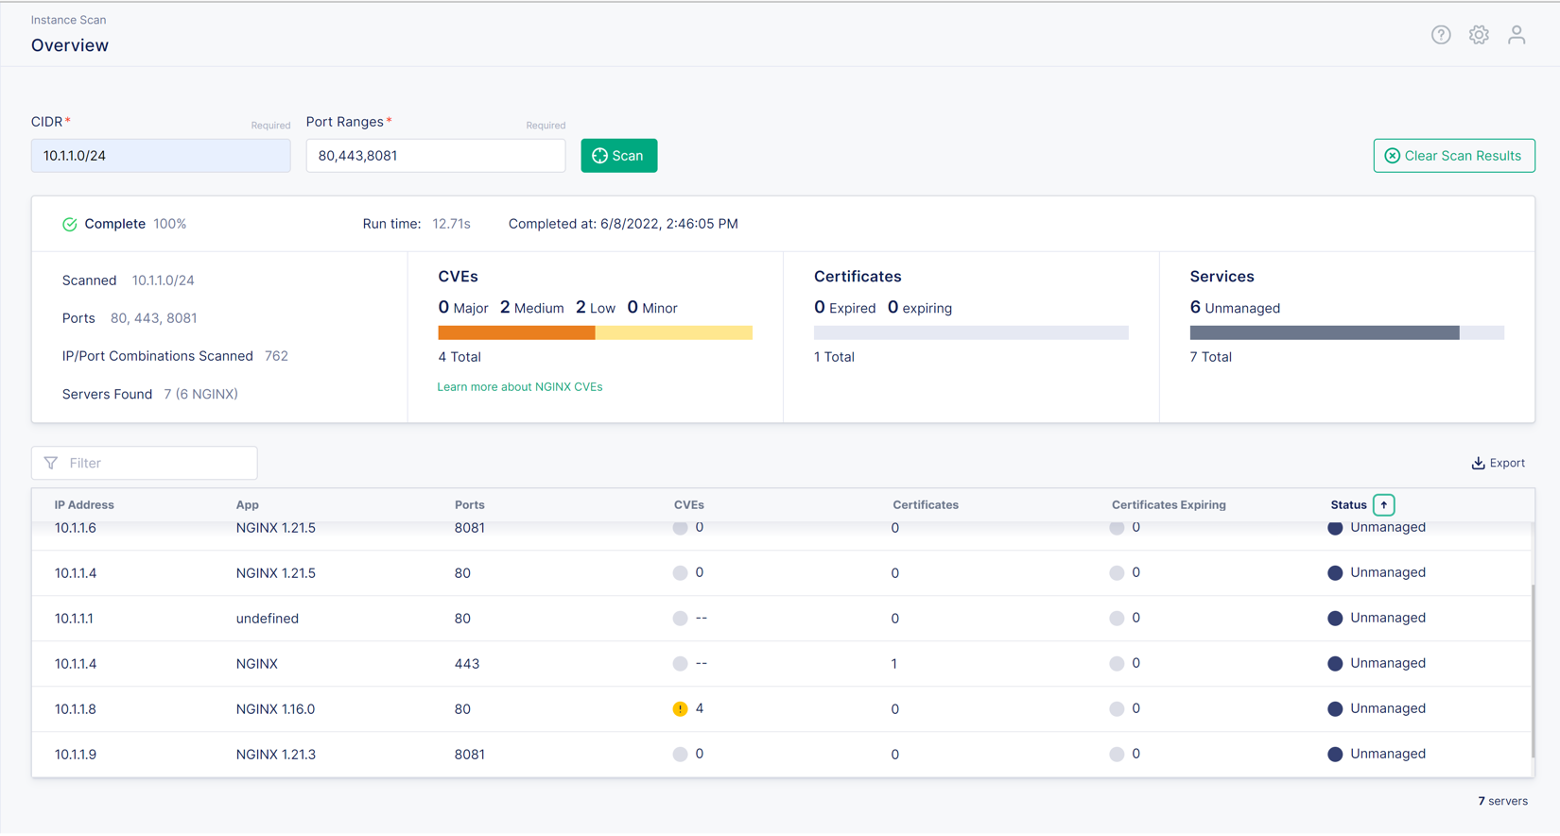
Once it is complete, you should see a list of instances underneath the two panels.
Step 4: Review results
The results of the scan have more instances than we described in the lab architecture. UDF.
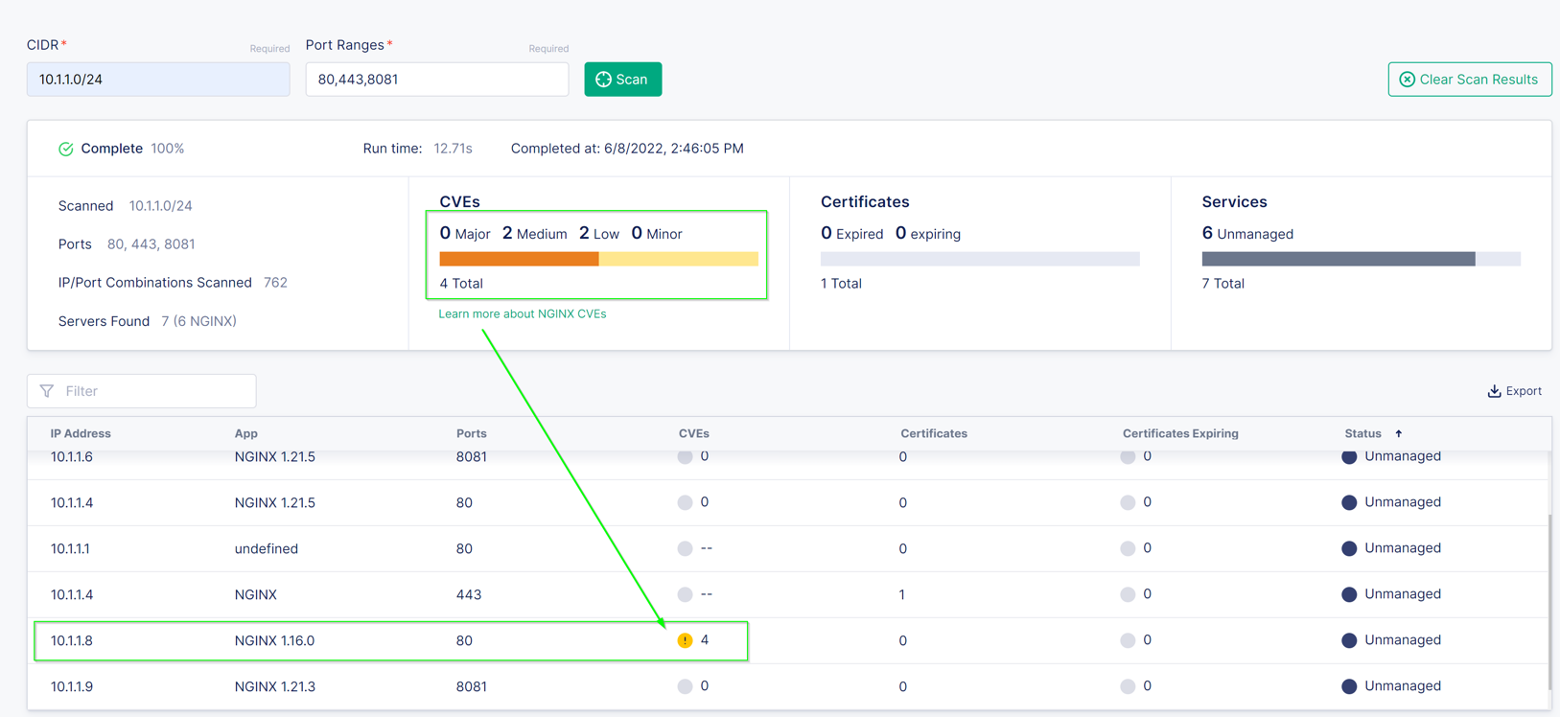
You should also notice there is an outdated NGINX server on 10.1.1.8 running NGINX 1.6.0.
The CVEs icon shows an exclamation point within a yellow circle. This indicates the instance has
security vulnerabilities. At the time of this writing, it should show 4 next to the icon.
The CVE list isn’t meant to replace other security tools. It is meant to alert you to possible vulnerabilities in your environment.
Note
NGINX Instance Manager scan uses the published CVE list for NGINX and matches the version to the applicable CVEs. If a CVE is unscored we do not count it. You can see a list of the CVEs by viewing the public CVE list .
Step 5: View install instructions
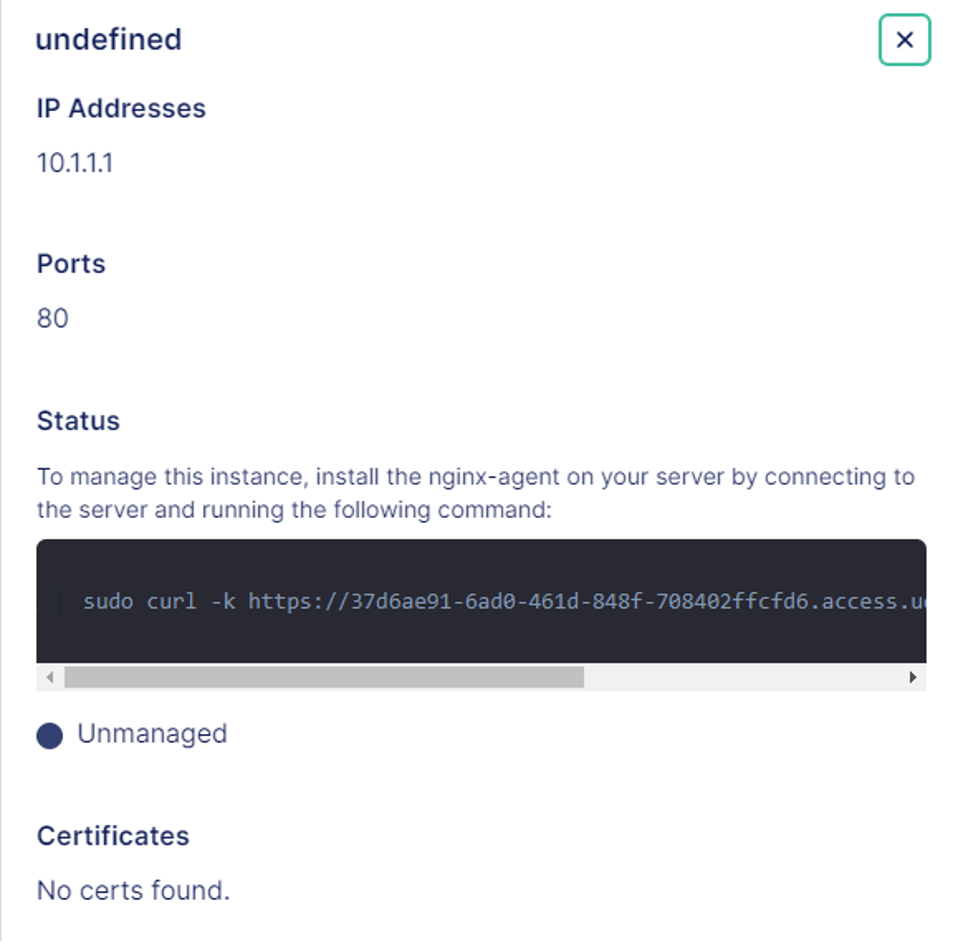
Under the status column there are two states “Managed” and “Unmanaged”.
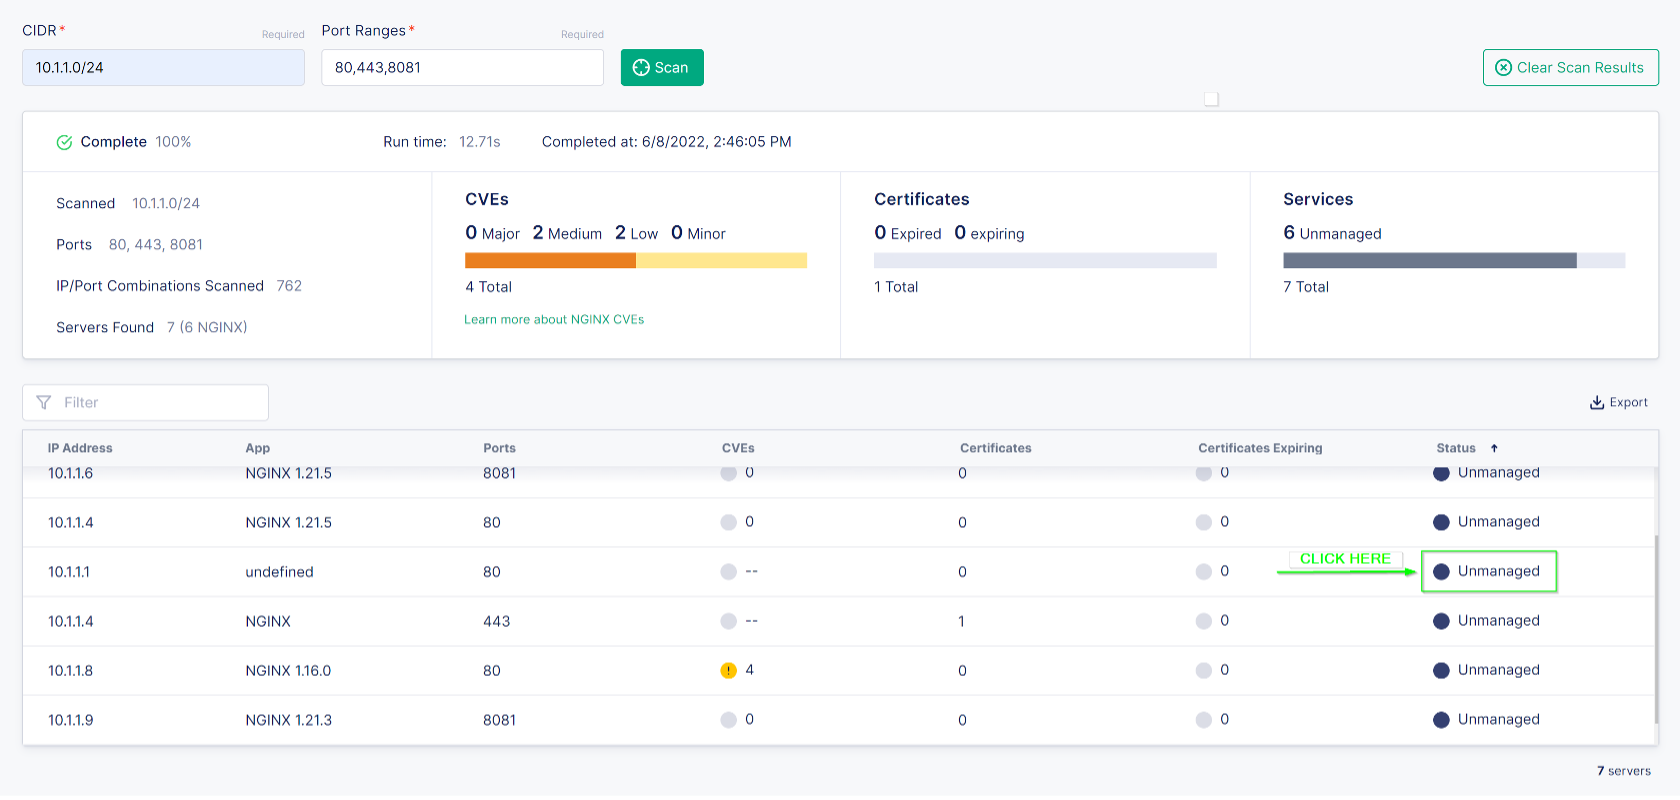
Click on any of the “Unmanaged” instances and a slide out dialog box will provide you with instructions on how to install the nginx-agent on the server.
For module 2, we will focus on managing instances.