F5 Public Cloud Solutions > PC211 - Secure Azure Computing Architecture Source | Edit on
1.0 Lab Module 1
1.1 Initial Login
From the [Agility] PC211 SACA Lab Click the Details button:

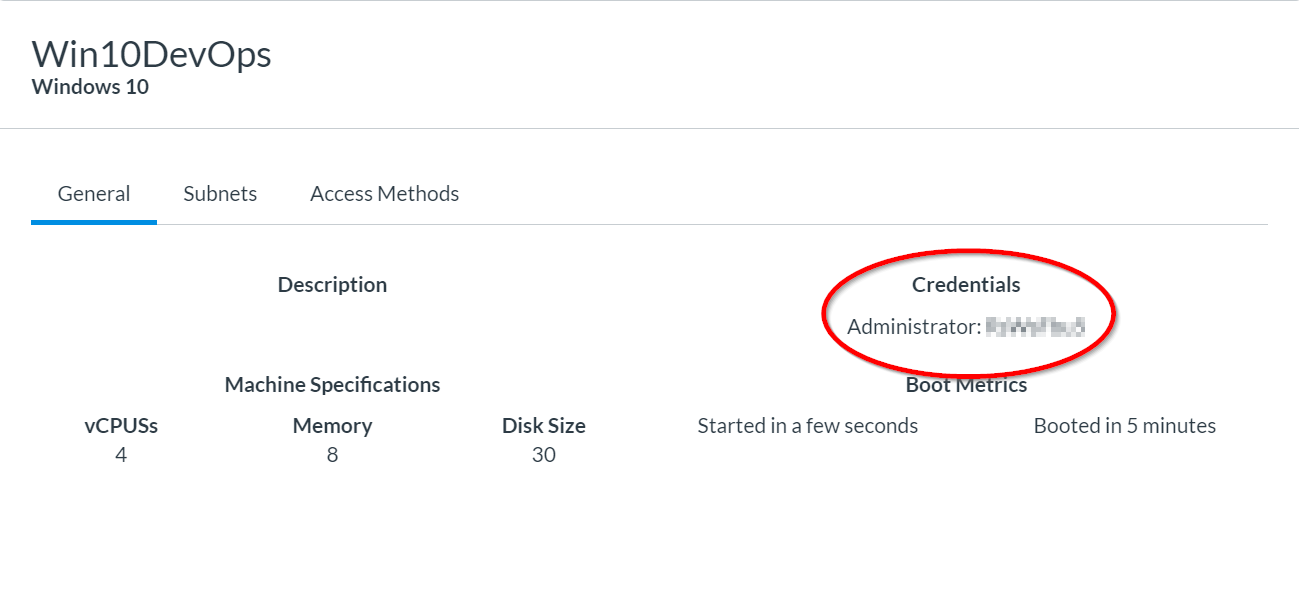
On the General Tab., locate and record the Administrator Password:
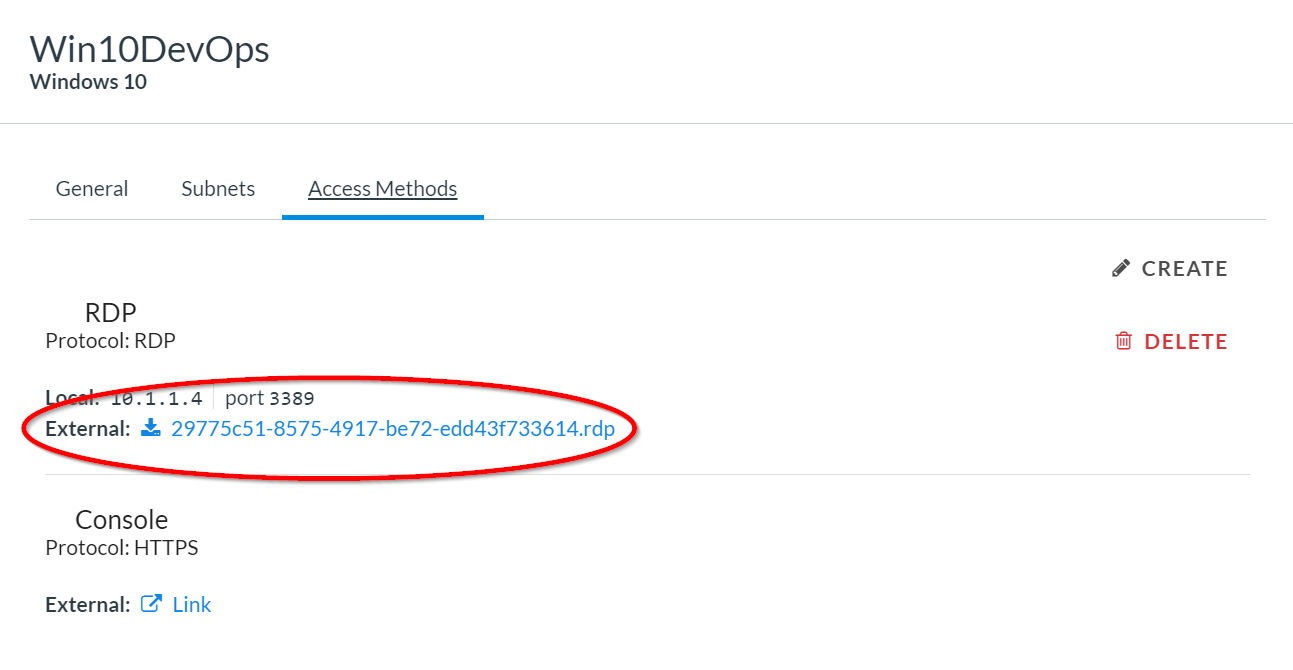
Then on the Access Methods Tab, click the link to download and launch an RDP connection:
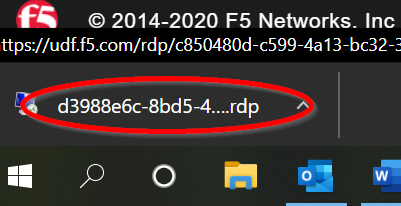
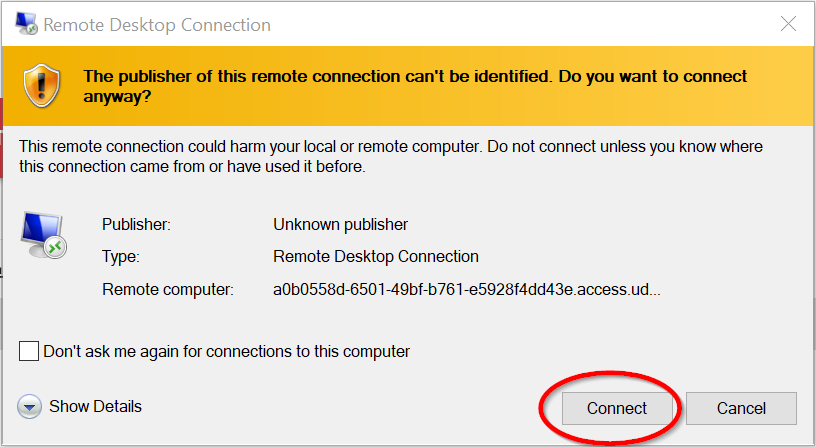
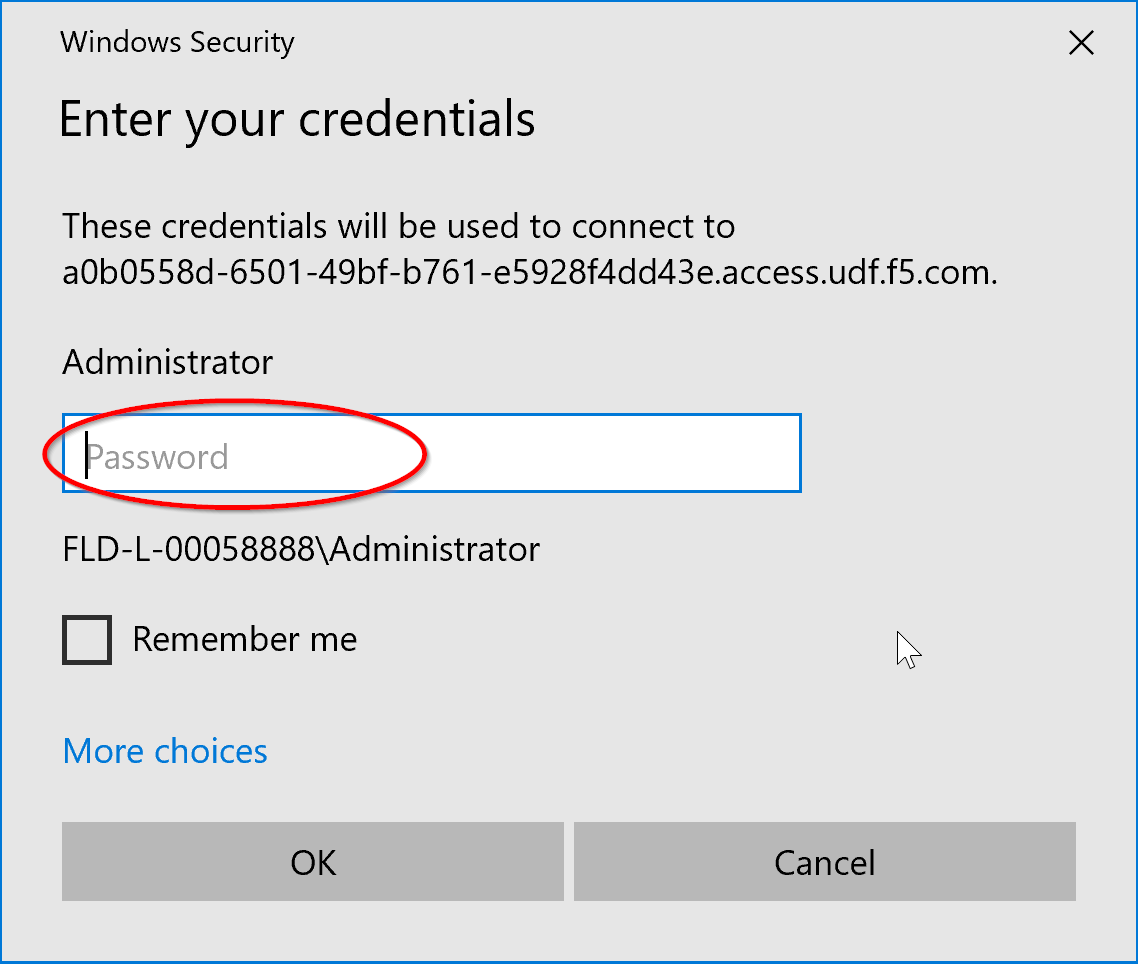
The RDP file should download, then click it and follow the prompts to initiate an RDP connection to the Win10DevOps computer:
Type or paste the password when prompted.
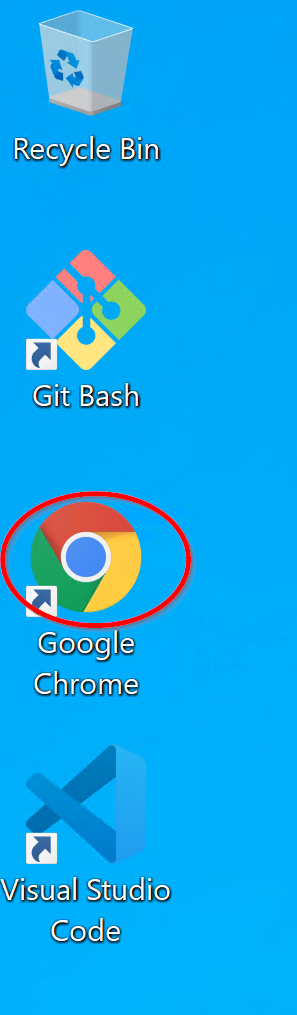
Open Google Chrome:
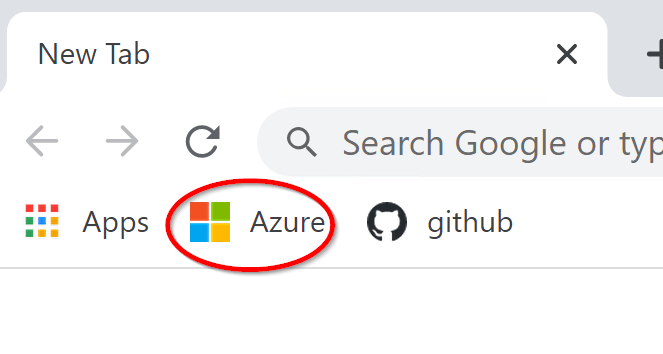
Go to https://portal.azure.com/ Or, you can click on the Azure bookmark.
Enter the Username and password from the email. It should be similar to: Student##@f5custlabs.onmicrosoft.com where ## is your student number.
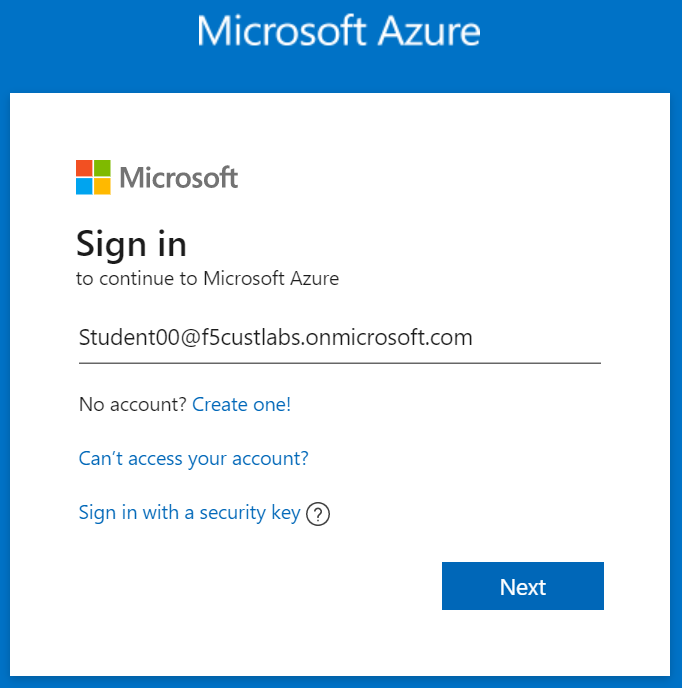
Click Next.
You will be prompted to change your password
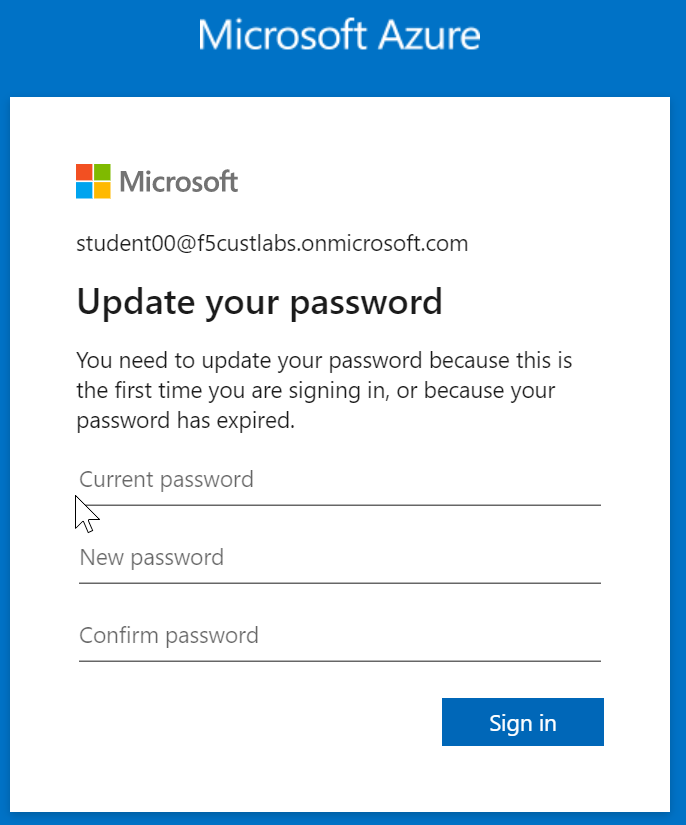
Enter your old password and a new password of your choice twice.
Once completed you should be at the Azure Home Page for the F5 Customer Labs Subscription. It should say so in the upper right-hand corner:

If you have any issues logging in, need a password reset, or are in the wrong subscription please let a lab assistant know immediately!
1.2 Introduction to Terraform.
In this lab we will create a few simple Terraform files and deploy some simple objects and use the basic fundamental commands of Terraform to show you how it works.
1.2.1 Create a Resource Group and a VNET
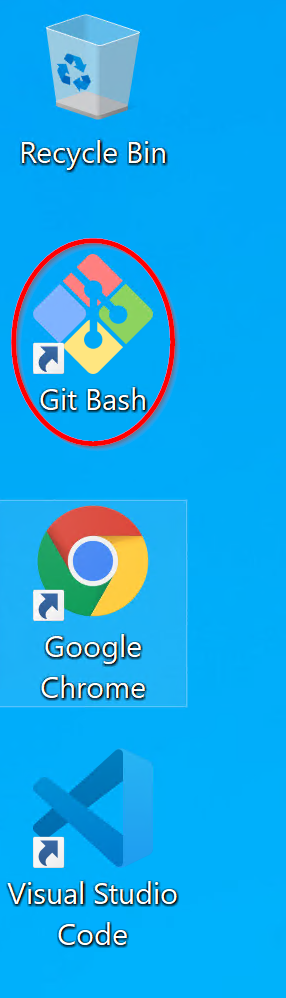
Click on the Git Bash icon on the desktop to open the Git Bash command line editor. This command line uses Unix command line syntax and is very compatible with common automation tools.
Type pwd at the command prompt:
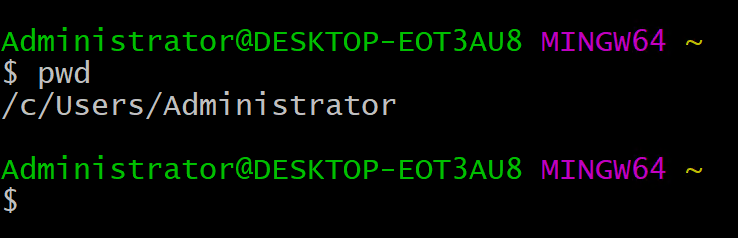
As you can see the default starting directory for GitBash is the root of the user profile directory or “C:UsersAdministrator” in our case as we are logged on with the administrator account.
Let’s change go to the terraform directory that’s already been created for you:
Type cd terraform/
In this directory let’s create a folder called lab1
Type mkdir lab1
Then type cd lab1
Now type pwd again and the current directory should be displayed as: “/c/Users/Administrator/terraform/lab1”
Now let’s switch over to a text editor to create a file in the directory.
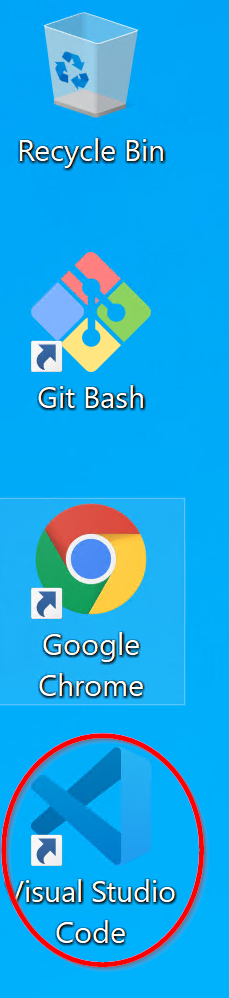
Click on the “Visual Studio Code” icon on the desktop. Just ignore or dismiss the prompts to update vscode.
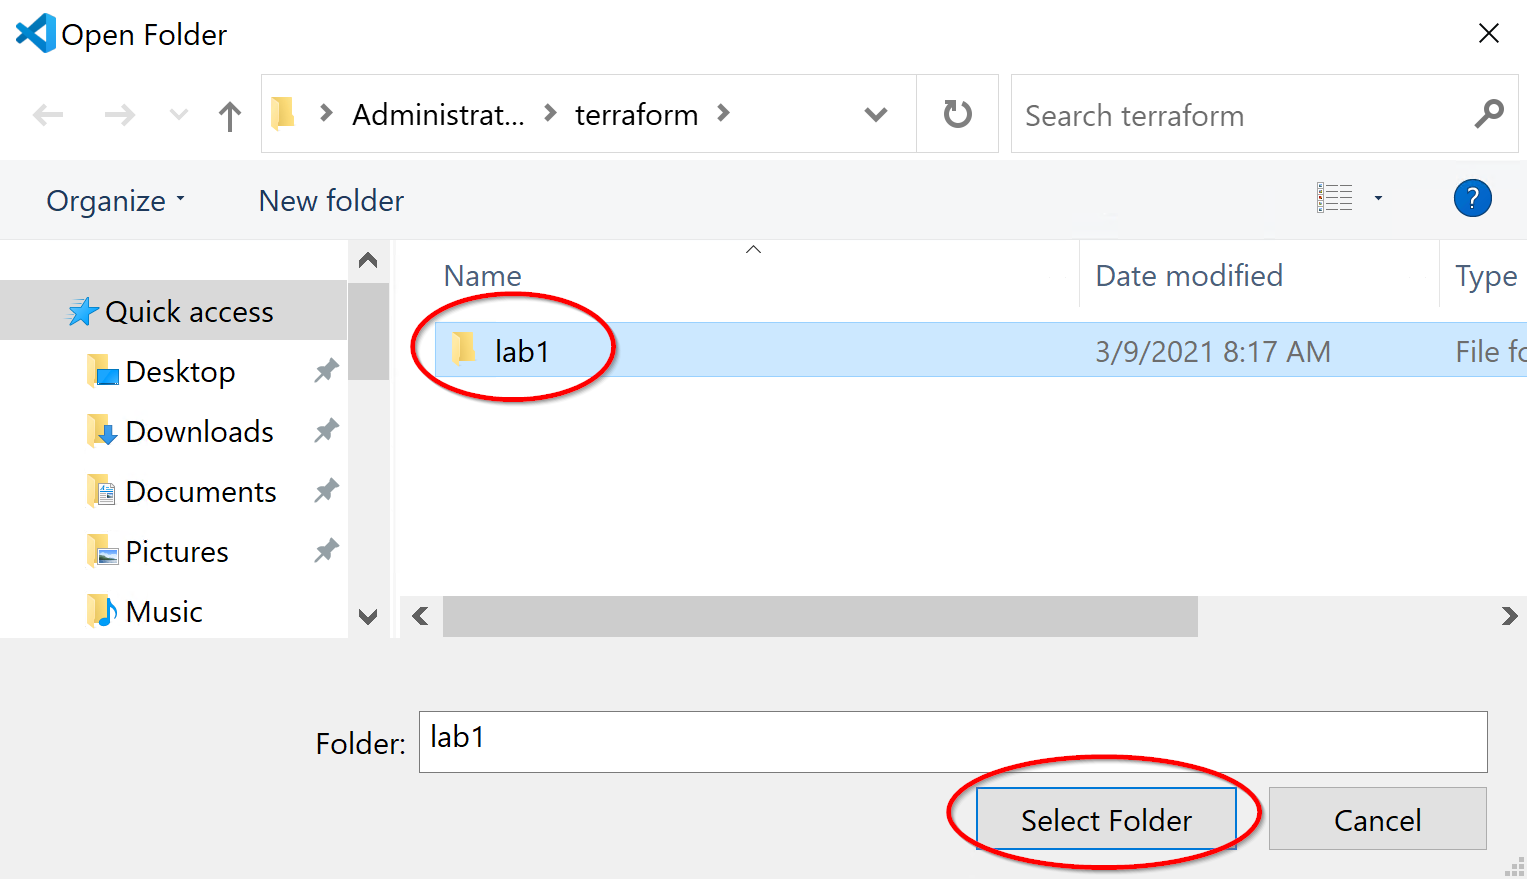
From the menu select File…Open Folder. Then navigate to and double click the terraform folder “C:UsersAdministratorterraformlab1”
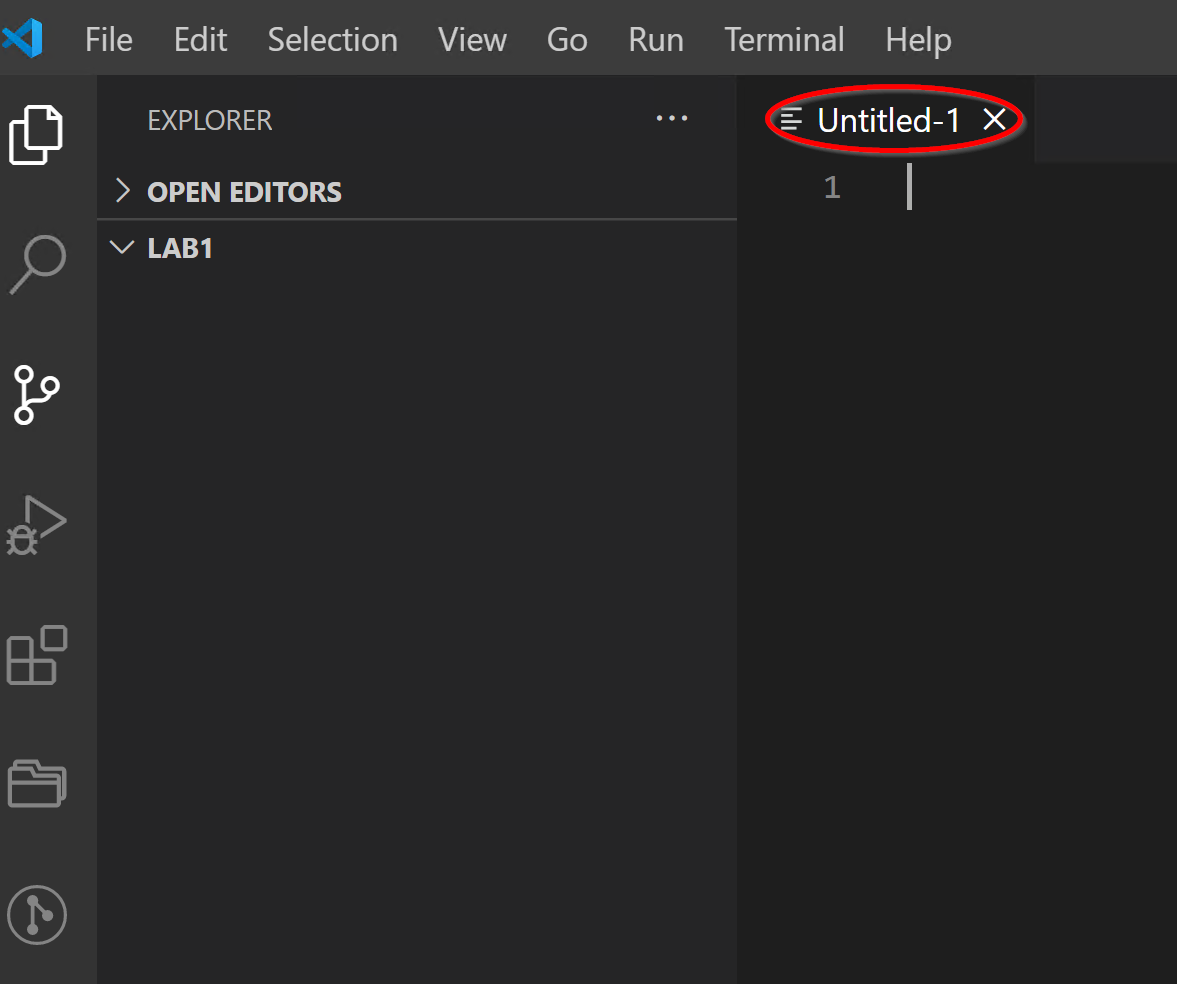
Then from the Menu select File…New File. You should be at a blank screen with an untitled blank file.
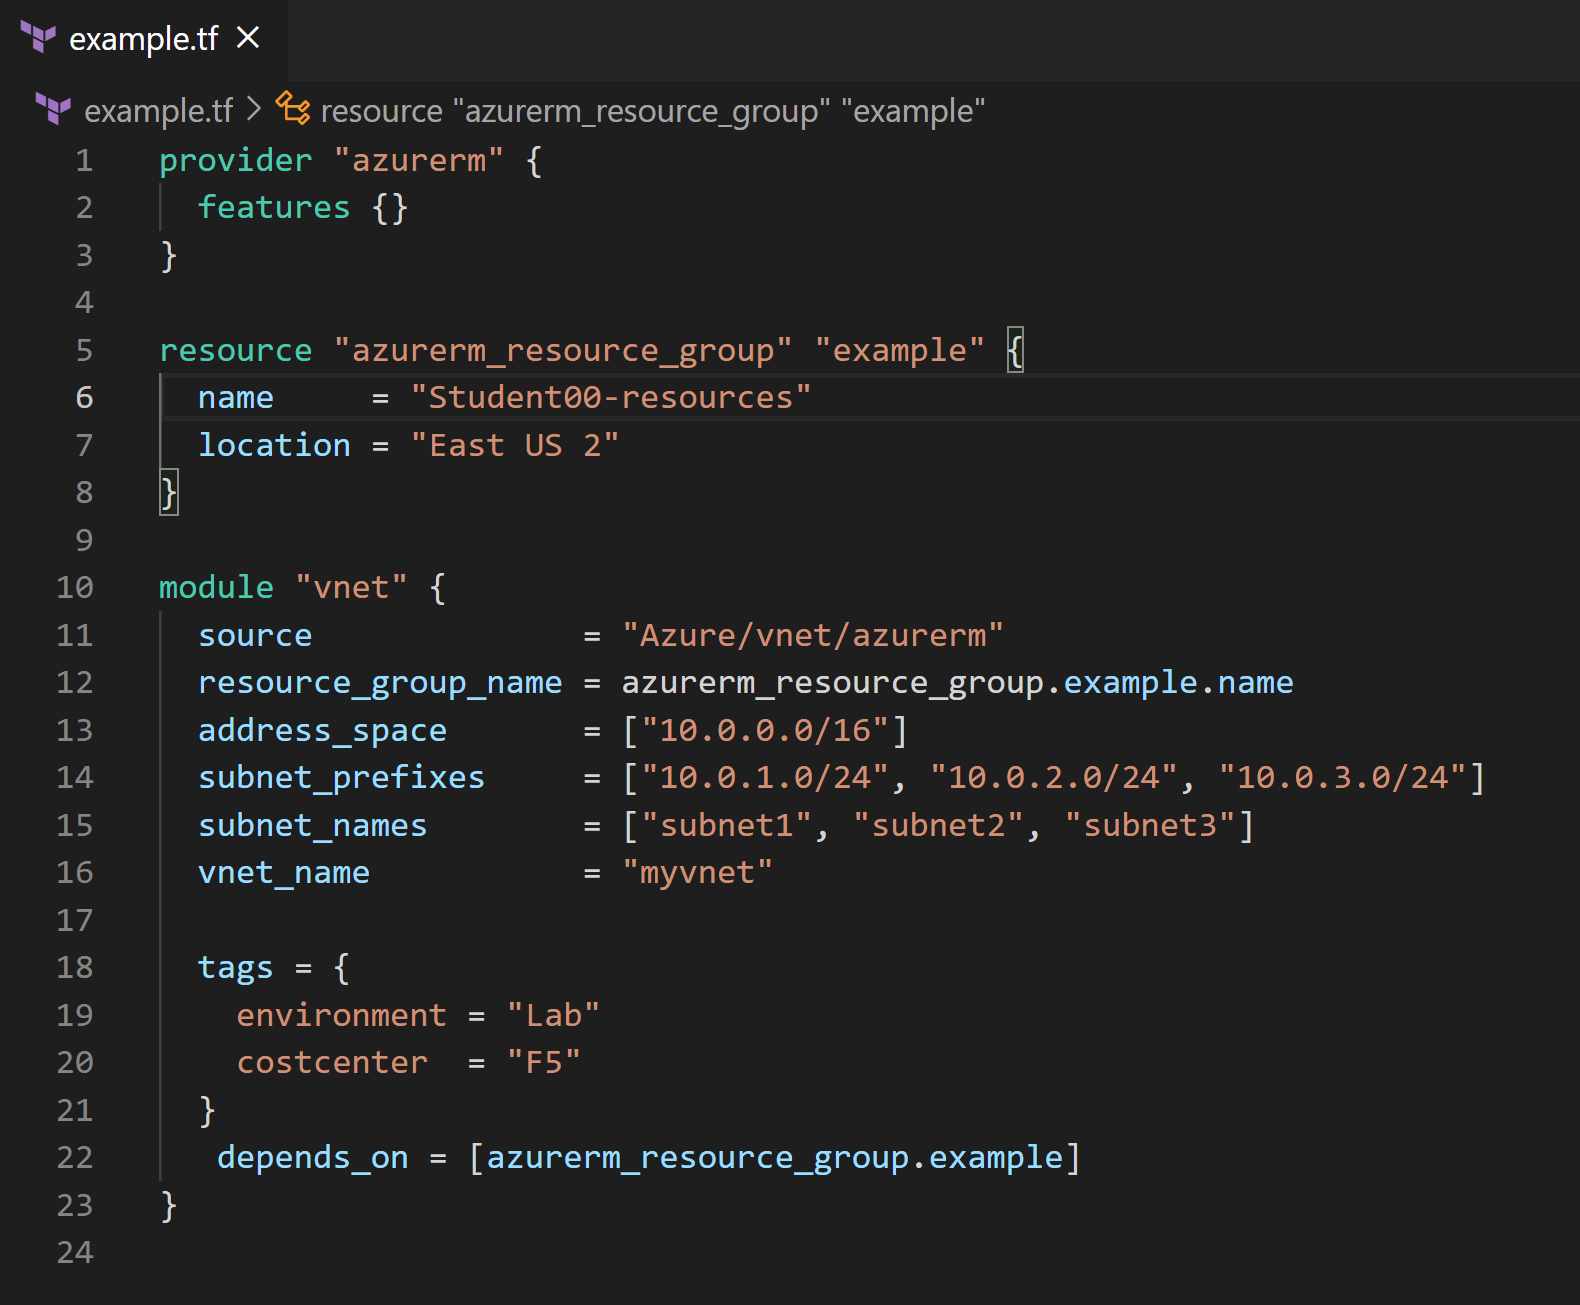
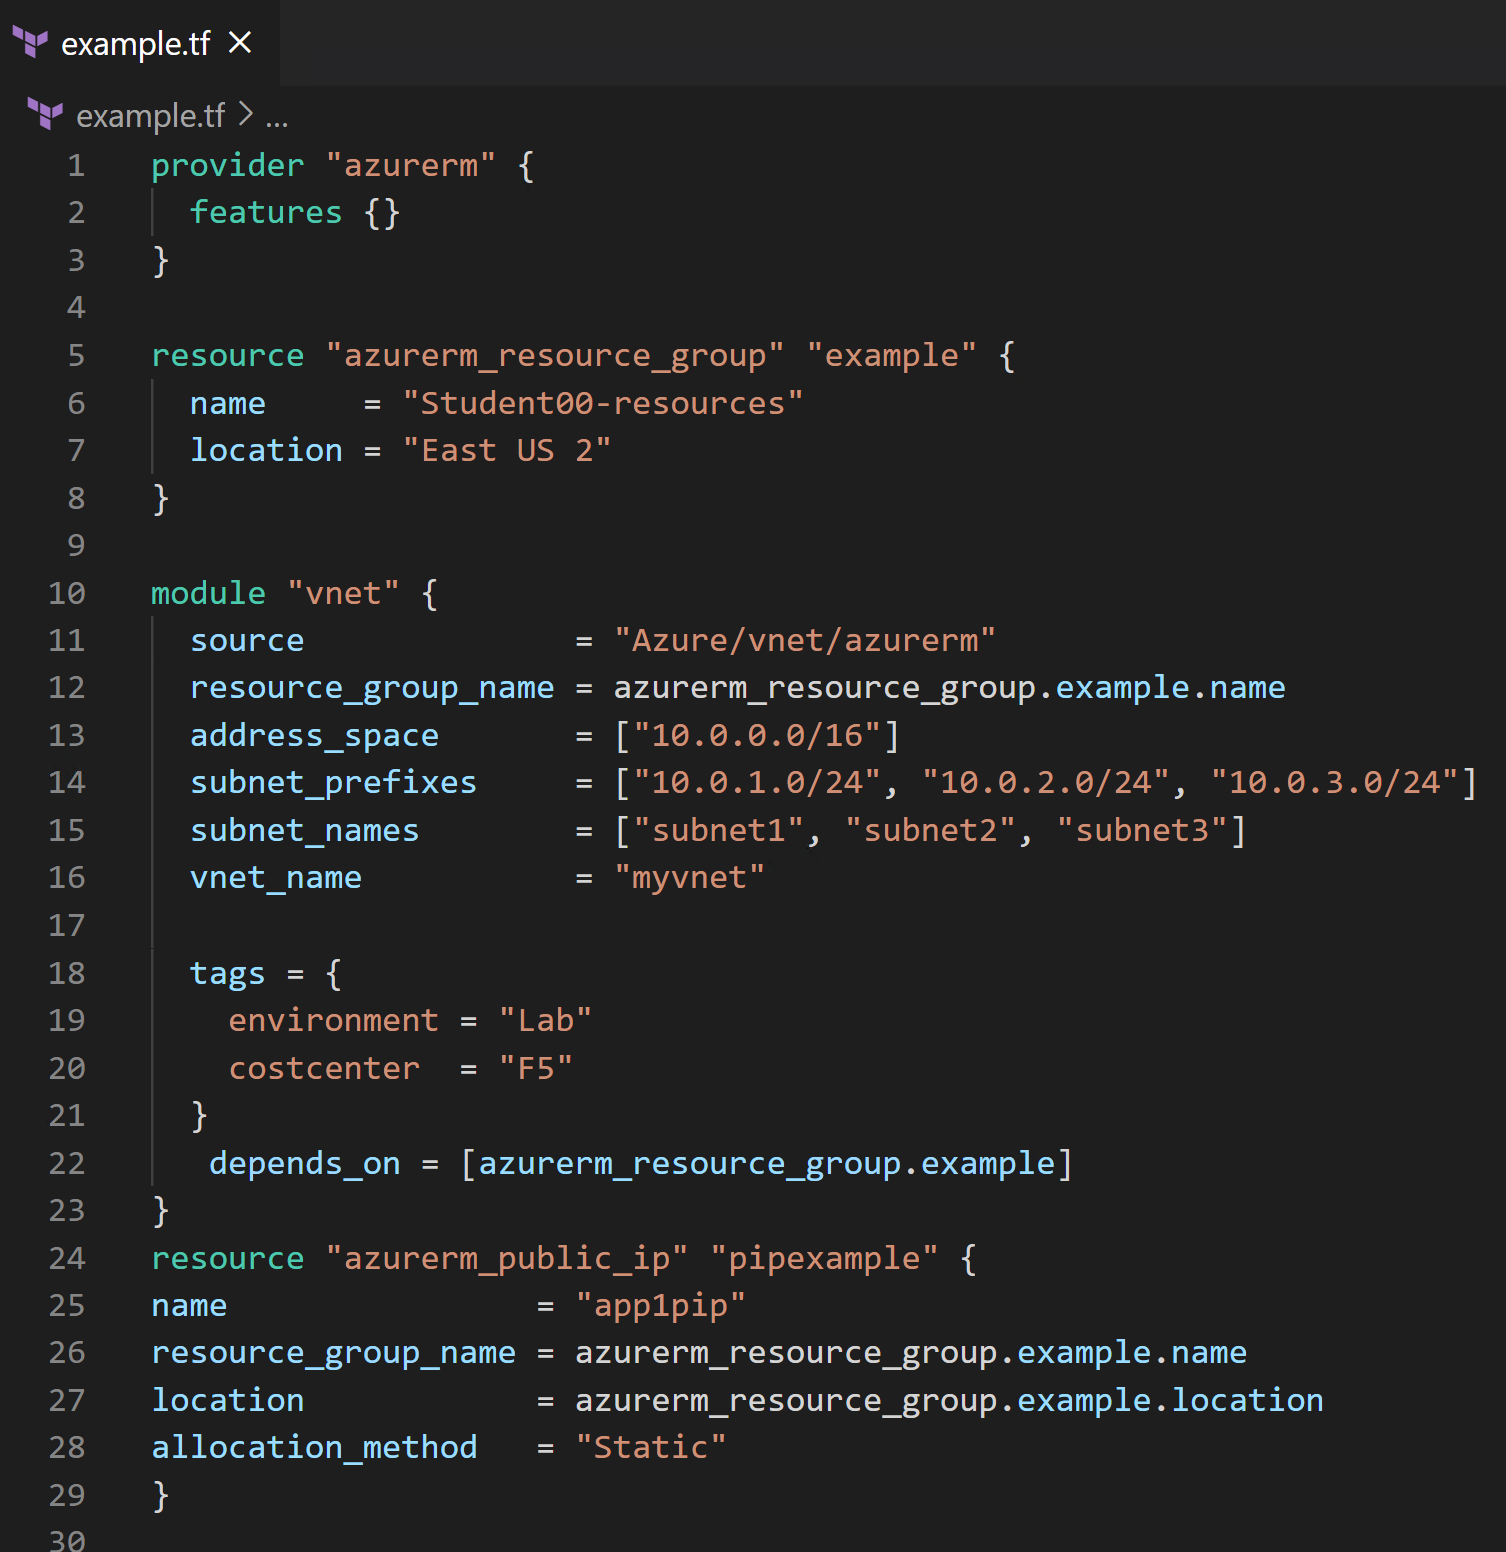
In the text editor type or paste the following text:
EDIT THE LINE
name = “Student##-resources”
To match your Student number
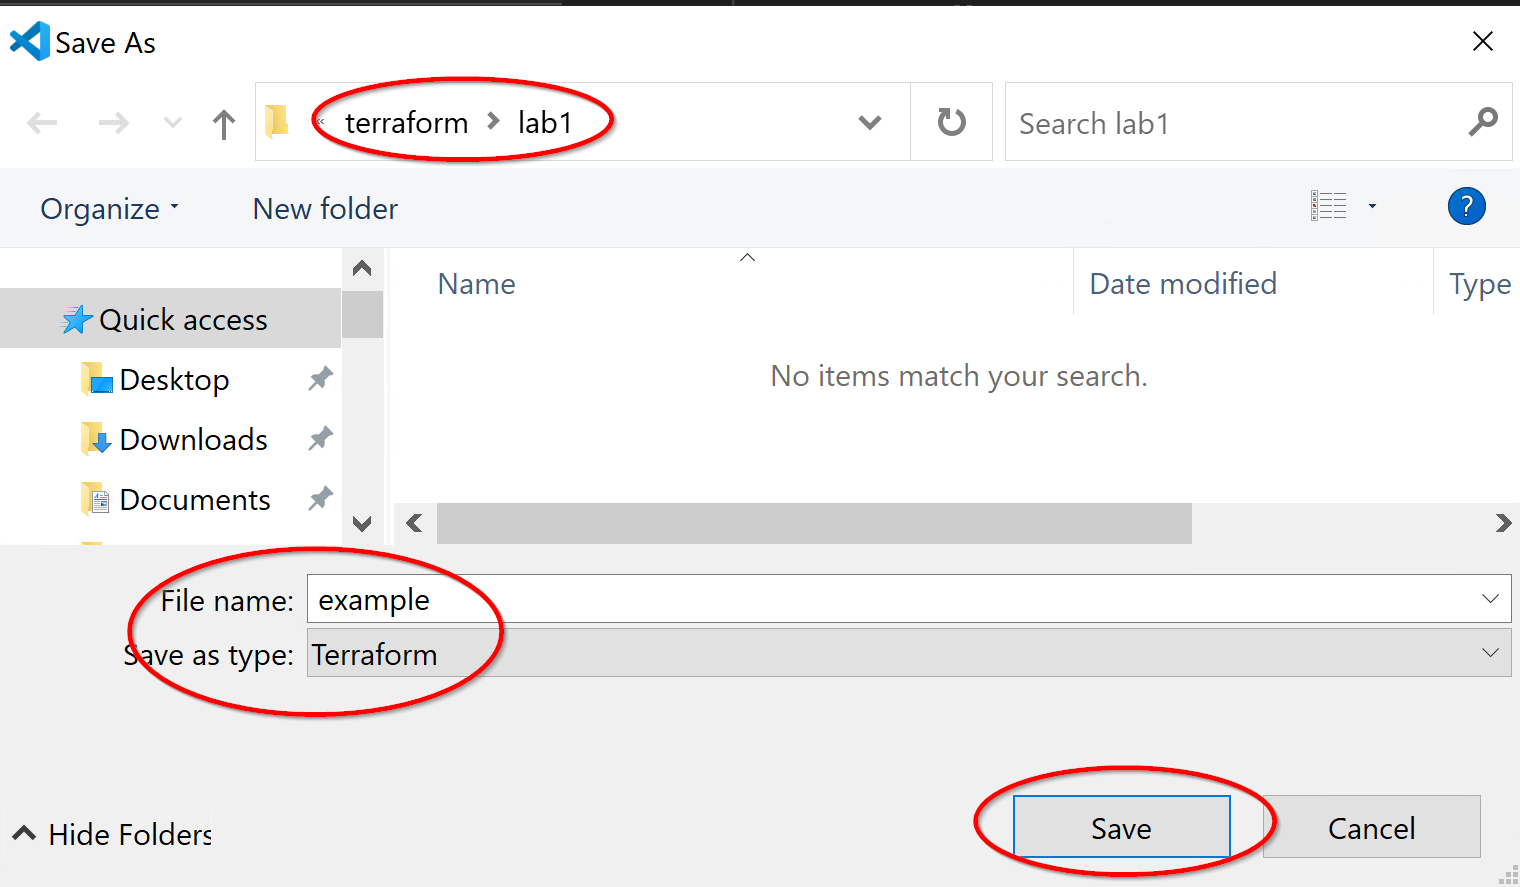
Now let’s save the file, click File…Save As… and choose a filename of “example” and a filetype of Terraform.
Once saved the file should look like this:
Now that we’ve created a Terraform file let’s switch back over to our git bash command prompt. At the prompt, type ls you should see our new file in the output.

Before we do anything cool with Terraform we need to get and cache credentials for Azure from the command line. Even though you have logged into Azure in Chrome already, you need to login via the command line in your Git shell in order to run commands against your Azure environment. To do this we use a command called “az”.
Now let’s logon using the –tenant option to ensure we are logging into the right subscription.
At the command prompt type: az login –tenant f5custlabs.onmicrosoft.com
Your default browser will pop up and you will be prompted to select the user the user you previously logged into Azure with, in lab 1.1.
You can type az account show at any time to see the user you are logged in with.
Now that we are logged in we can start exploring Terraform commands, first lets type terraform at the command prompt and see what options we have.
At the command prompt type terraform
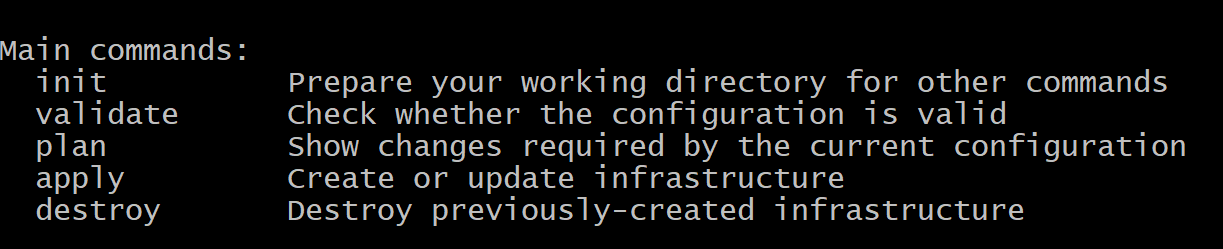
For the purpose of this lab we will be focusing on the 5 main commands. Let’s start by initializing our directory.
At the command prompt type terraform init
“This command performs several different initialization steps in order to prepare the current working directory for use with Terraform. More details on these are in the sections below, but in most cases it is not necessary to worry about these individual steps.
This command is always safe to run multiple times, to bring the working directory up to date with changes in the configuration. Though subsequent runs may give errors, this command will never delete your existing configuration or state.”
Next let’s validate the syntax of our new terraform file. We don’t have to specify the file as this will examine all .tf files in the directory.
At the command prompt type terraform validate
“The terraform validate command validates the configuration files in a directory, referring only to the configuration and not accessing any remote services such as remote state, provider APIs, etc.
Validate runs checks that verify whether a configuration is syntactically valid and internally consistent, regardless of any provided variables or existing state. It is thus primarily useful for general verification of reusable modules, including correctness of attribute names and value types.”
Next let’s plan the deployment.
From the command line type terraform plan
“The terraform plan command is used to create an execution plan. Terraform performs a refresh, unless explicitly disabled, and then determines what actions are necessary to achieve the desired state specified in the configuration files.
This command is a convenient way to check whether the execution plan for a set of changes matches your expectations without making any changes to real resources or to the state. For example, terraform plan might be run before committing a change to version control, to create confidence that it will behave as expected.”
You should get an output like this, only longer:
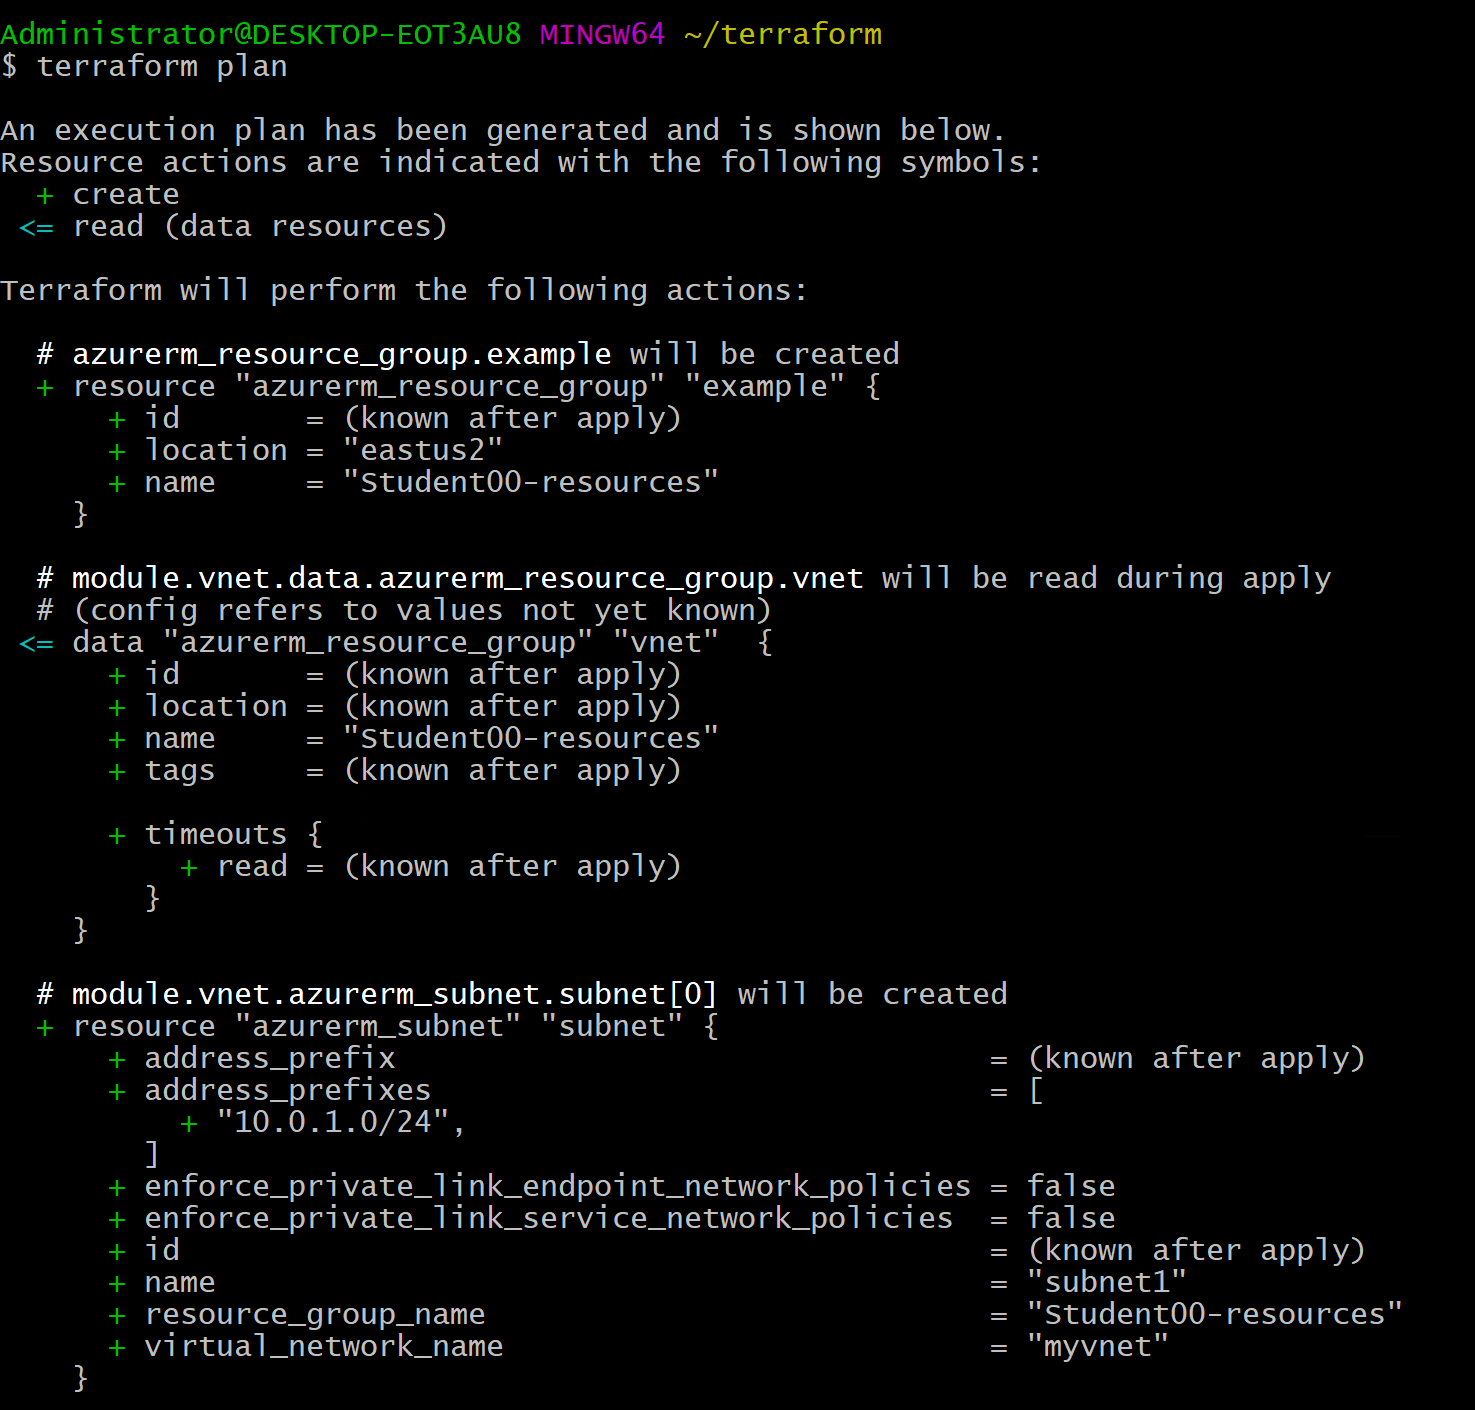
Terraform compares the state in Azure (currently blank) vs the resources in the .tf file and plans on what actions need to occur to convert the state to the desired configuration (example.tf). In this case that’s adding a bunch of resources, indicated by the green plus sign.
Now let’s deploy our configuration
At the command prompt type terraform apply
“The terraform apply command is used to apply the changes required to reach the desired state of the configuration, or the pre-determined set of actions generated by a terraform plan execution plan.”
When prompted type yes

Terraform will create the resources, this should take less than 1 min.
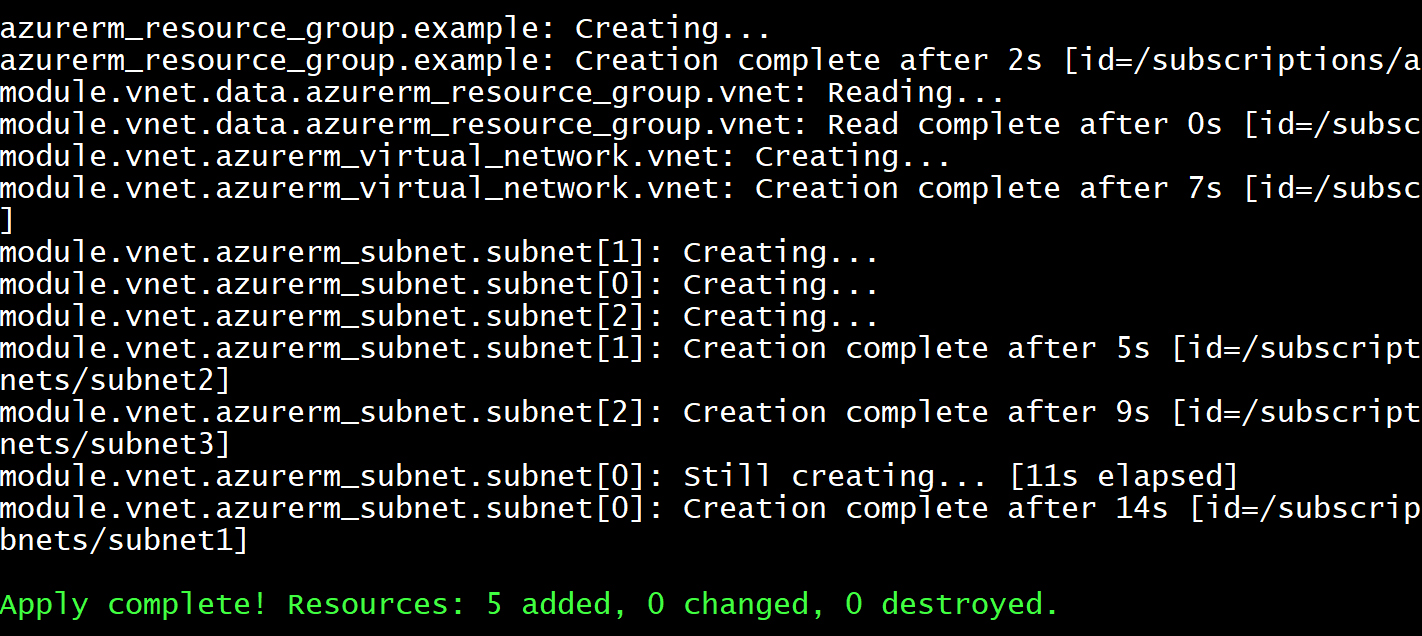
We created 5 resources, 1 resource group, 1 vnet, and 3 subnets.
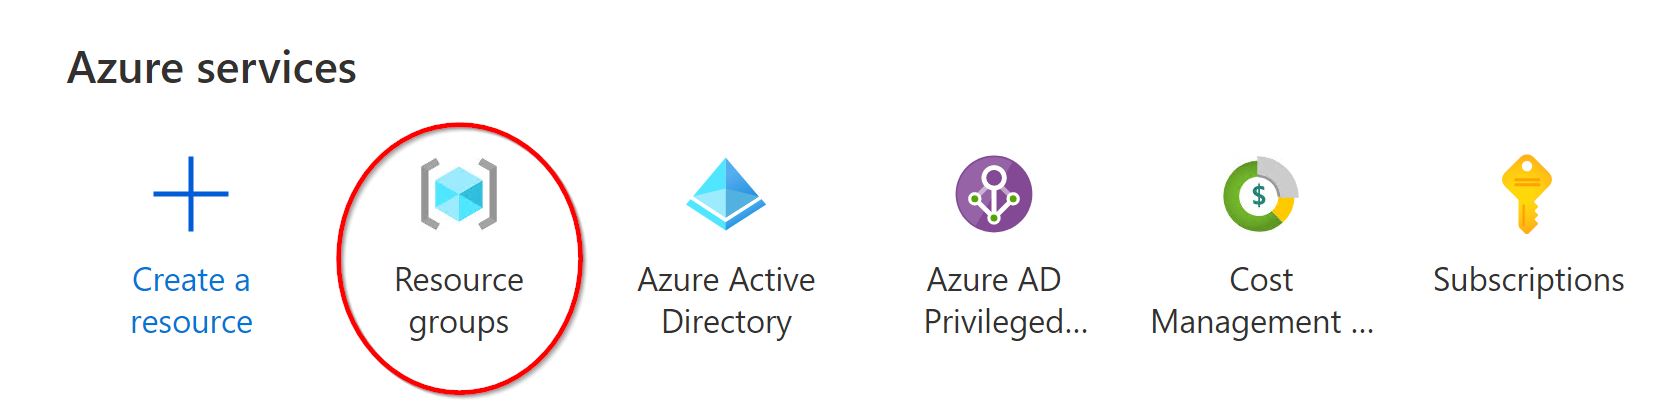
Now open Azure in the browser again, https://portal.azure.com if you logged out.
Click on Resource Groups
Then click on your resource group:
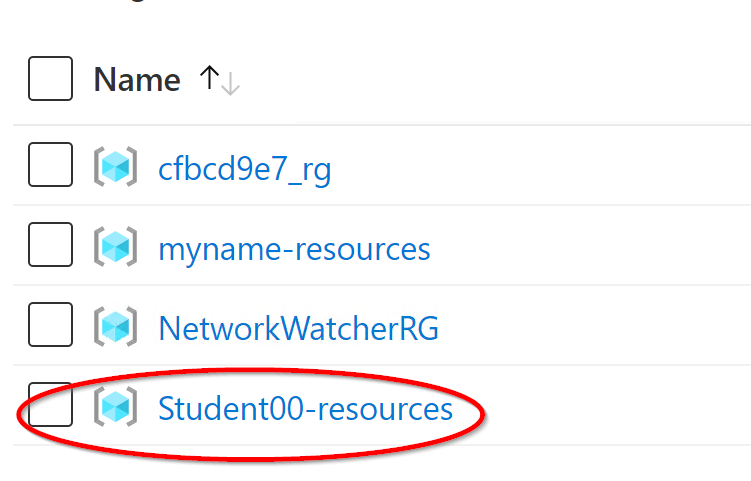
You should see a single vnet named “myvnet”, it has 3 subnets if you click on it and explore. But for now, we just want to ensure this was created as we expected.
1.2.2 Create a Public IP (PIP)
Now let’s go back to our Terraform file in VS Code and make some changes:
Let’s add the following text to the bottom of the file and then click File…Save:
The file should now look like this:
From git bash let’s validate the syntax, create an execution plan and then apply it.
From the Command line type:
terraform validate
terraform plan
Notice that the plan is only adding the 1 new resource, the PIP (Public IP).
terraform apply -auto-approve
“-auto-approve” prevents us from having to type “yes”.
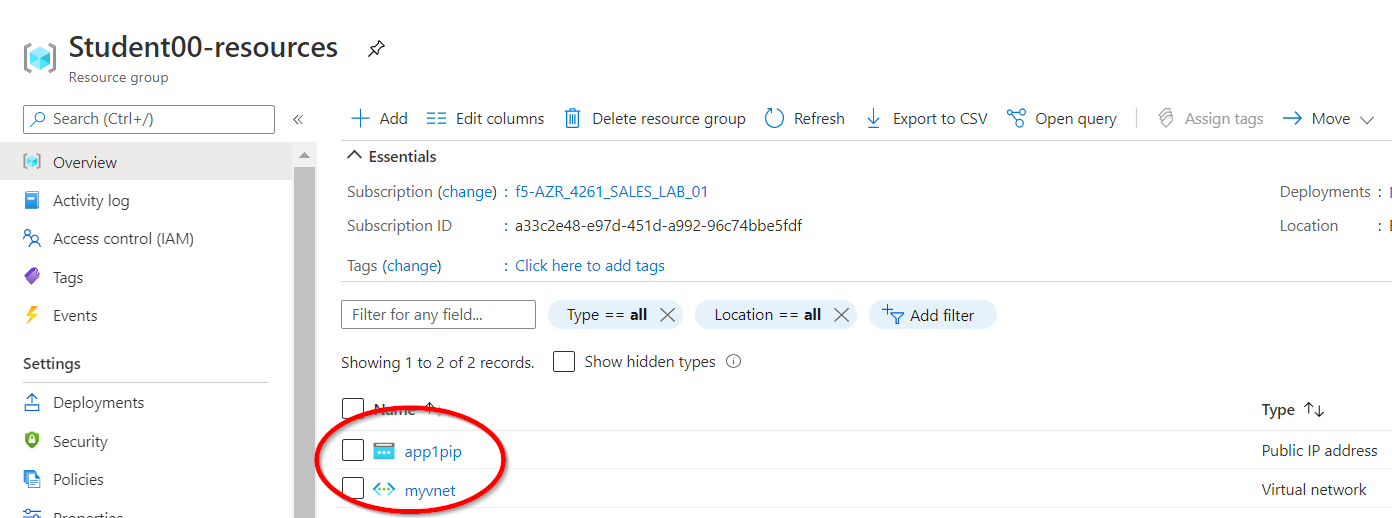
Now let’s go back into the Azure Management Console and view the items in this resource group. You should see both the VNET and the PIP.
1.2.3 Terraform as a Source of Truth
At this point the objects deployed in Azure match the objects defined in example.tf. If we want to make changes we can modify the Terraform File to implement the changes. Additionally, if someone accidentally modifies Azure directly, we can redeploy to get us back to our known good state. Let’s try both of these.
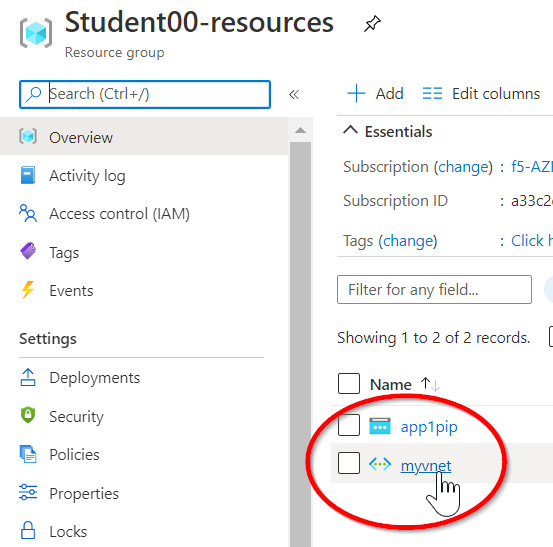
Let’s simulate a human error by going back into the Azure Management Console and deleting the VNET manually. Click on myvnet and then click delete.
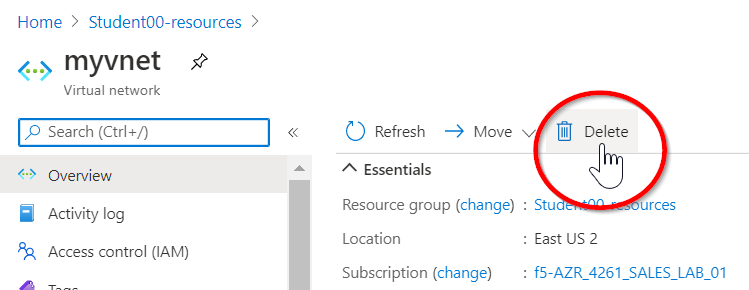
Click Yes when prompted
Management has also decided that we don’t need a Public IP address so let’s comment out that in the example.tf file by placing a “#” in front of those lines. The text should now look like this:
Save the file then run:
terraform validate
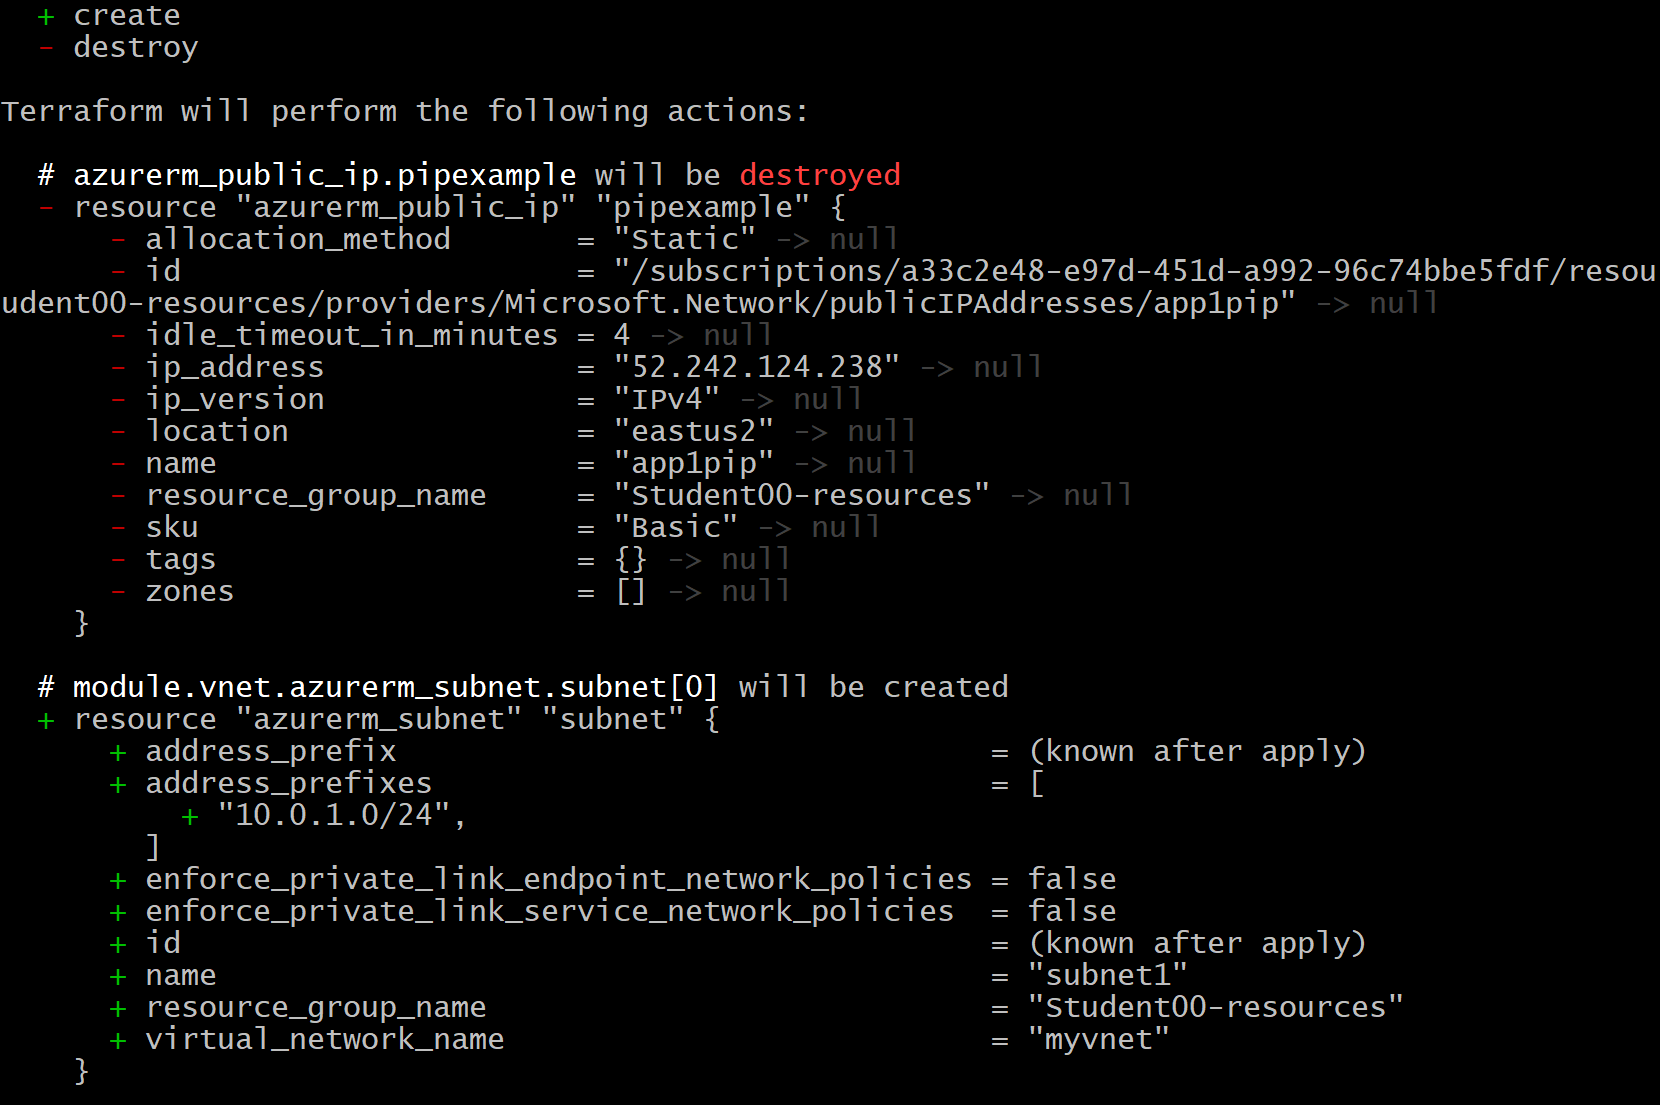
terraform plan
Notice that it will delete the PIP because it’s commented out and add the Subnets and VNET back because they are missing in Azure but still defined in the .tf file.
terraform apply -auto-approve
Now let’s go back into the Azure Management Console and view the items in this resource group. You should see both the VNET is back and the PIP has been deleted.
Let’s clean up by running:
terraform destroy
You will be prompted to type in “yes” then the entire resource group will be deleted.
 Stop, this is the end of Module 1.