F5 Public Cloud Solutions > A&O Toolchain: BIG-IP HA in Public Cloud with Terraform (Agility Labs 2023) > 5. HA Failover via Cloud Load Balancer Source | Edit on
5.3. AWS Network Load Balancer
You will use Terraform to create a new AWS Network Load Balancer resource and redeploy the AS3 declarations to the BIG-IPs.
5.3.1. Terraform Updates
In the VS Code terminal, copy additional files from the ha-via-lb folder to the main terraform folder.
cp ~/f5lab/terraform/ha-via-lb/* ~/f5lab/terraform

Note
This portion of the lab leverages the F5 BIG-IP Terraform Provider to deploy AS3 declarations.
Apply the Terraform updates.
terraform apply
You should see output similar to the following:
Plan: 8 to add, 1 to change, 0 to destroy.

Do you want to perform these actions?
Terraform will perform the actions described above.
Only 'yes' will be accepted to approve.

Enter a value:
Enter
yesand wait for the configuration changes to be applied.If the deployment fails with an error relating to the Elastic IP association, run
terraform applyagain.In the TMUI of each BIG-IP, verify that the AS3 configurations were deployed (check the Example01 partition).
In the AWS Console, navigate to EC2 Dashboard > Load Balancers to examine the new NLB resource.
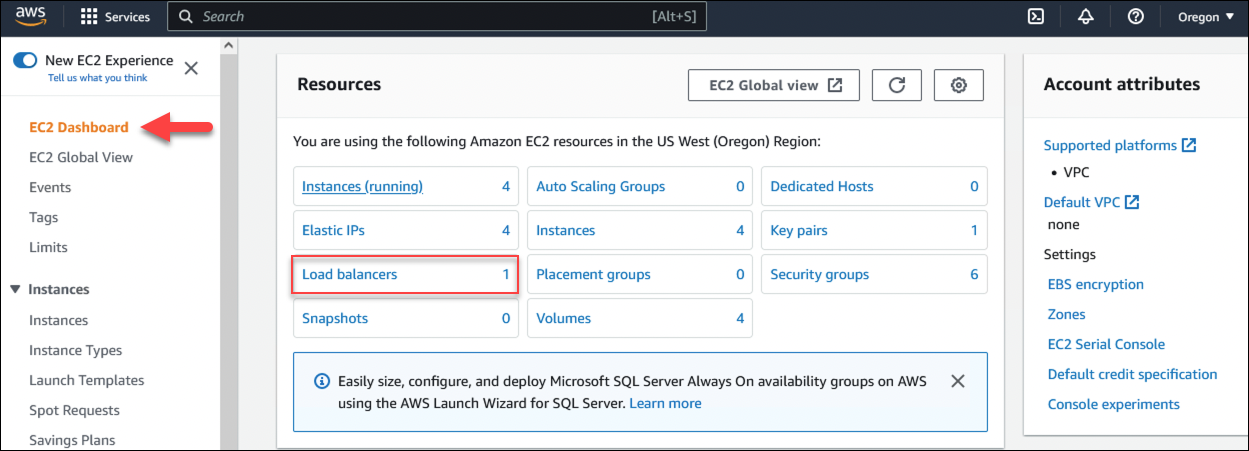
Click the load balancer resource to see more details. There will be only one load balancer.
5.3.2. Test Applications
Click the copy icon beside the DNS name.
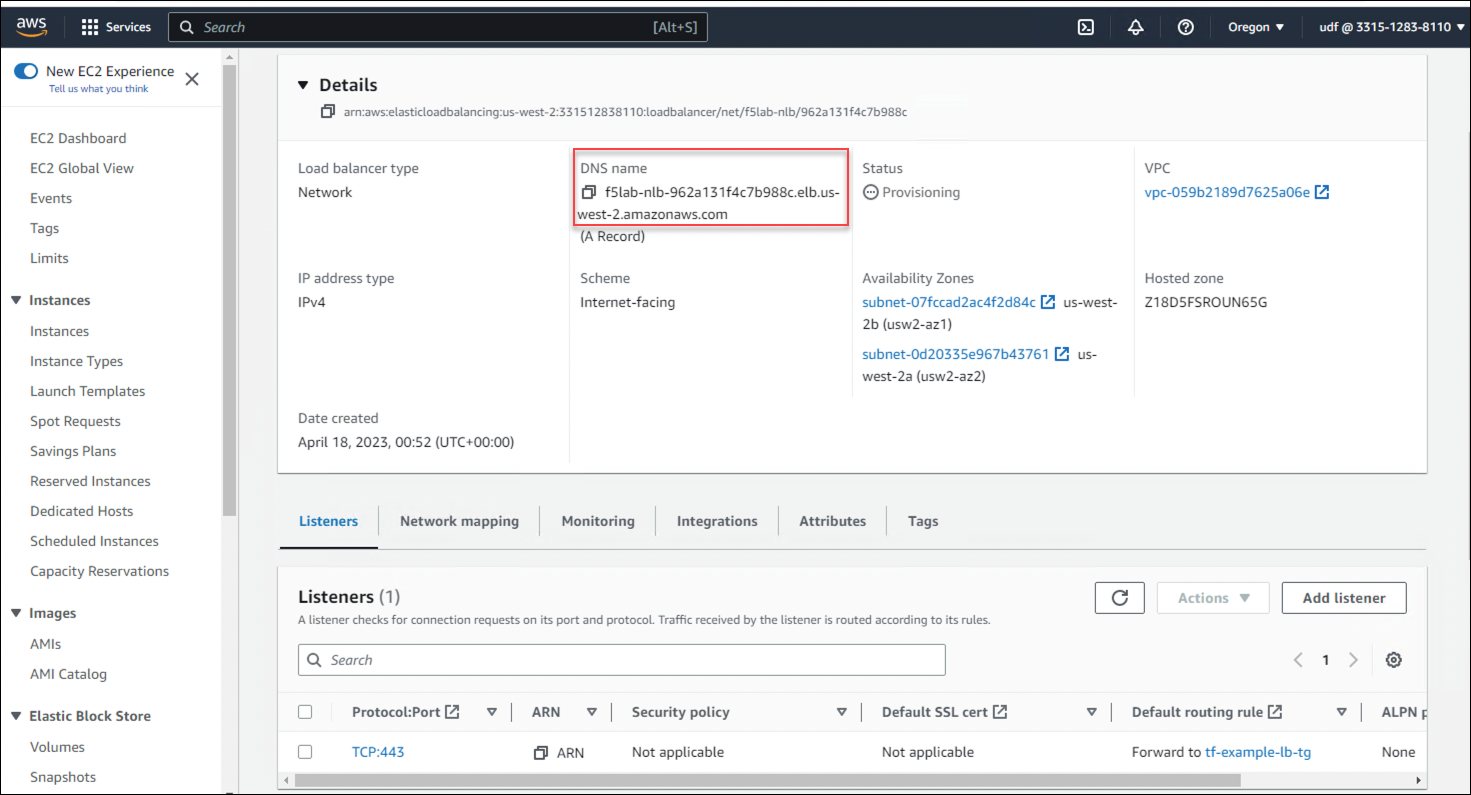
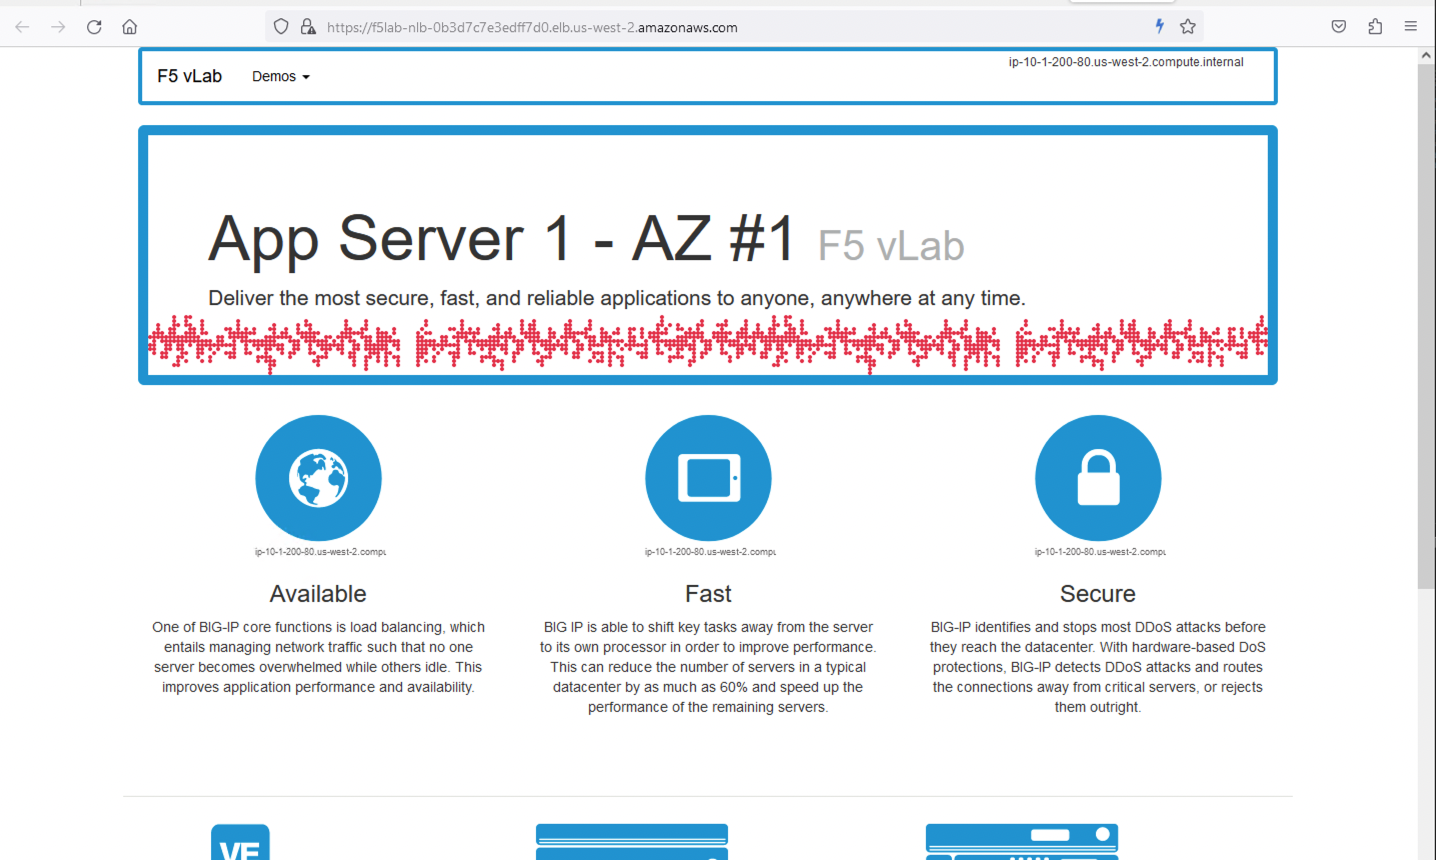
Open a new web browser tab, enter
https://into the address bar, and then paste the previously copied DNS name value.You should see the example application page from one of the servers.
In the AWS Console, click on the tf-example-lb-tg target group at the bottom of the f5lab-nlb load balancer page to view the health of each BIG-IP Virtual Server. Both should show healthy.