F5 Web Application Firewall Solutions > WAF 101 - BIG-IP Security: Mitigating App Vulnerabilities with AWAF > Module 2 – Create a BIG-IP Advanced WAF Policy to Protect the Juice Shop Source | Edit on
Lab 1 - Use the Secure Guided Configuration to Build a WAF Policy
Objective
- Log into the BIG-IP
- Create a blocking policy using the guided configuration utiliy
- Apply the security policy to an existing virtual server
- Apply a security logging profile to the virtiual server
Create security policy using the Guided Configuration
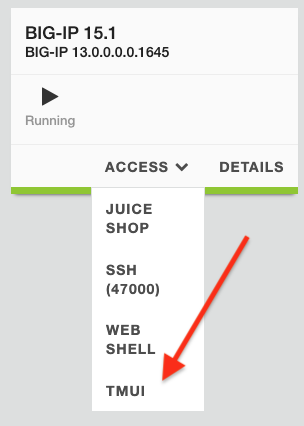
On your UDF page, go to your BIG-IP component, click the Access drop down menu and choose TMUI (traffic management user interface). This is a link to your configuration utility.
Login to the BIG-IP with the ever so secure credentails of Username
adminand Passwordf5demos4u!.On the Main tab to your left, select Security > Guided Configuration. This opens the Guided Configuration screen.
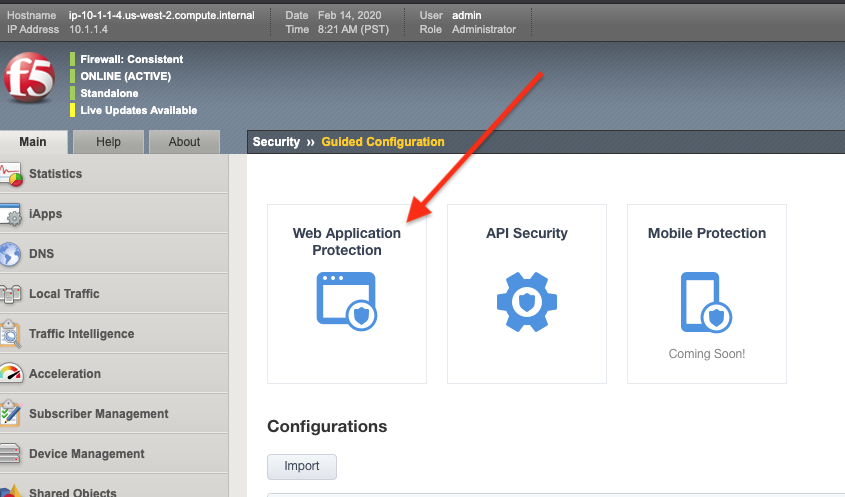
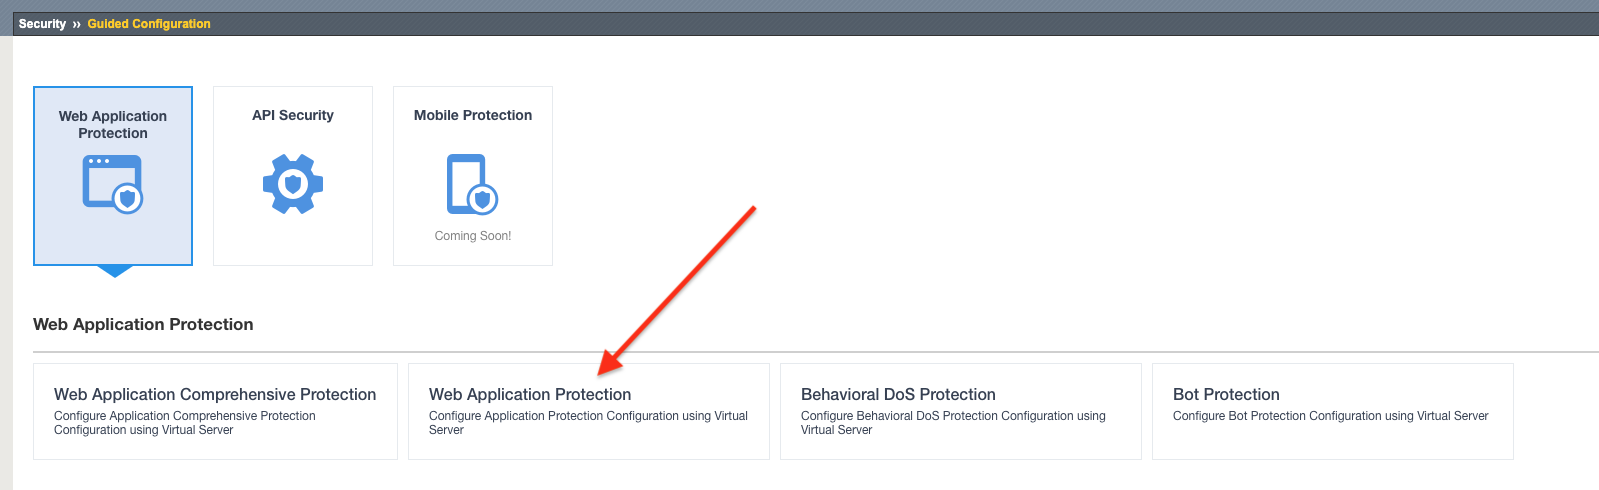
Click on the Web Application Protection template button.
The guided configuration now provides an overview of what will be configured. Click the Next button.
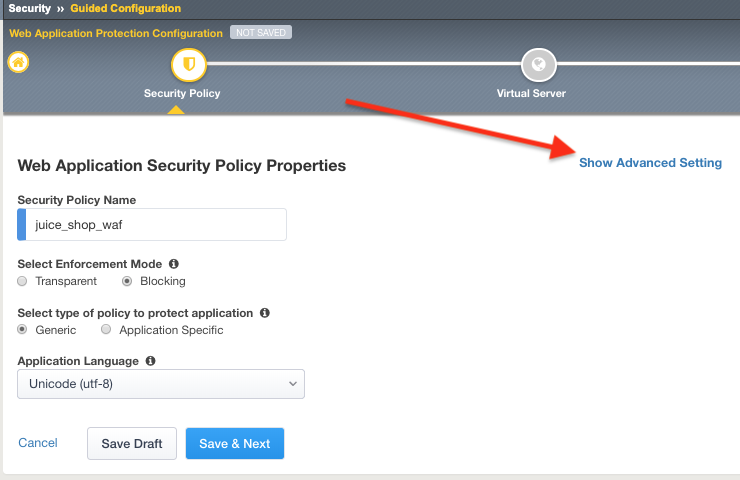
Give your configuration the name
juice_shop_wafthis will also name your security policy.Under Select Enforcement Mode select Blocking
Note
Typically you would deploy a new policy in a transparent mode so you can observe the logs before blocking to help avoid false positives. But come on….this is a lab. We are going to block stuff!
Click on Show Advanced Settings button in the upper right hand corner of your page.
Under Server Technologies add the following to the selected window. Adding these technologies will assist in building a more precise policy.
- AngularJS
- Express.js
- JavaScript
- JQuery
- MongoDB
- Node.js
- SQLite
Press the Save & Next Button below.

Note
We are adding these technologies since we know what the application is using. There is also a feature that can be turned on that can allow the policy to learn these technologies.
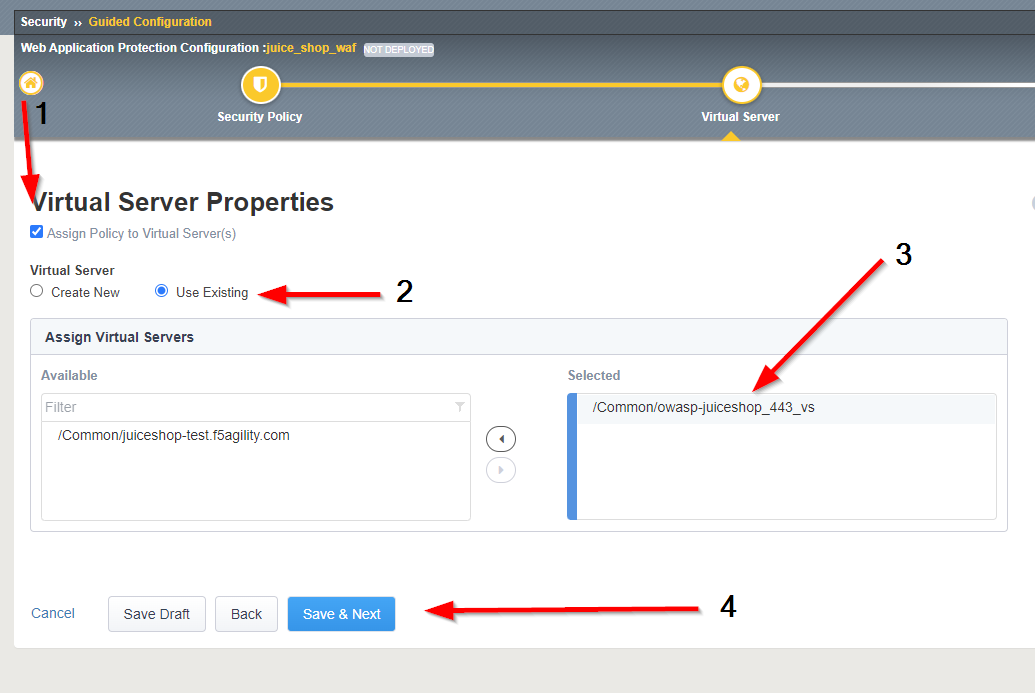
Check off Assign Policy to Virtual Server, under Virtual Server choose Use Existing, and move the Juice_Shop_VS to the selected window. Press Save & Next
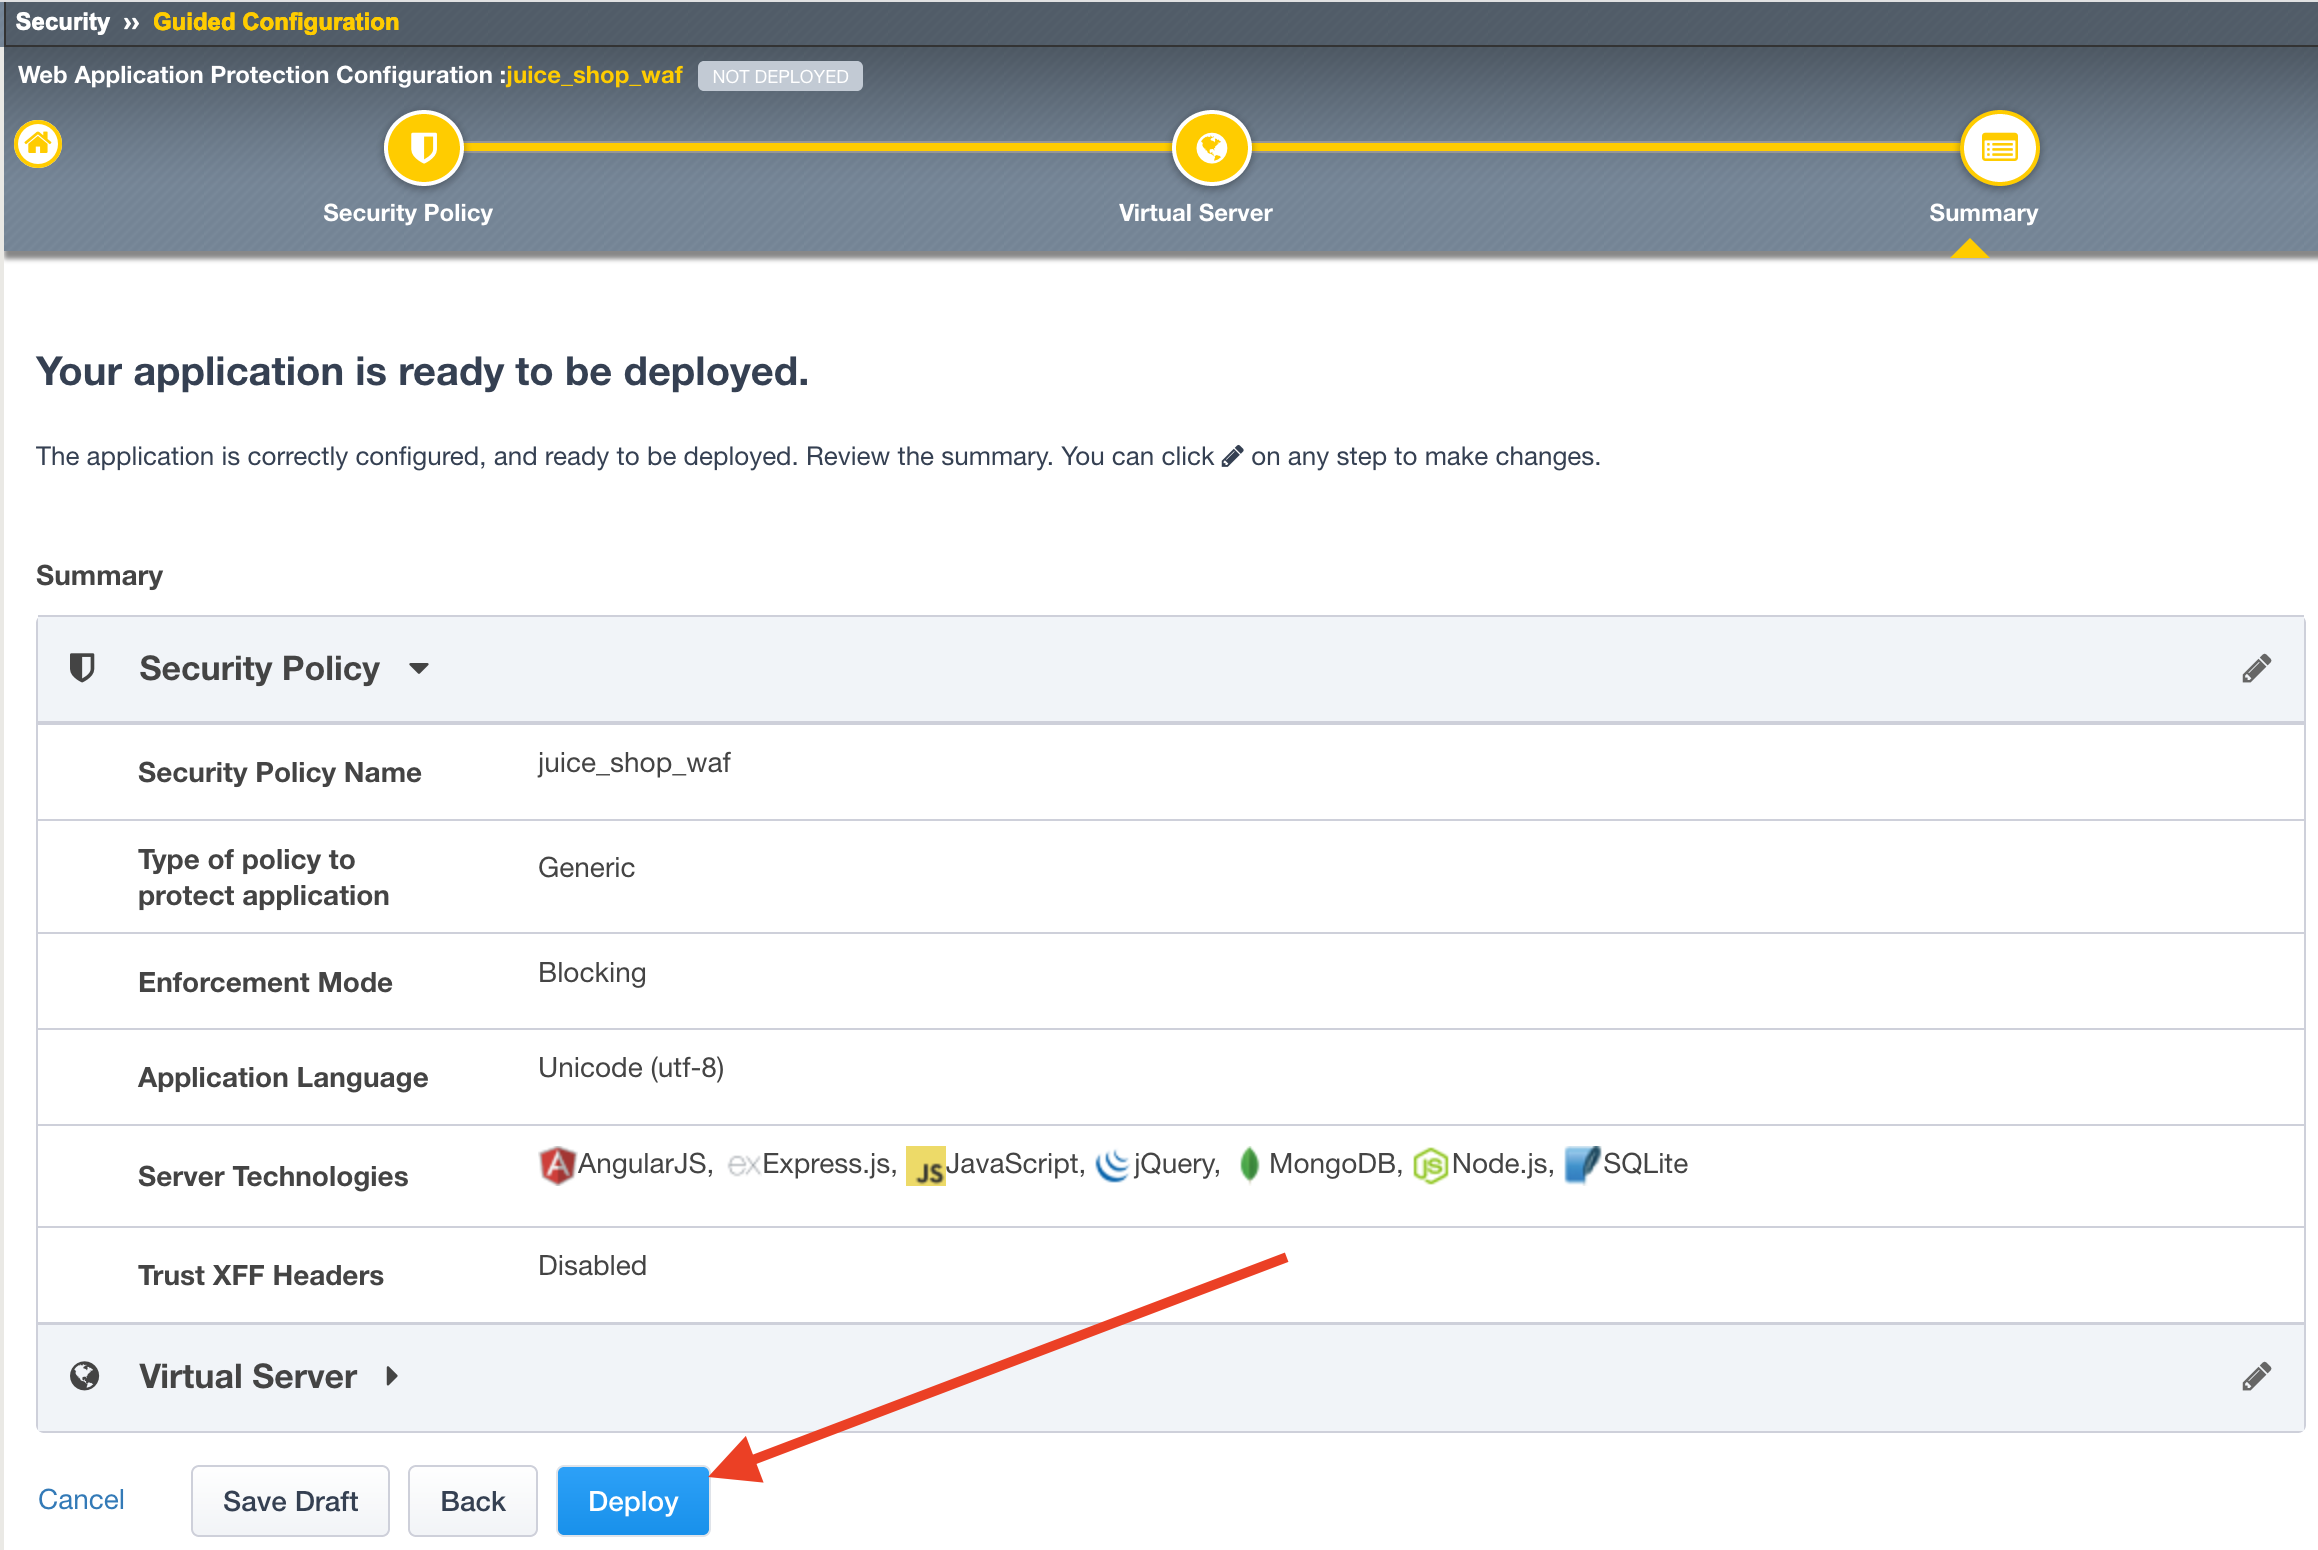
The next page will summarize the objects and policy configuration. Review, and take note that you can also go back and edit if required. When done click Deploy at the bottom of the screen. It will take a few moments to complete the policy build.
After the policy is created, we will want to apply a logging profile to our new security policy.
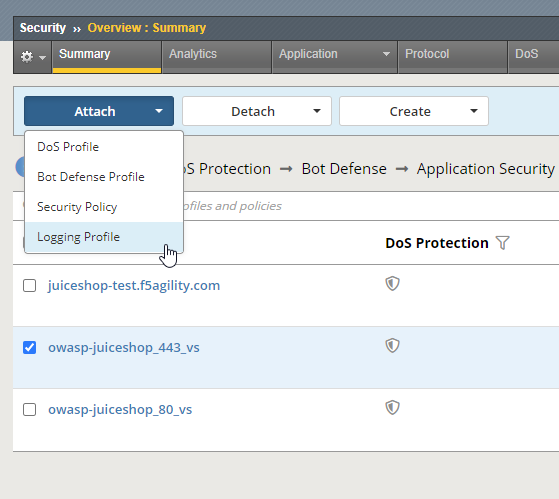
- Go to Securirty -> Overview -> Summary, and the policy you just created should be listed.
- Place a check to the left of the Virtual Server name that your new security policy is applied to.
- Now click the blue Attach button above and select Logging Profile
- Select Log illegal requests and press the other Attach button below.
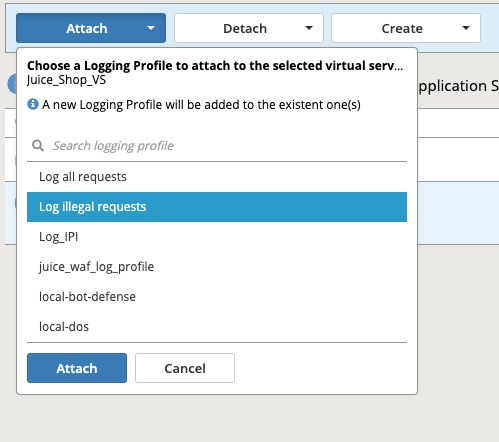
- You will now see the logging profile is added under the Application Security column.
You now have an active application security policy that is learning, staging, and logging protections against the
Juice_Shopvirtual server.