F5 BIG-IP Next > Class 1: Introduction to BIG-IP Next DNS > Module 1: Introduction to BIG-IP Next DNS Source | Edit on
Lab 1.5 - Deploy Generic Host with Global Resiliency
In the previous lab exercises we deploy Global Resiliency using a native BIG-IP Next application.
In this exercise we will use a “Generic Host” that will allow you to target non-BIG-IP Next instances.
A Generic Host currently only uses an ICMP probe to determine the health of the host
Lab 1.5.1 - Edit Application
Navigate to Applications
Navigate to Applications by clicking the workspace switcher next to the F5 icon

Then click on Applications

Click on “gr_app” (previously created)
In the upper right click on “Edit”
Click on “Review & Deploy”
Click on “Configure” next to “Generic Hosts”
Lab 1.5.2 - Configure Generic Host
Fill in the properties
Use the following values
Property Value Name generic Health Monitor Gateway ICMP Generic Hosts’s IP Address 10.1.10.30 Under “Virtual Servers” click on “+Add”
Use the following values
Note
In this example we are using a FQDN to perform a lookup of the desired IP address to return
Property Value Name generic_vs IP Address or FQDN fqdn-vip.example.com Port 443 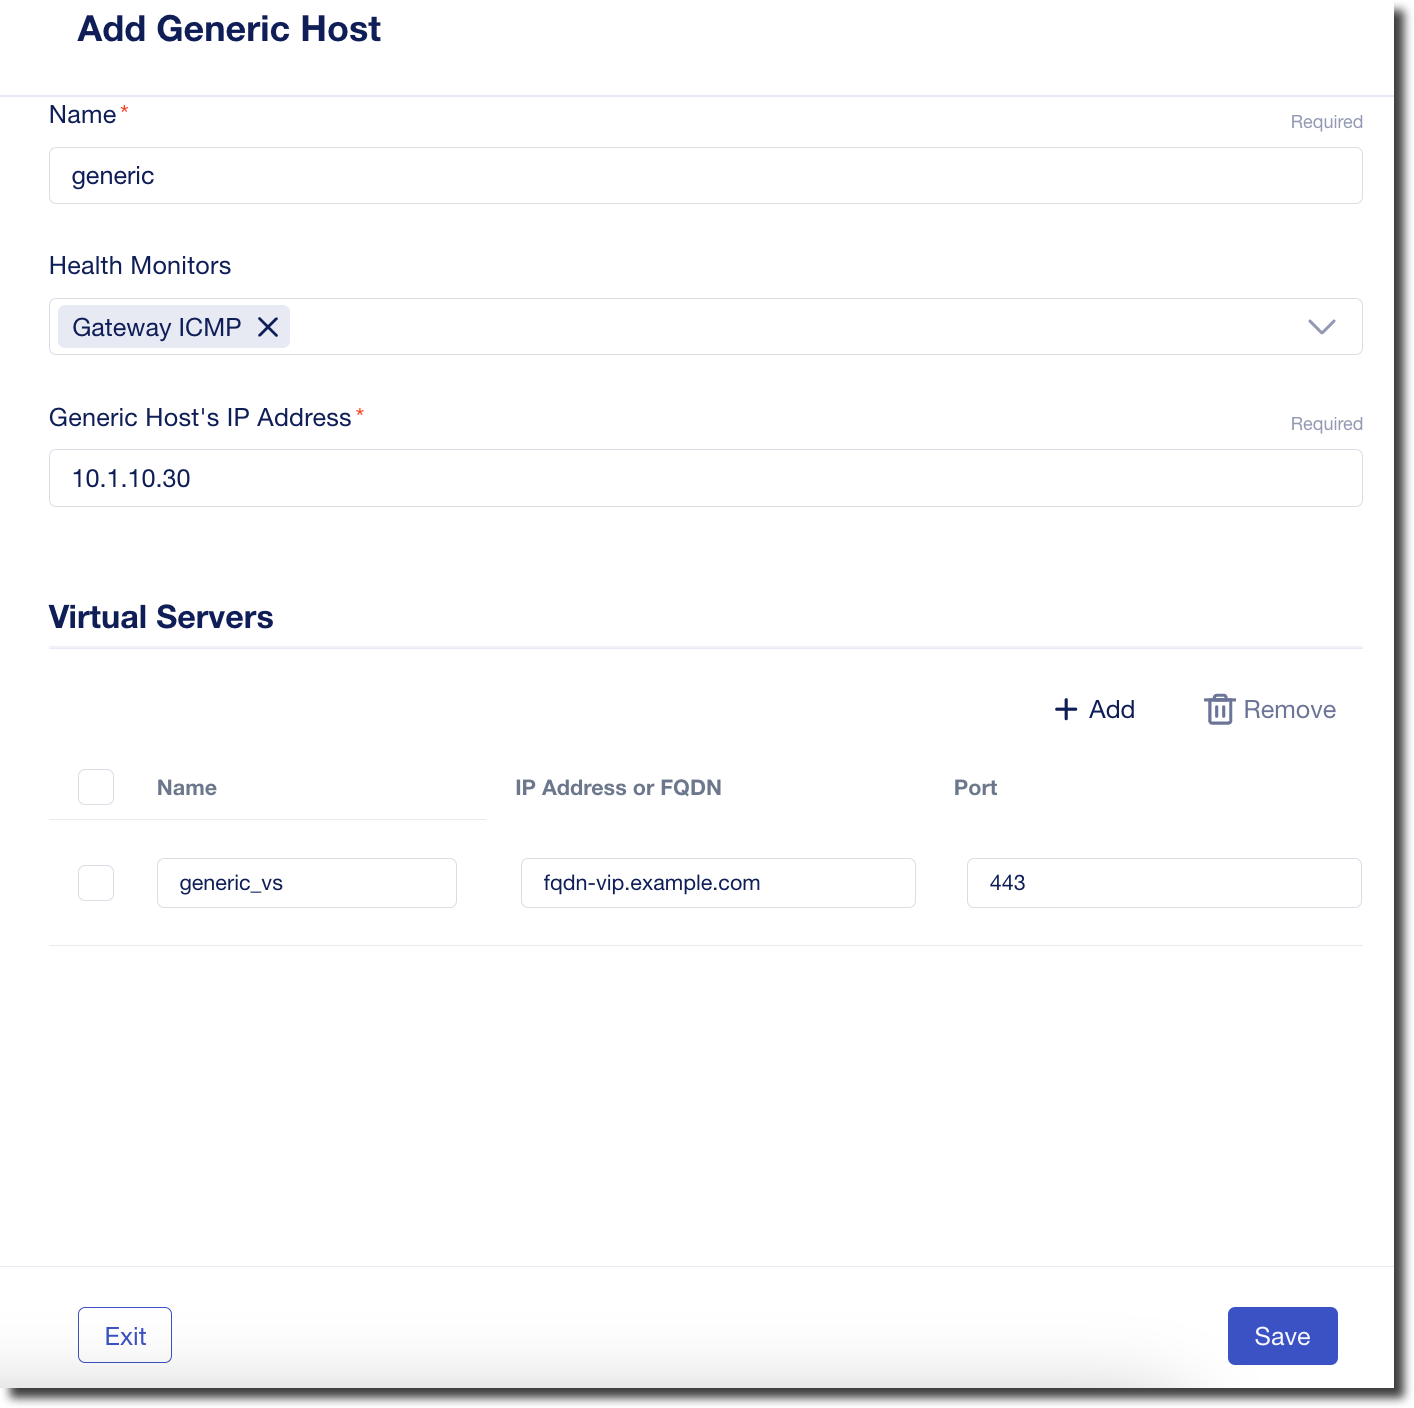
Click on “Save”
Click on “Deploy Changes”
When prompted, press “Yes, Deploy”
Lab 1.5.3 - Open Web Shell
We will use the “dig” utility to verify our DNS records
Within your UDF Deployment, go to the WEB SHELL access method that is under the Ubuntu Jump Host
Type the following command
# dig @10.1.10.53 gr.example.com +shortrepeat the command (you can use the up arrow to auto-complete) several times
You should see 10.1.10.100 and 10.1.40.100 being returned
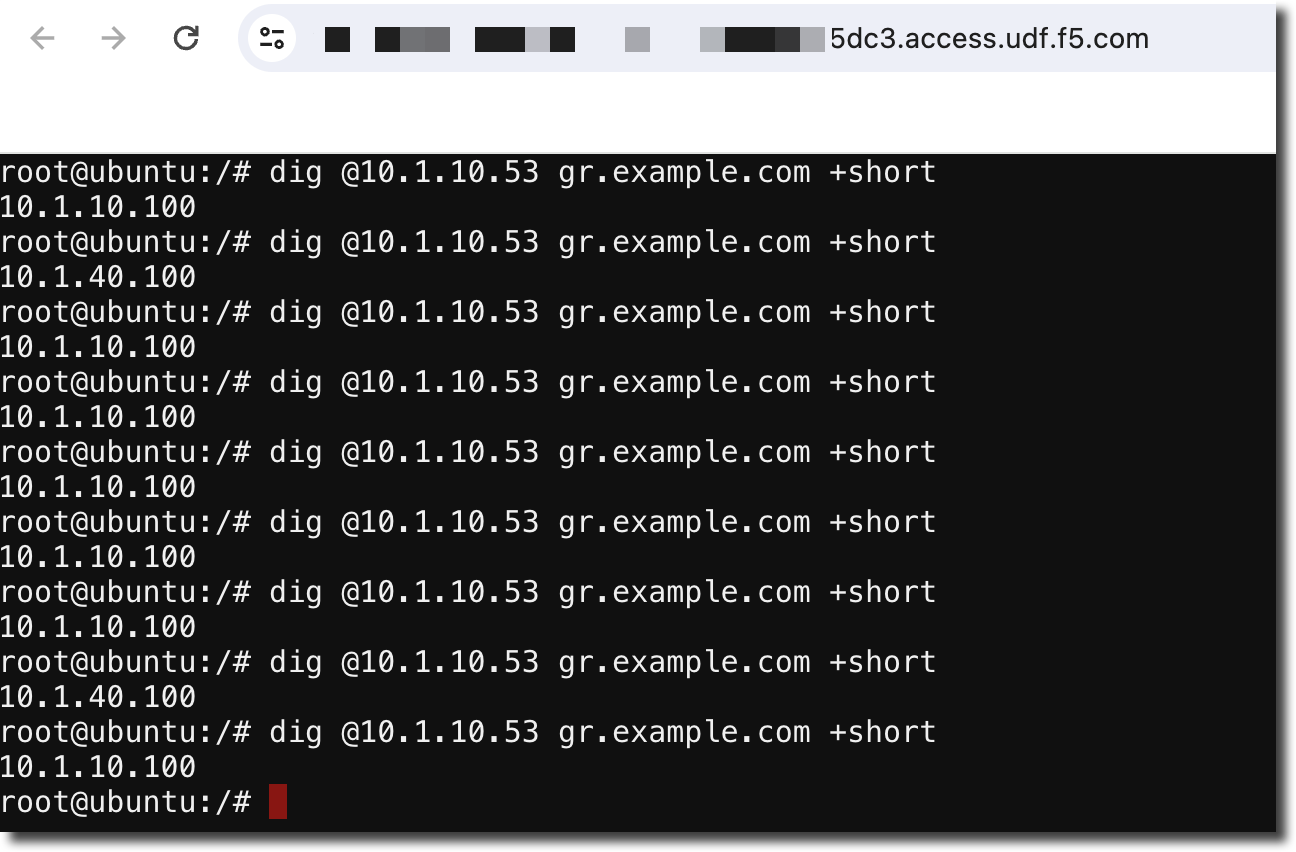
We are not seeing the new generic host entry because we have not configure the DNS Next instances to use the DNS server that has the appropriate name for “fqdn-vip.example.com”
Lab 1.5.4 - Override Next Instance DNS Resolver
By default BIG-IP DNS will use the DNS resolver that is configured via DHCP or during the setup of the Next instance.
In this lab exercise we will override the default DNS setting to point to a DNS resolver that has been configured to respond to the name ‘fqdn-vip.example.com’
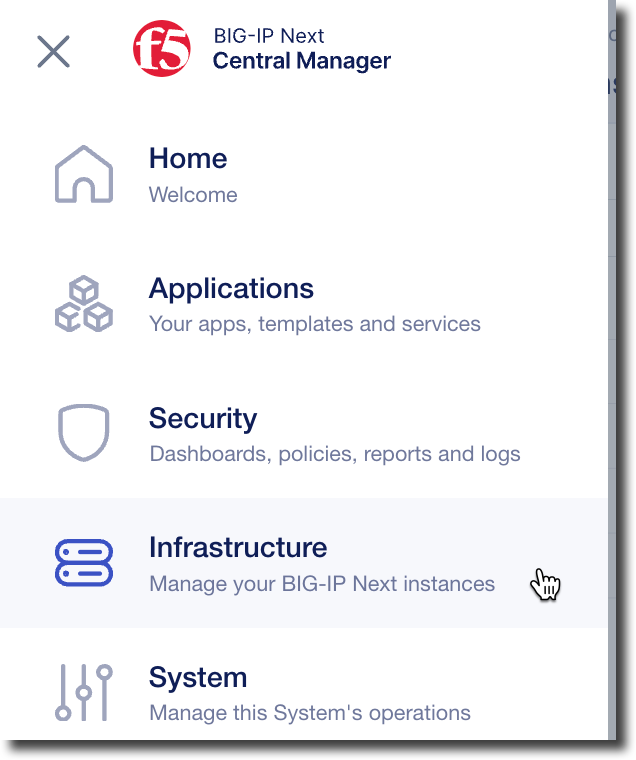
Navigate to Instances
Navigate to Instances by clicking the workspace switcher next to the F5 icon
Then click on Infrastructure
Click on “next-dns-01.example.com” to bring up the instance properties then click on “DNS” and “Edit” (top right)
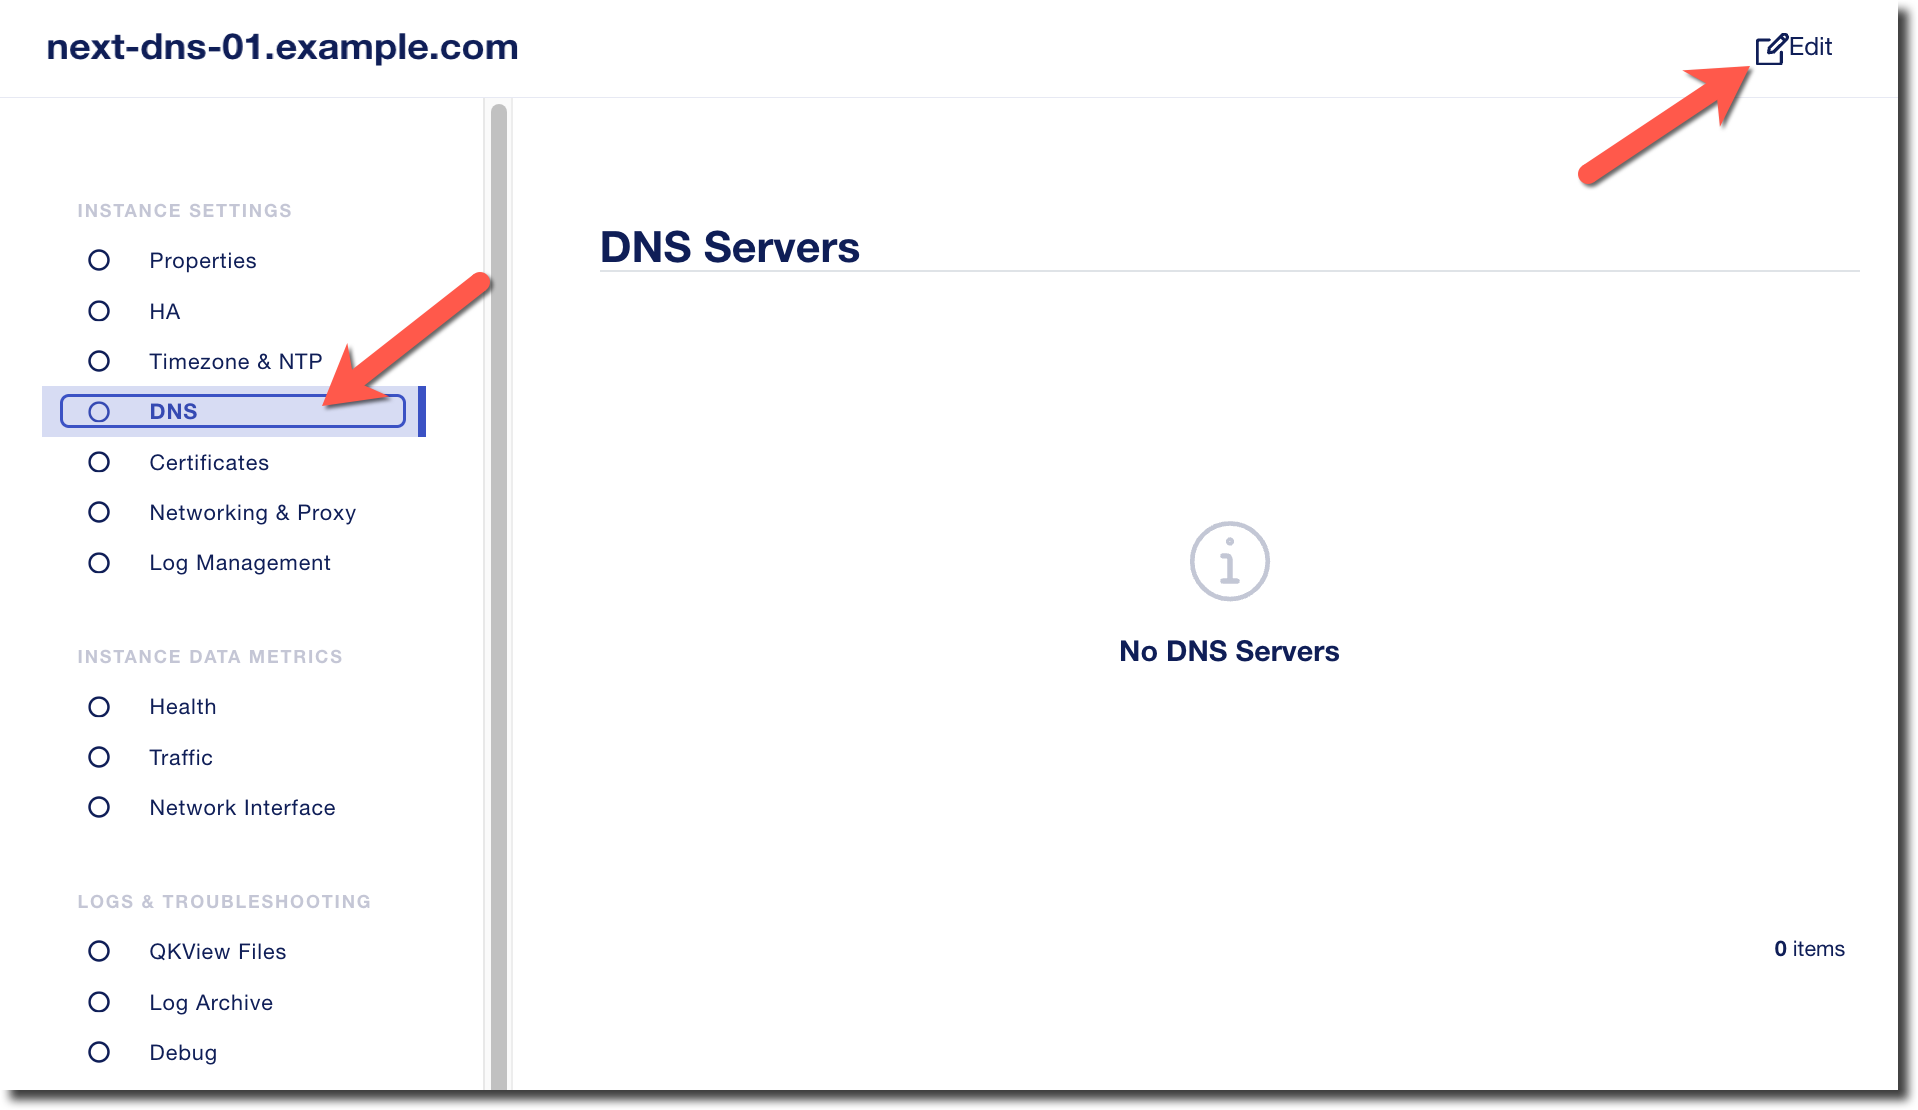
Under “DNS Servers” click on “+Create” and enter “10.1.1.6” and then click on “Next”
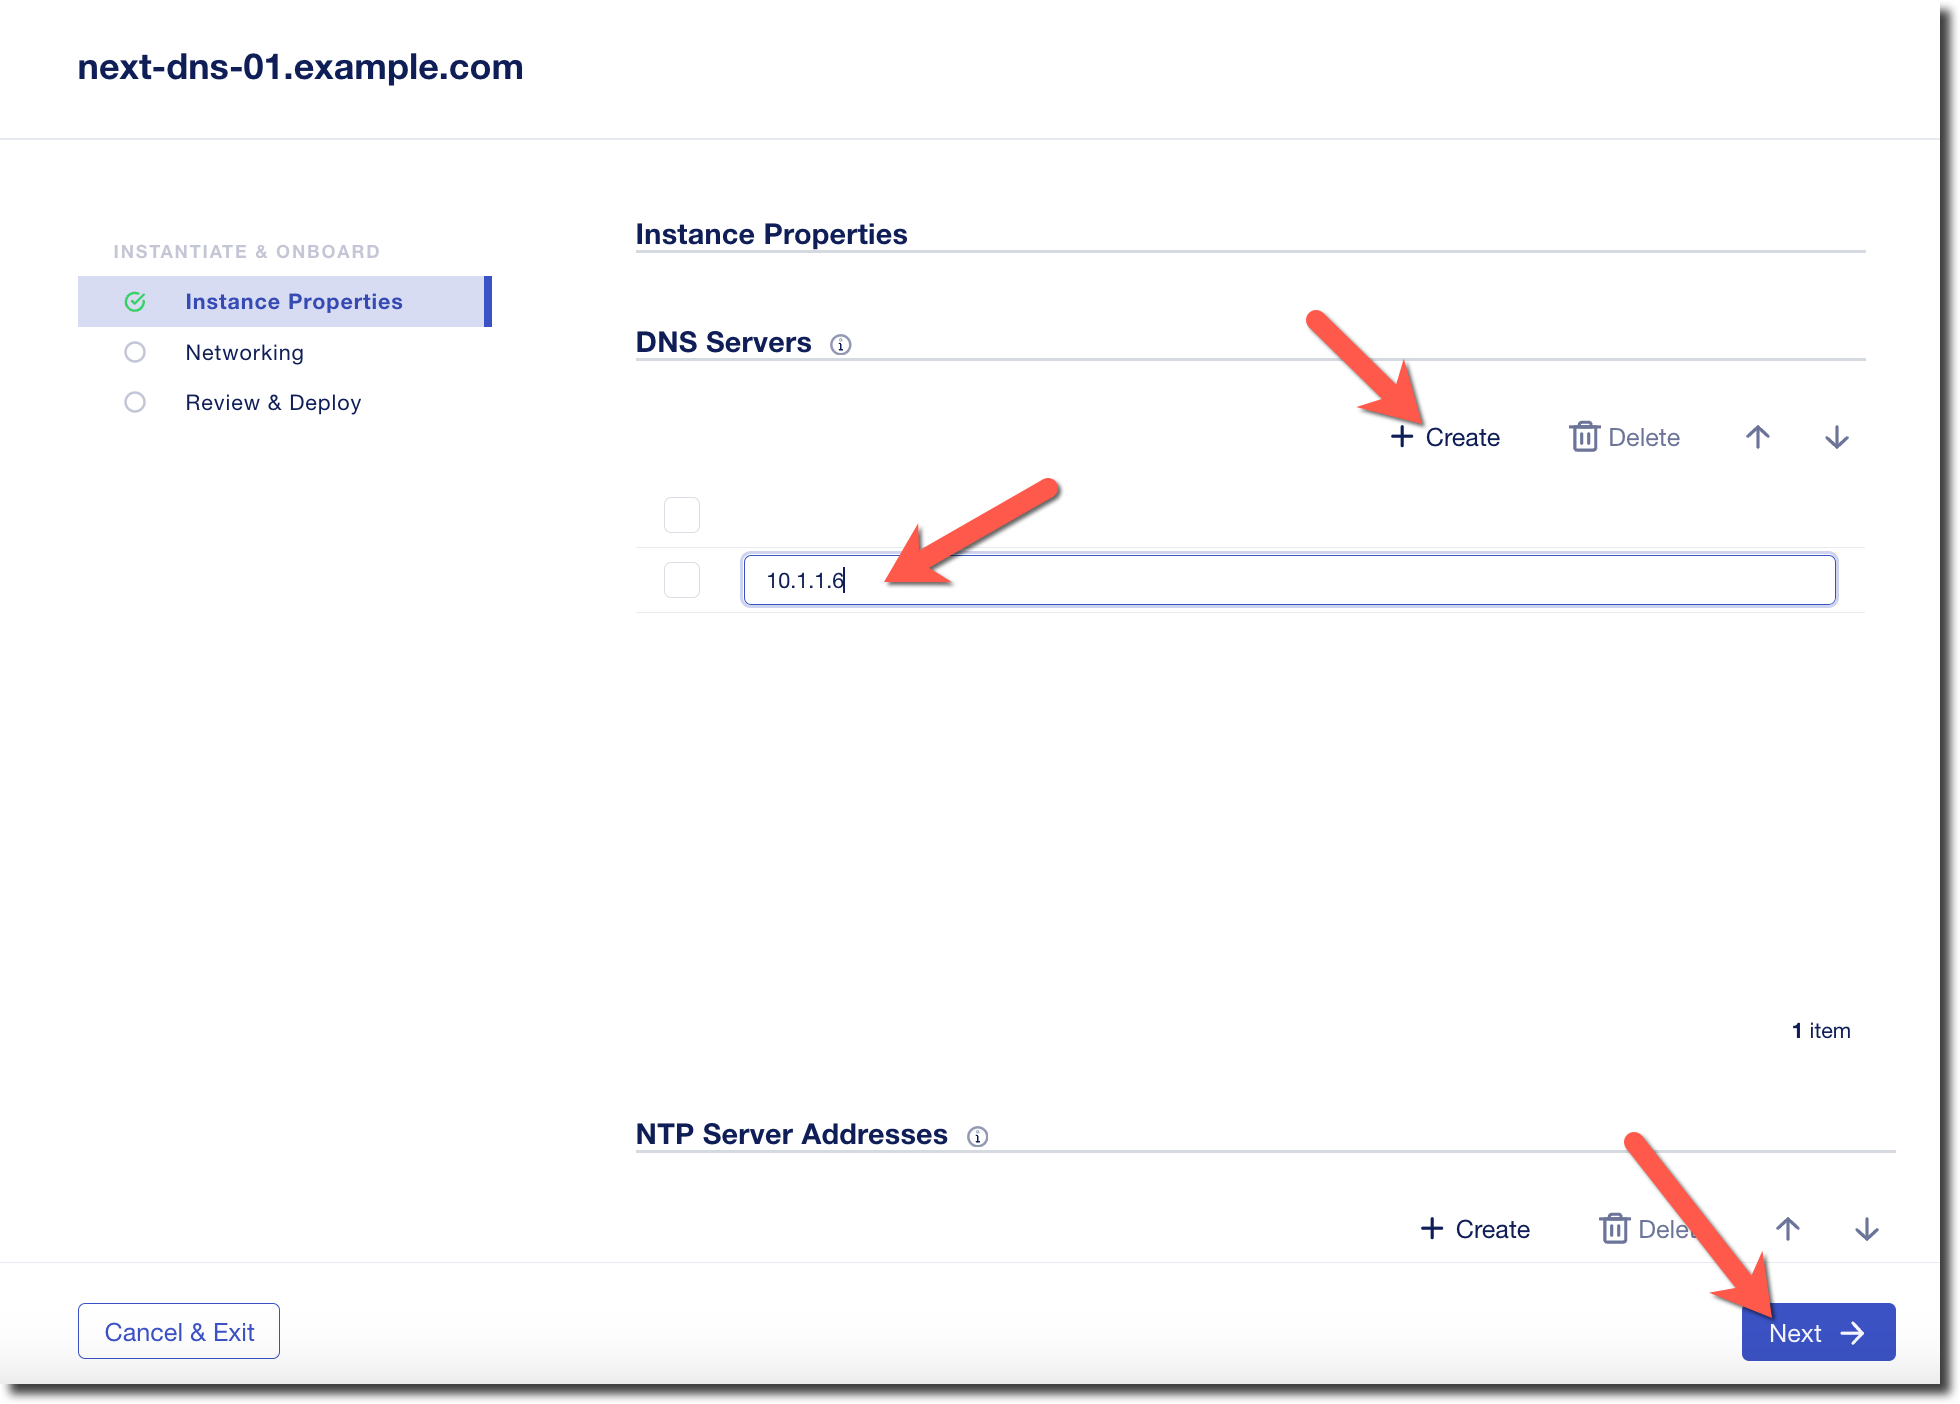
Click on “Next” again
Click on “Deploy”
Lab 1.5.5 - Verify FQDN VIP
We will use the “dig” utility to verify our DNS records
Within your UDF Deployment, go to the WEB SHELL access method that is under the Ubuntu Jump Host
Type the following command
# dig @10.1.1.6 fqdn-vip.example.com +short
You should get back the IP address for the name.
Type the following command
# dig @10.1.10.53 gr.example.com +shortrepeat the command (you can use the up arrow to auto-complete) several times
You should see 10.1.10.100, 10.1.40.100, and 10.1.10.30 being returned
