F5 BIG-IP Next > Class 1: Introduction to BIG-IP Next > Module 3: Deploy and operate Applications Source | Edit on
Lab 3.1 - Deploy and operate Applications
This section of the lab will utilize the “Applications” section of BIG-IP Next Central Manager.
When creating an application service, it happens in two steps.
Step 1: Step 1:
Start by selecting a template, which will determine what type of features you will need (i.e. HTTPS, WAF, etc…). Some templates can be built to allow you to toggle features on/off (the template that ships with Central Manager includes the ability to toggle on/off WAF, iRules, etc…).
Once you have selected your template, you will need to define the name of your virtual server (destination of where you want your clients to connect) and information about the pools (backend servers). This includes information such as the port numbers that should be used.
Step 2:
After you have defined the properties for your application, you will need to select the location of where you would like to deploy your applications. You will then be prompted for the IP addresses for that specific location.
Navigate to Applications
Navigate to Applications by clicking the workspace switcher next to the F5 icon

Then click on Applications

Create Application
From My Application Services click on + Add Application

Enter an application name of “https-app” and select From Template

Click on Select Template
Select HTTPS-Load-Balancing-Service
Note
This is a customized template that was created specifically for this lab. It is not included in a default installation of Central Manager

Then click on Start Creating
Application Service Properties

You will see the default Application Service Properties for this template (these have been pre-populated by the template; in a later lab you will need to fill these in)
Click on the edit icon next to “HTTPS” to view further details of the HTTPS configuration
Protocols and Profiles
Here you can see the TLS options, click on “Add” under “No Client-Side TLS”

Client-Side TLS
Under RSA certificate, enter a name of “www”, select the certificate “www.example.com” (use RSA Certificate), and leave “Use Default Server” selected.

Then click on “Save” and “Save” again to return to the Application Service Properties screen.
Review and Deploy
Click on Review and Deploy
You will now see the Deploy-to screen

Click on the Start Adding button in the middle of the screen.
Select Location
You will need to select big-ip-next-01.example.com and then click on Add to List
Warning
You may need to adjust the zoom setting on your browser window to see the “Add to List” button

Virtual Address
You can now enter your Virtual Address. Use the IP Address “10.1.10.200”
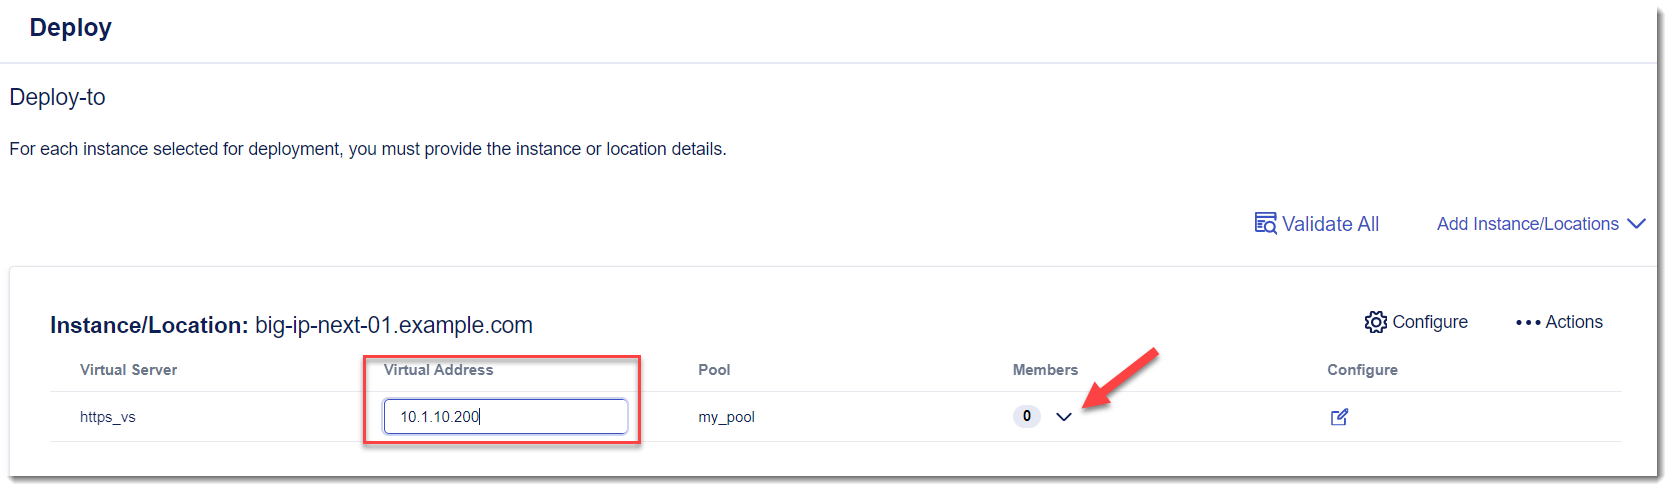
Then click on the down arrow next to “members” to open the Pool Members screen
Pool Members
Click on the + Pool Members to add pool members

On the Pool Members screen click on the Add Row that is in the lower right
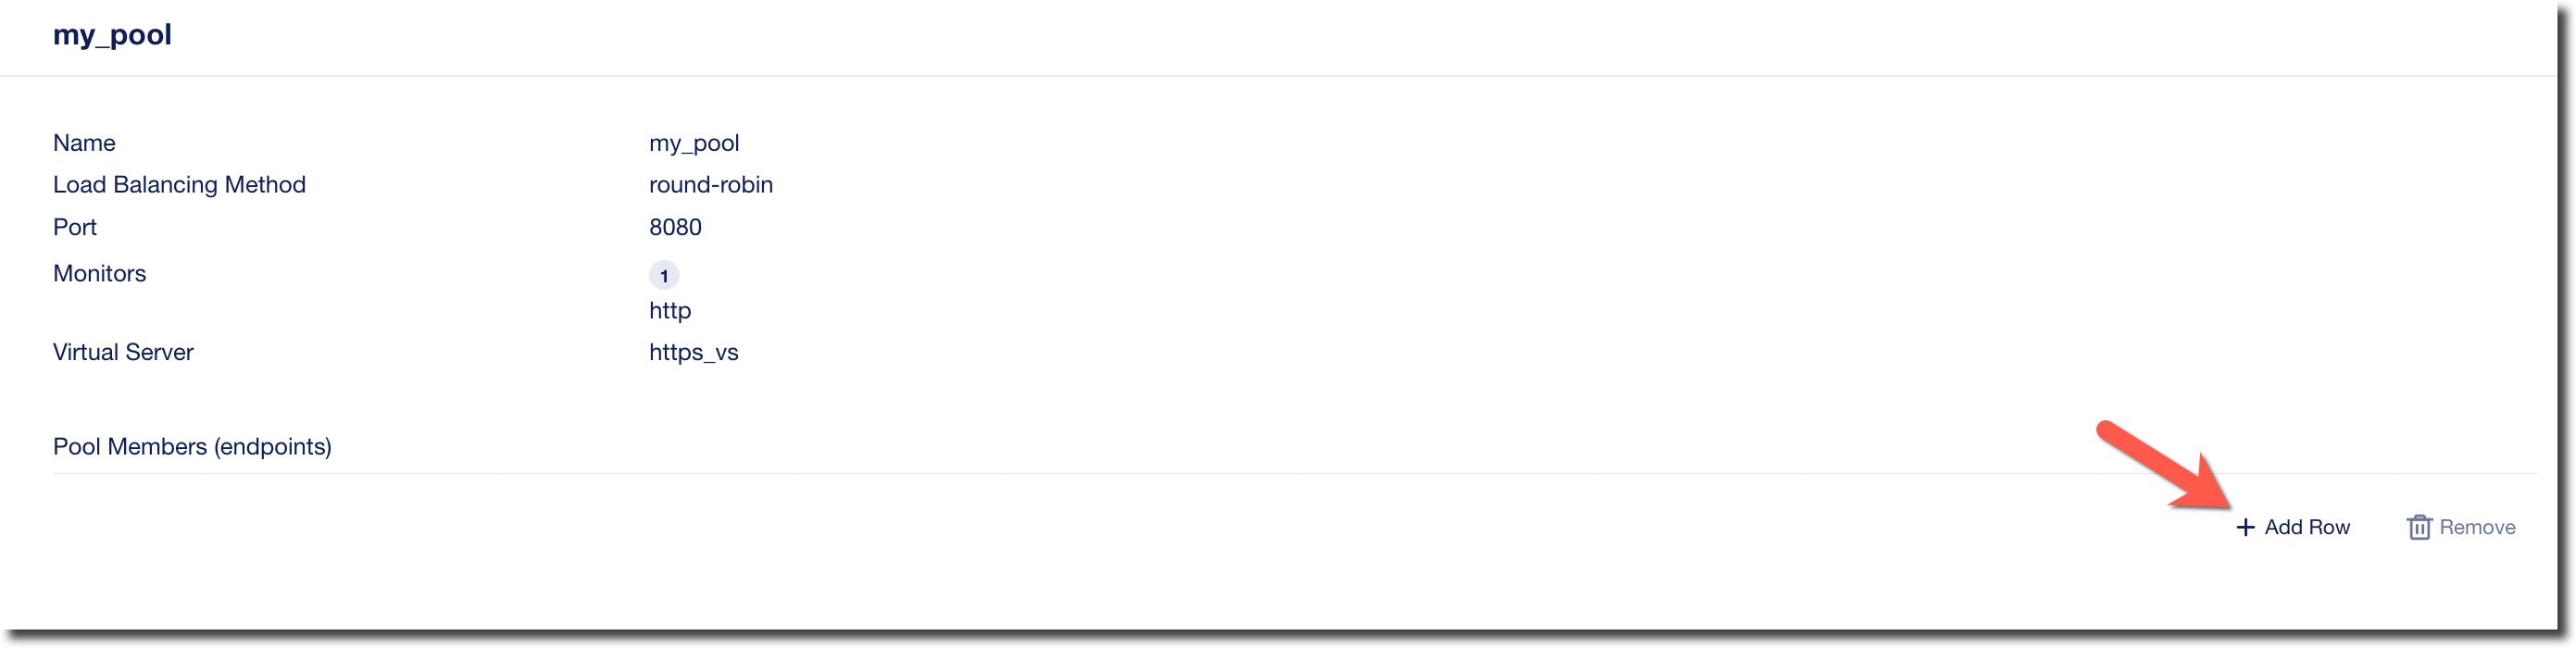
Use the following values to add two rows
Name IP Address node1 10.1.20.100 node2 10.1.20.101 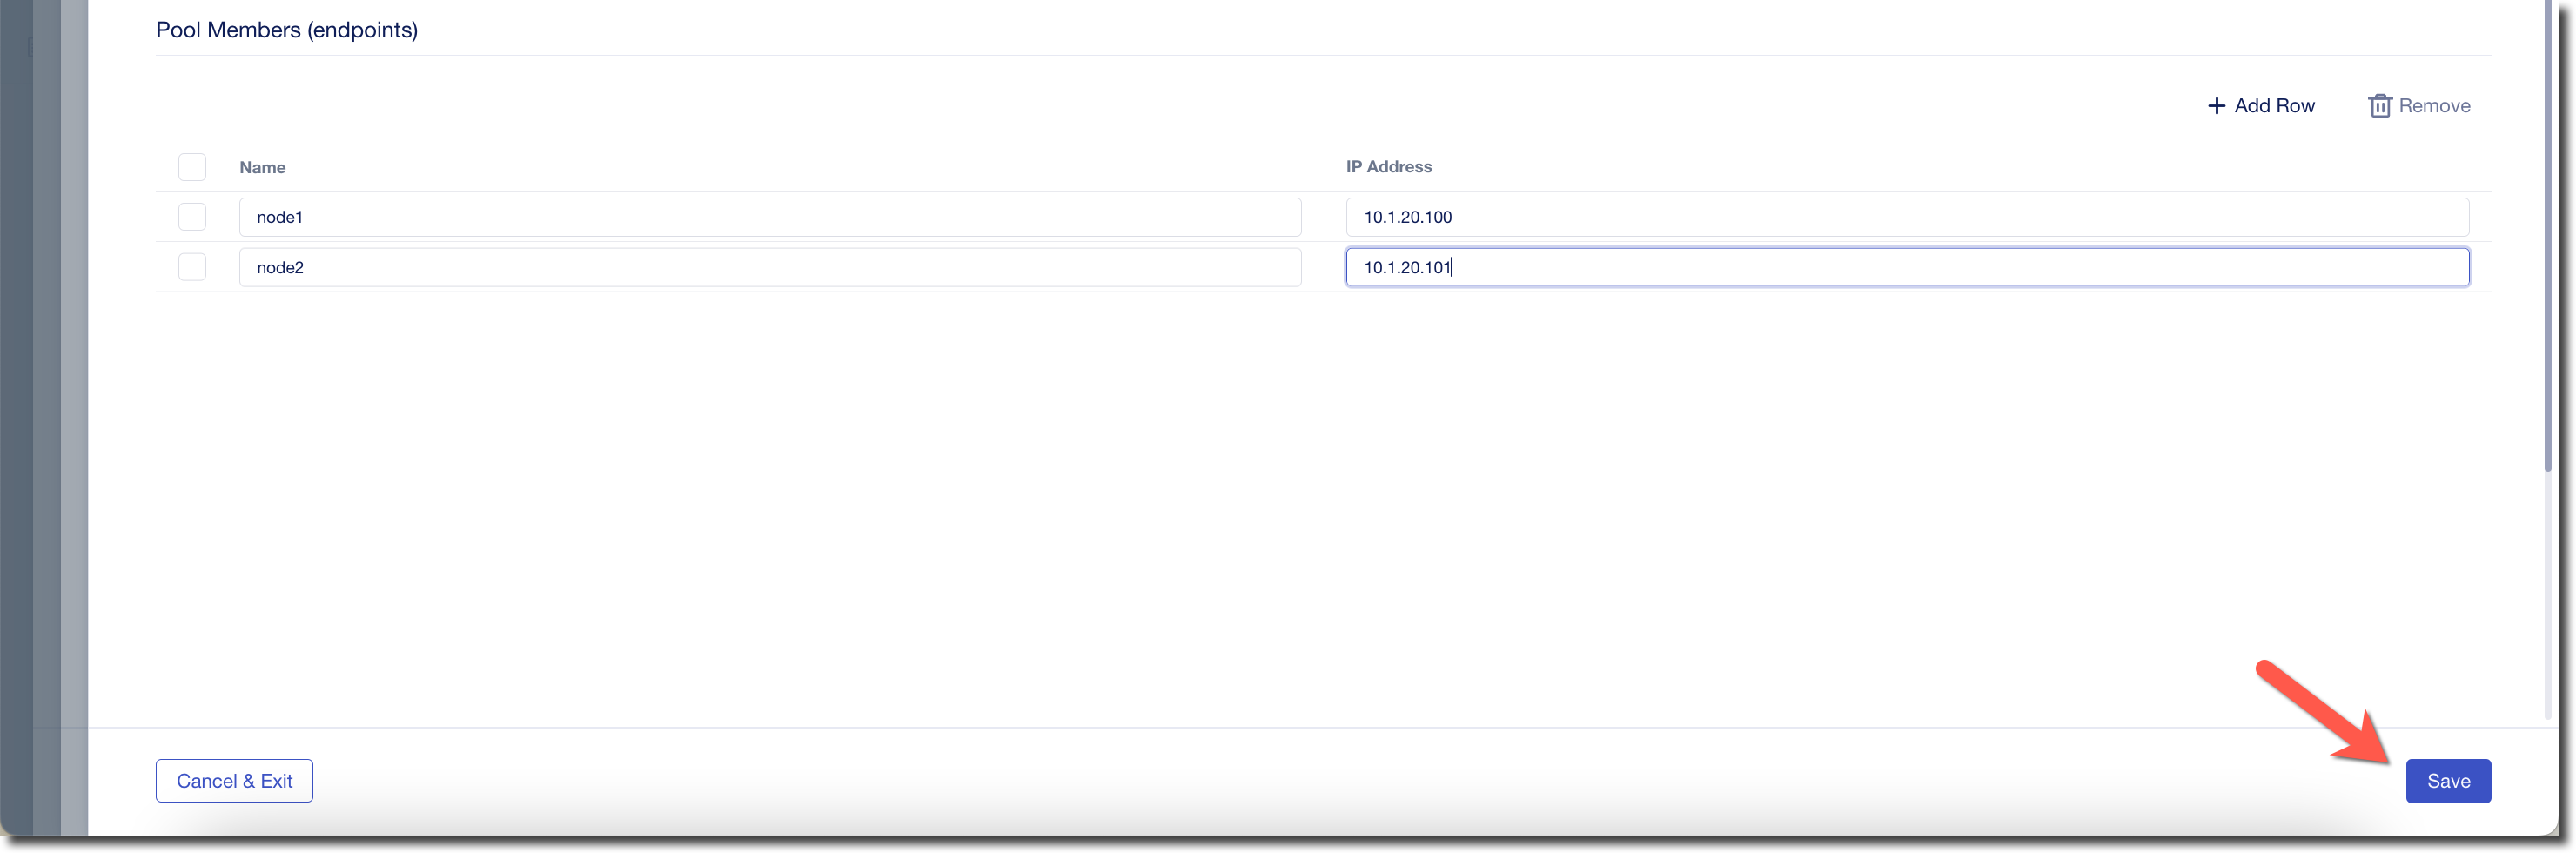
Then click on Save
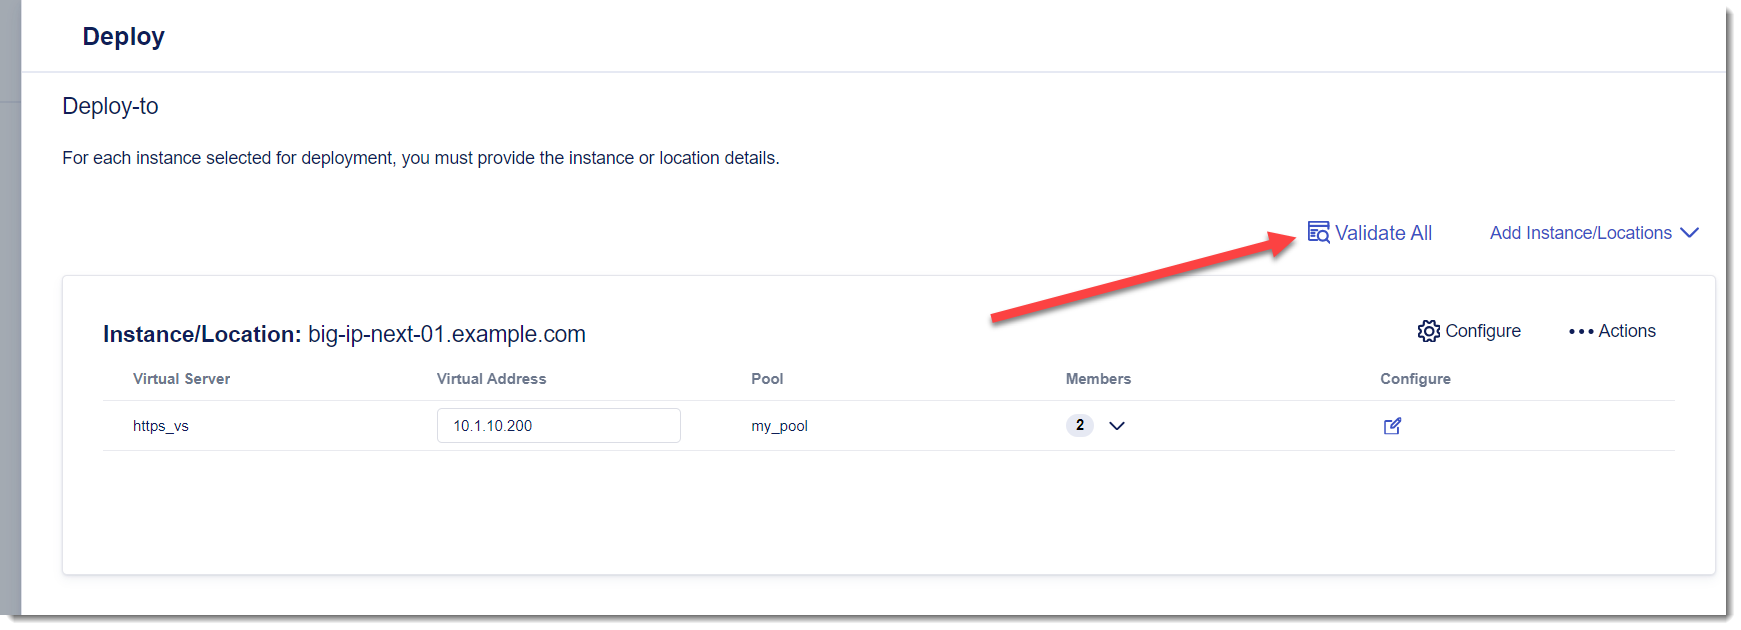
Validate
You can now validate your changes before deploying them.
Click on Validate All
After it completes click on View Results

You can inspect the AS3 declaration that will be deployed to your BIG-IP Next instance.
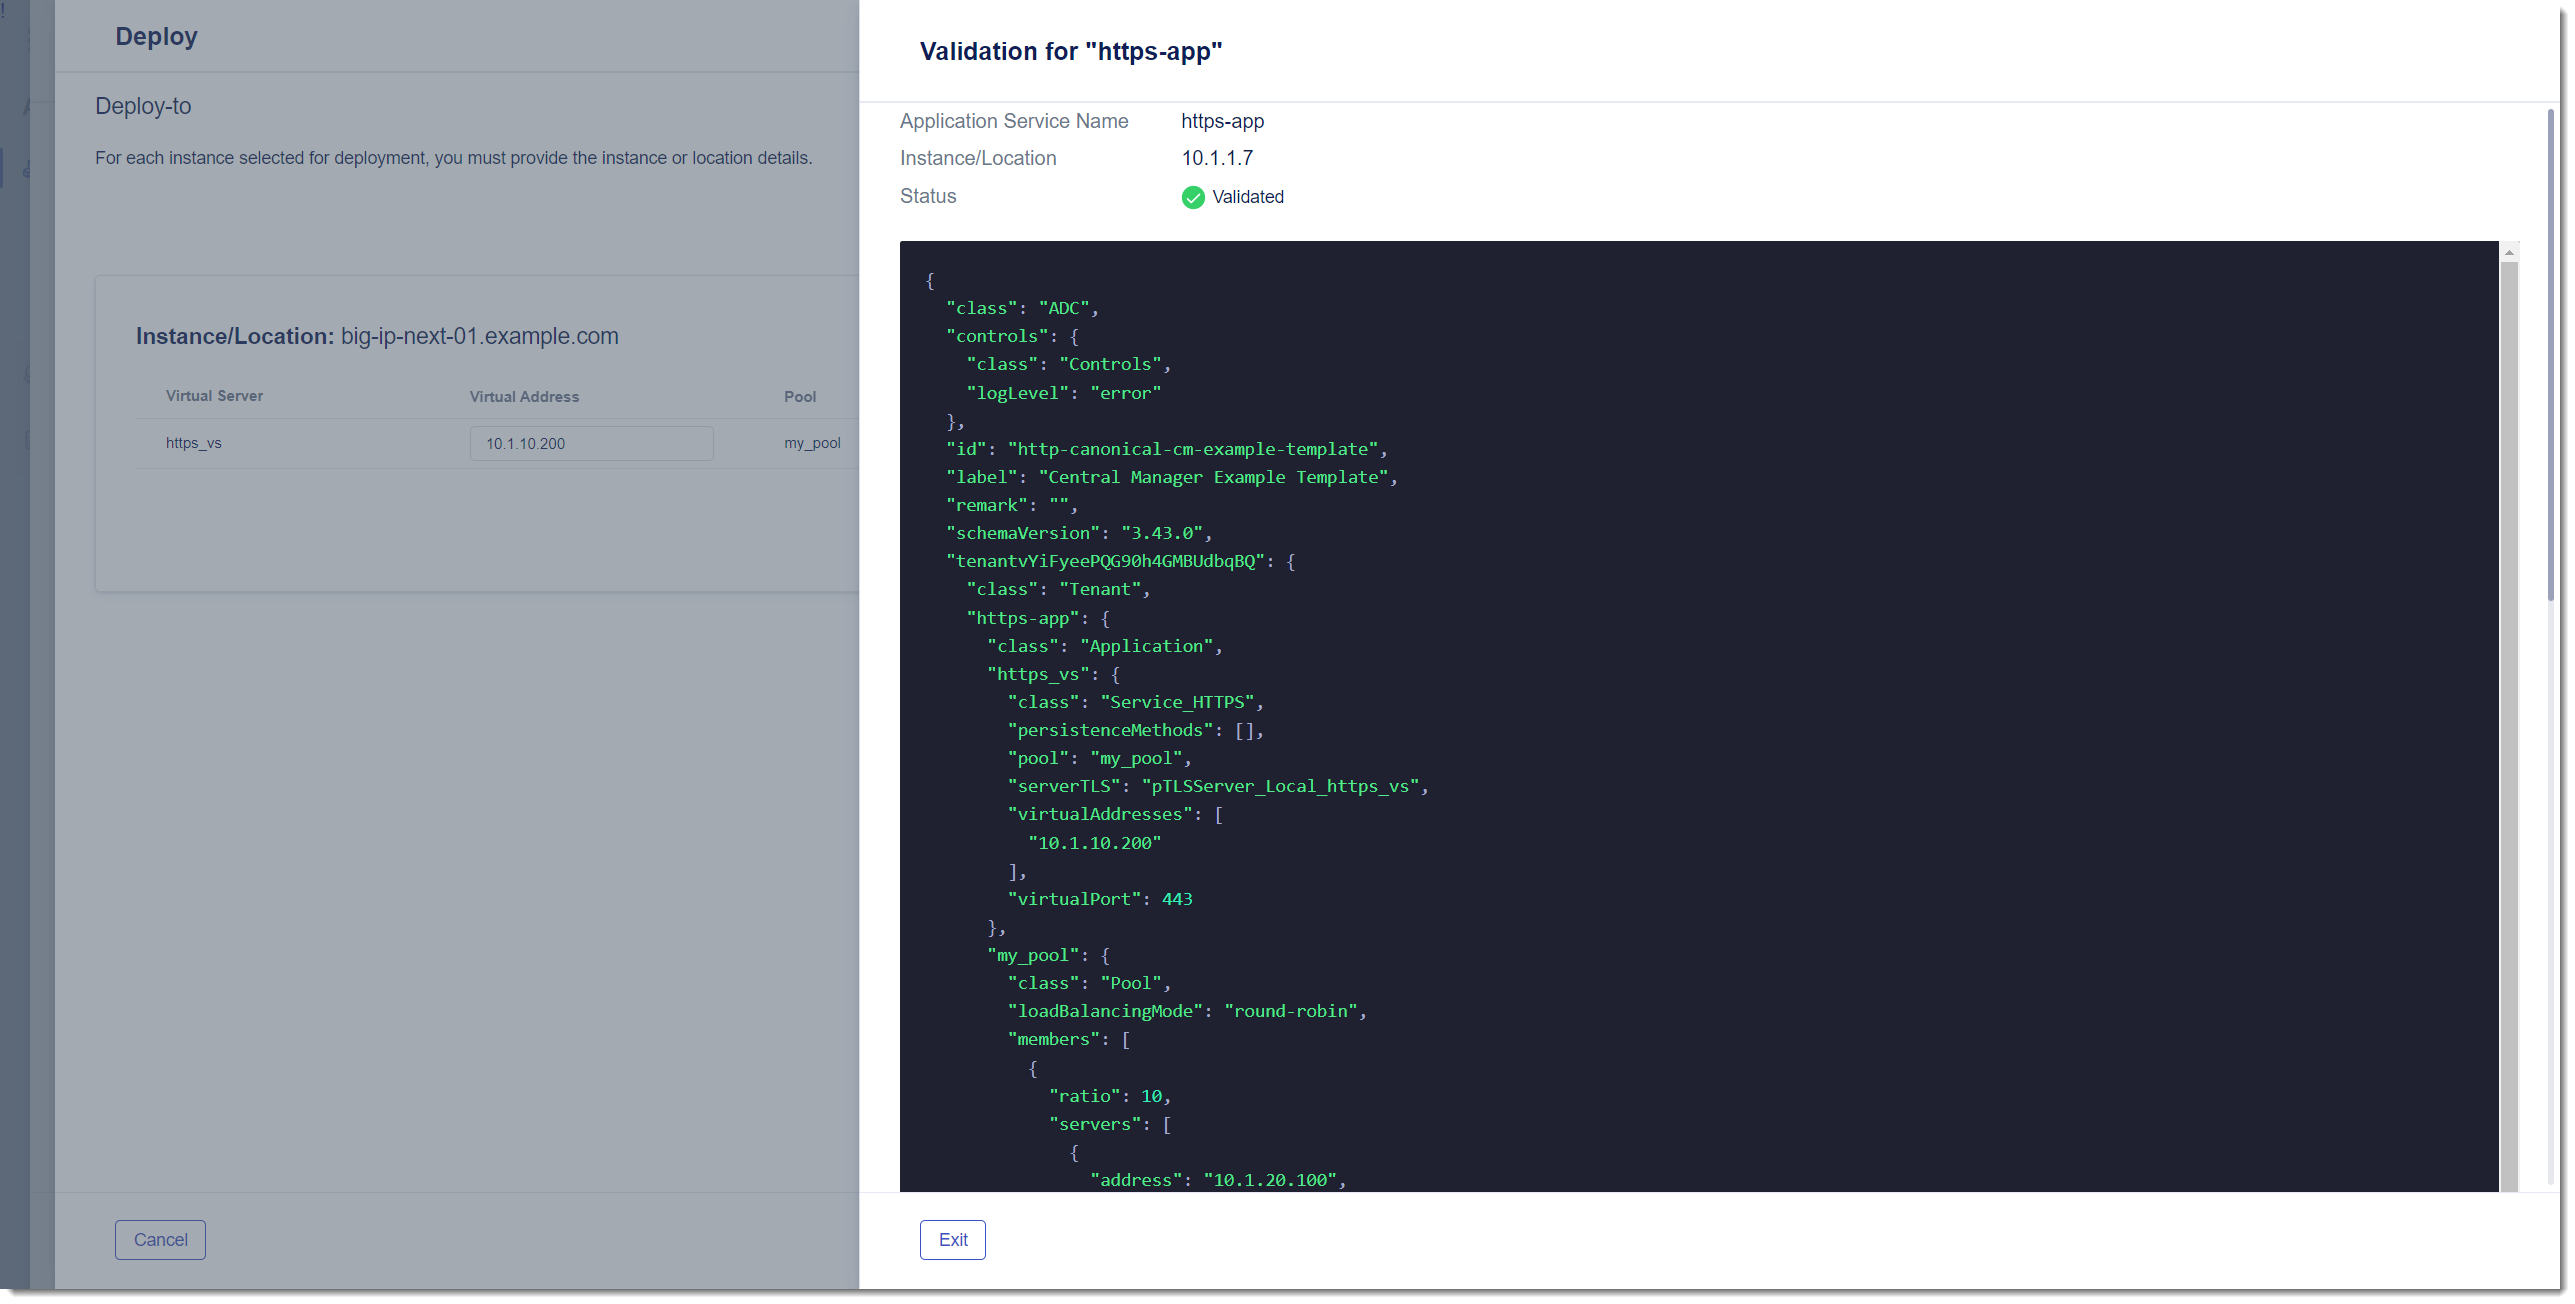
Click on Exit to leave the preview of the AS3 declaration
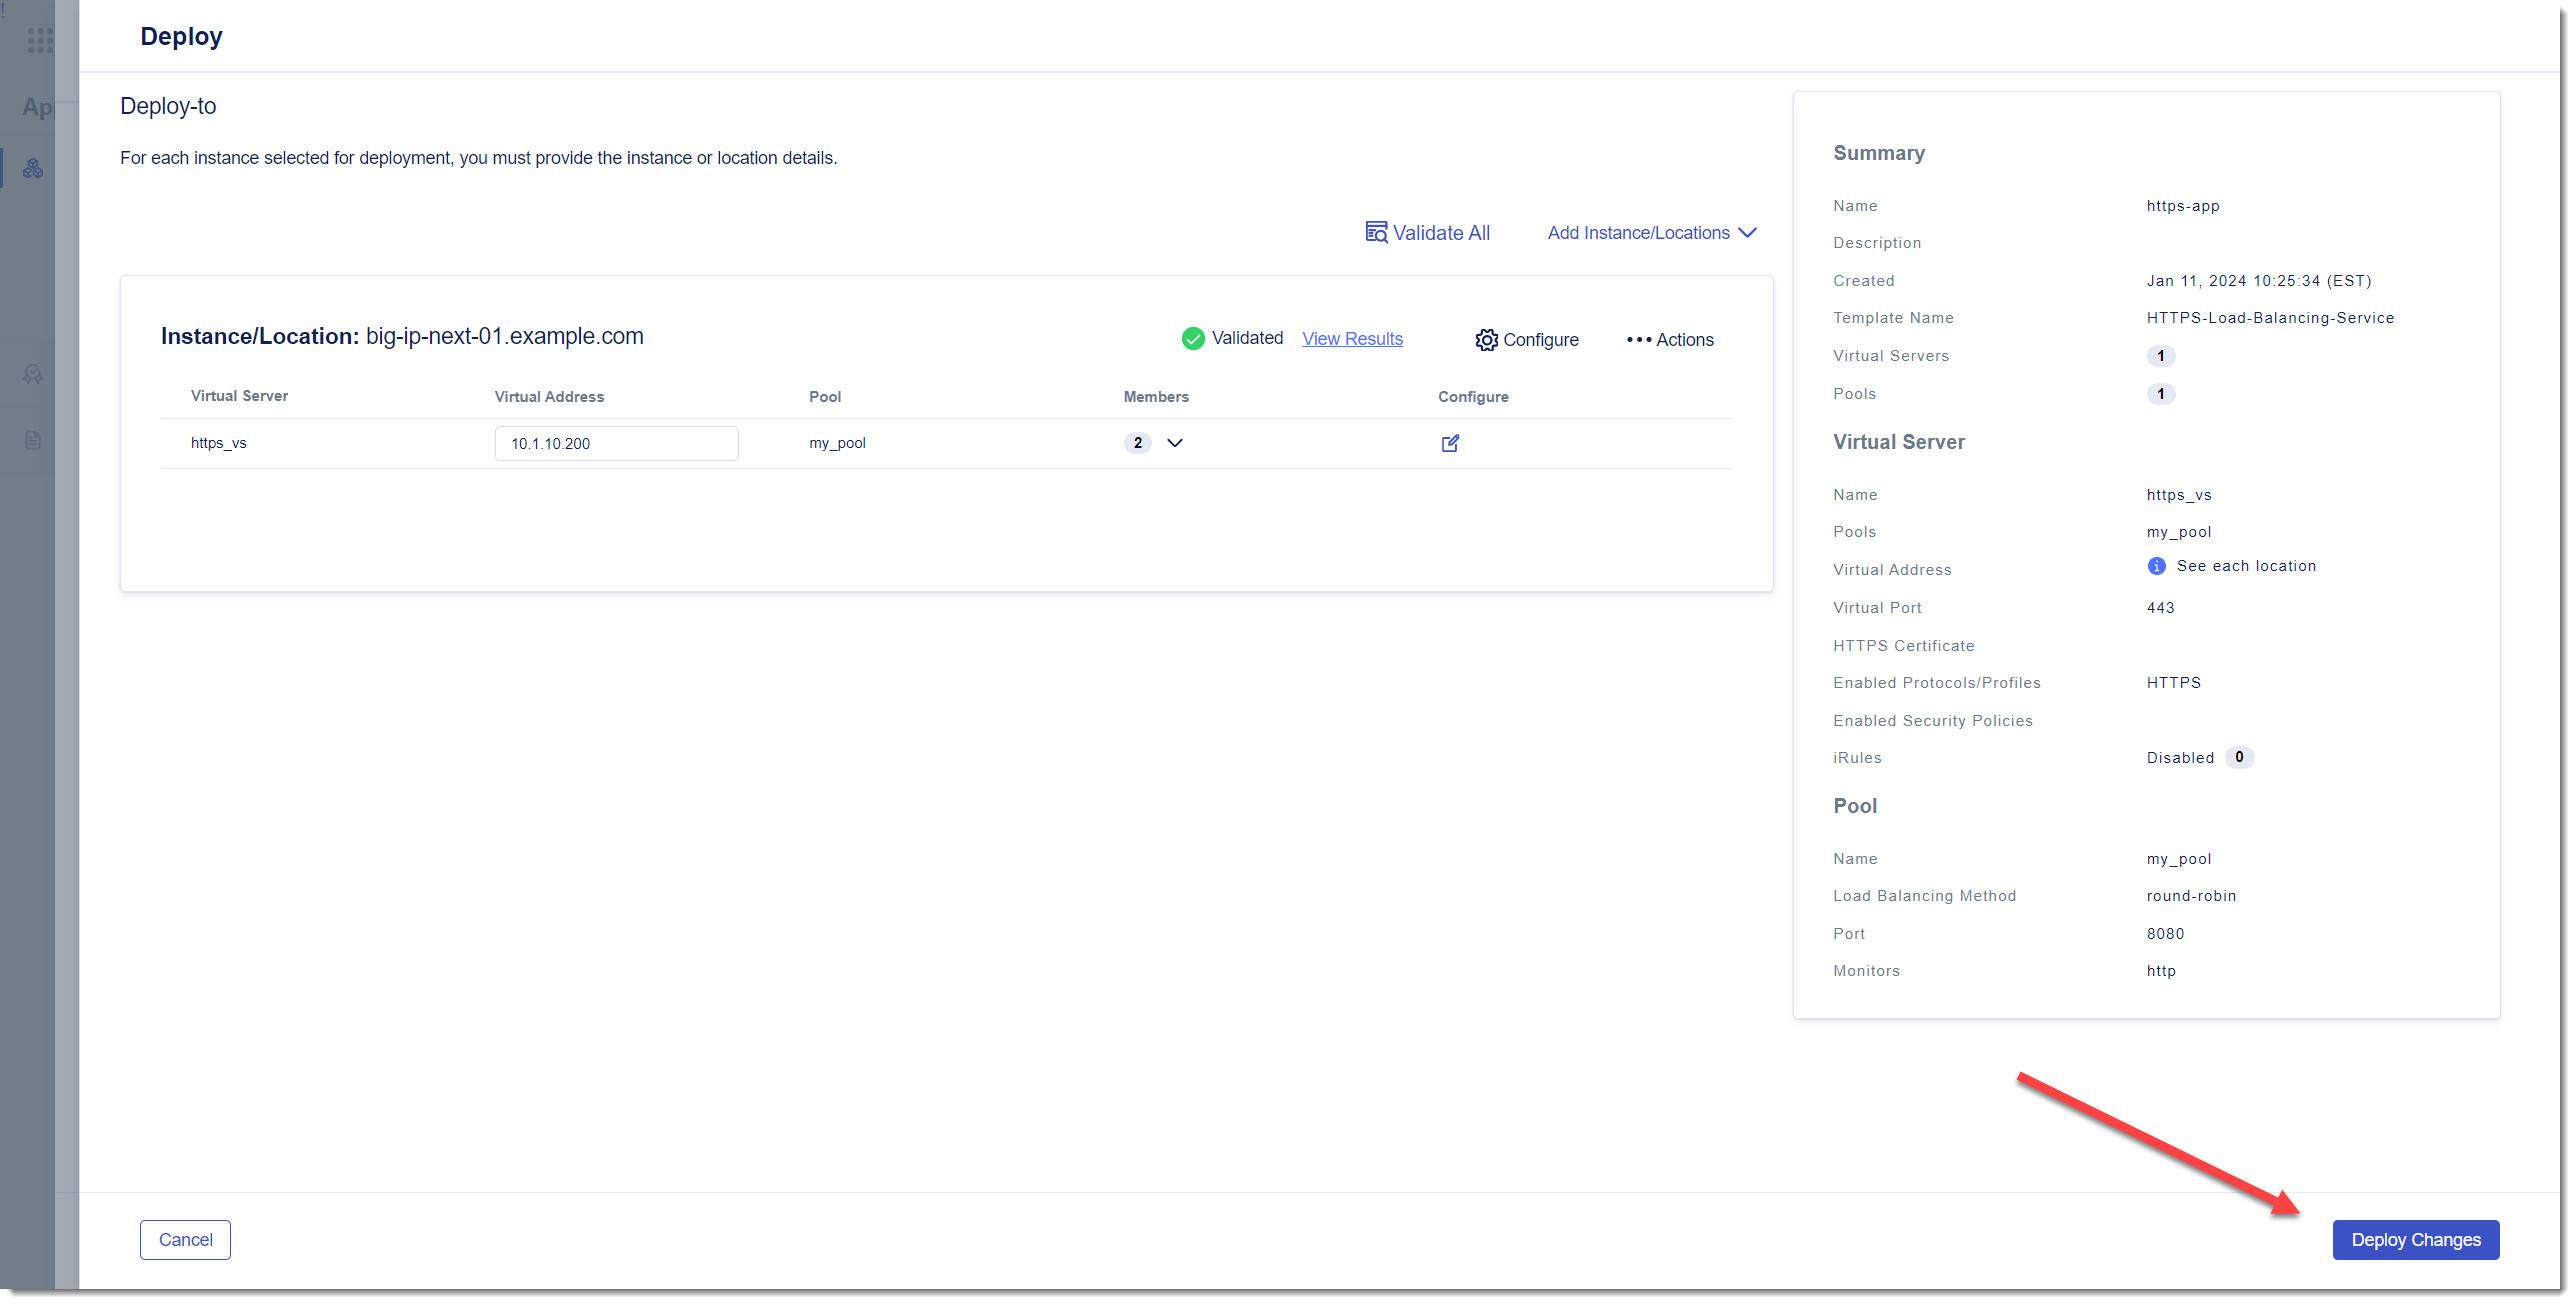
Deploy Changes
You are now ready to deploy your application to the desired location.
Click on Deploy Changes
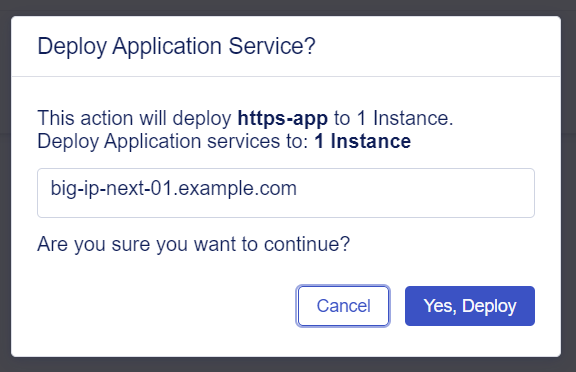
Confirm that you would like to deploy
You will be prompted to confirm, click on Yes, Deploy
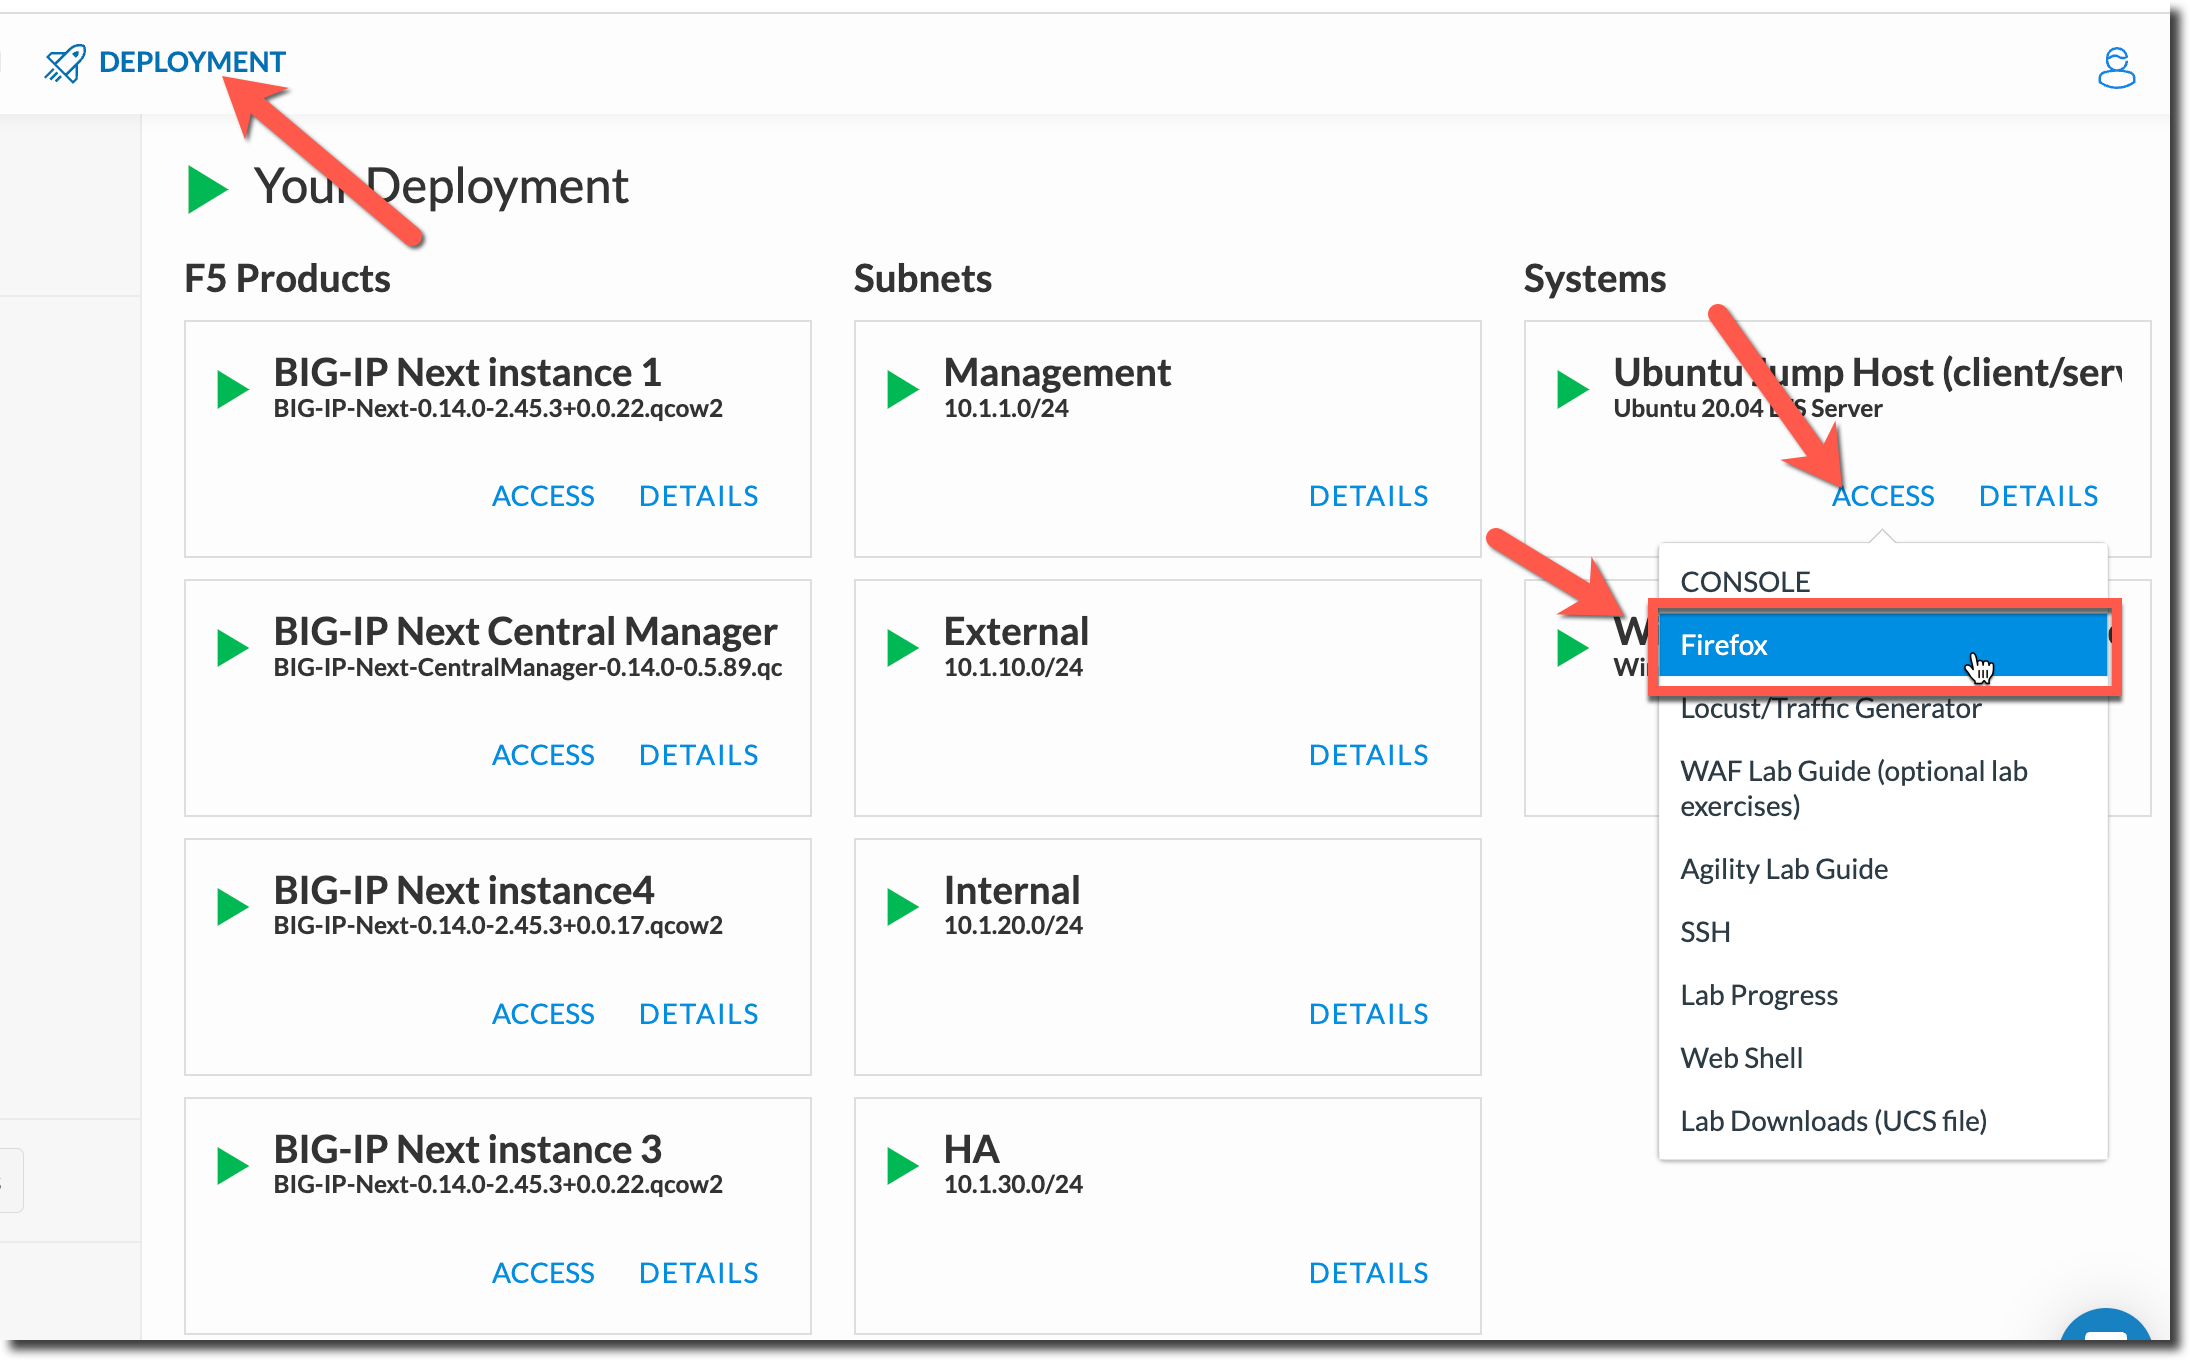
Within your UDF Deployment, go to the Firefox access method that is under the Ubuntu Jump Host
This will open an embedded Firefox browser session that is running inside the lab environment.
Inside the Firefox browser session go to https://www.example.com
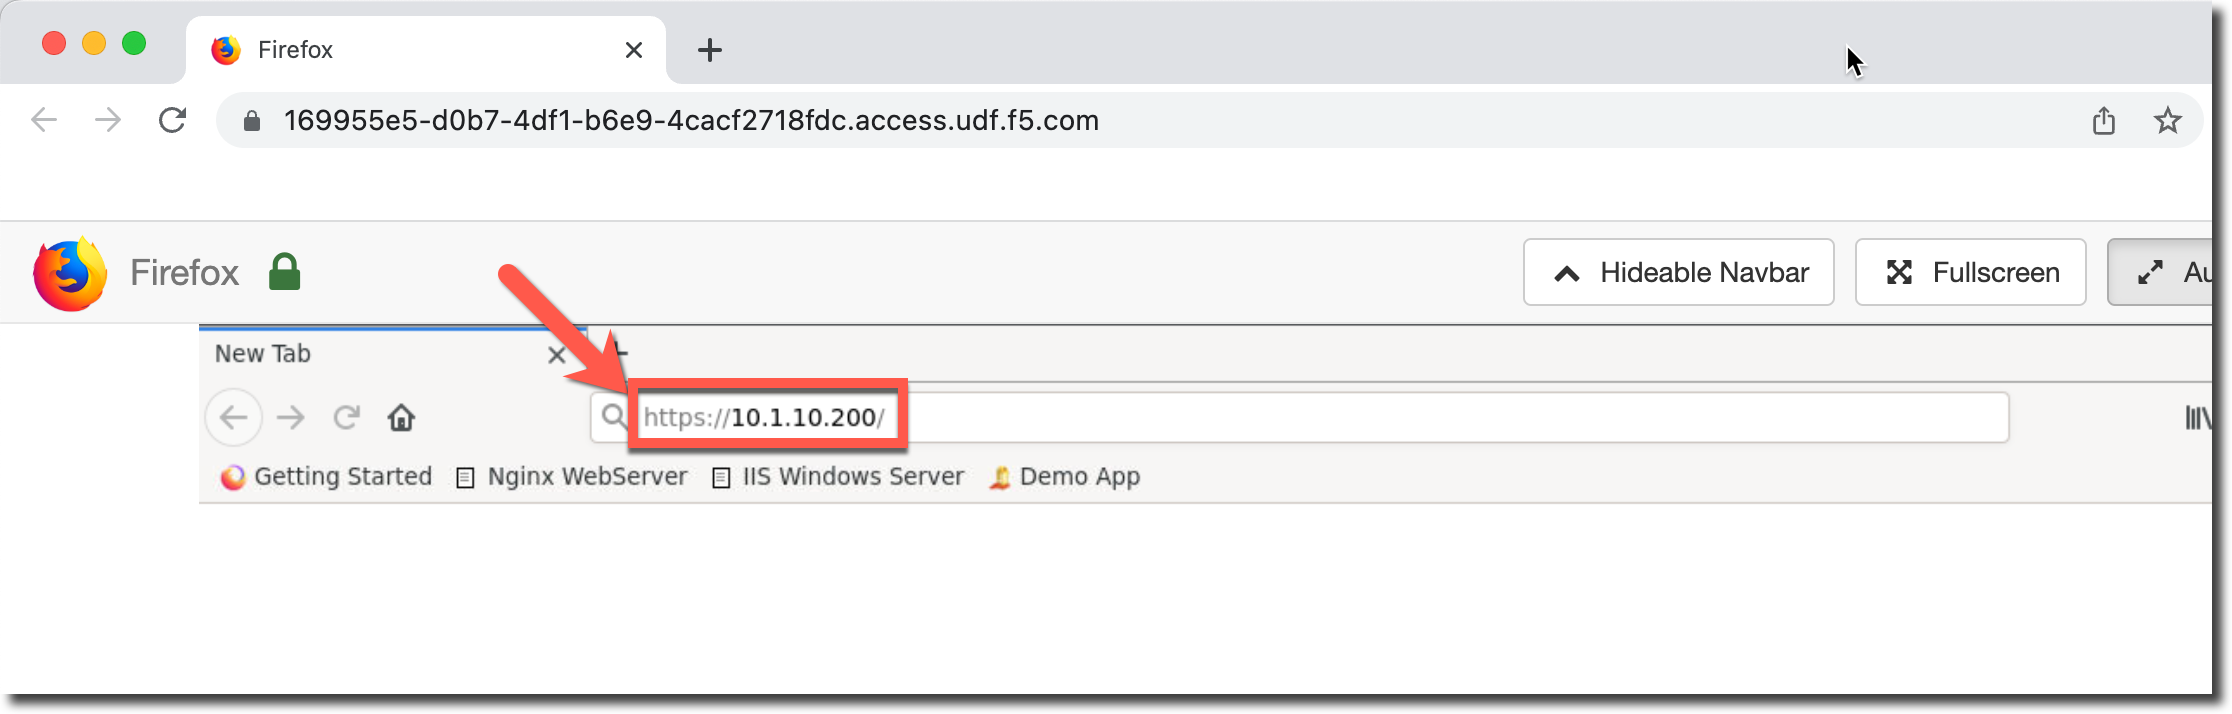
You should now see the demo app