F5 BIG-IP Next > Class 1: Introduction to BIG-IP Next > Module 3: Deploy and operate Applications Source | Edit on
Lab 3.2 - Deploy and Roll Over New iRule Version
In this lab exercise you will learn about how to deploy and roll over a new iRule version.
3.2.1 - Create iRule v2
First we will create a new version of our iRule
Navigate to Applications
Navigate to Applications by clicking the workspace switcher next to the F5 icon

Then click on Applications

Click on iRules followed by insert_xff_iRule

You will need to next click on the v1 at the top of the screen and select Stage from this version

Using the built-in text editor, modify the iRule to add the following lines after the 4th line, and click Commit Changes
} else {
    HTTP::header insert "X-Forwarded-For" [IP::client_addr]
Click on More Commit options

Click on Commit without any attached applications. then click on Yes, Commit

Congratulations! You have created a new version of your iRule. Note that this iRule has not been deployed yet. Continue the lab to learn about how to deploy your new version.
3.2.2 - Deploying a New iRule Version from iRules
There are two different ways that you can attach an iRule to an application. In this next exercise we will attach the iRule to the application from the iRule itself.
Start on the Properties page of your iRule. You should already be on this screen from the previous lab exercise. If not, you can re-open the iRule as needed.

Please ensure the selected version is v2 and that you can see Attach Applications (you may need to scroll the window to see the button).
Select Attach Applications
You should only see one available application: “irule_demo_app”. Click on the checkbox next to the name and then select Attach

On the next screen you should see a warning and a button to Deploy Changes. Click on Deploy Changes.

You will be asked to confirm the change. Click on Yes, Continue

You will see a list of applications that currently have the v2 iRule attached and also it will display the version that was previouslly attached.
Congratulations! You have deployed version 2 of your iRule. Notice that you had the option to select which application(s) you wanted attached to the iRule.
3.2.3 - Viewing the differences between versions of an iRule
When troubleshooting an iRule, it can be useful to compare it to a previous version. This can also be done prior to deploying as a peer review step.
Select the v2 at the top of the page and change it back to v1 in order to see the first version of this iRule.

Select iRule on the left side to open the preview window.

Update the Mode dropdown to Compare (Diff).
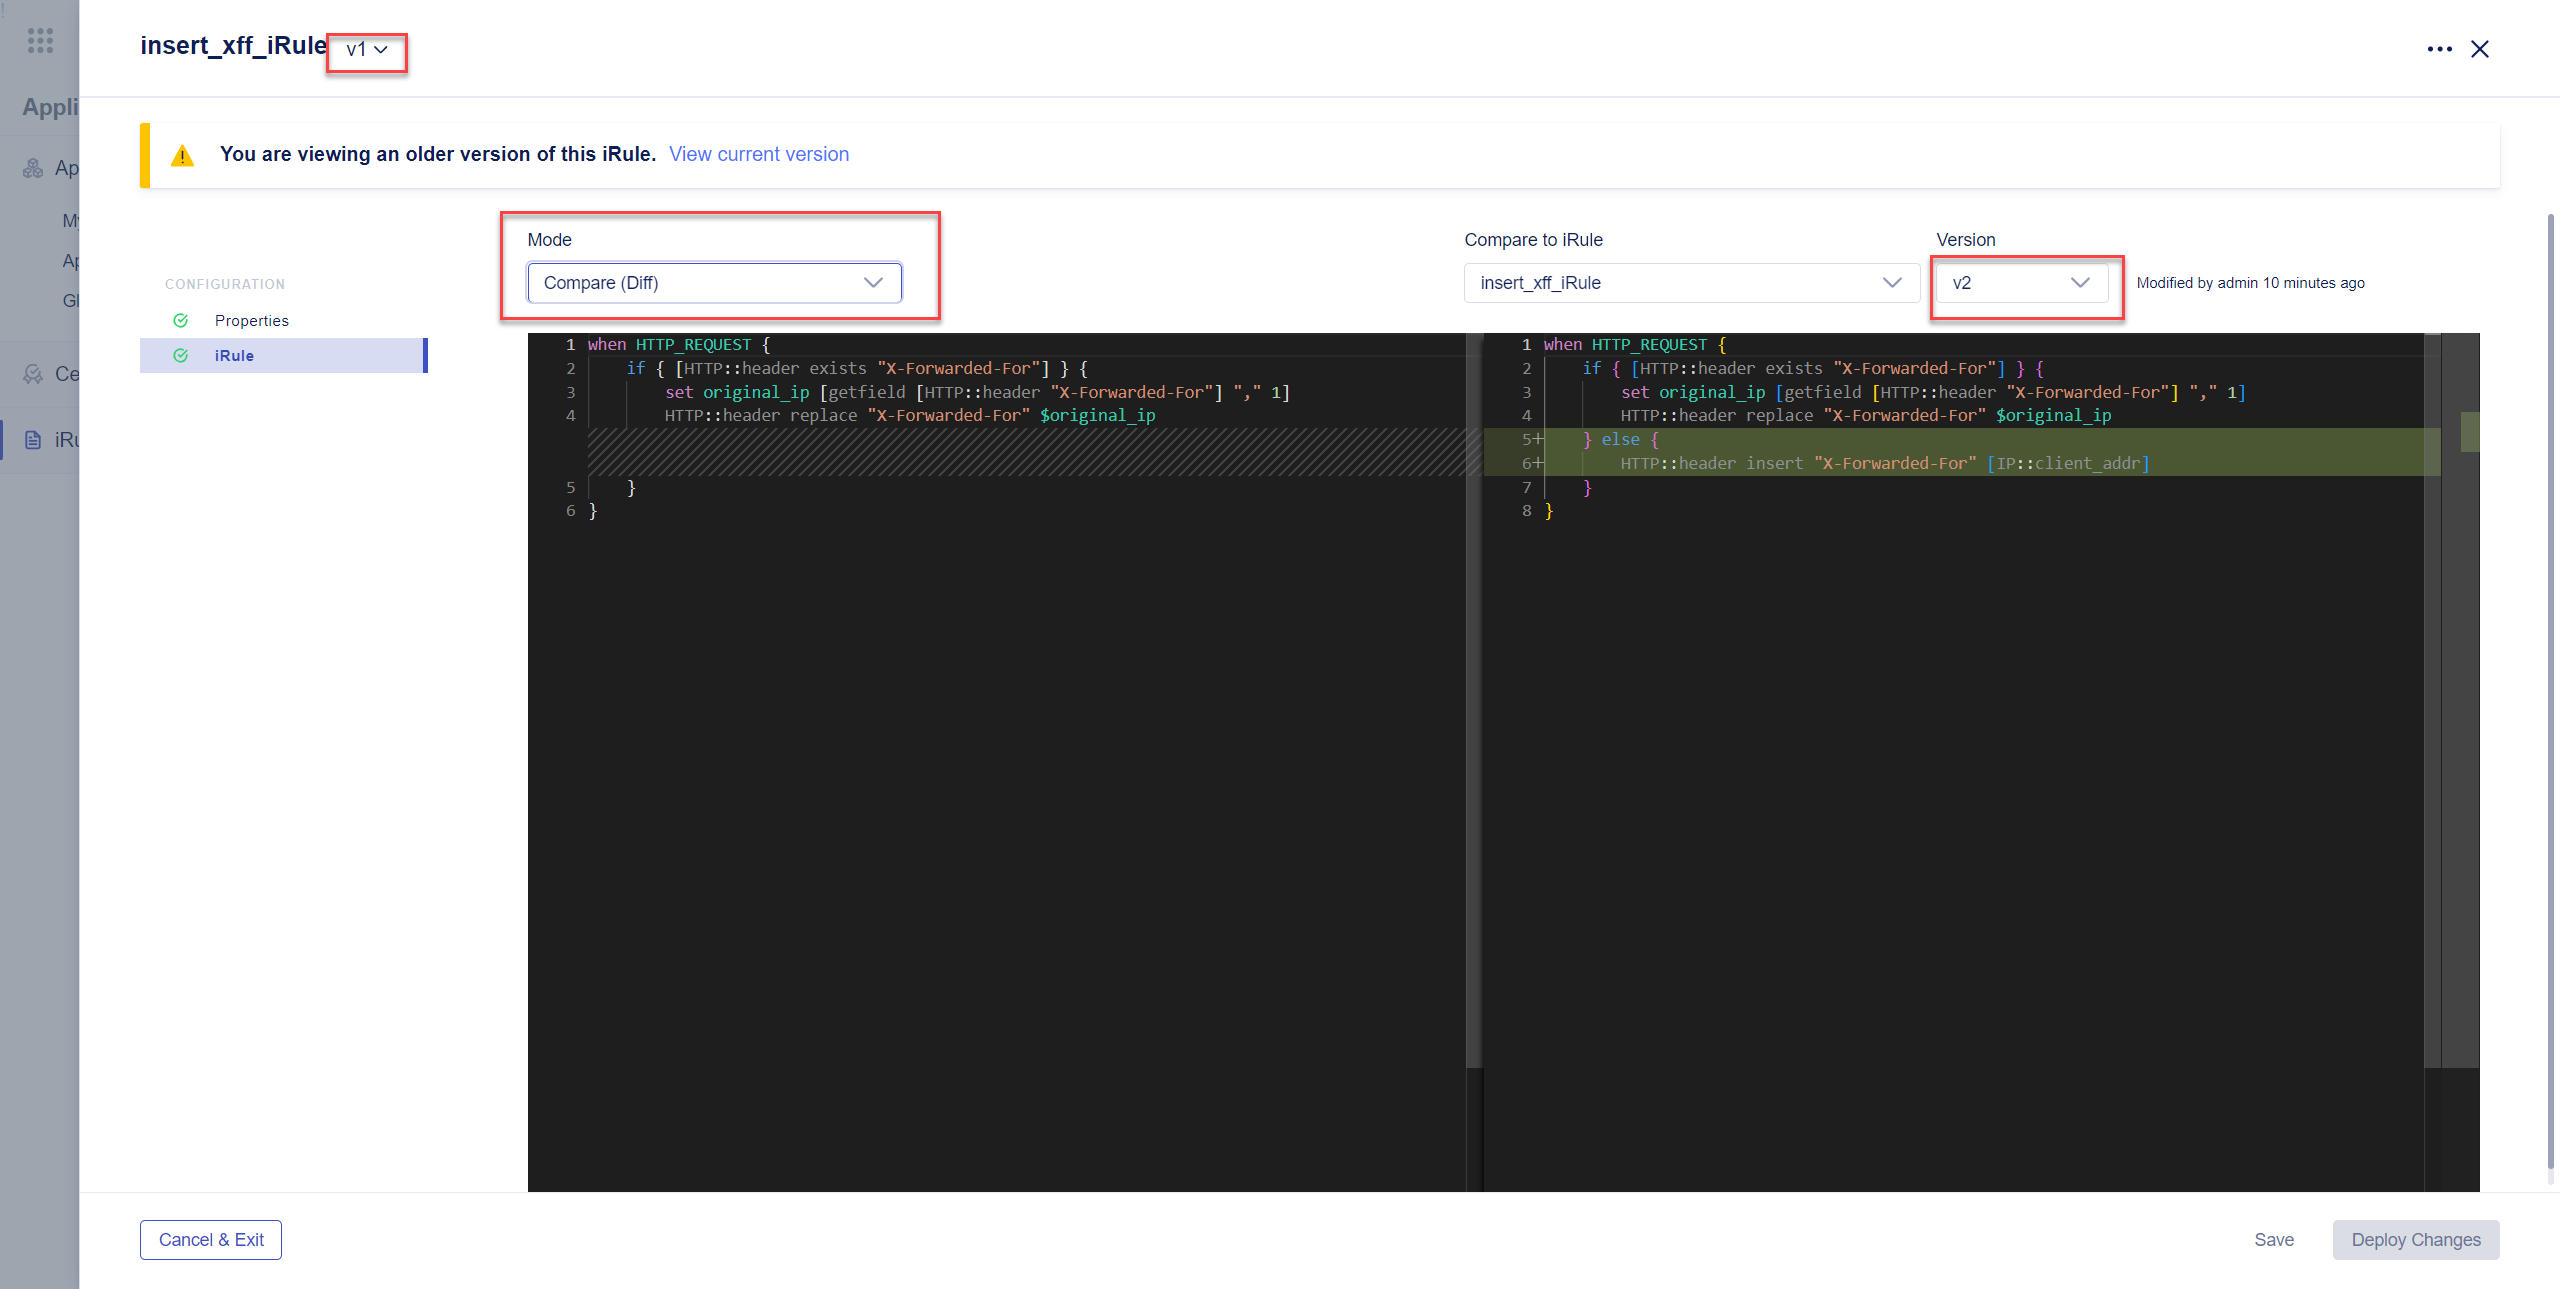
In this view you are able to identify exact changes within the iRule from v1 and v2.
In the next exercise we will learn how to “roll over” a bad version if there was a change you were not expecting.
3.2.4 - Rolling Over Bad Changes
In this exercise we will “roll over” a bad version. This is not a “roll back”; instead we will update the latest version with the last known “good” version.
From the previous exercise you should still be on the iRule page for version 1 of your iRule. You can re-open the iRule as needed.
Switch the Mode back to Single Edit

Click on the v1 at the top and select Stage from this version. This will base the new updates to the iRule on the original v1 version.

Click on Commit Changes
Click on More Commit options
Click on Commit without any attached applications, then click on Yes, Commit
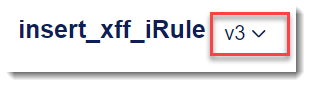
You should now see v3 (ignore any warnings about viewing an older version of the iRule)
3.2.5 - Updating Application iRule version
Previously we updated the application from the iRules menu. We will next update the iRule version from the My Apps menu
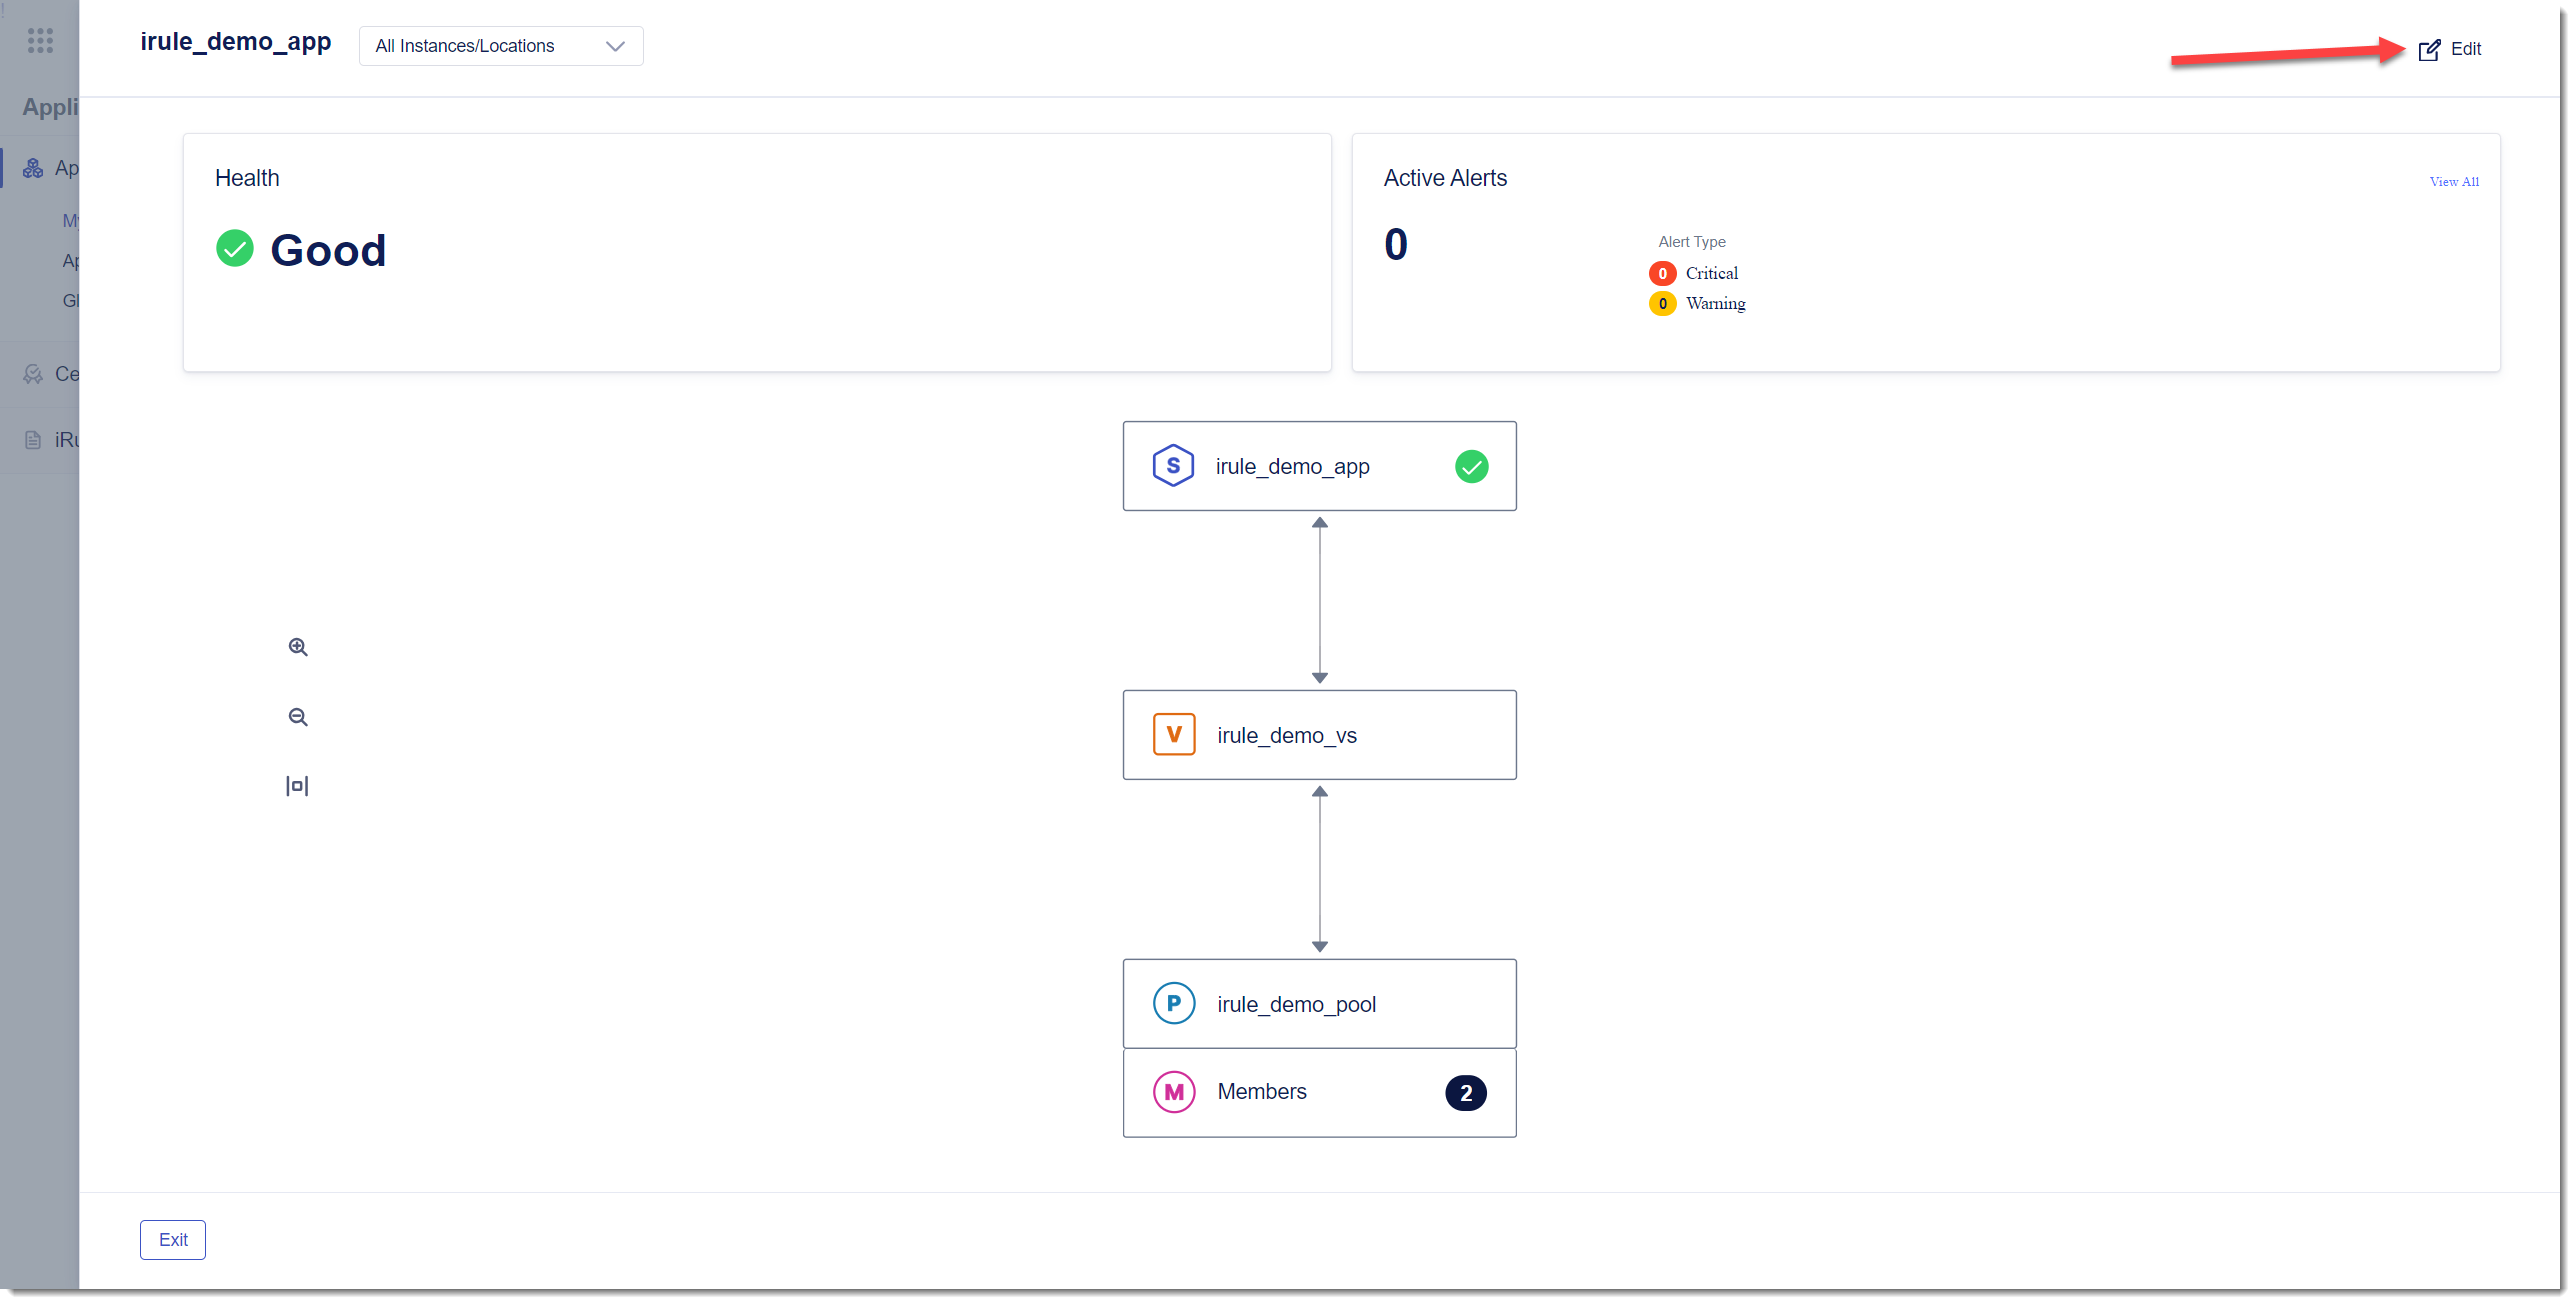
Click on My Apps under Applications and click on the irule_demo_app application

Click on edit icon in the top right of the screen to modify the Application Service Properties
Click on the edit icon next to iRules

Change the version from v2 to v3 and click Save
Click on Review & Deploy
Click on Deploy Changes
You will be prompted to confirm your changes. Click on Yes, Deploy
You have now “rolled over” the bad “v2” version to “v3”. Yes, it’s possible to have selected “v1” again, but by “rolling over” we ensure that the latest version is the correct version.