F5 BIG-IQ Centralized Management Lab > BIG-IQ All Labs > Class 4: BIG-IQ Platform > Module 2: Role Base Access Control (RBAC) Source | Edit on
Lab 2.1: Create a custom role type to give permissions to BIG-IP object types
Note
Estimated time to complete: 5 minutes
Lab environment access
If you have not yet visited the page Getting Started, please do so.
Tasks
Creating a custom role type is the first step to providing custom role-based access to users.

Steps for Module 1:
At the top of the screen, click System.
On the left, click ROLE MANAGEMENT > Role Types.
Near the top of the screen, click the Add button.
In the Name field, type a name to identify this new role type.
Name: MyNetworkSecurityRoleSelect Service: Network Security (AFM)Scroll through the Object Type list and select the check box next to each Object Type you want to provide access to. For this lab, we will check the box to the left of the Object Type header to select ALL object types.
Click on Add Selected to add the selected services to the Selected Object Types area at the above.
Select the check box next to Select All beneath the permissions you want to grant for this role type.

Before saving the custom role type, we are going to customize the Permissions for this new custom role type.
Uncheck the checkbox next to Add, Edit and Delete on the following rows:
Address Lists
Rule Lists
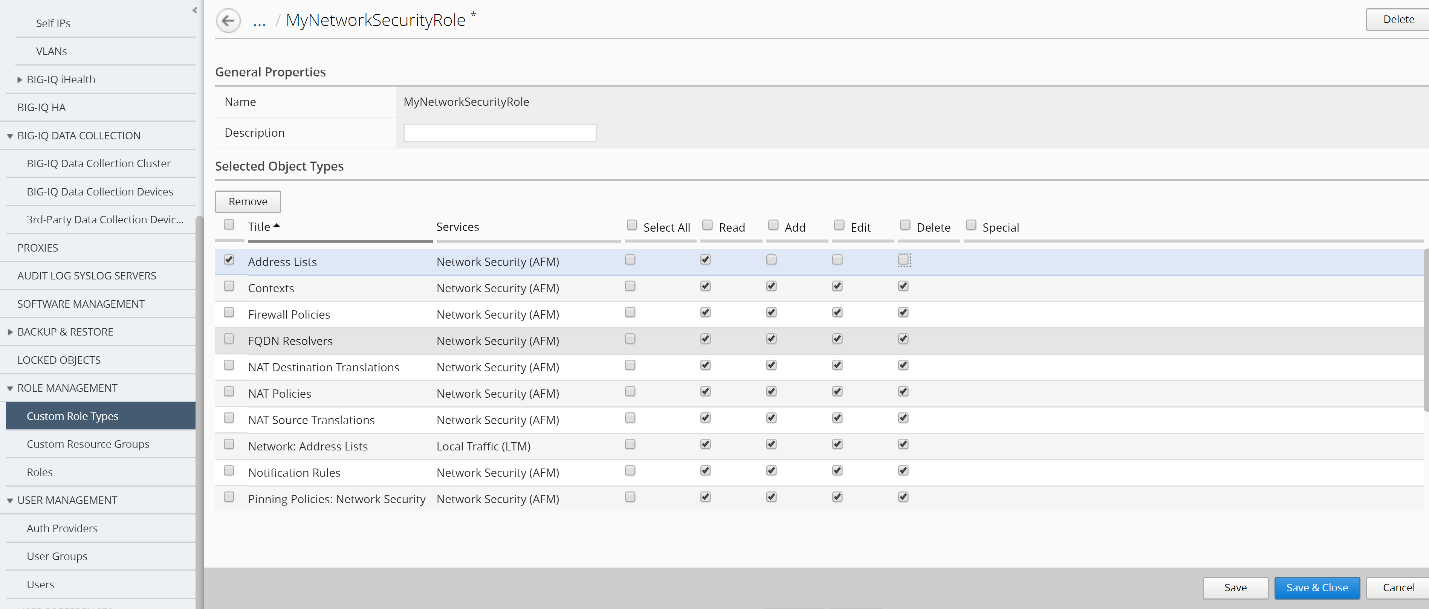
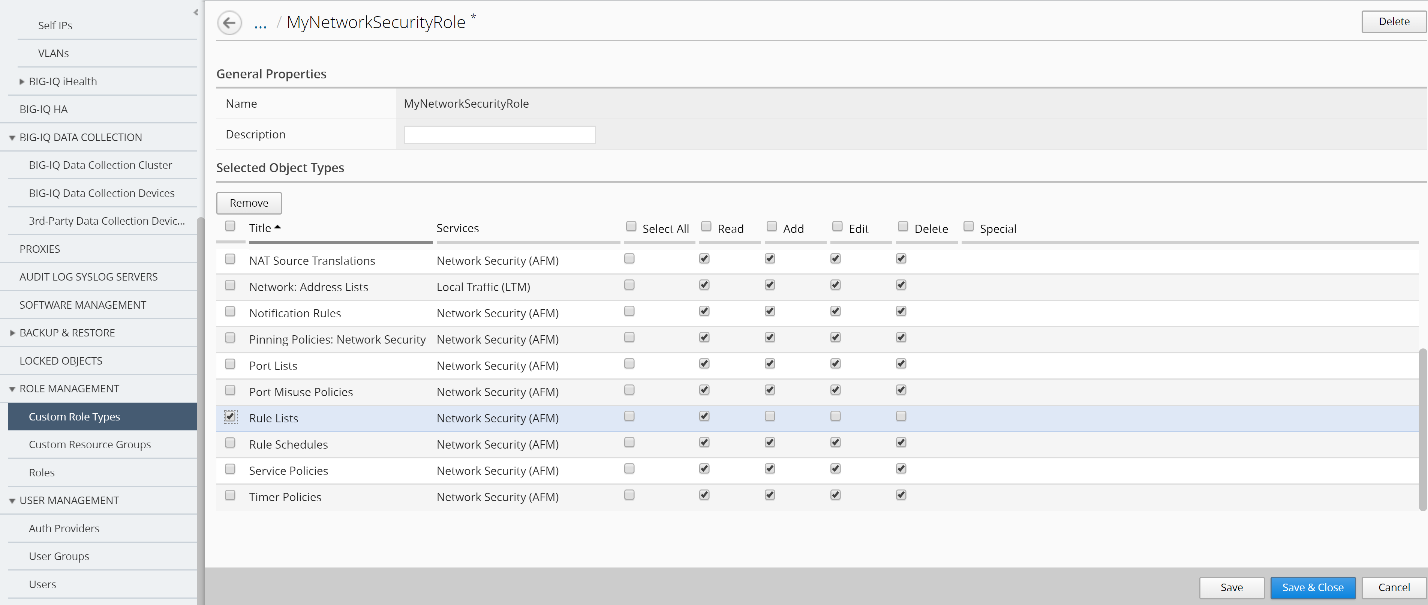
Now you have a custom role type that has some custom privileges for some of the Network Security objects such as Rule Lists and Address Lists.
Click the Save & Close button at the bottom of the screen.
Next, you need to create a resource group and associate it with this newly created custom role type.