F5 BIG-IQ Centralized Management Lab > BIG-IQ All Labs > Class 9: BIG-IQ Access Policy Manager > Module 1: APM access and per-request policies Source | Edit on
Lab 1.1: Simple APM Configuration via BIG-IQ and AS3 (secure website with basic authentication)
Note
Estimated time to complete: 20 minutes
Lab environment access
If you have not yet visited the page Getting Started, please do so.
Workflow
- Larry creates the APM policy on the BIG-IQ and deploy on the BIG-IP(s).
- David creates the AS3 template and reference APM policy created by Larry in the template.
- David creates the application service using the template created previously.
- Larry review the BIG-IQ Access dahsboards showing the sessions.
APM Policy creation
1. First make sure your device has APM module discovered and imported for BOS-vBIGIP01.termmarc.com and BOS-vBIGIP02.termmarc.com under Devices > BIG-IP DEVICES.

2. Check if the Access service is Active under System > BIG-IQ DATA COLLECTION > BIG-IQ Data Collection Devices.

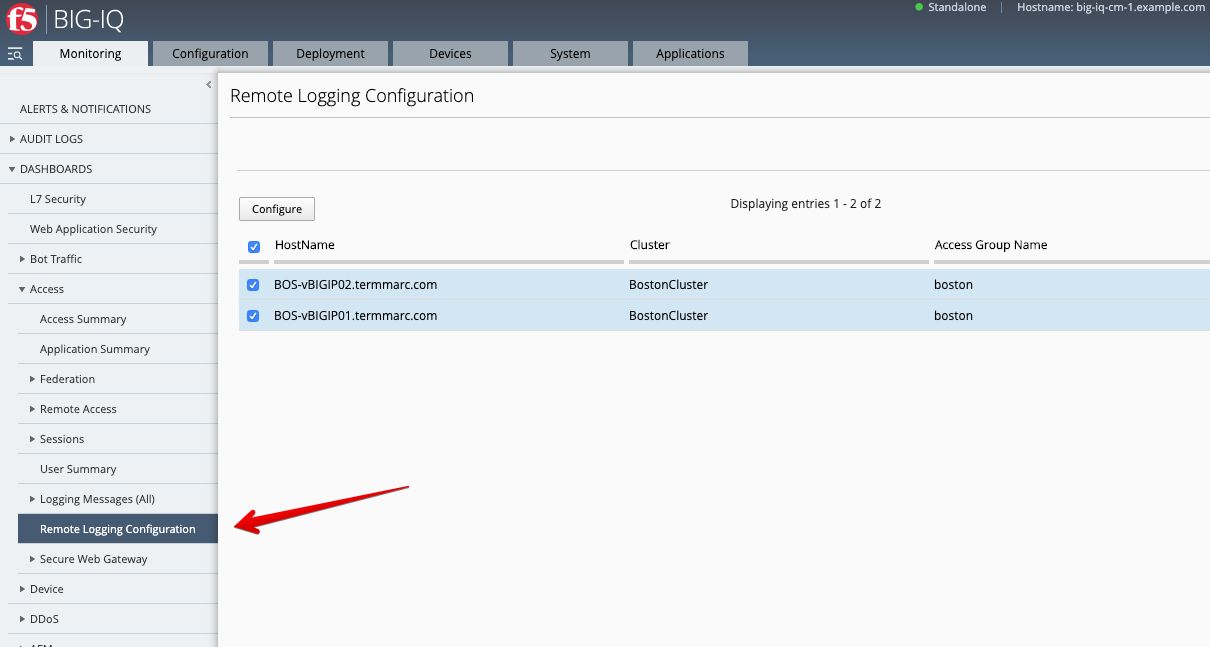
- Configure remote logging for the device.
Monitoring > DASHBOARD > Access > Remote Logging configuration Select both BIG-IPs and click on Configure. Wait until Stats shows Enabled.
- Create a simple HTTP Access Policy.
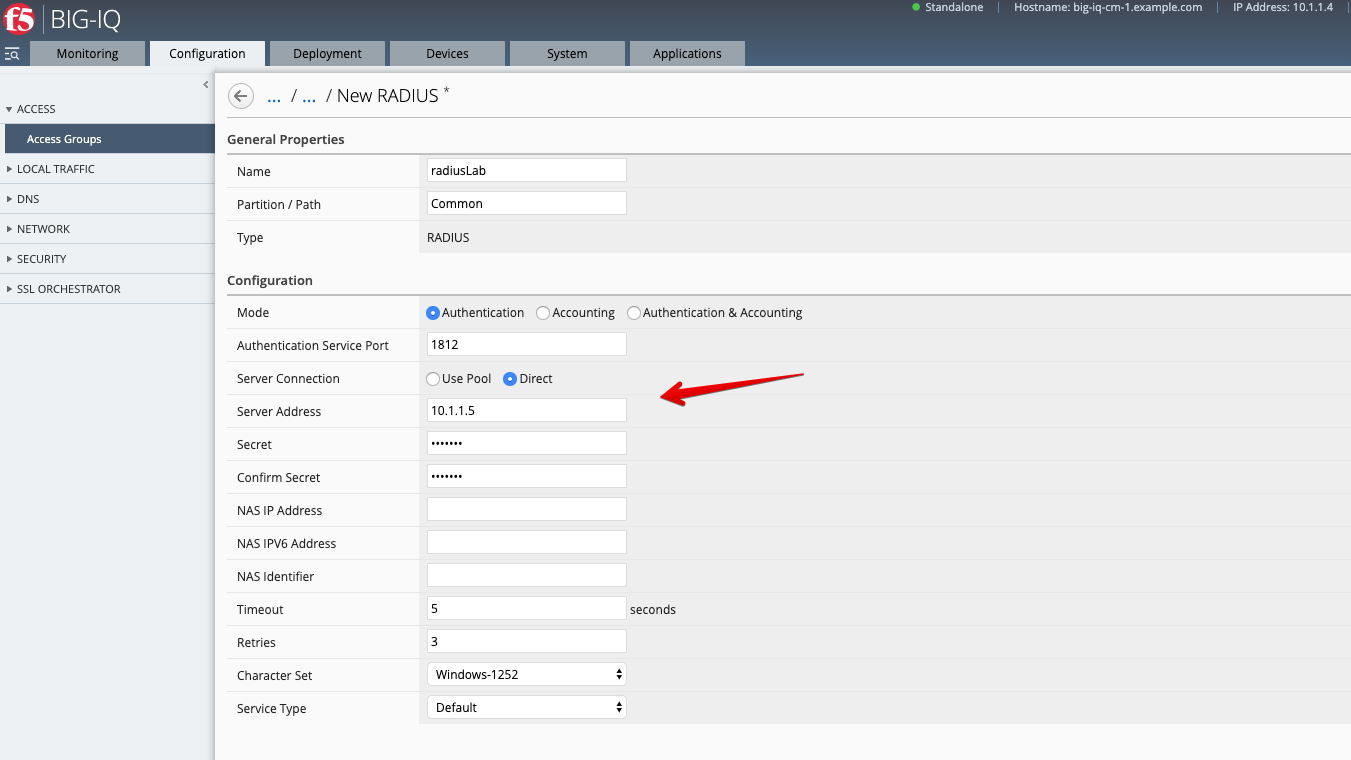
4.1 Configuration > ACCESS > Access Groups, select Boston, then go under AUTHENTICATION section, select RADIUS and create a Radius Shared object.
Click Create.
Name: RadiusLab
Server Connection: Direct
Server: 10.1.1.5
Password: default
Warning
Make sure you select Direct for Server Connection
4.2 Configuration > ACCESS > Access Groups, navigate under ACCESS POLICIES > Per-Session Policies.
Click Create.
General = Advanced
Name: labSimpleHttpsAccess
Languages: English
Log Settings: /Common/default-log-setting
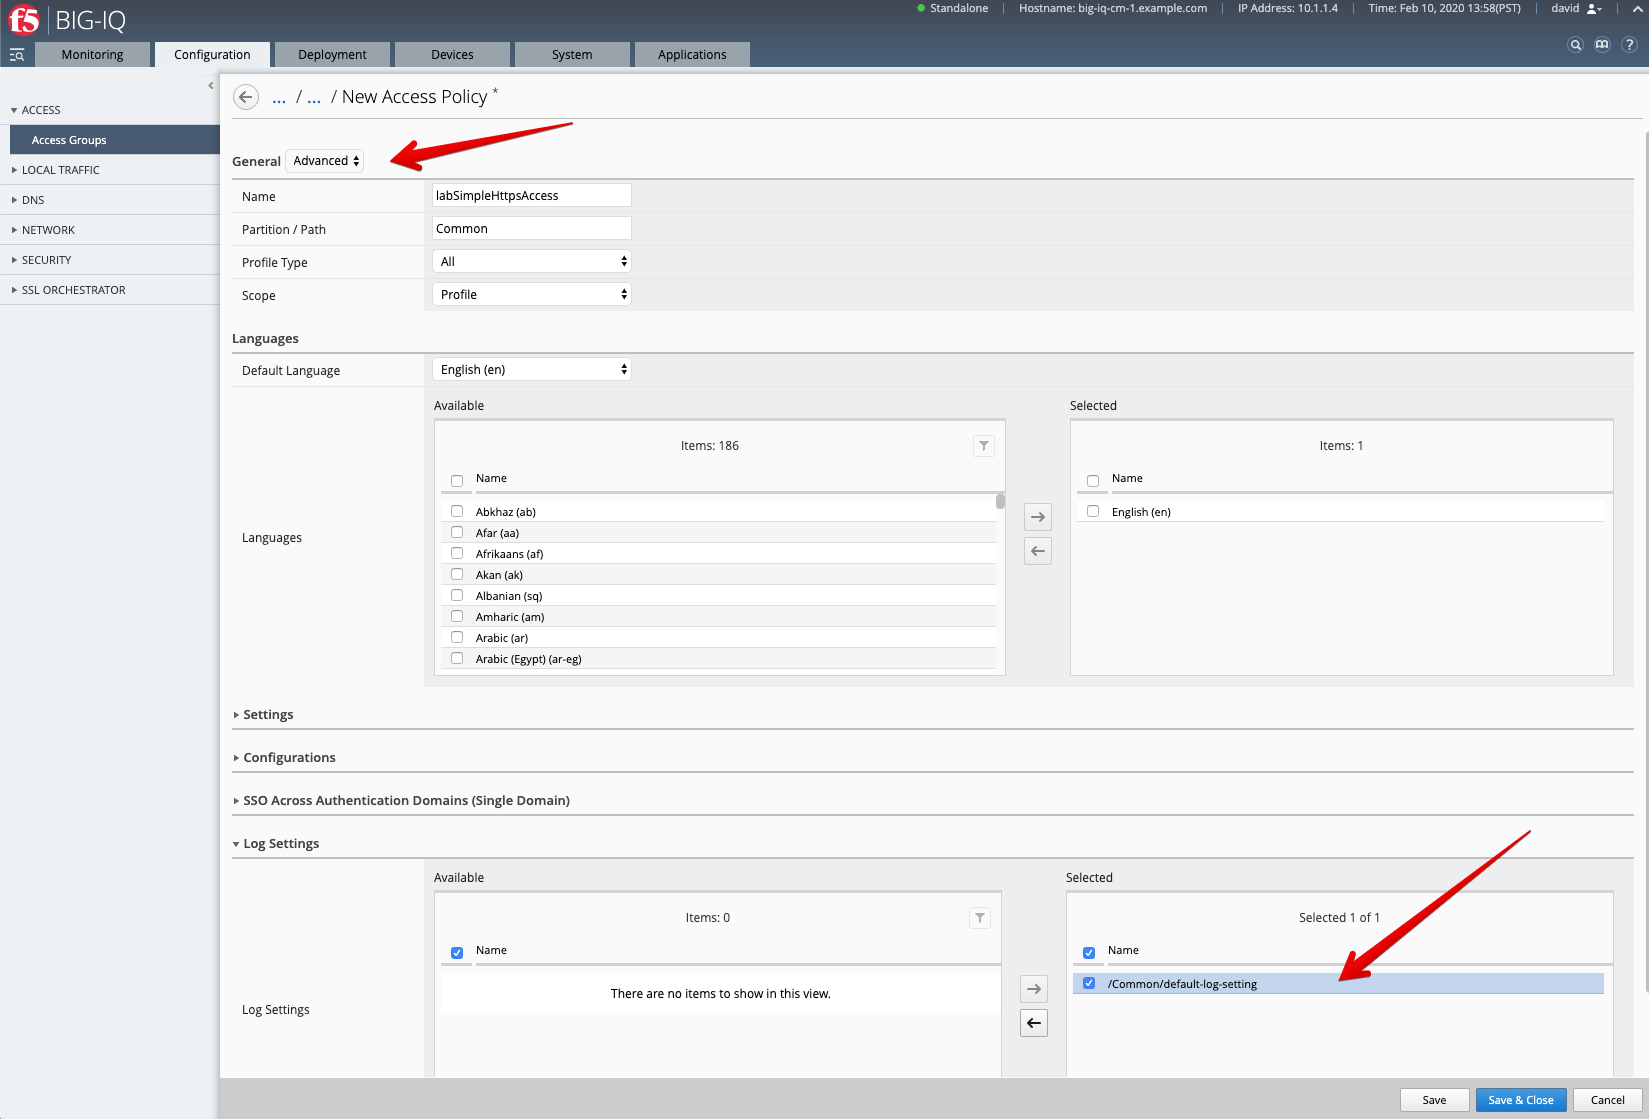
Save & Close
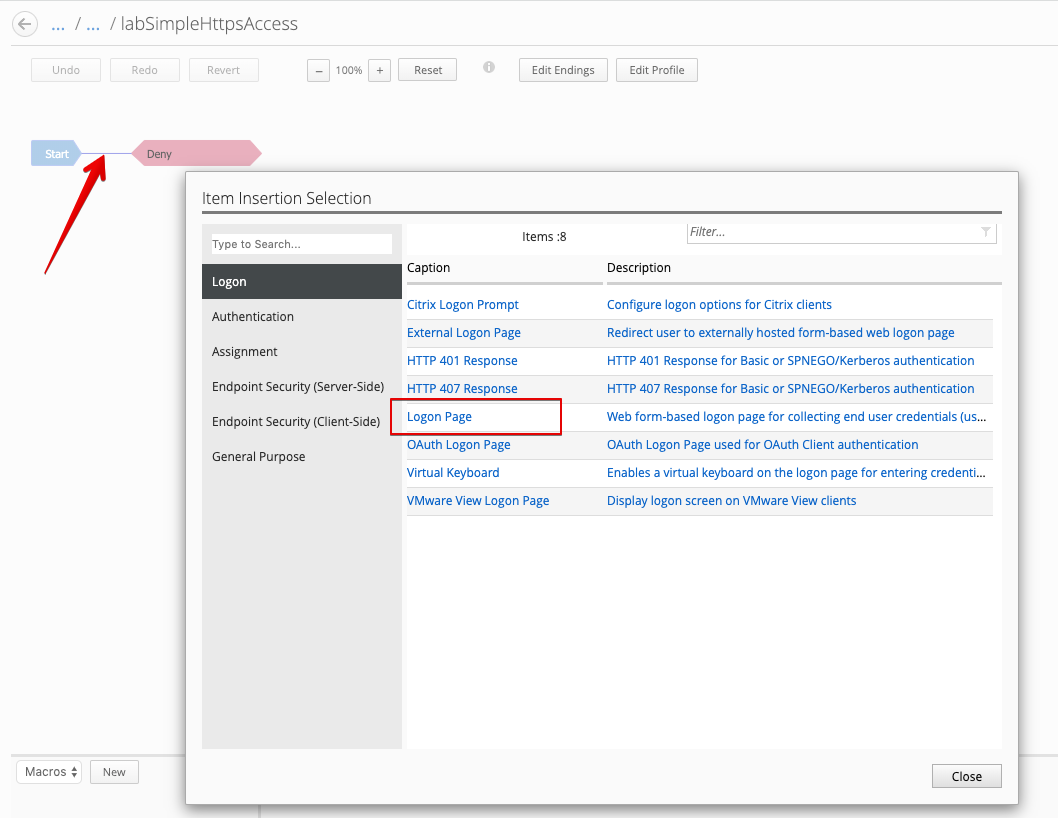
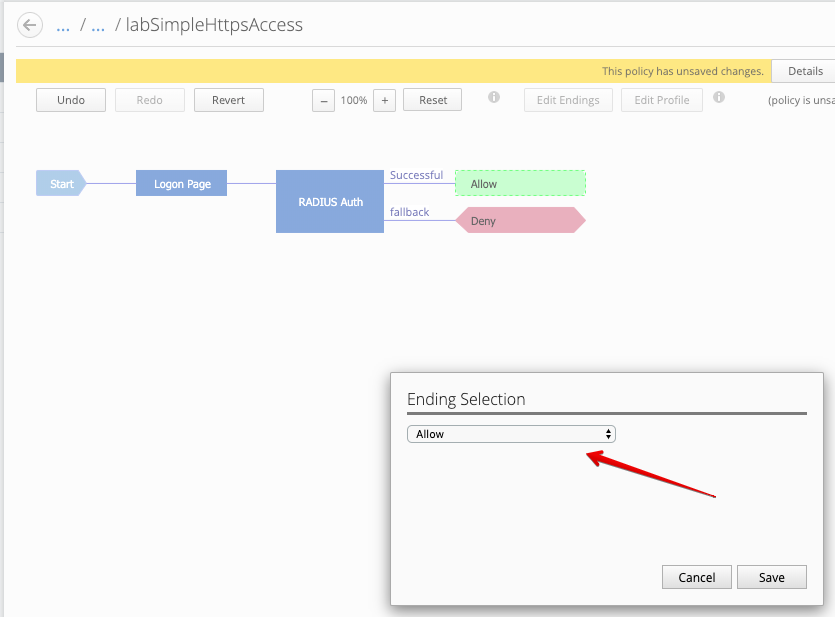
4.3 The Visual Policy Editor (VPE) should open automatically.
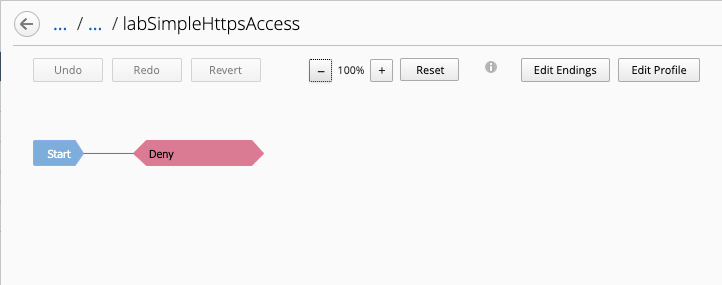
Click on the line between Start and Deny, and add a Login Page.
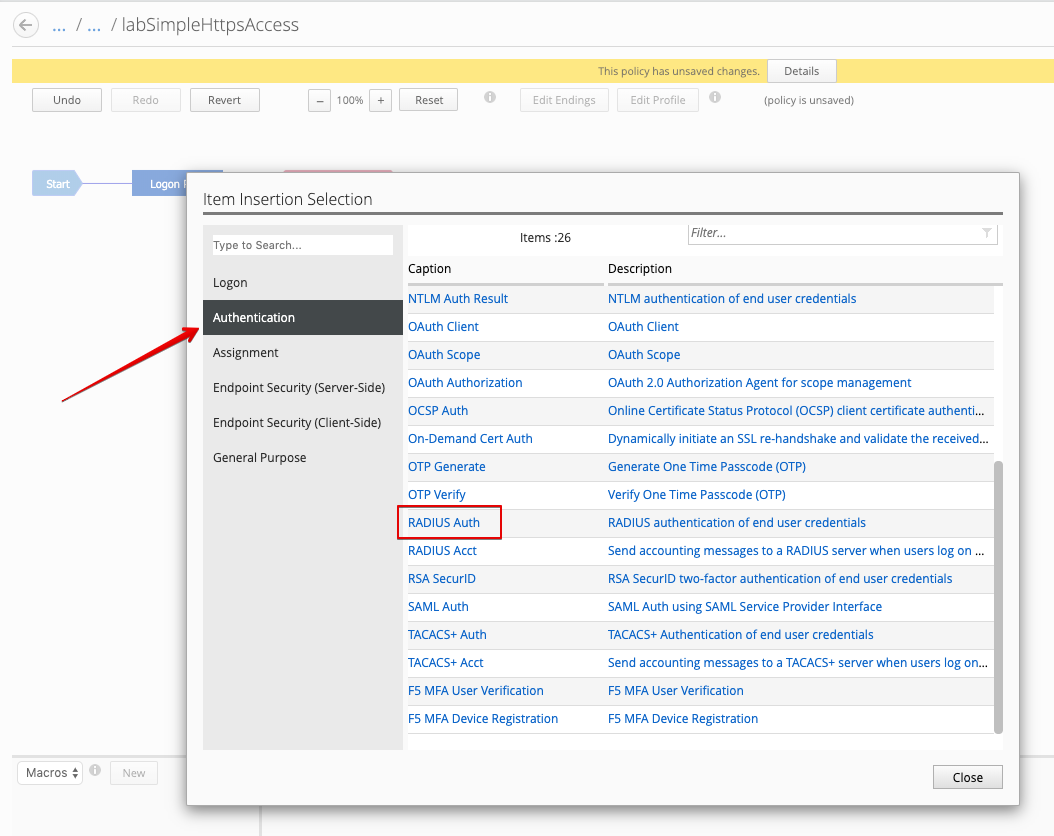
Click on the line between Login Page and Deny, and add a RADIUS Auth.
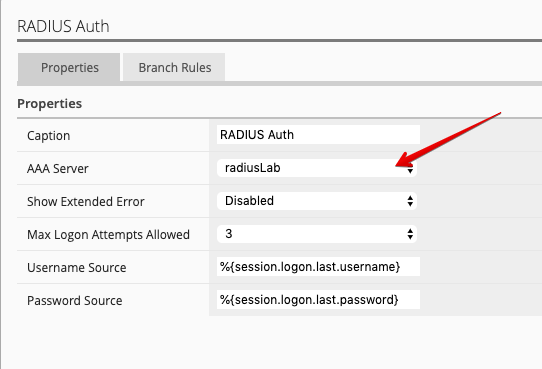
Set AAA Server to previously created RadiusLab Radius Server object.
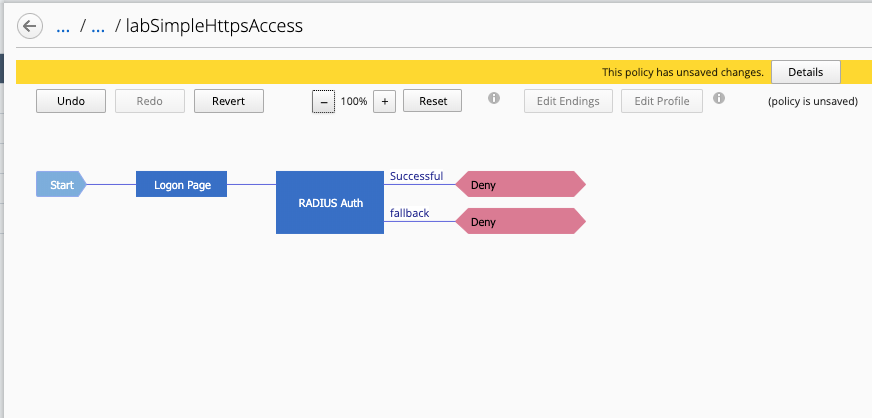
After the Successful outcome, change Deny to Allow.
4.4 Deploy the Access Policy to the device.
Deployment > EVALUATE & DEPLOY > Access
Name: new-access-policy`
Method: ``Deploy immediately
Target Device(s): select both BOS BIG-IPs
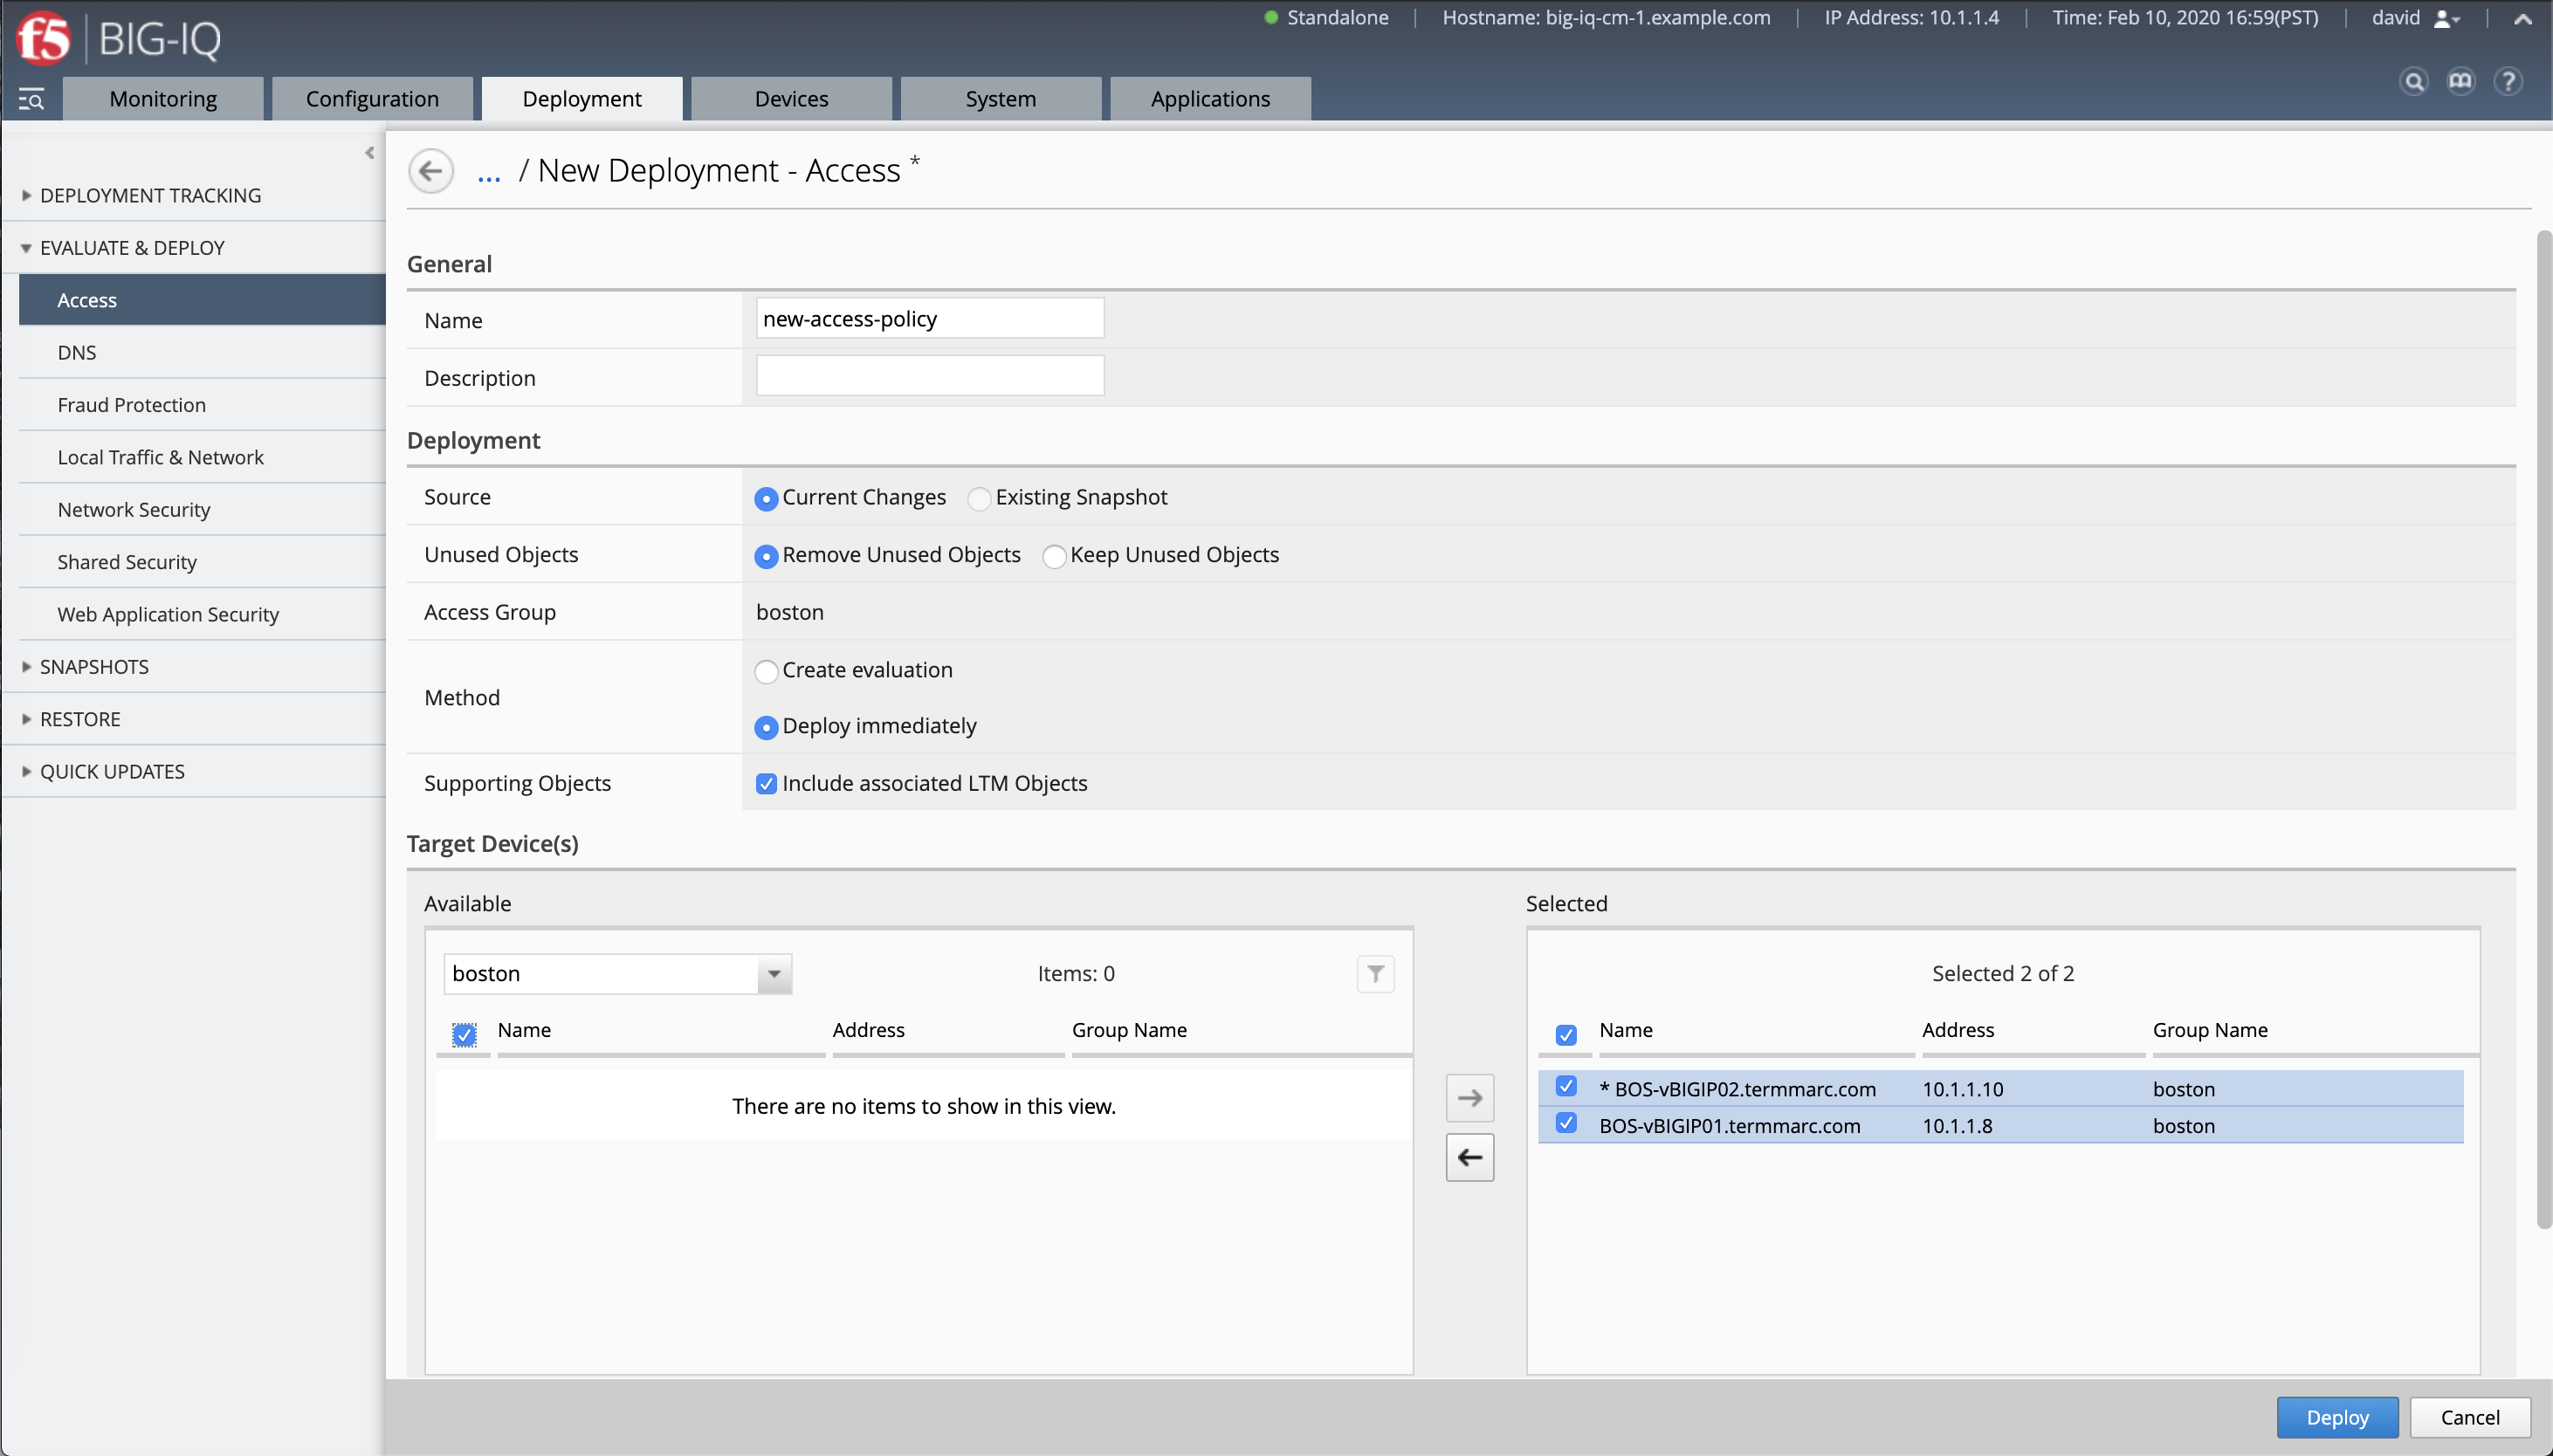
Click Deploy.
AS3 Access template creation and application service deployement
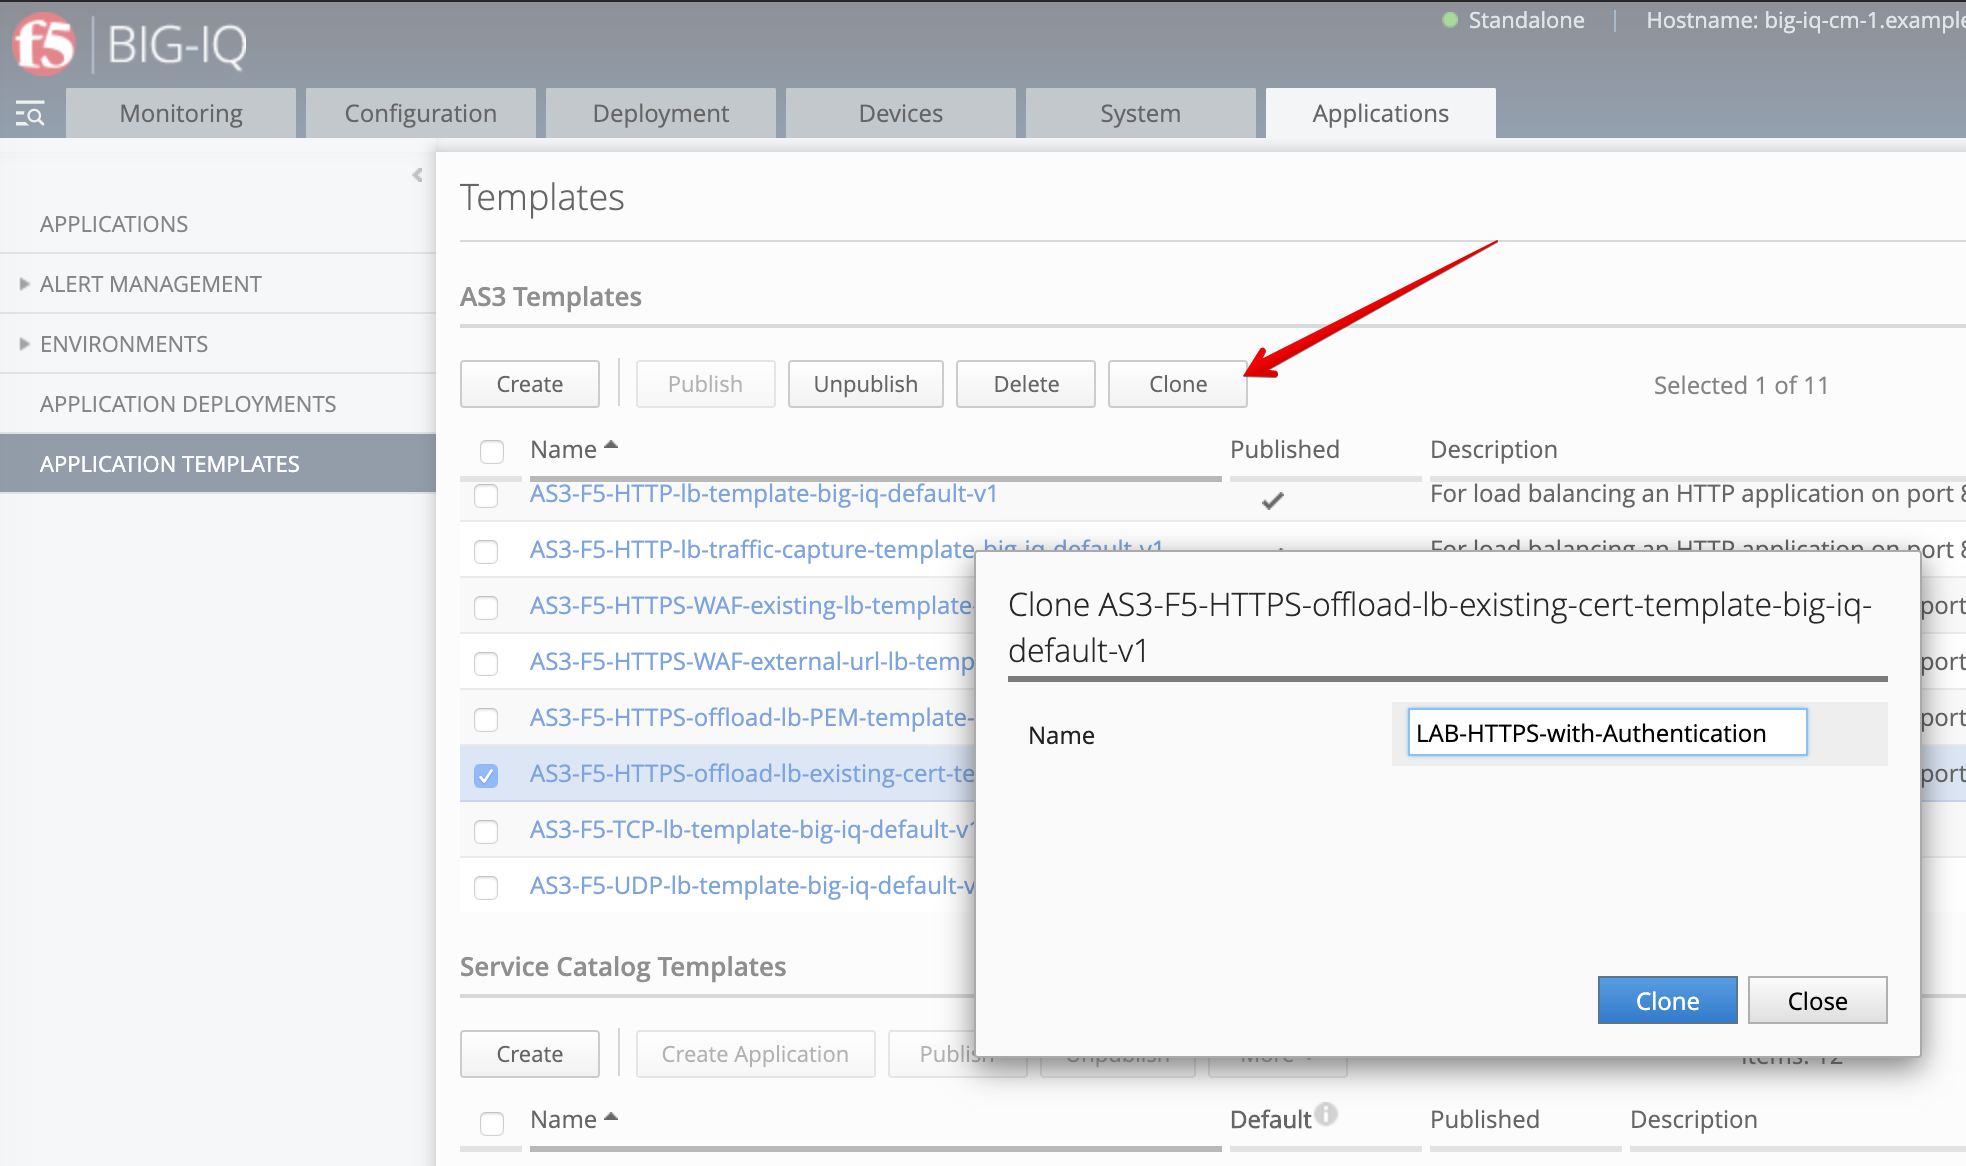
- Navigate to the Applications tab > APPLICATION TEMPLATES.
Select the AS3-F5-HTTPS-offload-lb-existing-cert-template-big-iq-default-<version> AS3 Template and clone it.
Rename it LAB-HTTPS-with-Authentication.
Edit the new cloned template and select the Service_HTTPS class.
Look for the attribute called BIG-IP IAM policy and set it to /Common/labSimpleHttpsAccess.
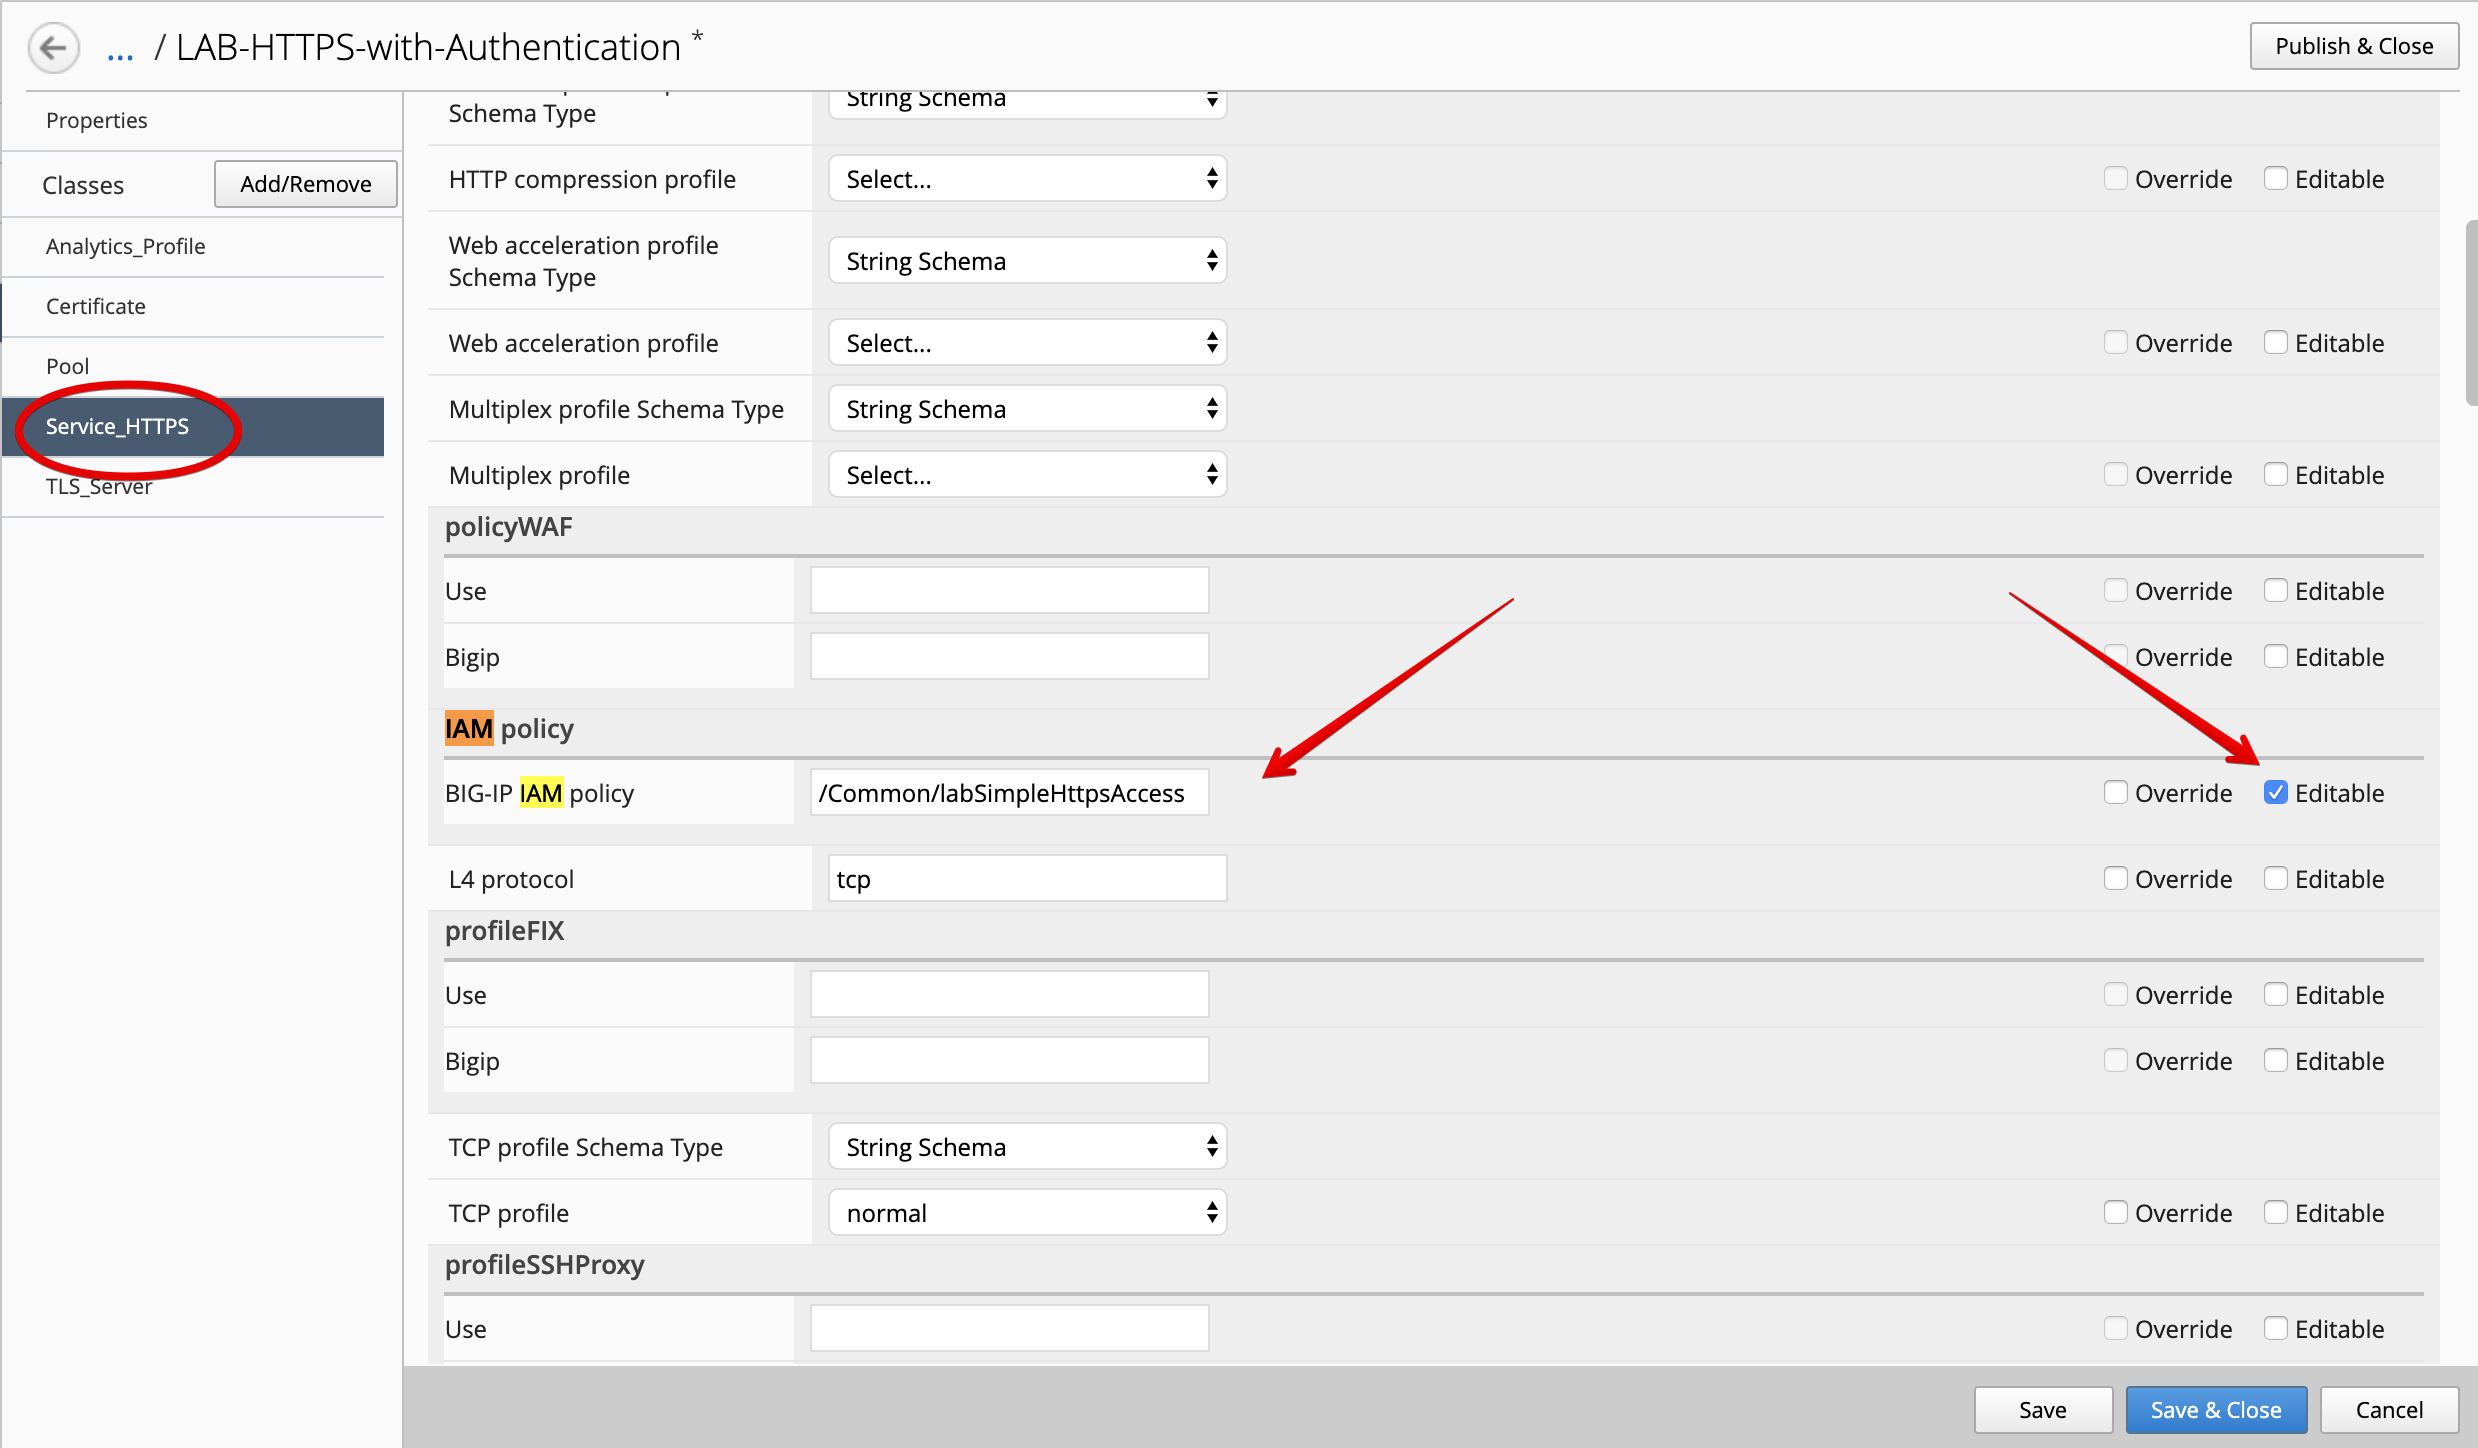
At the top right corner, click on Publish and Close
- Navigate to the APPLICATION menu, click on Create
| Application properties: |
|
| Select an Application Service Template: |
|
| General Properties: |
|
| Analytics_Profile. Keep default. |
| Pool |
|
| Service_HTTPS |
|
| Certificate. Keep default. |
| TLS_Server. Keep default. |
The application service called tenant3_https_auth_service is now created on the BIG-IQ dashboard
under the application called LAB_Access.

- From the lab environment, launch a remote desktop session to have access to the Ubuntu Desktop.
Open Chrome and navigate to the following URL: https://10.1.10.119 and
login with username: paula, password: paula
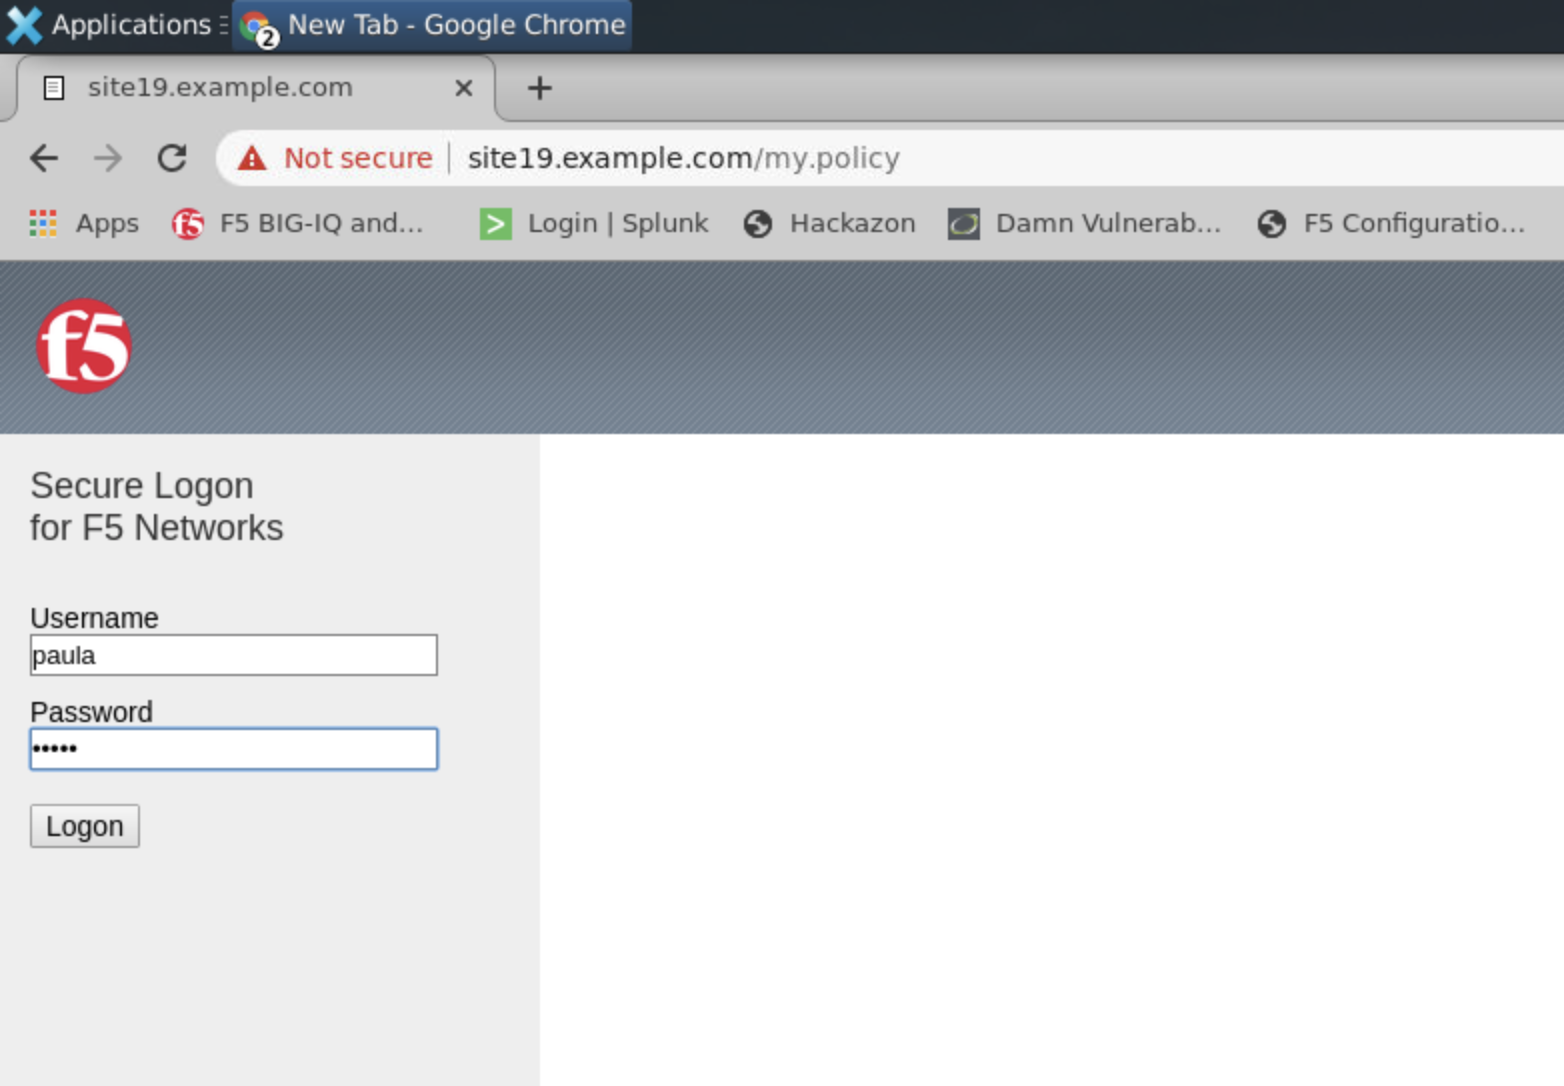
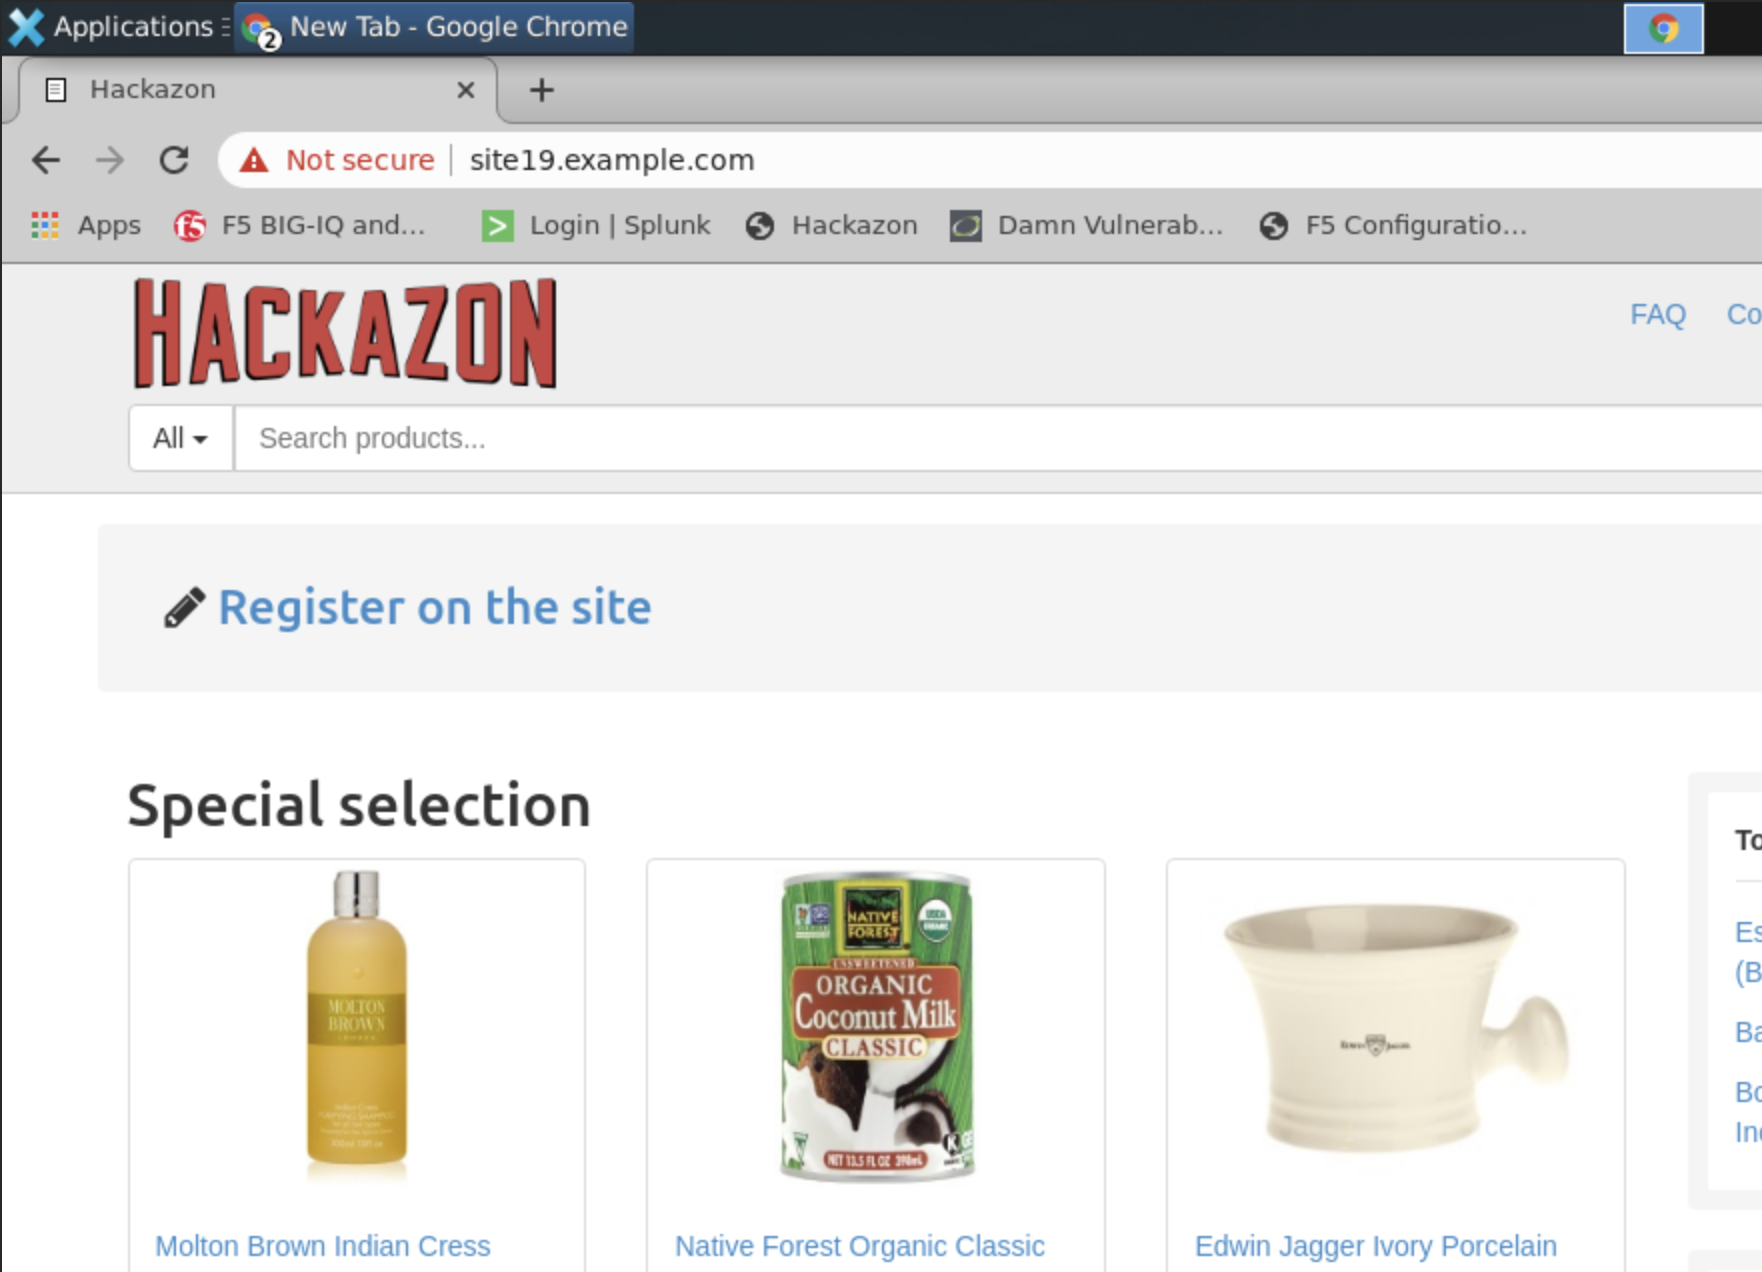
Authentication succeed, Paula is able to authenticate to the website thanks to the Access policy attached to the Virtual Server delivering the service.
Access Policy Session Monitoring
- From BIG-IQ navigate to Monitoring > Access > Access Summary.
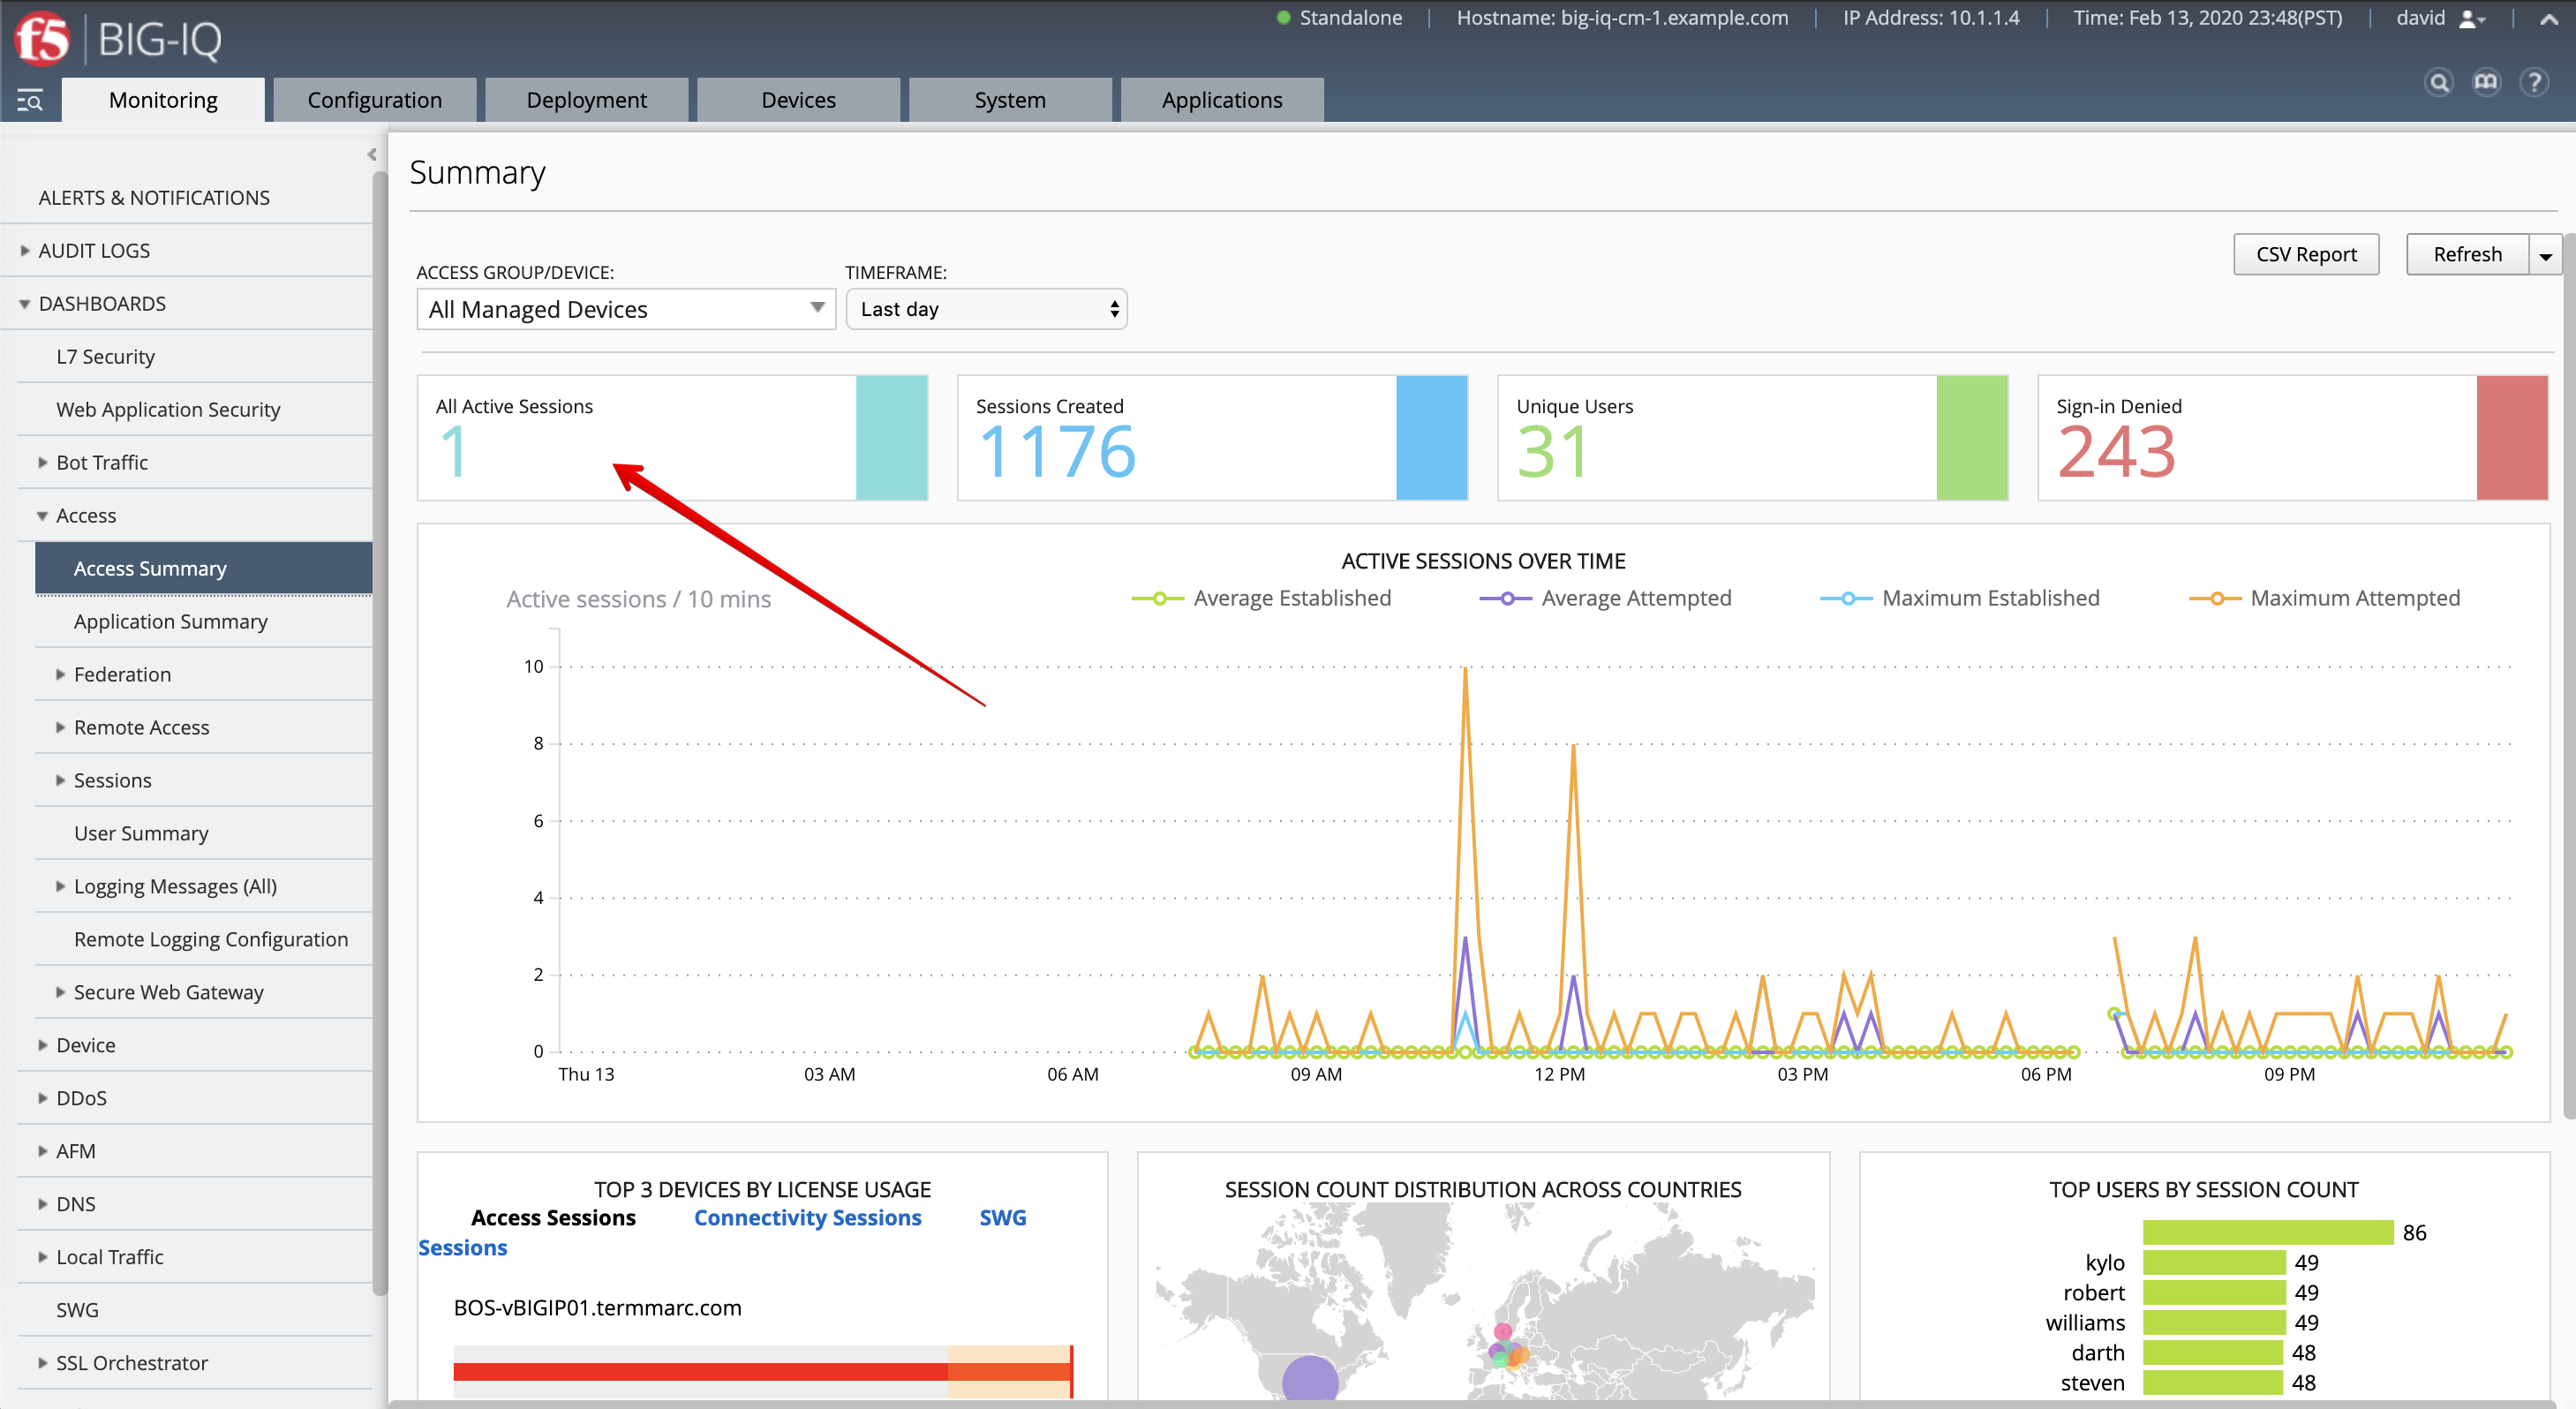
Click on the Active Session to get details about the session.

- Now, let’s navigate to the Access > Sessions > Active to kill the active Sessions.
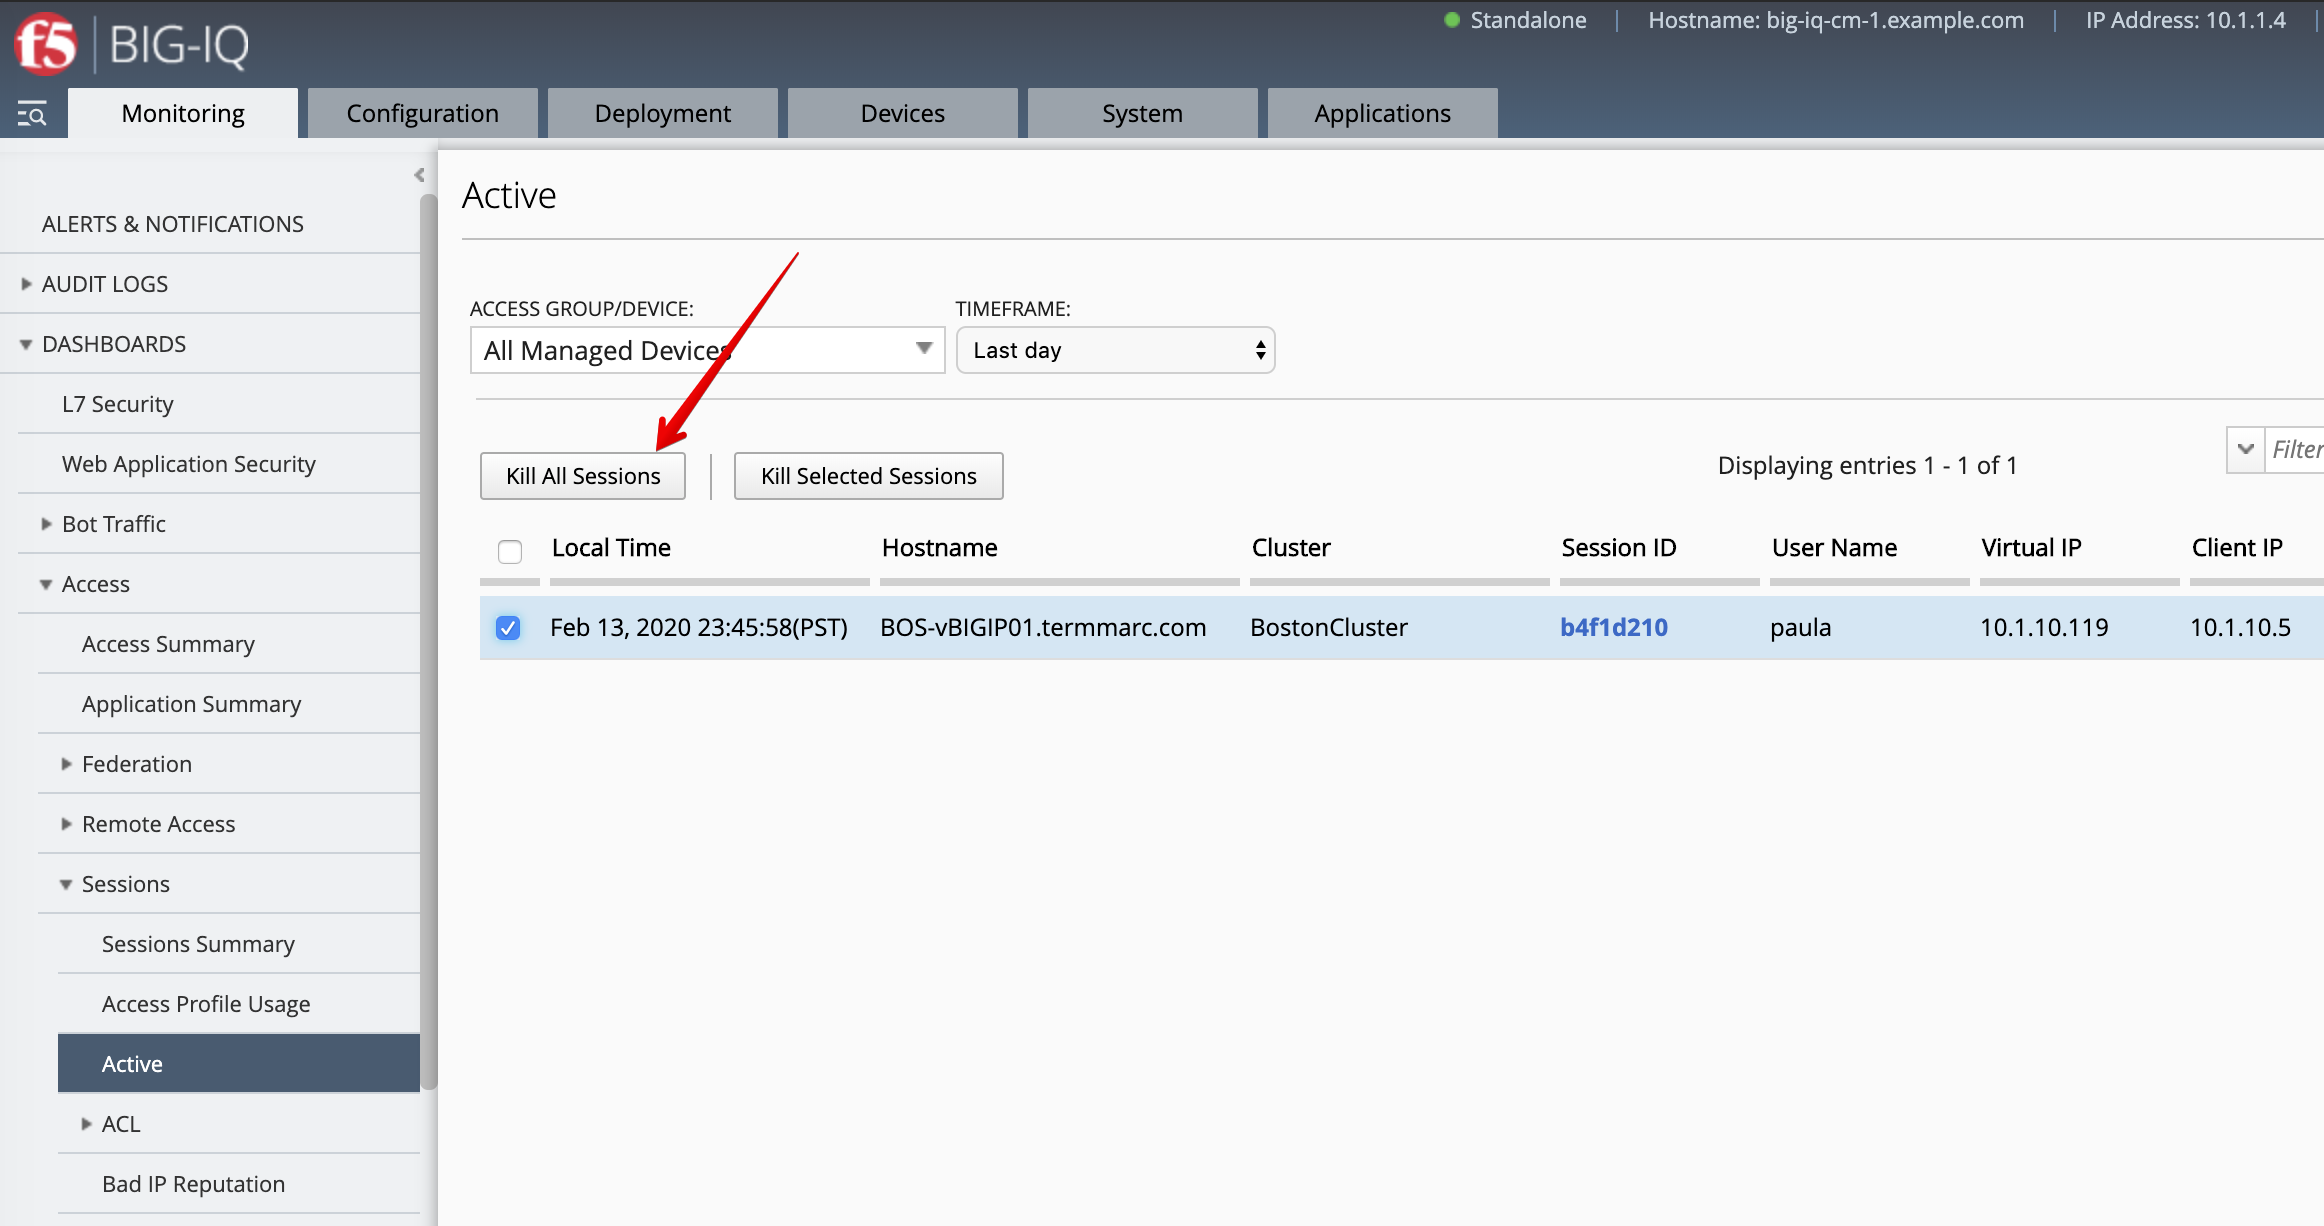
After the sessions is killed, go back to the Lamp server and try refresh the page showing Hackazon website. The login and password prompts should be displayed as the user session has been terminated.