F5 BIG-IQ Centralized Management Lab > BIG-IQ All Labs > Class 9: BIG-IQ Access Policy Manager > Module 2: APM Declarative API Source | Edit on
Lab 2.1: SAML SP Application configuration through declarative API
Note
Estimated time to complete: 20 minutes
Workflow
- In this lab, Larry will provide to David with a new JSON blob so that David can deploy an application protected by APM with one Declarative API called
- Compared to the previous lab with AS3, this new Declarative API blob will include the policy creation and the application creation. In the previous lab, AS3 “refered” to an existine APM oilicy
Application creation with one Declarative API call
- Connect to
Visual Studio Codeby clicking on the link underAccessmenu onUbuntumachine (follow instructions).
VSC will open, and on the left menu, click on file
postman_class9.restinprojectdirectory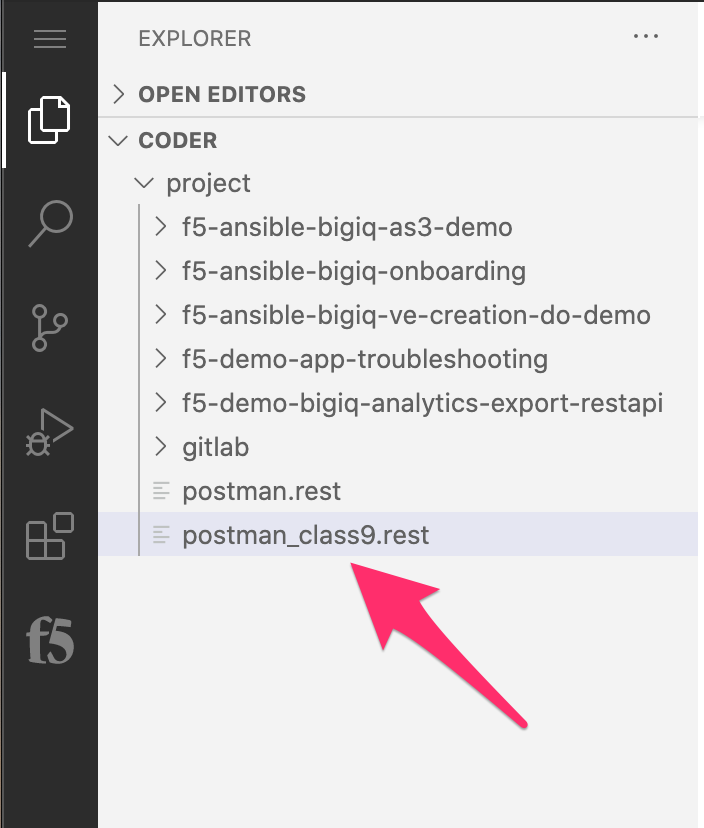
Now, on the right frame, you can see the different
Postmancalls. We will run them, one by one. It is important to understand each of themThe
first callis to authenticate against the BIG-IQ, and get a token. Use the first call (line #9). Click onSend Request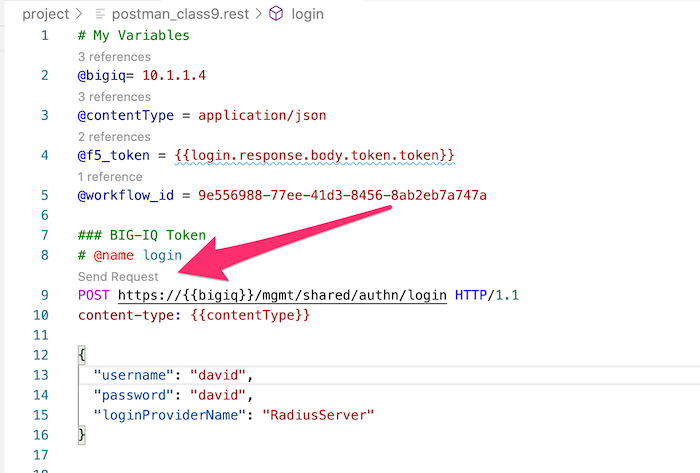
You should see on the right frame, the response from BIG-IQ. Now, you have a token, and you can send REST calls to BIG-IQ.
It is time to send our
declarative API callthat will configure our new VS + APM policy as SAML SP.The JSON blob (the declarative call) is below. You can notice the different sections (SAML SP, SAML IDP connector, VS, SSO, EndPoint check)
{
    "name": "workflow_saml_2",
    "type": "samlSP",
    "accessDeviceGroup": "boston",
    "configurations": {
        "samlSPService": {
            "entityId": "https://www.testsaml.com",
            "idpConnectors": [
                {
                    "connector": {
                        "entityId": "https://www.testidp.com",
                        "ssoUri": "https://www.testidp.com/sso"
                    }
                }
            ],
            "attributeConsumingServices": [
                {
                    "service": {
                        "serviceName": "wf_service4",
                        "isDefault": true,
                        "attributes": [
                            {
                                "attributeName": "wf_name4"
                            }
                        ]
                    }
                }
            ],
            "authContextClassList": {
                "classes": [
                    {
                        "value": "urn:oasis:names:tc:SAML:2.0:ac:classes:PasswordProtectedTransport"
                    }
                ]
            }
        },
        "virtualServers": [
            {
                "port": "433",
                "destinationIpAddress": "10.10.1.2",
                "targetDevice": "BOS-vBIGIP01.termmarc.com",
                "clientsideSsl": "/Common/clientssl",
                "serversideSsl": "/Common/serverssl",
                "poolServer": {
                    "monitors": {
                        "http": [
                            "/Common/http"
                        ],
                        "https": [
                            "/Common/https"
                        ]
                    },
                    "members": [
                        {
                            "ipAddress": "10.11.2.2",
                            "port": "443",
                            "priorityGroup": 10
                        },
                        {
                            "ipAddress": "10.10.3.2",
                            "port": "80"
                        }
                    ]
                }
            }
        ],
        "accessProfile": {},
        "singleSignOn": {
            "type": "httpHeaders",
            "httpHeaders": [
                {
                    "headerName": "Authorization",
                    "headerValue": "%{session.saml.last.identity}"
                },
                {
                    "headerName": "Authorization2",
                    "headerValue": "%{session.saml.last.identity2}"
                }
            ]
        },
        "endpointCheck": {
            "clientOS": {
                "windows": {
                    "windows7": true,
                    "windows10": true,
                    "windows8_1": true,
                    "antivirus": {},
                    "firewall": {},
                    "machineCertAuth": {}
                },
                "windowsRT": {
                    "antivirus": {},
                    "firewall": {}
                },
                "linux": {
                    "antivirus": {
                        "dbAge": 102,
                        "lastScan": 102
                    },
                    "firewall": {}
                },
                "macOS": {
                    "antivirus": {
                        "dbAge": 103,
                        "lastScan": 103
                    }
                },
                "iOS": {},
                "android": {},
                "chromeOS": {
                    "antivirus": {
                        "dbAge": 104,
                        "lastScan": 104
                    },
                    "firewall": {}
                }
            }
        }
    }
}
Click on
Send Requestand check the right frame of the screen. You should see a2O2 AcceptedScroll down and copy the
access-workflow ID. This ID is the last string inselflinkattribut. In my example belown the ID is6fe131ef-4edb-4977-9073-fdea042b47ec
Now, let’s check if the workflow passed. To do so, we will use another REST call. On the left frame, at the top, in the
My Variablessection, change the value of@workflow_idby the copied ID.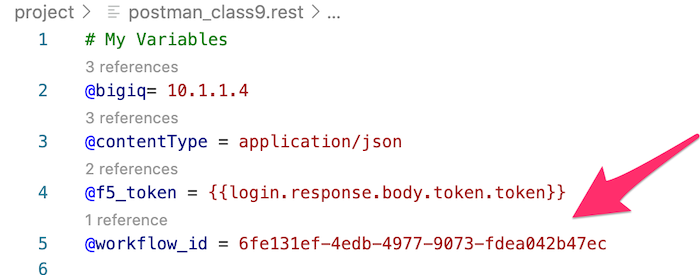
Scroll down, and use the last REST call
Check status of the deployment. ClickSend RequestYou should see a
200 OK, andstatus : finshed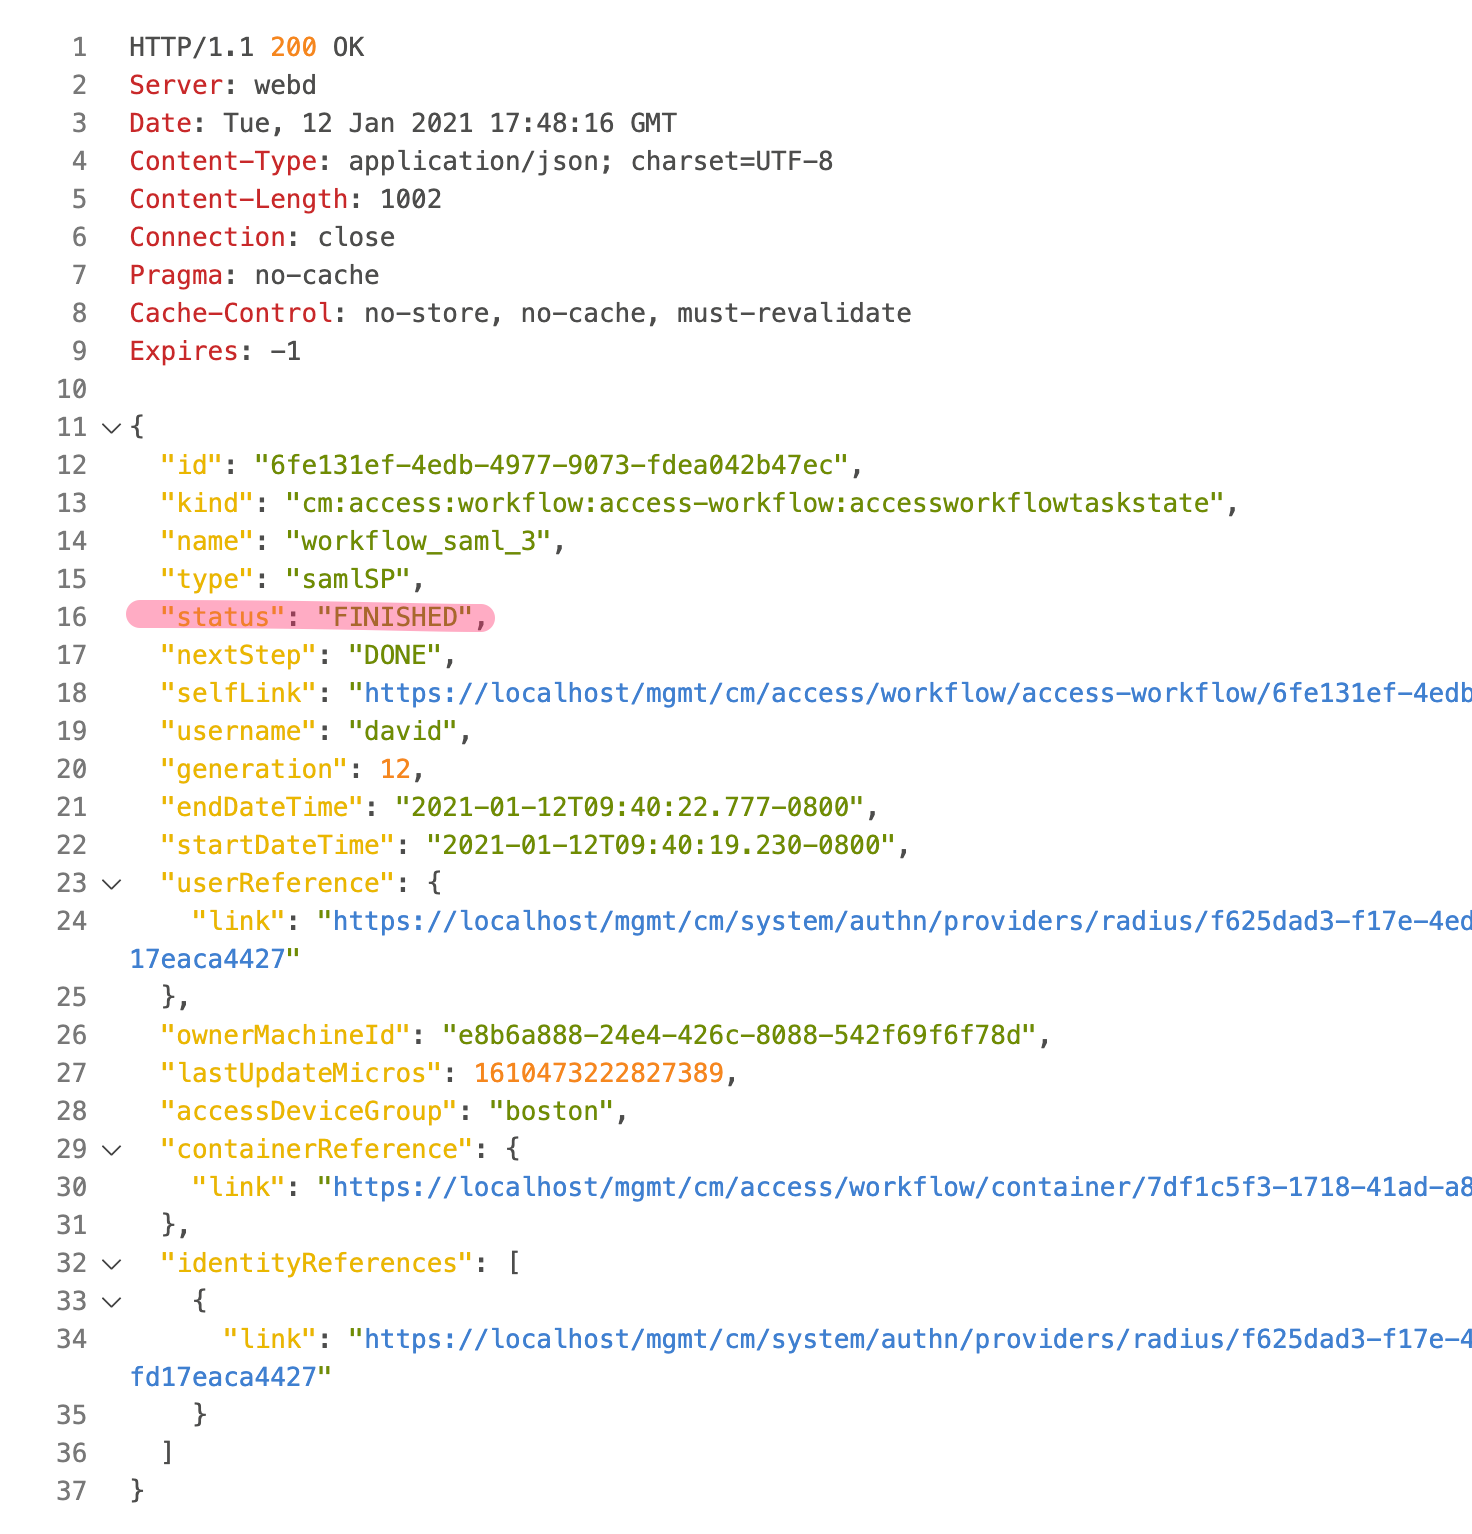
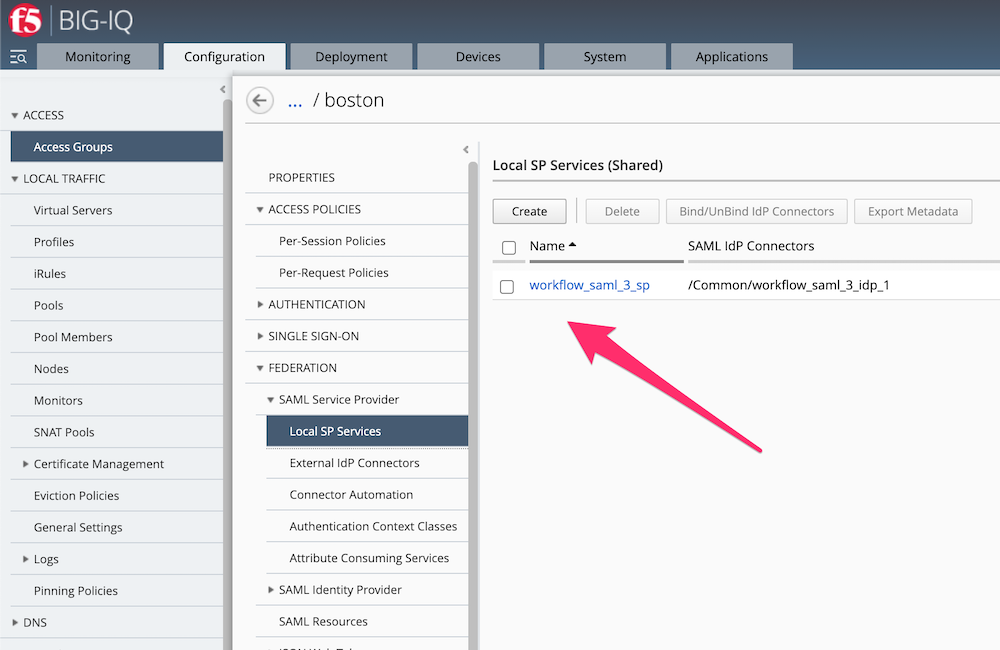
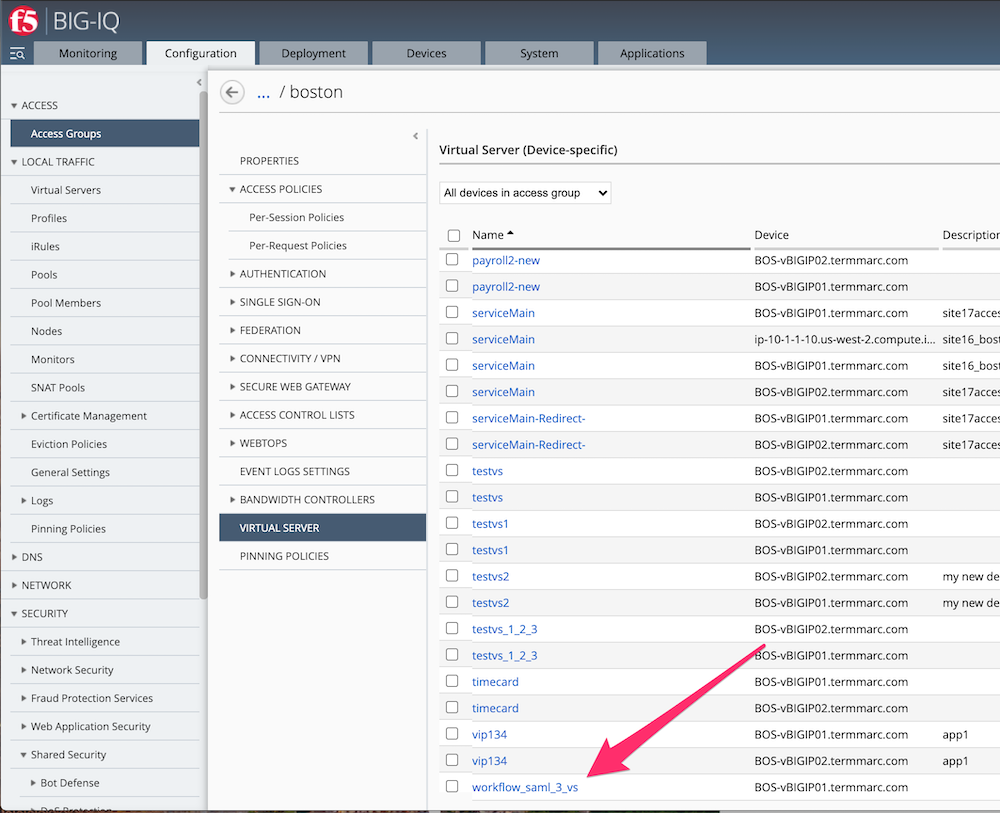
Connect to BIG-IQ GUI as
davidand check yourAPM policyandVirtual Serverare created.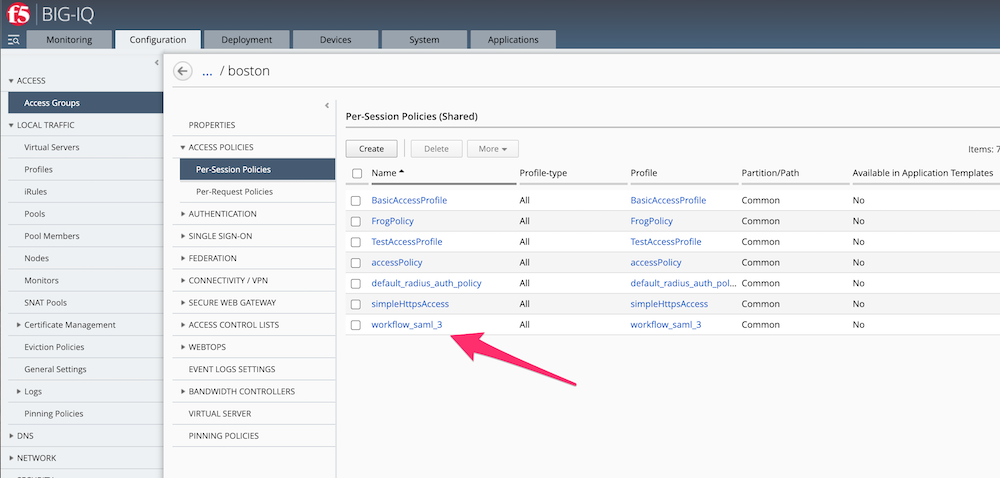
The last step -> Deploy your configuration if you want.
Note
Congrats, with one call, you deployed a new Service protected by APM as a SAML Service Provider. You can now replicate the same call for every new app by changing the name of the SAML SP object, and the VS config.