F5 Distributed Cloud Source | Edit on
Lab 2: Advanced API Inventory
Scenario
There was an update to Customer Lookup controller, a new endpoint “getbyheroname” was added, allowing the lookup of a customer’s secret identify. However, this endpoint was not intended for release and was not approved for production.
We need to ensure that unapproved endpoints cannot be consumed, both now and in the future.
Expected Lab Time: 15 minutes
Task 1: Simulate Allowed Access to a Shadow API
Using another browser tab, navigate to the the following URL.
http://<namespace>.lab-sec.f5demos.com/swagger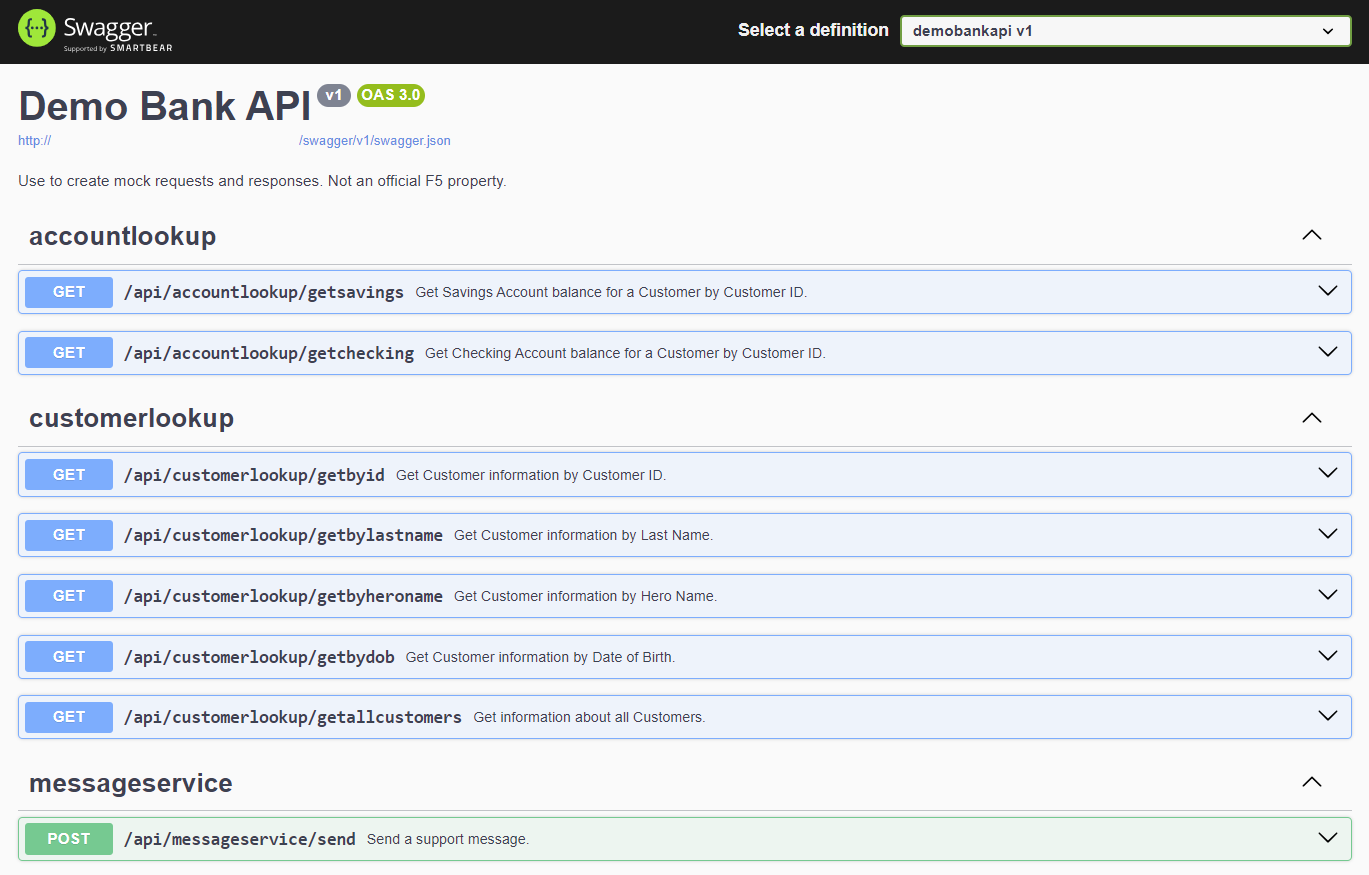
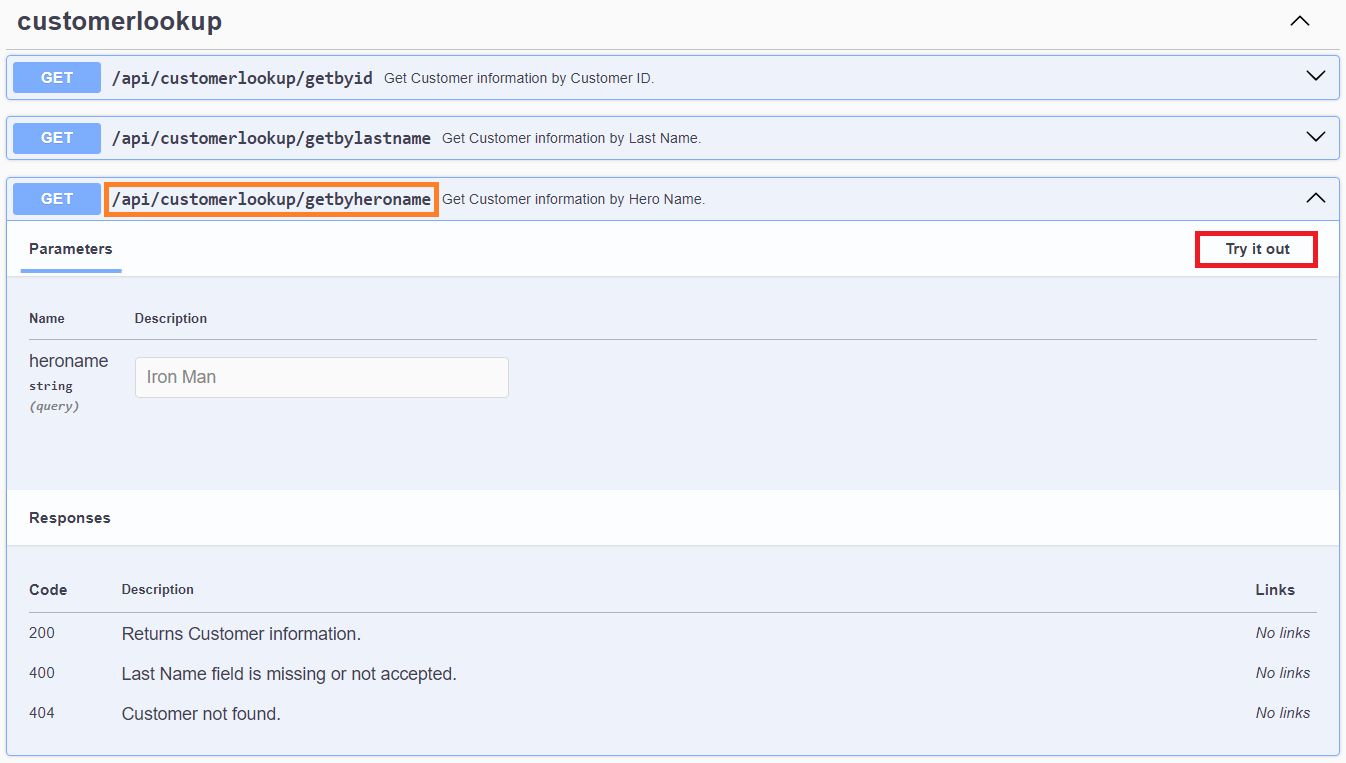
In the Demo Bank API app, navigate to the /api/customerlookup/getbyheroname endpoint, expand it, and click Try it out.
Note
The ‘getbyheroname’ is a shadow API endpoint that is not approved for use. A shadow API refers to an undocumented or unintended API endpoint that exists alongside officially supported APIs, often posing security or operational risks due to lack of visibility or management.
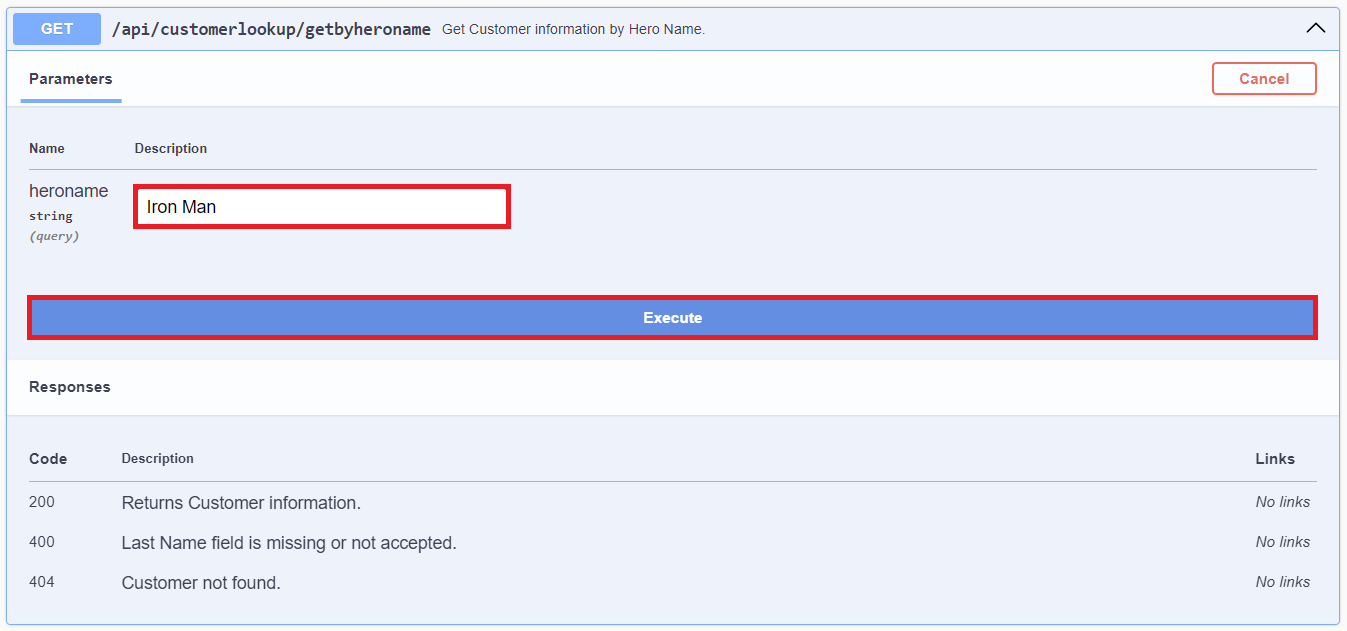
Enter ‘Iron Man’ in the “heroname” field.. Click Execute.
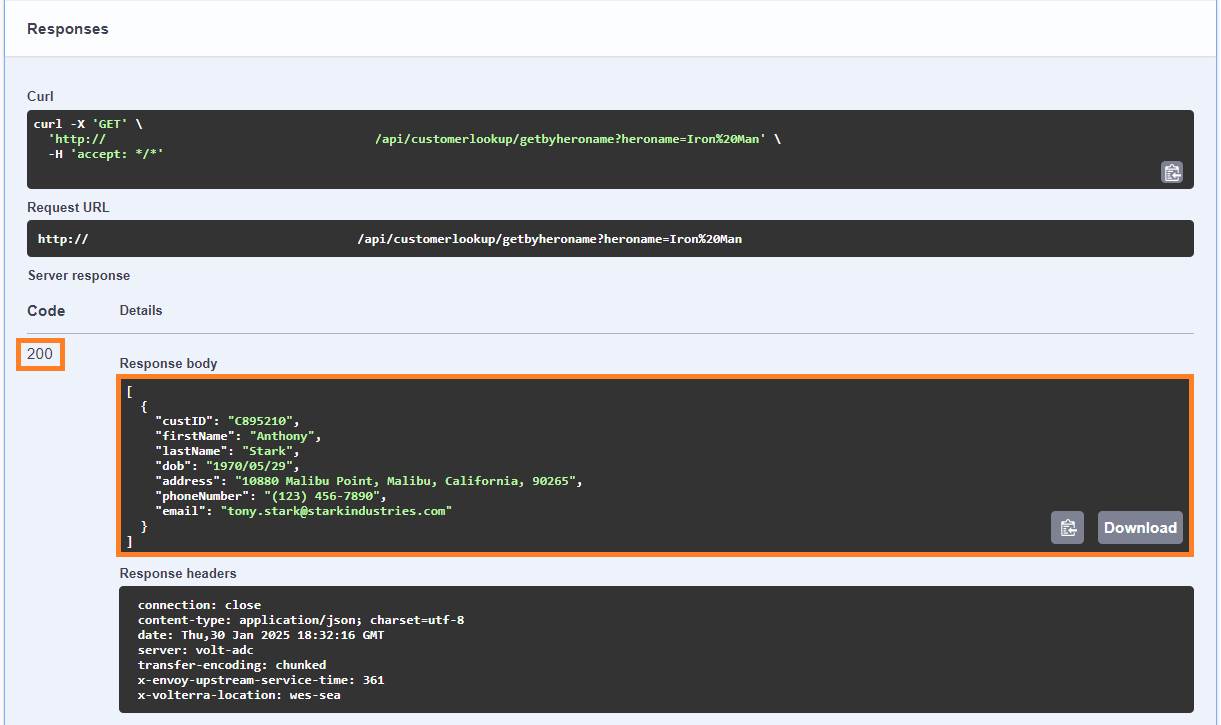
Review the response body. It returns the customer information.
Note
In the next steps, we will address this issue by blocking access to the shadow API endpoints.
Task 2: OpenAPI File Import
In this task’s series of steps you will download and upload a swagger file.
Open a new broswer tab and navigiate to the following URL. Download the demobank-api-v1.json as a file, note the saved location.
http://demobankapi.lab-sec.f5demos.com/lab/demobank-api-v1.json
Note
Depending on browser, you may need to copy content and save as **demobank-api-v1.json. “Pretty-print” will need to be checked within Chrome.
Review the downloaded swagger. You will notice the customerlookup/getbyheroname is not present.
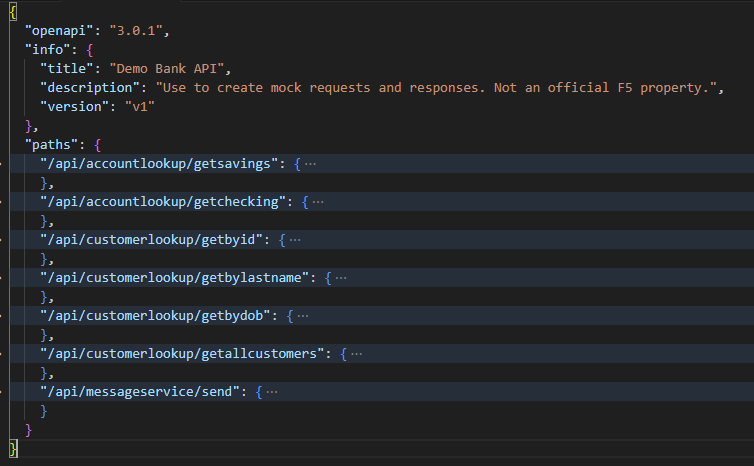
Note
The swagger in this use is akind to an endpoint allow list.
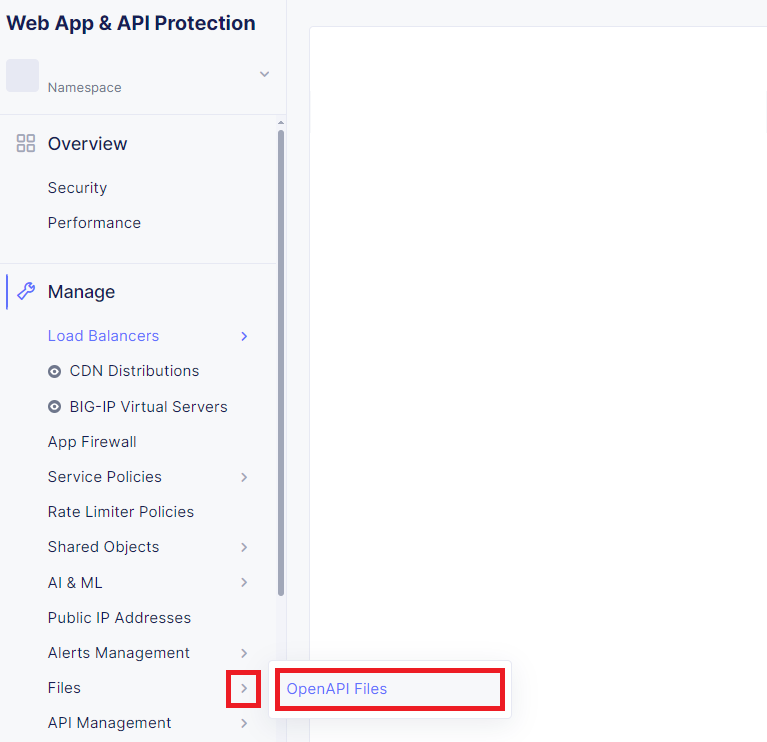
Click the left top click the F5 ball and navigate to the Web App & API Protection Tile in your browser.
Under Manage, mouse over File and click on OpenAPI Files from the slide out.
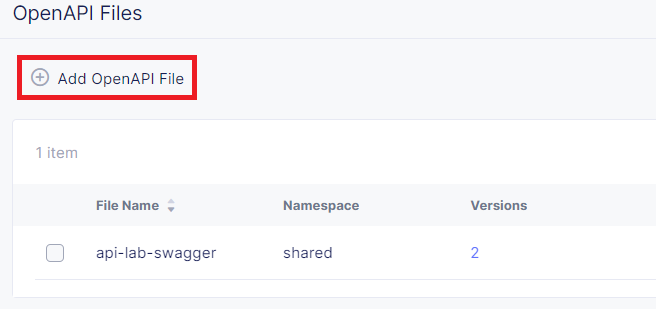
Click on Add OpenAPI File top left of the OpenAPI Files page.
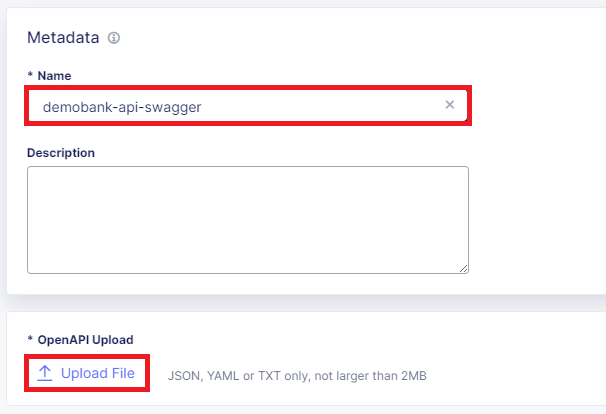
In the resulting OpenAPI File window, input demobank-api-swagger for the Name then click Upload File.
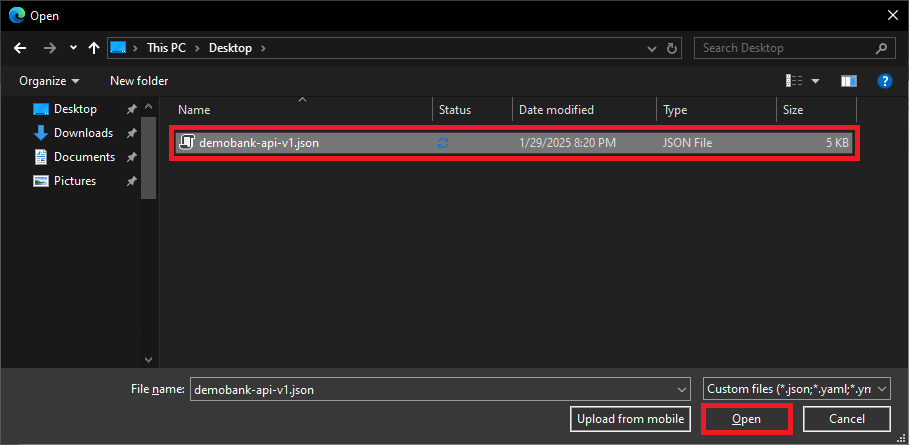
Navigate to the previously downloaded demobank-api-v1.json file, select and click on Open
Observe that the file demobank-api-v1 is present and the click Save and Exit
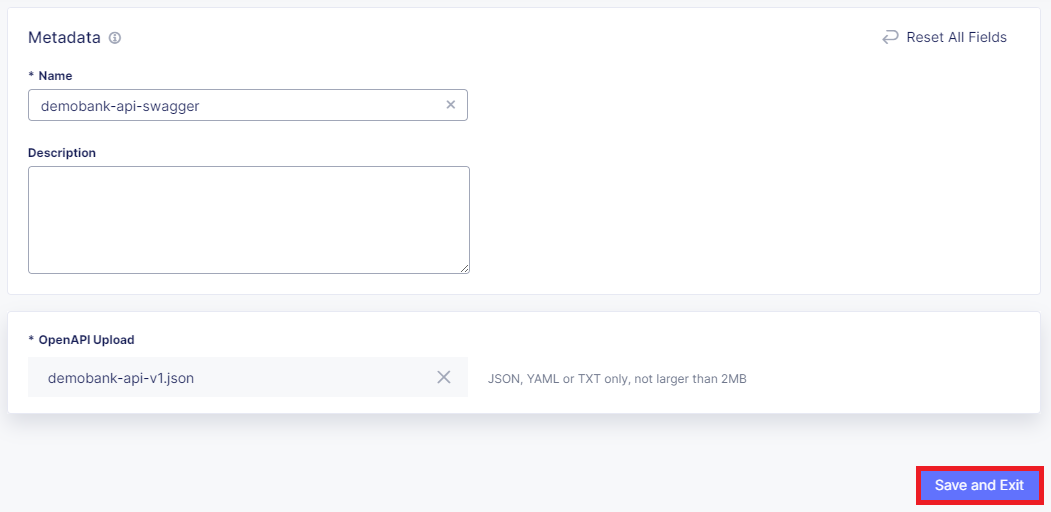
In the resulting OpenAPI File window, you will see the upload file with additional metadata.

Note
You will also see a dialogue box, in the bottom left of your screen indicating the file has been successfully added.*
Task 3: API Definition
In this task’s series of steps you will create a API Definition using the created OpenAPI object.
In the left-hand navigation of the Web App & API Protection service under Manage, mouse over API Management and click on API Definition from the slide out.

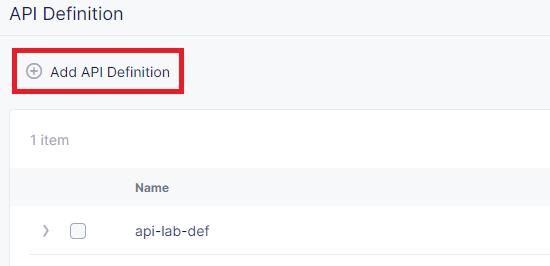
In the resulting API Definition window, click Add API Definition in the main window area as shown.
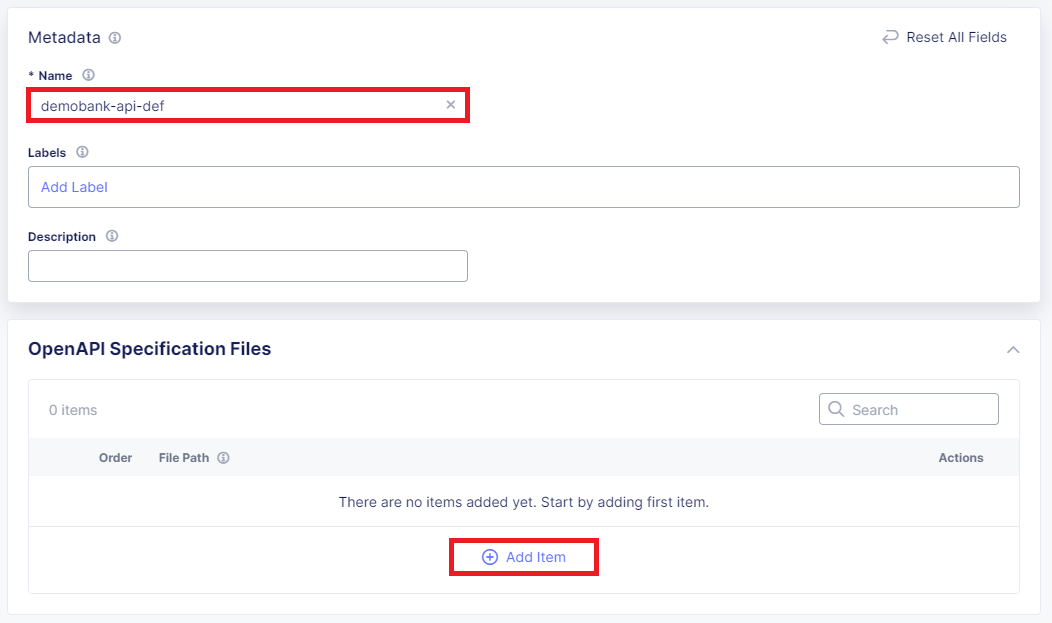
In the resulting New API Definition window, input demobank-api-def for the Name under the Metadata section.
In the OpenAPI Specification Files section, click Add Item.
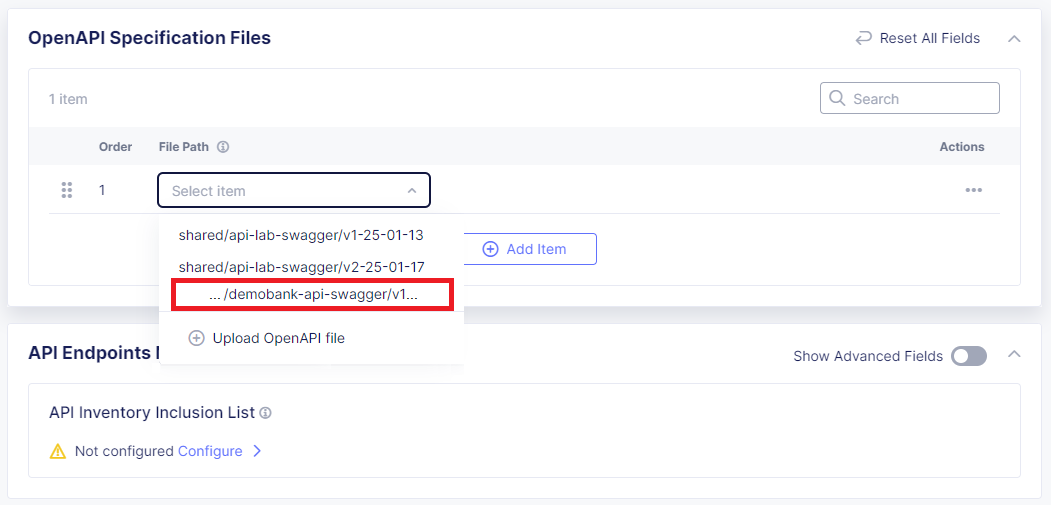
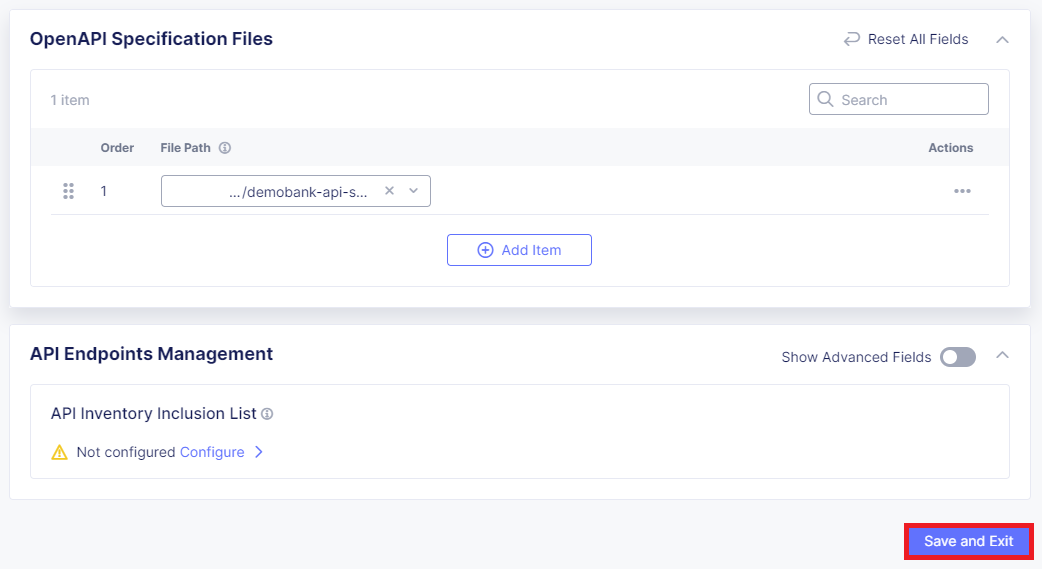
Select the version 1 of the previously uploaded OpenAPI spec file. It will be in the format <namespace>/demobank-api/v1-<current-date>.
Once selected, click Save and Exit in the bottom-right corner.
Task 4: Enabling API Inventory
In this task’s series of steps you will enable the API Inventory and Discovery feature on the previously built Load Balancer.
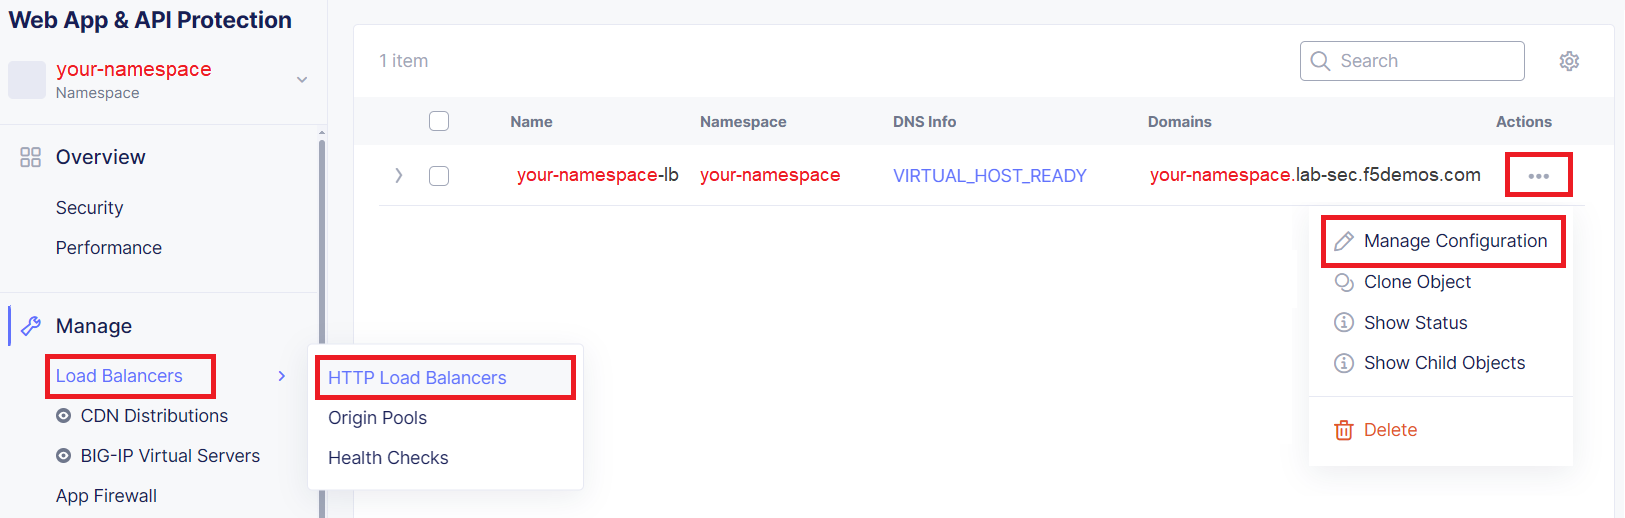
In the left-hand navigation of the Web App & API Protection service, click on Load Balancers > HTTP Load Balancers under the Manage section.
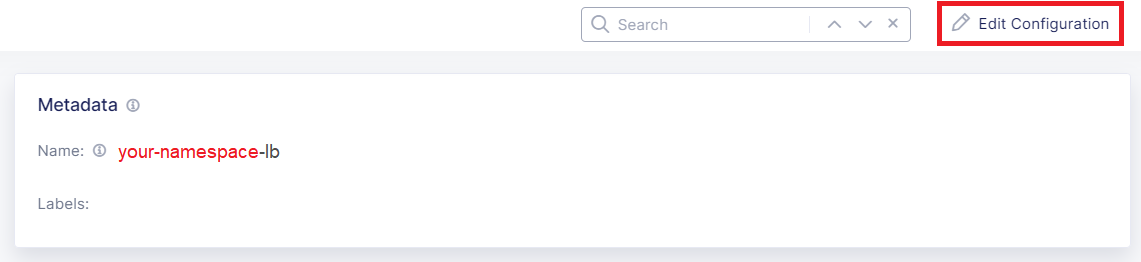
In the resulting Load Balancers window, click on the three dots … in the Action column, and the select Manage Configuration.
Click Edit Configuration in the top-right corner.
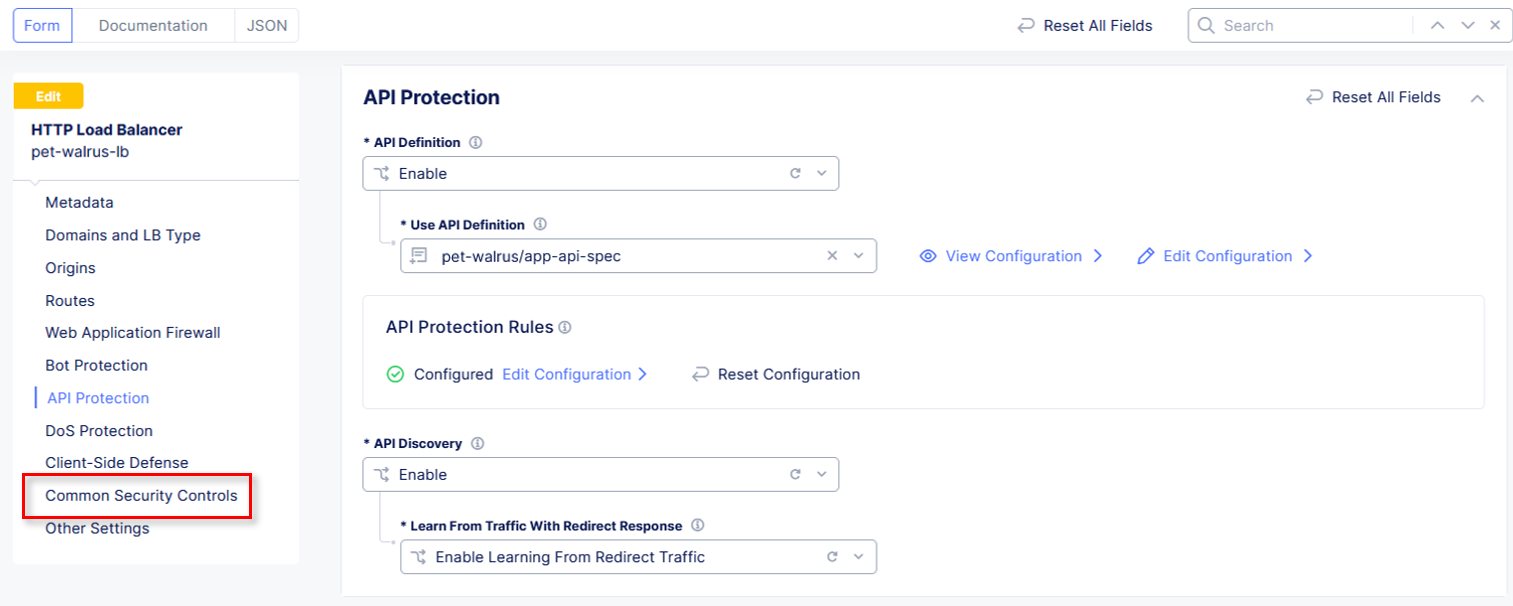
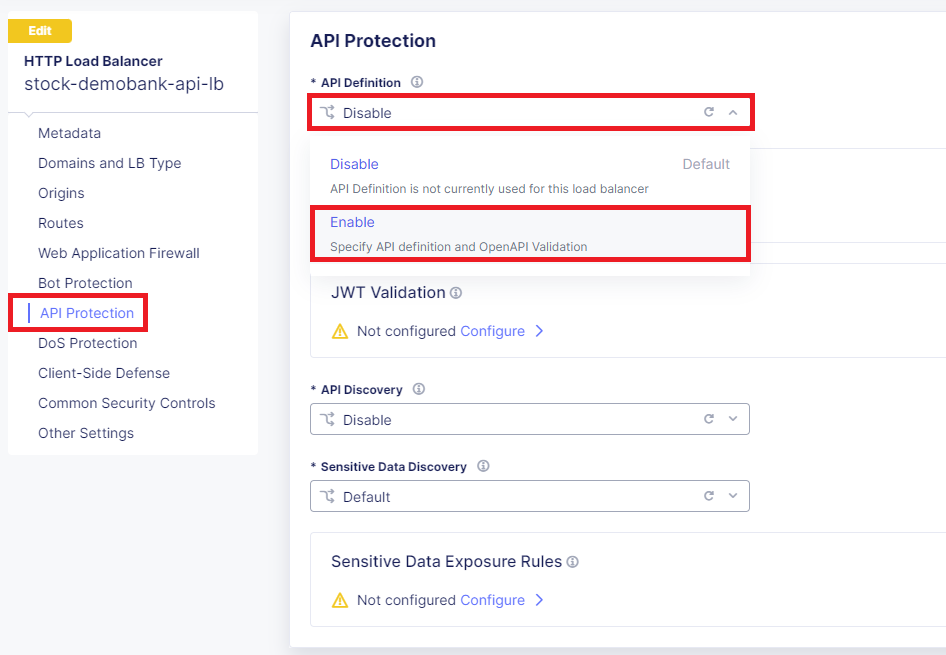
Click API Protection in the left-hand navigation.
In the API Protection section, click the drop-down arrow next to API Definition and select Enable.
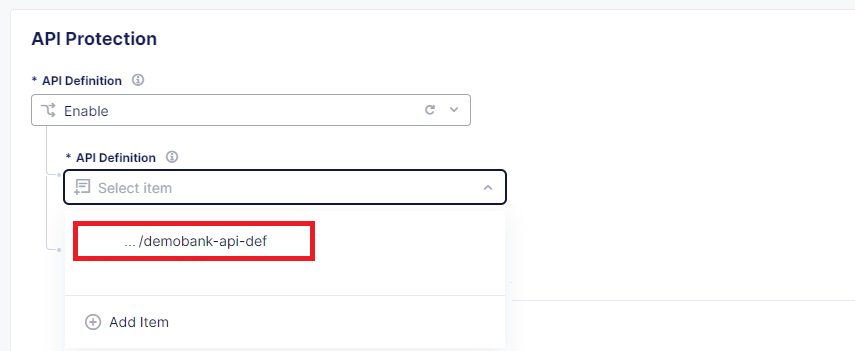
In the second API Definition section, click the drop-down arrow and select the pre-created API Definition <namespace>/demobank-api-def.
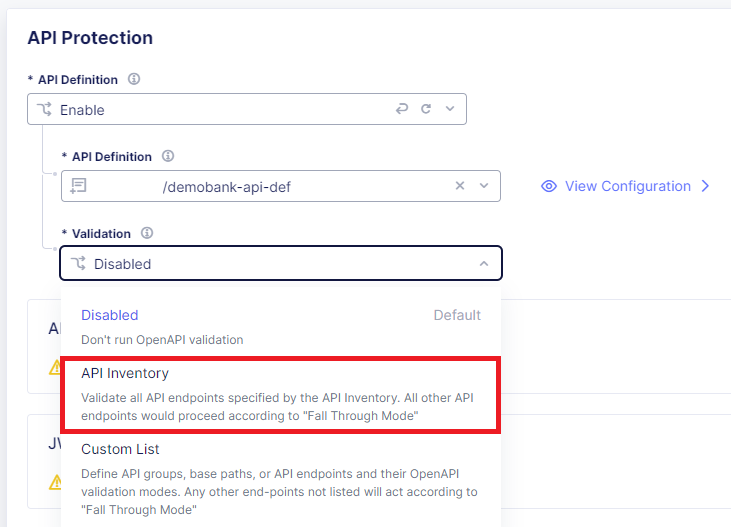
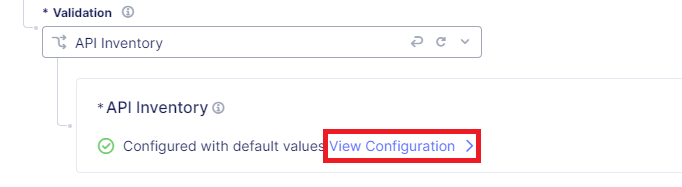
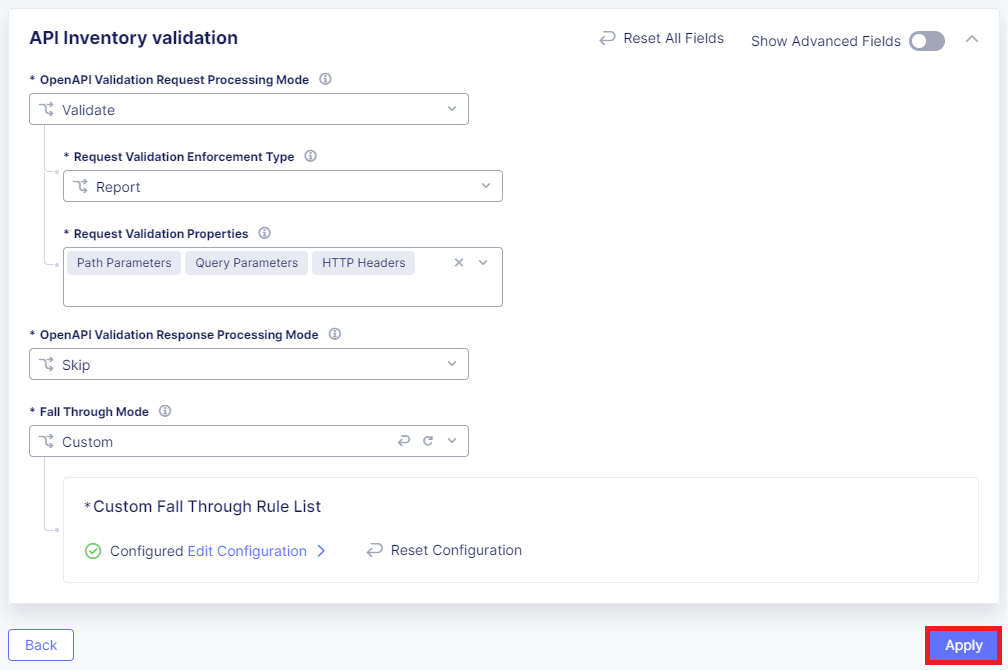
Under Validation, select API Inventory from drop-down then click on View Configuration
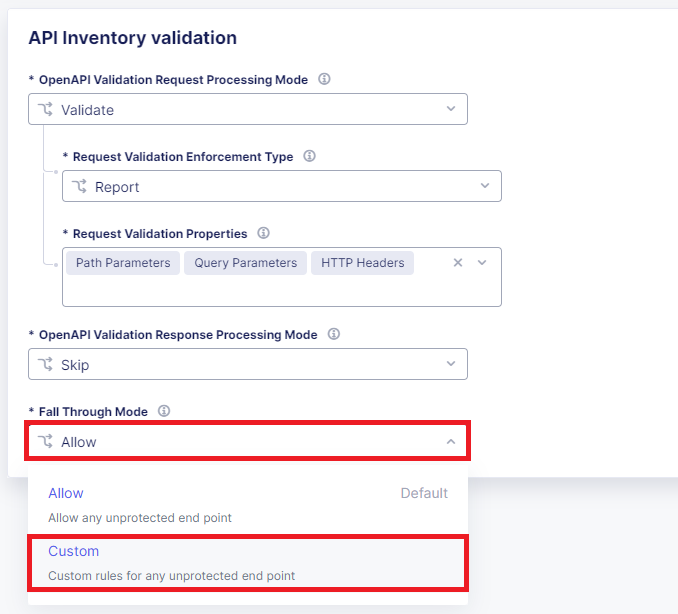
Within API Inventory validation, under Fall Through Mode update the drop-down to Custom.
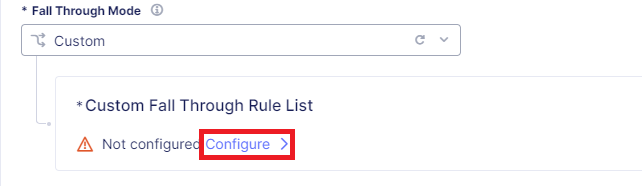
Within Custom Fall Through Rule List , click on Configure.
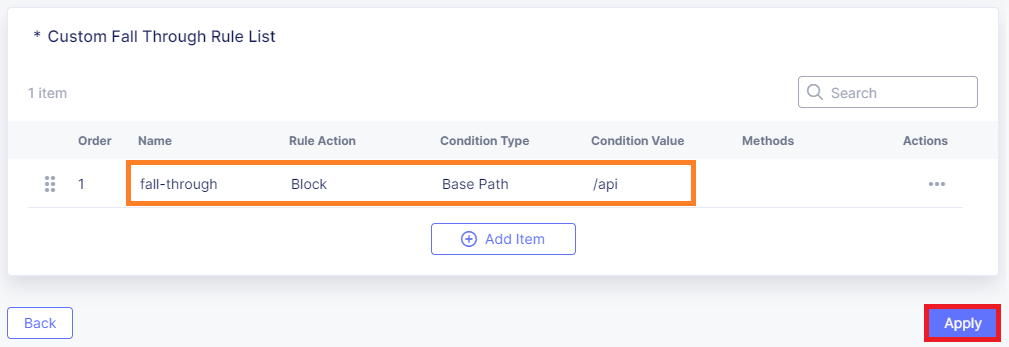
In the Custom Fall Through Rule List section, click on Add item.

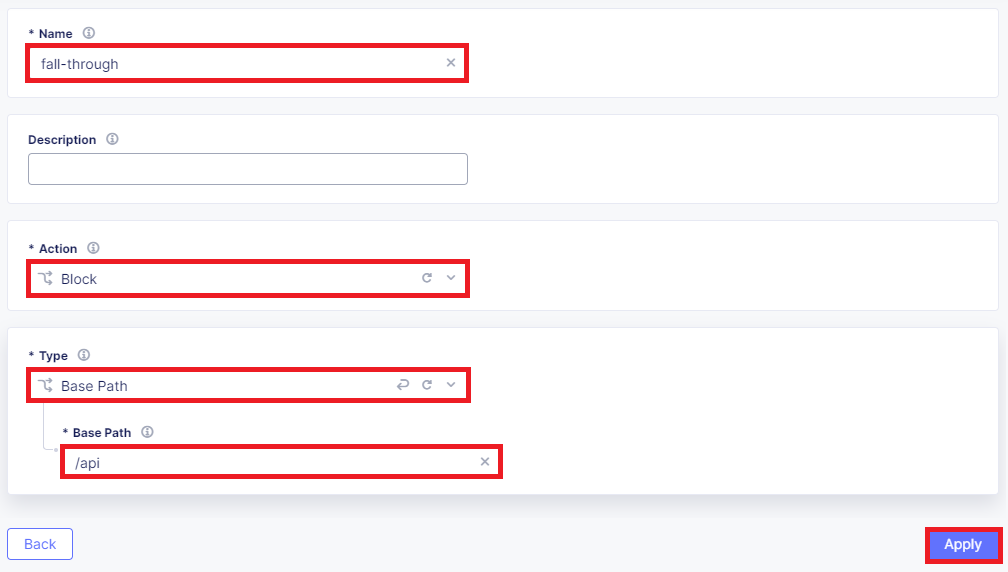
Update the fields with the below detail, click on Apply.
Name:
fall-throughAction:
BlockType:
Base PathBase Path:
/api
Review the Custom Fall Through Rule List, click Apply.
Review the API Inventory validation, click Apply.
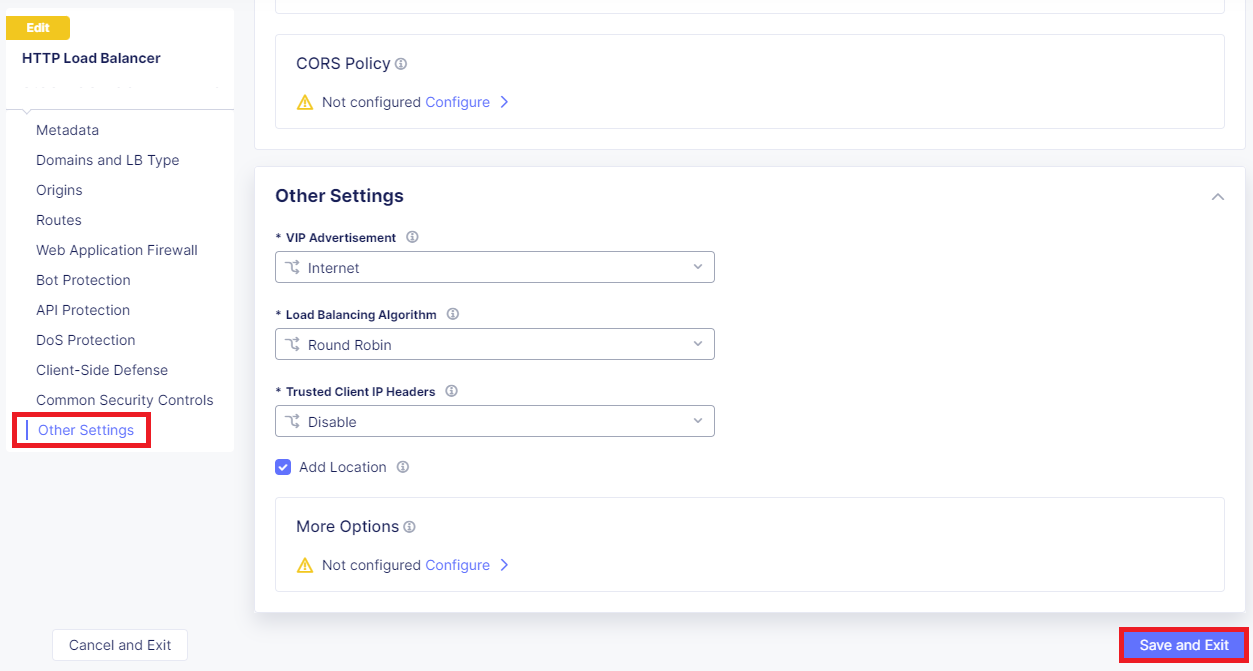
Select Other Settings on the left then click on Save and Exit at the bottom right of window.
Task 5: Simulate Blocked Access to a Shadow API
Using another browser tab, navigate to the the following URL.
http://<namespace>.lab-sec.f5demos.com/swagger
In the Demo Bank API app, navigate to the /api/customerlookup/getbyheroname endpoint, expand it, and click Try it out.
Enter ‘Iron Man’ in the “heroname” field.. Click Execute.
Review the response body.
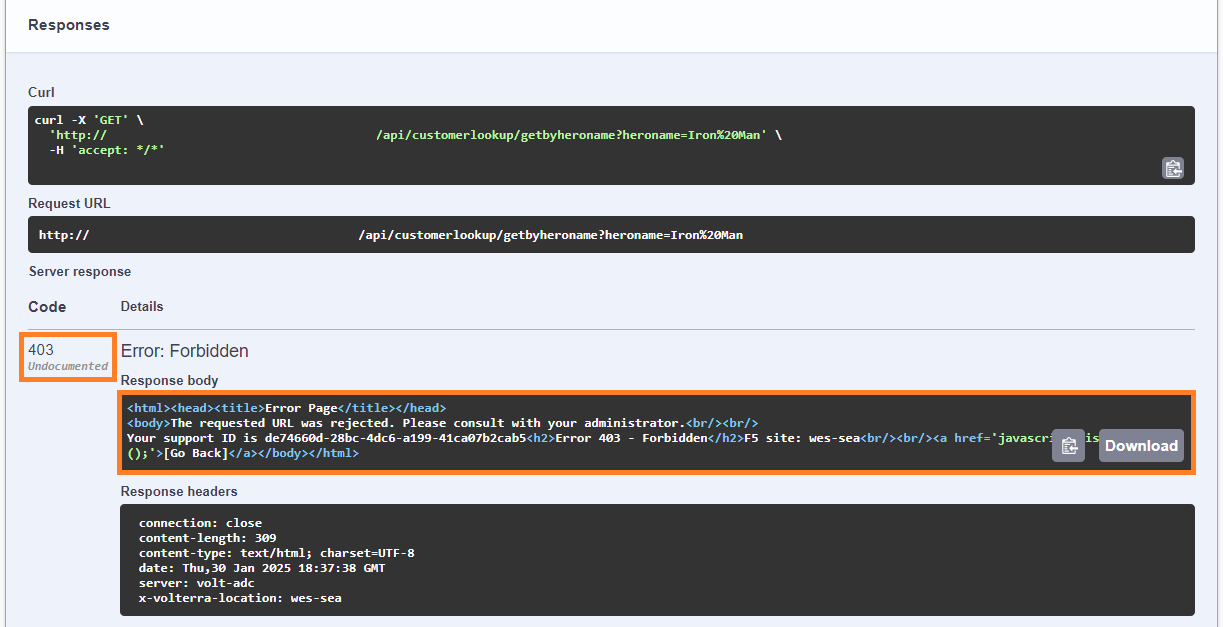
Note
You should now be blocked from accessing the ‘getbyheroname’ API endpoint, as it is a shadow API, an undocumented and unapproved endpoint.
End of Lab