F5 Distributed Cloud Source | Edit on
Lab 1 - Explore F5 Distributed Cloud Console
Welcome to F5 Distributed Cloud Application 301.
The following Exercises will guide you through the initial access requirements for this multi-part lab. Lab attendees should have received an invitation (which requests you update your password for access) email to the lab environment. Please check the email address used for course registration and its associated spam folders to see if the invitation email has been received. If you have not received an email, please contact a member of the lab team.
The F5 Distributed Cloud Console, where a majority of all lab tasks will be conducted, is a SaaS based control-plane for services which provides a GUI and API for managing network, security, and compute services. The F5 Distributed Cloud Console can manage “sites” in existing on-premises, private data centers and sites within AWS, Azure, and GCP public cloud environments.
In this lab, we will learn the following:
Log into the F5 Distributed CLoud Console.
Review account profile
Identify your namespace and your delegated domain name
Note
The delegated Domain Name should be captured/written down as it will be used later in the lab
Basic Kubernetes knowledge is recommended
Core concepts
- Tenant
Tenant is an entity that is the owner of a given set of configuration and infrastructure. Tenant is the owner of all configuration objects that a user with given tenant-id has created. Tenant is the fundamental concept of isolation, and a tenant cannot access any objects or infrastructure of other tenants.
- Namespaces
Tenant’s configuration objects are grouped under namespaces. Namespaces can be thought of as administrative domains. All the objects of the same kind need to have unique names in a given namespace. Namespace themselves must be unique within a tenant. In this document namespace will be referred as <tenant>/<namespace>, which will be globally unique.
For more core concepts, please review F5 Distributed Cloud documentation
Exercise 1 - Log into F5 Distributed Cloud Console
Note
Once you join the UDF session, your UDF deployment will start and create an ephemeral account on the F5 Distributed Cloud console (this may take 5-10min)
Once your ephemeral account is created, you will receive an email to update your password.
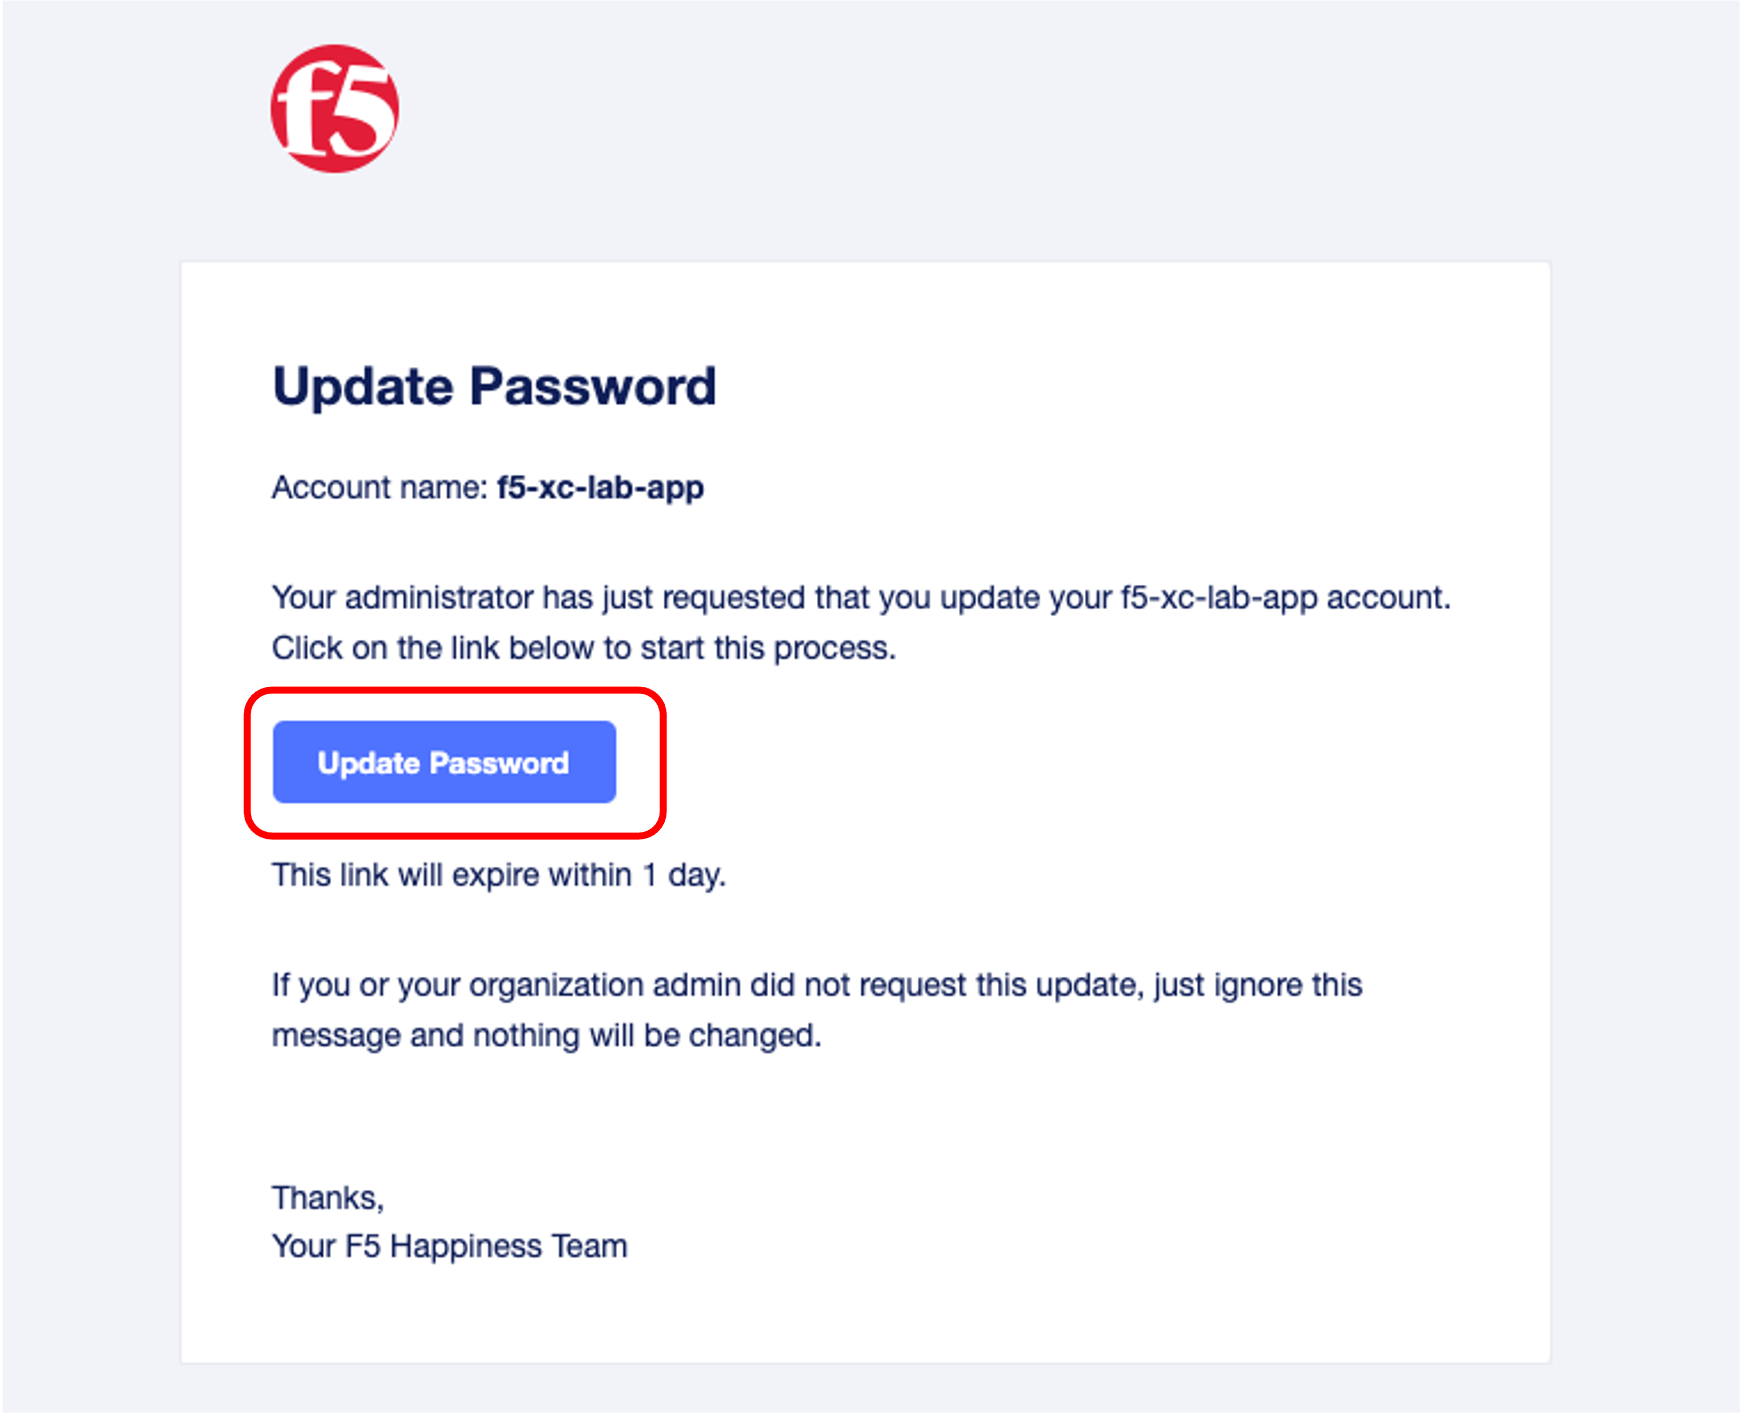
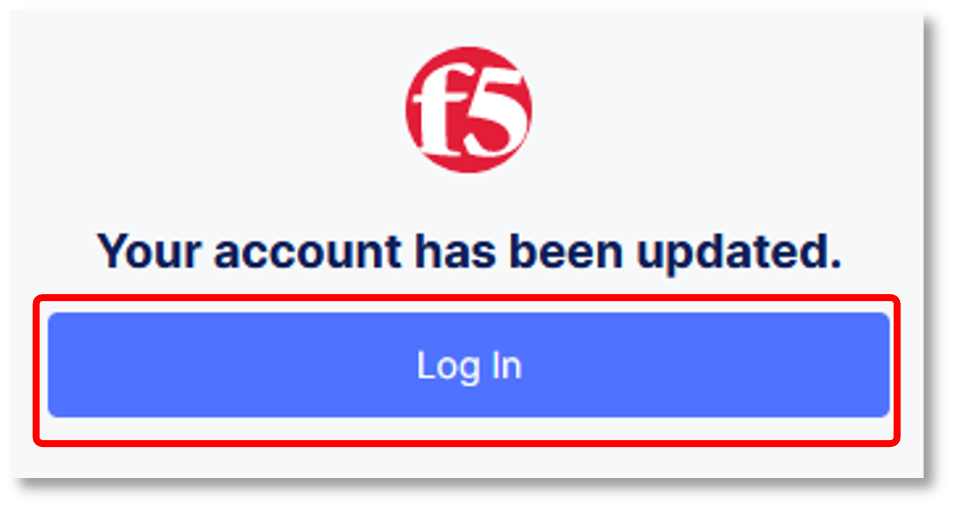
Upon the first login, you will be prompted to change your password.
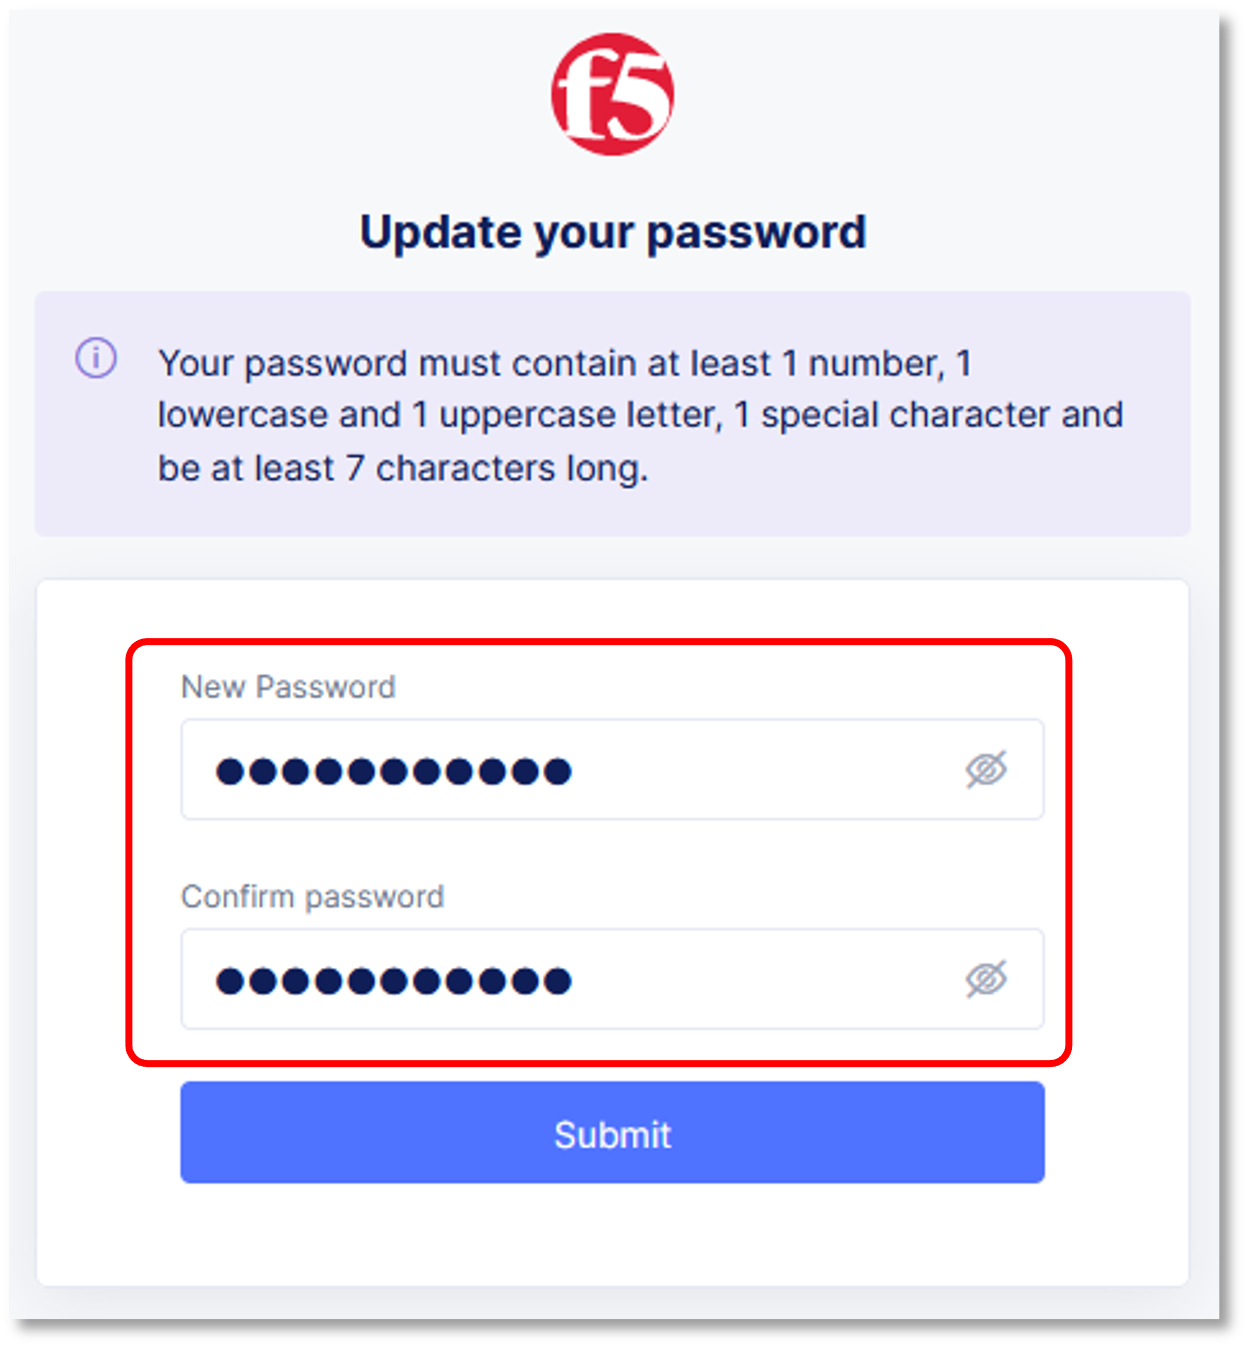
After setting your login credentials, click login.
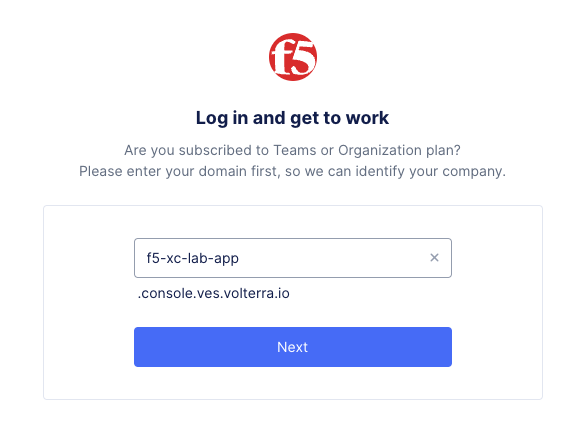
Upon password update completion, you will be redirected to the F5 Distributed Cloud Console login. You will need to enter the lab tenant name f5-xc-lab-app and then click Next. Then enter your email and password and click Log in
Note
A tenant in the F5 Distributed Cloud console is a similar construct as an account in AWS or GCP terms.
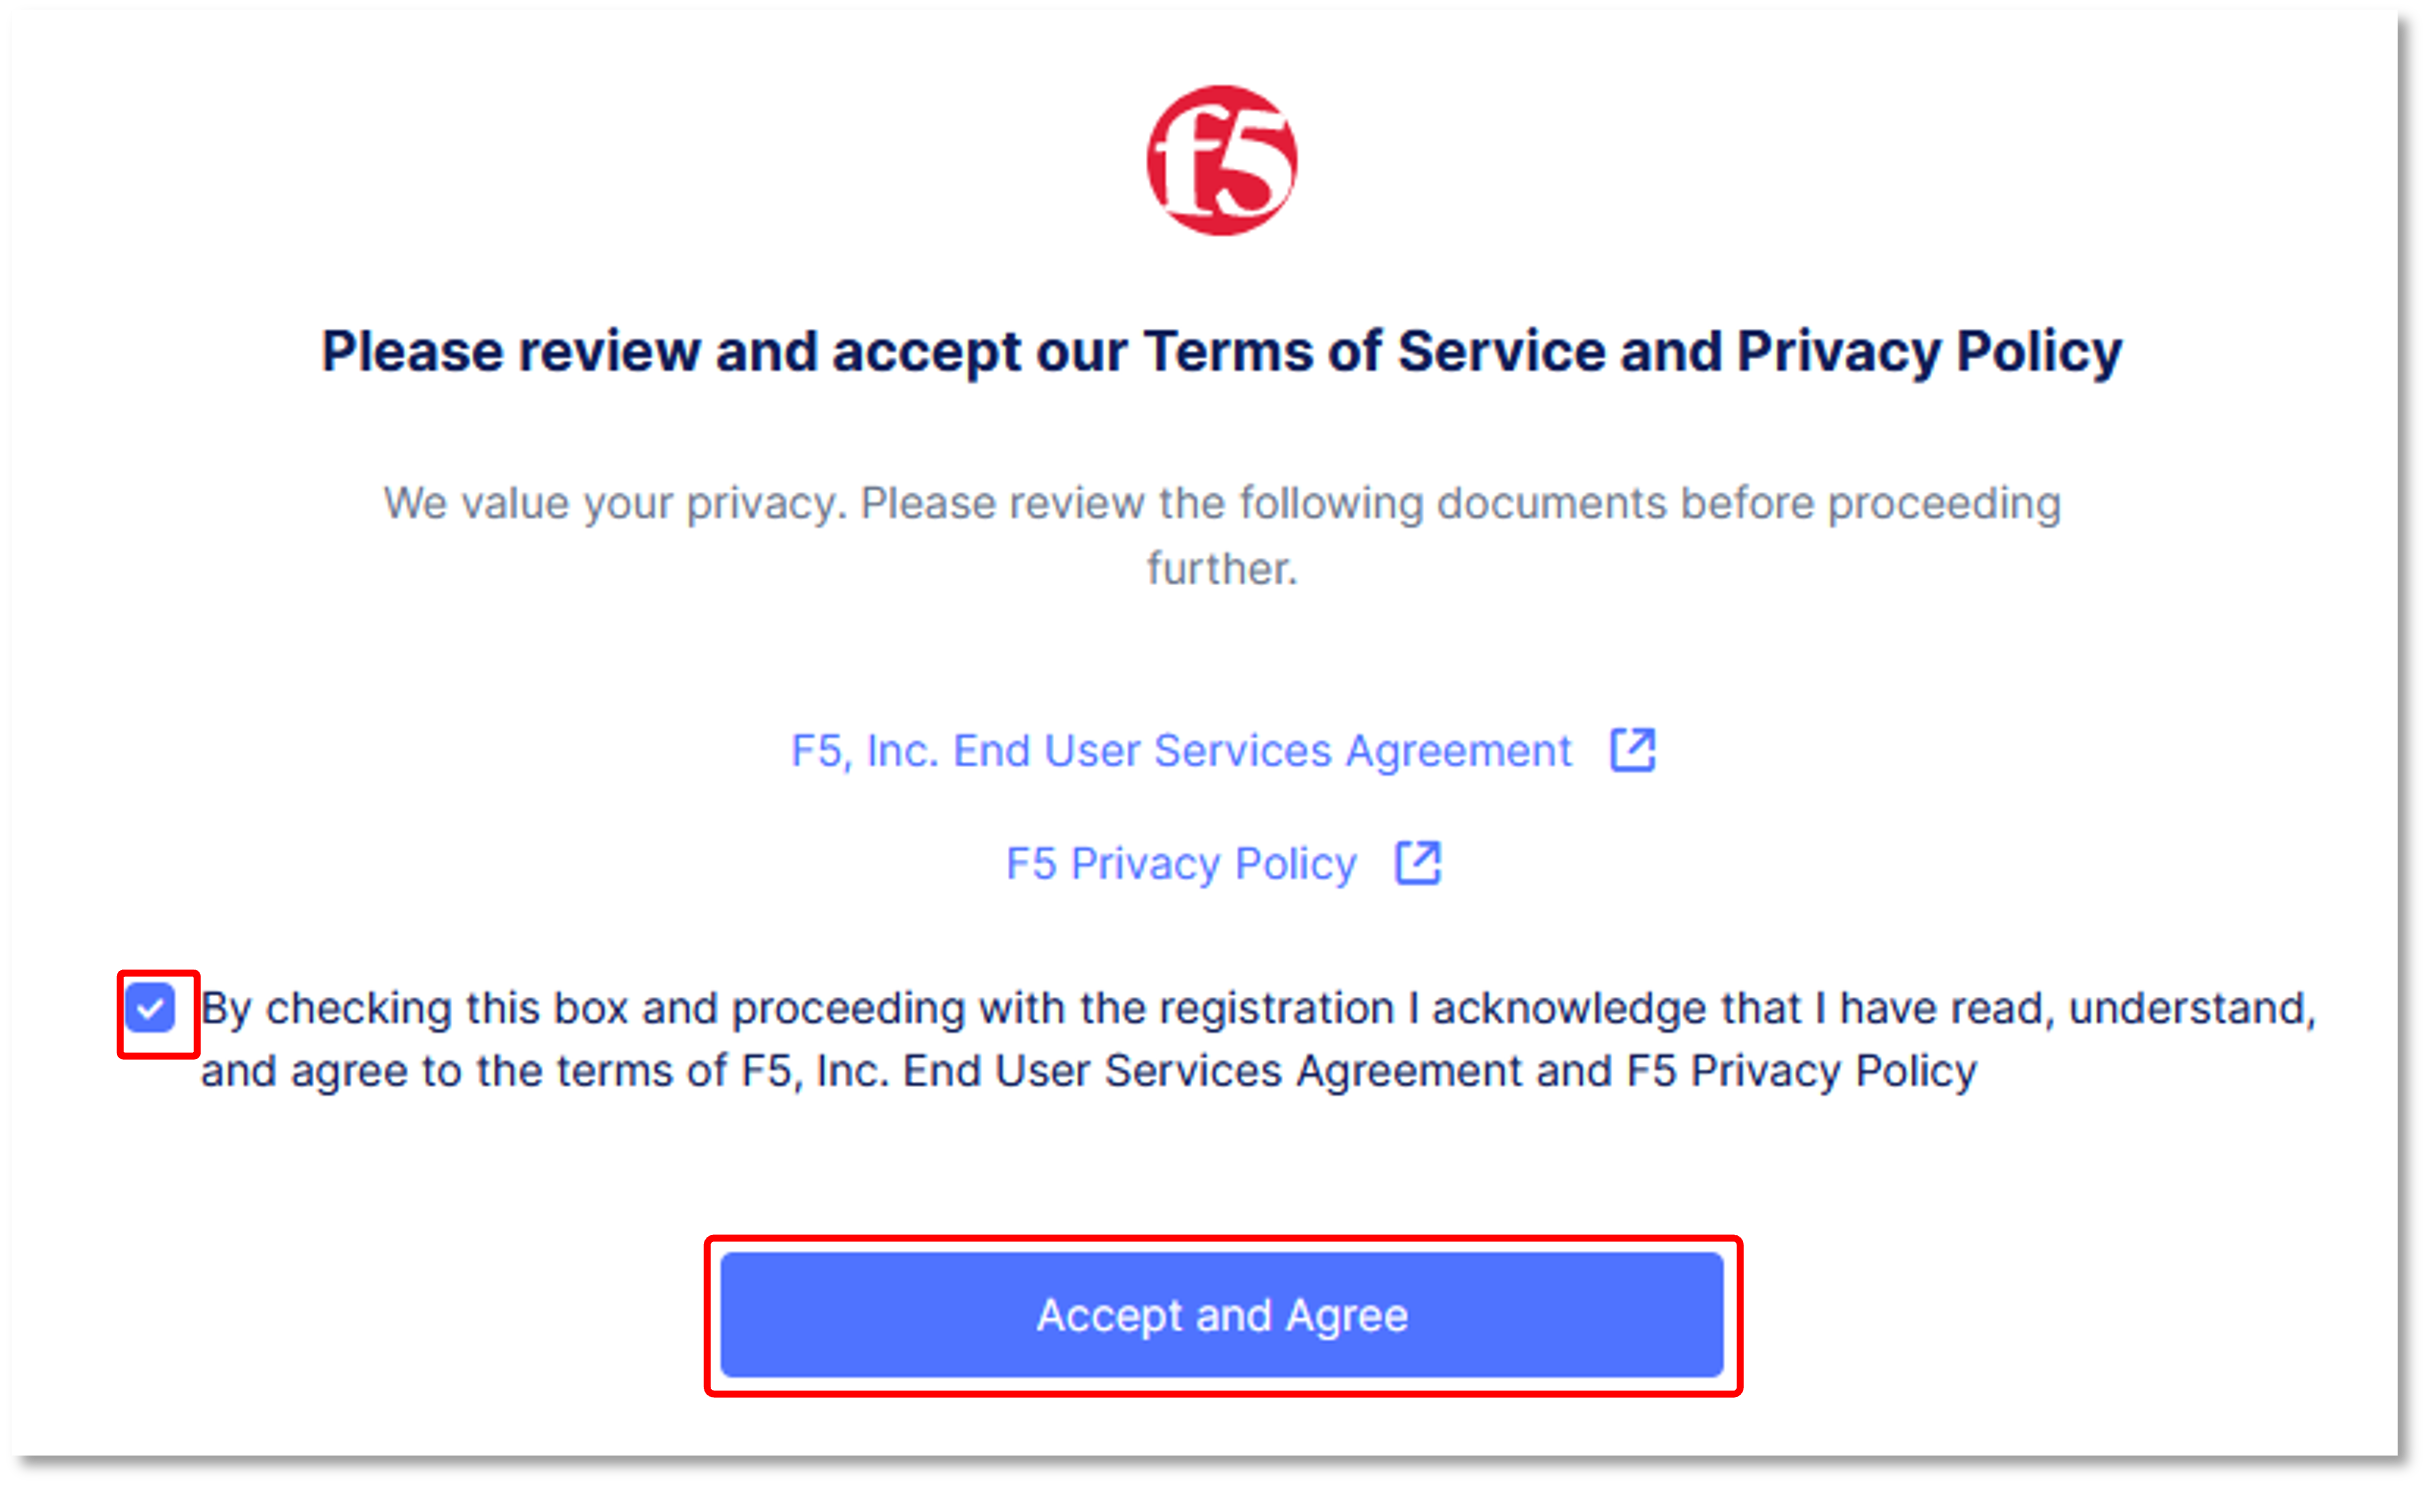
You must click Accept and Agree to the terms.
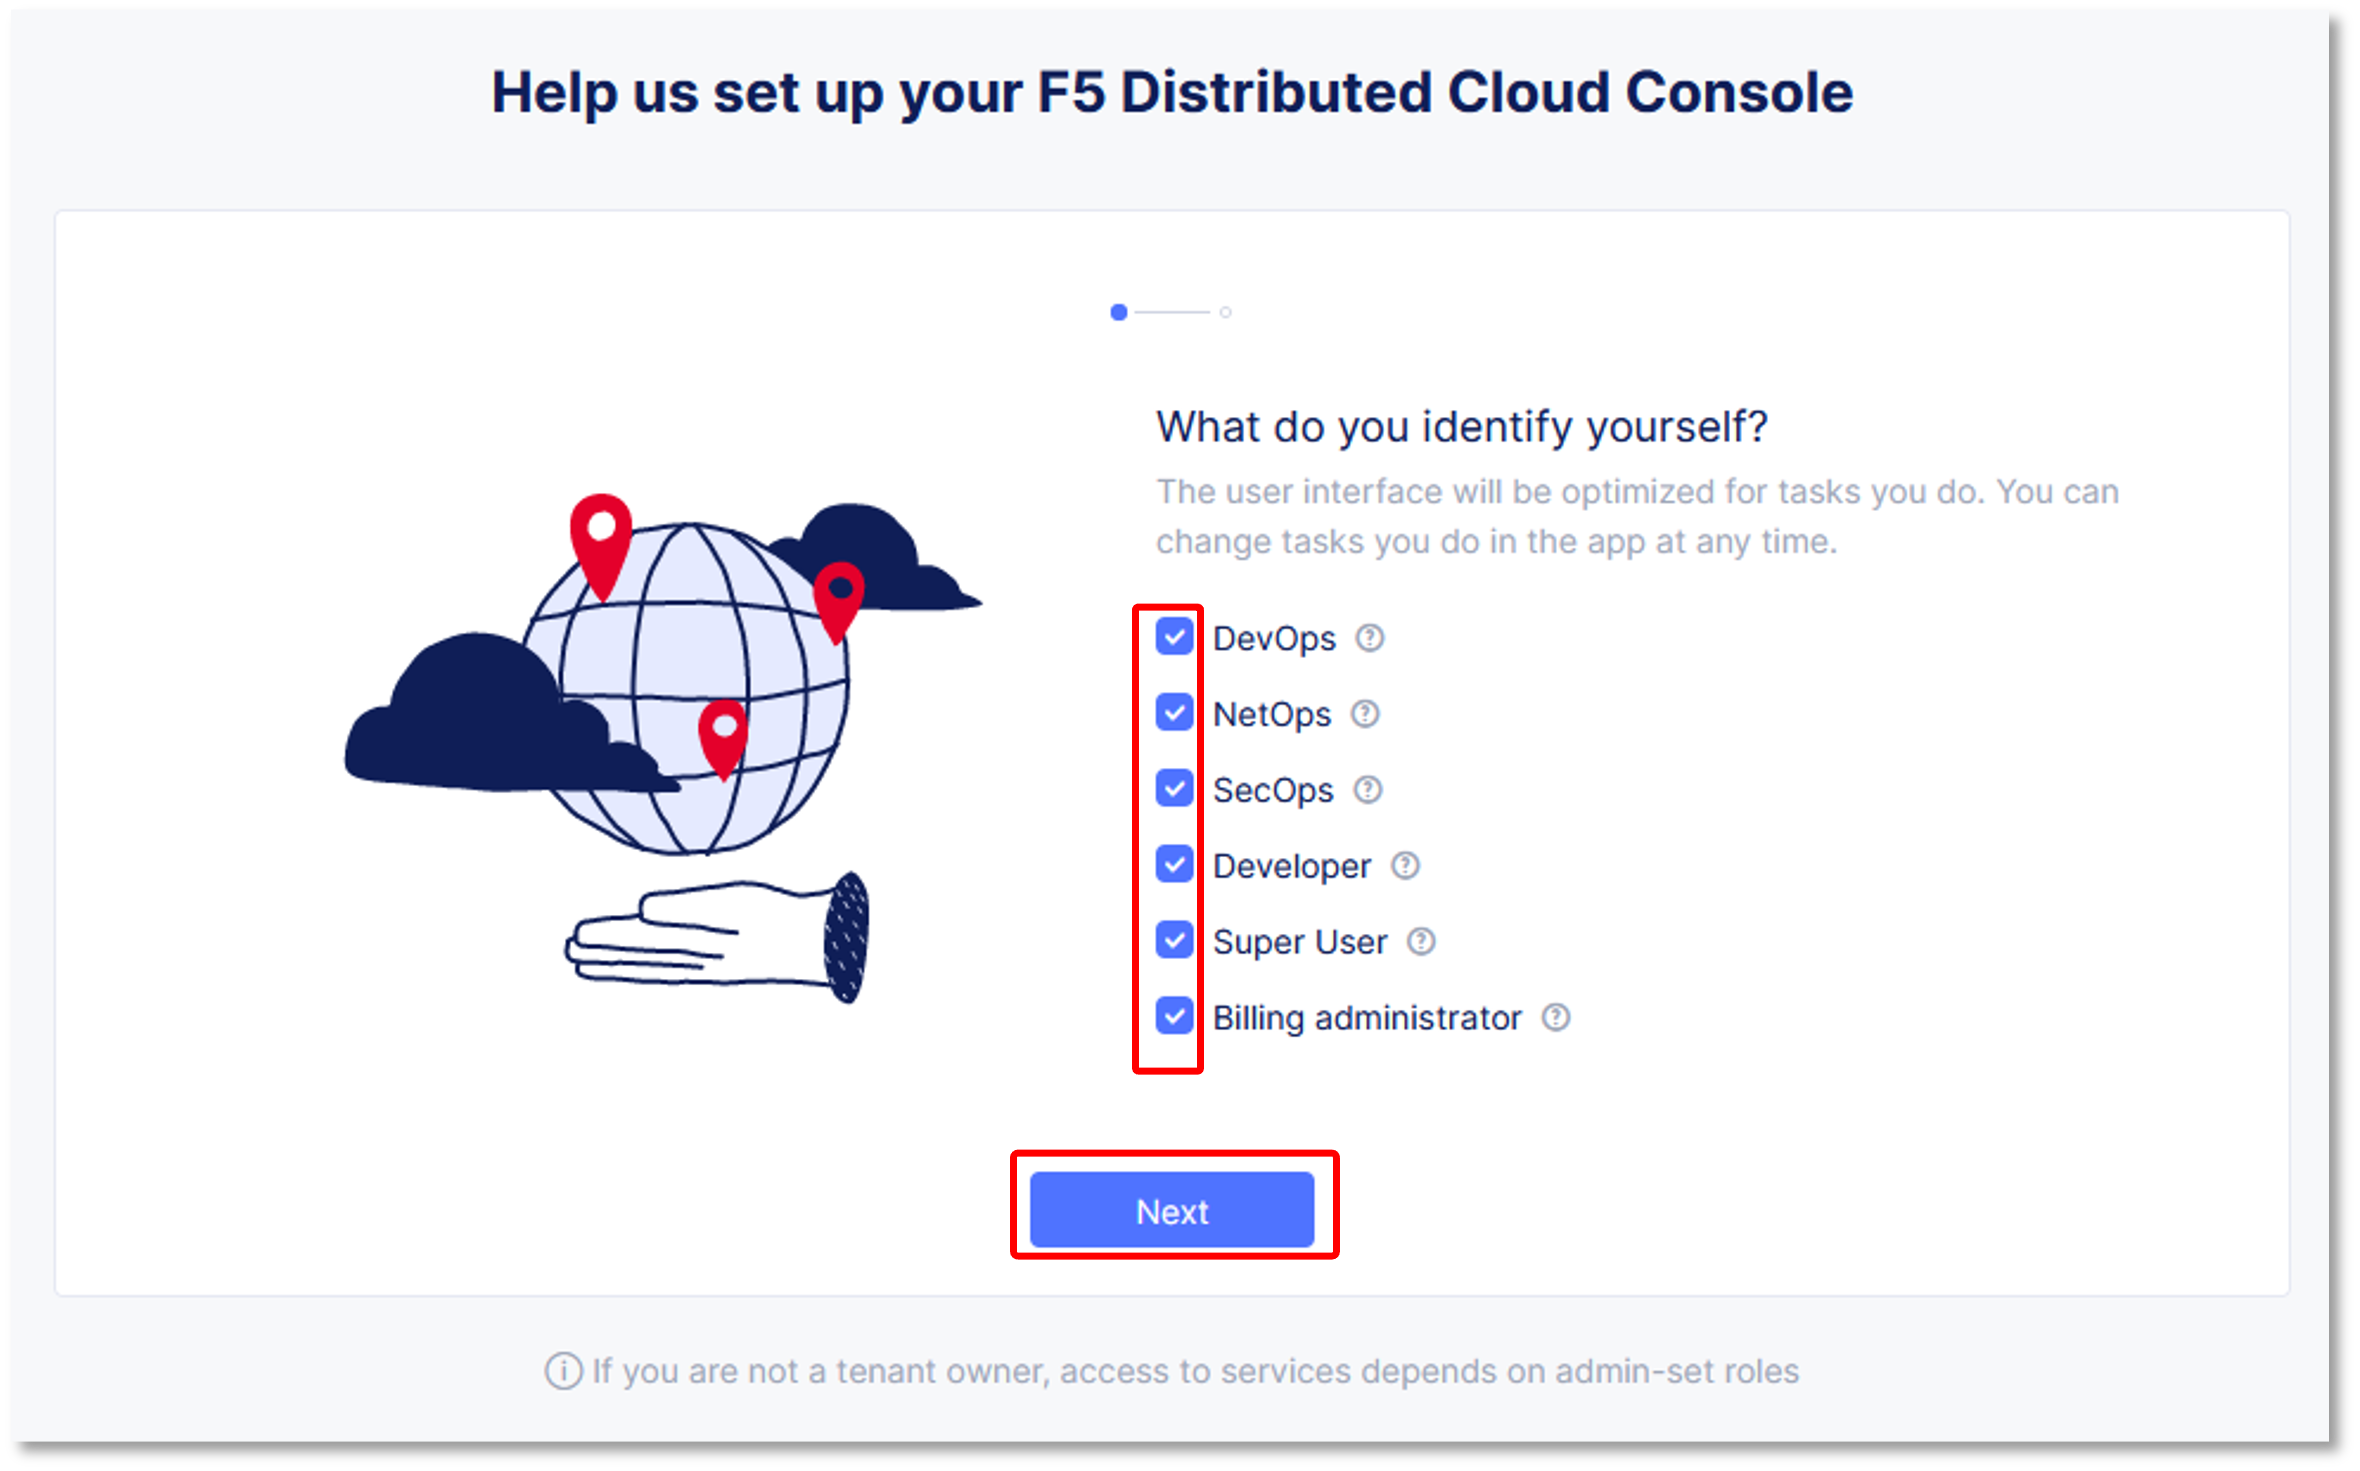
Now, you will need to set the persona and the skill level to access the console.
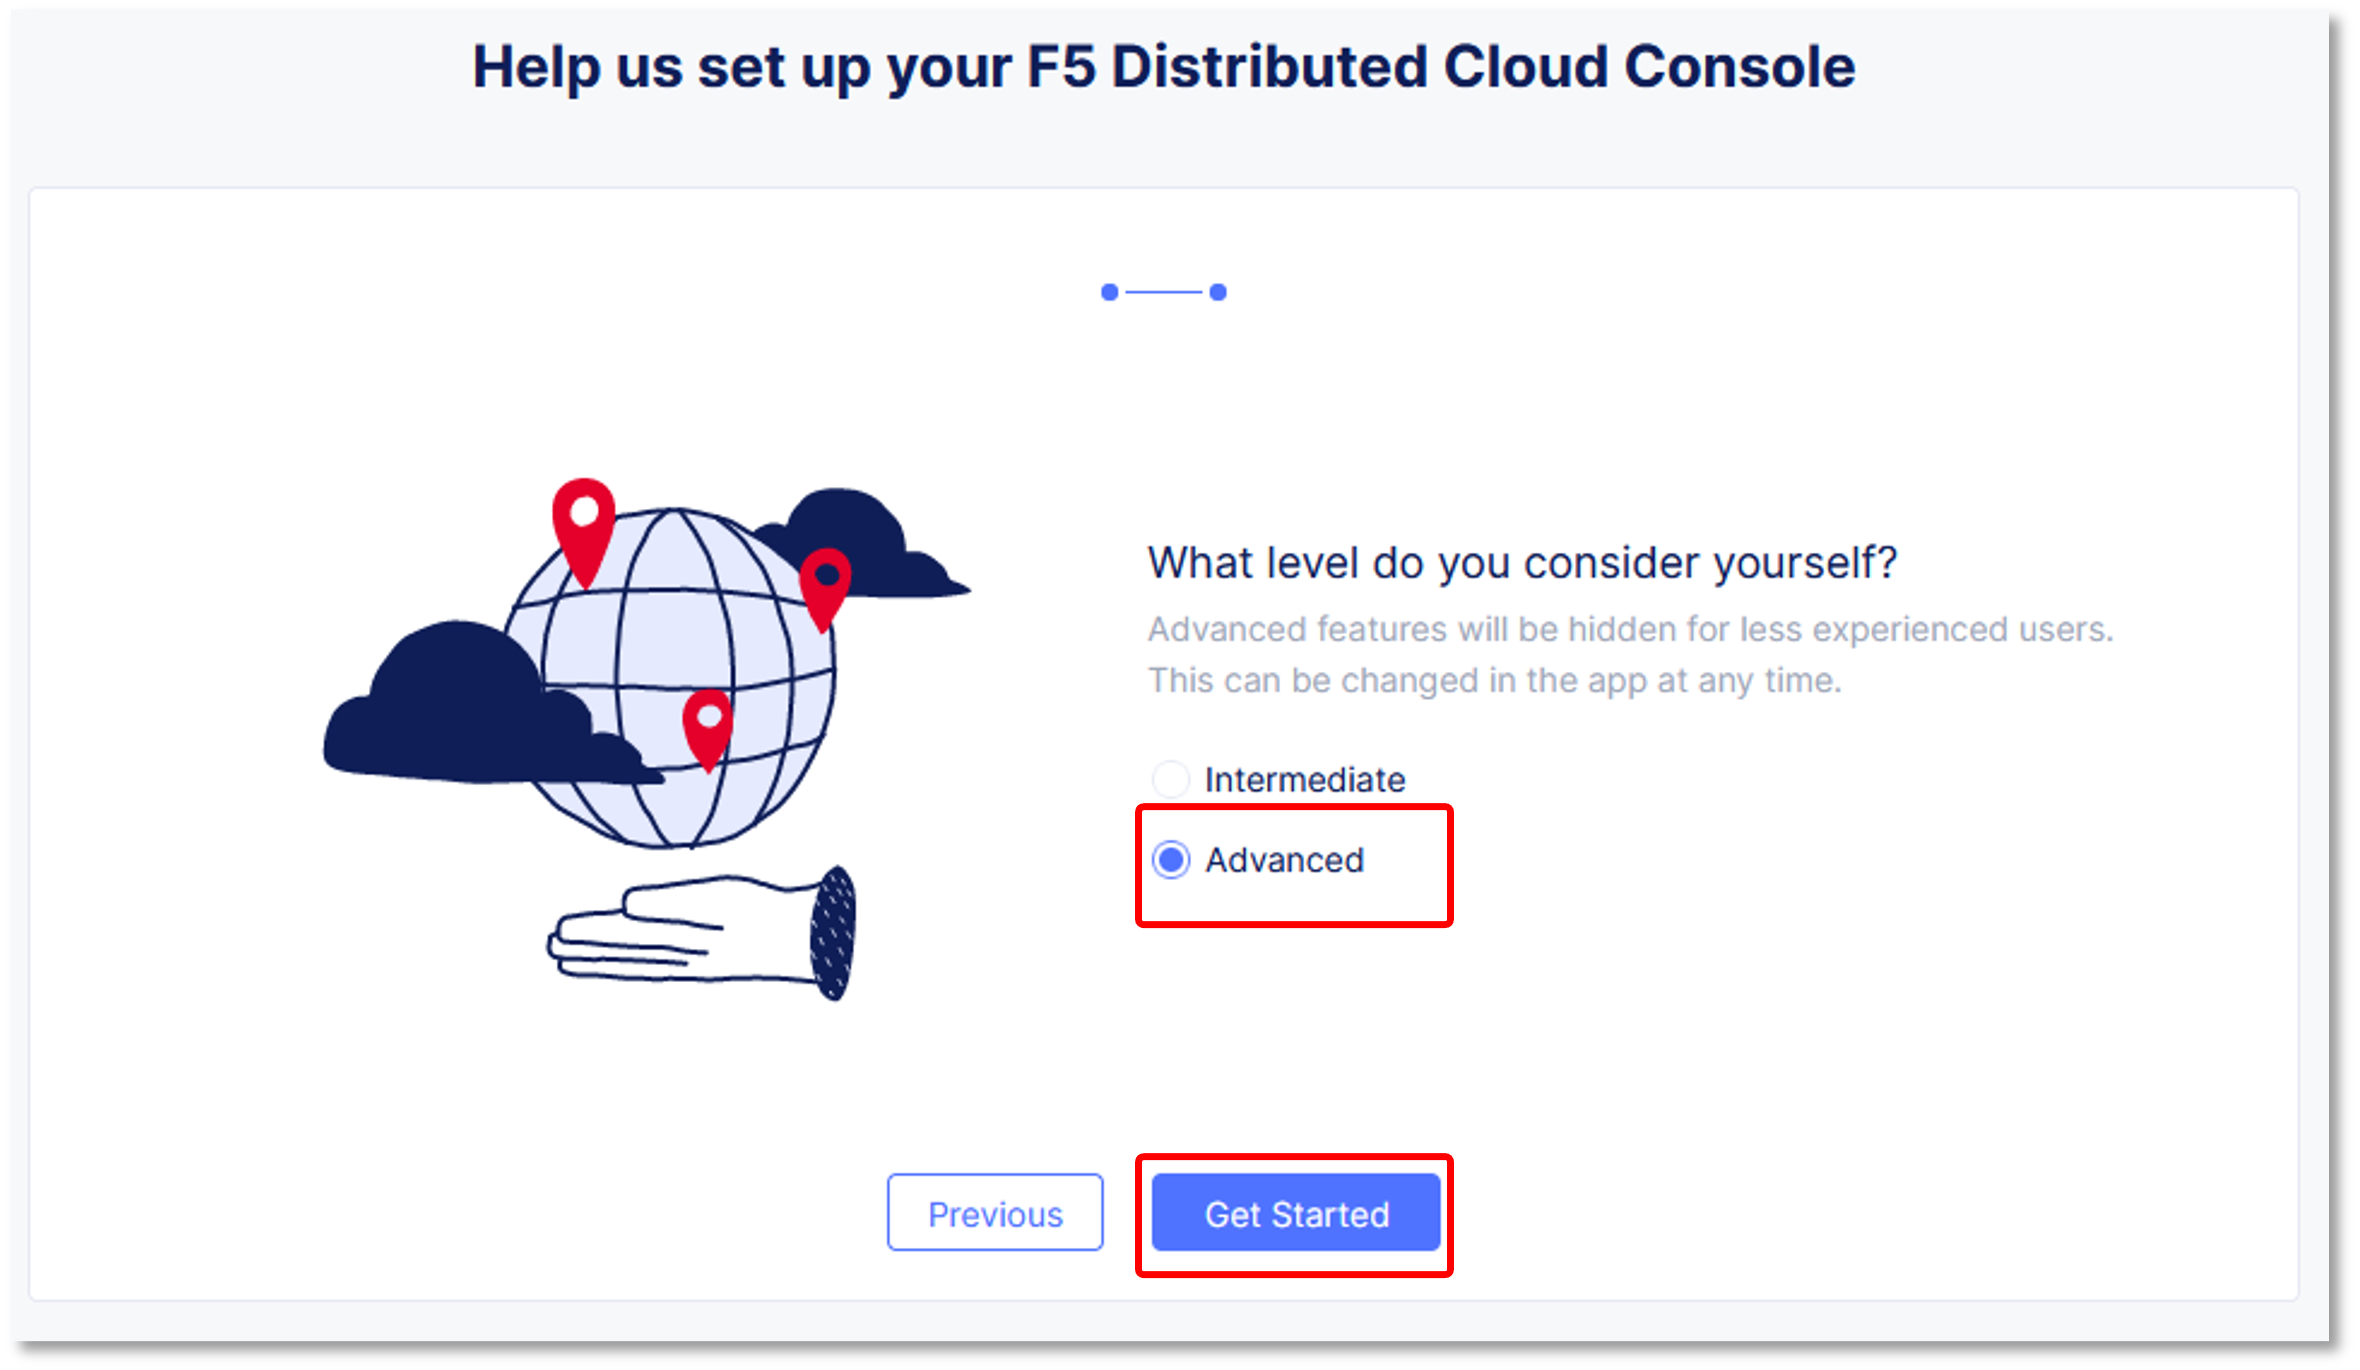
Finally, navigate through the initial prompts.

Exercise 2 - Explore F5 Distributed Cloud Console
Note
For the purposes of this lab, permissions have been restricted to lab operations. Some menus will be locked and not visible.
You can adjust your work domains and skill level (not required) by clicking on the Account icon in the top right of the screen and then clicking on Account Settings.
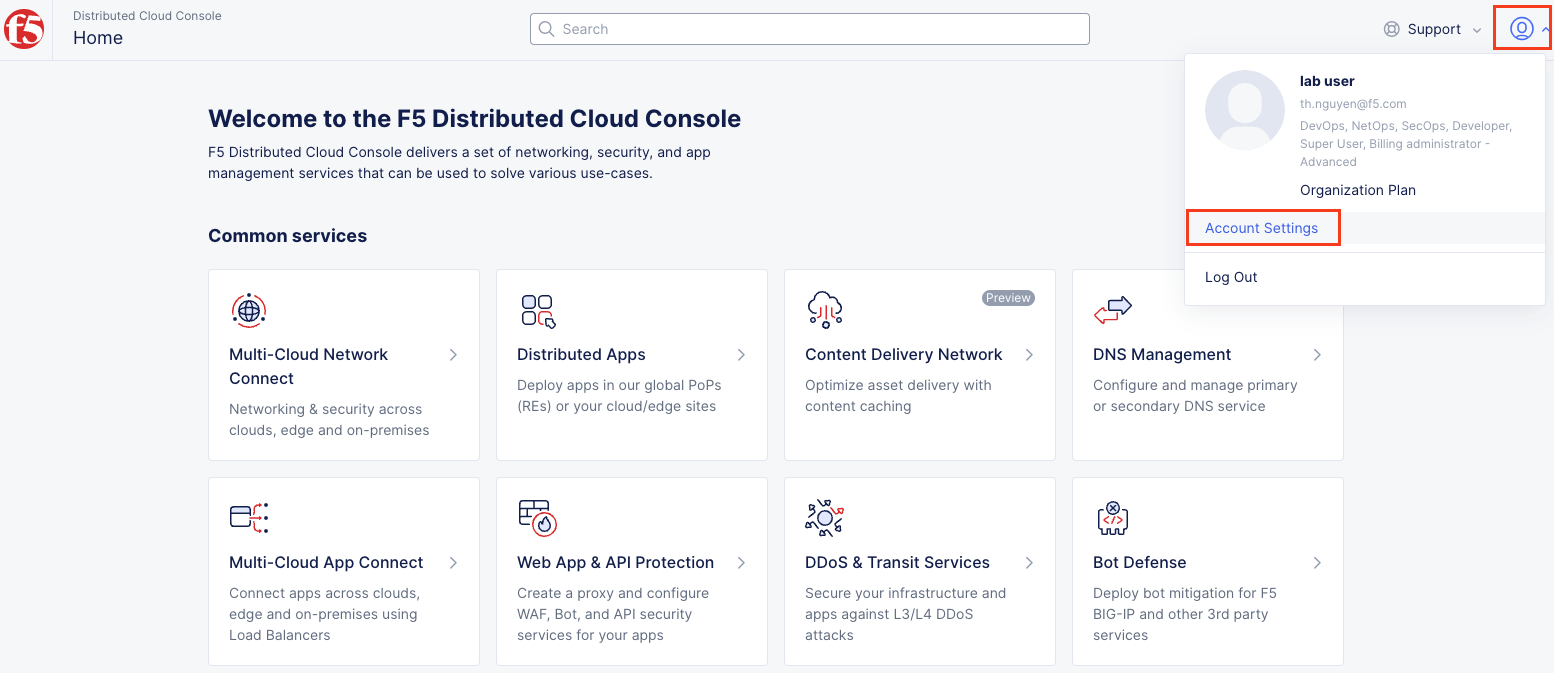
In the resulting window you can observe the Work domains and skill level section and other administrative functions.
Namespaces, which provide an environment for isolating configured applications or enforcing role-based access controls, are leveraged within the F5 Distributed Cloud Console. For the purposes of this lab, each lab attendee has been provided a unique namespace which you will defaulted to (in terms of GUI navigation) for all tasks performed through the course of this lab.
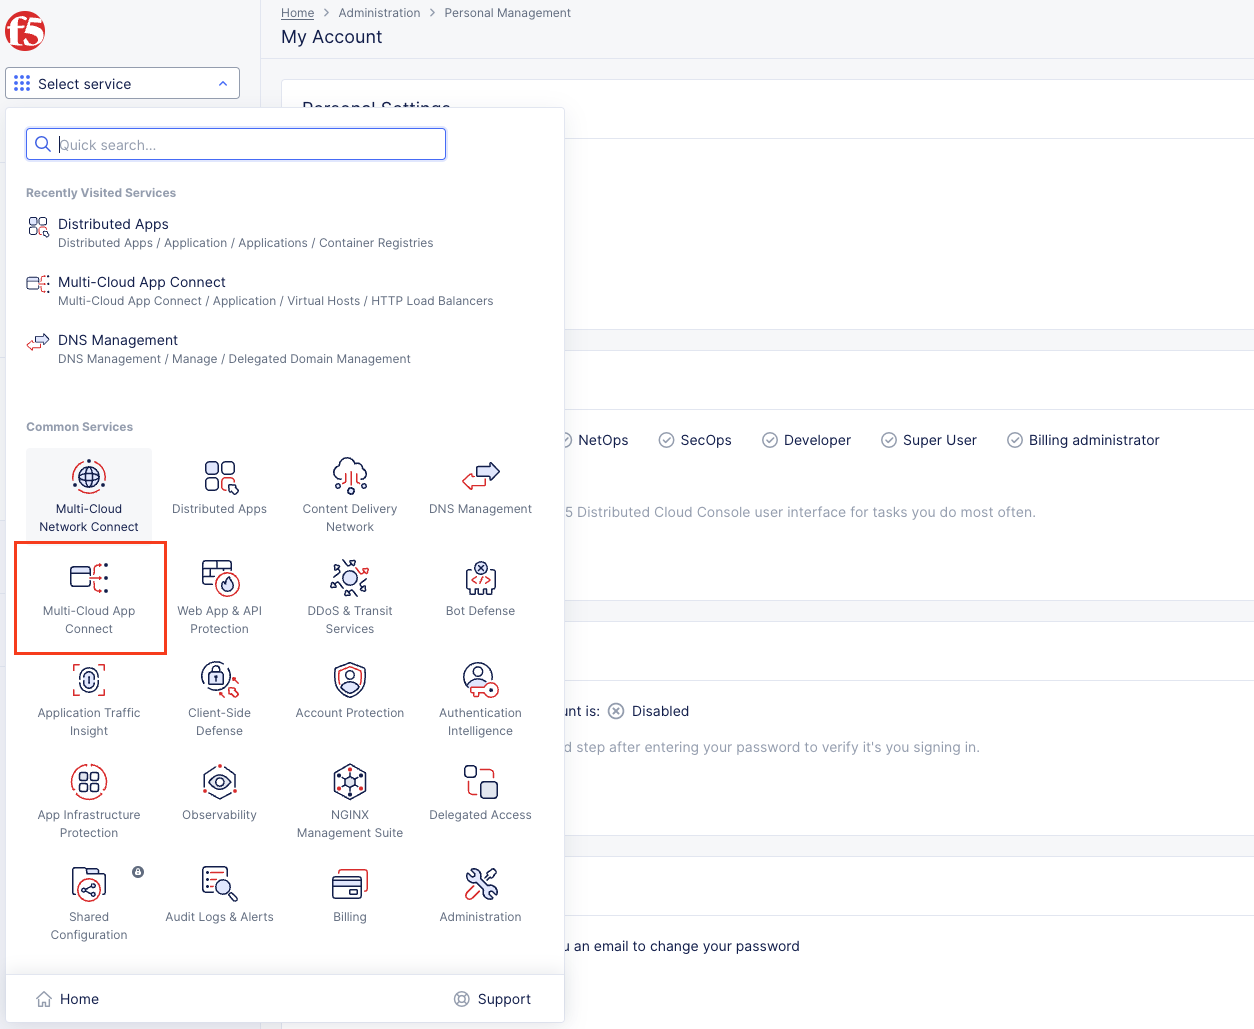
Click on the Select Service in the left-hand navigation. In the resulting fly out navigation, click Multi-Cloud App Connect.
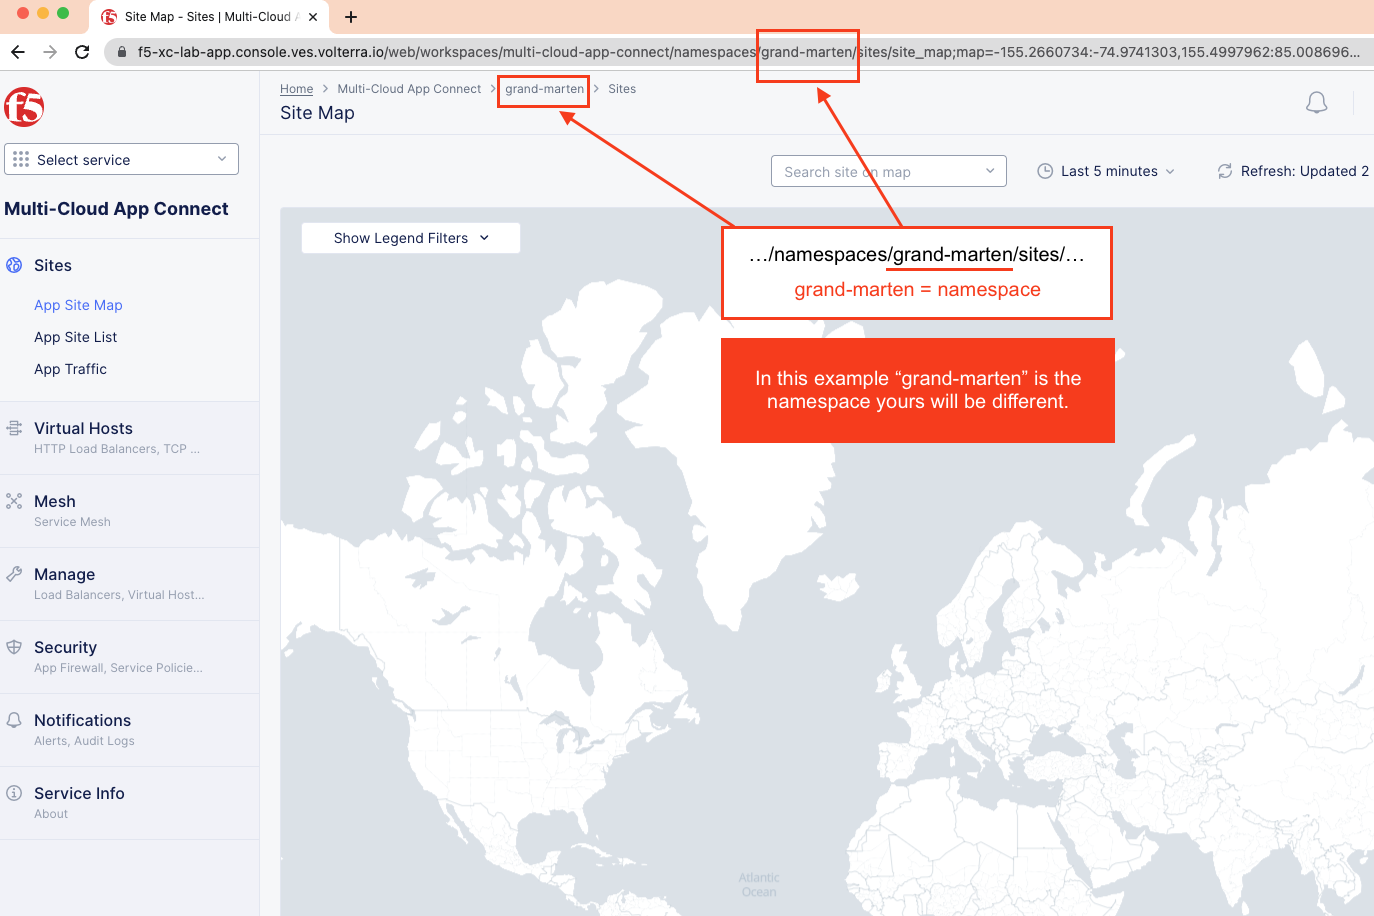
In the Multi-Cloud App Connect configuration screen observe the URL. In the URI path, locate the <adjective-animal> namespace that you have been assigned. It will be located in the portion of the URI path between /namespaces/ and /sites/ as shown in this example …/namespaces/<namespace>/sites/…. Note the namespace as it will be used throughout the lab tasks that follow.
Click on the Select Service navigation menu, then click the DNS Management tile.
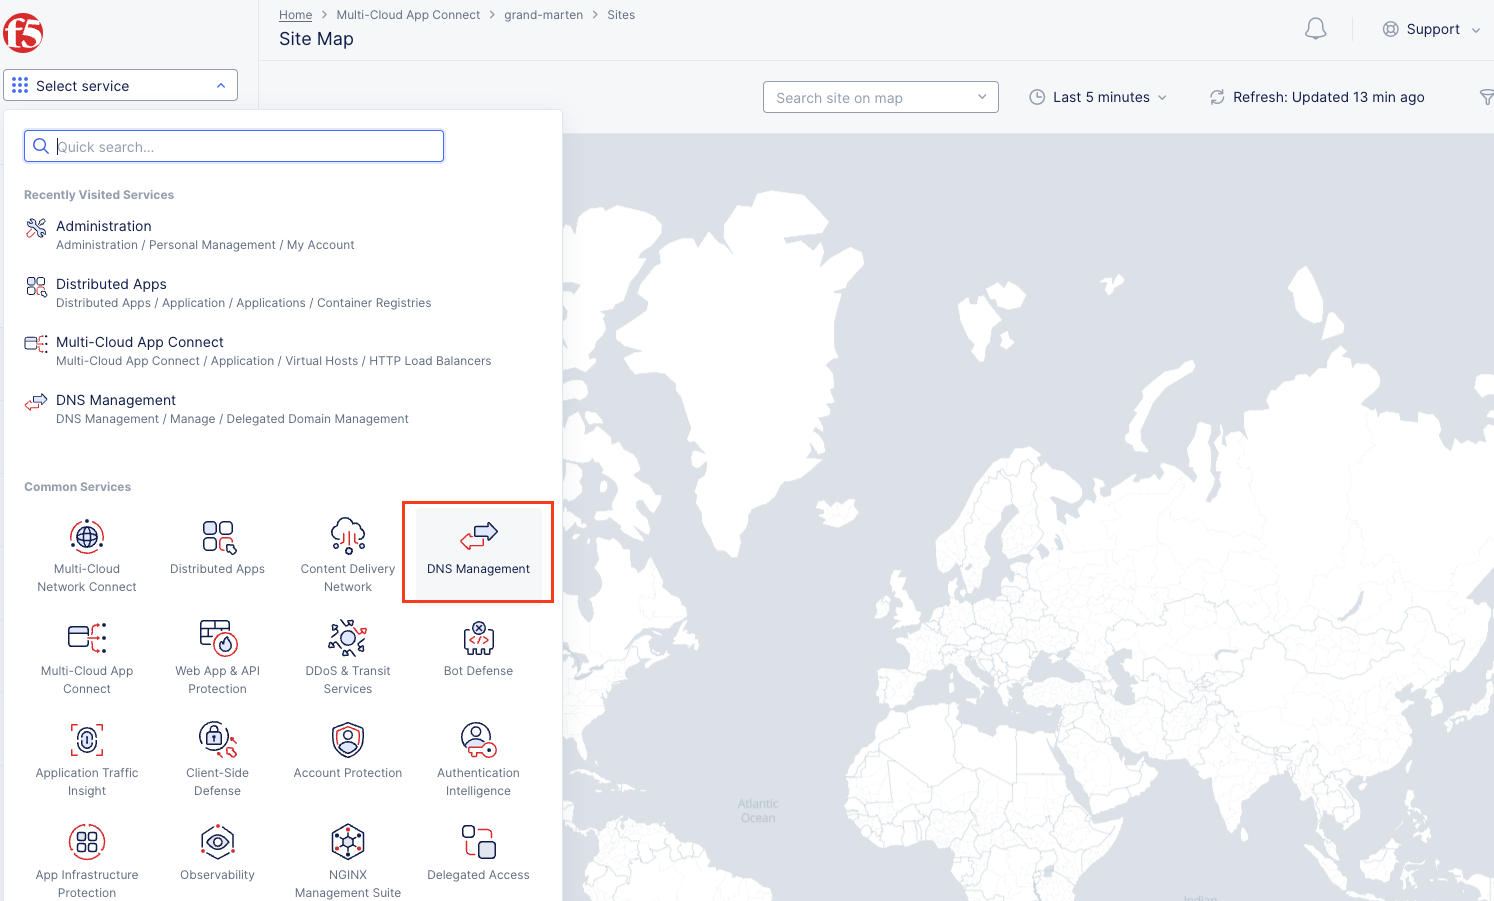
Please note the delegated domain name
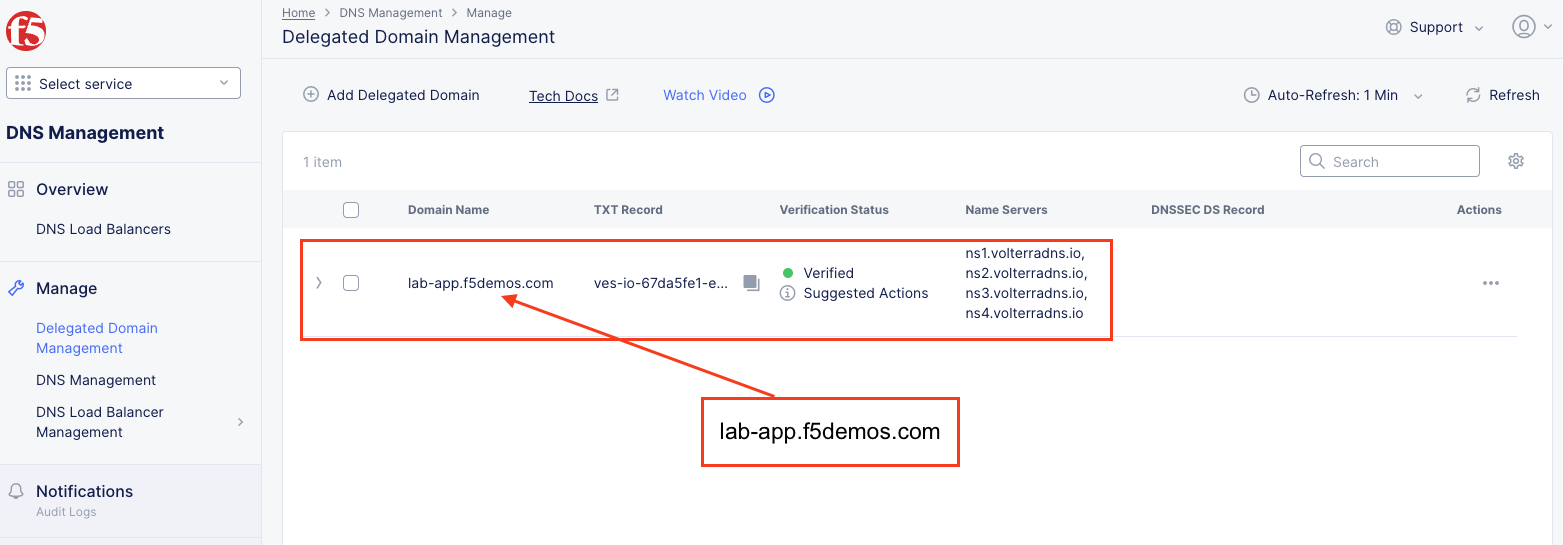
Note
Your namespace name should captured/written down as it will be referenced later in the labs
A namespace is a Kubernetes construct. For more Kubernetes concepts, please review Kubernetes Documentation
The delegated Domain Name should be captured/written down, as it will be leveraged later in the lab.