NGINX Modern Apps > Class 10 - NMS API Connectivity Manager > Module 2 - Infrastructure team - Deploy Nginx instances Source | Edit on
Step 2 - Create the Infrastructure Environment
In this lab, we are the Infrastructure team and we will deploy the instances in their environments so that the API team can expose the API on them.
The NMS UI
Login to JumpHost Win10 RDP. Login is
userand password isuserOpen Chrome and click on the NMS bookmark
Sign in to NMS as
adminand passwordadminYou can change the UI to Dark mode if you prefer it :)
- Click on the
profileicon on the top right - Change toggle to
Dark Mode
- Click on the
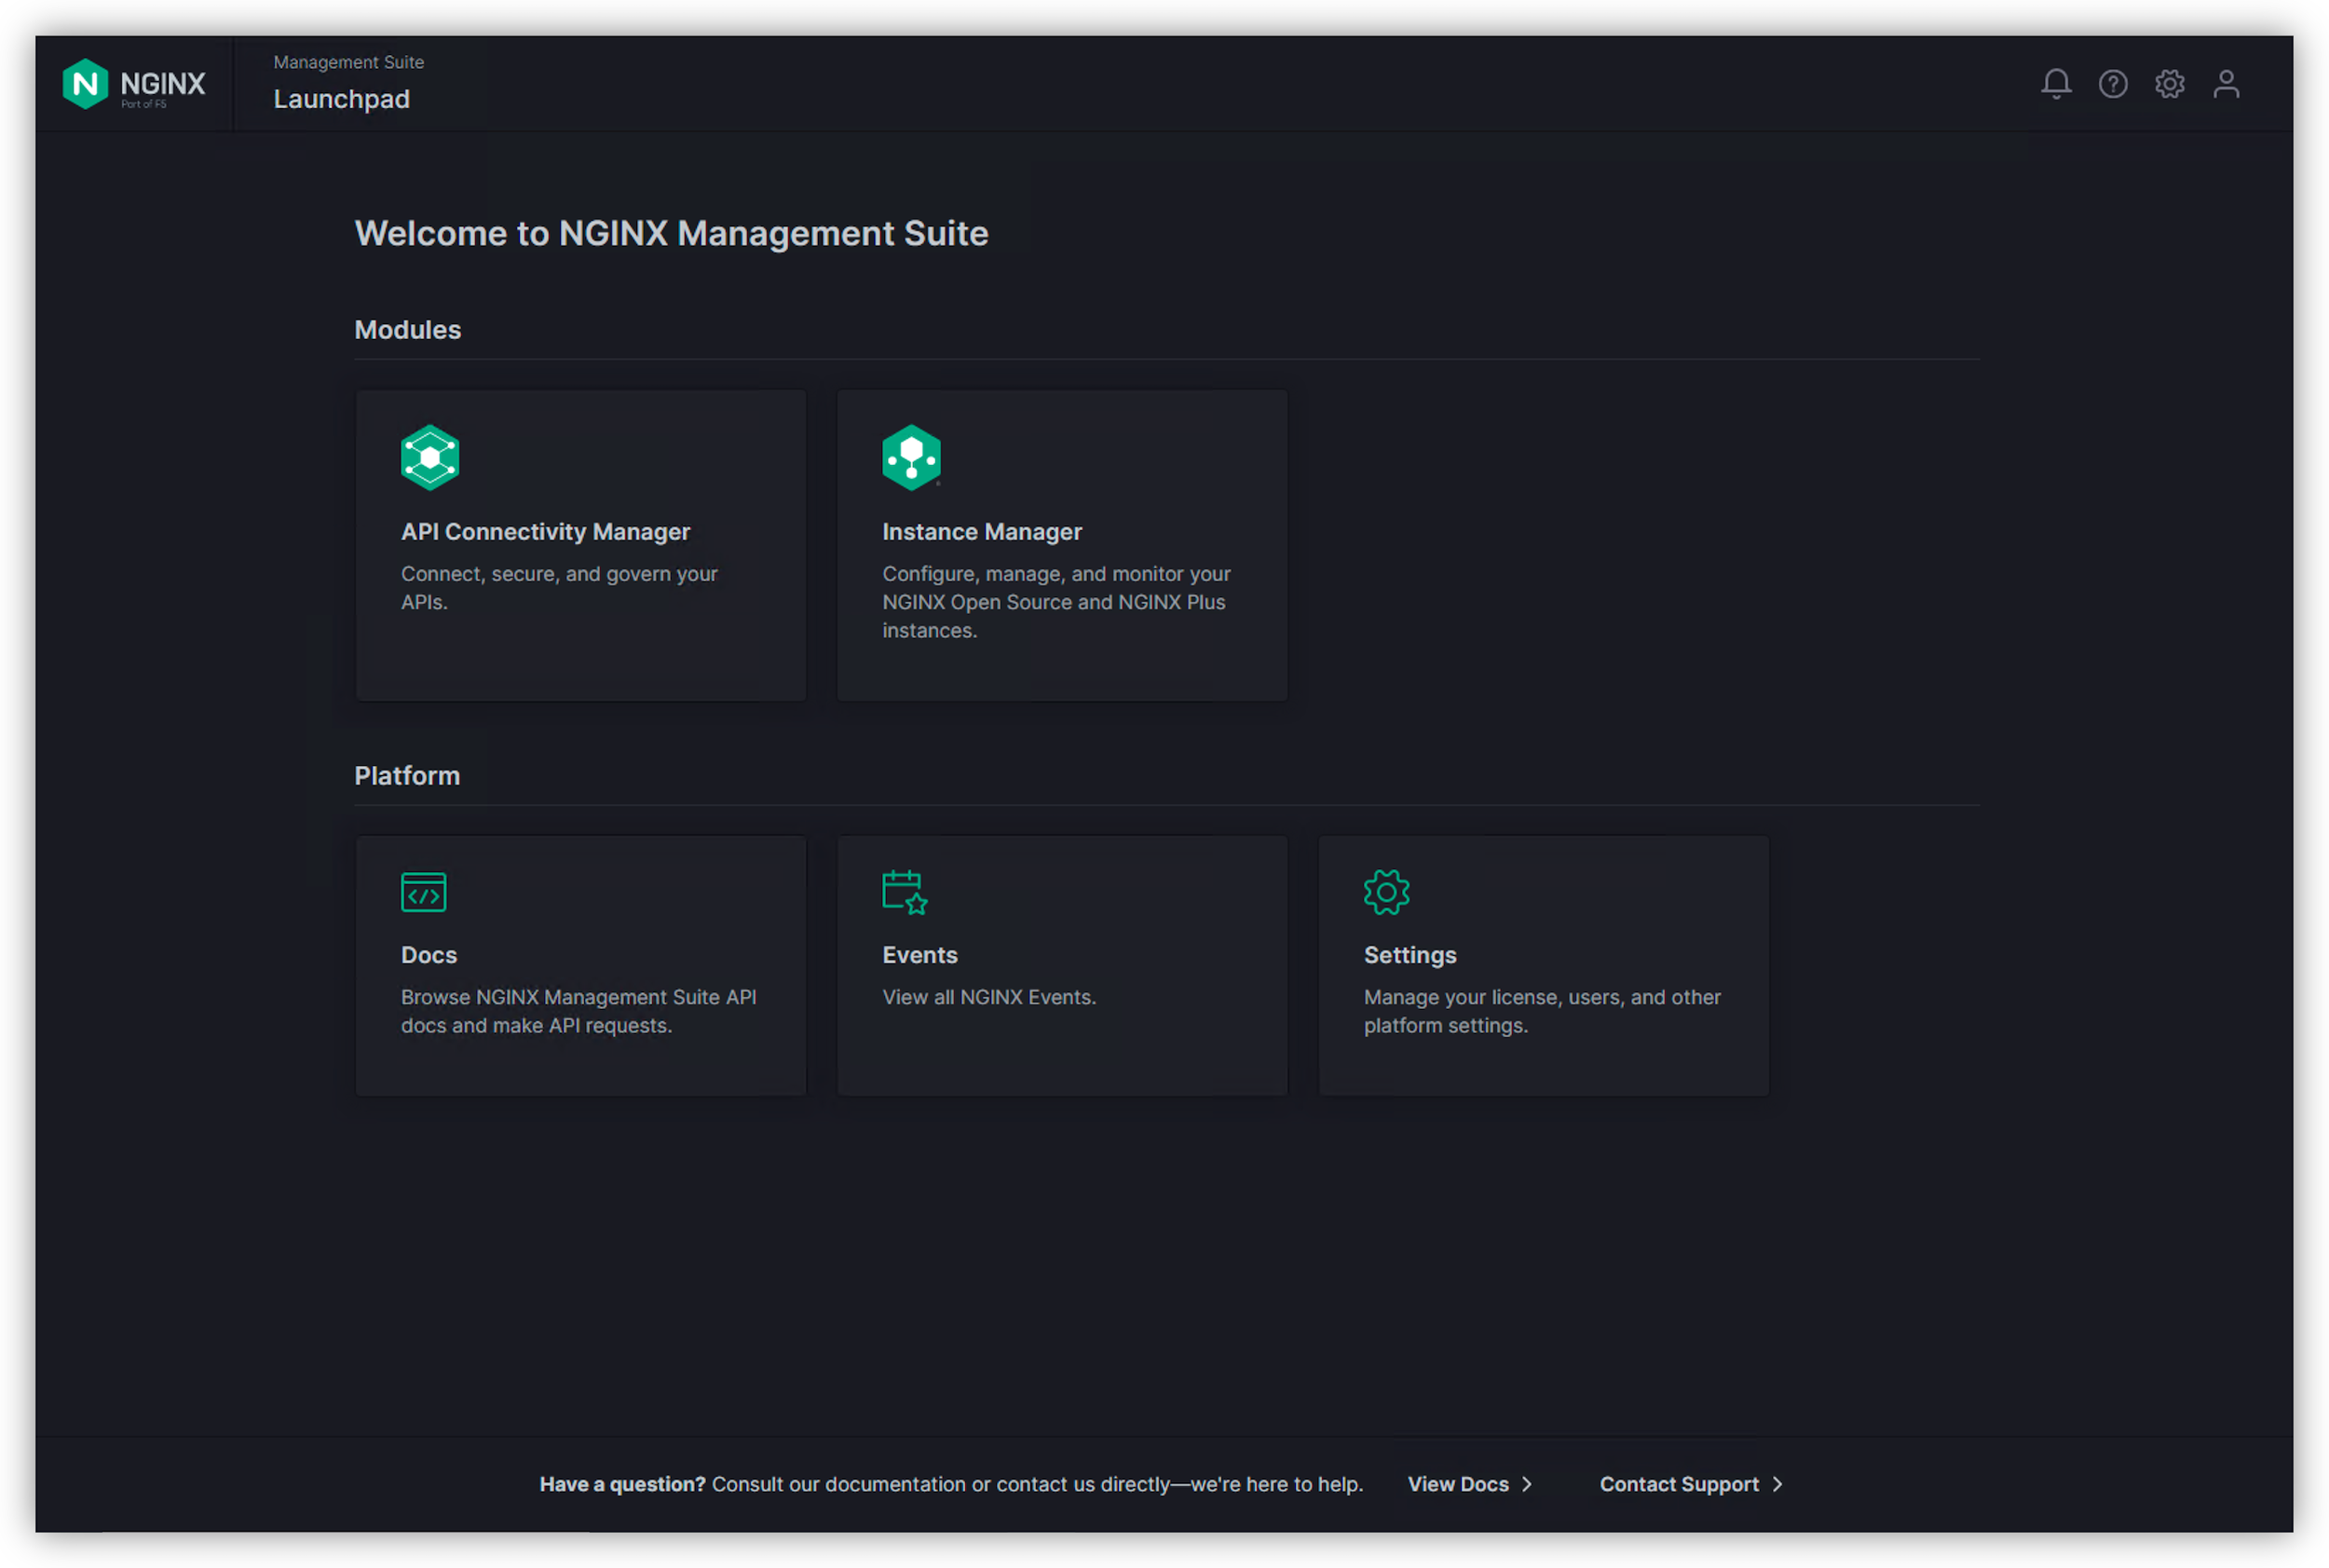
You can notice two modules installed and licensed
- Instance Manager - included and licensed by default
- API Connectivity Manager (ACM) - installed from the official Nginx repo and licensed
Connect to ACM and create the infrastructure environment
Click on
API Connectivity ManagerandInfrastructureCreate a
Workspaceand name itteam-sentence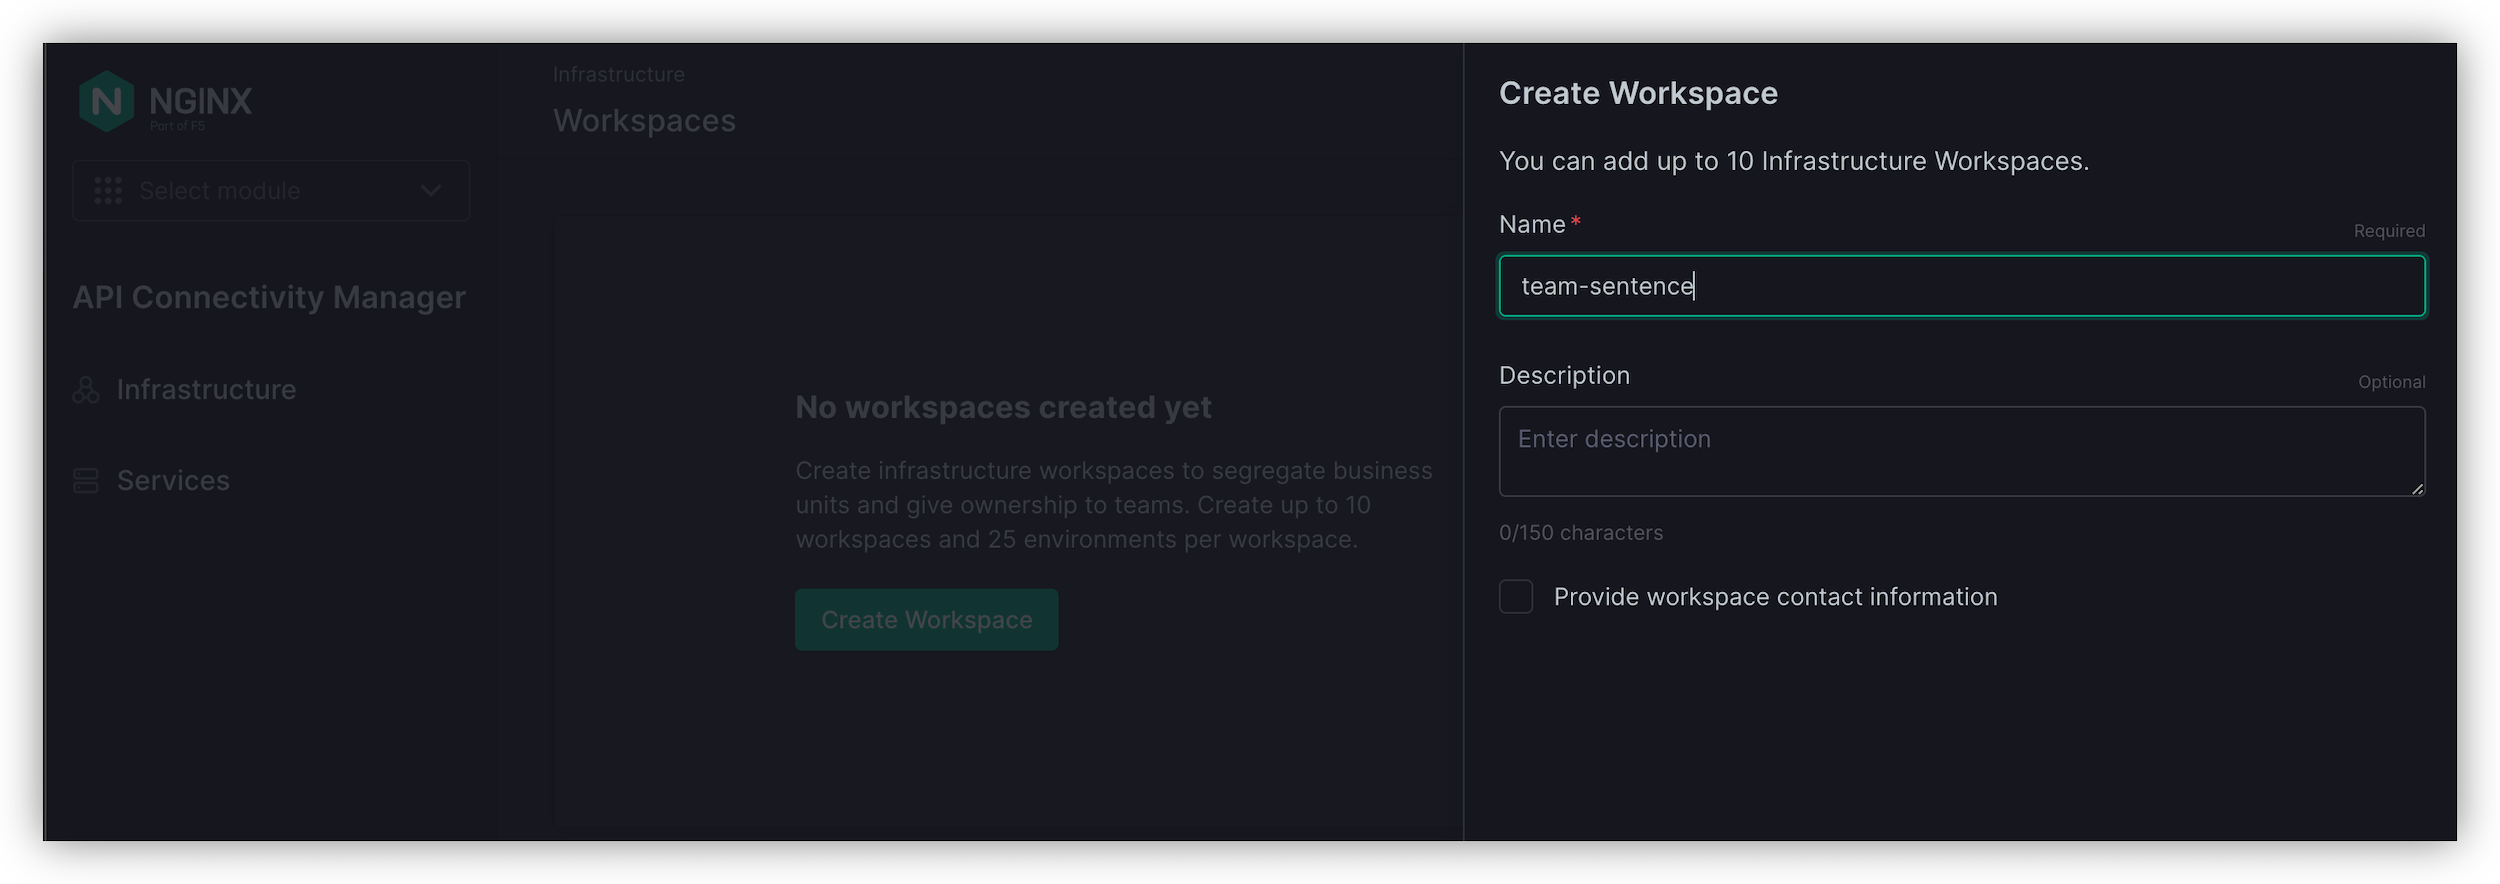
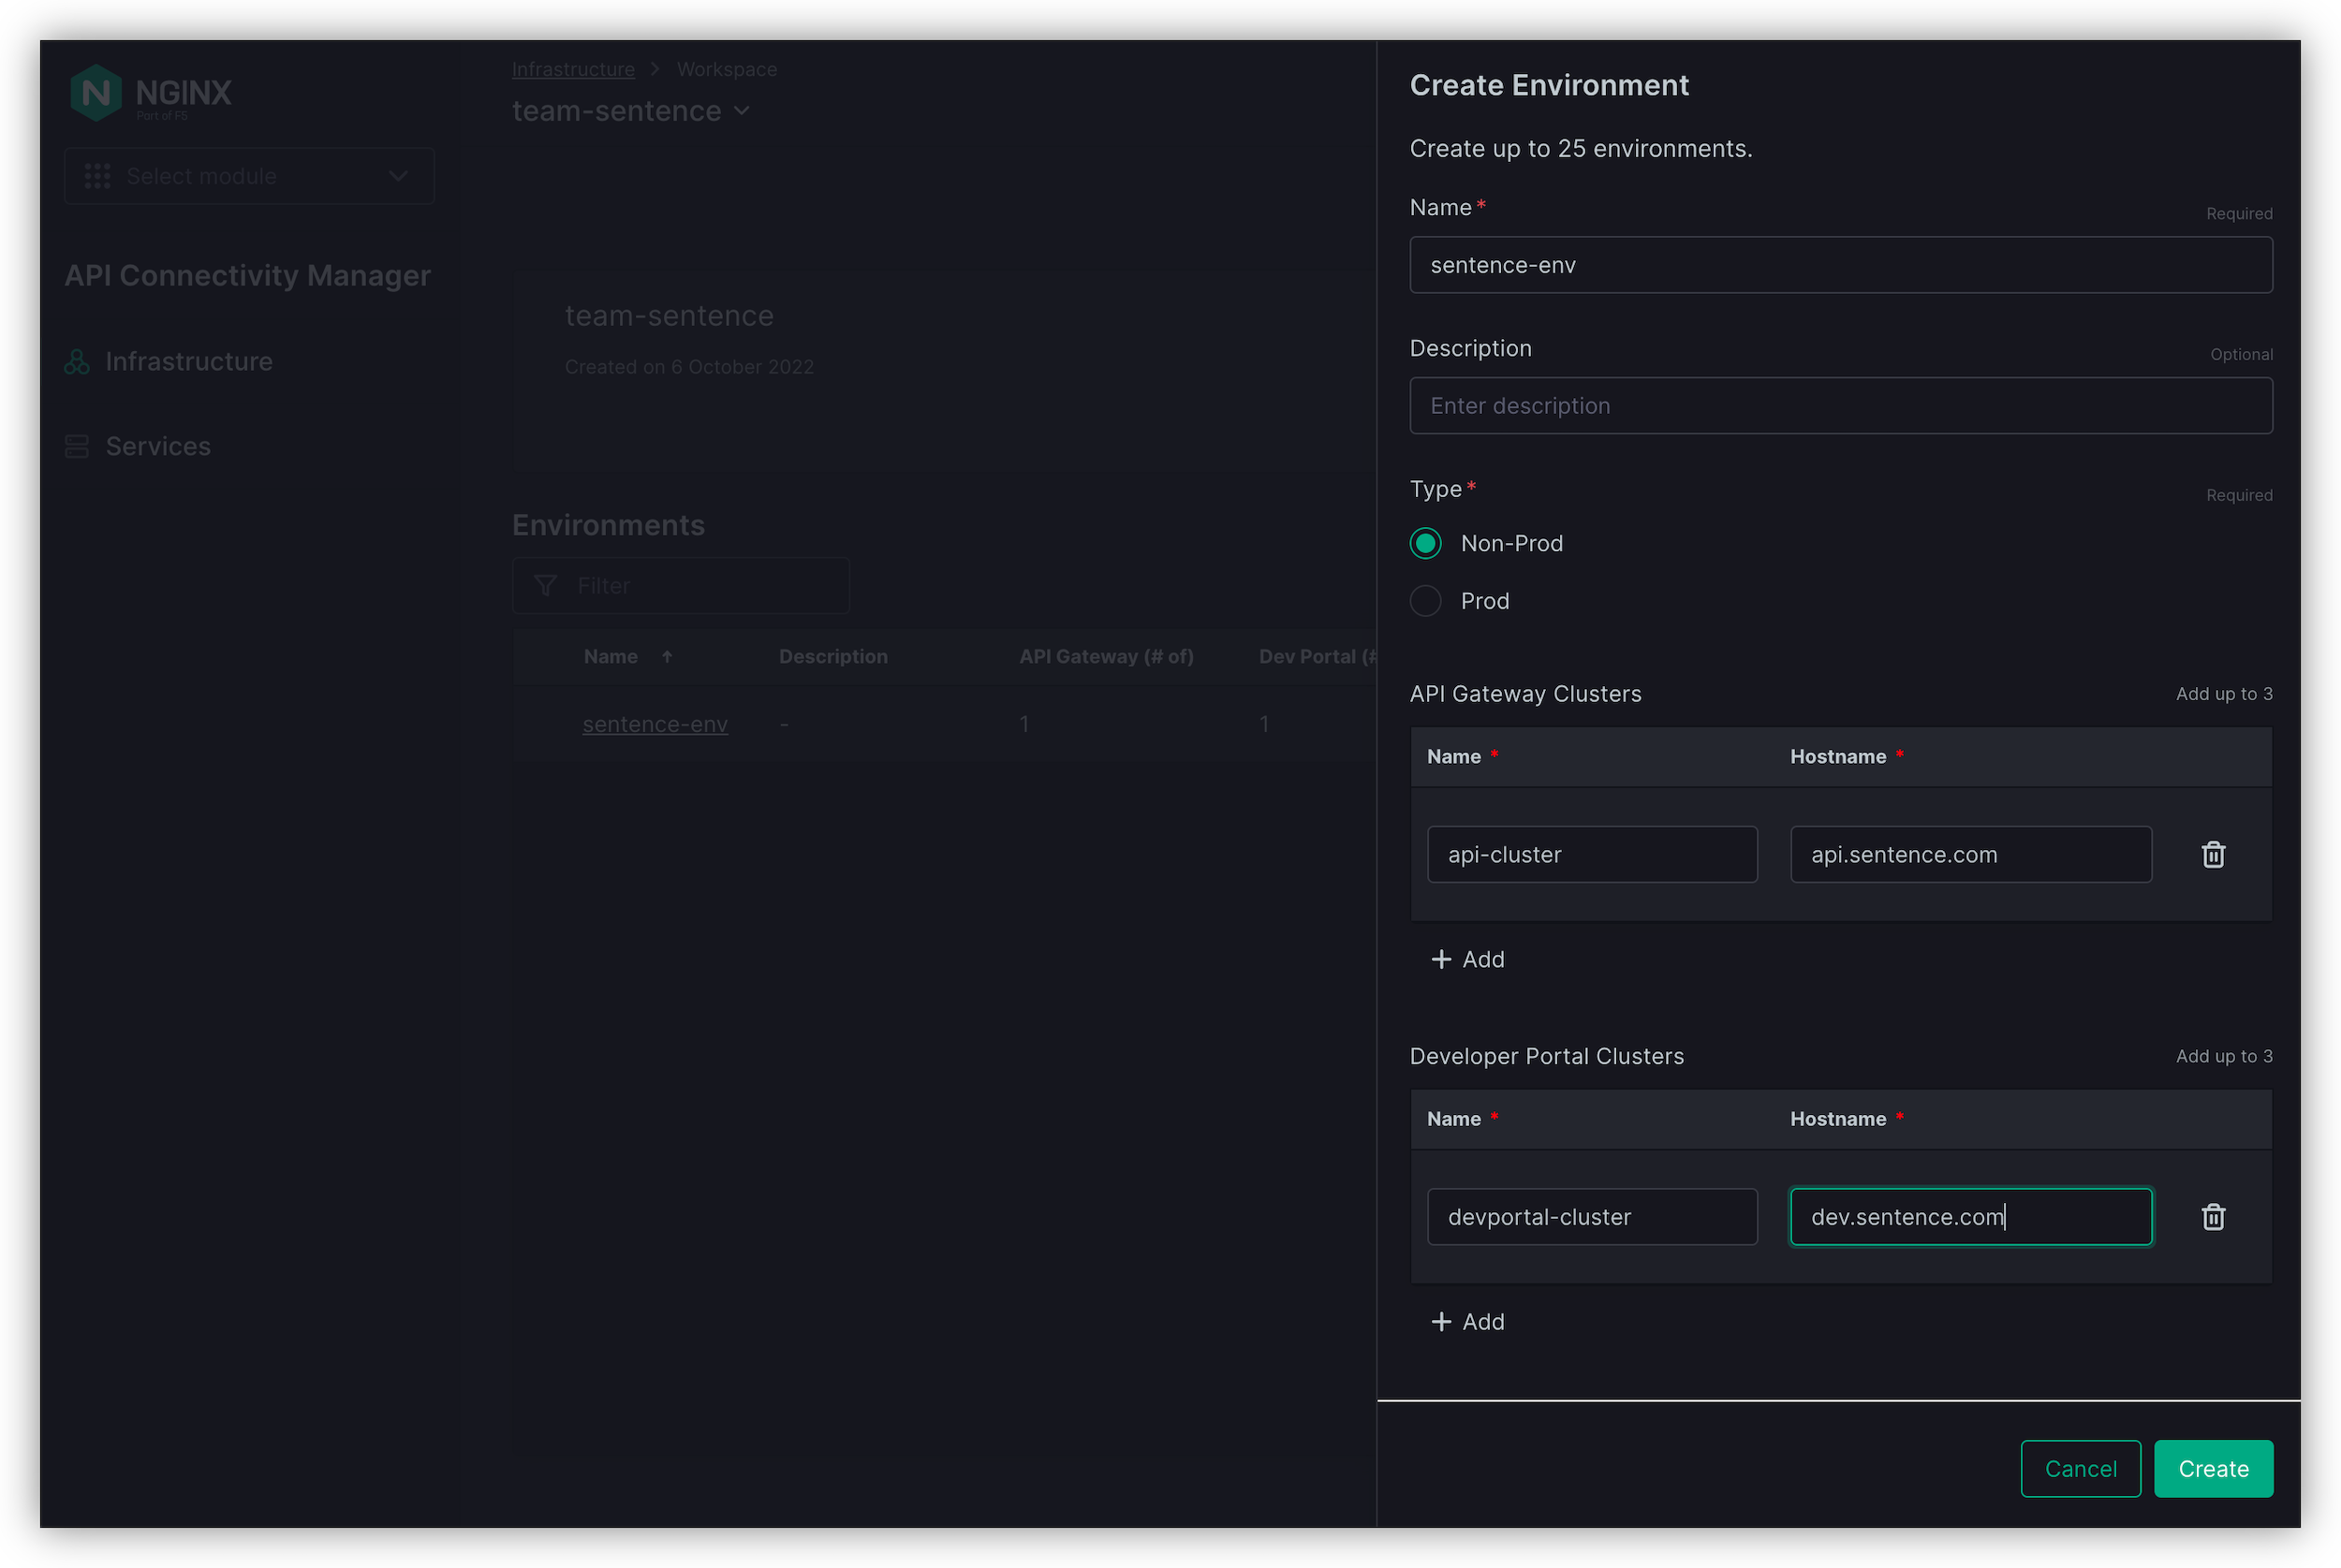
Create an
environmentName : sentence-env
Type : Non-Prod
Add an
API Gateway cluster- Name : api-cluster
- Hostname : api.sentence.com
Add a
Developer portal clusterName : devportal-cluster
Hostname : dev.sentence.com
The environment is now created, and you can see the commands to execute to
linkNGINX instances to your NMS.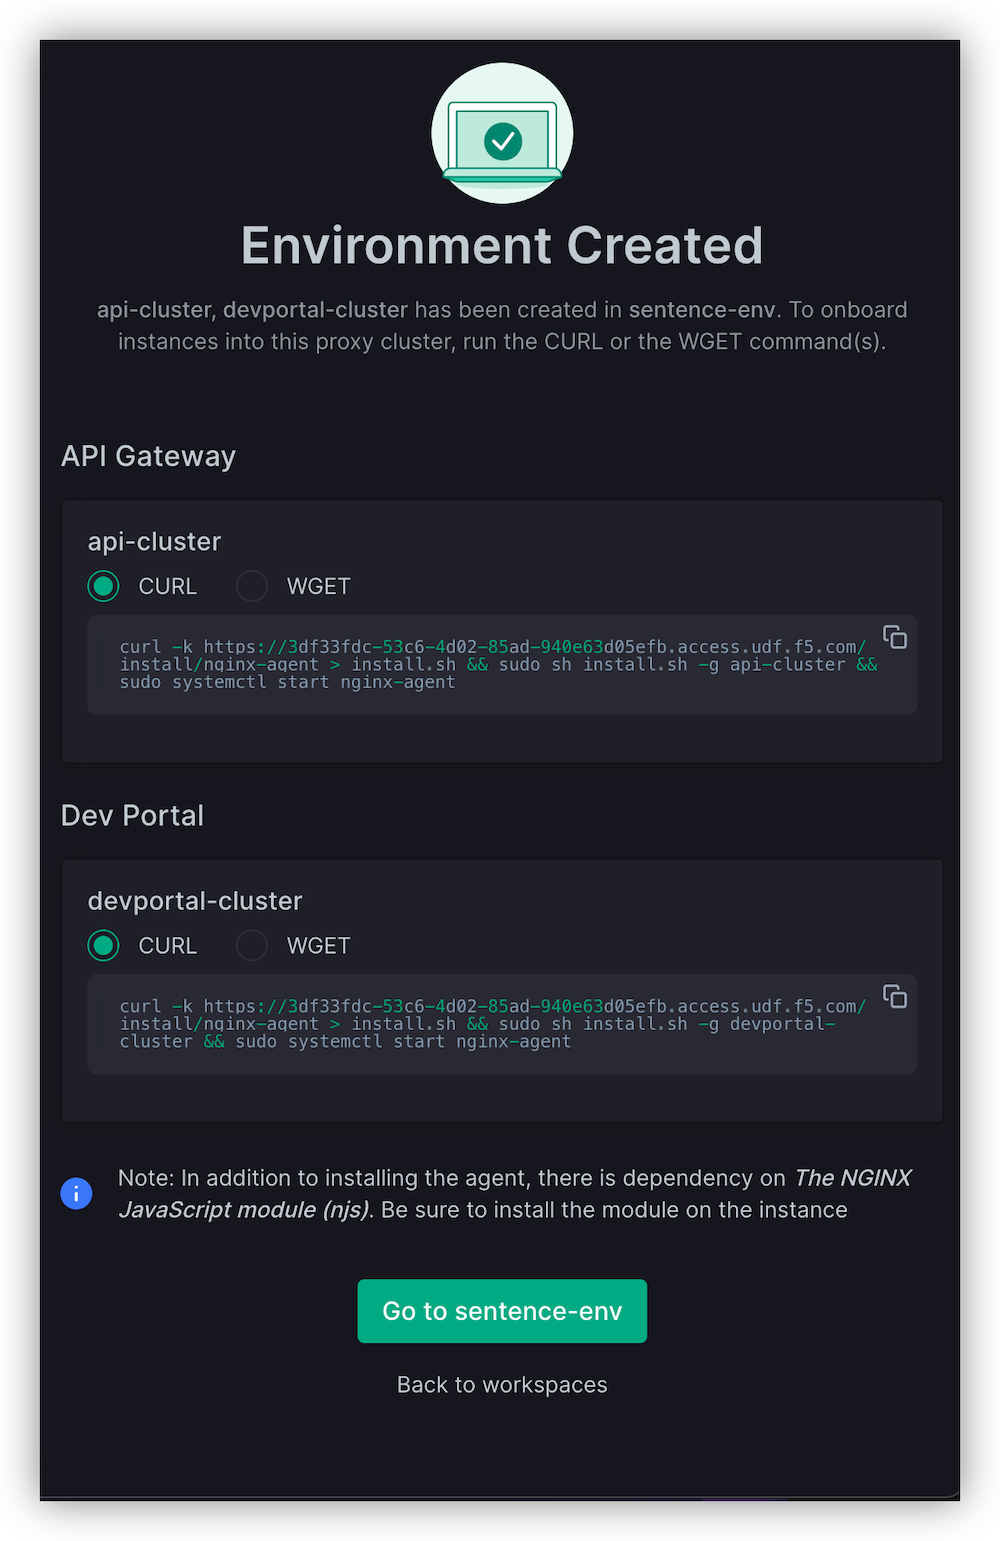
Click on
Go to sentence-env