NGINX Modern Apps > Class 13 - Maximize ROI with F5 NGINX App Protect(NAP) using Observability > Introduction Source | Edit on
GitOps continuous delivery for NGINX App Protect with ArgoCD
Argo CD is a declarative, GitOps continuous delivery tool for Kubernetes. Argo CD follows the GitOps pattern of using Git repositories as the source of truth for defining the desired application state.
Argo CD is implemented as a kubernetes controller which continuously monitors running applications and compares the current, live state against the desired target state (as specified in the Git repo). A deployed application whose live state deviates from the target state is considered OutOfSync. Argo CD reports & visualizes the differences, while providing facilities to automatically or manually sync the live state back to the desired target state. Any modifications made to the desired target state in the Git repo can be automatically applied and reflected in the specified target environments.
Argo CD is being actively developed by the community. Argo CD releases can be found <a href=”https://github.com/argoproj/argo-cd/releases”> here</a>.
NAP with Argo CD
In this example we will configure NAP to work with Argo CD so that we follow a GitOps continuous delivery methodology.
Let us create a Git Repository with the required manifests
- Login to Gitlab
> GitLab can be found under the bigip-01 on the Access drop-down menu.
Use the credentials (root / Ingresslab123) to log in.
Go to Repository nap/ArgoCD that has been pre-configured.
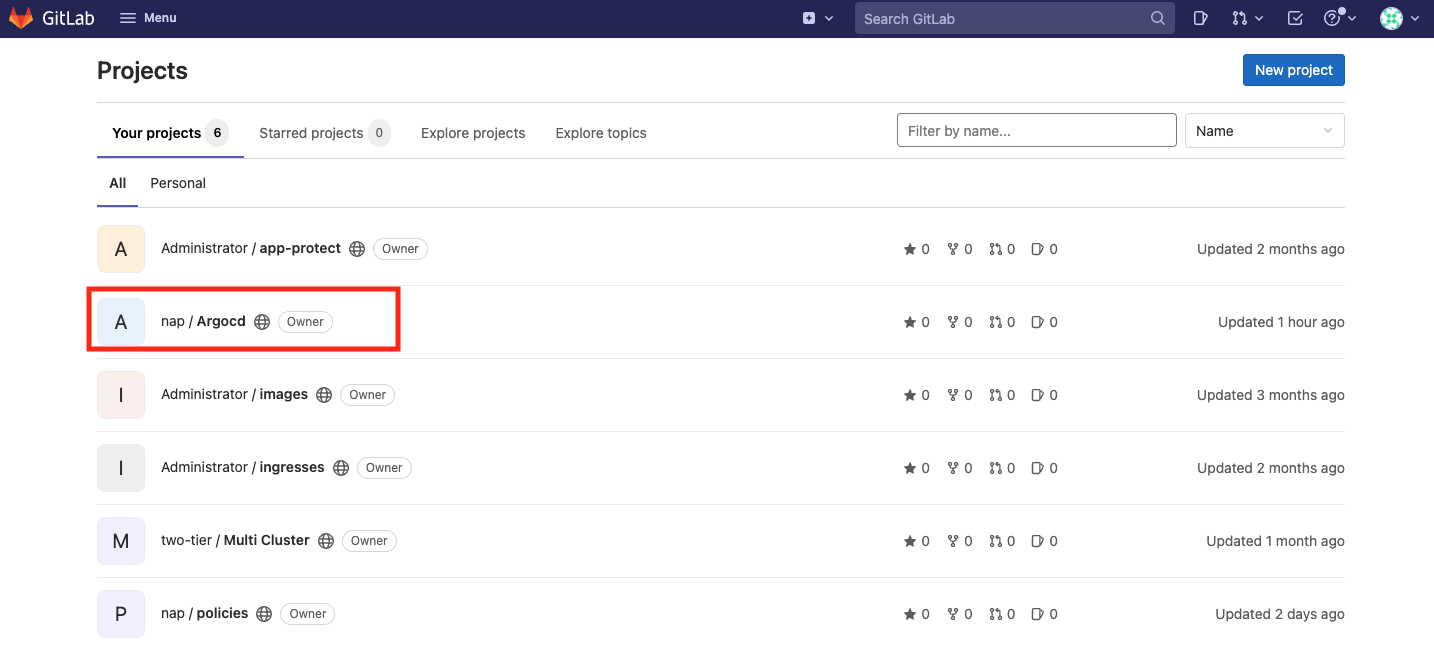
Review all the files that already exists on the repo. These files include:
- ns.yml (deploys the Namespace)
- app.yml (deploys the demo apps)
- appolicy.yml (deploys the NAP policy)
- log.yml (deploys the Logging profile)
- policy.yml (deploys the NGINX policy)
- vs.yml (deploys the VirtualServer CRD)

Now lets connect Argo CD with the Git Repository
- Login to Argo CD
> Argo CD can be found under the bigip-01 on the Access drop-down menu.
Use the credentials (admin / Ingresslab123) to log in.
Create a new Application
Click on + NEW APP button that can be found on the top left of the page.
Find below the information that needs to inserted in the form.
- Application Name -> nap-demo
- Project -> default
- Sync Policy -> Automatic
- Prune Resources -> Enabled
- Repository URL -> https://git.f5k8s.net/nap/argocd.git
- Revision -> HEAD
- Path -> .
- Cluster URL -> https://kubernetes.default.svc
- Namespace -> nap-argo
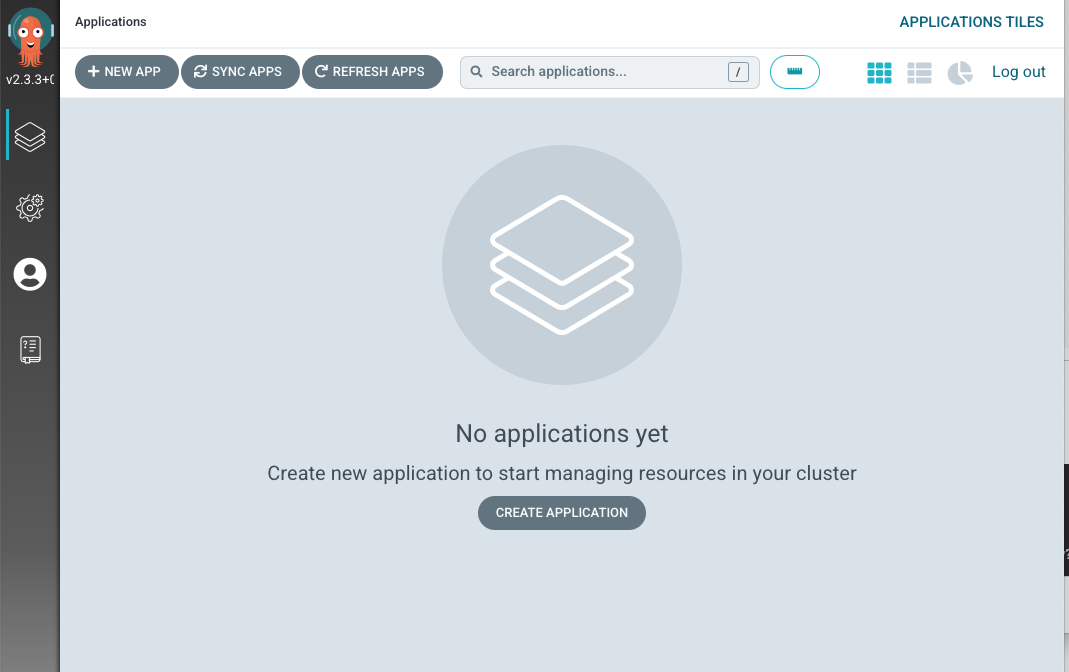
Press Create and wait to see that the Argo CD application being created.
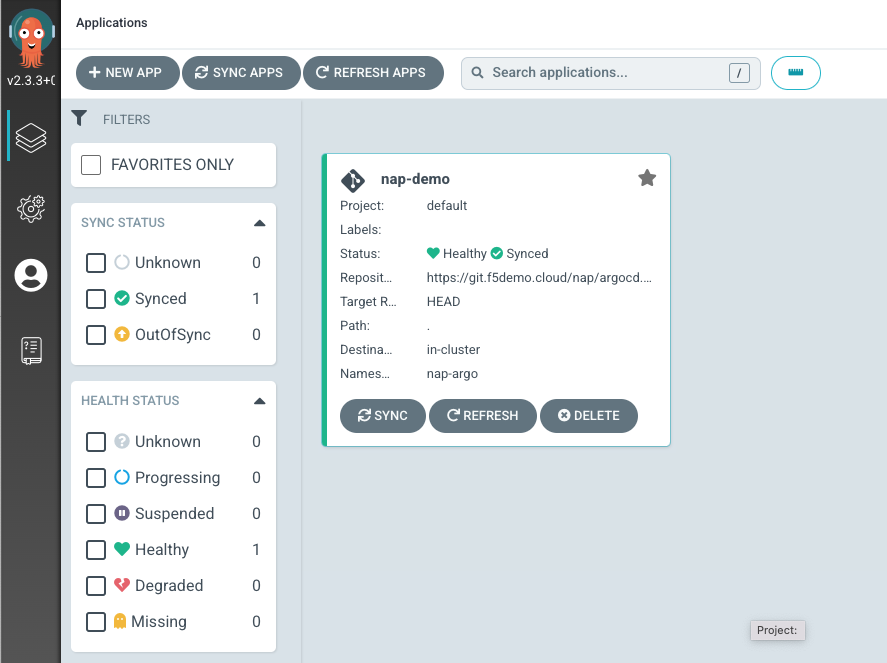
Open the nap-demo application so that you see all the Kubernetes objects that Argo CD has created.
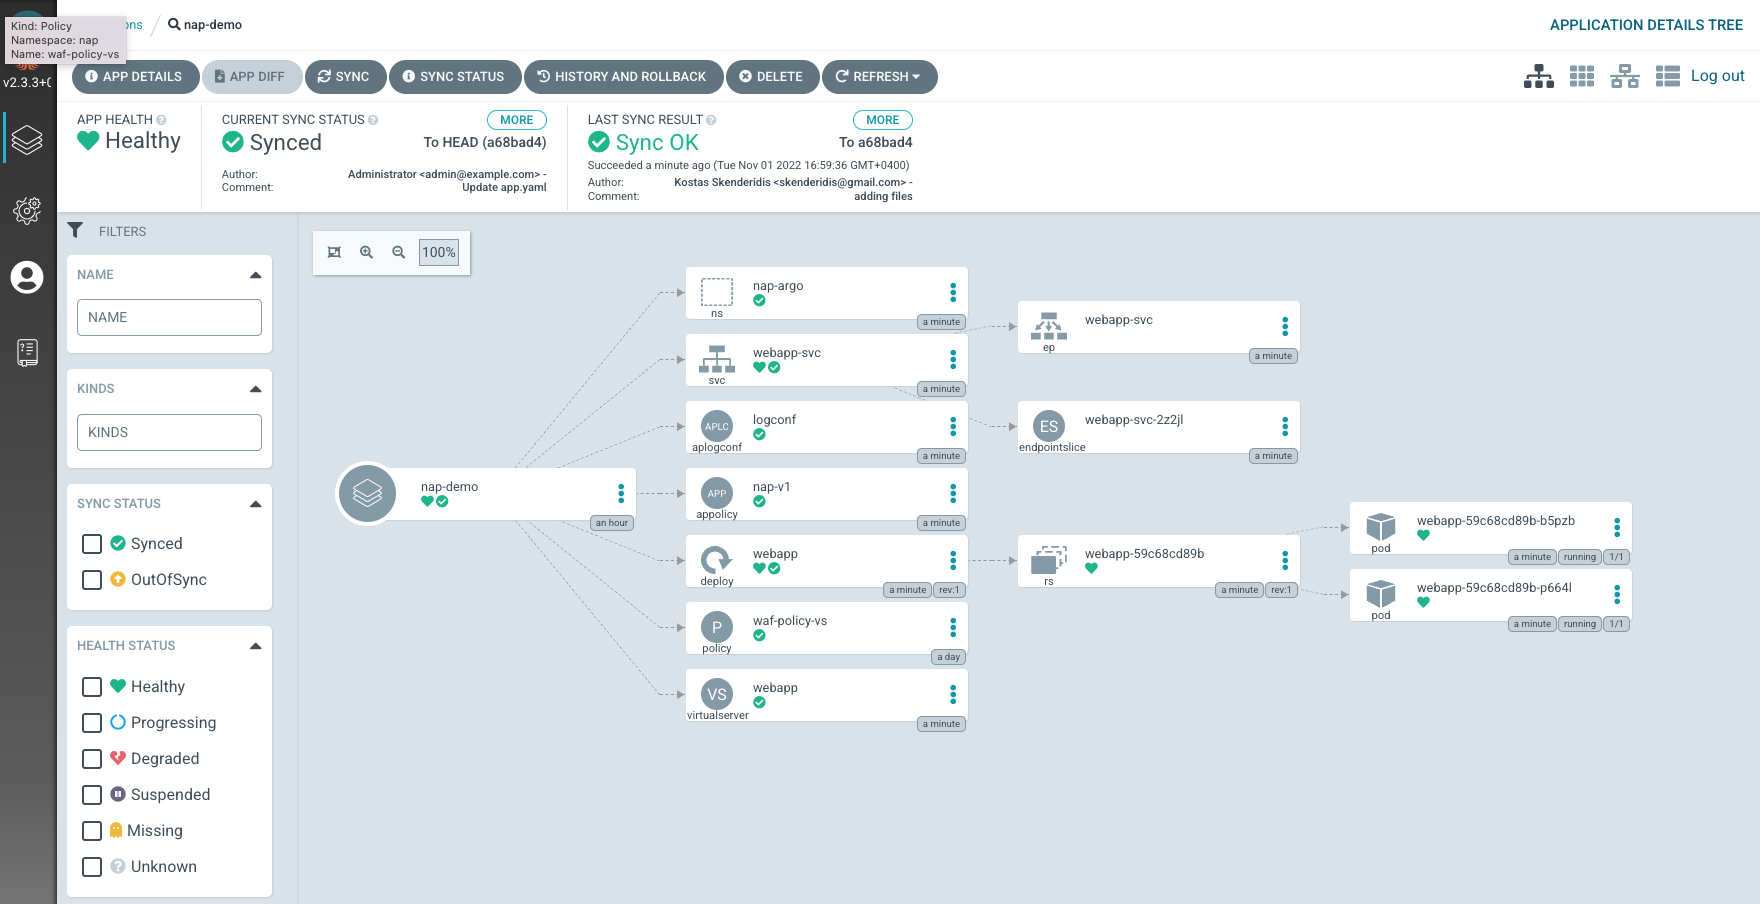
Go to VSCode and verify that all the Kubernetes objects have been applied correctly.
kubectl get appolicy nap-v1 -n nap-argo -o yaml

The expected output is the following.
apiVersion: appprotect.f5.com/v1beta1
kind: APPolicy
metadata:
  annotations:
    kubectl.kubernetes.io/last-applied-configuration: |
- {“apiVersion”:”appprotect.f5.com/v1beta1”,”kind”:”APPolicy”,”metadata”:{“annotations”:{},”labels”:{“app.kubernetes.io/instance”:”nap-demo”},”name”:”nap-v1”,”namespace”:”nap-argo”},”spec”:{“policy”:{“applicationLanguage”:”utf-8”,”enforcementMode”:”transparent”,”name”:”nap-v1”,”template”:{“name”:”POLICY_TEMPLATE_NGINX_BASE”}}}}
creationTimestamp: “2022-11-01T12:59:36Z” generation: 6 labels:
app.kubernetes.io/instance: nap-demoname: nap-v1 namespace: nap-argo resourceVersion: “2665839” uid: ed79f06c-42bc-43fc-9bb5-624775d6cd68
- spec:
- policy:
applicationLanguage: utf-8 enforcementMode: blocking name: nap-v1 template:
name: POLICY_TEMPLATE_NGINX_BASE
Note: Please verify that the enforcementMode is set as Blocking
Step 3 - Make changes on the Repository
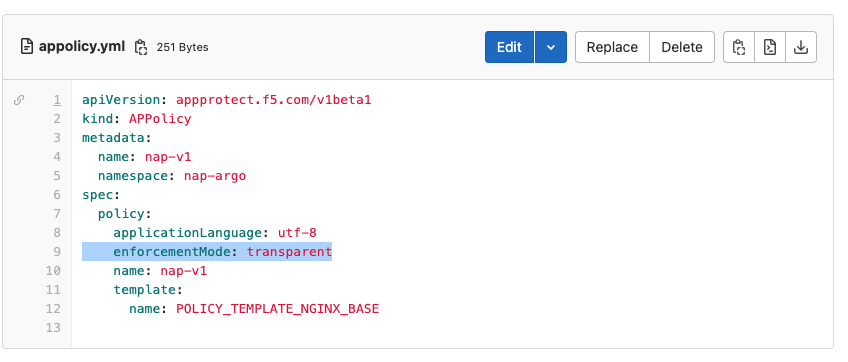
Make changes to appolicy.yml
Open the appolicy.yml, change the policy from blocking to transparent and commit the changes.
> Note: Because you are accessing GitLab behind a reverse proxy, it is recommended to Edit instead of WED IDE, in case you are using the web browser to access the repository files
Go to Argo CD and refresh the application.
Argo CD will detect the changes and immediately apply them to Kubernetes.

Run the following command to verify that the enforcement mode has changed to transparent
kubectl get appolicy nap-v1 -n nap-argo -o yaml | grep enforcementMode:
The expected output is the following.
enforcementMode: transparent
Step 4 - Create a webhook from Git to Argo CD
Be default Argo CD polls Git repositories every three minutes to detect changes to the manifests. To reduce the 3 min window, we will implement a webhook that will be sent from GitLab to Argo CD every time there is a commit on the repo. That will trigger Argo CD to make the comparison and deploy any changes.
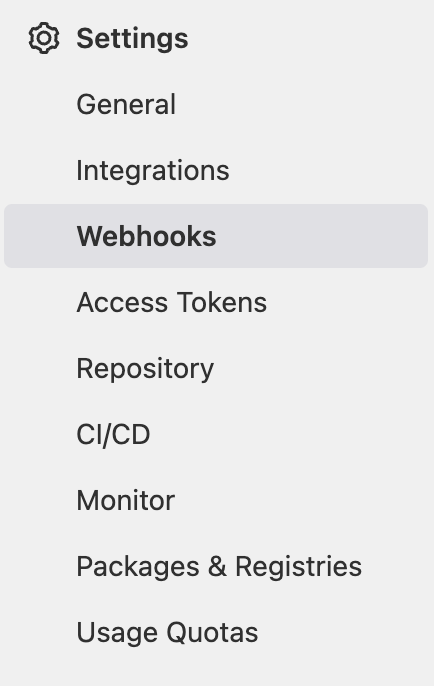
- Go to Settings->WebHooks
On the GitLab UI, select Webhooks that is located under Settings.
- Create the WebHook.
Fill in the following information on the form.
- URL -> https://10.1.10.18/api/webhook
- Push Events -> Enabled
- Enable SSL verification -> Disabled
And press Add webhook.
> Note: On ArgoCD the webhook URI MUST be /api/webhook in order to work. If you add a forward slash / at the end of the URI, you will receive a 404 from Argo CD.
Make changes to the Appolicy.yml.
Make a change to the APPolicy manifest on GitLab and verify that the changes are replicated immediately to the Kubernetes cluster.
For example change the EnforcementMode to Blocking.
enforcementMode: transparent => enforcementMode: blocking