F5 Public Cloud Solutions > PC211 - Secure Azure Computing Architecture Source | Edit on
3.0 Lab Module 3
In this module we are going to use git to clone a repository from Github to our workstation then modify it for our needs, then use Terraform to deploy it.
3.1 Clone SACA Repository
Before we can automatically deploy BIG-IPs from the Marketplace, we need accept the terms and conditions associated with those products. This is a onetime operation and doesn’t need to be repeated. However, since these are brand new accounts they have not done this step yet.
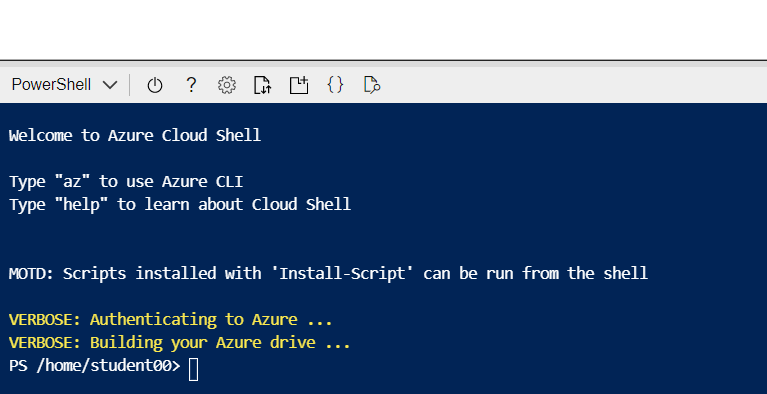
Within the Azure Portal, locate the icon for Azure Cloud Shell, and click it.

If Prompted choose the PowerShell version.
You may get prompted to create a storage account, If you do accept the request.
When completed the Azure Cloud Shell will be active in the bottom of your browser.
Then cut and paste the following
$agreementTerms=Get-AzMarketplaceterms -Publisher “f5-networks” -Product “f5-big-ip-best” -Name “f5-bigip-virtual-edition-1g-best-hourly”
Set-AzMarketplaceTerms -Publisher “f5-networks” -Product “f5-big-ip-best” -Name “f5-bigip-virtual-edition-1g-best-hourly” -Terms $agreementTerms -Accept
Once the commands run the output should look like this:
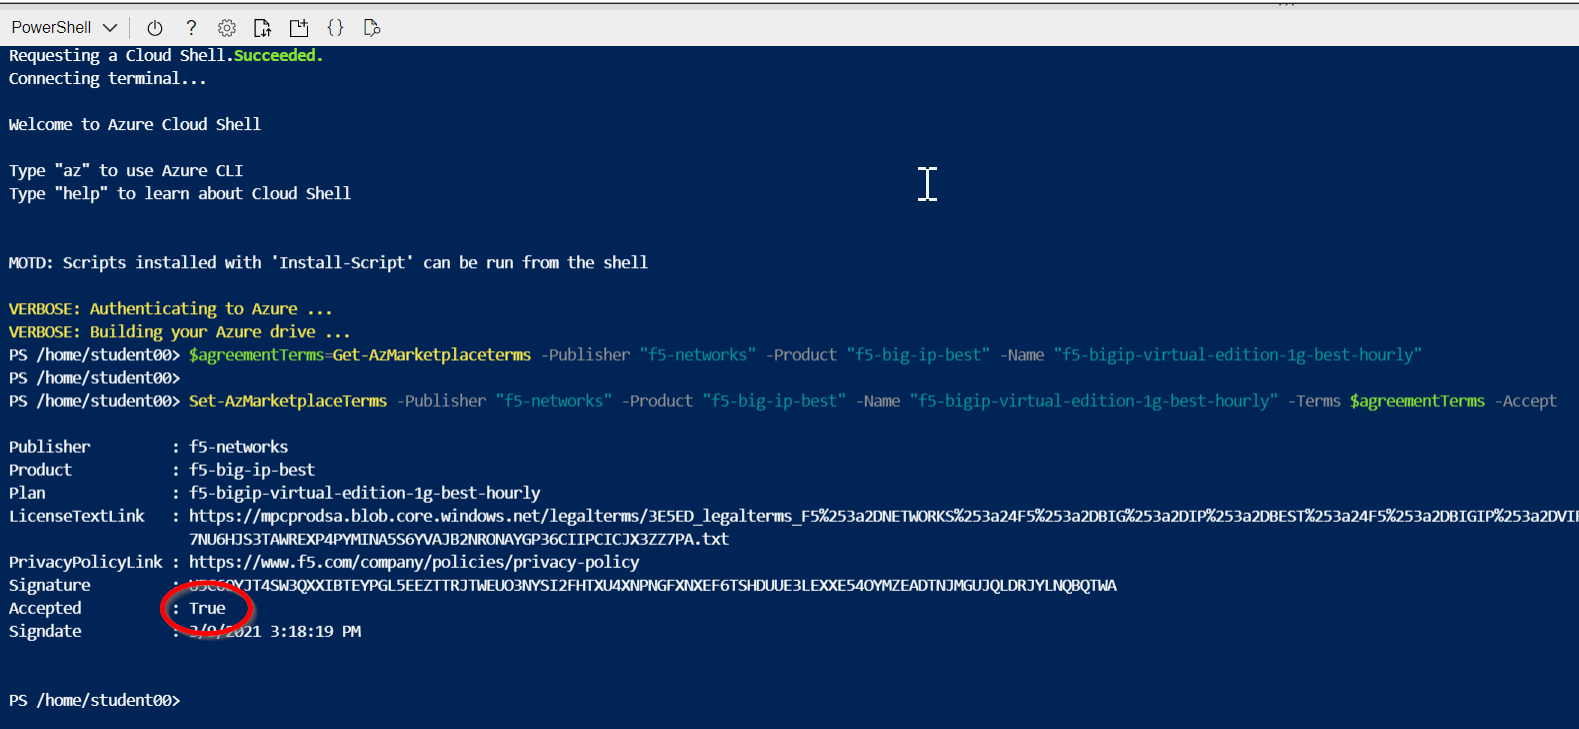
Verify that Accepted = True
You may now close the Azure Cloud Shell by clicking the X at the far right of the console.
3.2 Clone SACA Repository
Open Git Bash
Navigate in the command line until your current directory is /c/Users/Administrator/terraform. You can validate this by running pwd from the command line.

Clone the repository from its location at https://github.com/f5devcentral/f5-azure-saca to a new folder in your terraform directory.
From the command line type:
git clone https://github.com/f5devcentral/f5-azure-saca
Since we did not specify a path or folder name it will clone it to a folder named f5-azure-saca
Type cd f5-azure-saca to change to that directory.
3.3 Create an admin.auto.tfvars
Now open vscode and open the f5-azure-saca folder.
Click File…Open Folder… and select the folder c:usersadministratorterraformf5-azure-saca
Then Click File…New File…
Now type the following text into the file:
location = “eastus2”
region = “East US 2”
projectPrefix = “student##” < - -(you have to change this to match your student number! It must also be lowercase.
deploymentType = “three_tier”
adminUserName = “xadmin”
adminPassword = “pleaseUseVault123!!”
bigip_version = “14.1.400000”
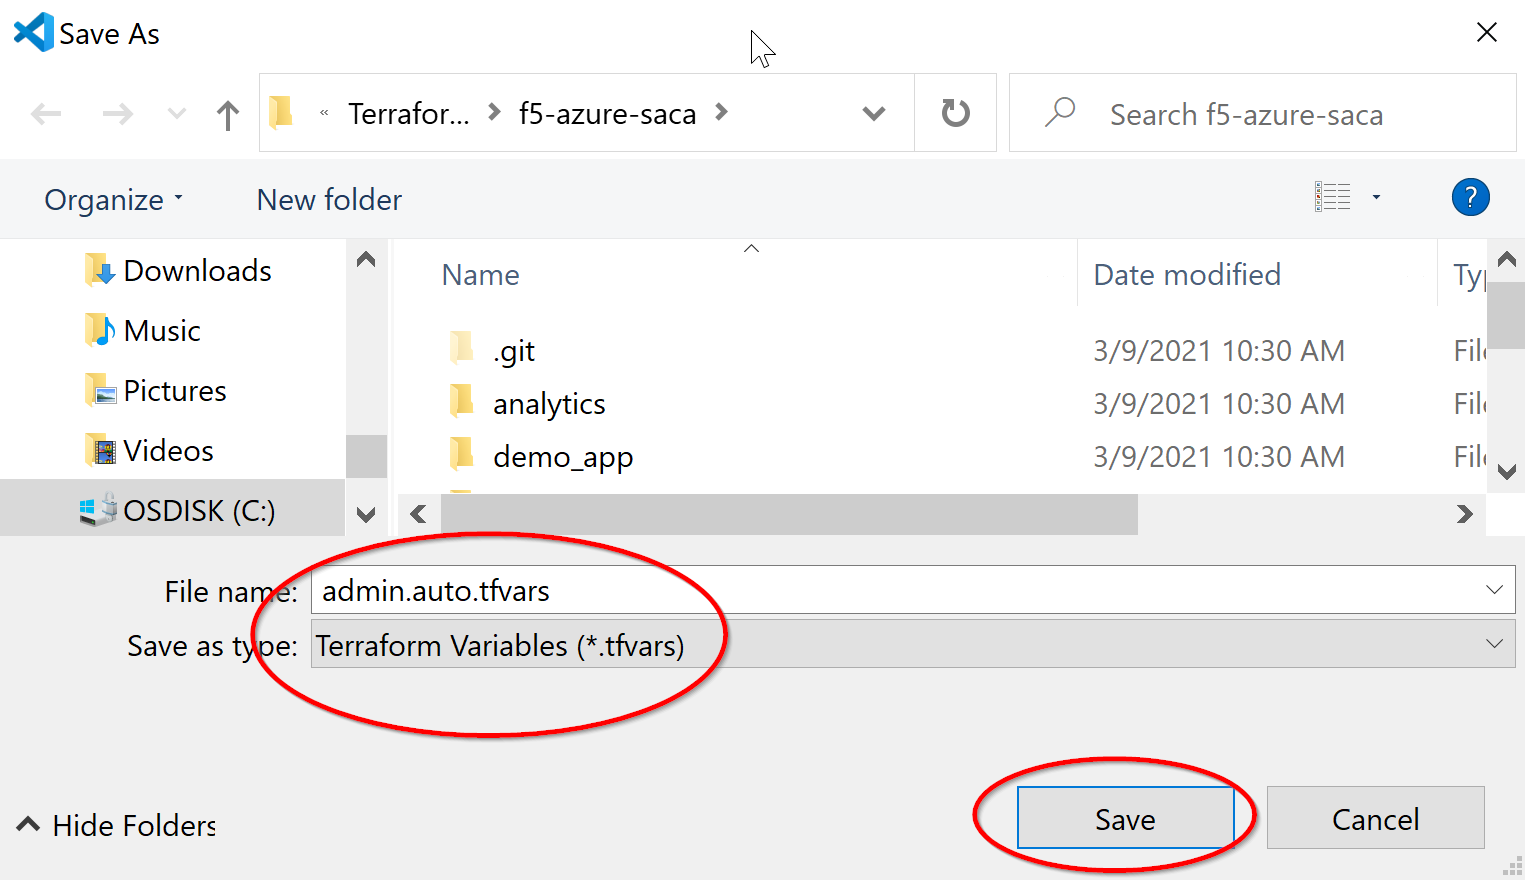
Then click File…Save As…
Then type: admin.auto as the file name.
And Choose Terraform Variables (*.tfvars) as the Save As Type.
Then click Save.
The completed file should look like the example below, minus the one
line you need to change.

3.4 Deploy the solution with Terraform.
Open Git Bash and from the command line in the /c/Users/Administrator/terraform/f5-azure-saca folder type:
terraform init
terraform validate
terraform plan
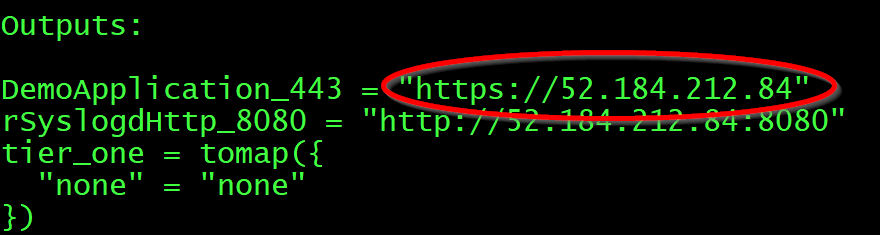
terraform apply –auto-approve
When completed the output should look like the below screenshot.
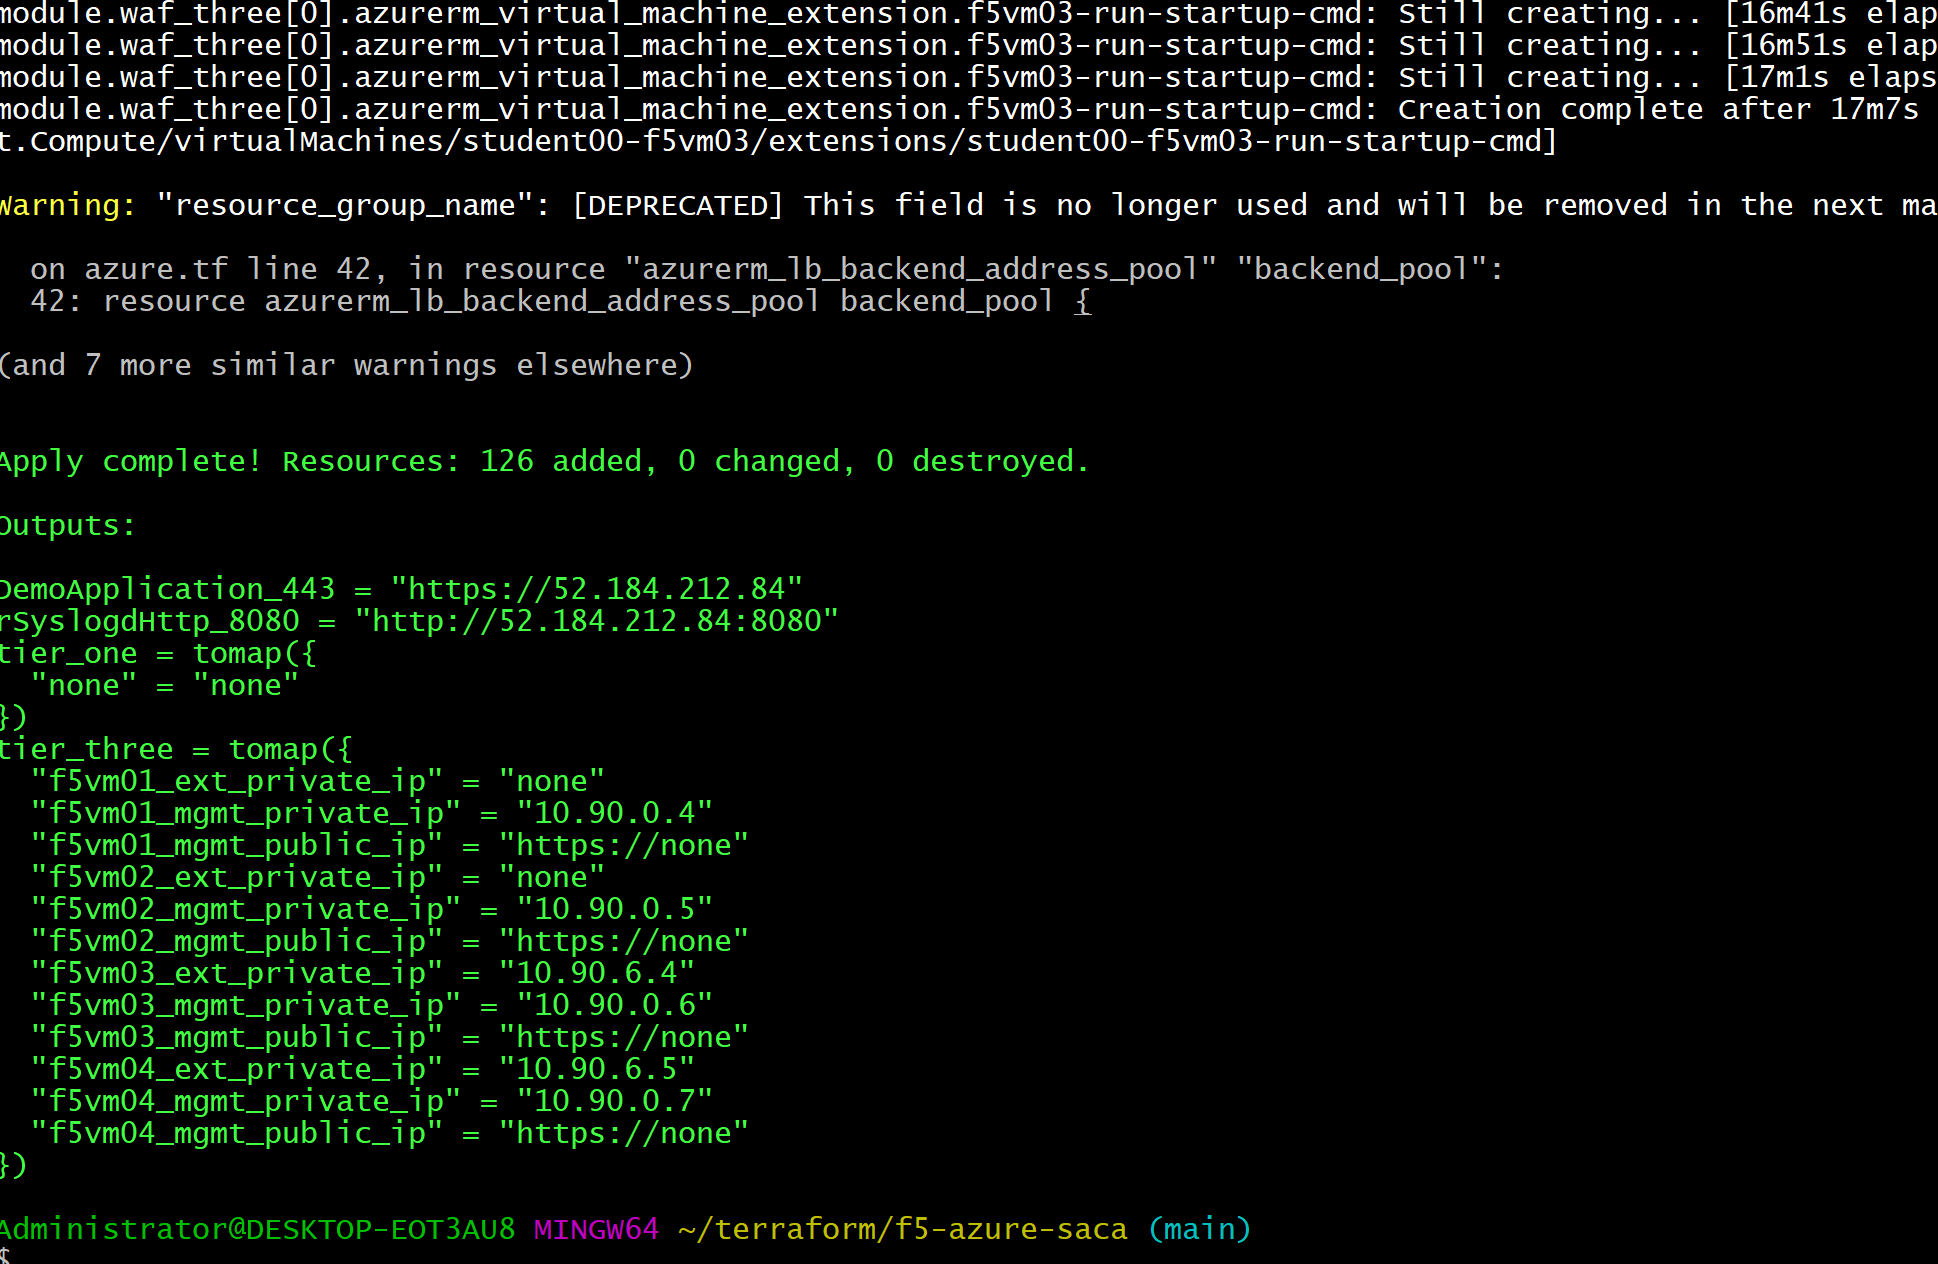
Save this info in green for Lab 4.

Stop, this is the end of Module 3.