F5 BIG-IP SSL Orchestrator Training Lab > All SSL Orchestrator Lab Guides > SSLO 101: Introduction to SSL Visibility with SSL Orchestrator (AppWorld 2026 | 2 hours) > 2. Lab Environment Source | Edit on
2.1. Accessing the Virtual Lab
If you are not familiar with the process for joining an F5 UDF-based course, refer to:
You should have received a course registration email that contains the course link. Click on the link and log into the UDF student portal.
Important
If MFA is not configured for your account, you will be asked to set it up before proceeding.
In the UDF Dashboard, you will see a list of sessions that you are registered for. Find the session for this lab and click on the Launch link.
Click on the JOIN button to enter the lab session.
Review the information provided in the Documentation tab. It will also include a link to the Lab Guide (this document).
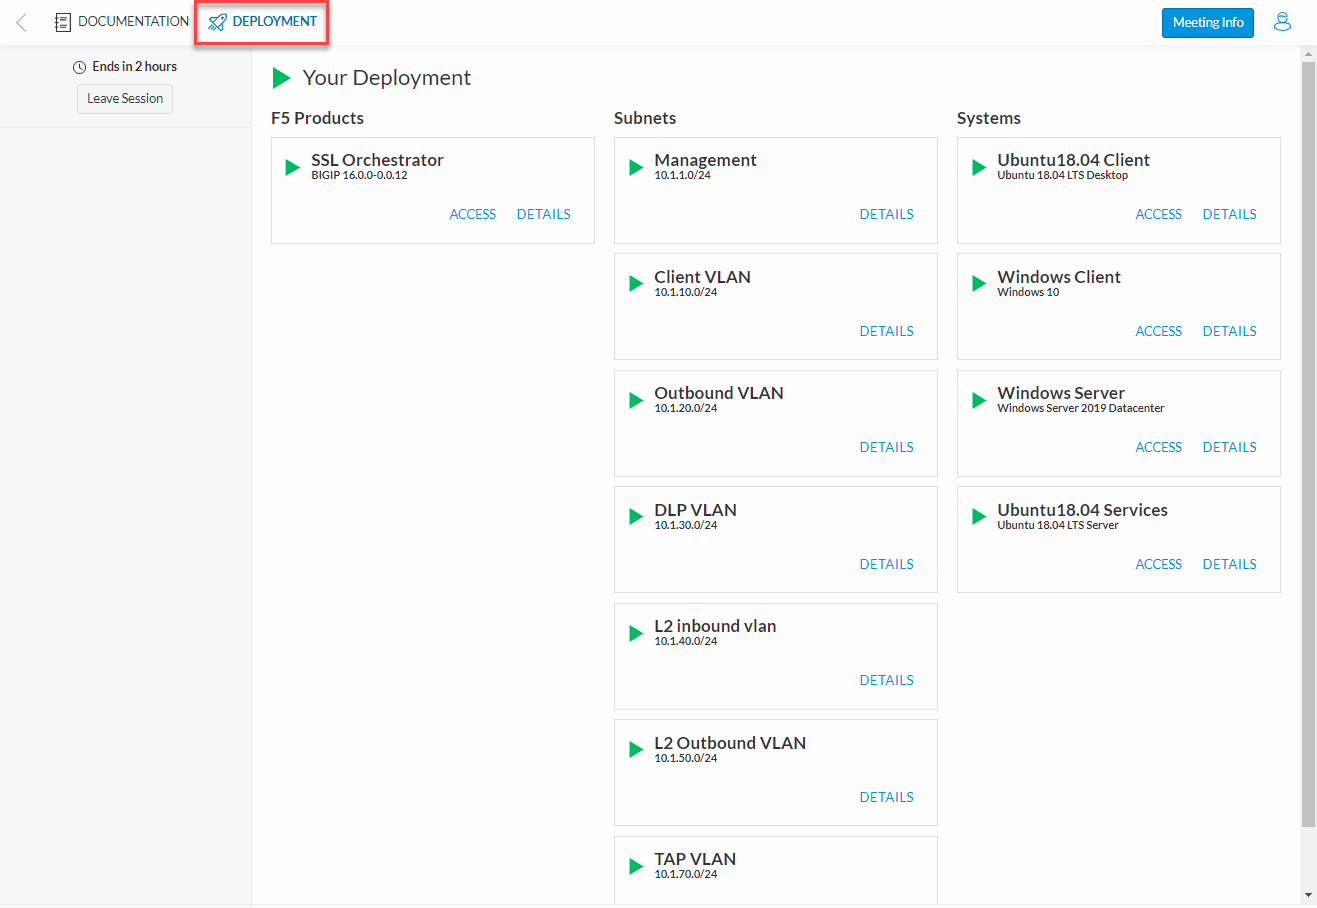
Click on the DEPLOYMENT tab to see all of your lab resources.
Note
It takes about 10 minutes for the lab resources to be provisioned and start up. Please wait until you see the green indicator beside all of the resources.
You will only need your local web browser to access the lab resources.
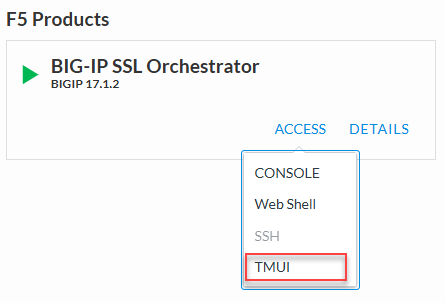
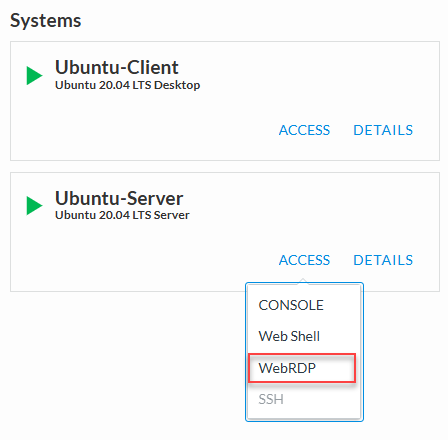
To access a lab VM, click on the ACCESS link to view the remote access methods and then click on the desired option. Here is an example:
Browser-based Remote Desktop access to the Ubuntu-Client is provided via the Guacamole service (WEBRDP access link) that runs on the Ubuntu-Client instance.
Virtual Machines |
Access Methods Used In this Lab |
|---|---|
BIG-IP SSL Orchestrator |
TMUI - Browser-based GUI session |
Ubuntu-Client |
WEBRDP - Browser-based RDP to Ubuntu-Client Desktop |
Ubuntu-Server |
WIRESHARK TAP - Wireshark Web Interface |