F5 BIG-IP SSL Orchestrator Training Lab > All SSL Orchestrator Lab Guides > SSLO 102: Diving into SSL Orchestrator for BIG-IP Next (AppWorld 2024 | 2 hours) > 5. Lab 3 - Inbound Gateway Mode Deployment Source | Edit on
5.5. Creating an Inbound Gateway Deployment
You have created an SSL Orchestrator Inspection Service, a Service Chain, and a Traffic Policy. The next step is to apply this to an application.
5.5.1. Create an Inbound Gateway Application with SSL Orchestrator Policy
In the BIG-IP Central Manager GUI, click on the Workspace icon to show the Workspace Menu.
Click on Applications to navigate to the Applications workspace. You should see the applications that you created in the previous lab module.
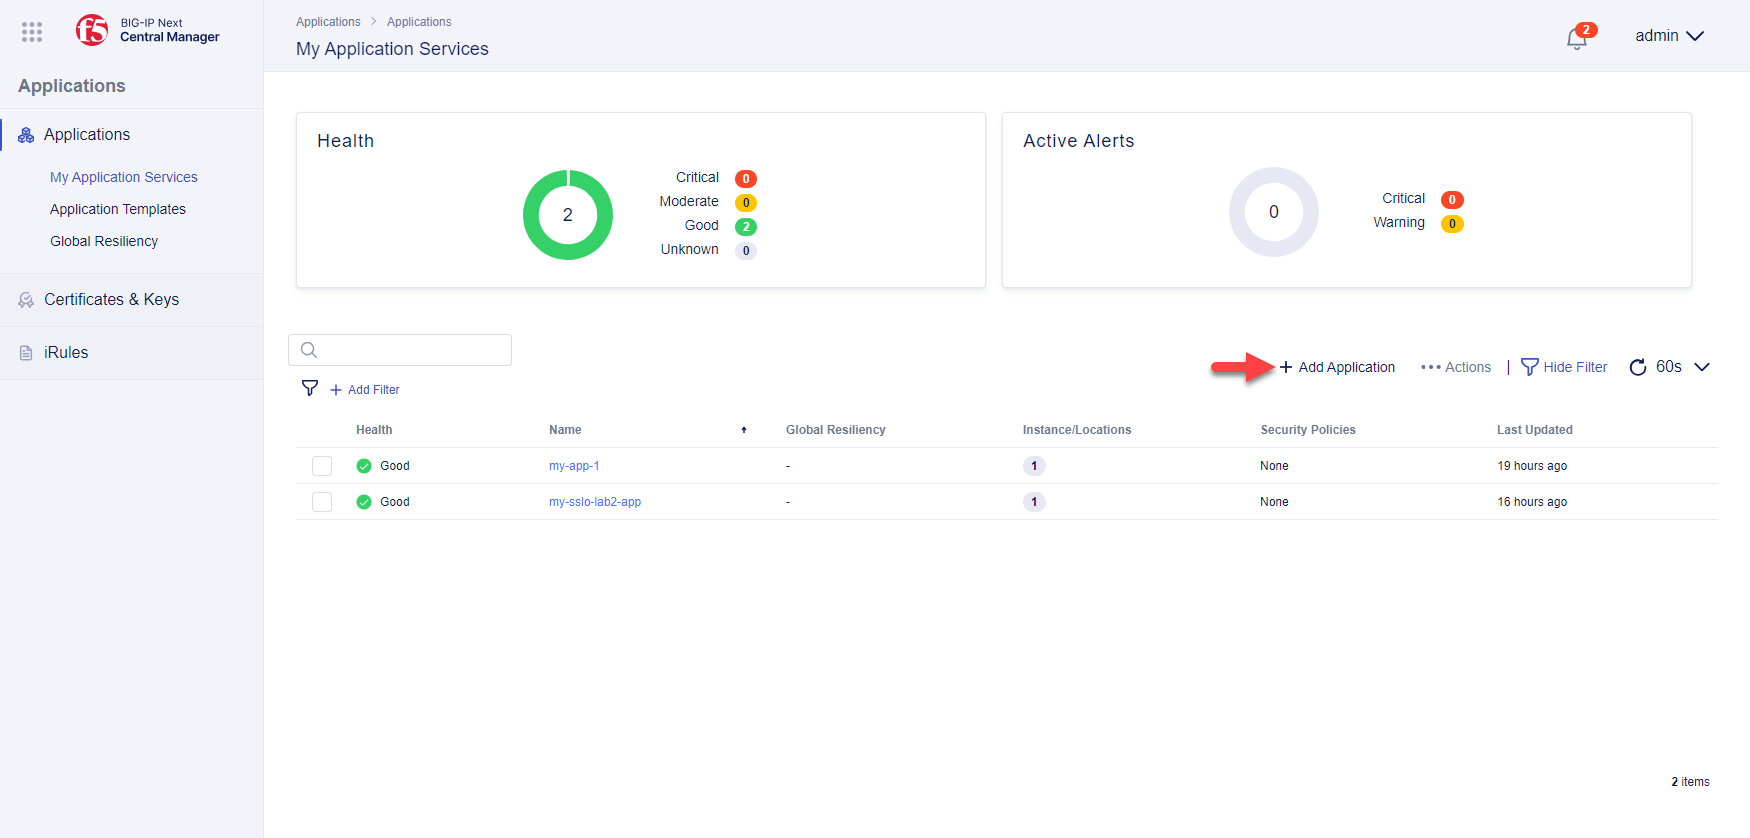
Click on + Add Application to open the Add Application panel.
Enter
my-sslo-lab3-appin the Application Service Name field.Click the From Template button.
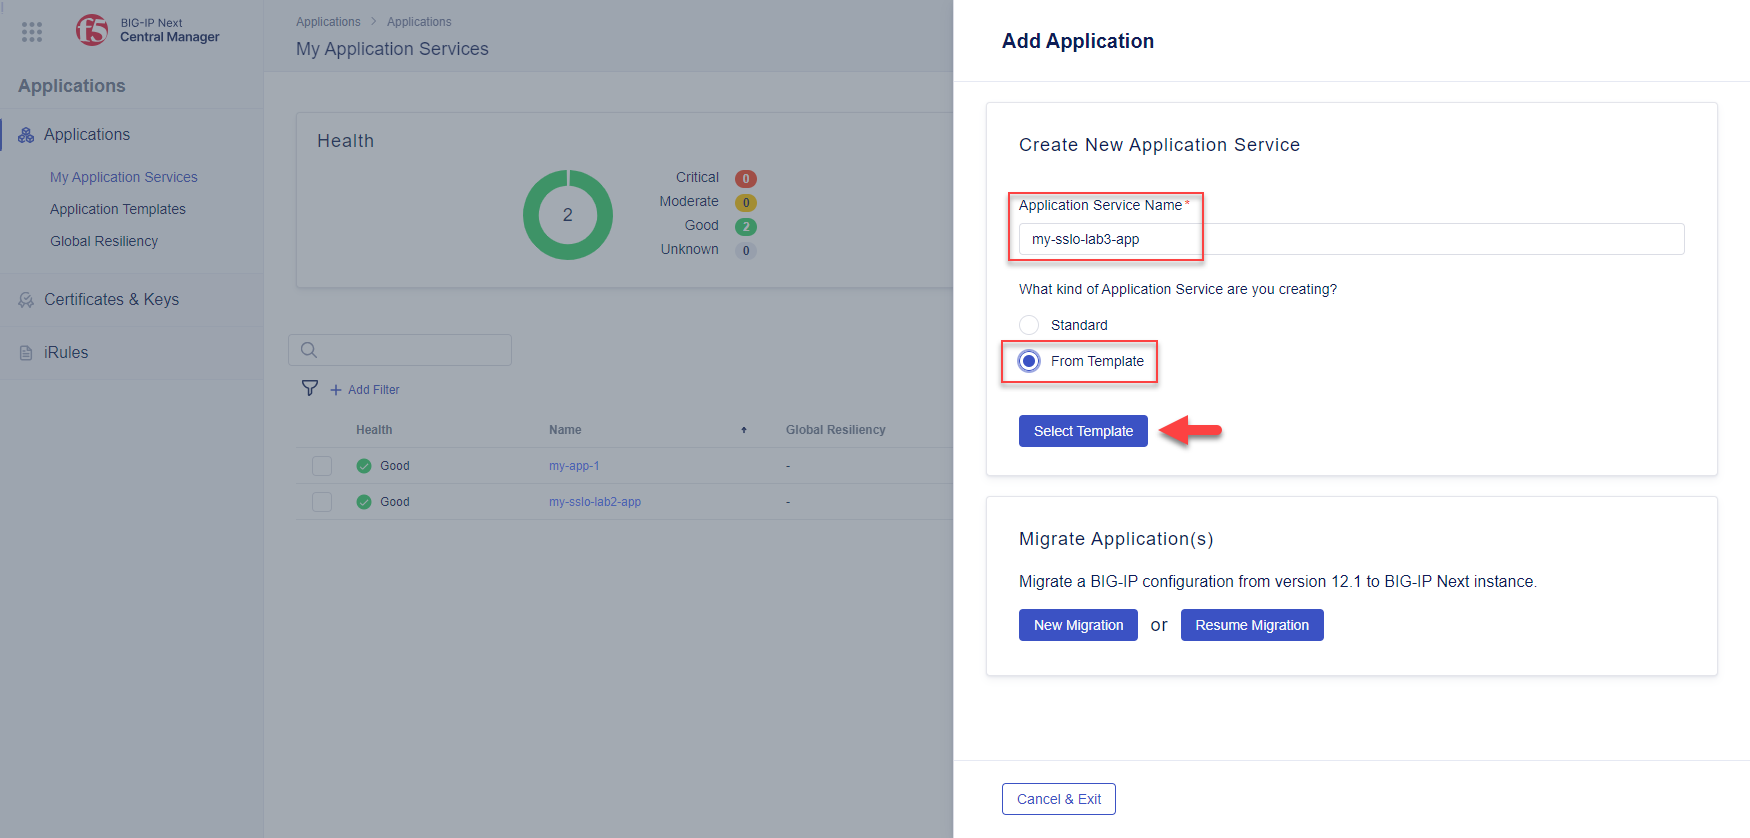
Click on Select Template and then select sslo-inbound-gateway-topology.
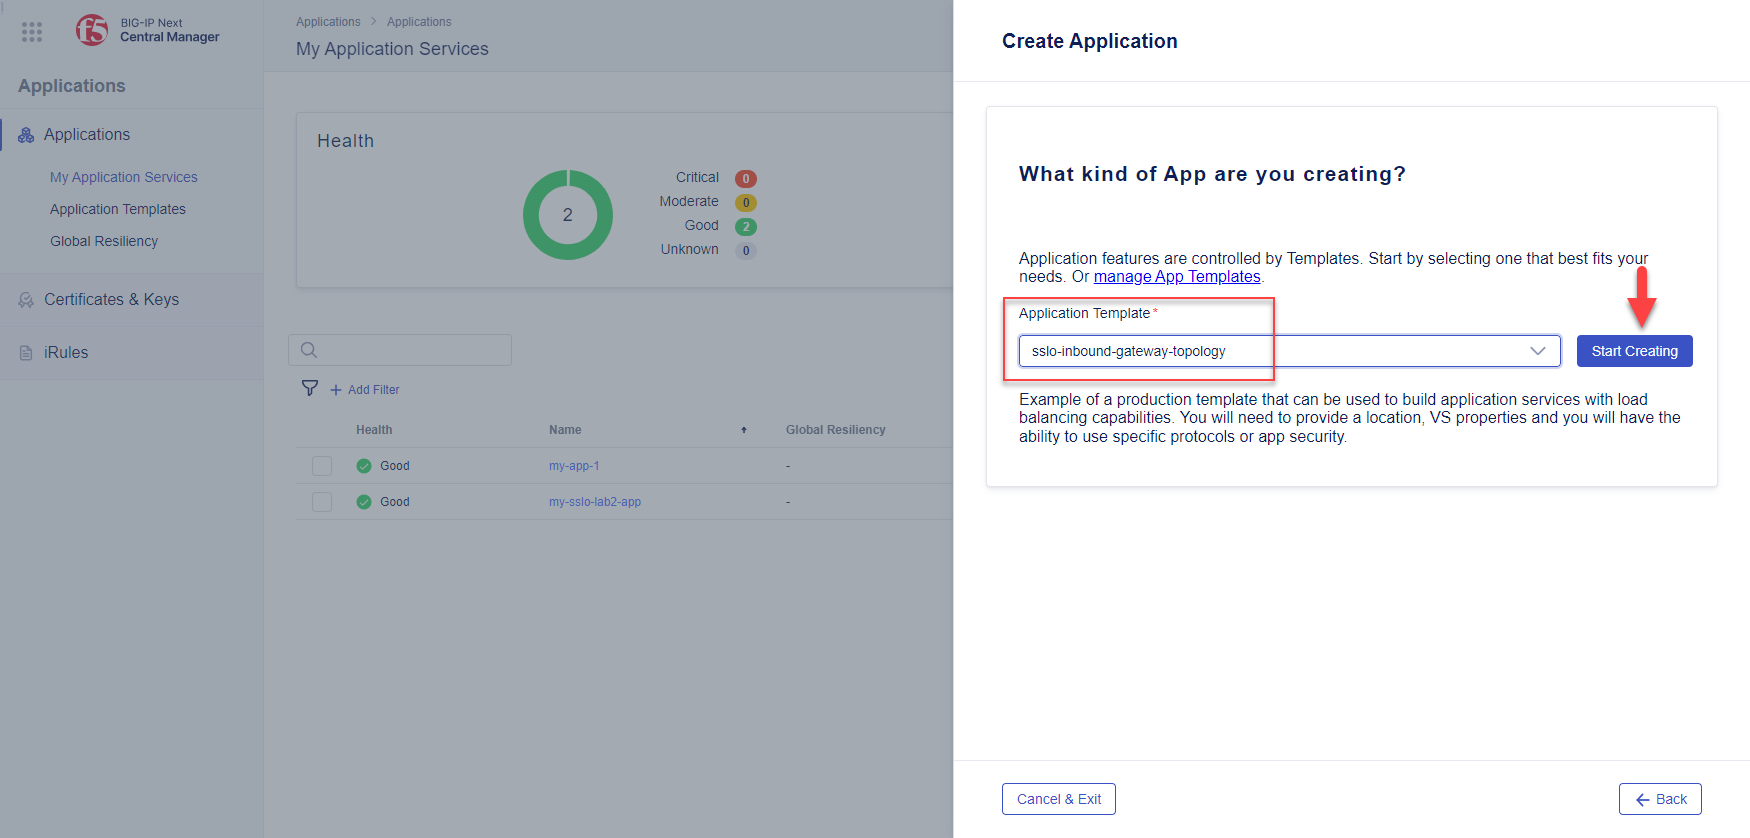
Click on the Start Creating button to open the Application Service Properties panel.
Enter
My SSLO inbound gateway applicationin the Description field.Click Start Creating to reveal the Virtual Server configuration options.
In the Virtual Servers box, enter
my-inbound-gwfor the name of your new application and leave the Virtual Port set to0.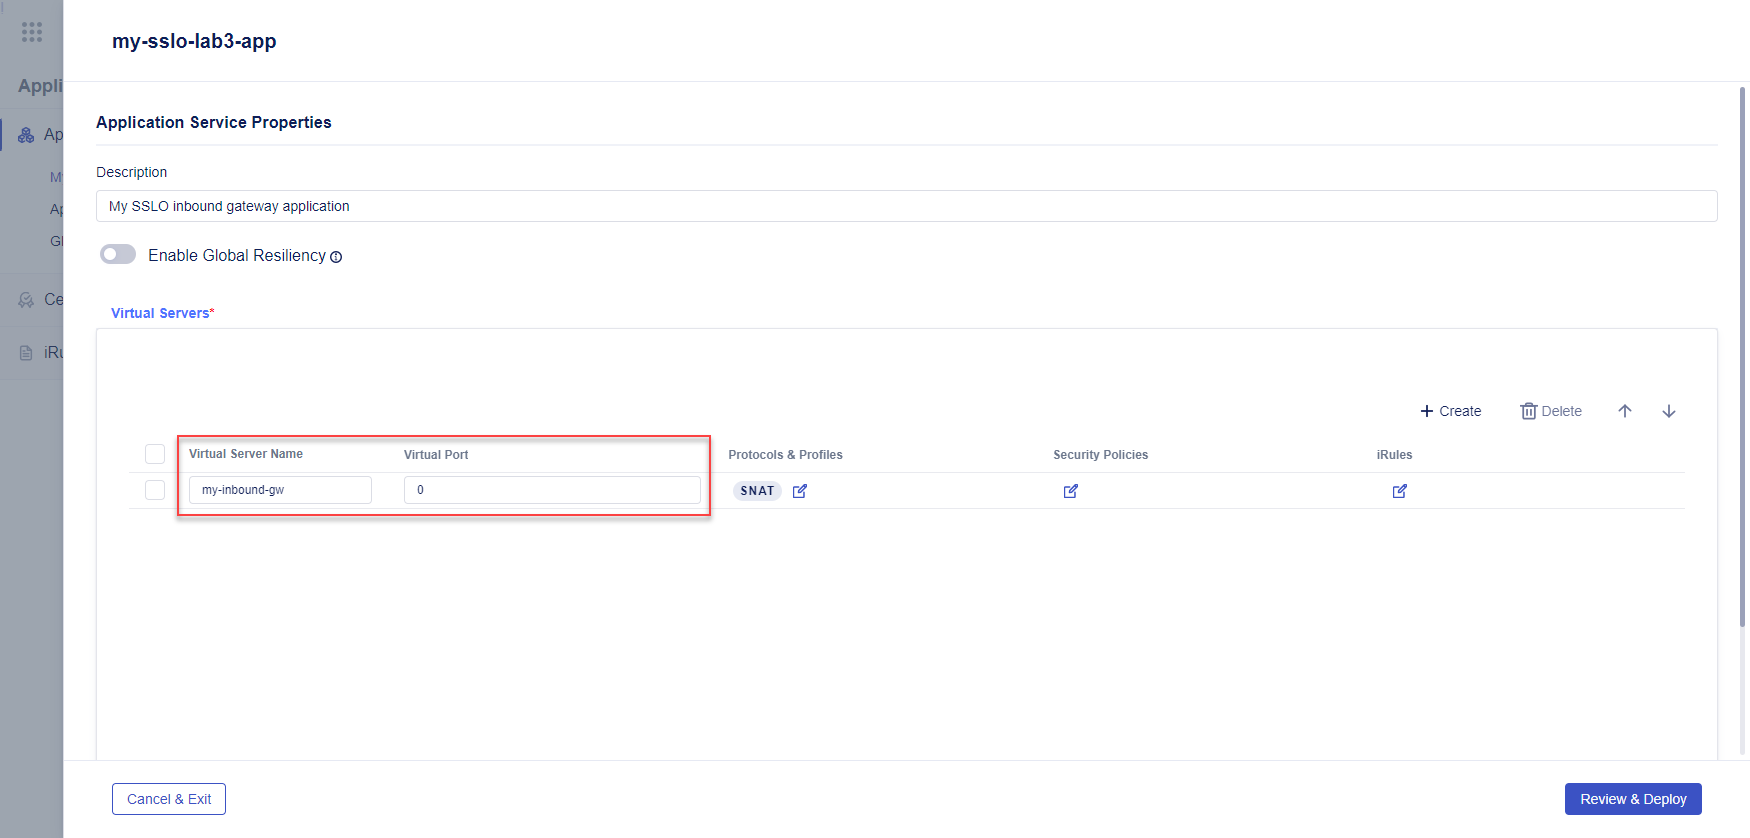
Important
No Pool is configurable for an Inbound Gateway Mode deployment.
In the Protocols & Profiles field, click on the edit icon to open the settings panel.
Enable (toggle on) the Enable HTTPS (Client-Side TLS) option to show additional settings.
Click on the Add button to open the configuration panel.
In the Add Client-Side TLS panel, enter
wildcard.f5labs.comas the nameSelect wildcard.f5labs.com in the RSA certificate dropdown list box. This certificate was pre-installed in your lab environment.
Click on the Save button to close the panel.
Scroll down to see the other Protocol & Profiles options.
Enable (toggle on) the Enable Server-side TLS option.
Ensure that the Enable SNAT and Enable Auto SNAT options are enabled (default).
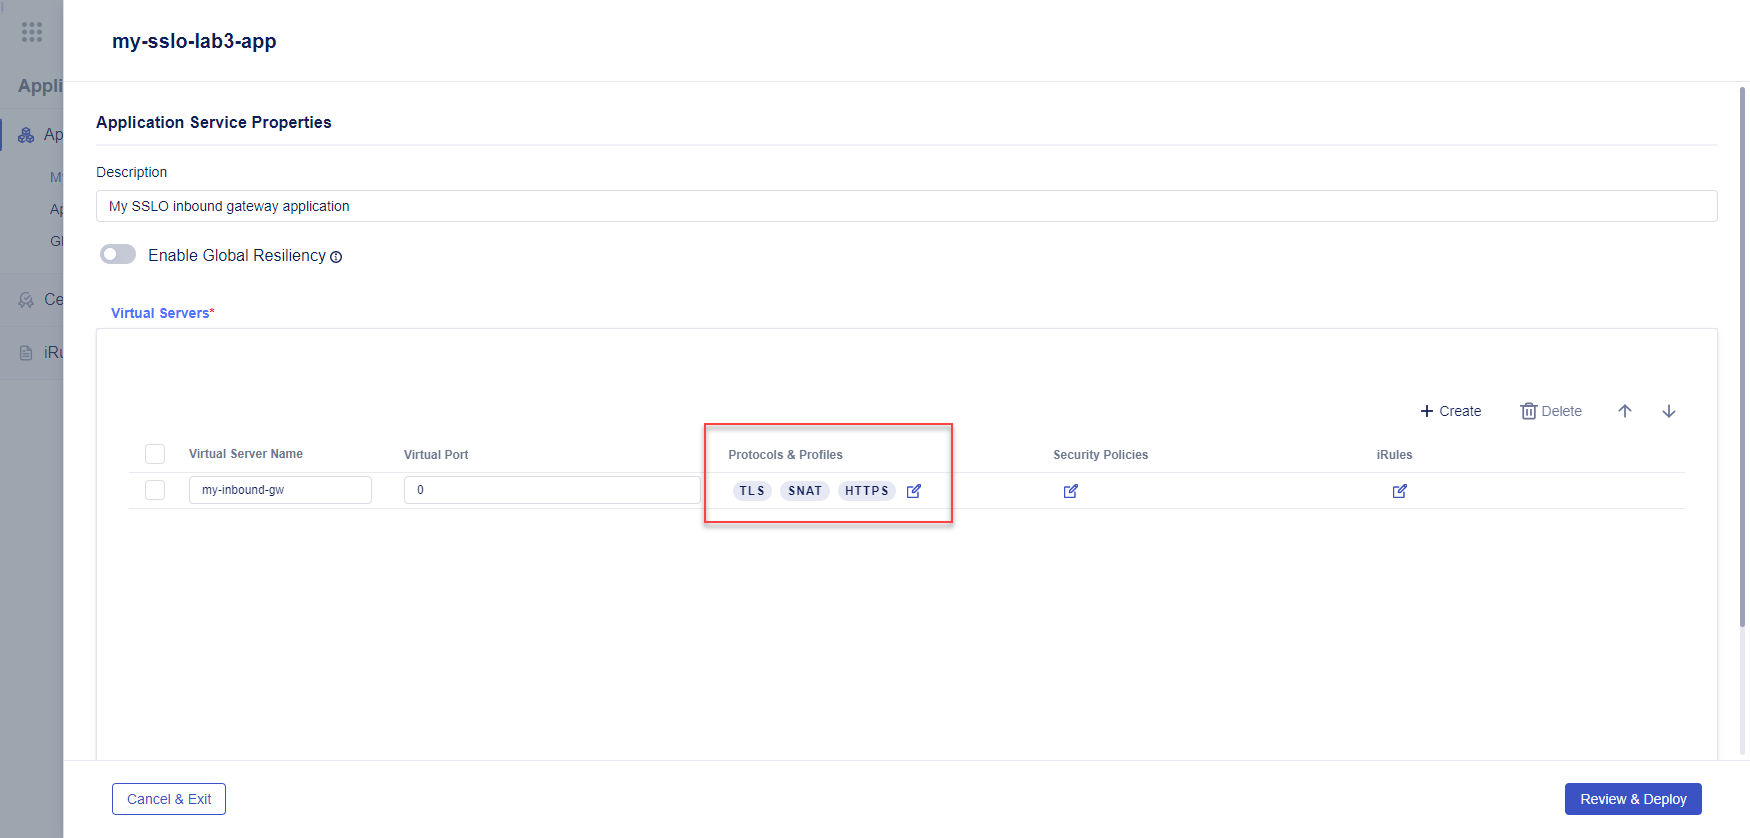
Click on the Save button to the close the Protocols & Profiles panel.
Notice that the TLS and HTTPS labels were added.
In the Security Policies column, click the edit icon to open the Security Profiles panel.
Enable (toggle on) the Use an SSL Orchestrator Policy option and then select your SSL Orchestrator traffic policy.
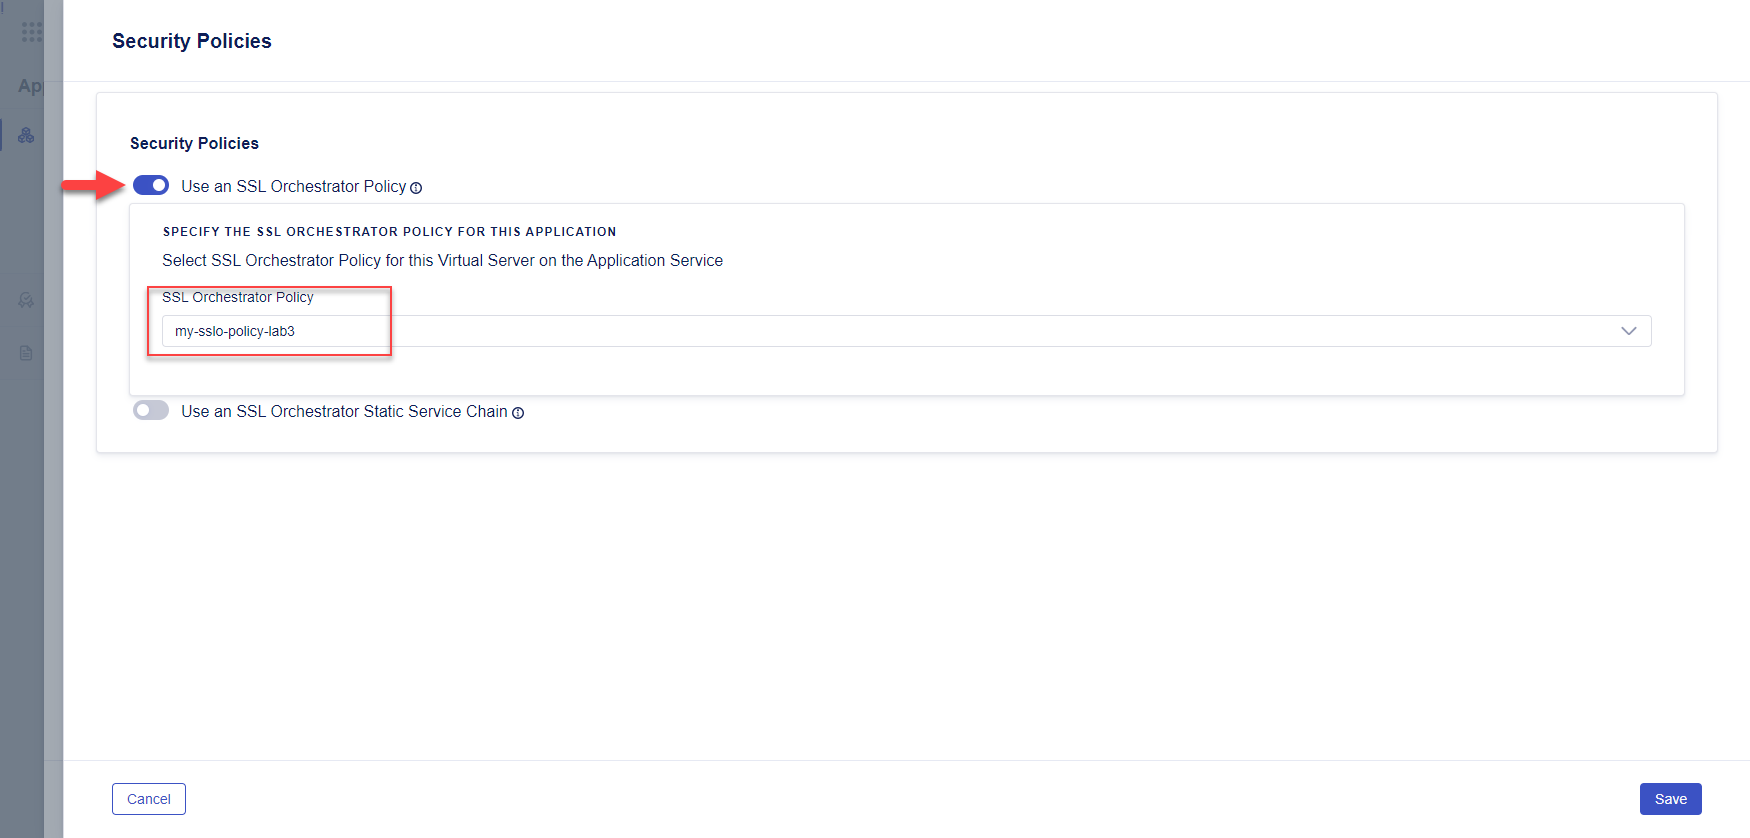
Click Save to close the panel.
Notice that the SSLO label now shows in the Security Policies column.
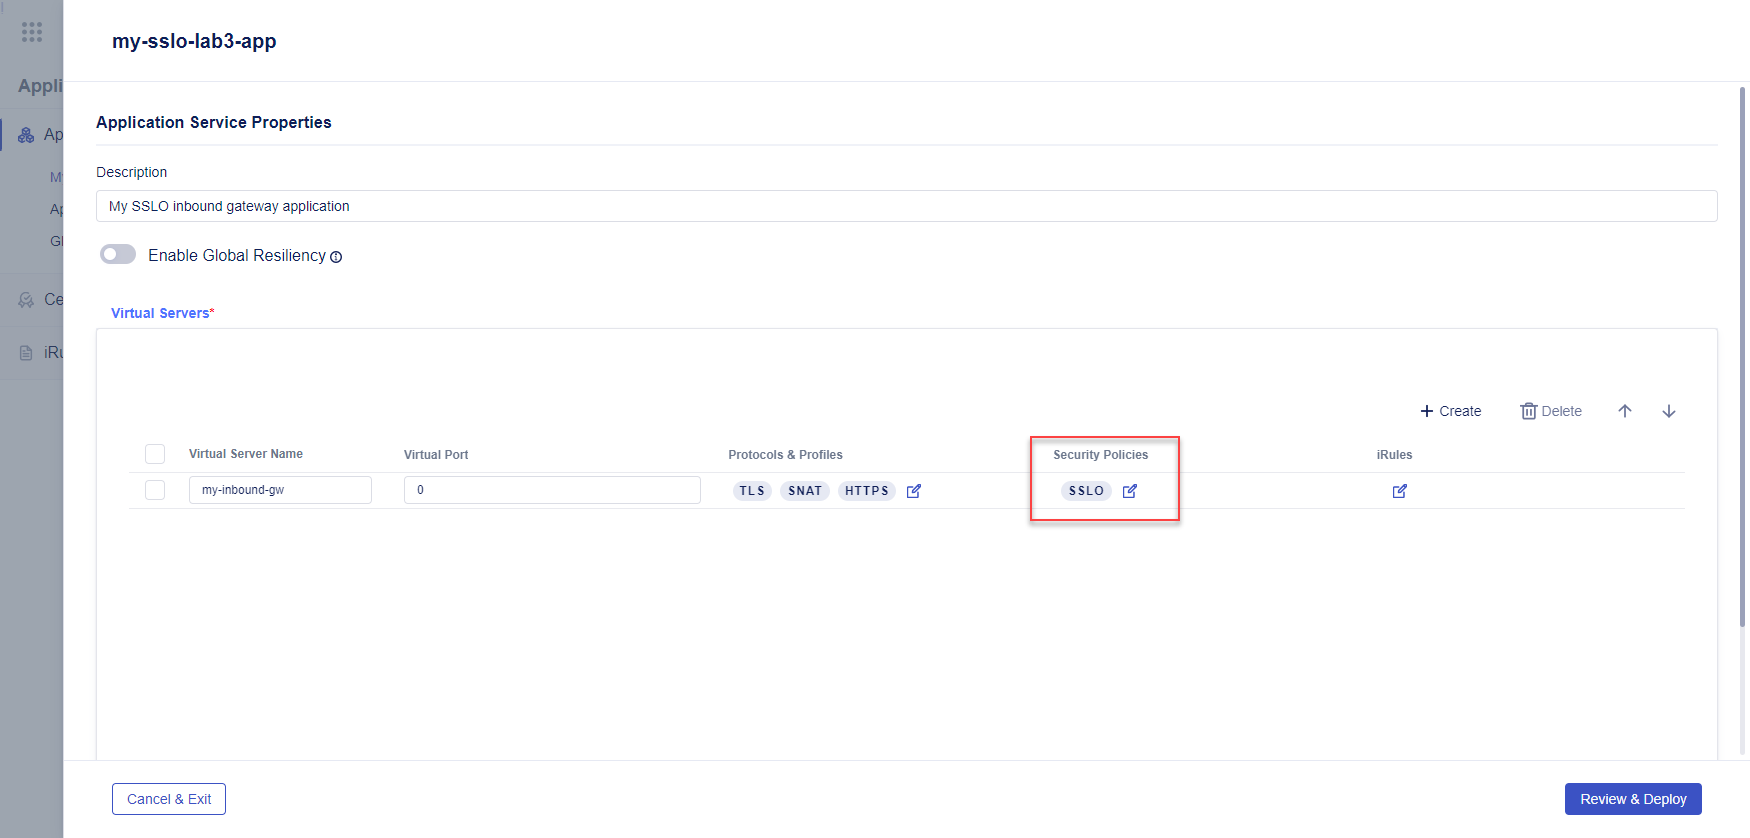
At the bottom right corner, click on the Review & Deploy button to open the Deploy panel.
Click on the Start Adding button.
Select the instance named bigip-next.f5labs.com.
Click on the + Add to List button.
In the Virtual Address field, enter
0.0.0.0/0.Important
This will create a listener for all incoming addresses.
Also note that the Pool field is empty.
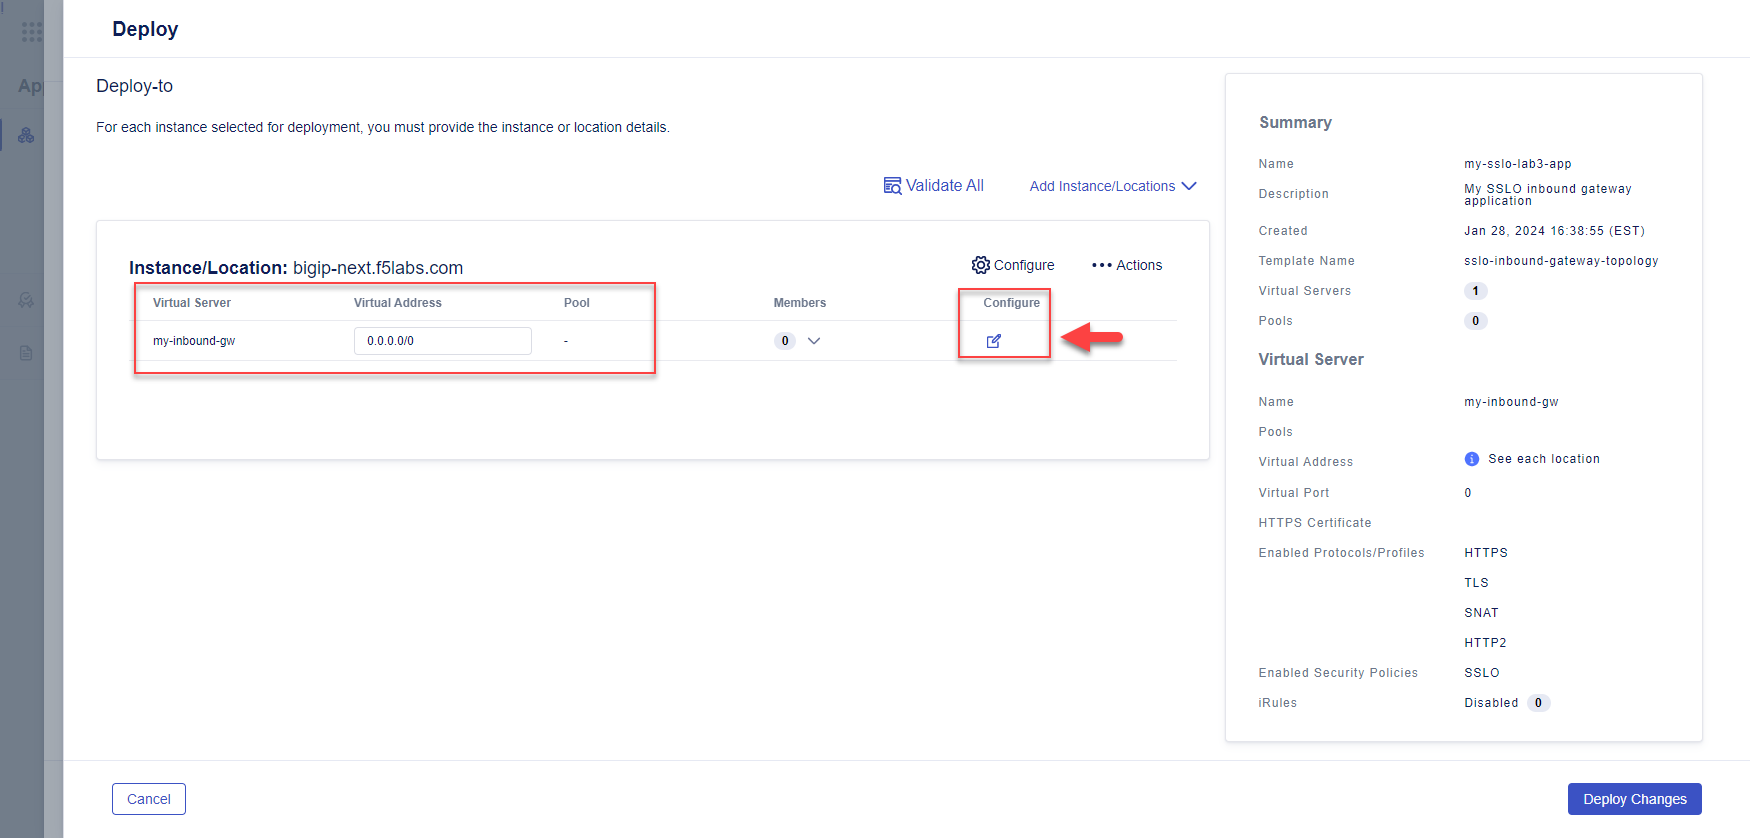
In the Configure column, click the edit icon to open a panel with additional settings.
Enable (toggle on) the Enable VLANs to listen on option
Select clientside.
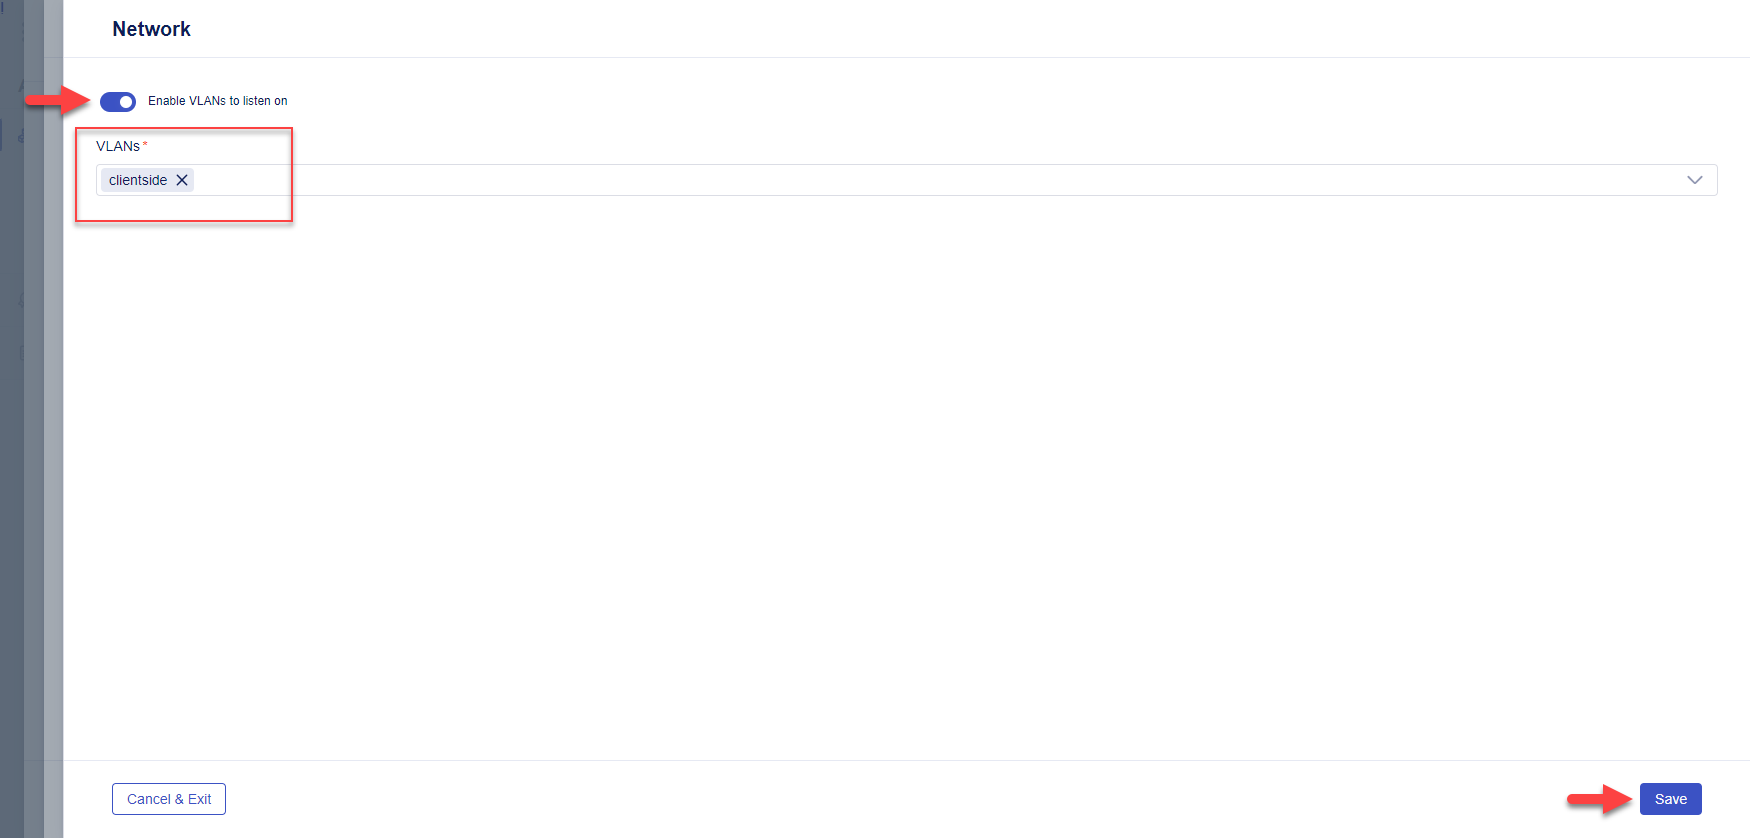
Click on the Save button to return to the Deploy screen.
Click on the Validate All button to validate the pending configuration changes.
If validation is successful, you will see Validated.
[Optional] Click on the View Results link to view the configuration and then click Exit to close the results panel.
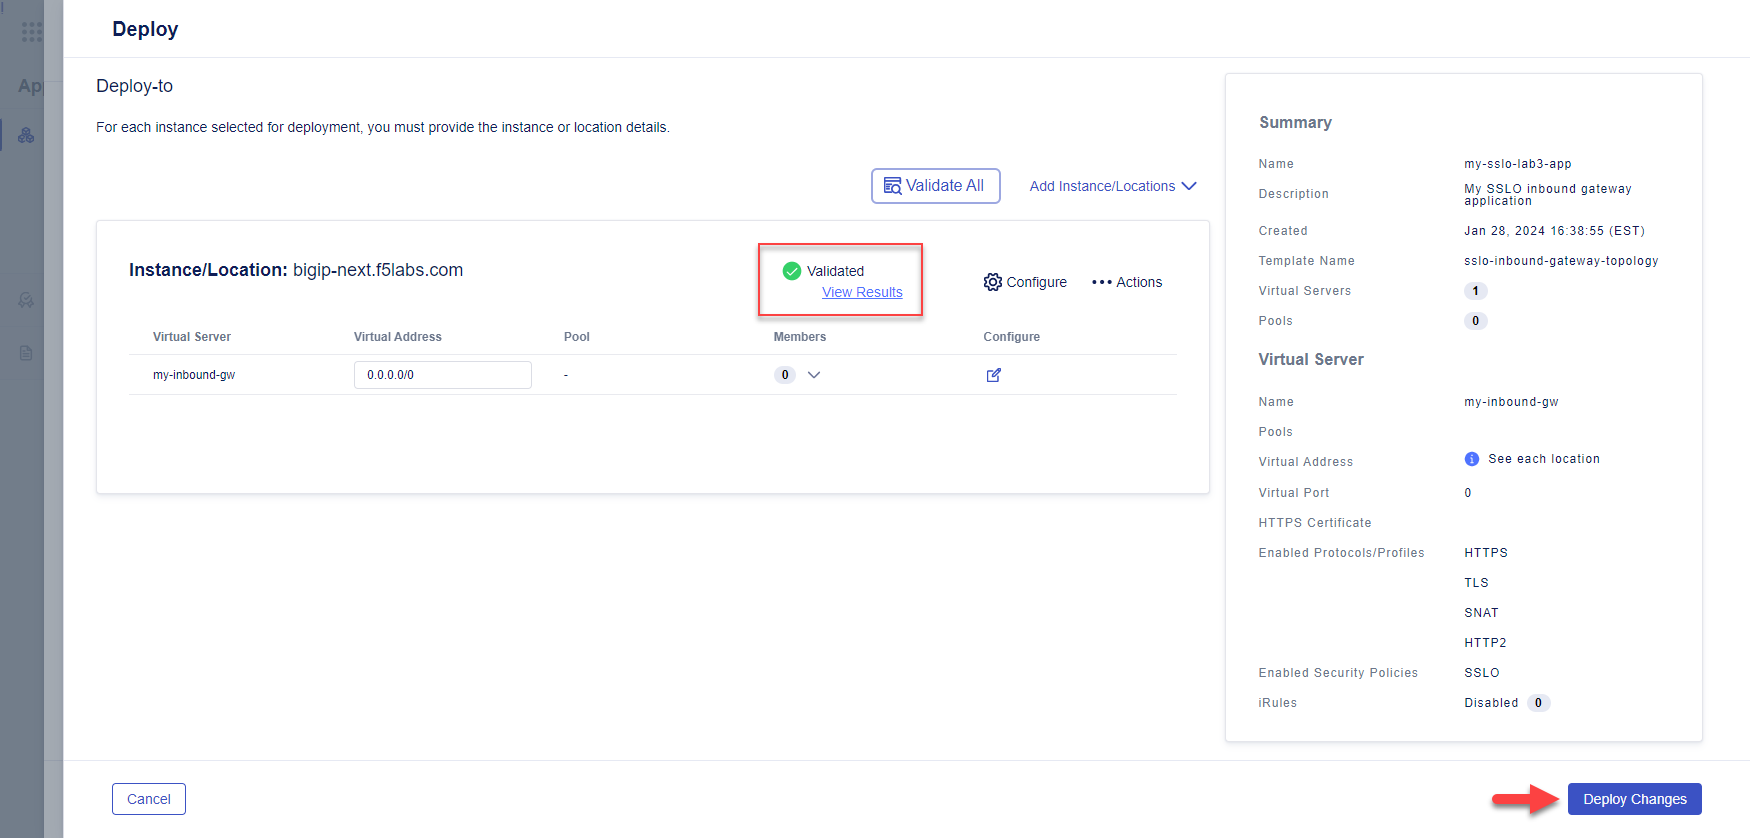
Click on the Deploy Changes button. Then, click on the Yes, Deploy button to send the application configuration to the BIG-IP Next instance.
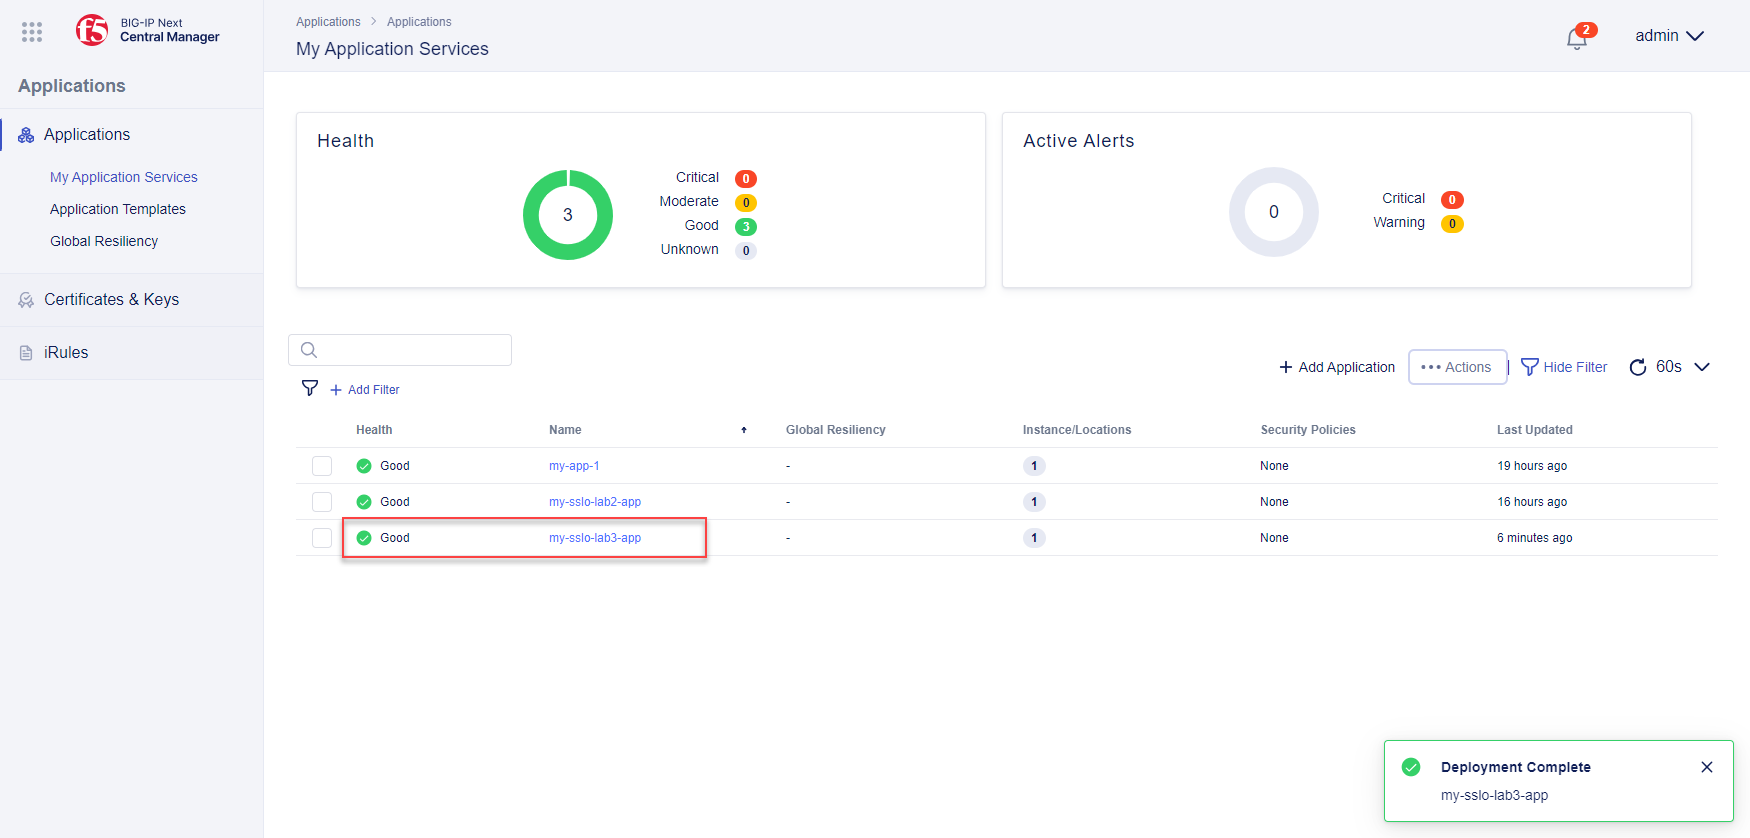
When the deployment has completed, the Application Services dashboard will show the status of the new application.