Threat Stack Labs > Threat Stack 201: Getting started with Cloud Workload Protection Source | Edit on
Threat Stack Containerized Agent
Deploying the Threat Stack Agent
The Threat Stack Container Agent provides visibility into file, network, and process data from within pod or container orchestrated using Kubernetes, Docker, and others.
Container Distributions
Prerequisites
- Access to the Threat Stack Console
- Access to host either via CLI or RDP on a supported Operating System architecture(ARM or x86 architecture)
- Access to a supported browser (Chrome, Edge, Safari, and Firefox)
Note
Container enabled environments have the following rulesets by default.
- Base Rule Set
- Docker Rule Set
- Kubernetes Rule Set
Attention
Challenge 8 – Install the Threat Stack Container Agent
Install using Helm
Helm is a package manager on top of Kubernetes. It facilitates installation, upgrades, and manages dependencies for the services you install in Kubernetes.
Prerequisites
- Helm installed
- Configured Values file
Warning
Use only the command provided to install the Threat Stack Container Agent. Using UDF, establish a Terminal session with the host labelled, “K8S”.
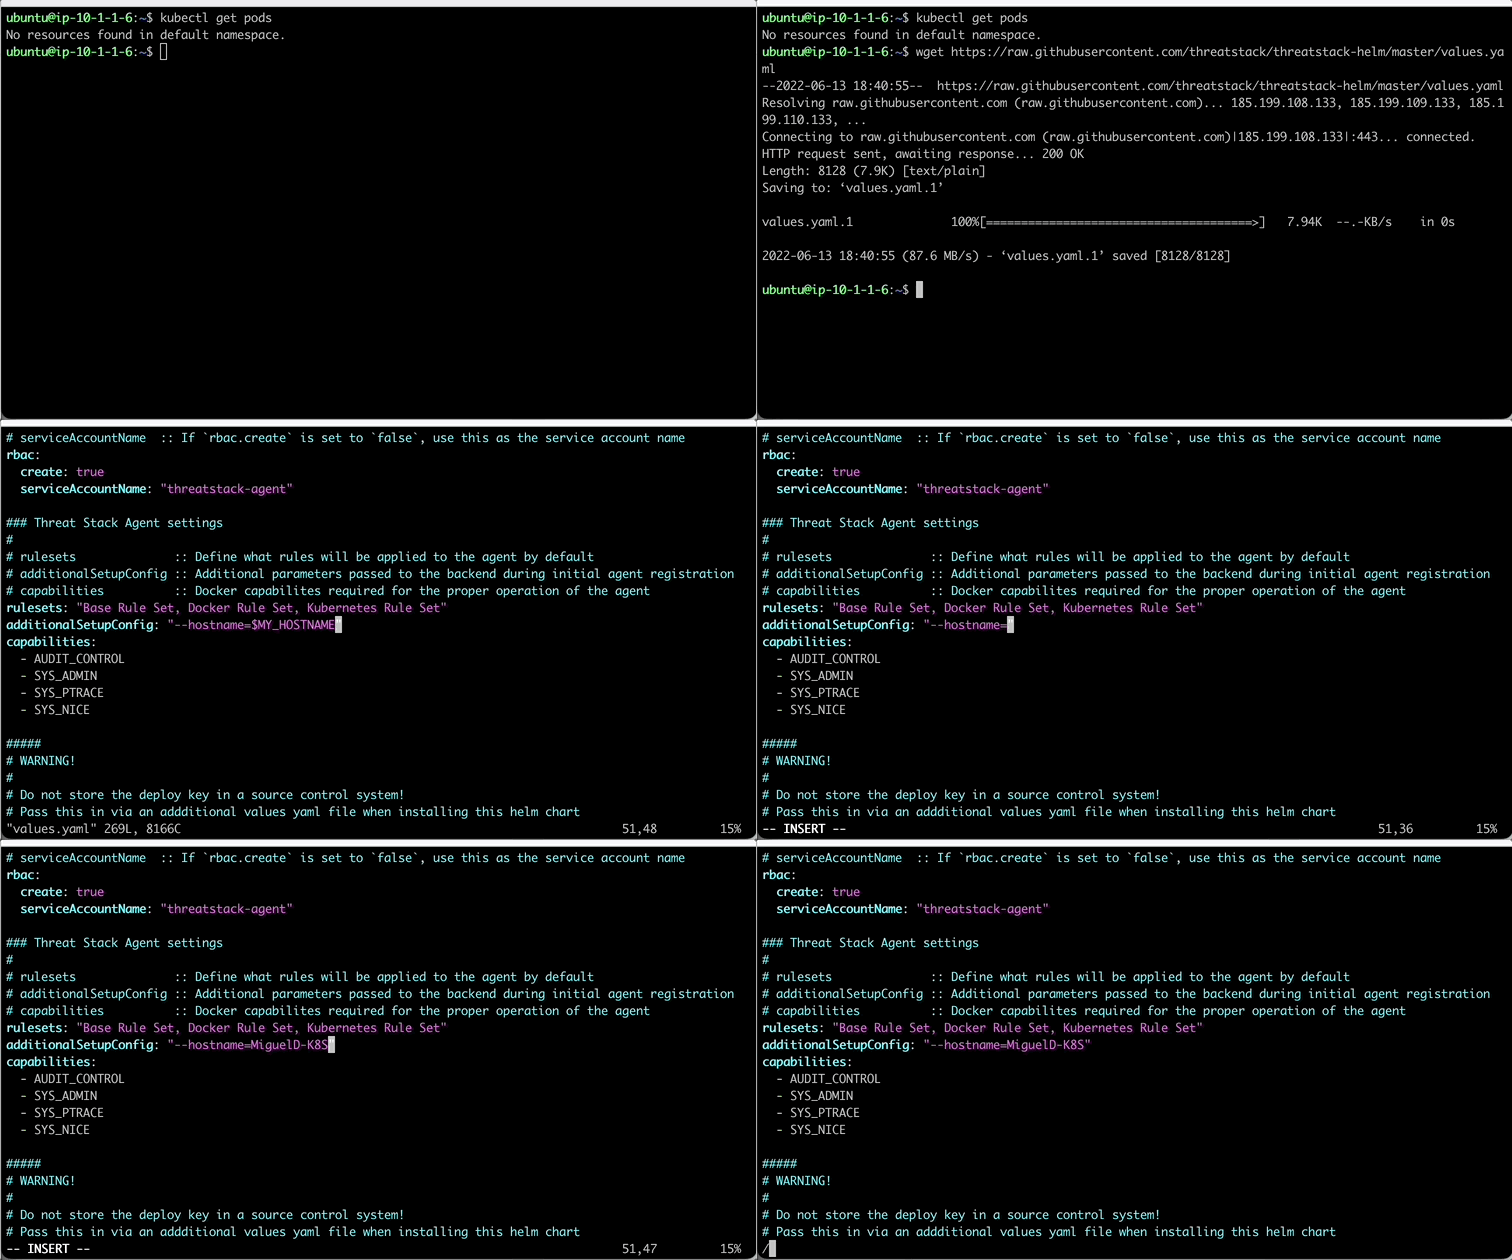
Let’s begin by downloading the values.yaml file used to configure the Helm Chart.

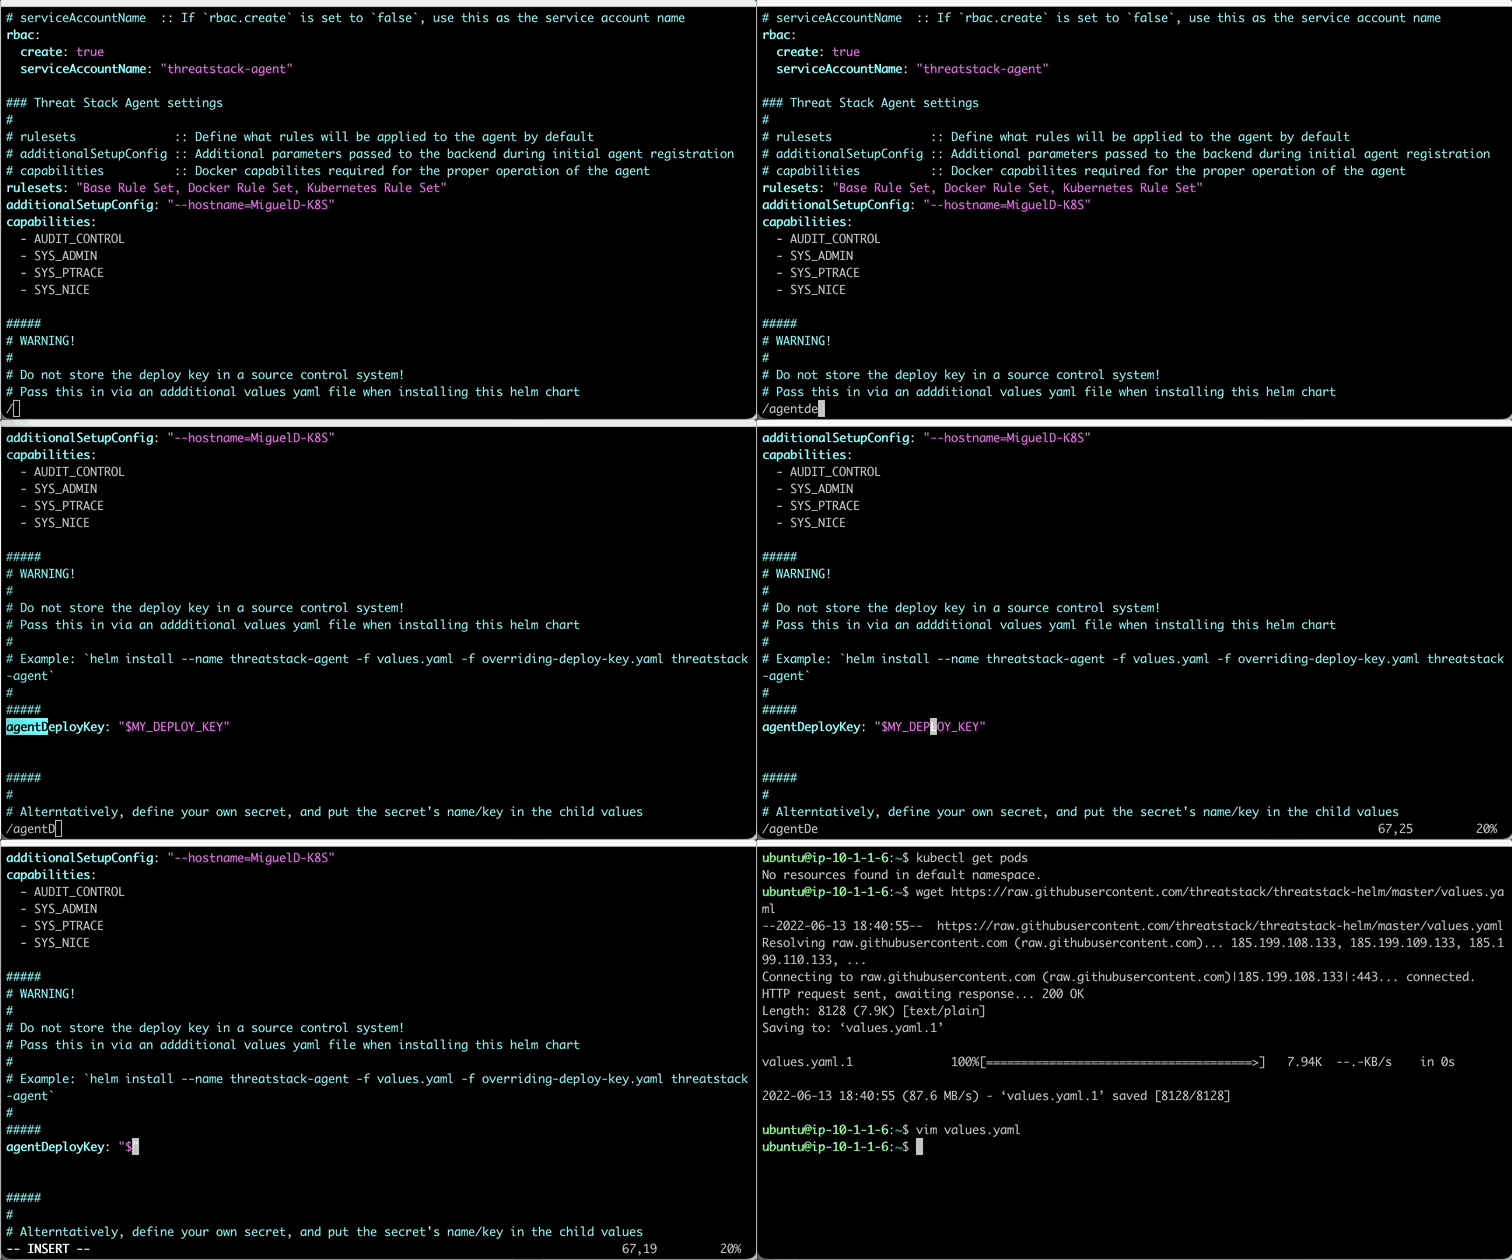
In the values.yaml, lets update a couple things. First, the hostname on line 51 so lab participants can track activity easily in the lab. Next, lets update the agentDeployKey on line 67 with your previously used key.
Once you edit the necessary values, then exit by entering the following on vim to write and force quit.

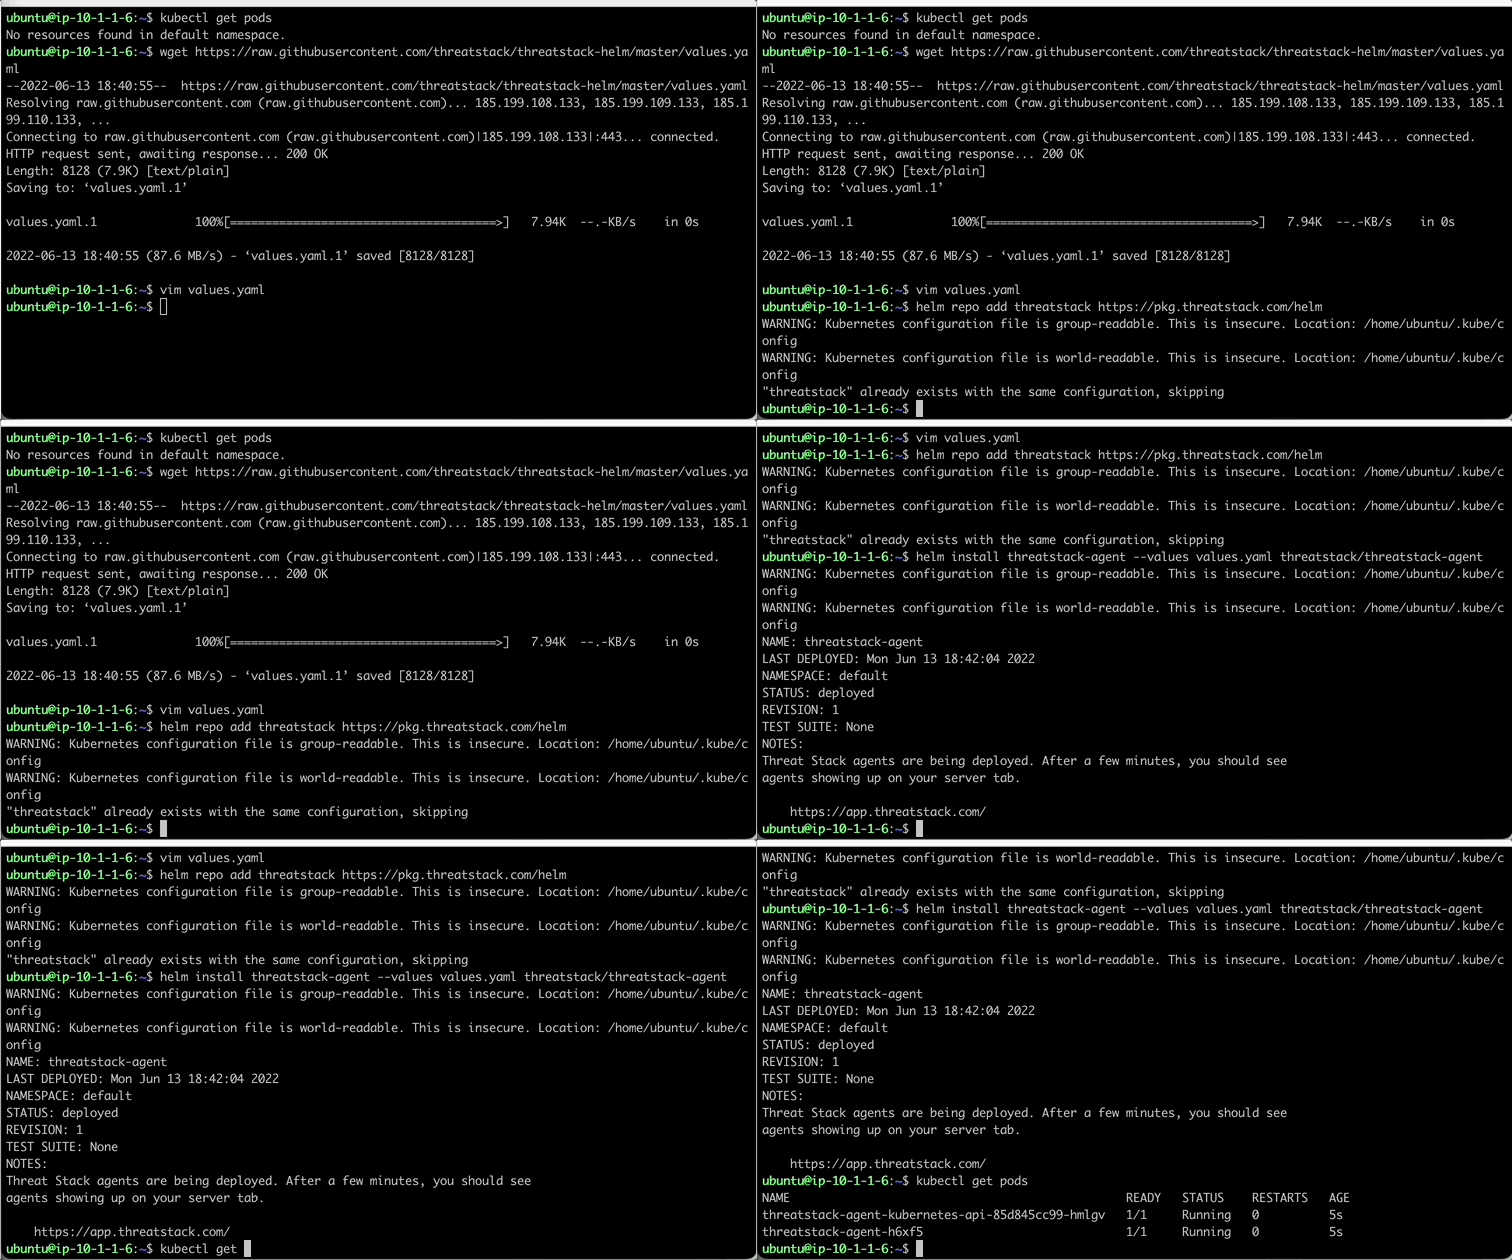
Now that we have our values.yaml file updated, lets deploy the Threat Stack Container Agent using Helm. We start by first adding the repo following a helm install to deploy Threat Stack to the K8 Cluster.
Add the Helm Repo

Run Helm Install
K8 Error
Connection Refused
If you are experiencing the following error
Execute the following command to reload the K8 config file.