Threat Stack Labs > Threat Stack 201: Getting started with Cloud Workload Protection Source | Edit on
Threat Stack Linux Agent
Deploying the Threat Stack Linux Agent
The Threat Stack host-based Agent uses the Linux Audit Framework to collect file, network, and process data.
Install the Threat Stack Agent
Prerequisites
- Access to the Threat Stack Console
- Access to host either via CLI or RDP on a supported Operating System architecture(ARM or x86 architecture)
- Access to a supported browser (Chrome, Edge, Safari, and Firefox)
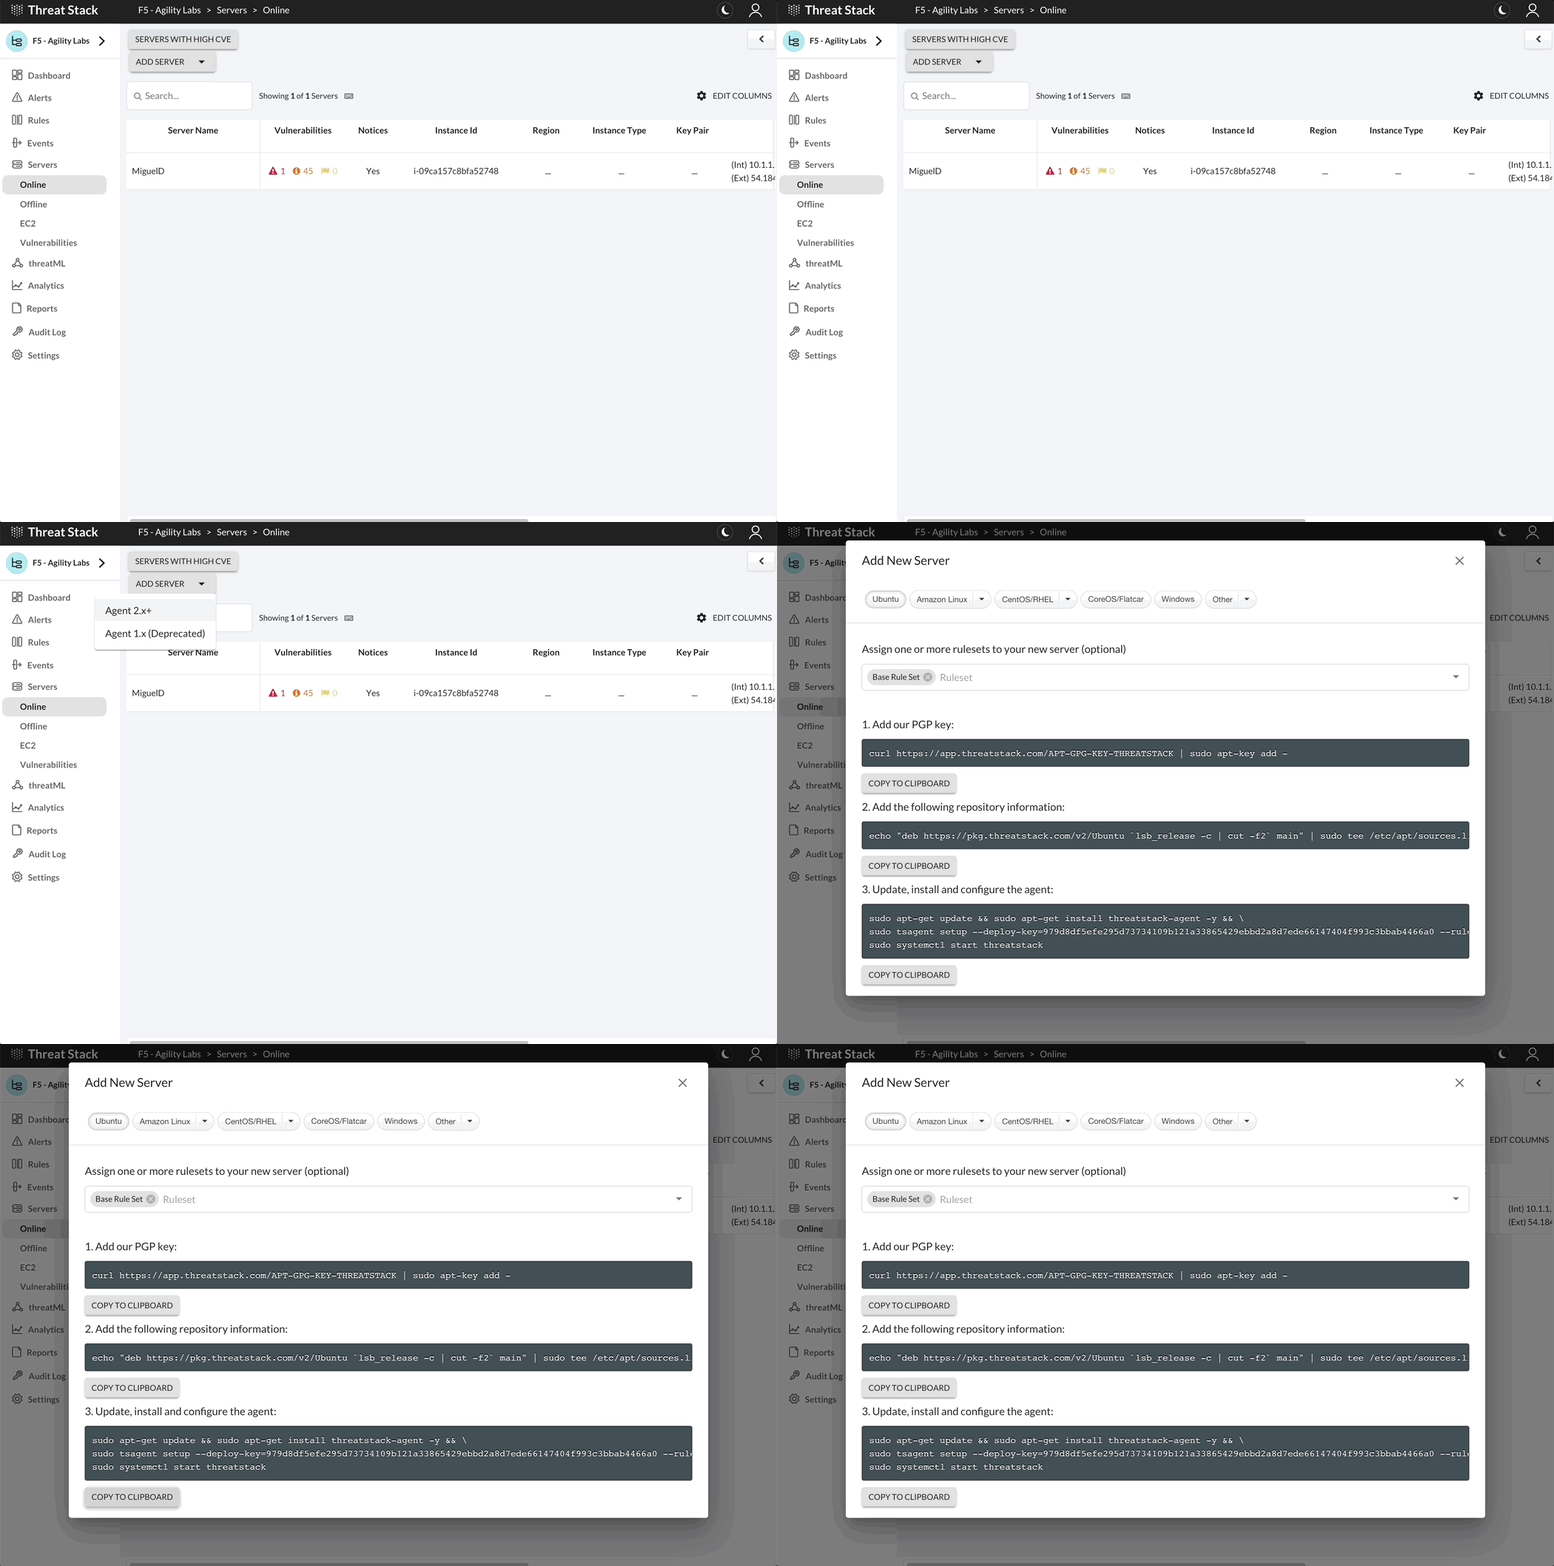
Threat Stack automatically walks customers through an Agent install on the Servers page. Log into Threat Stack > Click Servers.

Linux Distributions
Select + Add New Server and the Command Builder dialog will display. Select Agent 2.X.X to proceed to the set of instructions below, specific to your Linux distribution.
Attention
Challenge 6 – Install the Threat Stack Linux Agent

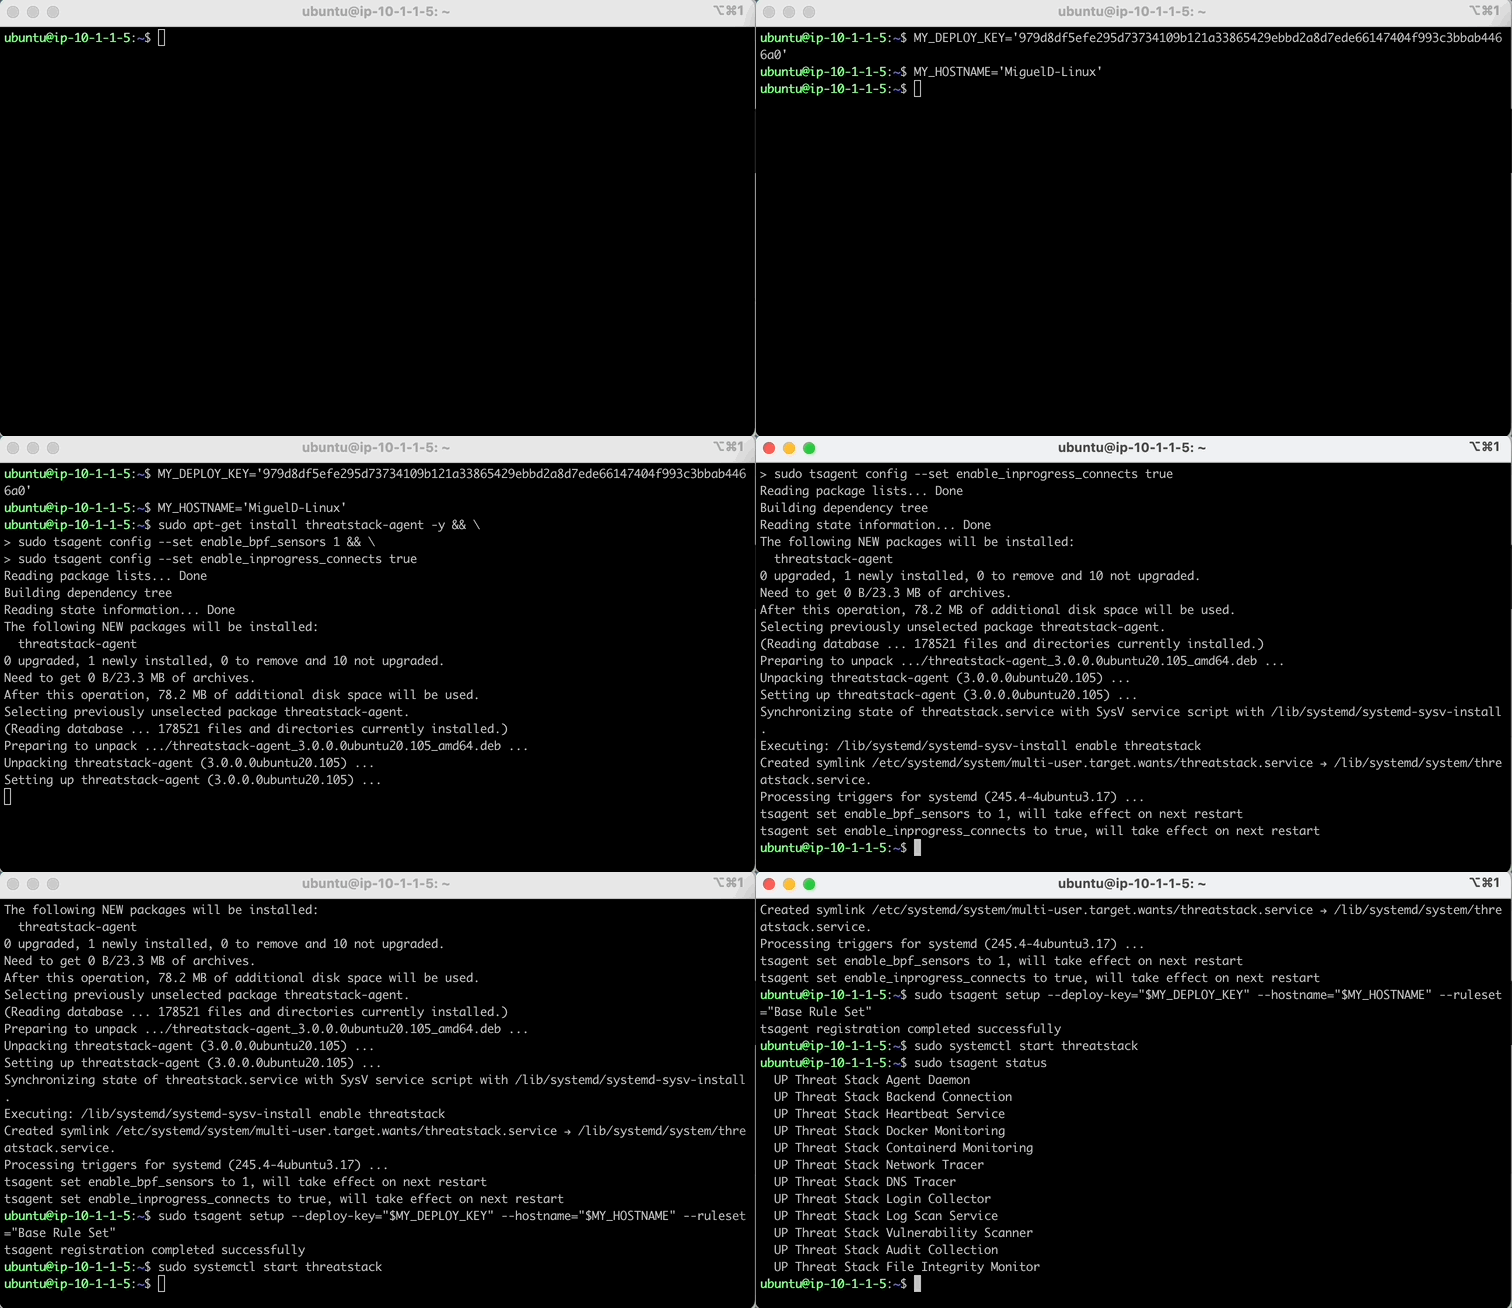
Let’s begin by configuring some environmental variables for a streamlined lab. Replace the StudentN-Linux with your information.
Warning
Use only the command provided to install the Threat Stack Linux Agent. Using UDF, establish a Terminal session with the host labelled, “Linux”
Then enter:
Then enter:
Note
You can access your ‘deployment-key’ from the server UI. Deployment keys are unique per Threat Stack Organization.