F5 Web Application Firewall Solutions > WAF 302 - Enabling API Protection with APM and AWAF > Module 1 - API Protection Using APM oAuth Source | Edit on
Lab 1.2 - Protecting API Endpoints
Deploying ASM Guided Configuration
- Open Google Chrome > in the bookmark click on F5 BIG-IP.
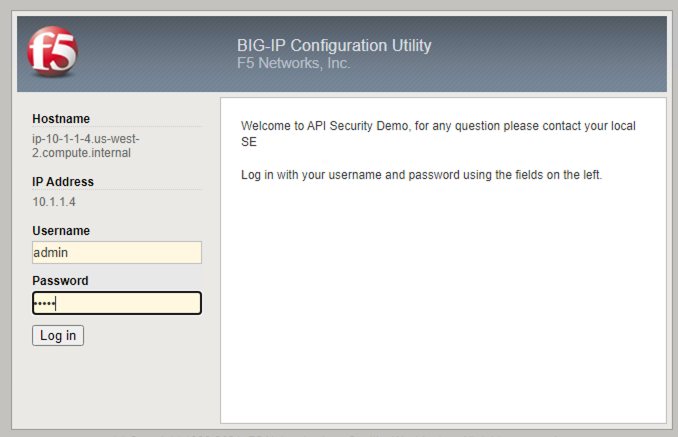
- Log in with username/password: admin/admin
- Click on Security > Guided Configuration

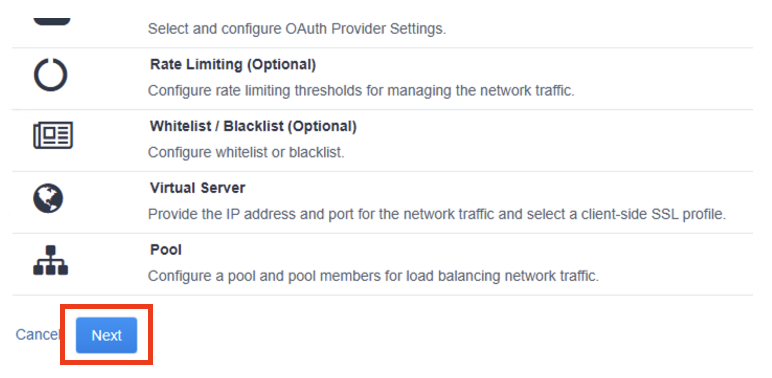
- Click on API Security Protection > Click on REST API Security > Click Next

- In the API Protection Properties set the following properties
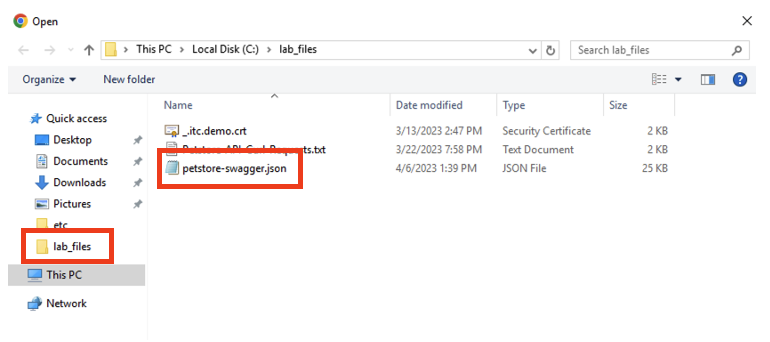
Configuration Name: petstore-api | Import OpenAPI Spec File click on Choose File in the File Explore window click on petstore-swagger.json file > Click Open
Note
If you do not see the JSON file click on lab_files folder on the left pane of the explore window, this should open the lab_files directory.
Check Use Rate Limiting box Check OAuth 2.0 box DNS Resolver: Select DNS_pub from the drop-down list
The result should be like the following, Click Save and Next

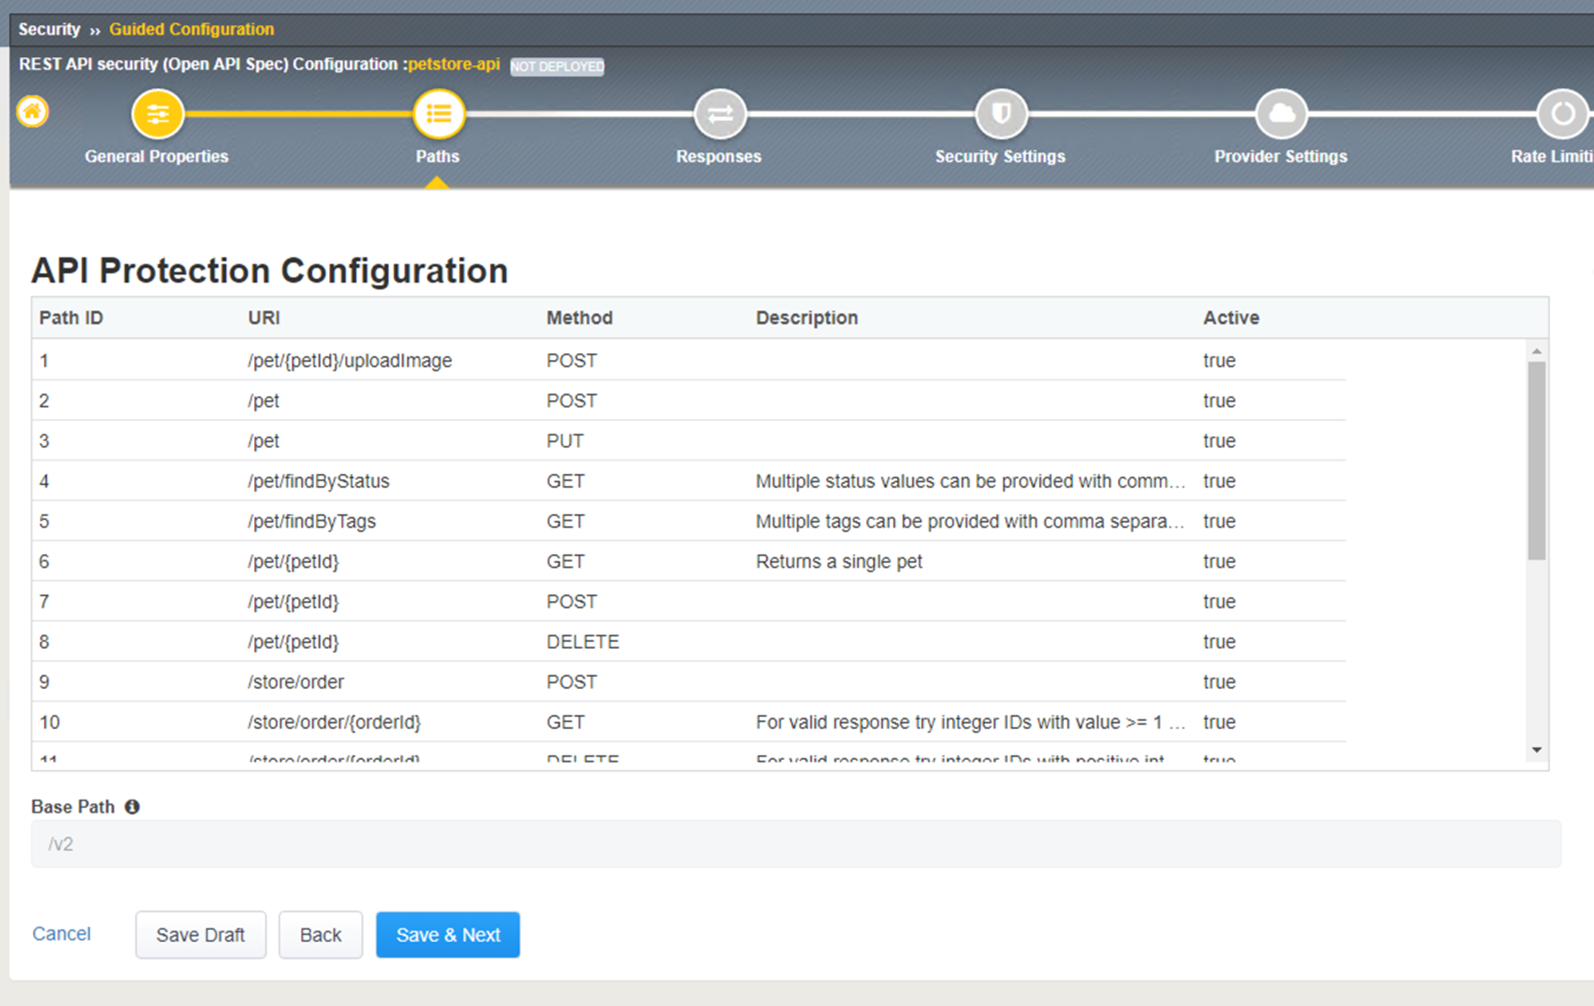
- API Protection Configuration step shows the imported paths and base path properties imported from the swagger file you imported in the previous step.
Click Save and Next
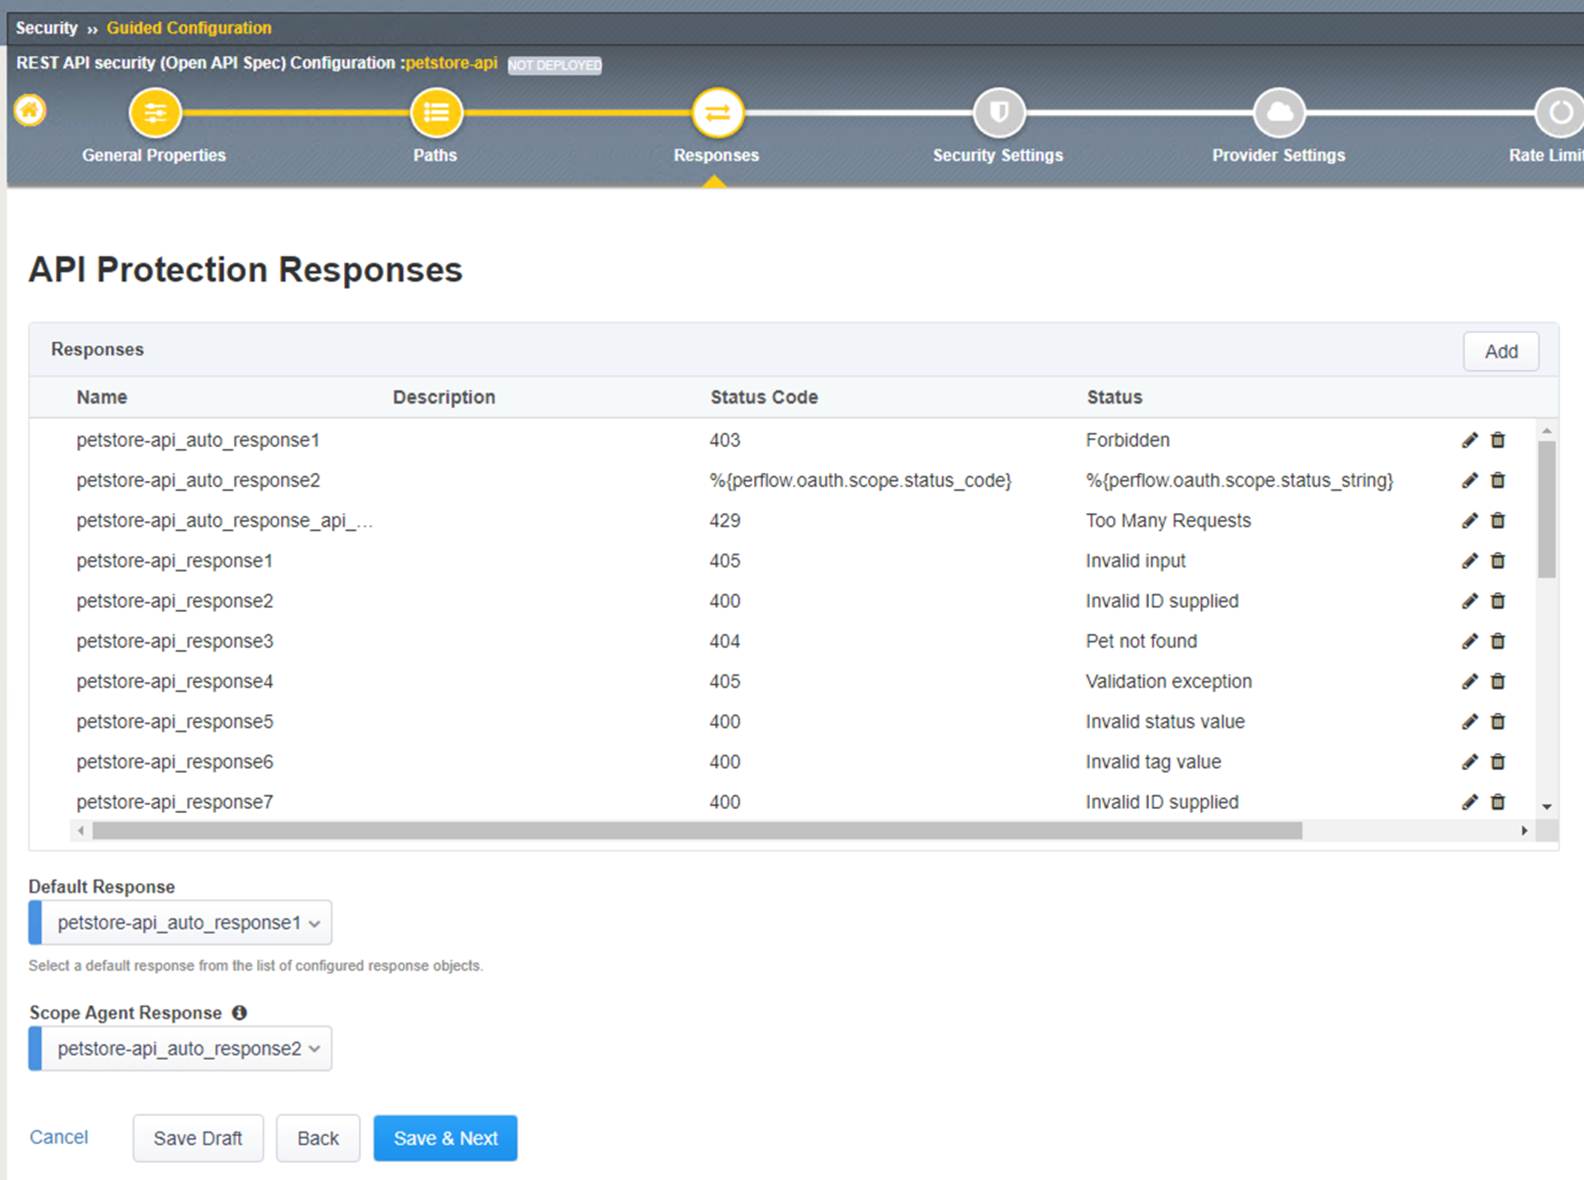
- API Protection Responses shows the response code that will be used for Access Control, and Rate Limiting.
Click Save and Next
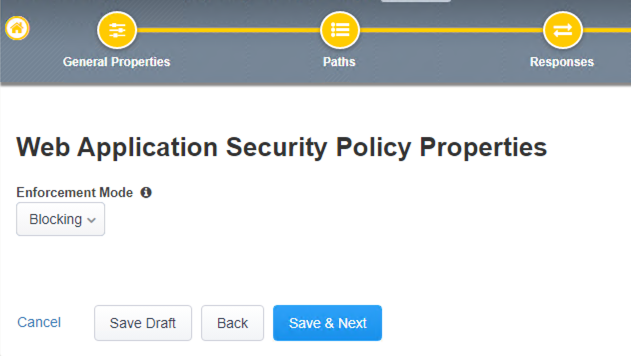
In the Web Application Security Policy Properties step sets F5 Application Security Manager Enforcement mode to either blocking or transparent mode.
Blocking enforcement mode, the system will start blocking either connection from attacking IP addresses or requests to attacked URLs.
Transparent enforcement mode, the system does not block the request but instead reviews and logs the violation event.
In the lab we will leave the setting to Blocking > Click Save and Next
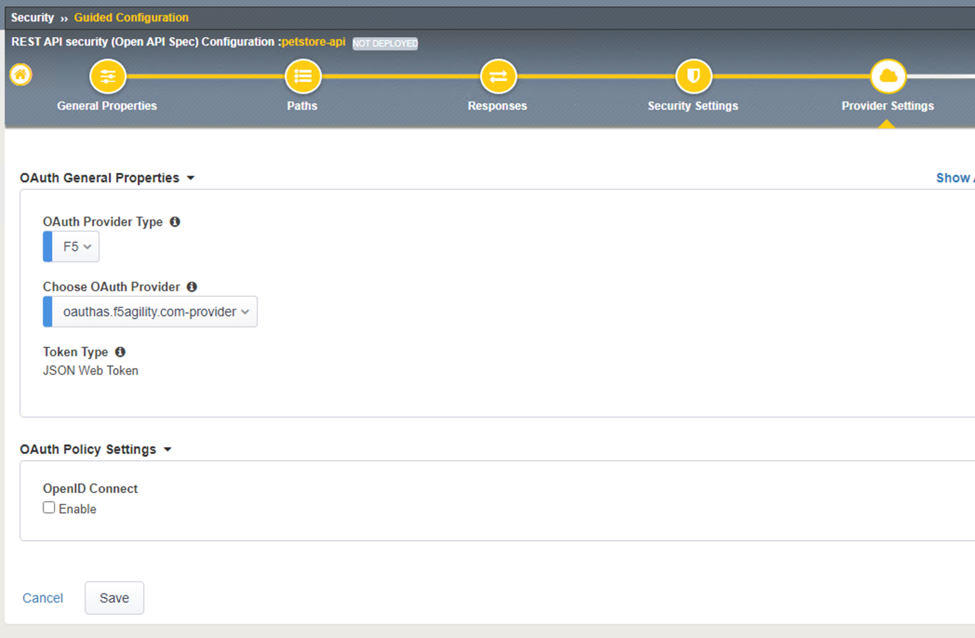
In the OAuth General Properties step, the setting allows for the BIG-IP to act as an OAuth provider to request a JSON Web Token also known as a JWT token from the Authorization Server.
Note
OpenID Connect is not used in this scenario, even though it can be used as a way to help identify attributes to use for rate limiting.
In this step please select the following:
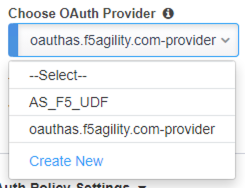
The result should look like the screen below, click Save
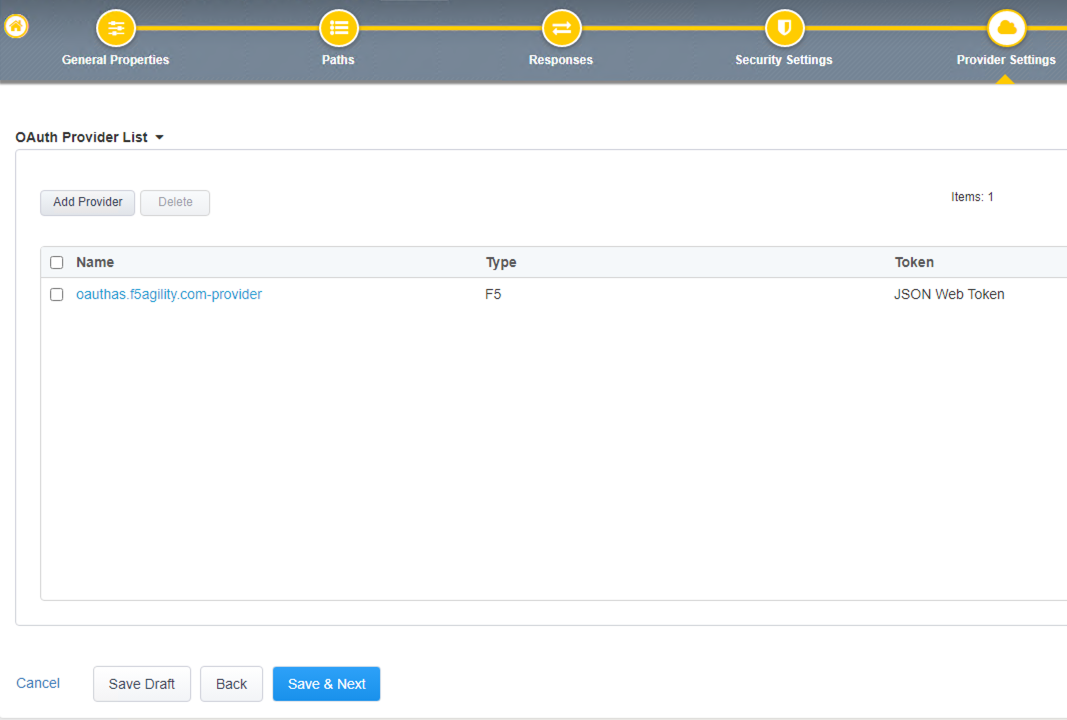
- In the OAuth Provider List screen confirmed the OAuth provider selected from the previous step is shown here, then click Save and Next
Note
The pre-configured provider allows for OAuth authorization for the user, using a LocalDB on the APM device. Access Tokens are issued from APM and included in the token are certain claims which we can use to determine the rate limiting, which are configured in Step 11.
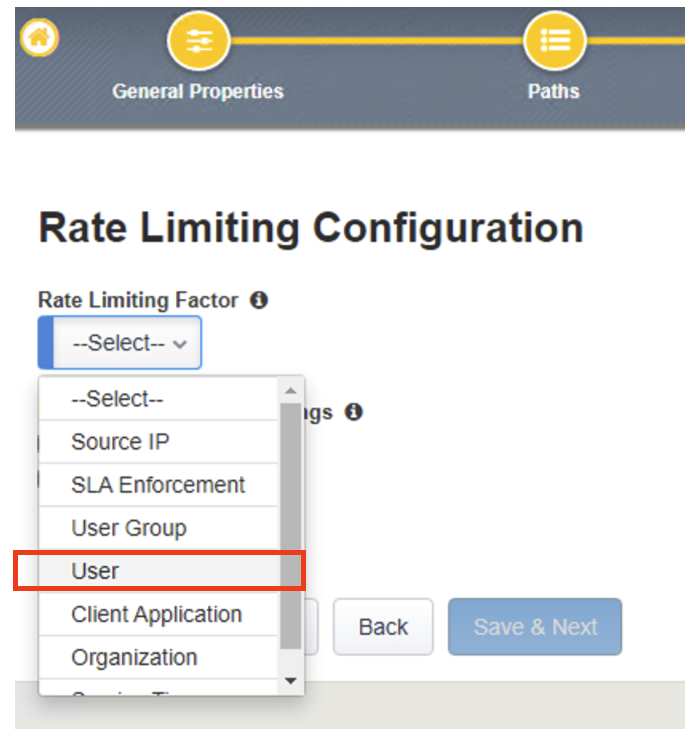
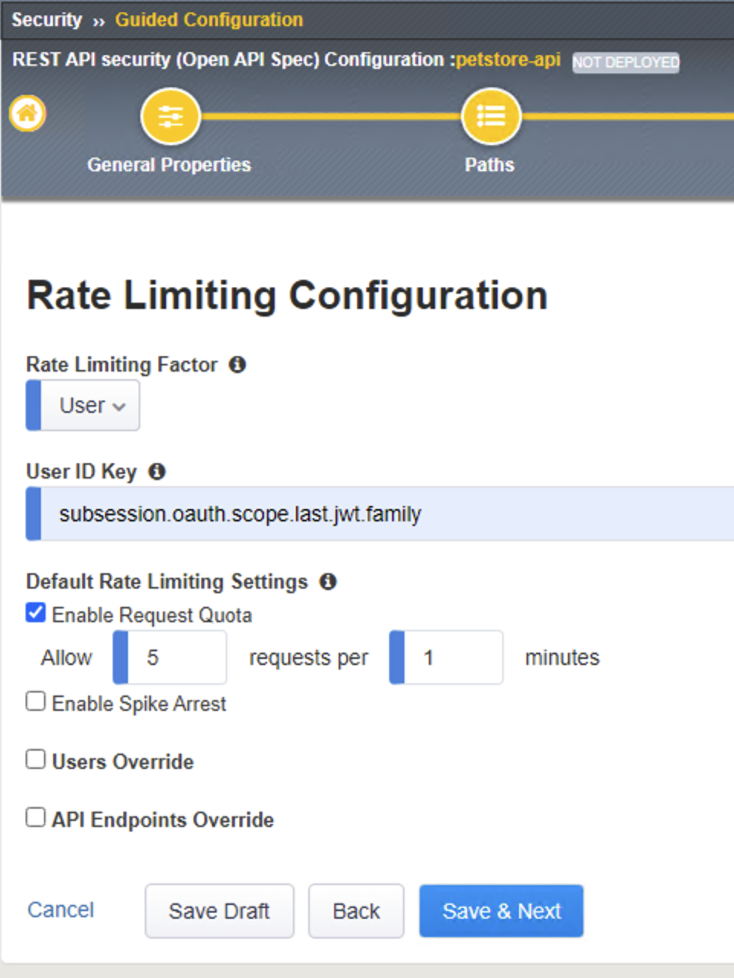
11. Rate Liming Configuration step, sets the maximum number of requests that are allowed in a time interval. When the threshold is met the request is dropped. For this lab set the following criteria:
Rate Limiting Factor: User
User ID Key: subsession.oauth.scope.last.jwt.family Check Enable Request Quota Settings box Allow 5 requests per 1 minute
The end result should look like the following, click Save and Next
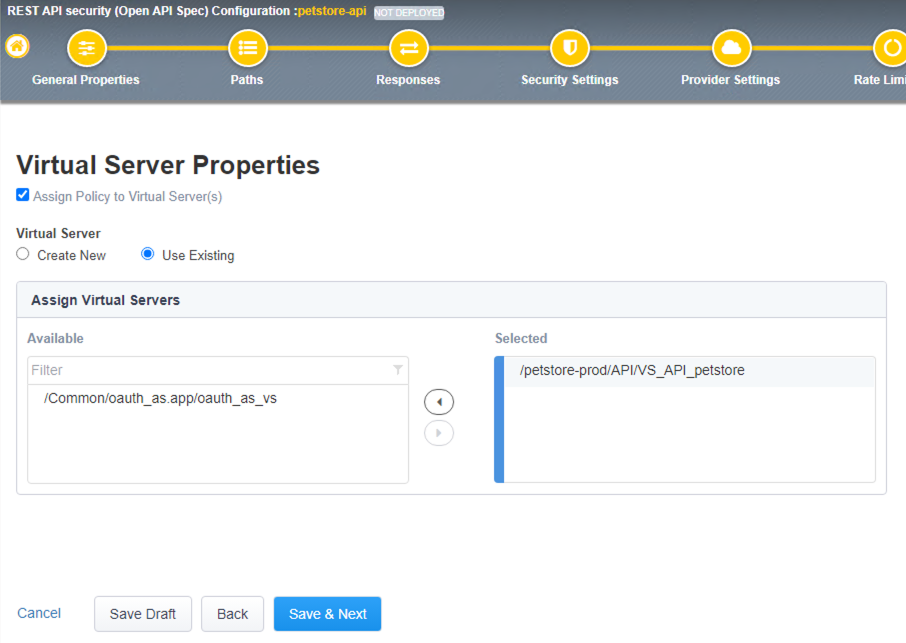
- In the Virtual Server Properties step, you can assign the policy to an existing virtual server or create new virtual server. In this lab we will select the existing PetStore virtual server.
Check the Assign Policy to Virtual Server(s) box
Under Virtual Server select Use Existing radio button
In Assign Virtual Servers box > Select VS_API_petstore virtual server and move it to the right under Selected box as shown in the diagram below, click Save and Next
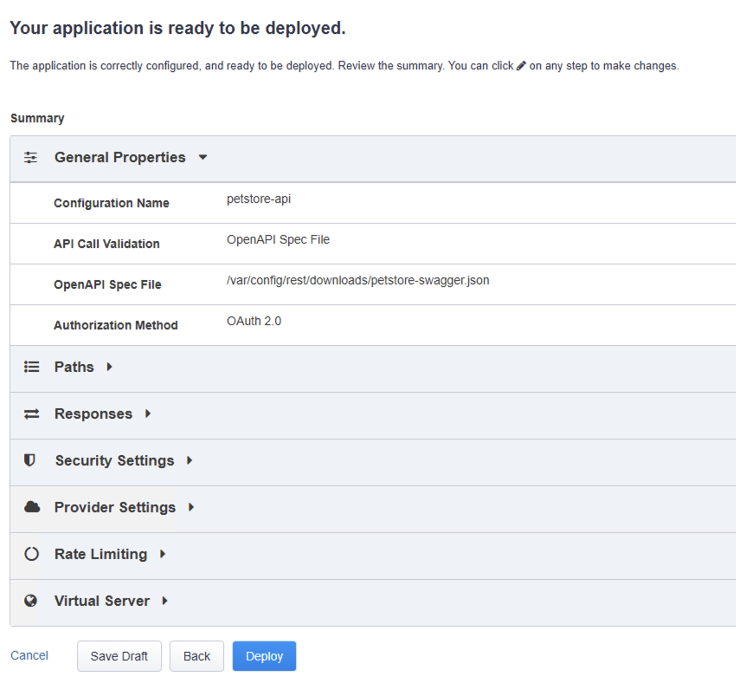
- In the Summary step, click on Deploy
Note: this step may take a minute to complete.
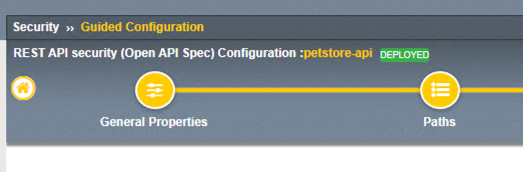
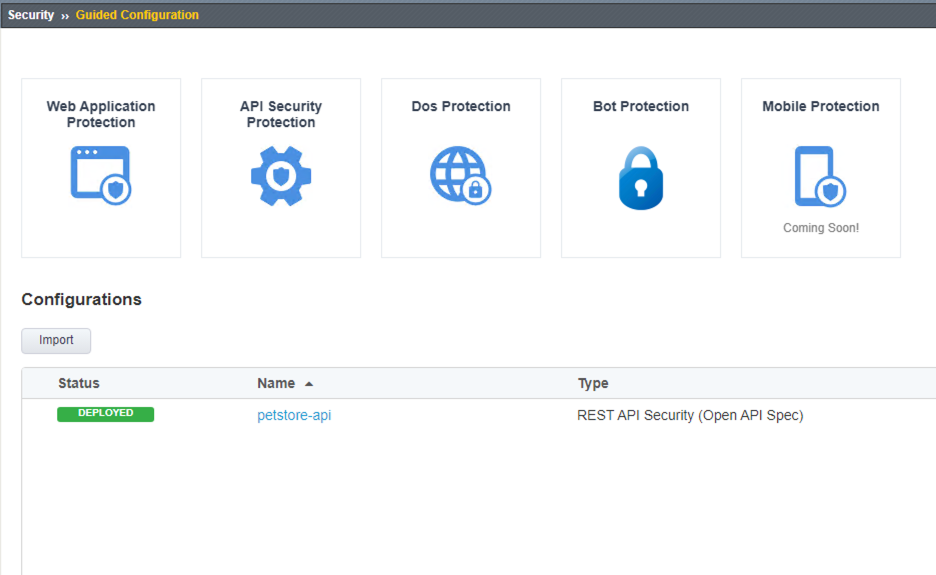
- When the deployment is completed successfully and deployed, you should see the following screen
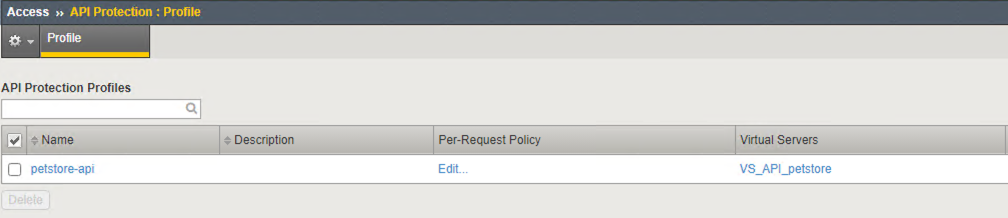
- Let’s verify an Access Policy Manager API Protection policy was created for the Authentication request.
Click on Access Module > Click on API Protection
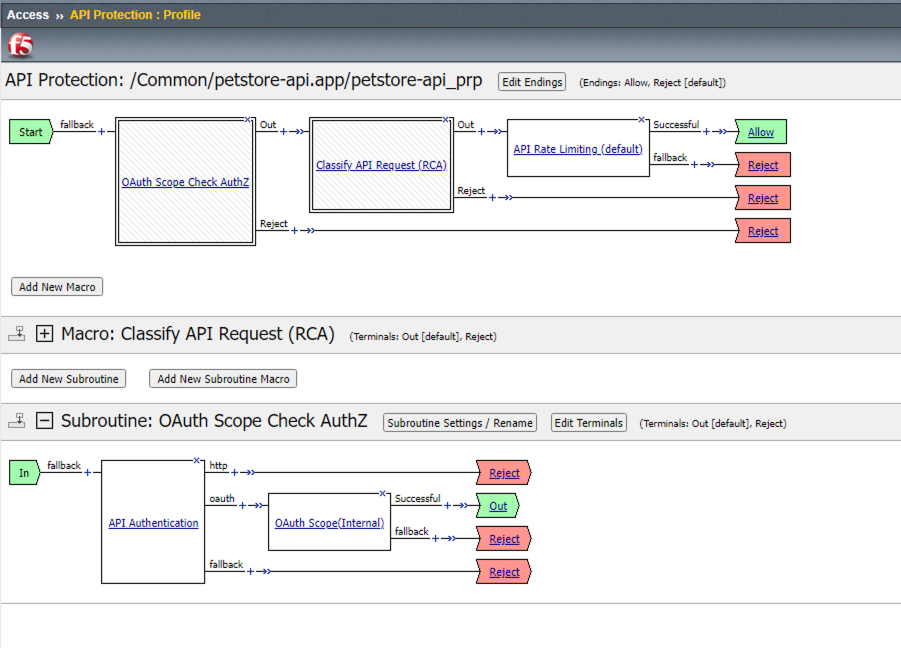
Observe an Access Policy was automatically created from the Application Security Guided Configuration in the previous exercise
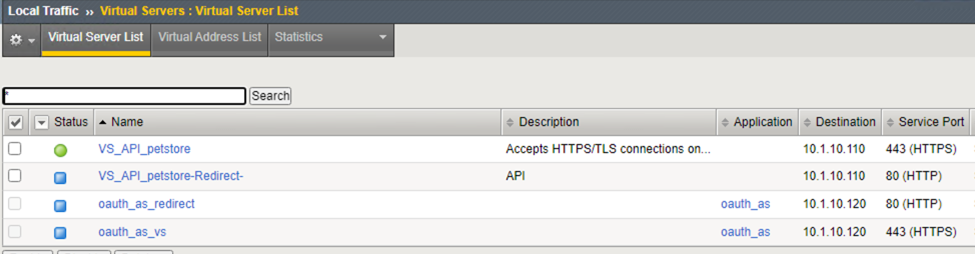
- Let’s verify the Access Policy and Security Policy have been applied to the PetStore virtual server. Click on Local Traffic module, click Virtual Servers

At the top right corner find the Partition box, click on the drop-down arrow, and switch to the petstore-prod partition
Click on the VS_API_petstore virtual server listen on port 443 |
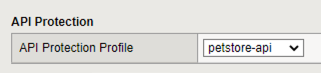
Scroll down to API Protection, verify petstore-api Access Policy is applied
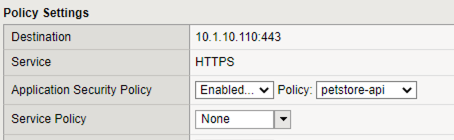
Scroll to the top, select Security tab > Policies, verify Application Security Policy is set to Enabled and the petstore-api Application Security Policy is applied
- Now the Access Policy has been deployed, let’s go back to the Postman Collection and see what the behavior is now that we have applied the policy.
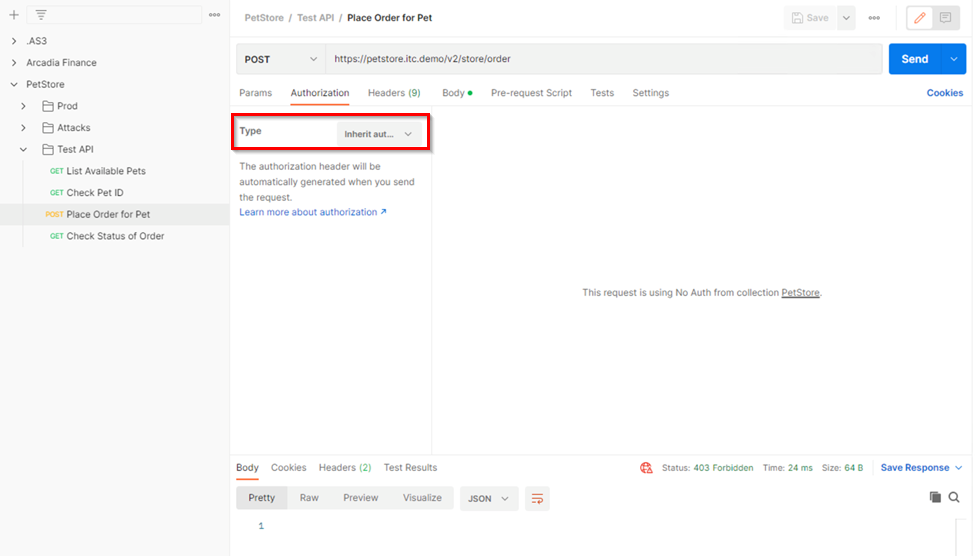
Click on the Place Order for Pet Request under PetStore > Test API
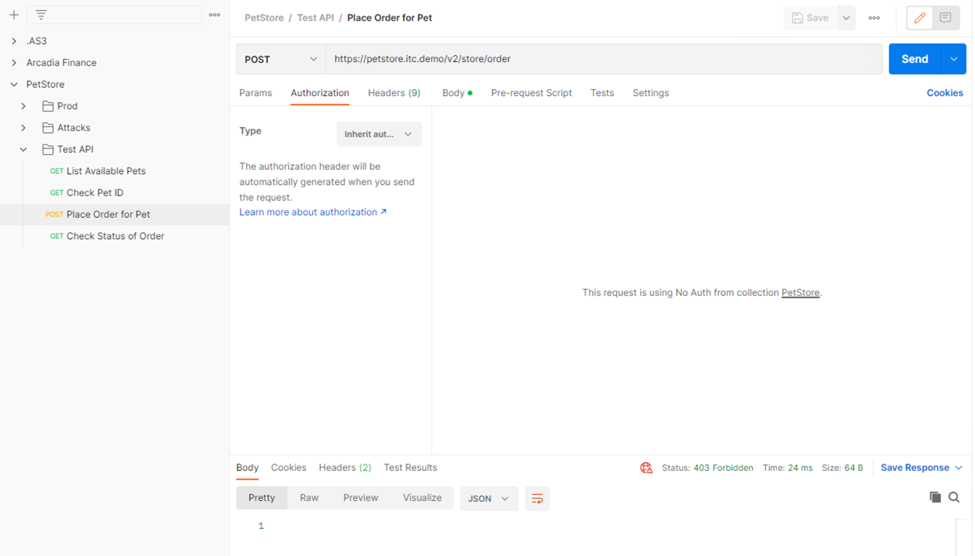
Noticed the Status is 403 Forbidden. The Access Policy Manager is blocking the access because no authentication was passed in the request.
- Let’s set the authentication using a JSON web token (JWT).
Click on the Authorization tab > Click on the drop-down arrow under Type, Select OAuth2.0 |

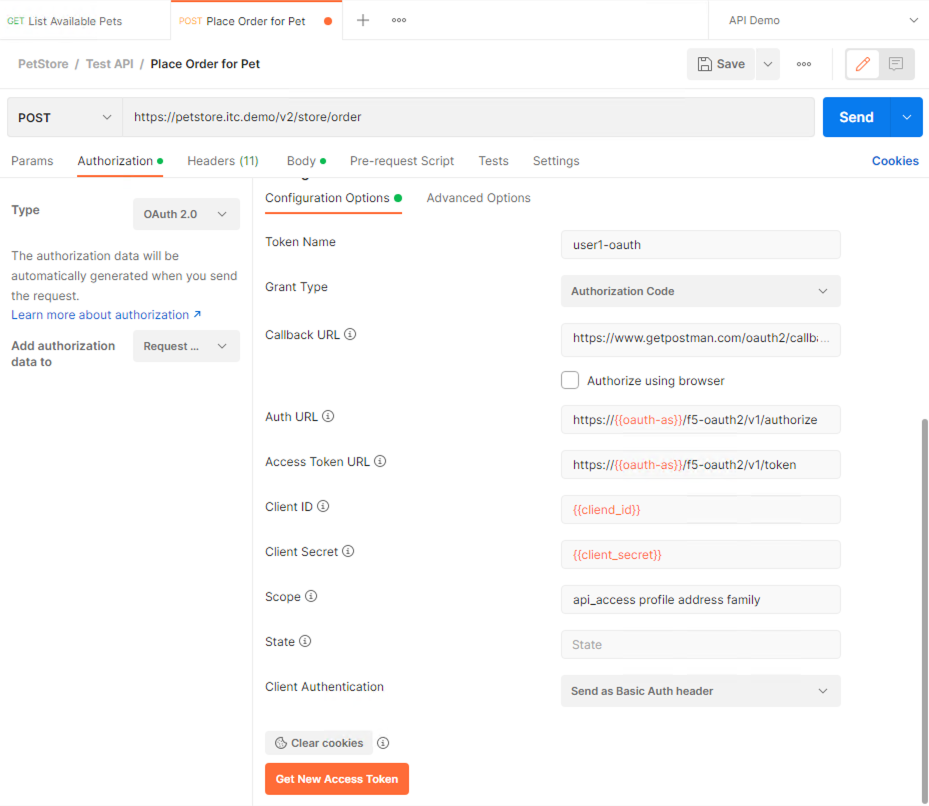
In the Configure New Token window scroll down to the bottom.
Note
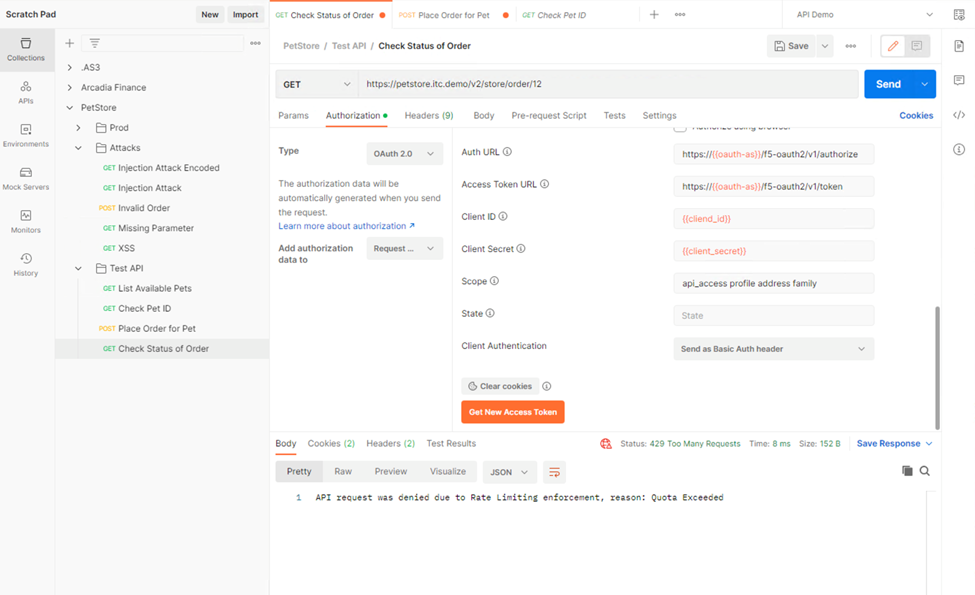
It is security best practice to set variables to hide Auth URL, Access Token URL, Client ID, and Client Secret as seen in the image below. These values are configured as part of the APM Access->Federation->OAuth Client /Resource Server -> OAuth Server -> Client Settings and would be provided in a production environment as part of the application configuration.
Click on the orange button Get New Access Token
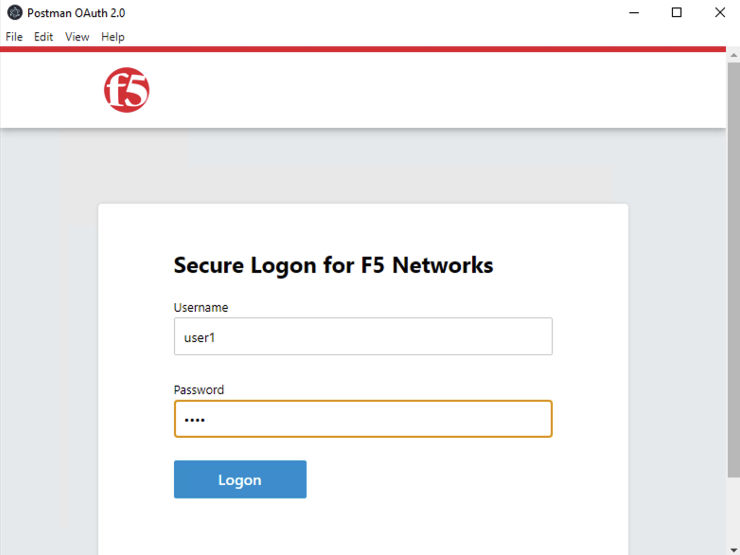
In the pop window for authentication, enter username: user1 and password: user, and click Logon |
Note
If you are still having authentication problems sending the request through, you can try clicking on the Clear cookies button above the Get New Access Token.
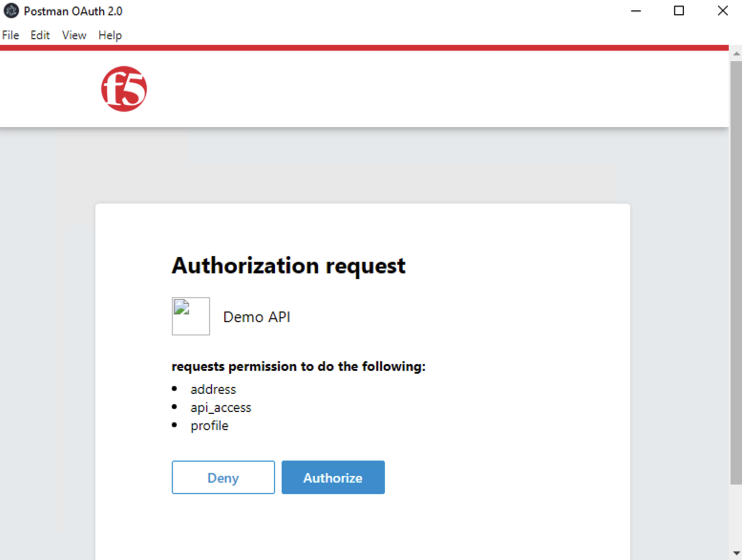
Click on Proceed
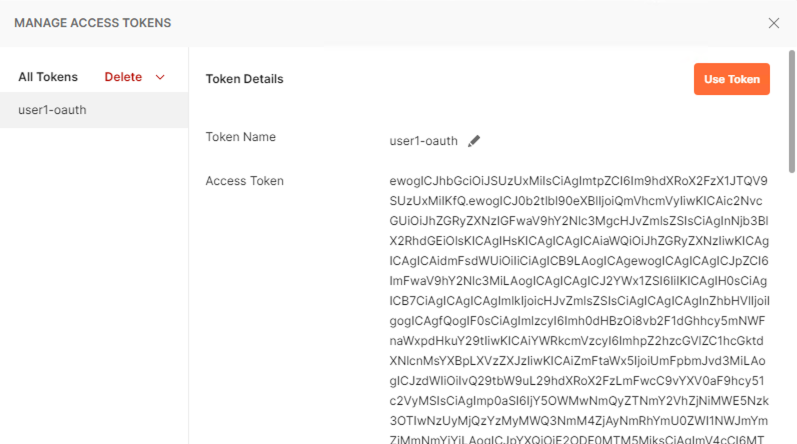
A JWT token name user1-oauth has been created. Click on Use Token
Send the request for Place Order for Pet through again by clicking the blue Send button
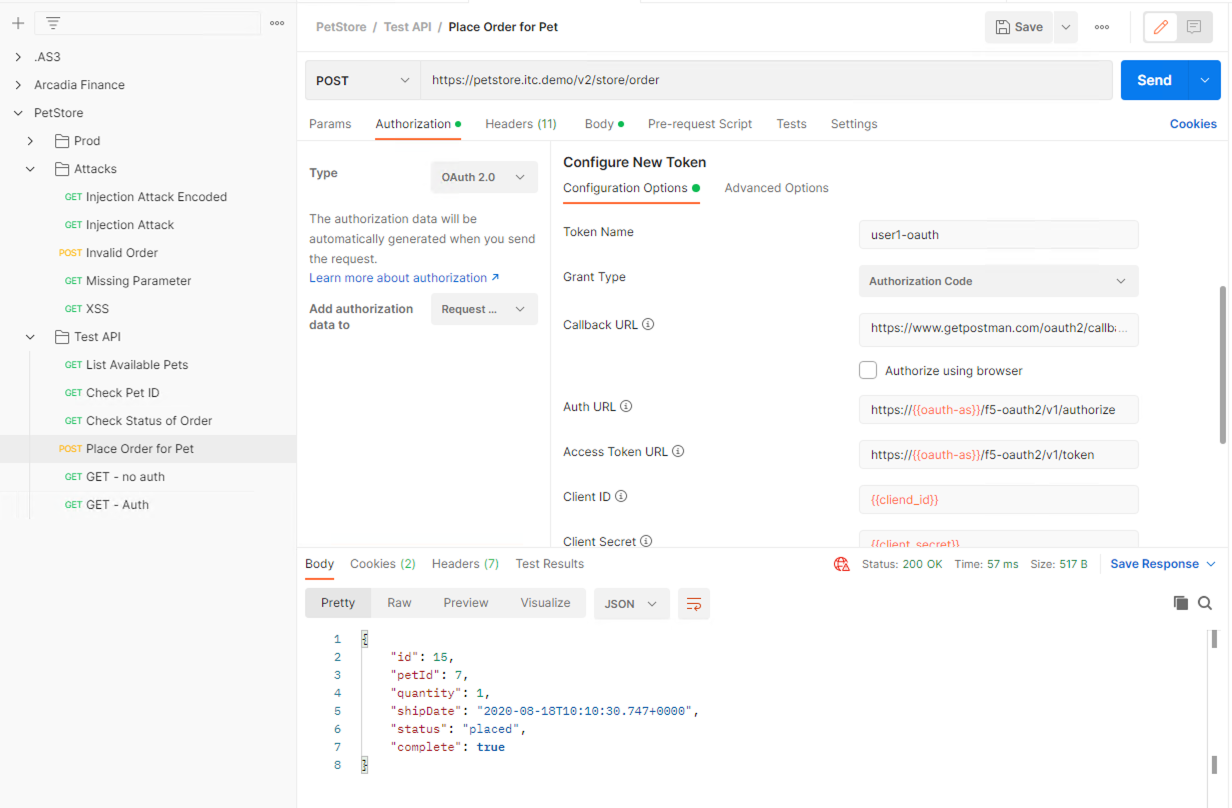
Notice the request status now is 200 OK
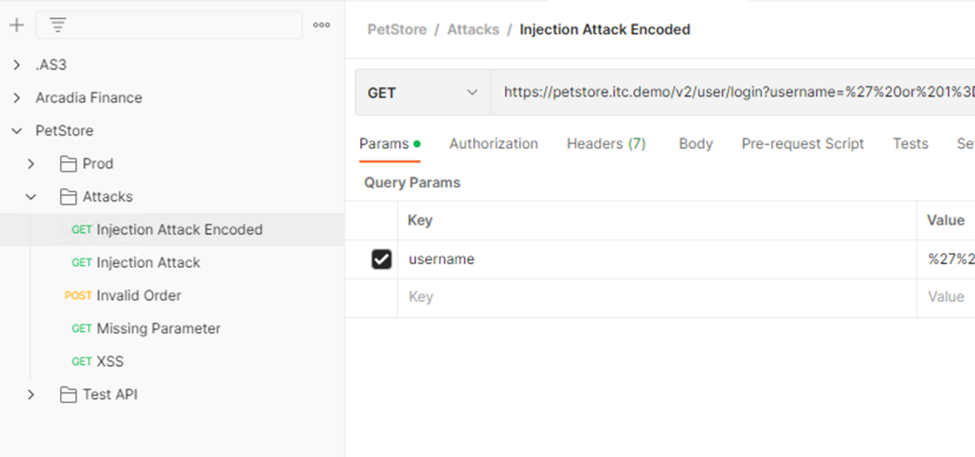
- Let’s try sending some attack requests to the API endpoints
In Postman PetStore collection go to the Attacks folder. Select a couple of attack requests and send the requests. What is the response code?
- Testing Rate Limiting
Next, we will validate the rate limit setting defined in the Security Policy is working as expected. Recall in the security policy we set the rate-limiting factor as the user and the session famil name. This information is how the security policy identifies requests. If there are more than 5 API requests in 1 minute, the 6th request will not be processed.
- In the Windows 2019 host, open Postman
- Click on Check Status of Order request and click Send once. Observe a successful 200 response. Now click Send 5 more times, and noticed the response error message.
You have successfully setup a security policy to protect PetStore resources. Now off to review some analytics you can gather from your hard work.