F5 Web Application Firewall Solutions > WAF 341 – Advanced Protection and Positive Security (Self Guided) > Module 1: Bruteforce Protection, Credential Stuffing Source | Edit on
Lab 1.1: Brute Force Attack Prevention
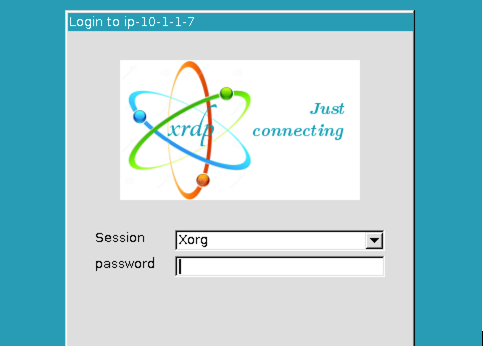
RDP to the Linux Client by choosing the RDP access method from your UDF environment page. You will be presented with the following prompt where you will enter the password only. The f5student account is hard-coded into XRDP for your convenience.
Once logged in, launch Chrome Browser. You can double-click the icon or right click and choose execute but do not click multiple times. It does take a few moments for the browser to launch the first time.
Task 0: Level Set
- Click the F5 Advanced WAF bookmark and login to TMUI. admin/[password].
- Create a blocking policy using the guided configuration utiliy
- Apply the security policy to an existing virtual server
- Apply a security logging profile to the virtiual server
Create security policy using the Guided Configuration
On the Main tab to your left, select Security > Guided Configuration. This opens the Guided Configuration screen.
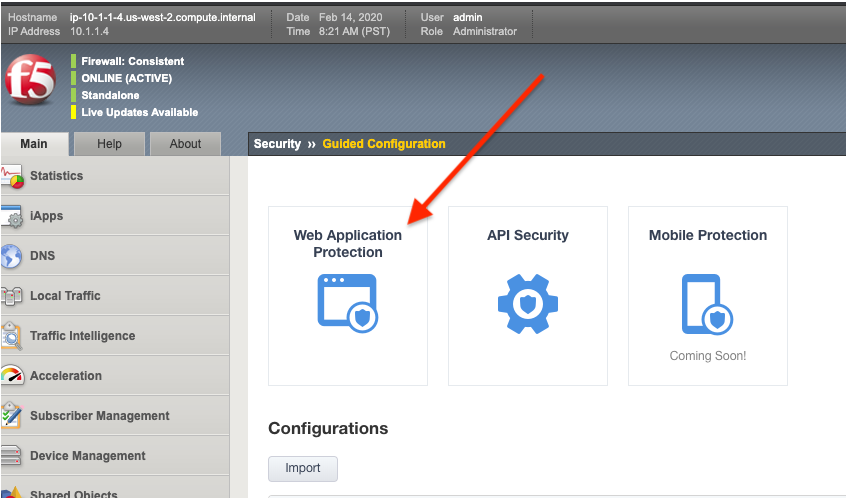
Click on the Web Application Protection template button.

The guided configuration now provides an overview of what will be configured. Click the Next button.
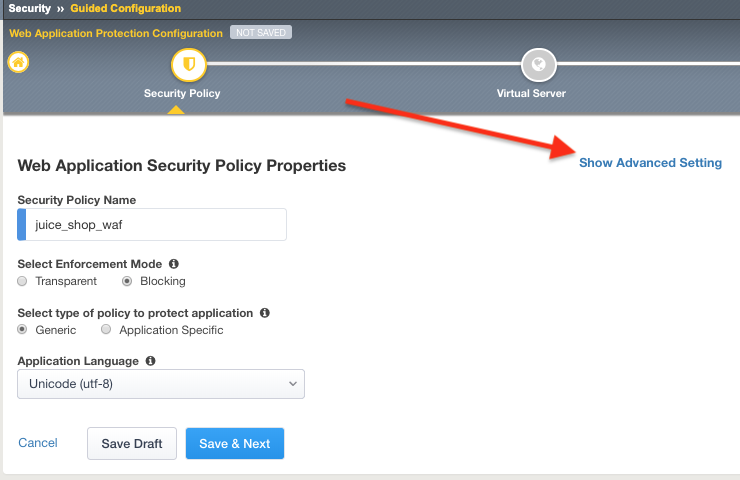
Give your configuration the name
juice_shop_wafthis will also name your security policy.Under Select Enforcement Mode select Blocking
Note
Typically you would deploy a new policy in a transparent mode so you can observe the logs before blocking to help avoid false positives. But come on….this is a lab. We are going to block stuff!
Click on Show Advanced Settings button in the upper right hand corner of your page.
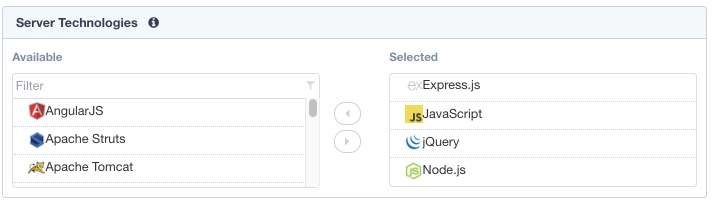
Under Server Technologies add the following to the selected window. Adding these technologies will assist in building a more precise policy.
- AngularJS
- Express.js
- JavaScript
- JQuery
- MongoDB
- Node.js
- SQLite
Press the Save & Next Button below.
Note
We are adding these technologies since we know what the application is using. There is also a feature that can be turned on that can allow the policy to learn these technologies.
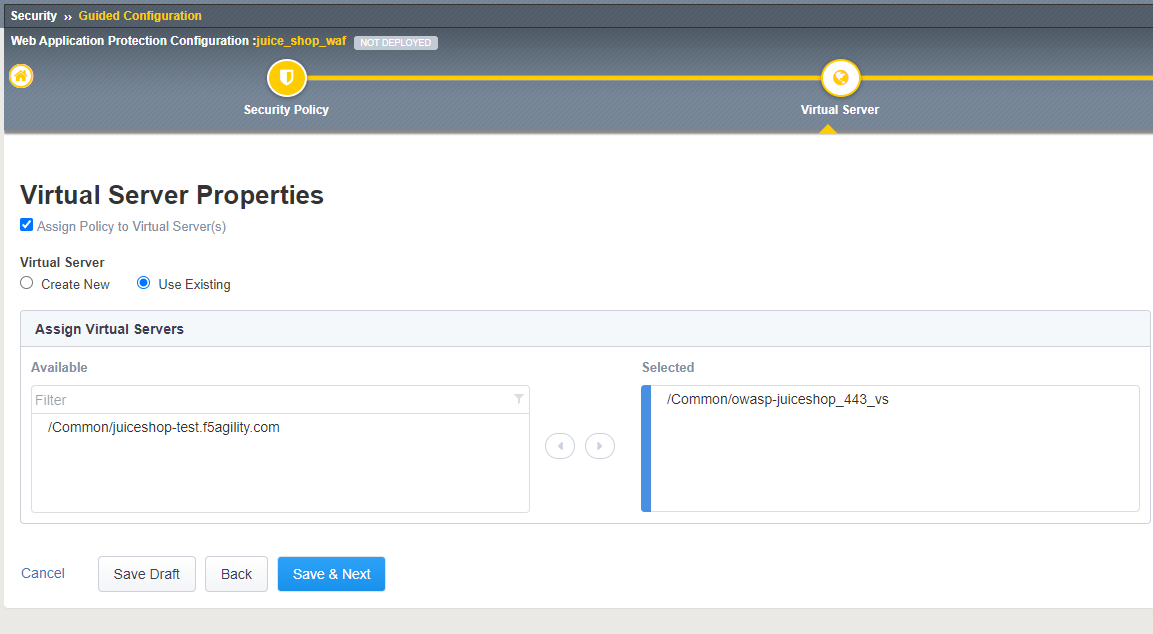
Check off Assign Policy to Virtual Server, under Virtual Server choose Use Existing, and move the owasp-juiceshop_443_VS to the selected window. Press Save & Next
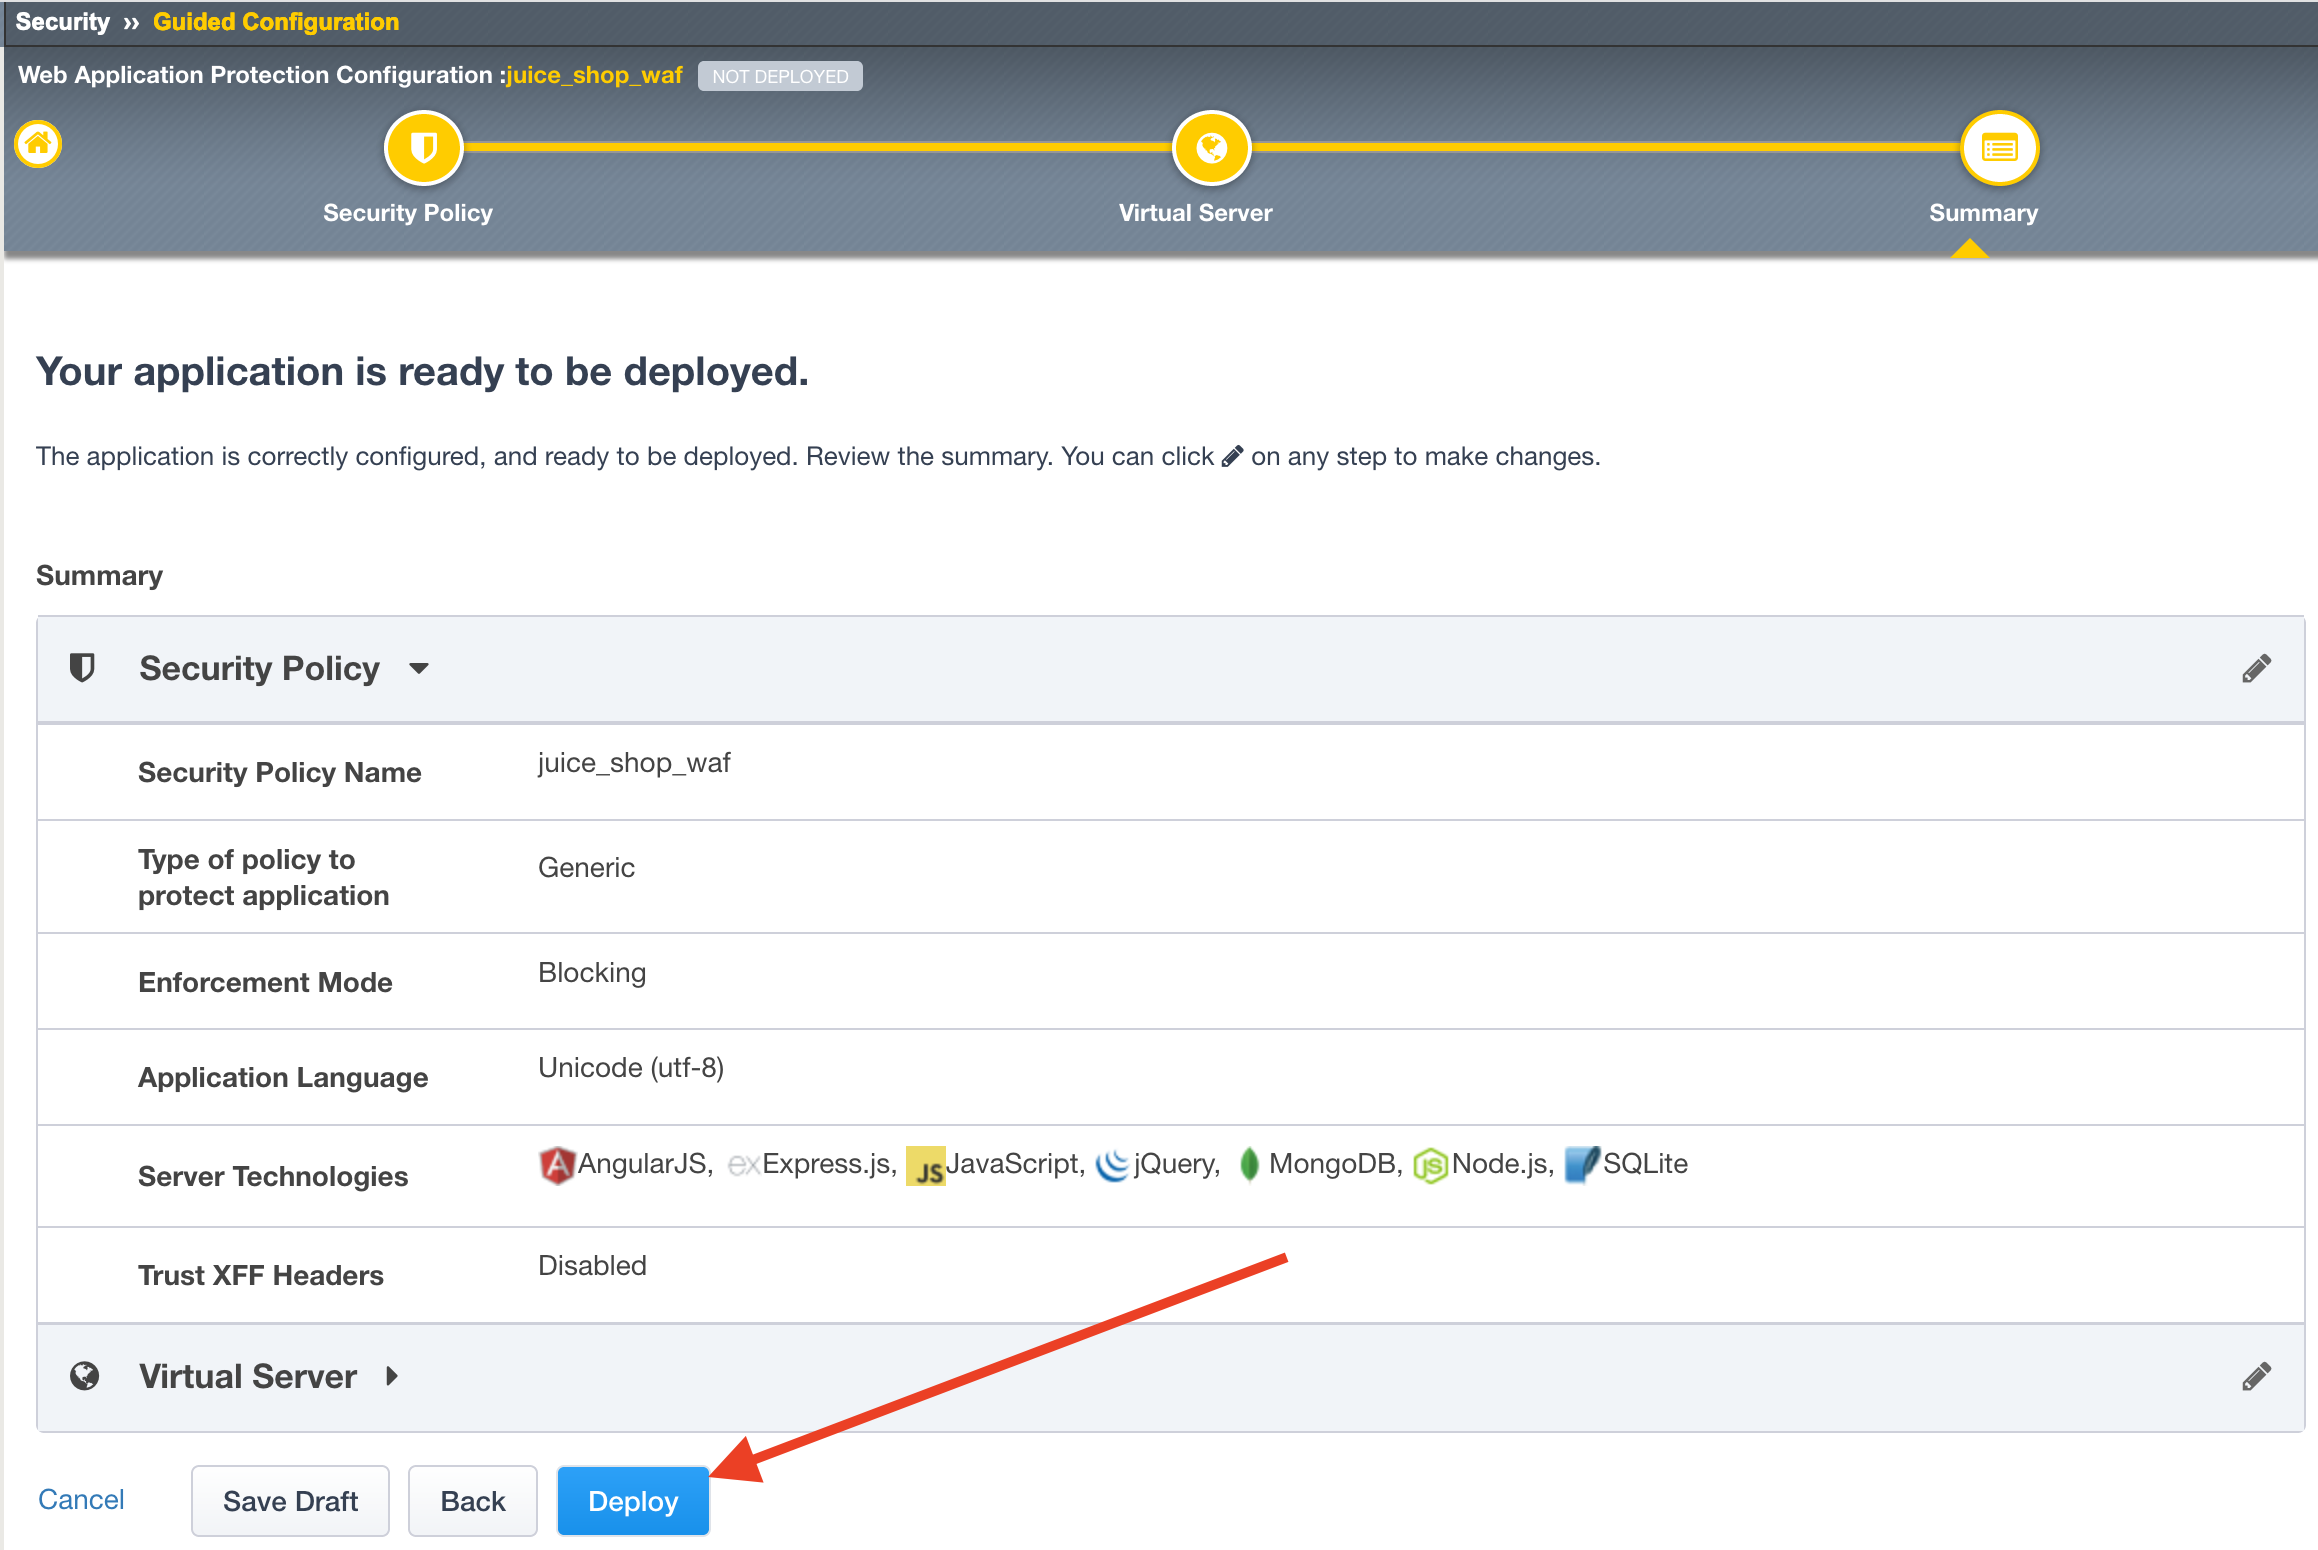
The next page will summarize the objects and policy configuration. Review, and take note that you can also go back and edit if required. When done click Deploy at the bottom of the screen. It will take a few moments to complete the policy build.
After the policy is created, we will want to apply a logging profile to our new security policy.
- Go to Security -> Overview -> Summary, and the policy you just created should be listed.
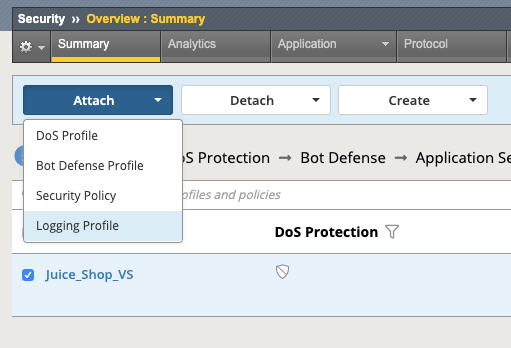
- Place a check to the left of the Virtual Server name that your new security policy is applied to.
- Now click the blue Attach button above and select Logging Profile
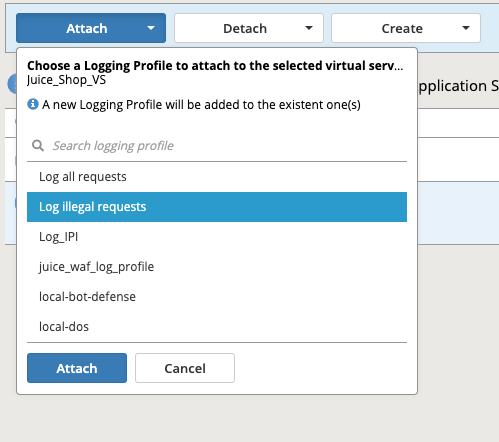
- Select Log illegal requests and press the other Attach button below.
- You will now see the logging profile is added under the Application Security column.
Enabling Bot Profile
Navigate to Security > Bot Defense > Bot Defense Profiles and check to see if juice_shop_botprofile has been created. If not, click Create.
Name: juice_shop_botprofile
Profile Template: Relaxed
Change the Enforcement Mode to Blocking
Click the Learn more link to see an explanation of the options.
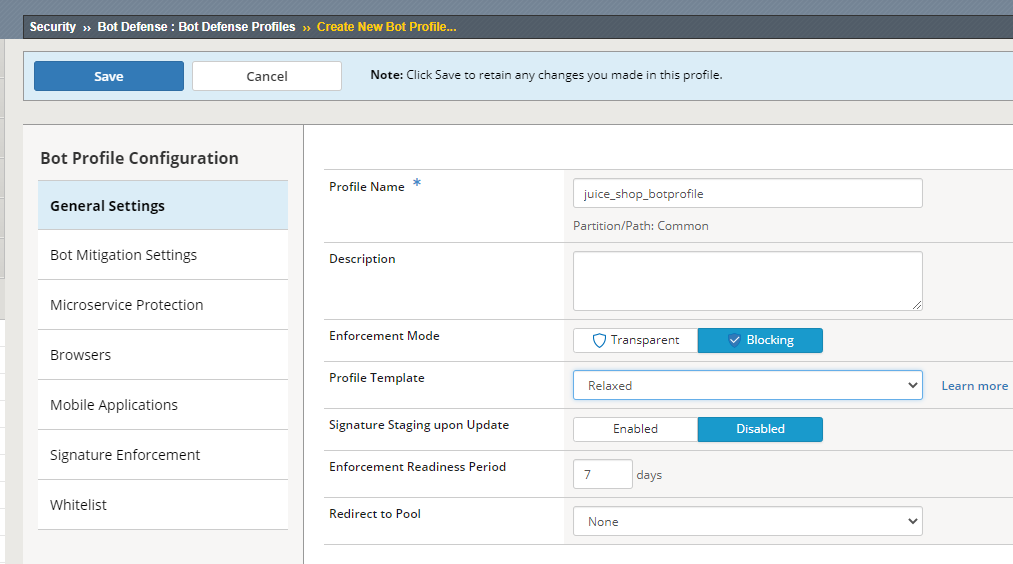
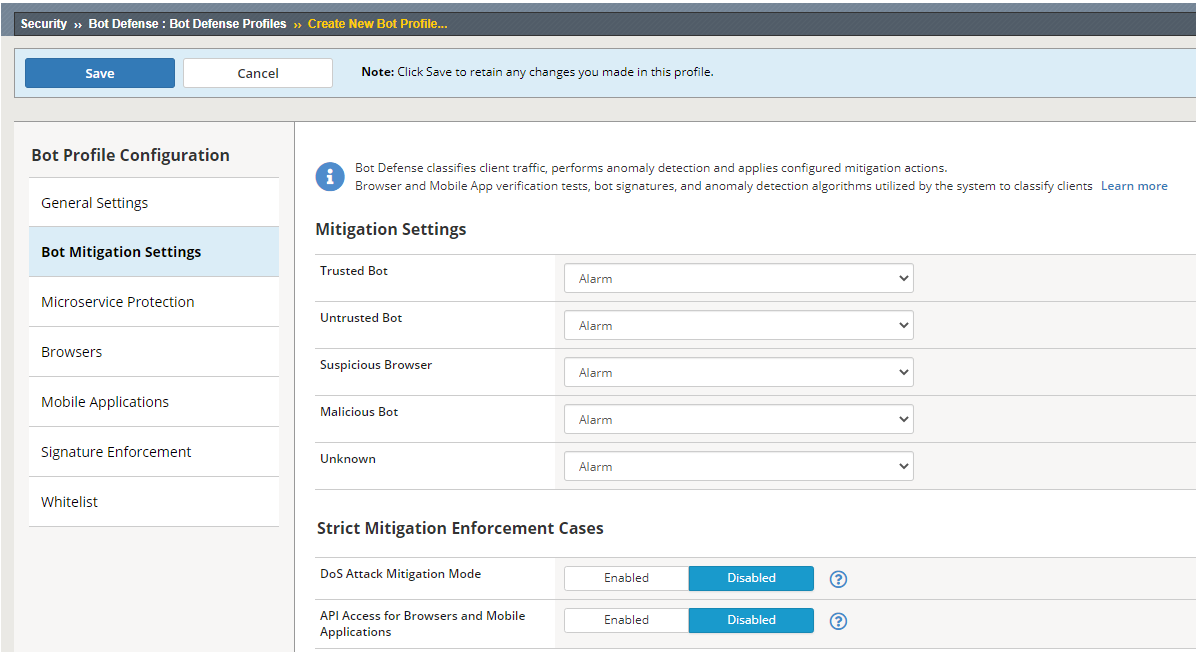
Click on the Bot Mitigation Settings tab and review the default configuration. All of the Mitigation Settings should be configured for “Alarm.”
Click on the Signature Enforcement tab and review the default configuration.
Click on the Mobile Applications tab and review the Mobile SDK Information
Click on the Browsers tab on the left and Change the Browser Verification setting to Verify Before Access, then ensure that the grace period is set to 10 Seconds.
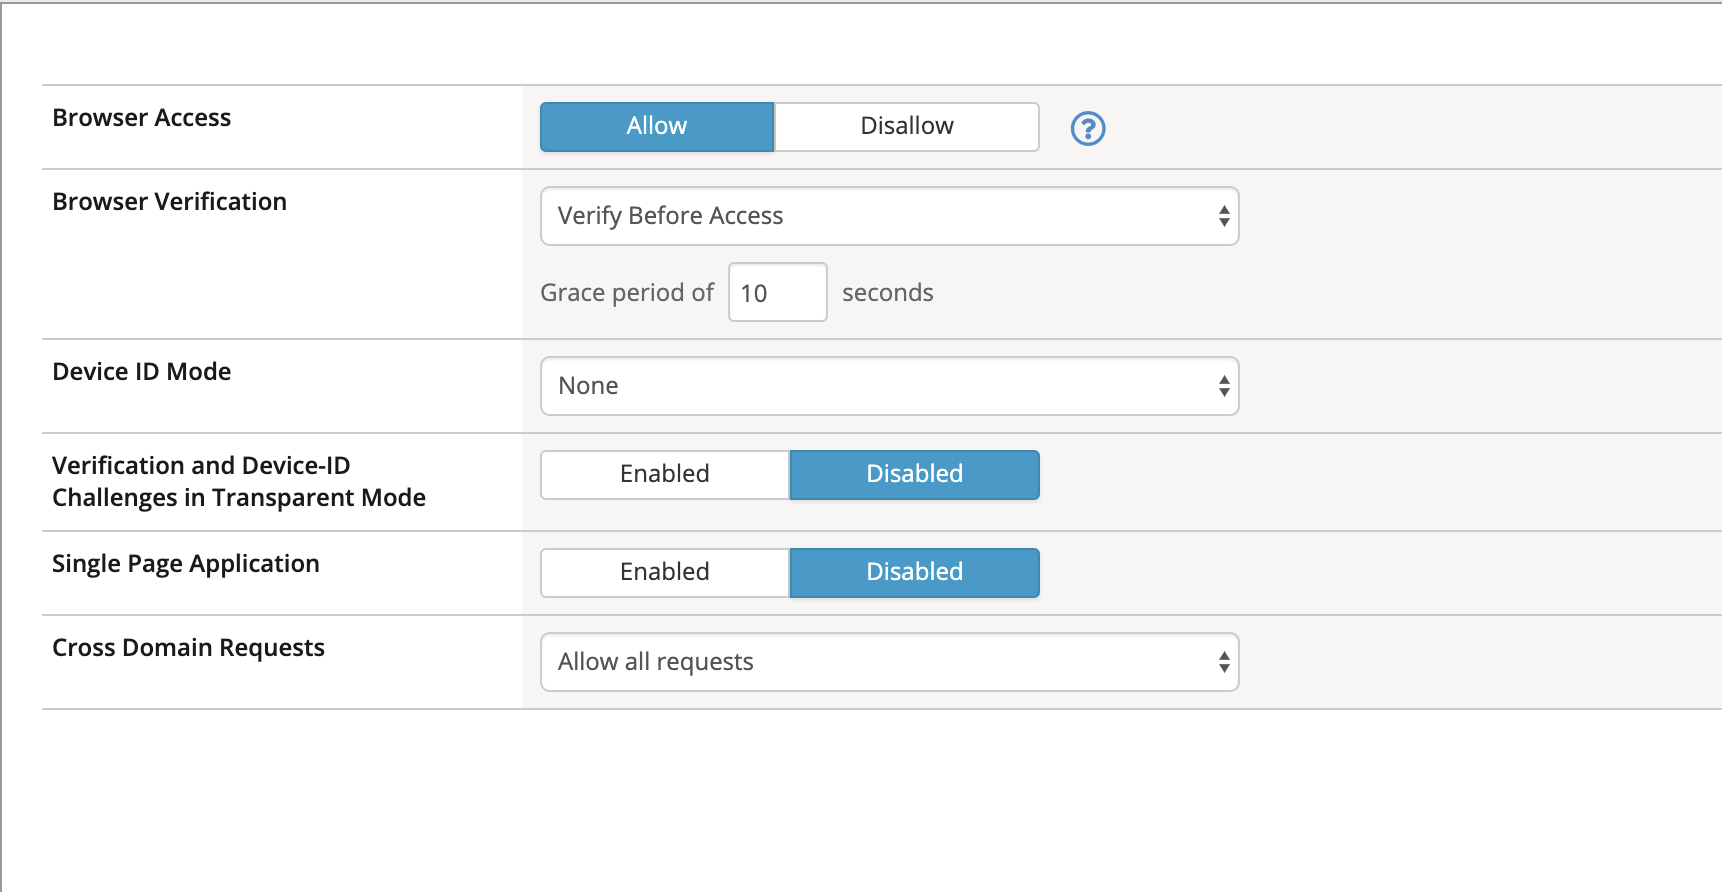
Click Save.
Define Login Pages
To configure a login page, go to Security -> Application Security -> Sessions and Logins -> Login Pages List. Ensure the juice_shop_waf is selected at the top of the screen and click Create.
We’ll now populate the form with data gathered from your favorite browser or reconnaissance tool. For expedience, we’ve gathered the appropriate data for you in advance:
Populate the form as shown below and click Create and then Apply Policy:
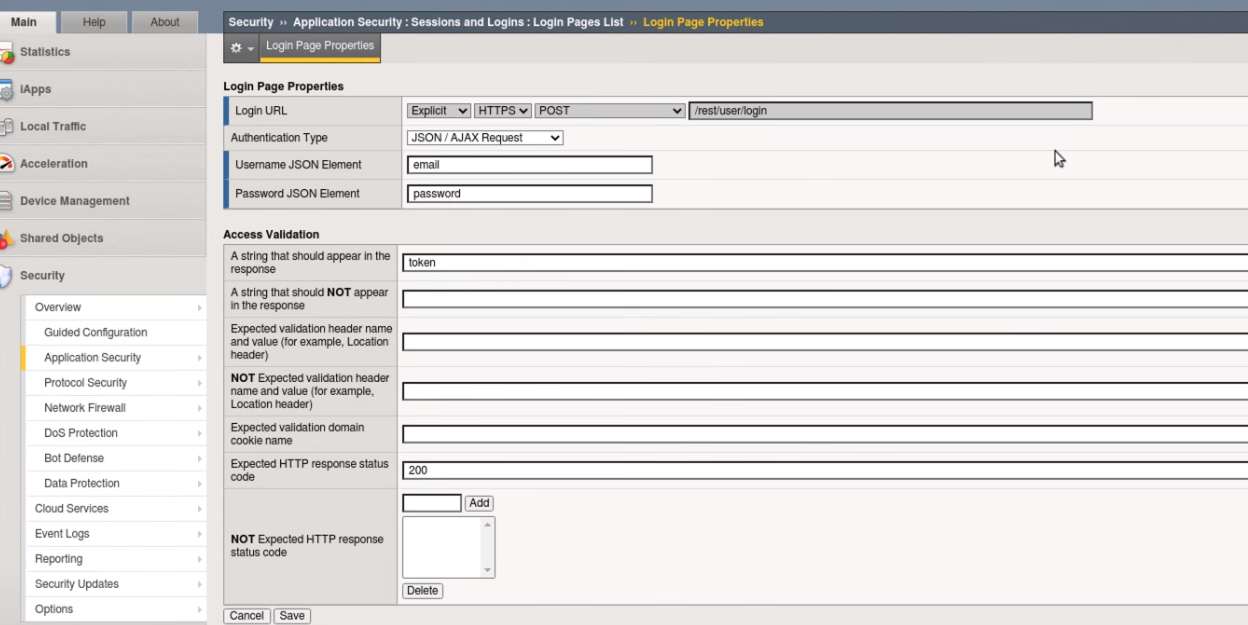
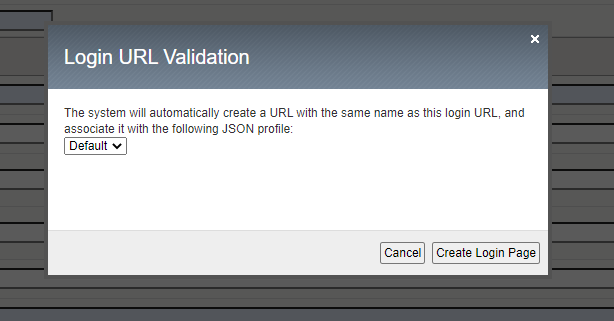
You will receive a Login URL Validation popout window. Select Create Login Page
Next navigate to Security -> Application Security -> Security Policies -> Policies List - > juice_shop_waf. Select Response and Blocking Pages and scroll down to AJAX Blocking Behavior (JavaScript Injection) and turn that setting to On
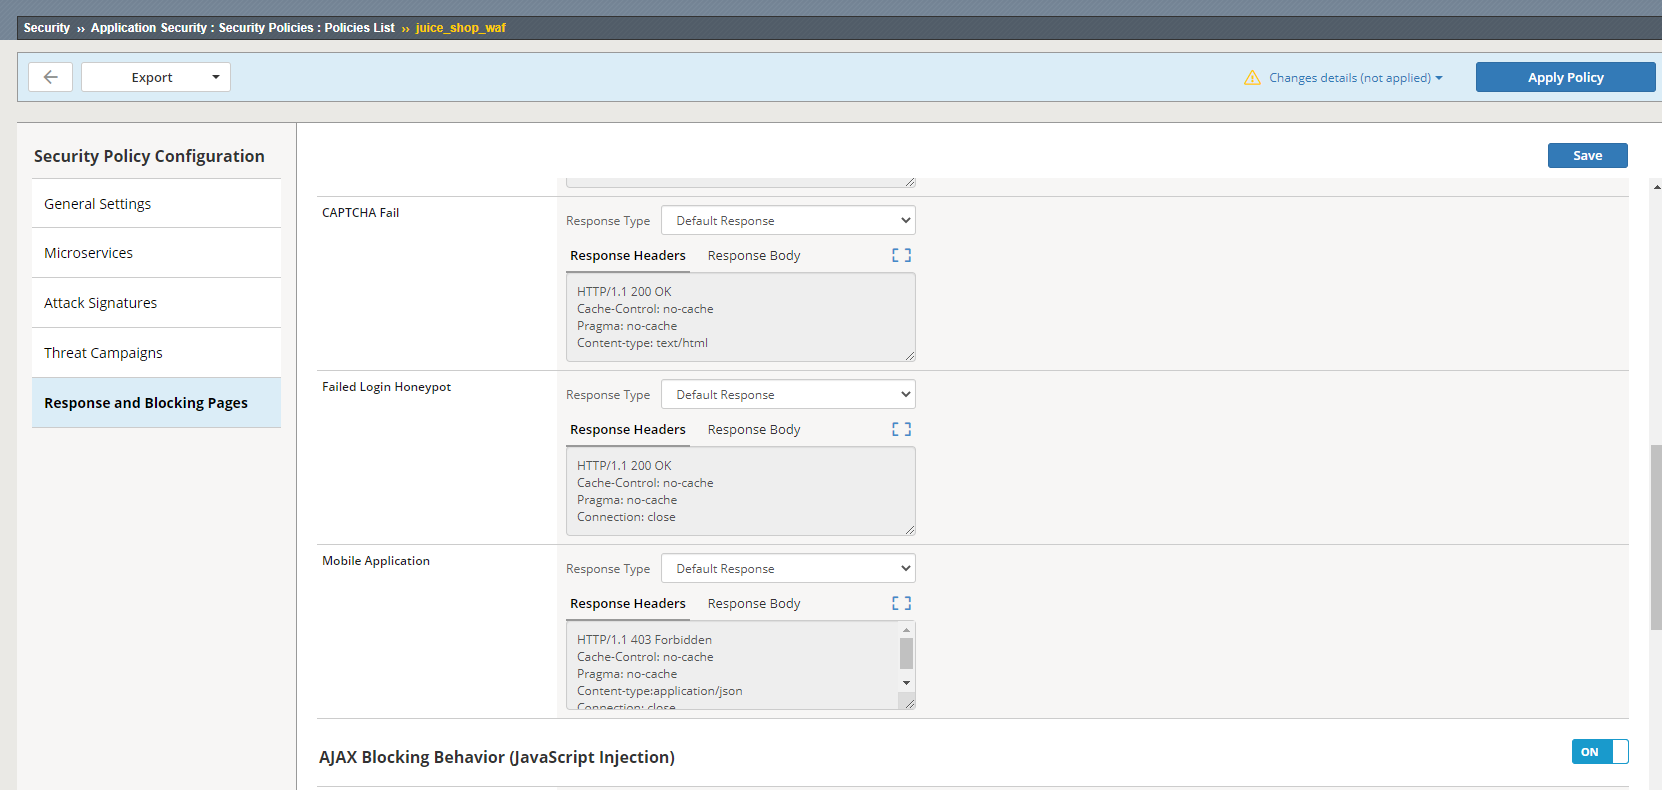
Select Save then Apply Policy
There is more than one kind of brute force attack. In the classic version, hackers attempt to log in to an application by repeatedly guessing users’ account credentials. Because of these attacks, most applications now lock an account when it encounters multiple unsuccessful authentication attempts, at least temporarily. However, this strategy only protects against attack on a single account.
In another version of this attack, commonly called “credential stuffing,” hackers make only one attempt to log in to users’ accounts. They obtain a collection of user name and password combinations from a compromised application and programmatically evaluate them against their target application, looking for accounts where users reused their compromised credentials. When they finish, the hackers know those accounts for which they have valid credentials on the target application.
Note
F5 WAF has a number of brute force attack detection capabilities that
are beyond the scope of this exercise. Take some time to examine some of the
other options as you work through this lab. For more information
see: https://techdocs.f5.com/en-us/bigip-15-0-0/big-ip-asm-implementations/mitigating-brute-force-attacks.html.
Task 1 - Configure Brute Force Attack Prevention
Open a terminal in the RDP client and ssh to the BIG-IP using the admin user and provided password :
ssh admin@10.1.10.245.Run the command
modify sys db asm.cs_qualified_urls value "/rest/user/login".Run the command
save sys config.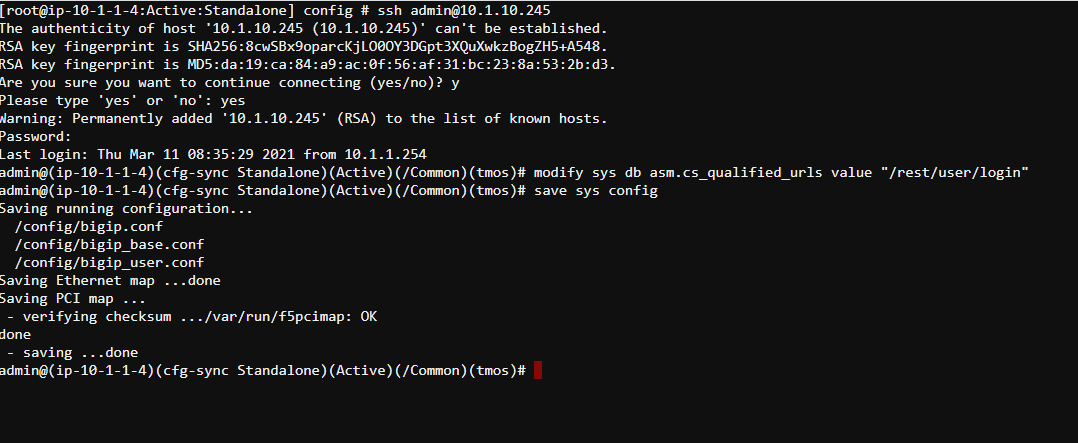
Open the BIG-IP GUI interface .
Navigate to Security -> Application Security -> Brute Force Attack Prevention and click Create.
Select the login page you created earlier or imported as part of lab setup.

Configure Source-based Brute Force Protection settings as follows:
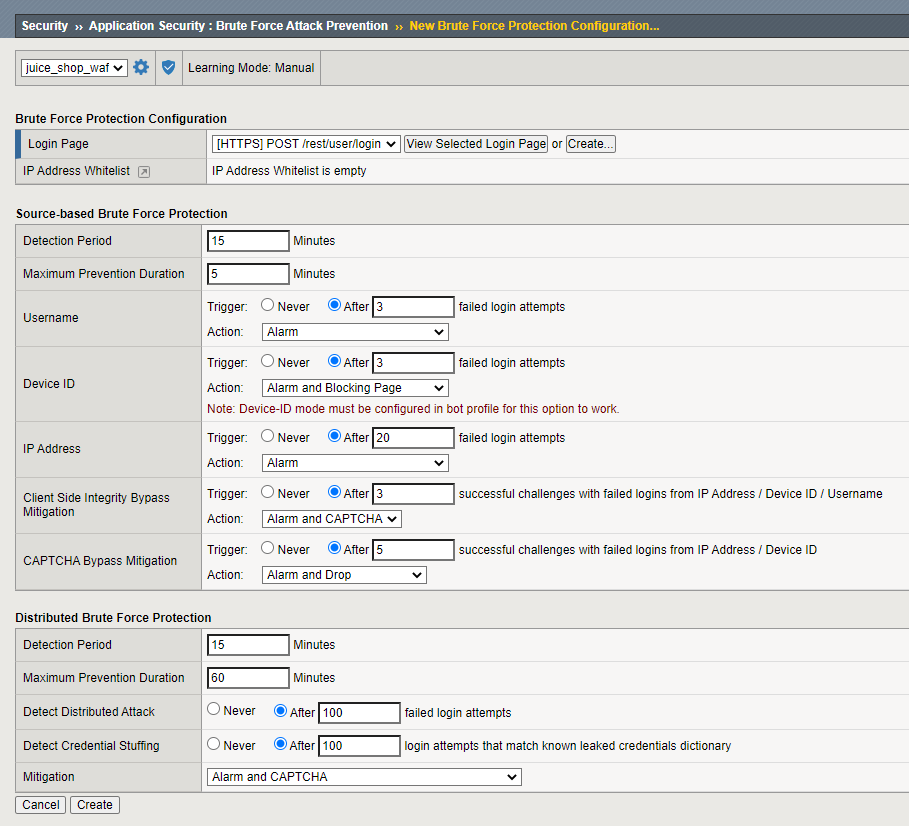
Click Create .
Click Apply Policy.
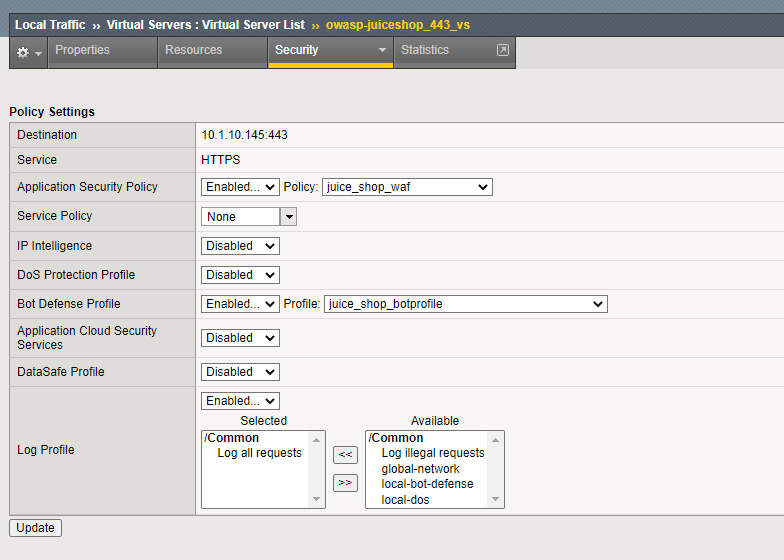
Ensure WAF and Bot policy are both applied to the Virtual as seen and click update.
Task 2 - Test username based Brute Force Protection
Open a new Private Browsing window in Chrome or Firefox .
Go to the to Juice Shop login page at
https://juiceshop.f5agility.com/#/loginAttempt to login using the same username and password of your choice at least 3 to 4 times.
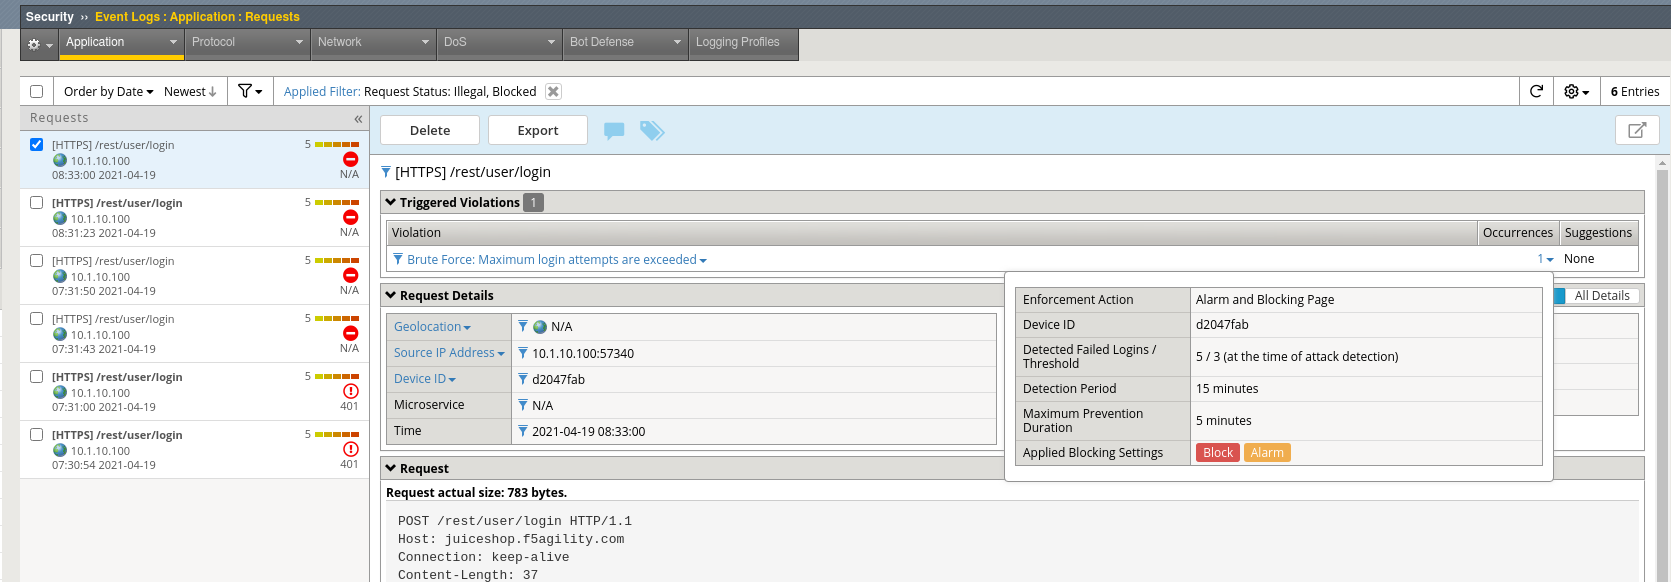
Examine the most recent requests in the event log by navigating to Security -> Event Logs -> Applications -> Requests:
You should see two requests for /rest/user/login.

The request was considered as a brute force attack.
Near the Brute force: Maximum Login Attempts are exceeded header at the top of the event window click on the number under Occurrences:
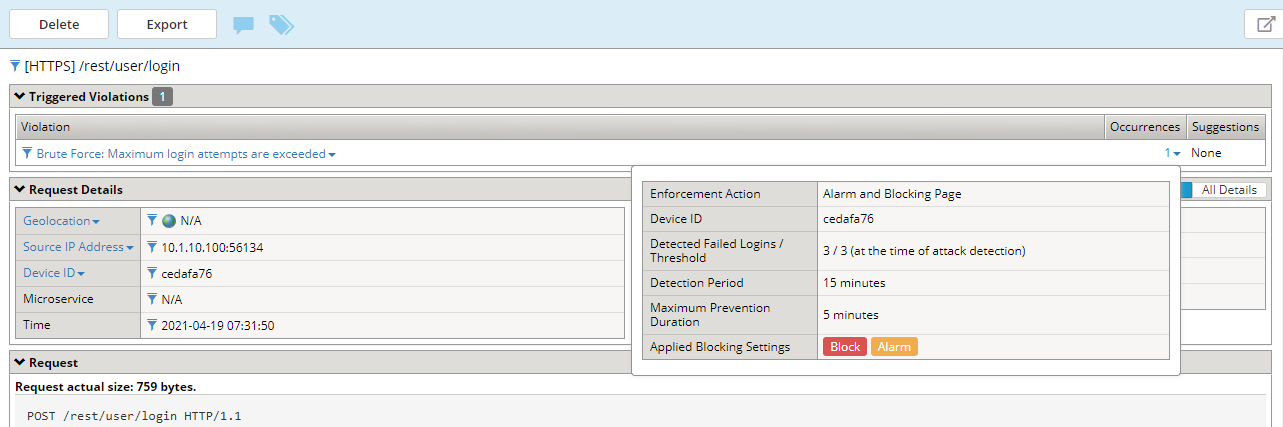
The message indicates the number of login attempts by a user exceeded the threshold.
Task 3 - Enable Device ID
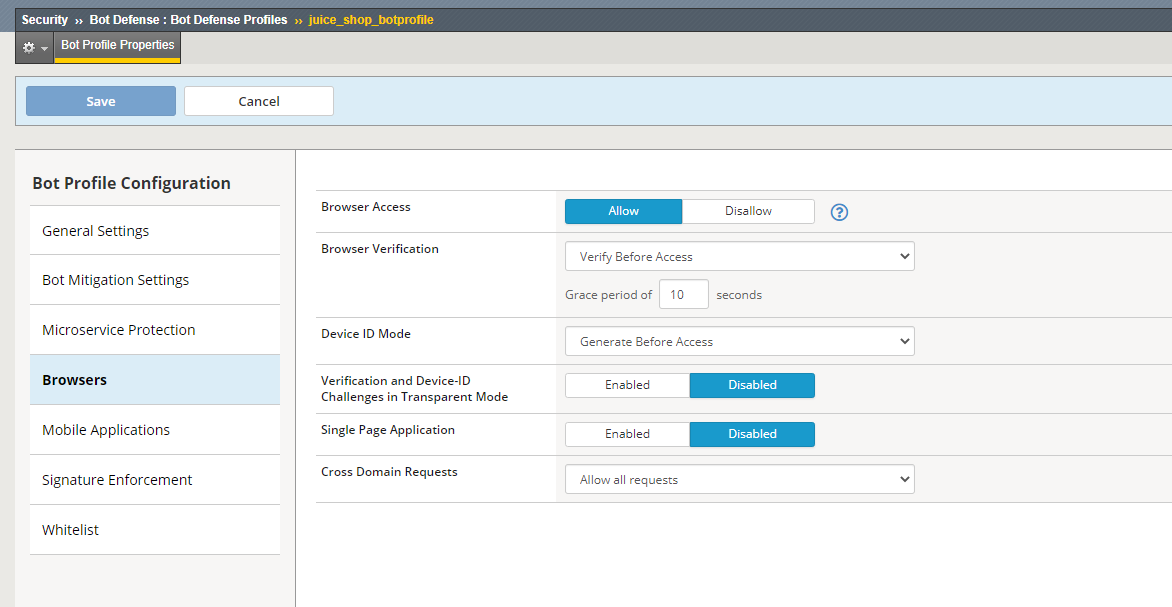
Navigate to Security -> Bot Defense -> Bot Defense Profiles and under the Browsers tab edit the profile juice_shop__botprofile to enable Device ID mode to “Generate Before Access” for browsers.
Note
Device ID is a unique identifier that F5 WAF generates for each client browser. You can use the device identifier to identify nefarious clients and diagnose security issues, such as session hijacking, web scraping, brute force login attempts, and others.
Click Save
Task 4 - Test Device ID based Brute Force Protection
Open a new incognito window window in Chrome or Firefox .
Go to the to Juice Shop login page at
https://juiceshop.f5agility.com/#/loginAttempt to login using a different username and password each time until blocked.
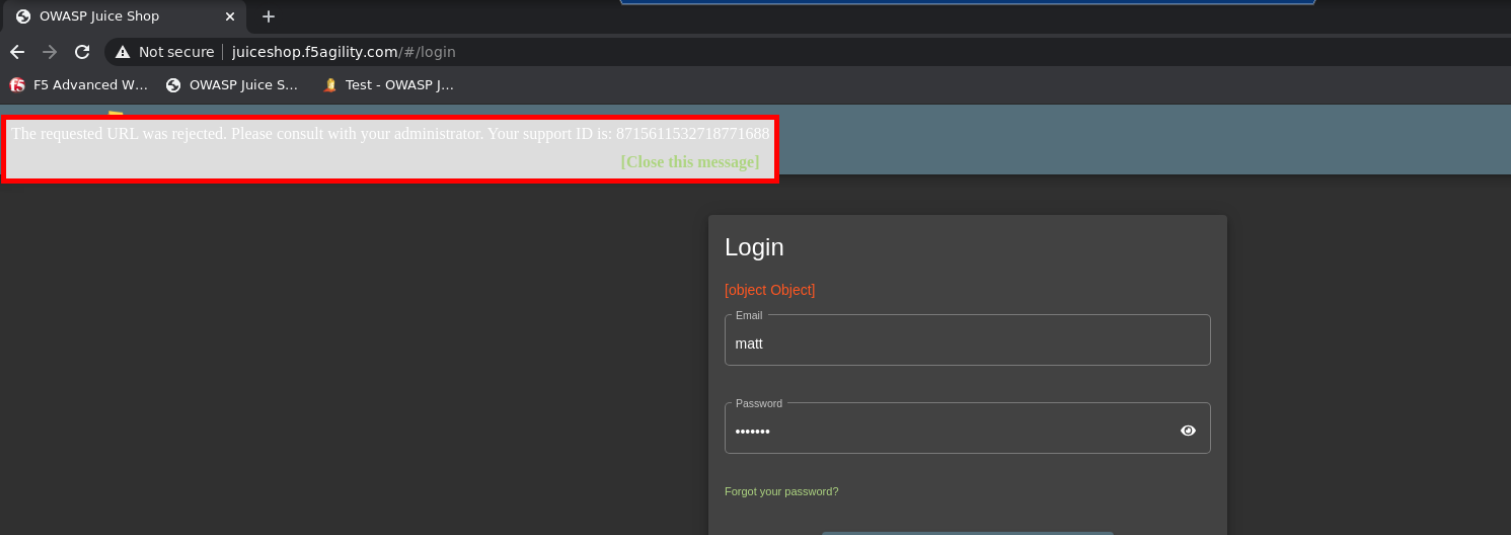
Once Blocked close the browser and re-open a new incognito window in Chrome
Attempt to login using a different username as in step 3, your first login request should be blocked.
Examine the most recent requests in the event log by navigating to Security -> Event Logs -> Applications -> Requests:
Click on the Occurrences and notice the Device ID in the request.
This concludes Lab 1.1