F5 Application Delivery Controller Solutions > Intro to F5OS : Migrating from iSeries Source | Edit on
Exercise 2: Tenant Creation and Migration
In this exercise, each student must create a new tenant and migrate a configuration into it; individual settings may differ for Student A and Student B, as noted below.
Navigate to Tenant Management -> Tenant Deployments and click Add
Create a new tenant with the following new settings (all others leave as default)
Name: r5900-X-tenant-a or r5900-X-tenant-b
Type: BIG-IP
Image: BIGIP-21.0.0.1-0.0.13
IP Address: 10.193.5.30+X for tenant-a 10.193.5.50+X for tenant-b
Prefix Length: 24
Gateway: 10.193.5.254
VLANS: Check both VLANs
vCPUs: 8
Virtual Disk Size: 100
Click Save & Close
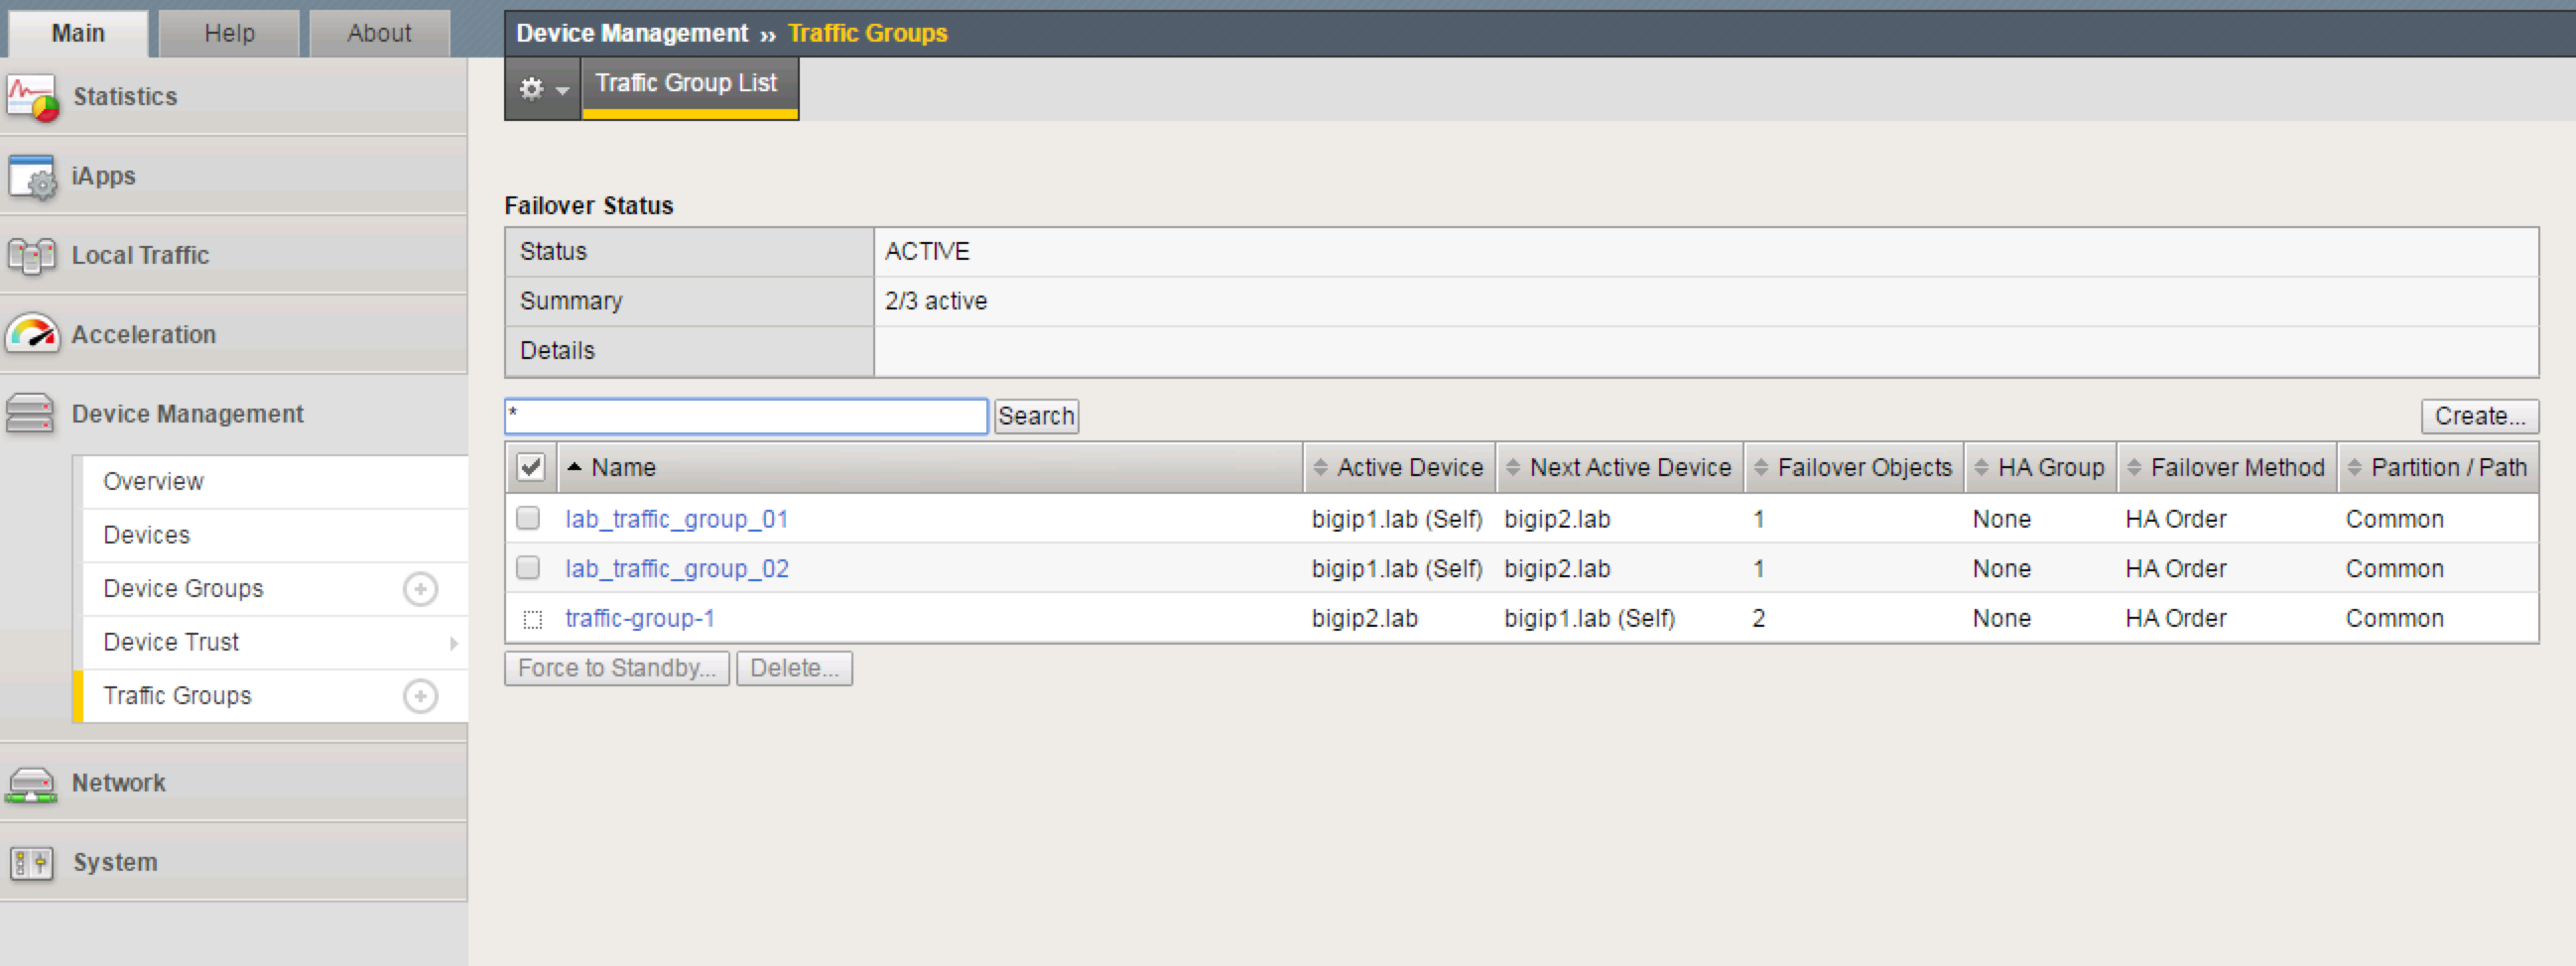
CLI: ssh as user admin and enter config mode
r5900-1# config
r5900-1(config)# tenants tenant r5900-<X>-tenant-<Y> config image BIGIP-21.0.0.1-0.0.13.ALL-F5OS.tar.bundle vcpu-cores-per-node 8 mgmt-ip 10.193.5.<30+X> prefix-length 24 gateway 10.193.5.254 vlans [ <10+X> <30+X> ] nodes 1 running-state configured memory 29184 storage size 100
r5900-1(config-tenant-r5900-2-tenant-a)# !
r5900-1(config-tenant-r5900-2-tenant-a)# commit
r5900-1# exit
At this stage, the tenant configuration is complete; however, the tenant has not been started, and no resources have been provisioned. You can view the tenant state in Dashboard → Tenant Overview or Tenant Management → Tenant Deployments
To start the tenant, either select the tenant and click the Deploy button, or edit the tenant and change the State setting to Deployed
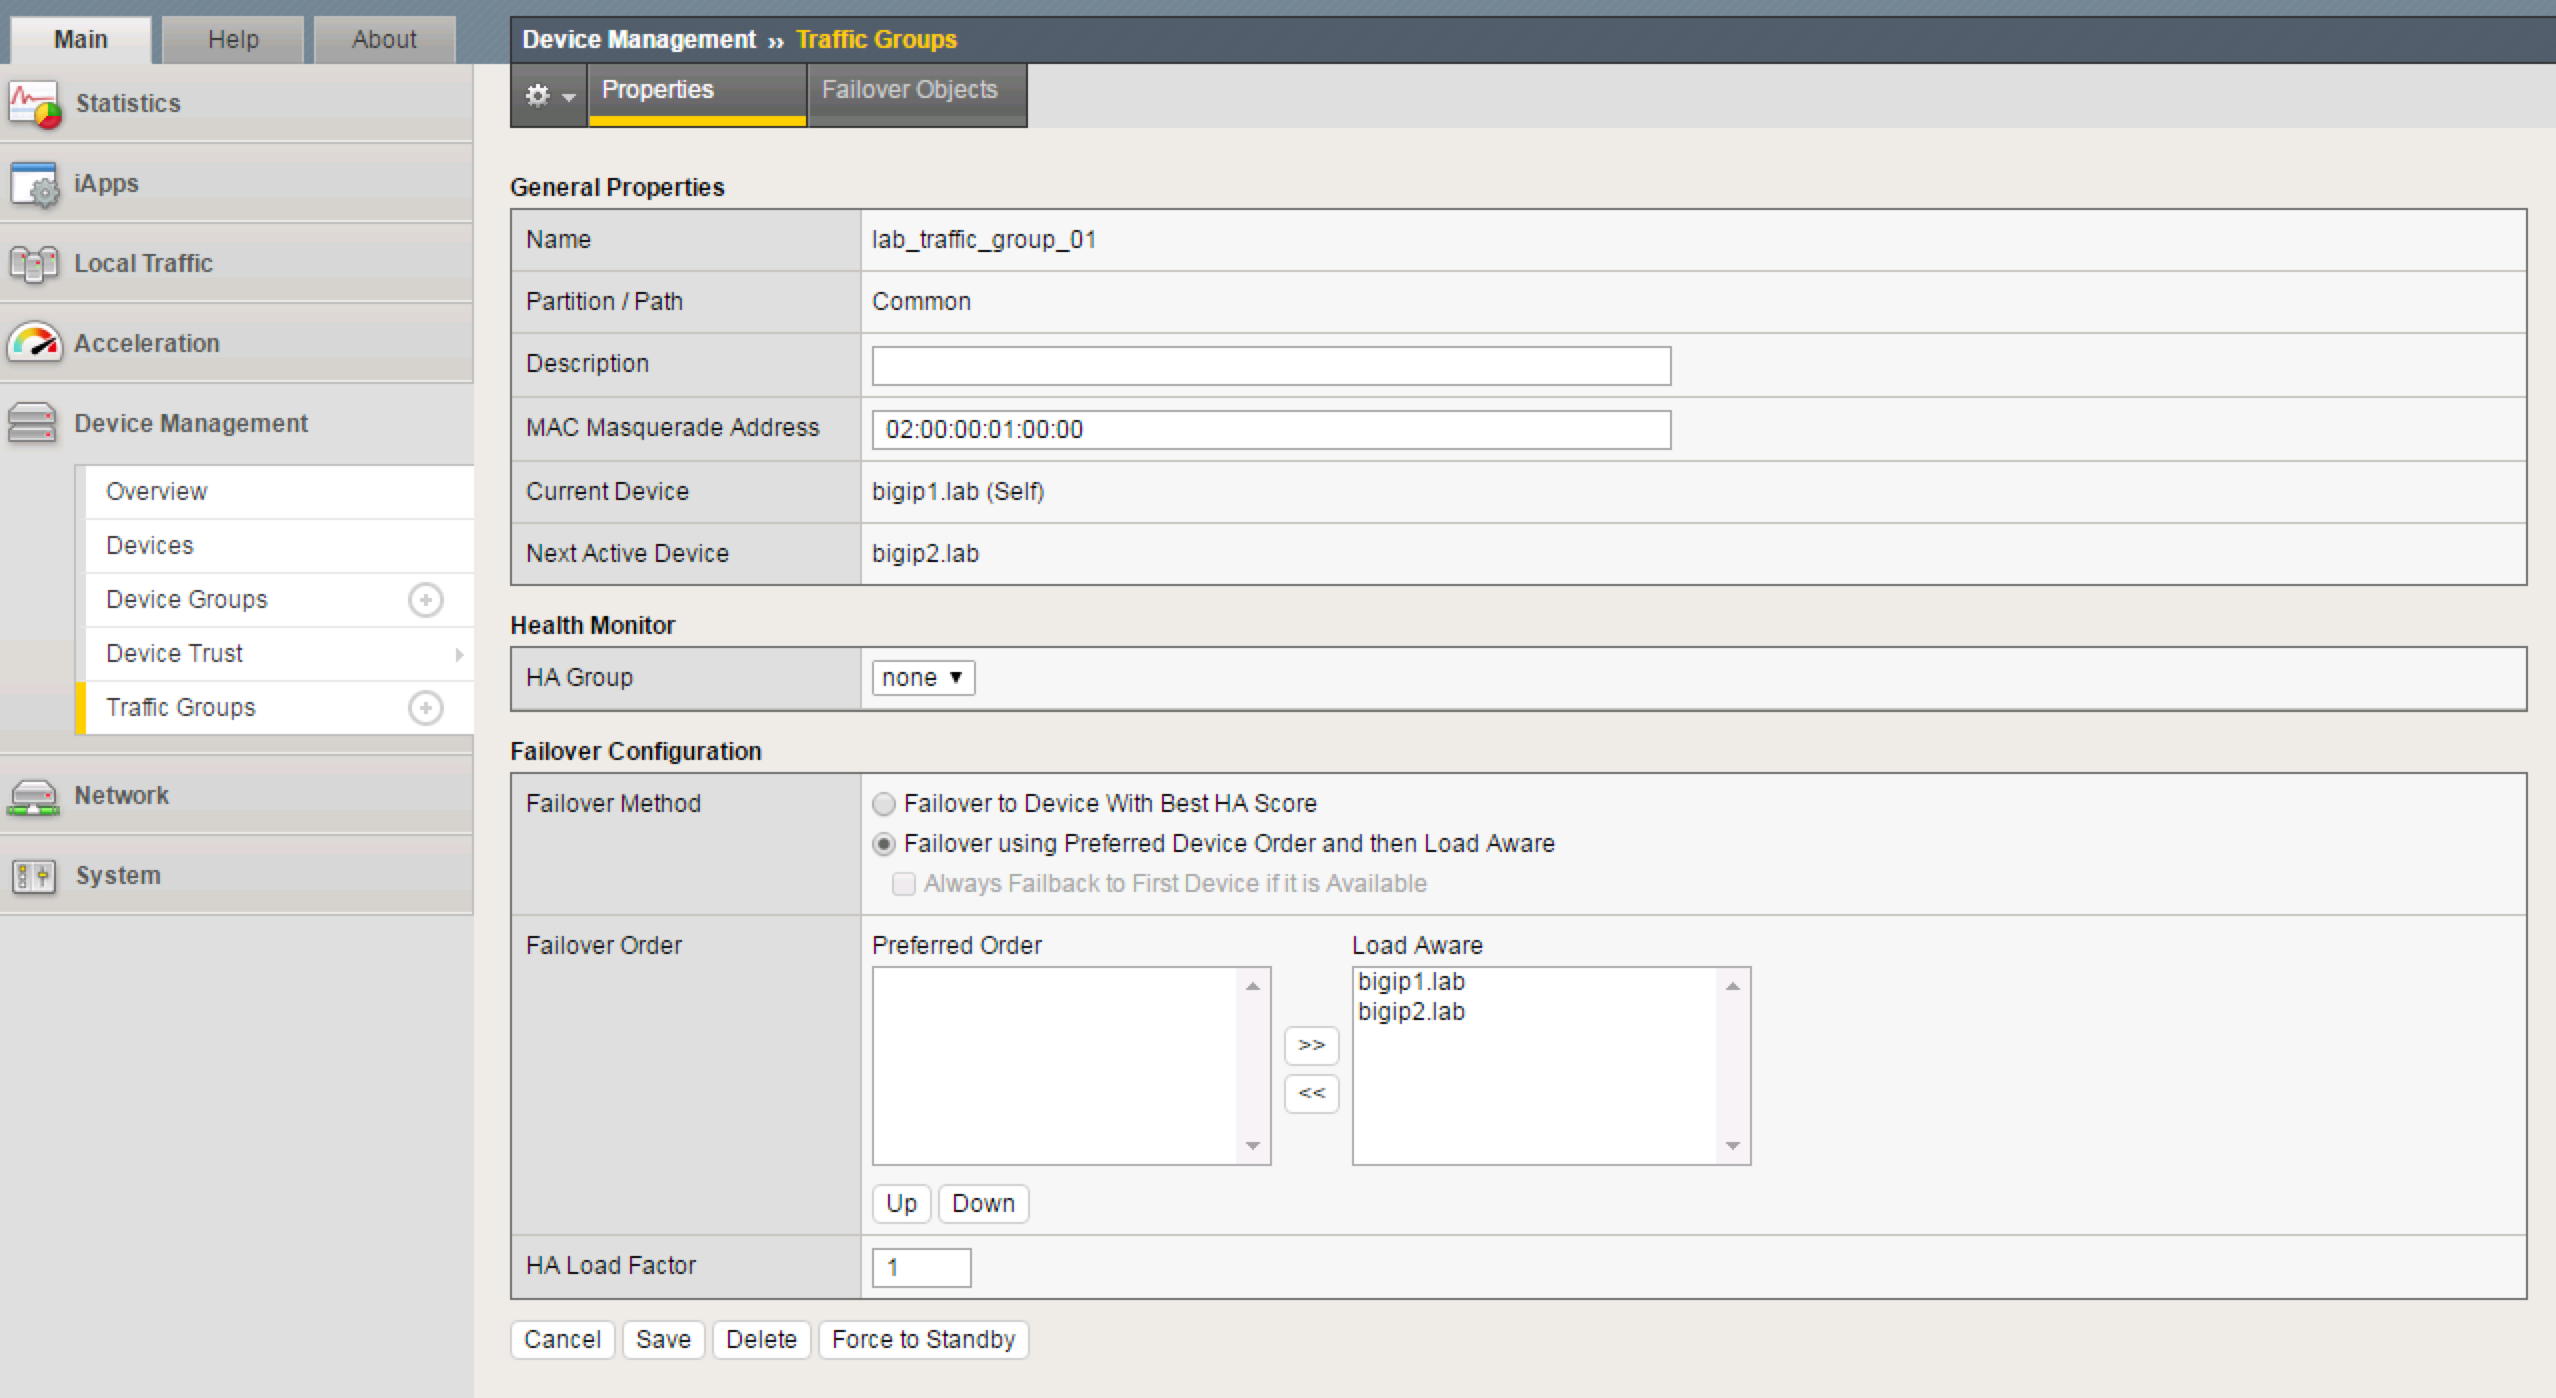
CLI show command
r5900-1# show tenant
See that newly created tenant is in ‘configured' state. To update the state, enter config mode
r5900-1# config
r5900-1(config)# tenants tenant r5900-2-tenant-a config running-state deployed
r5900-11(config-tenant-r5900-2-tenant-a)#!
r5900-11(config-tenant-r5900-2-tenant-a)# commit
r5900-11(config-tenant-r5900-2-tenant-a)# exit
r5900-1#(config) exit
After you commit the change, F5OS will start deploying the tenant. The initial deployment requires creating the virtual disk, which takes longer than updating an existing tenant's running state. While the tenant is being created, the status will show as Starting in the GUI and CLI. The tenant should be available in 3-5 minutes.
The tenant Status will show Running once it has booted; you can monitor the tenant startup by continuously pinging the management IP from your workstation -- successful replies indicate tenant services are coming up and you can log in.
r5900-1# show tenants tenant state status
NAME              STATUS
---------------------------
r5900-1-tenant-a  Running
Note: New tenants are created with a default TMOS install. For initial login use root/default (SSH); change the root password when prompted -- this password is temporary and will revert to the lab password Appworld26 after the UCS load completes.
Once the tenant is running, and management IP is reachable:
SSH into the tenant as the root user and password default, the management IP will be 10.193.5.(30+X For Student A or 50+X for Student B)
When prompted, set a new password for the root user
After resetting the password in the CLI remain in the CLI for the next steps.
Next, import the master key from the tenant you're migrating. This is necessary when the UCS contains encrypted passwords; without the master key, the UCS may fail to load. If the master key is unavailable, manually edit the configuration to remove encrypted elements so the UCS can load without errors.
Loading the master key from the bash shell can be referenced in knowledge article https://my.f5.com/manage/s/article/K9420. For this lab, both the UCS and master key files are on a web server 10.193.5.2 that can be downloaded to a laptop then uploaded to the BIG-IP tenant, or simple directly downloaded to the tenant via HTTPS.
Filenames for Student A:
UCS file:    r5900-<X>a.ucs
Key file:    r5900-<X>a.key
------------------------
Filenames for Student B:
UCS file:    r5900-<X>b.ucs
Key file:    r5900-<X>b.key
The following commands use curl from the BIG-IP tenant (remember to change the file names to your student and station assignments) to directly download the files:
[root@localhost:Active:Standalone] config # curl -k https://10.193.5.2/r5900-1a.key -o /var/tmp/r5900-1a.key

[root@localhost:Active:Standalone] config # curl -k https://10.193.5.2/r5900-1a.ucs -o /var/tmp/r5900-1a.ucs

[root@localhost:Active:Standalone] config # ls -la /var/tmp/r5900-*

-rw-r--r--. 1 root root       25 Jan 14 11:13 /var/tmp/r5900-1a.key
-rw-r--r--. 1 root root 10918287 Jan 14 11:13 /var/tmp/r5900-1a.ucs
Next, re-key the master key from the txt file downloaded, as an example:
[root@localhost:Active:Standalone] config # cat /var/tmp/r5900-1a.key
U5hNcJqbR0W4pjILPNa5/Q==
[root@localhost:Active:Standalone] config # f5mku -r U5hNcJqbR0W4pjILPNa5/Q==
Rekeying Master Key...
[root@localhost:Active:Standalone] config # f5mku -K
U5hNcJqbR0W4pjILPNa5/Q==
The final tenant migration step is to load the UCS file, using the platform-migrate option which ignores network interfaces and other items in the load process
tmsh
root@(localhost)(cfg-sync Standalone)(Active)(/Common)(tmos)# load sys ucs /var/tmp/r5900-1a.ucs platform-migrate
Replace all configuration on the system? (y/n) y
…
…
Platform migrate loaded successfully. Saving configuration.
/var/tmp/r5900-1a.ucs is loaded.
root@(bigip-1-a)(cfg-sync Standalone)(INOPERATIVE)(/Common)(tmos)#
Within a minute or two the BIG‑IP status will change to Active and the configuration will be loaded. View the configuration in the UI or with tmsh to examine the virtual server, pool, and other settings. The Pool should be passing health checks and available along with the Virtual Servers
NOTE The Hostname of the tenant has changed to the hostname from the UCS file, which is expected. The tenant hostname can be changed at any time via platform settings and device certificate updates.
In F5OS, the virtctl command allows for a virtual console to any tenant, but only from the bash shell. In addition, ssh can be used to enable virtual console to tenants with the following configuration. Begin by viewing the system aaa settings:
r5900-1# show system aaa authentication users
                  AUTHORIZED  LAST        TALLY                  EXPIRY
USERNAME          KEYS        CHANGE      COUNT  ROLE            STATUS
--------------------------------------------------------------------------
admin             -           2026-01-25  0      admin           enabled


r5900-8-tenant-a  -           0           0      tenant-console  locked
r5900-8-tenant-b  -           0           0      tenant-console  locked
root              -           2026-01-08  0      root            enabled
Notice that for each tenant, a username has been created with specific role of tenant-console.
To enable use of this, a few configuration items must be done.
First set the password for the account (this is only to scp to console, it is not a user login role)
r5900-1# config
r5900-1(config)# system aaa authentication users user <tenant USERNAME> config set-password
Set Account to enabled
r5900-1(config)# system aaa authentication users user <tenant USERNAME> config expiry-status enabled
r5900-1(config-user-r5900-1-tenant-b)# commit
r5900-1(config-user-r5900-1-tenant-b)# exit
Set the last-change date
r5900-1(config)# system aaa authentication users user <tenant USERNAME> config last-change <date in format YYYY-MM-DD>
r5900-1(config-user-r5900-1-tenant-b)# !
r5900-1(config-user-r5900-1-tenant-b)# commit
r5900-1(config-user-r5900-1-tenant-b)# exit
r5900-1(config)# exit
Test console access to your tenant from your workstation/desktop using the password you set for the console account:
ssh <tenant-name>@<F5OS IP> -p 7001
Now test console access to your tenant from F5OS using the virtctl utility. This utility is accessed from the root shell.
virtctl console <tenant_name>-1
Note the trailing -1 for the tenant name, and wonder why is that needed? To find out, execute su admin at the following command:
[root@appliance-1(r5900-1.aw26.lab):Active] ~ # su admin
r5900-11# show tenants tenant
Full knowledge article on rSeries tenant console access: https://my.f5.com/manage/s/article/K33373310
//End of Exercise 2