F5 Application Delivery Controller Solutions > TMOS - Performance Tuning > Intro: Working With The Lab Source | Edit on
Working With Components
UDF refers to lab elements as Components. For the labs, you will access a BIG-IP, an Ubuntu client and a Windows 11 client. You can choose to access the BIG-IP and Ubuntu client from the UDF Access dropdown for each Component or RDP to the Windows 11 client and do the work from there.
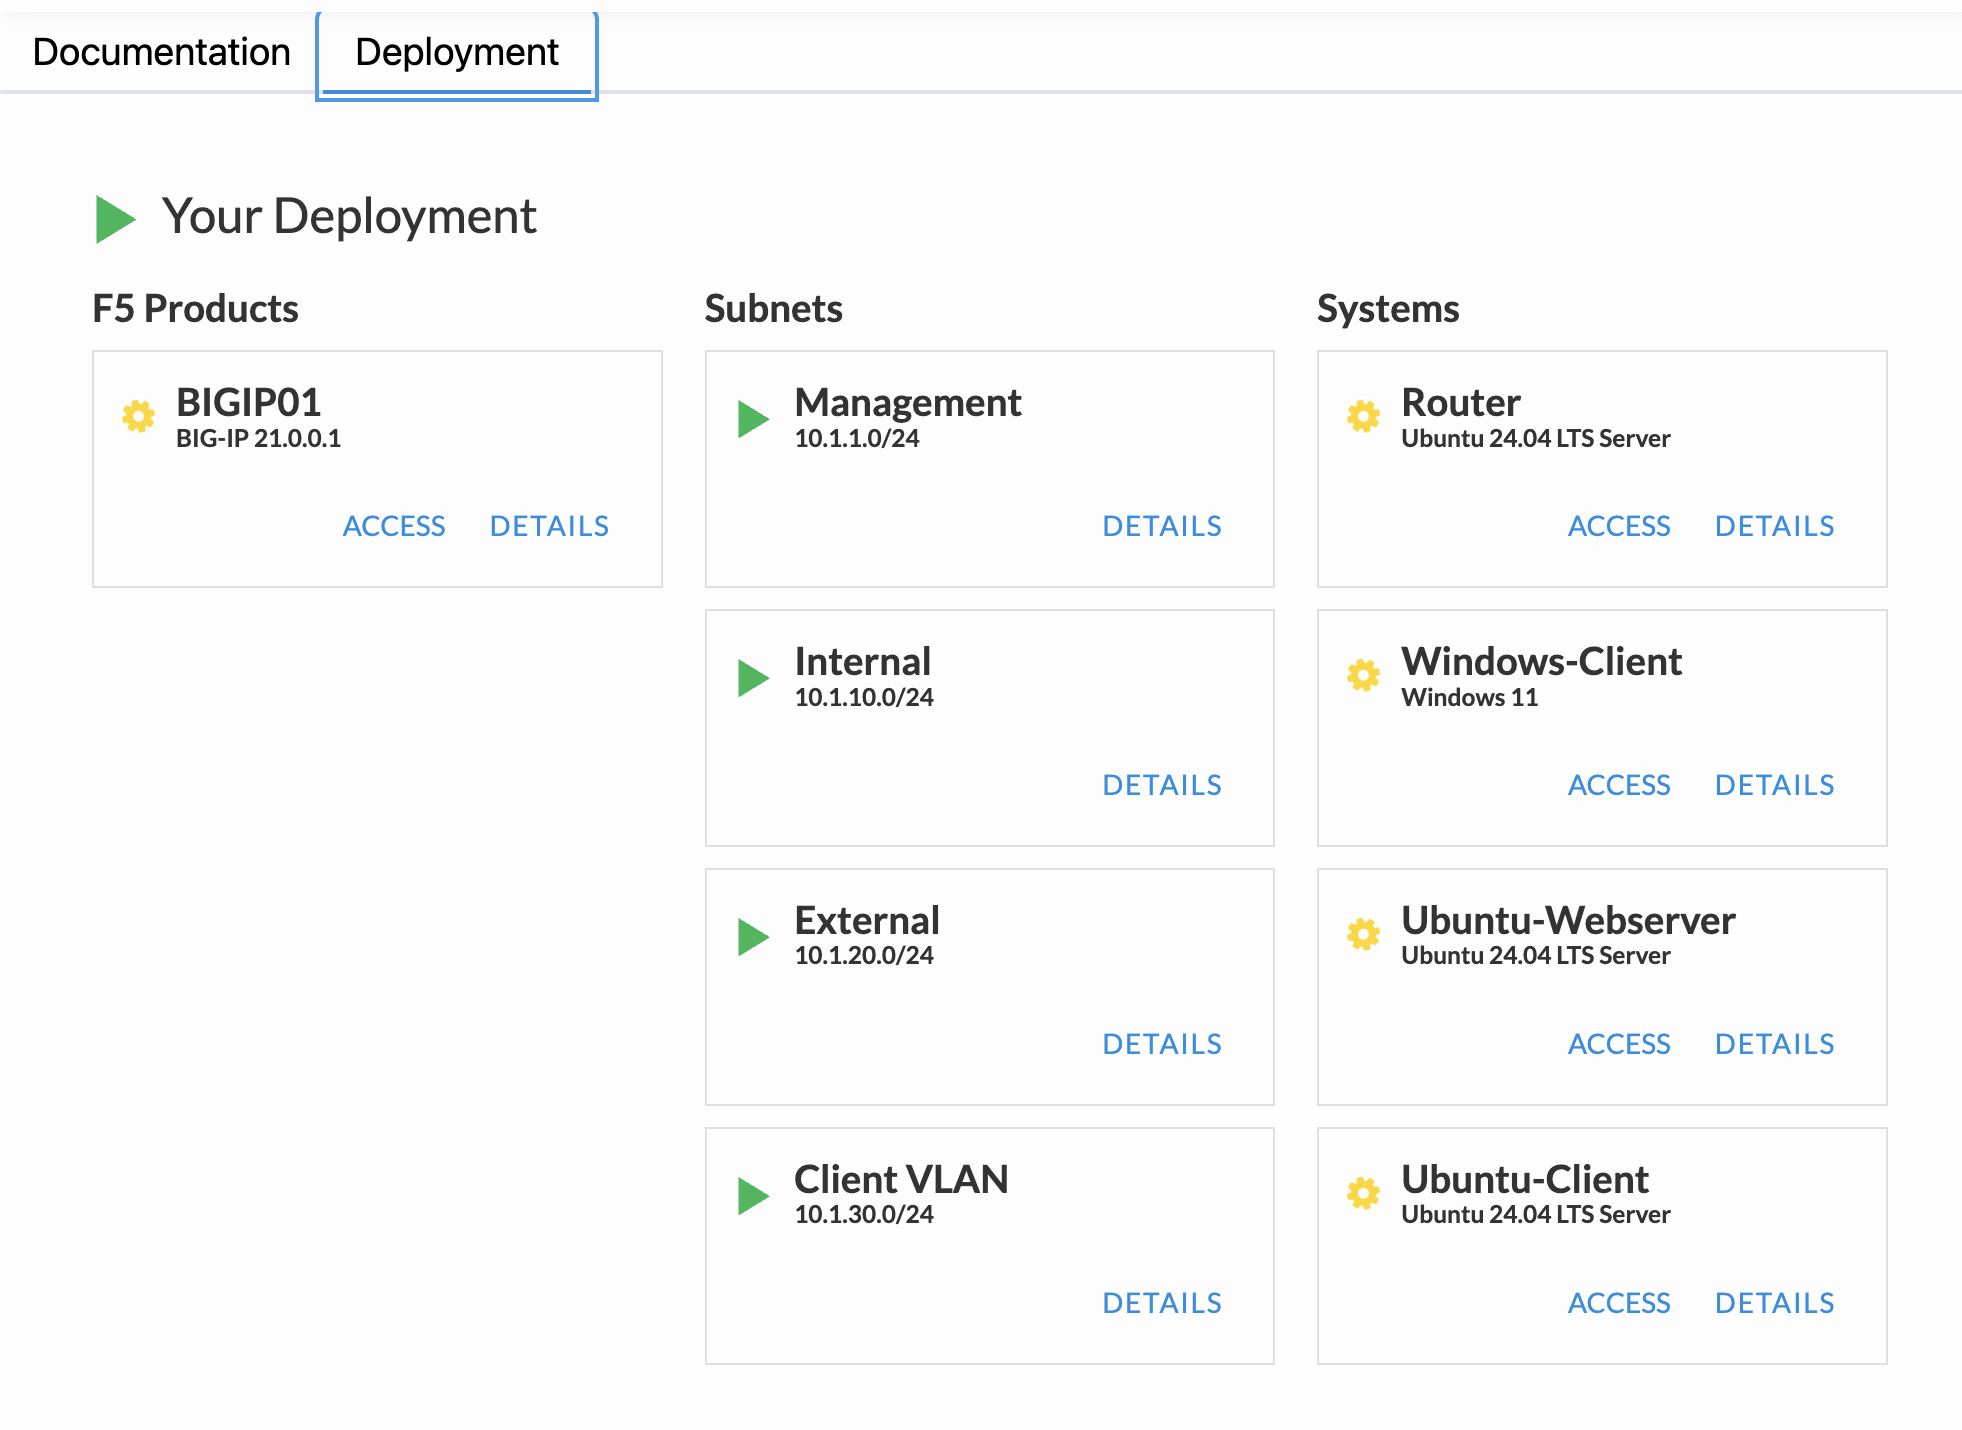
Click on the Deployment tab in UDF to see the components and their status. The lab deployment will be fully operational when there is a green triangle next to each component. Each component within the deployment has at least one connection method from the Access dropdown as you'll see in the instructions below.
The following image shows a deployment in the startup phase with spinning yellow gears next to some components. It should take a few minutes for startup to complete.
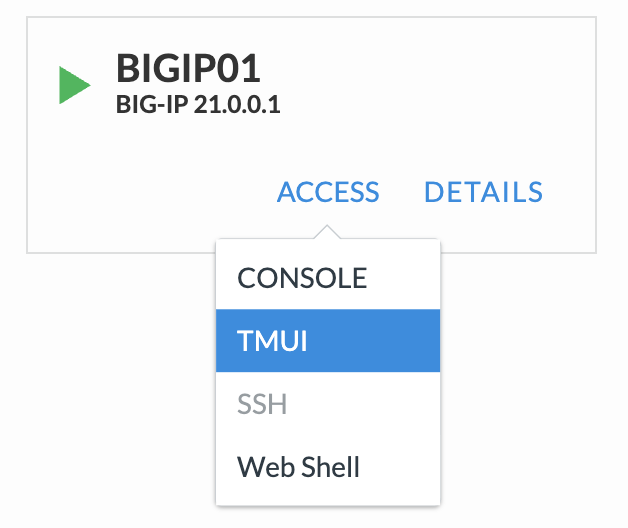
For BIGIP01, you will use TMUI and Web Shell options during the labs
For BIGIP01 UI, select TMUI from the Access dropdown
Login with the following credentials:
User: adminPassword: admin.F5demo.com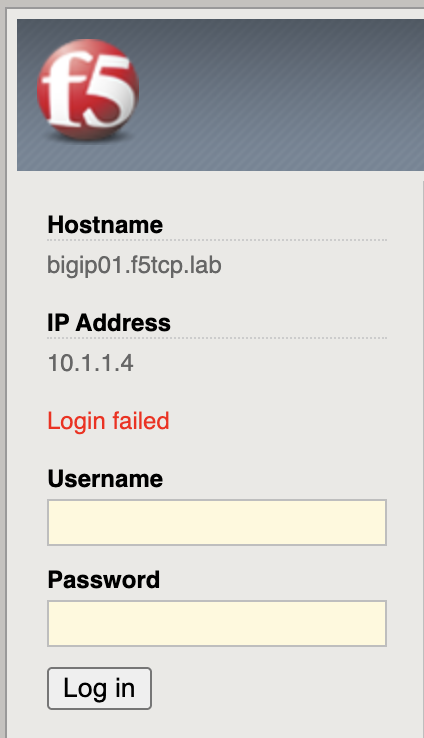
For command-line (CLI) access to BIGIP01, select Web Shell from the Access dropdown. Web Shell will open as a new web browser tab.

For the Ubuntu-Client, you only need to use Web Shell. Web Shell will open as a new web browser tab.
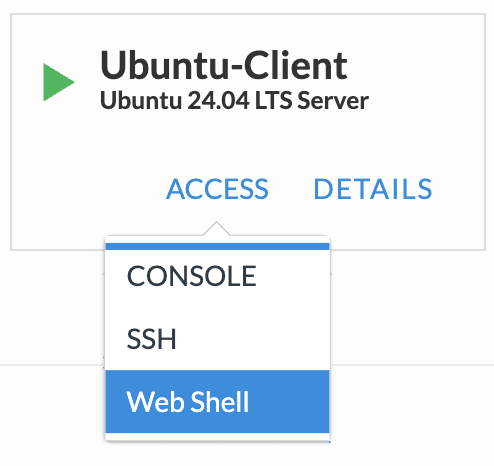
Once connected to Ubuntu-Client enter the following commands:
su ubuntu
cd ~
Note: For Windows systems you may need to use <ctrl><shift><v> in order to paste commands into a Web Shell session
For Windows-Client, you will use RDP. If RDP access is blocked on your computer you can use Console.
Option 1: Windows RDP
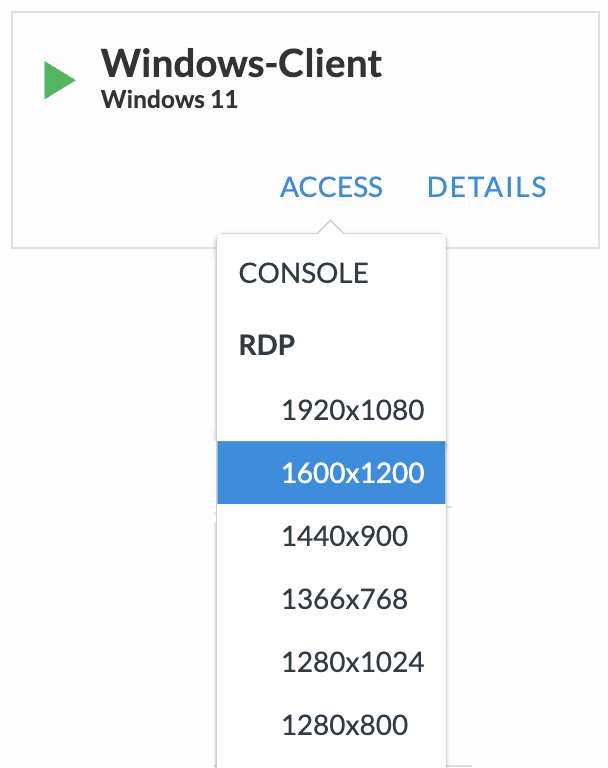
From the Windows-Client Access dropdown, click on the RDP screen resolution you prefer. An RDP file will save to your browser's download location as device ID.rdp similar to 78bd595f-5239-4b93-8d04-1bc3ab2582c5.rdp
Find the .RDP file in your wed browser's download location and double-click to open with your RDP client
Use the following credentials:
User: labUserPassword: lab.F5demo.com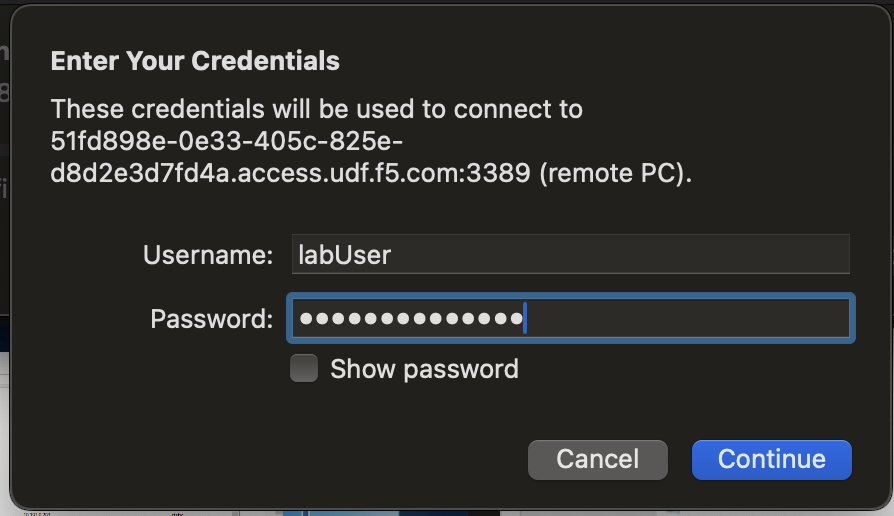
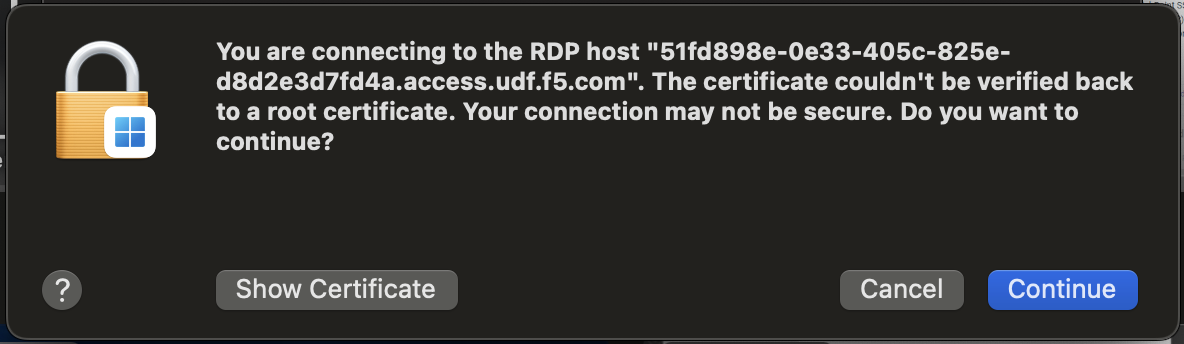
Click continue to the connection prompt
Option 2: Windows Console
From the Windows-Client Access dropdown, click on Console to open a noVNC connection to the client in your web browser
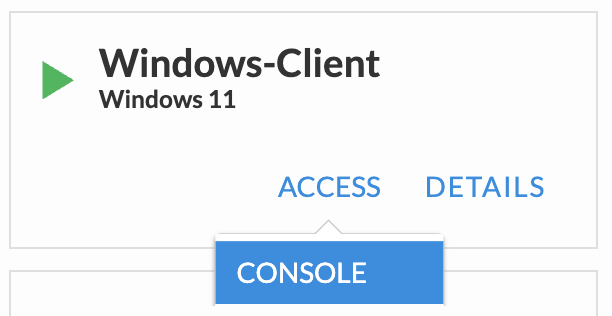
You may need to click on the screen to get the login prompt to appear. The background image may be different during the lab session
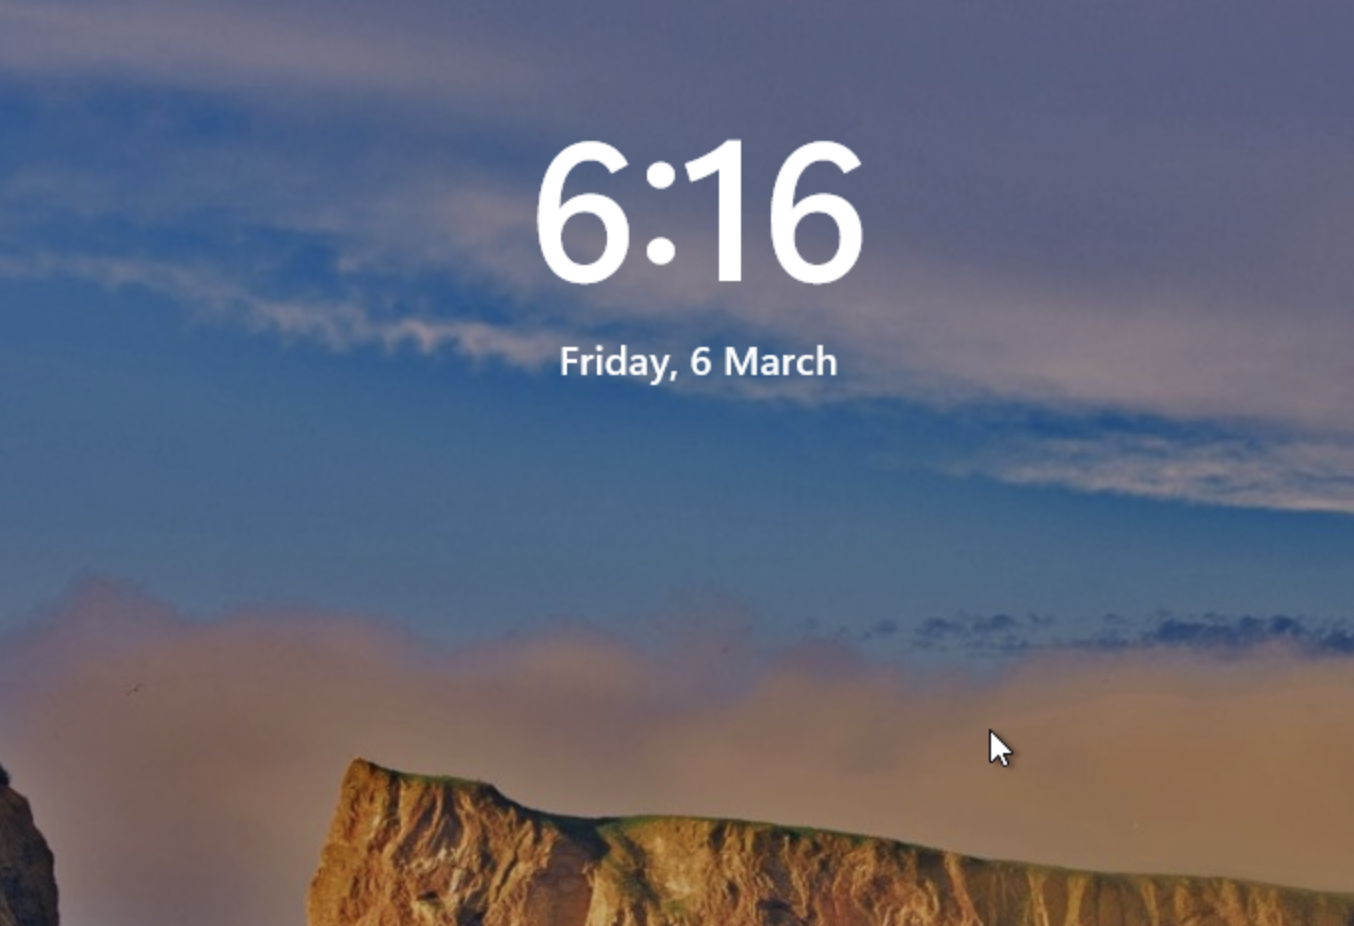
Click on Lab User from the account selection on the bottom left
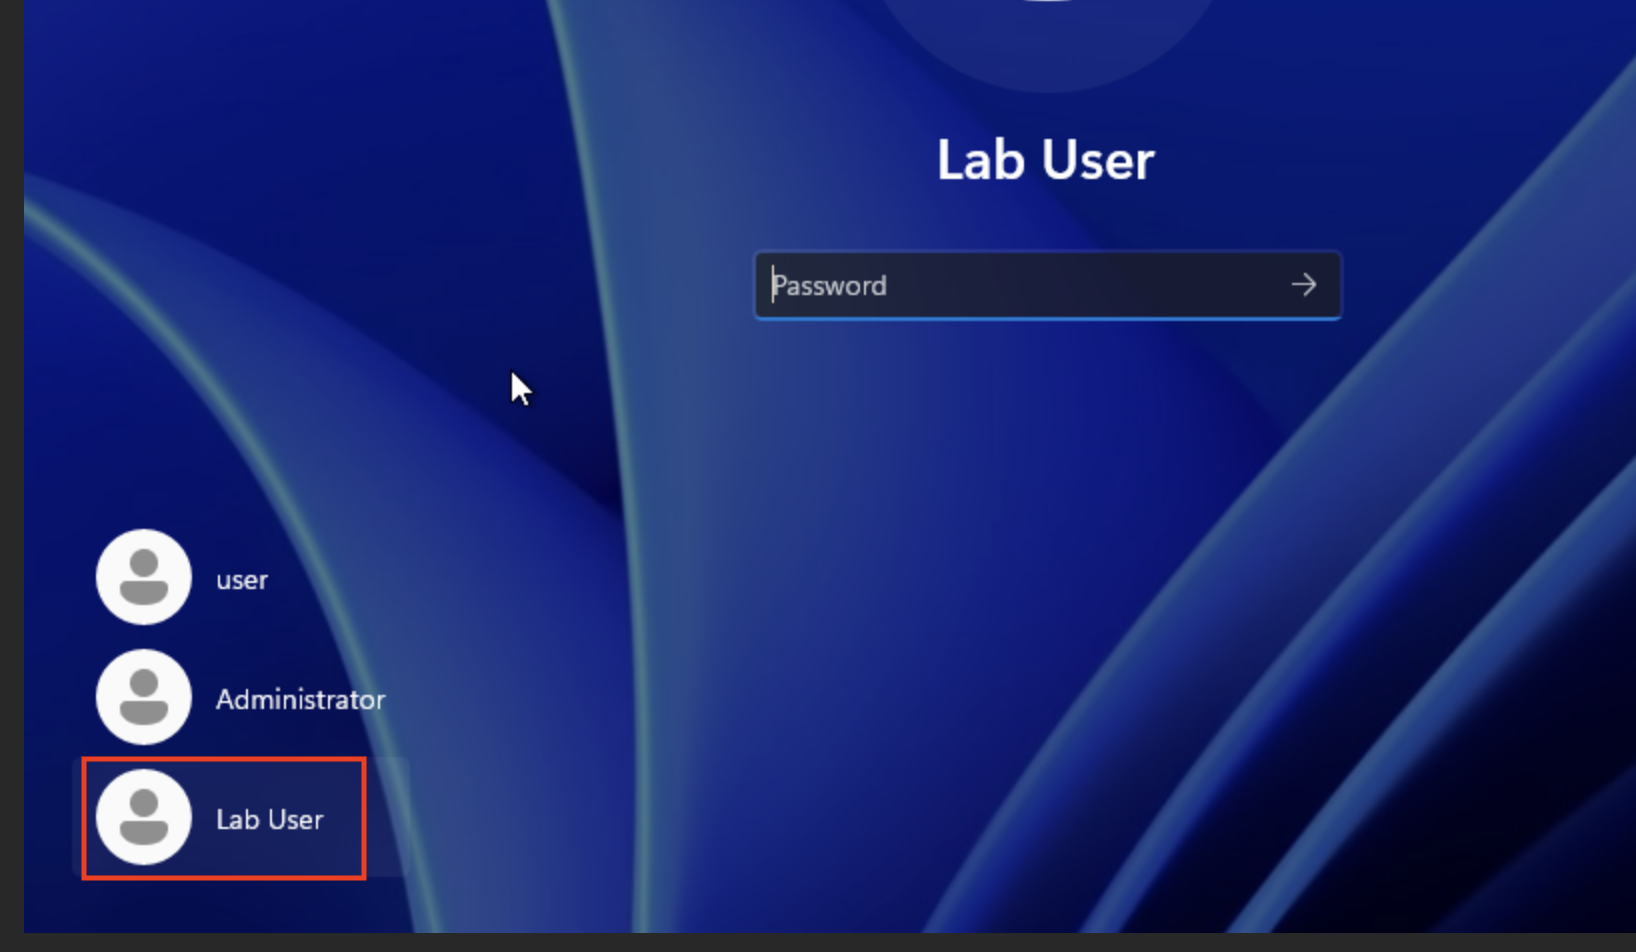
Use the following password to login
Password: lab.F5demo.com
Note: Throughout the labs you should leave a single connection open to the following as they will be used for multiple labs/tasks:
BIGIP01 TMUI
BIGIP01 Web Shell
Ubuntu-Client Web Shell
Recap
You now have the following:
Logged into the UDF portal
A working UDF deployment
Access to the key Lab components