F5 Application Delivery Controller Solutions > TMOS - Performance Tuning > Lab 3: Layer 7 LB for HTTP and UDP Source | Edit on
Task 3: Layer 7 LB for UDP
Even though UDP is connectionless, TMOS will load balance UDP to the same pool member based on the client's source IP:Port by default. This behavior can be changed through use of UDP Profiles by enabling the Datagram LB option.
Looking at a DNS design where you want to load balance across a large pool of DNS servers, the local DNS servers may send queries in batches using the same ephemeral source port resulting in the requests going to the same pool member. Enabling Datagram LB in the UDP profile allows TMOS to send each query to the most capable pool member.
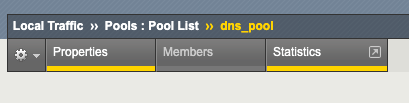
From BIGIP01 UI, go to Local Traffic > Pools > Pools List and click on dns_pool
Click on Statistics from the menu bar
Reset the statistics for all pool members if they are not already all zeros
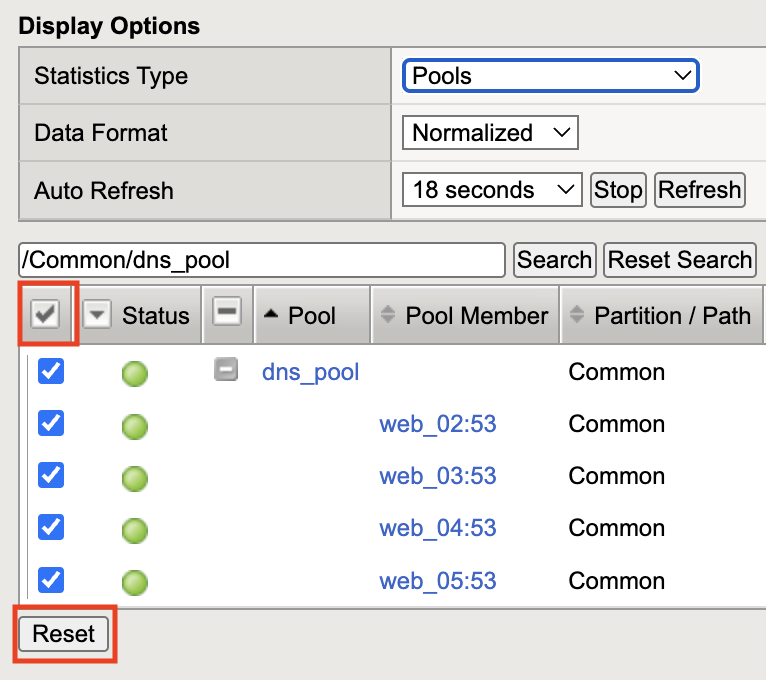
Set Auto Refresh to 20 seconds if it isn't already set from earlier stats reviews
From the Ubuntu-Client SSH window, run the following command:
~/dns_loop.sh
The script runs 1000 DNS queries through UDP Virtual Server dns_vs1. The Virtual Server is currently configured with a custom UDP Profile but all settings are default.
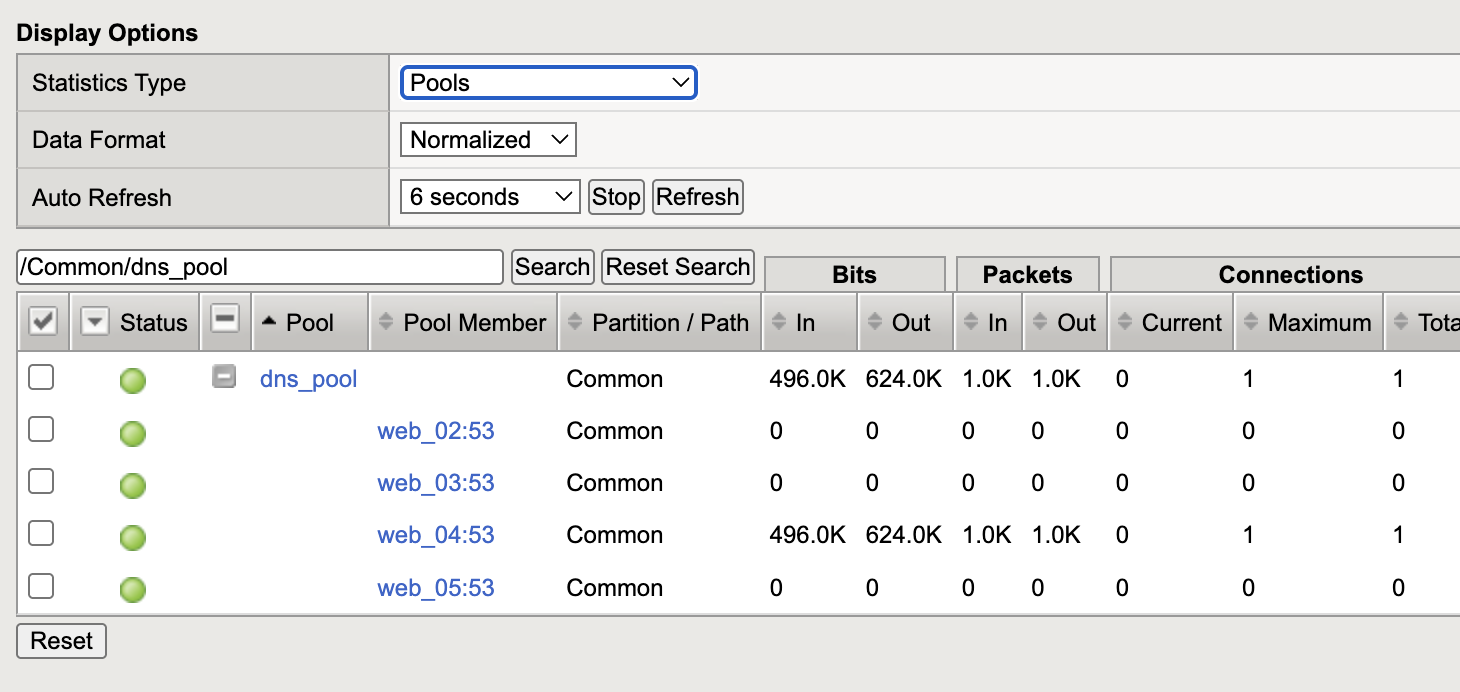
From BIGIP01 UI, check the pool stats. You should see all 1000 queries have gone to a single server
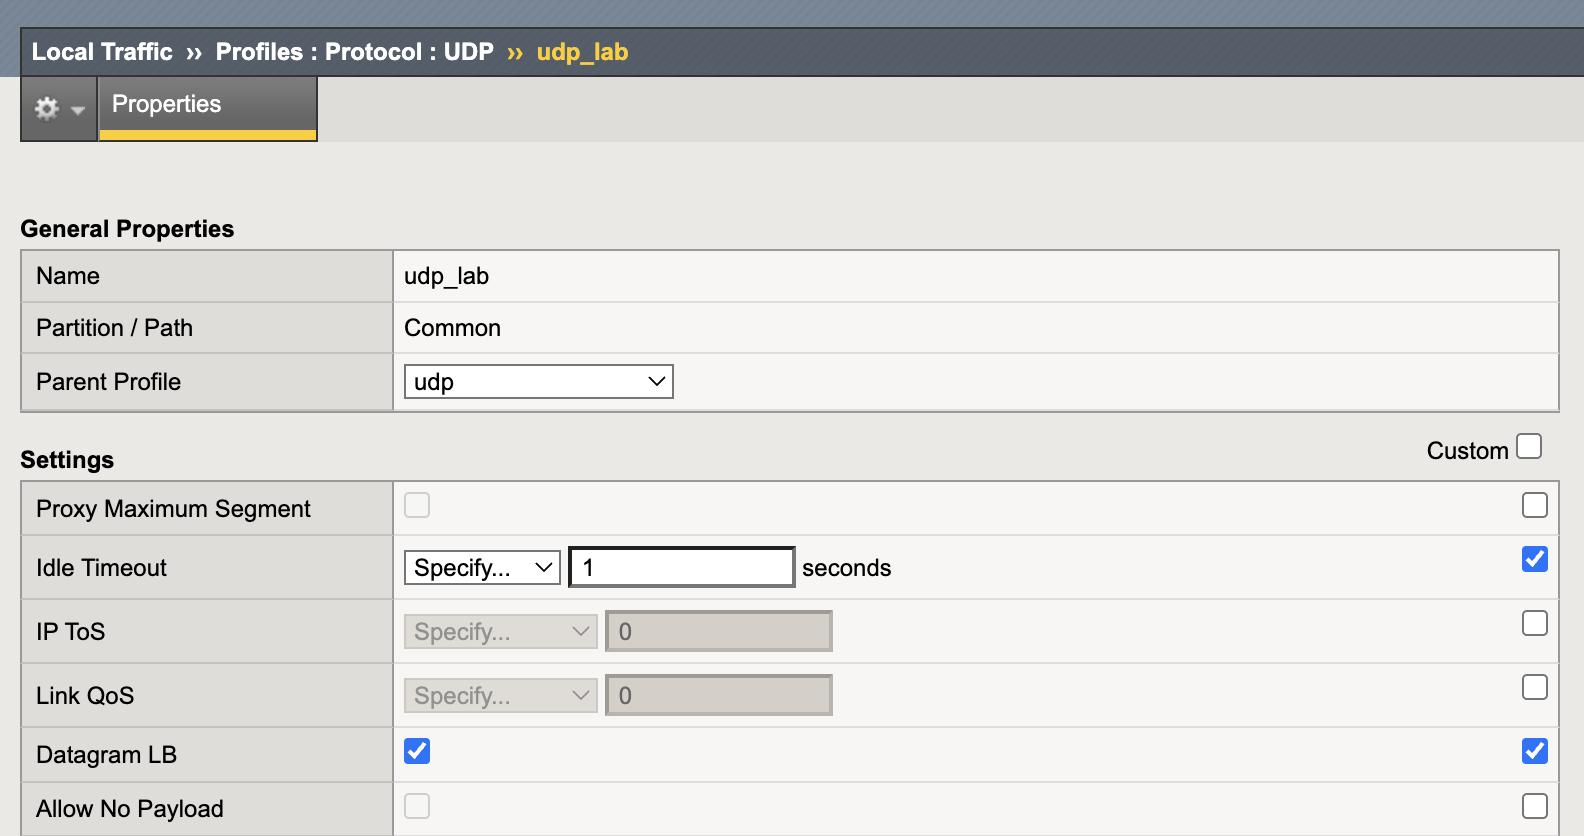
From BIGIP01 UI, go to Local Traffic > Profiles > Protocol > UDP and click on udp_lab from the list of profiles
On the right side, check the boxes for Idle Timeout and Datagram LB
Change Idle Timeout to 1 second since the DNS response is quick and check the Datagram LB option. Click the Update button at the bottom of the page to save the settings.
Note: Setting the Idle Timeout to Immediate will result in the response traffic from the server being returned with the actual server IP since there is no table to map the return traffic to the Virtual Server IP. For one-way traffic like UDP log data a setting of Immediate will be fine as there is no server response.
This UDP Profile is already assigned to Virtual Server dns_vs1
From BIGIP01 UI, go to Local Traffic > Pools > Pools List and click on dns_pool
Reset the pool stats again.
From the Ubuntu-Client SSH window, run the following command:
~/dns_loop.sh
From BIGIP01 UI, check the pool stats. You should see all 1000 queries evenly split across the pool members

Recap
You learned how to configure Layer 7 load balancing for both TCP and UDP traffic. This concludes Lab 3 and is the end of the class.