F5 BIG-IQ Centralized Management Lab > BIG-IQ Test Drive Labs Source | Edit on
Lab 2.12: AS3 Application Creation using GitLab CI/CD pipeline, Ansible and BIG-IQ
Note
Estimated time to complete: 25 minutes
In this lab, we are going to use GitLab to store the BIG-IP configuration (AS3 declaration) and deploy it through BIG-IQ to BIG-IP using Ansible.
We are leveraging a CI/CD pipeline in GitLab in order to make changes on the BIG-IP device.

Ansible is an open-source software provisioning, configuration management, and application-deployment tool enabling infrastructure as code.
GitLab is a web-based DevOps lifecycle tool that provides a Git-repository manager providing wiki, issue-tracking and continuous integration and deployment pipeline features.
GitLab will keep track of the changes and control user access to the application service configuration of the F5 BIG-IP. We are using BIG-IQ to provide visibility with enhanced analytics (HTTP/TCP) to the DevOps/Application owner.
- This lab will be using the following F5 Ansible Galaxy roles:
- atc_deploy ansible Role: Allows AS3 declaration to be sent to automation tool chain service.
- bigiq_move_app_dashboard ansible Role: Move Application Service(s) in BIG-IQ Application Dashboard.
Lab environment access
If you have not yet visited the page Getting Started, please do so.
Workflow
- Start GitLab and create new a project
- Clone gitlab project and deploy AS3 HTTP application service to a BIG-IP through BIG-IQ
- Infrastructure as code: add a new pool member to the AS3 app service through GitLab
Start GitLab and create new a project
Connect via
SSHorWeb Shellto the system Ubuntu Lamp Server. (if you use the Web Shell, login as f5student first: su - f5student).Execute the following commands:
./gitlab/start-gitlab.sh
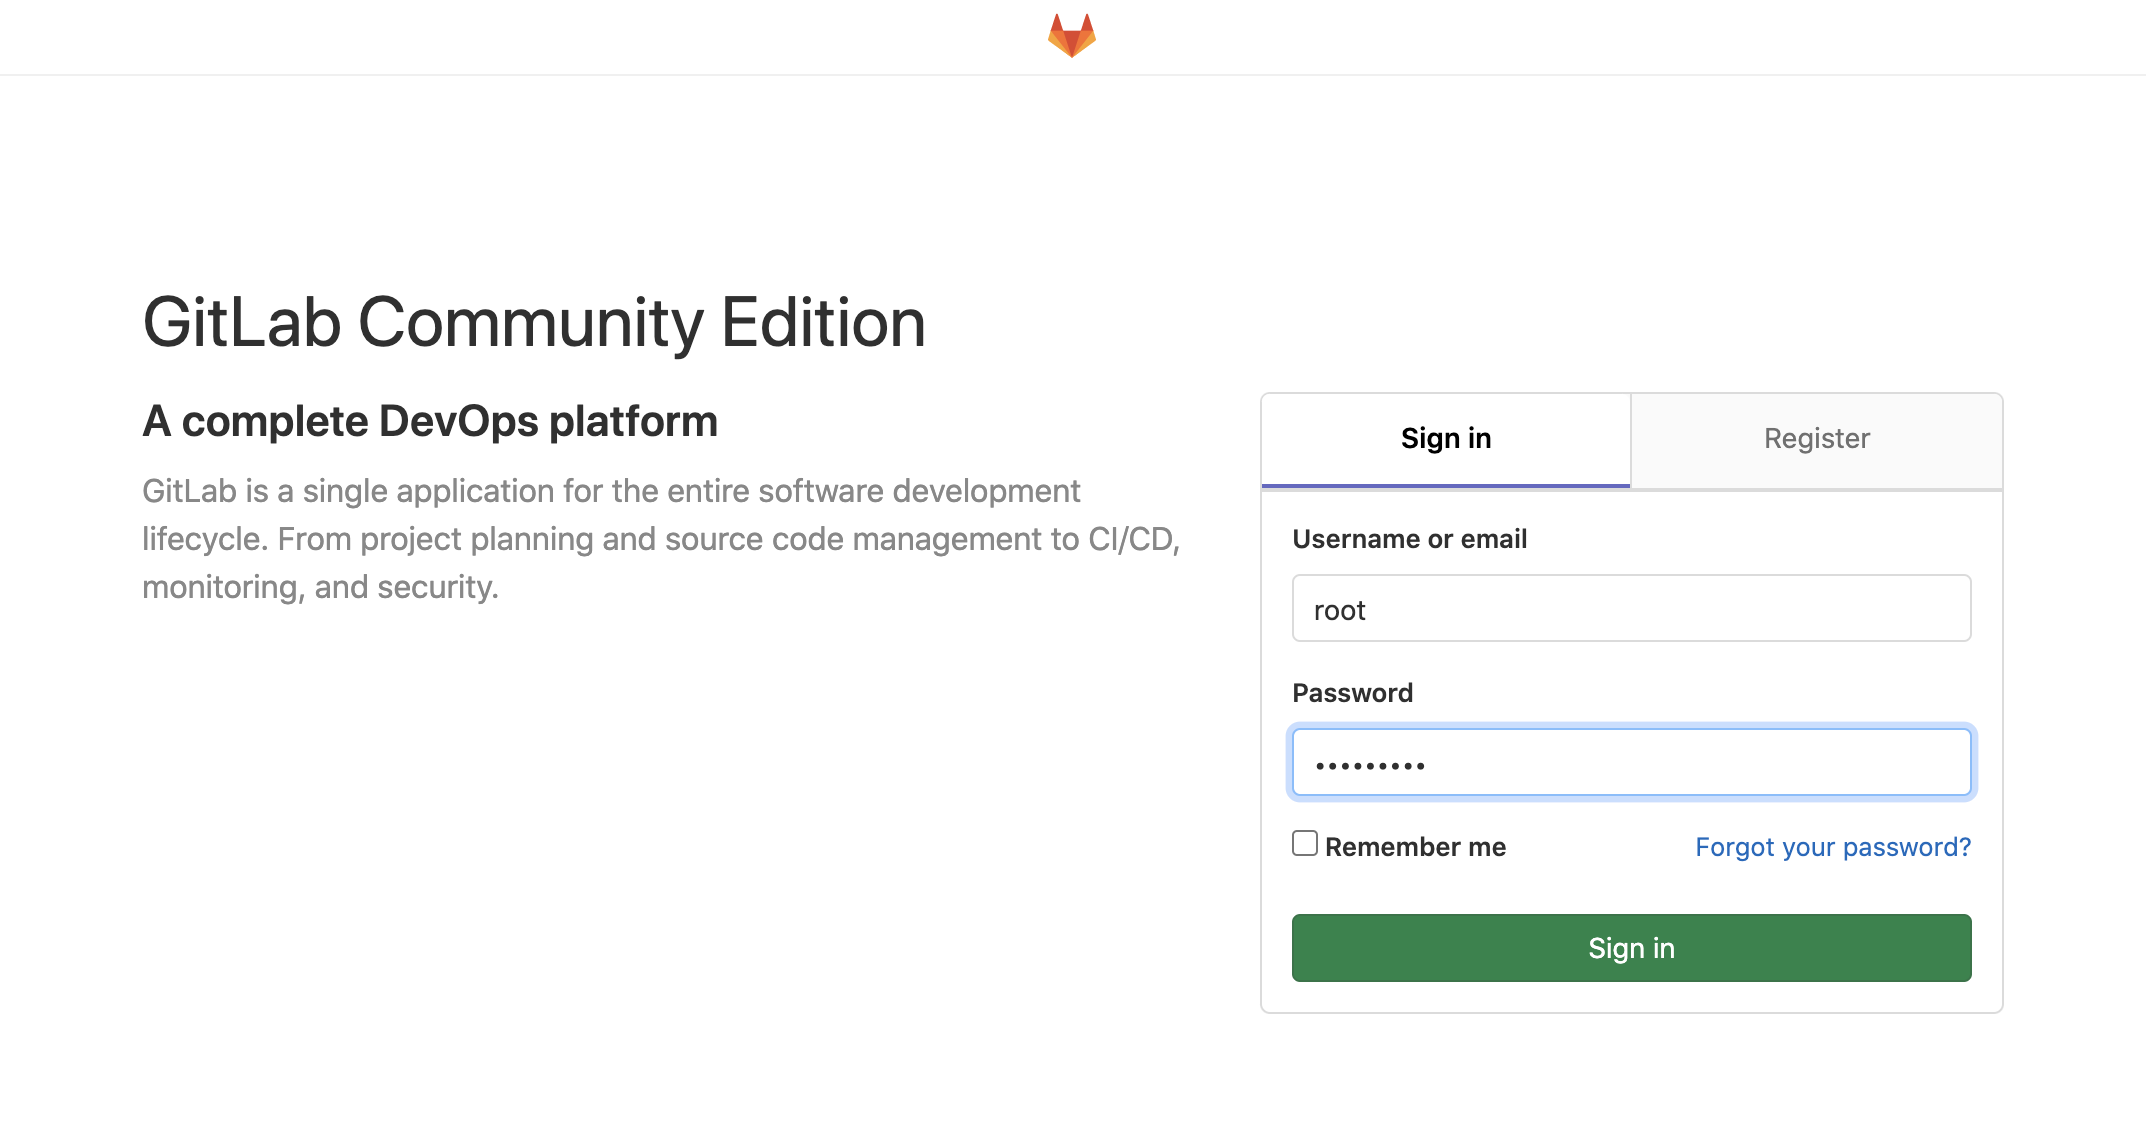
Wait ~10 min to open GitLab web UI from the lab environment. Click on the ACCESS button of the Ubuntu Lamp Server system and click on GitLab. The login/password is
root/purple123. Or openhttp://localhost:7002from Google Chrome browser in the Jumphost.
Note
You can check GitLab status with docker exec gitlab_gitlab_1 gitlab-ctl status and GitLab logs with docker logs gitlab_gitlab_1.
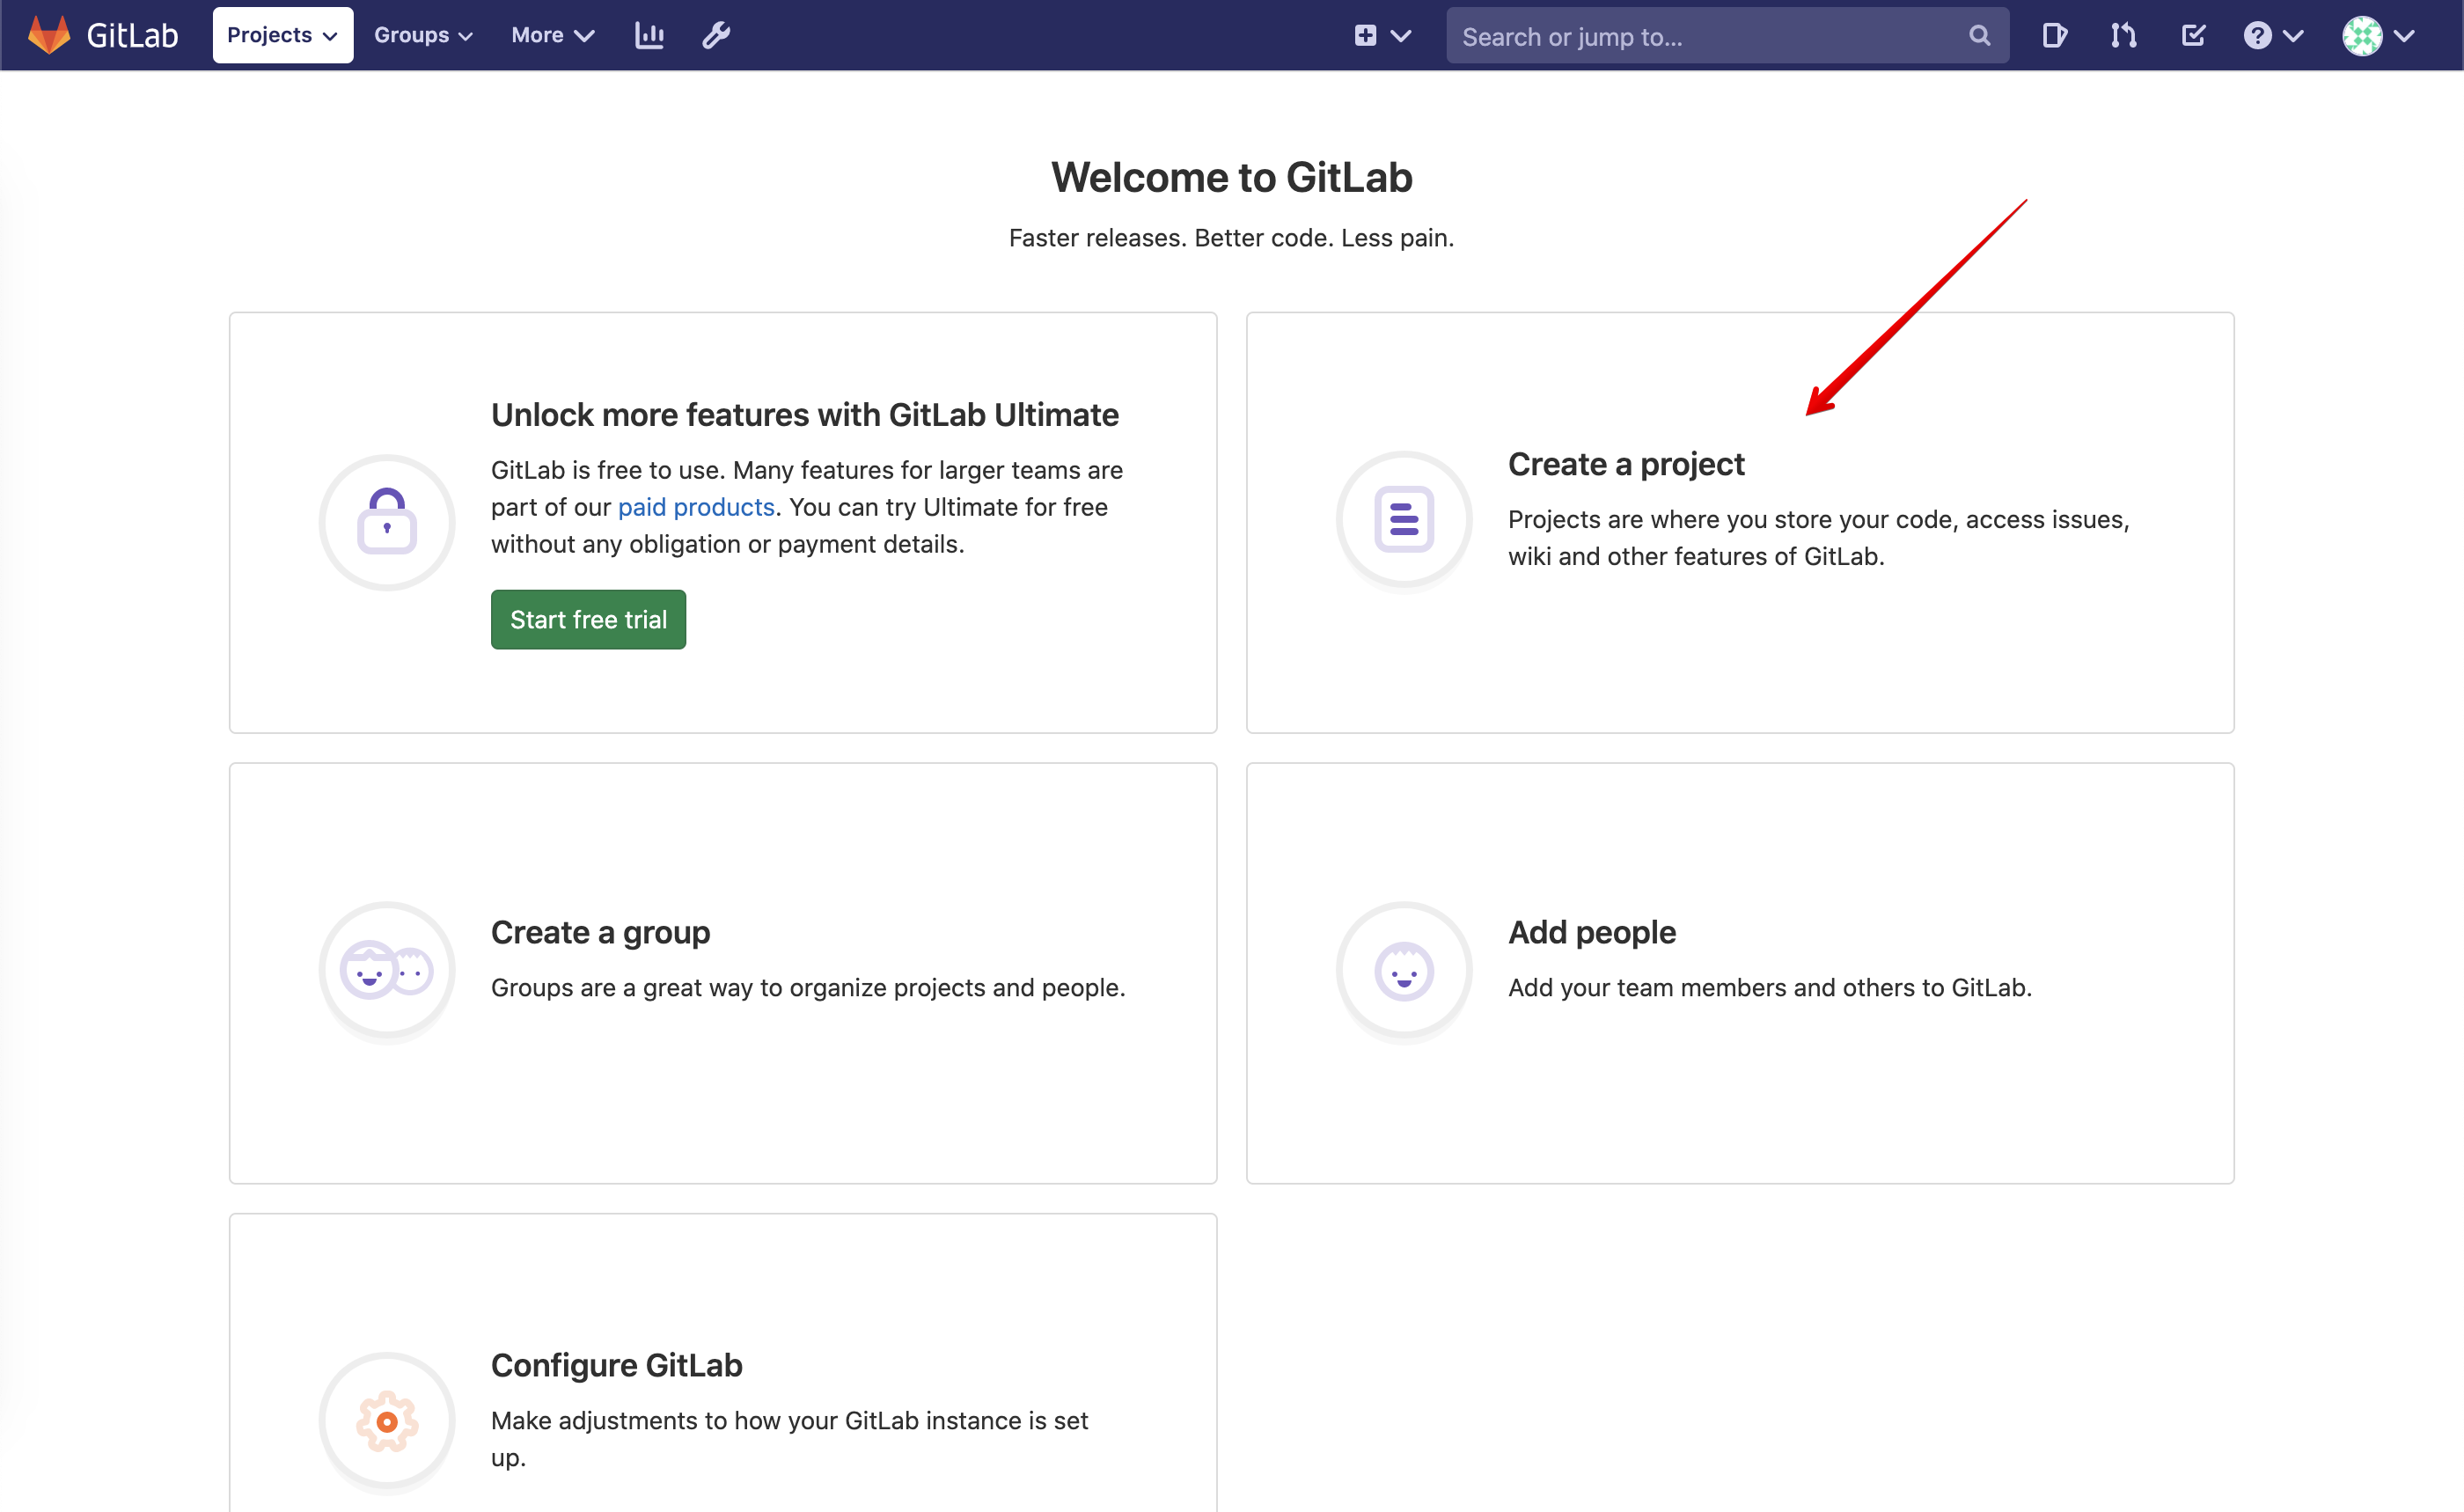
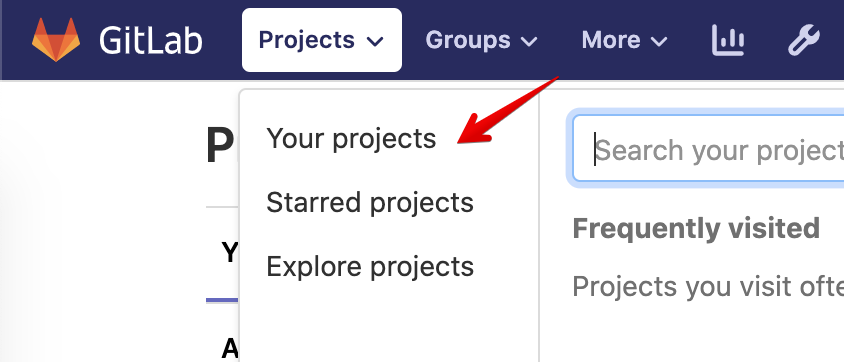
- Click on the GitLab button on the system Ubuntu Lamp Server in the lab environment. Create a new project and name it
mywebapp.
Select Initialize repository with a README.

Copy the Jumphost Ubuntu Lamp Server ssh public key:
cat ~/.ssh/id_rsa.pub
Back in GitLab, click on Add SSH Key.
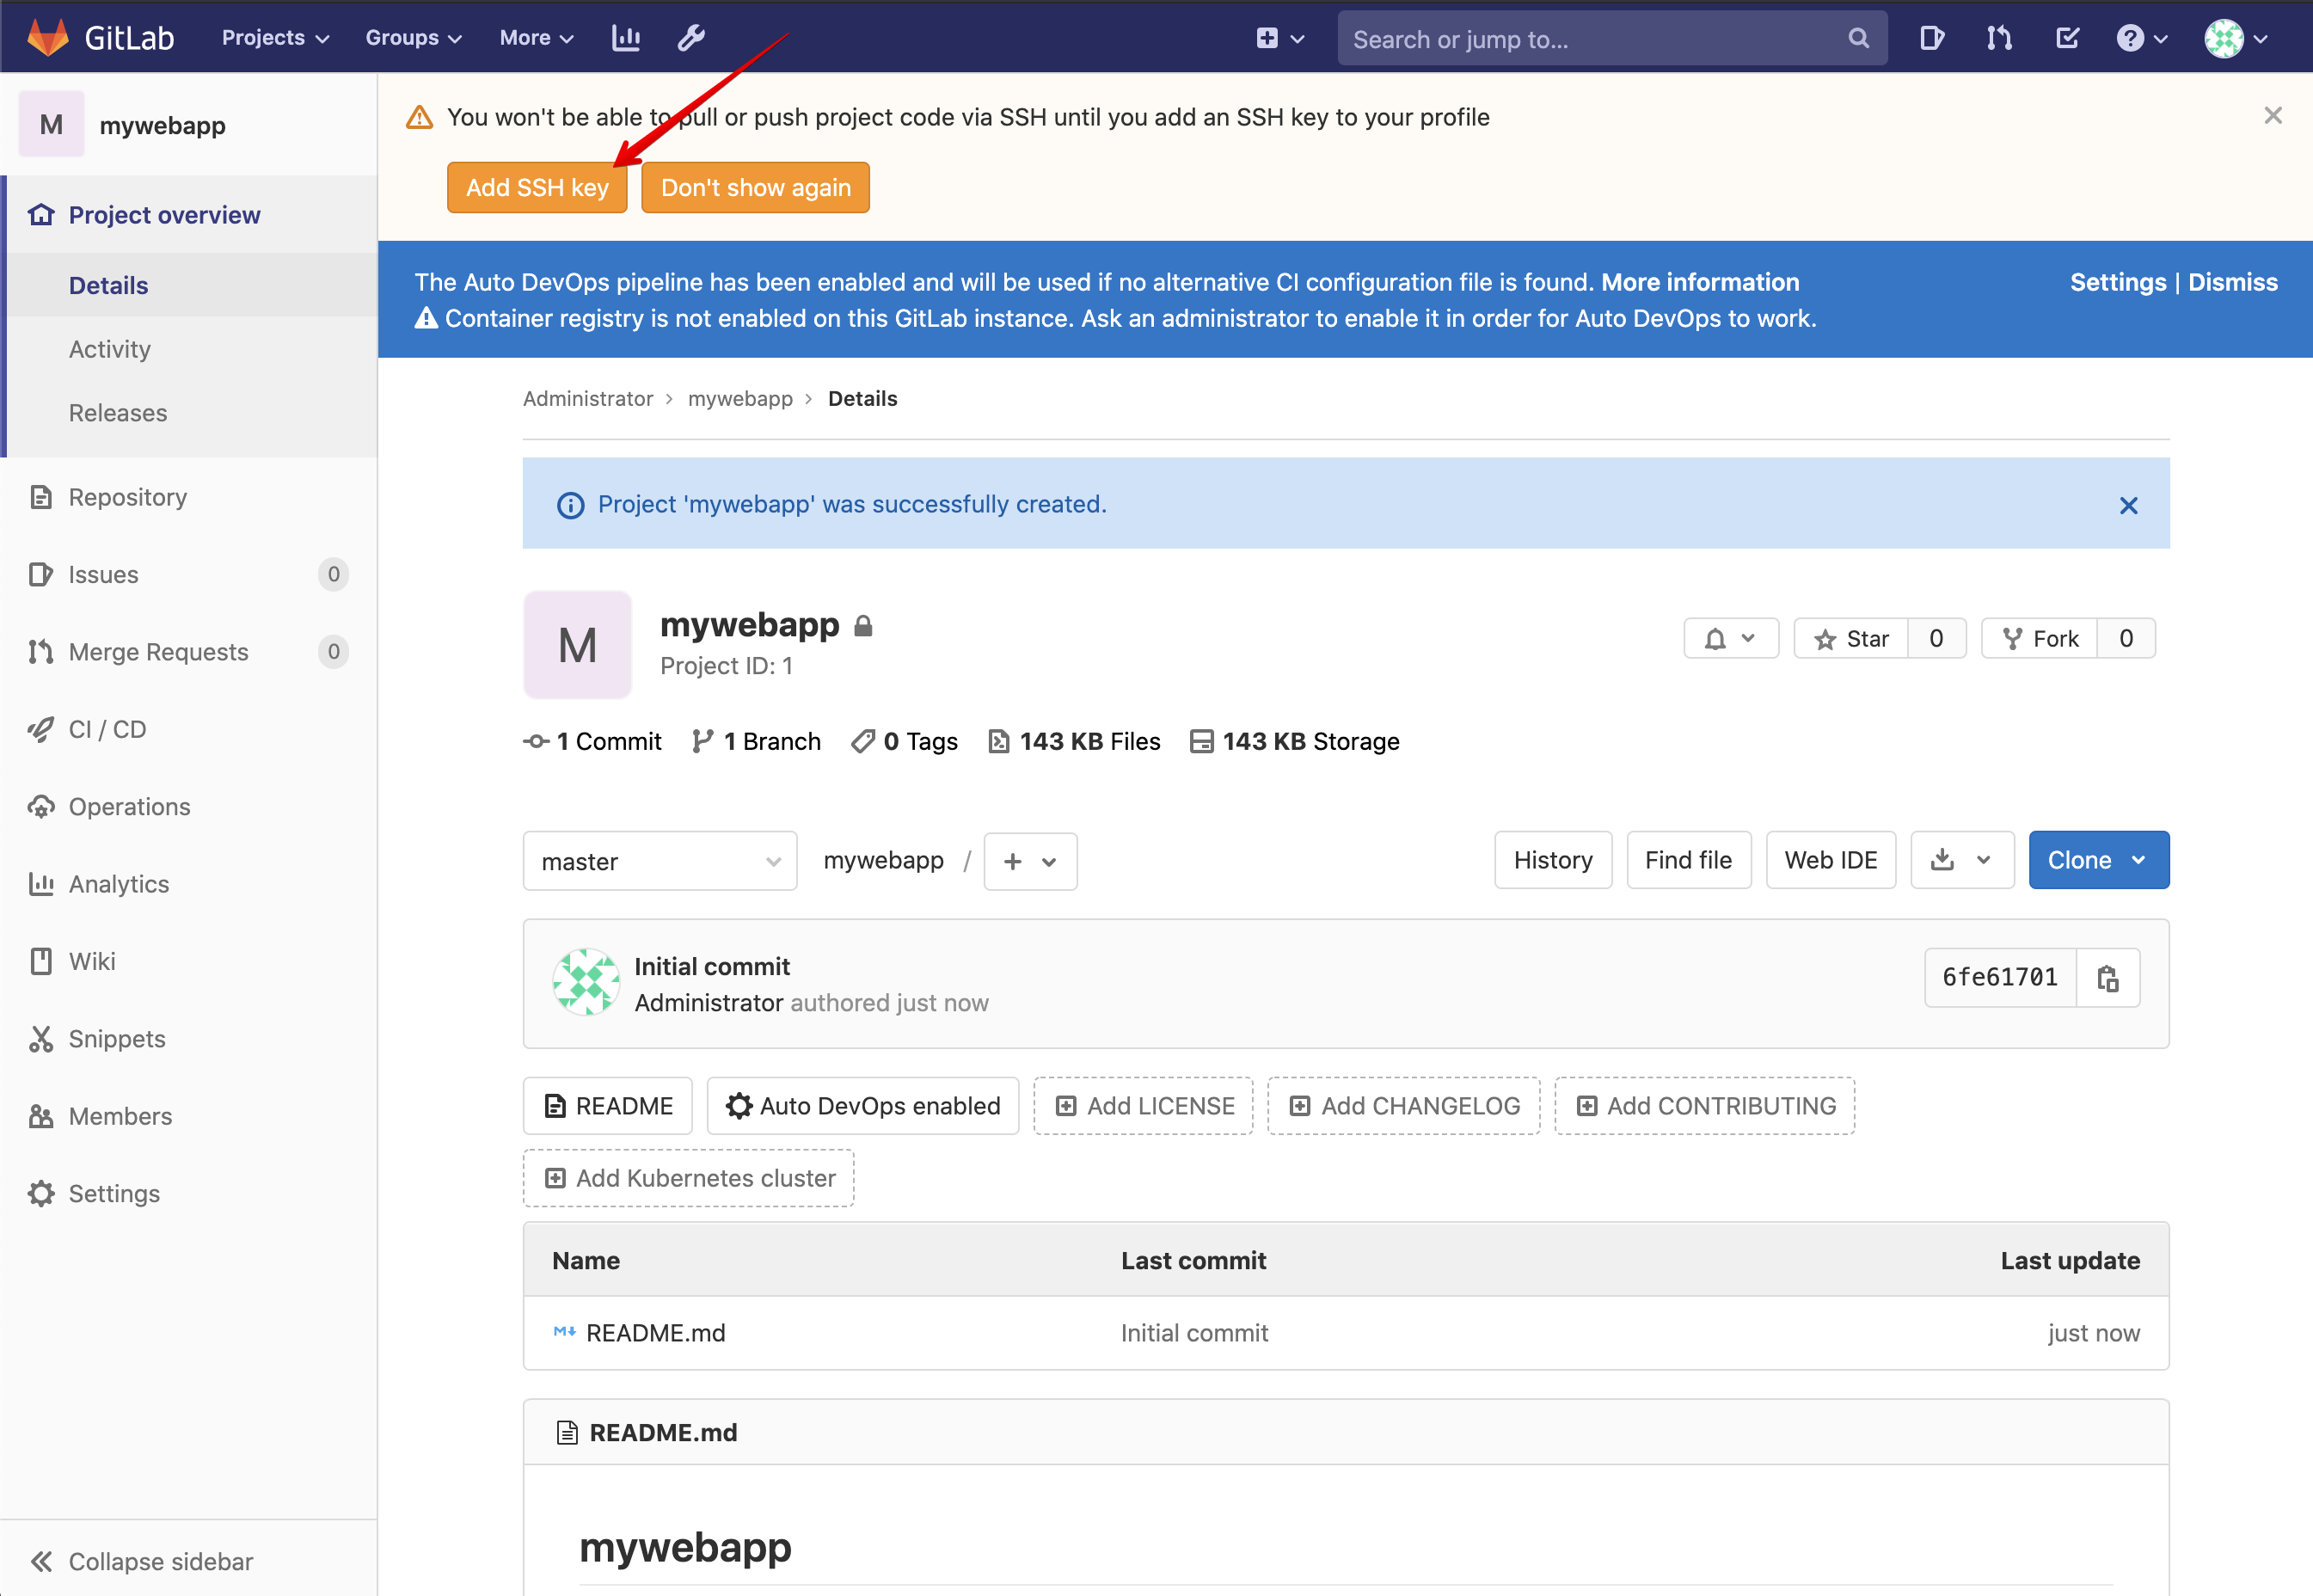
Paste the public key and click om Add Key.

- Let’s now configure the gitlab runner with this project. This runner will be used to trigger pipelines when a commit is done on the project and allow us to automatically trigger a set of tasks.
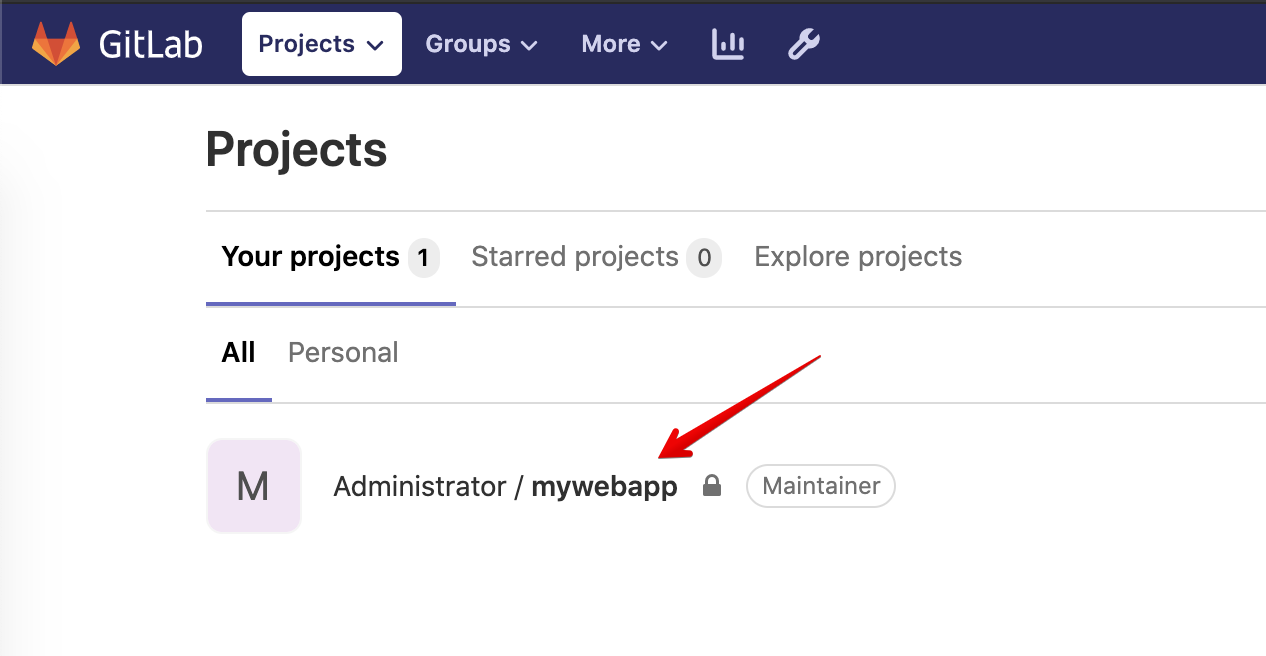
First Let’s open your project, click Your Projects.
Click on mywebapp.
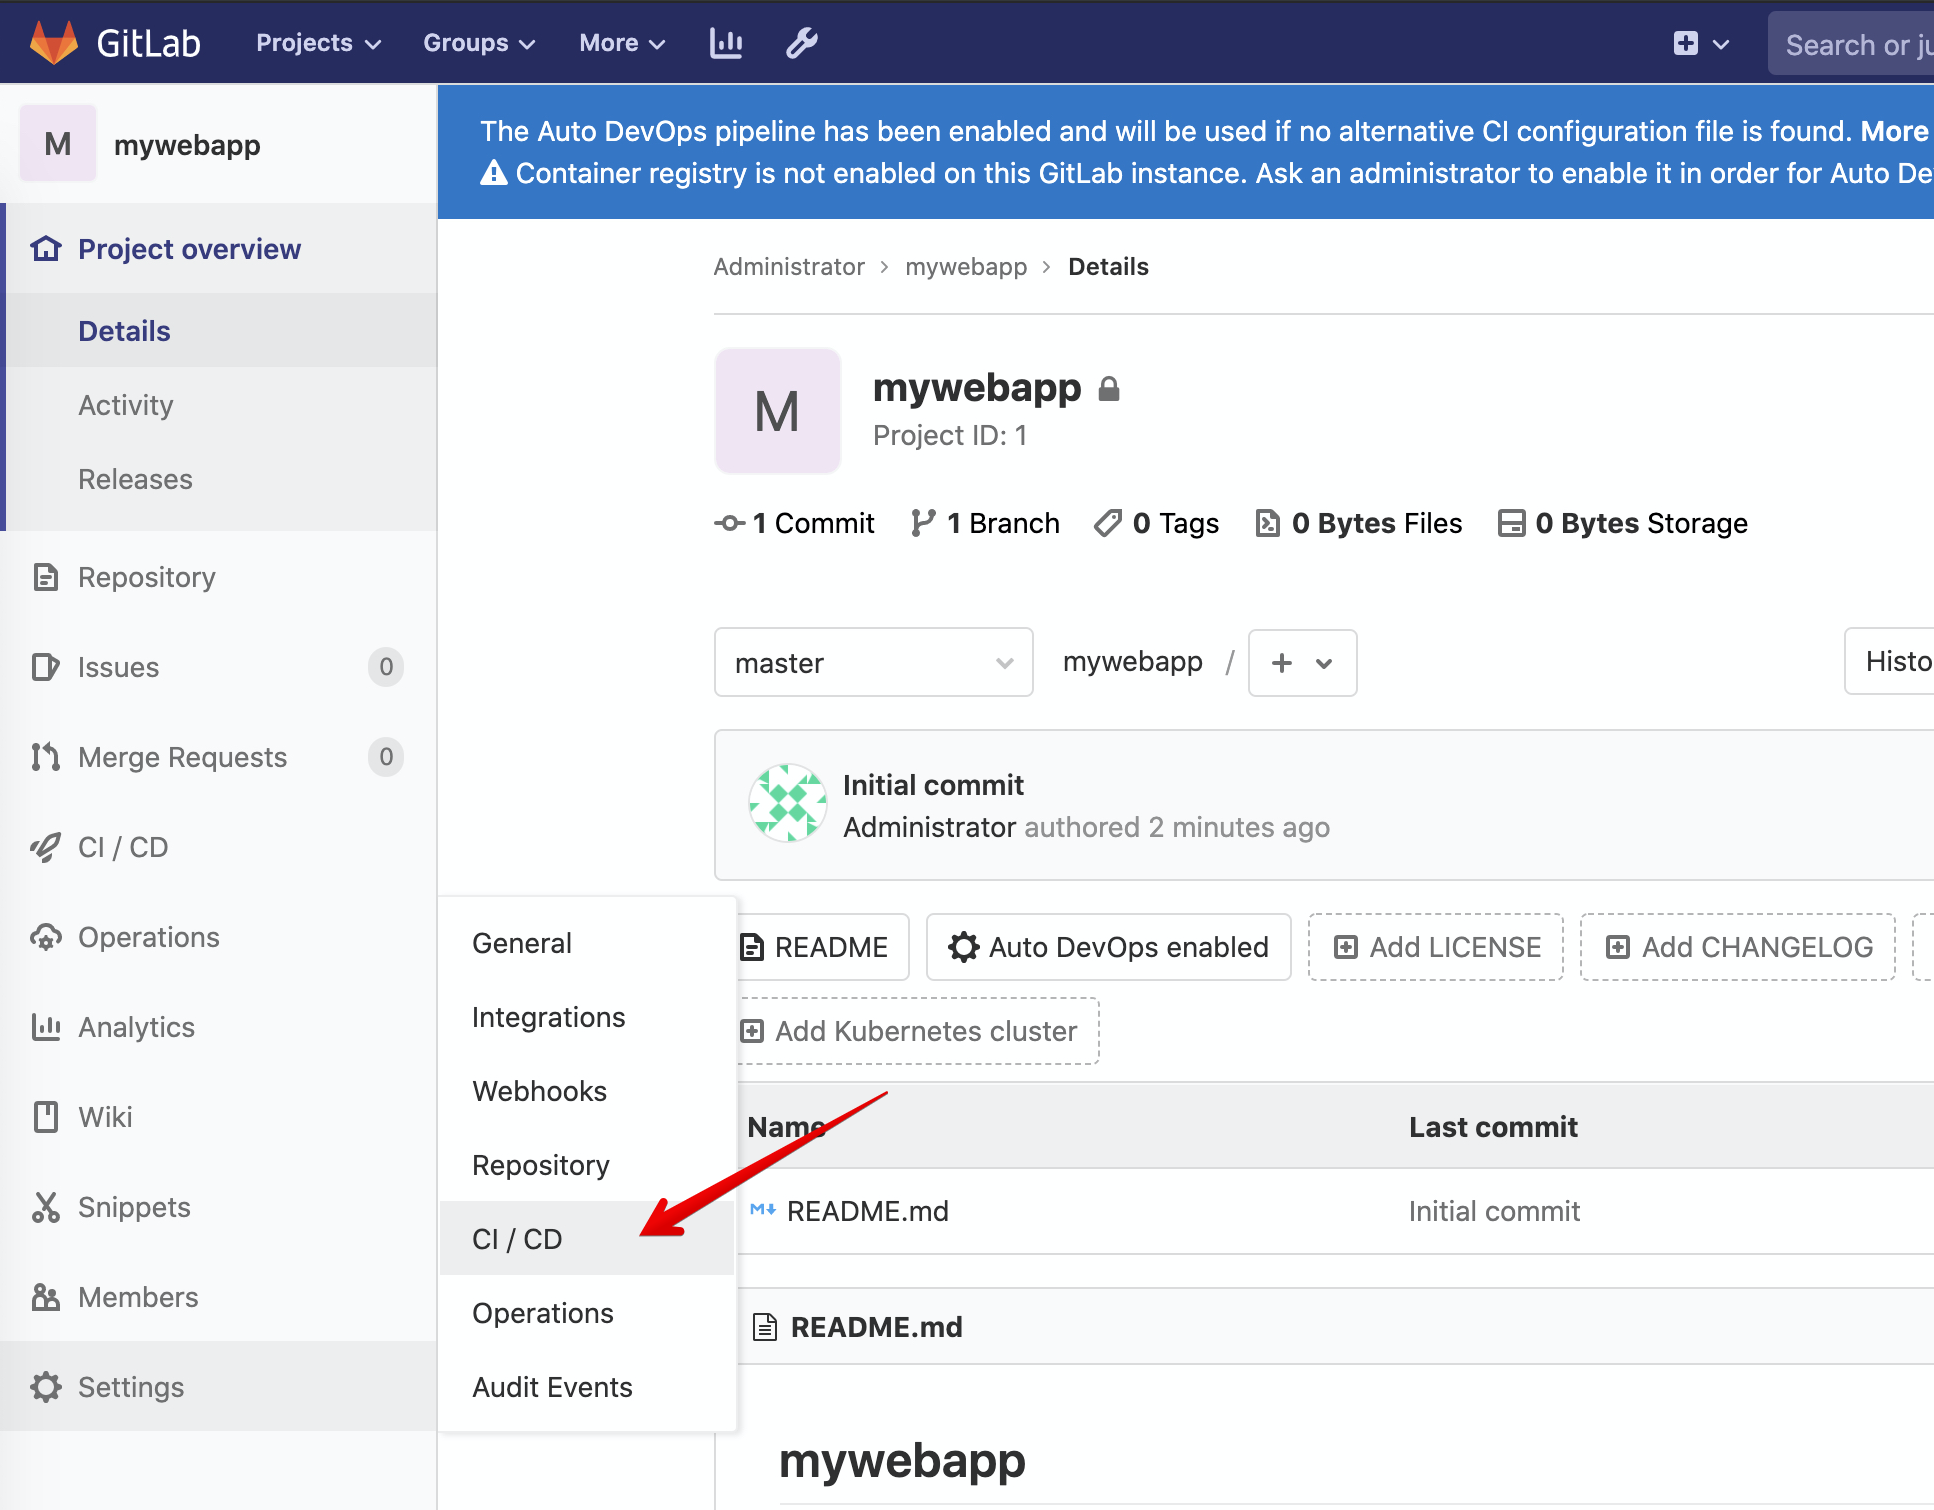
Navigate the CI/CD option copy the token value.
Click on Settings > CI/CD.
Find and expand the Runner section.
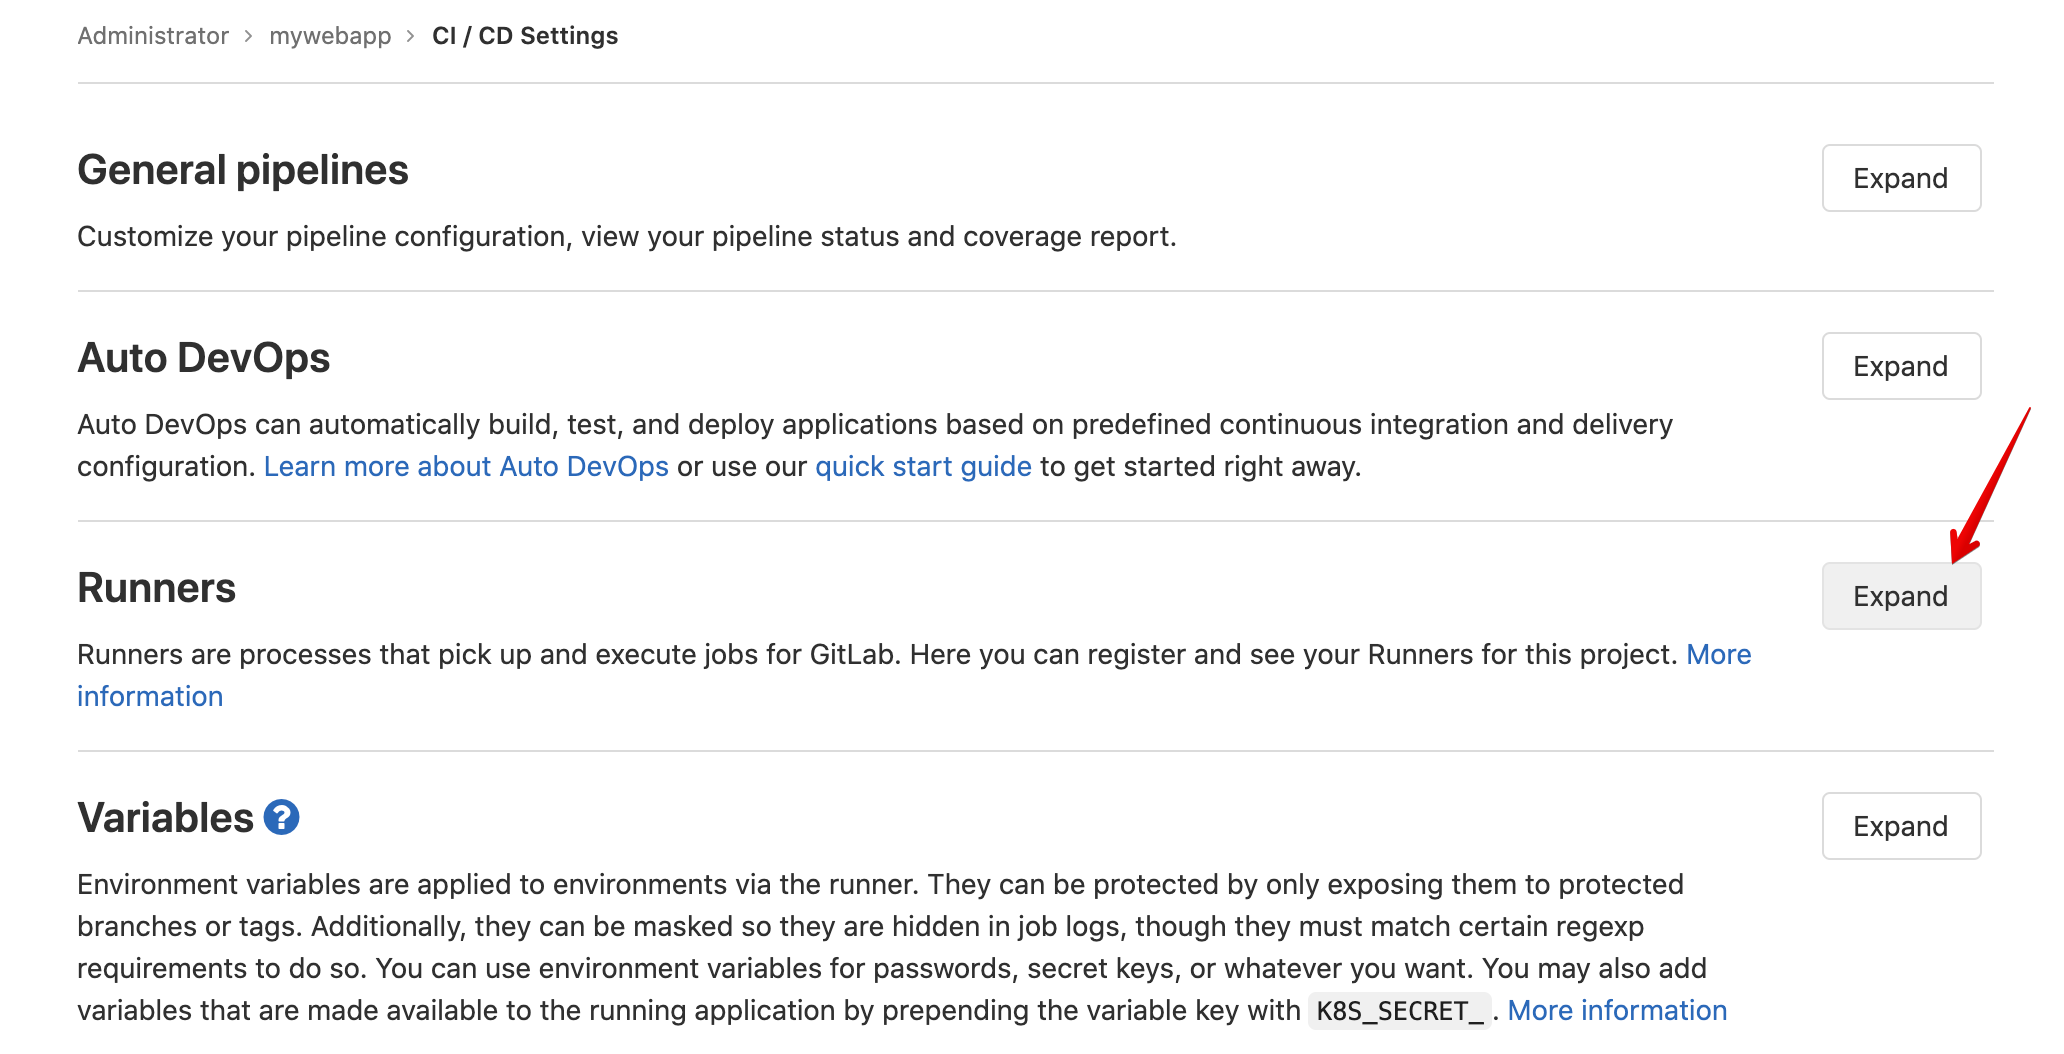
Finally copy the token value.
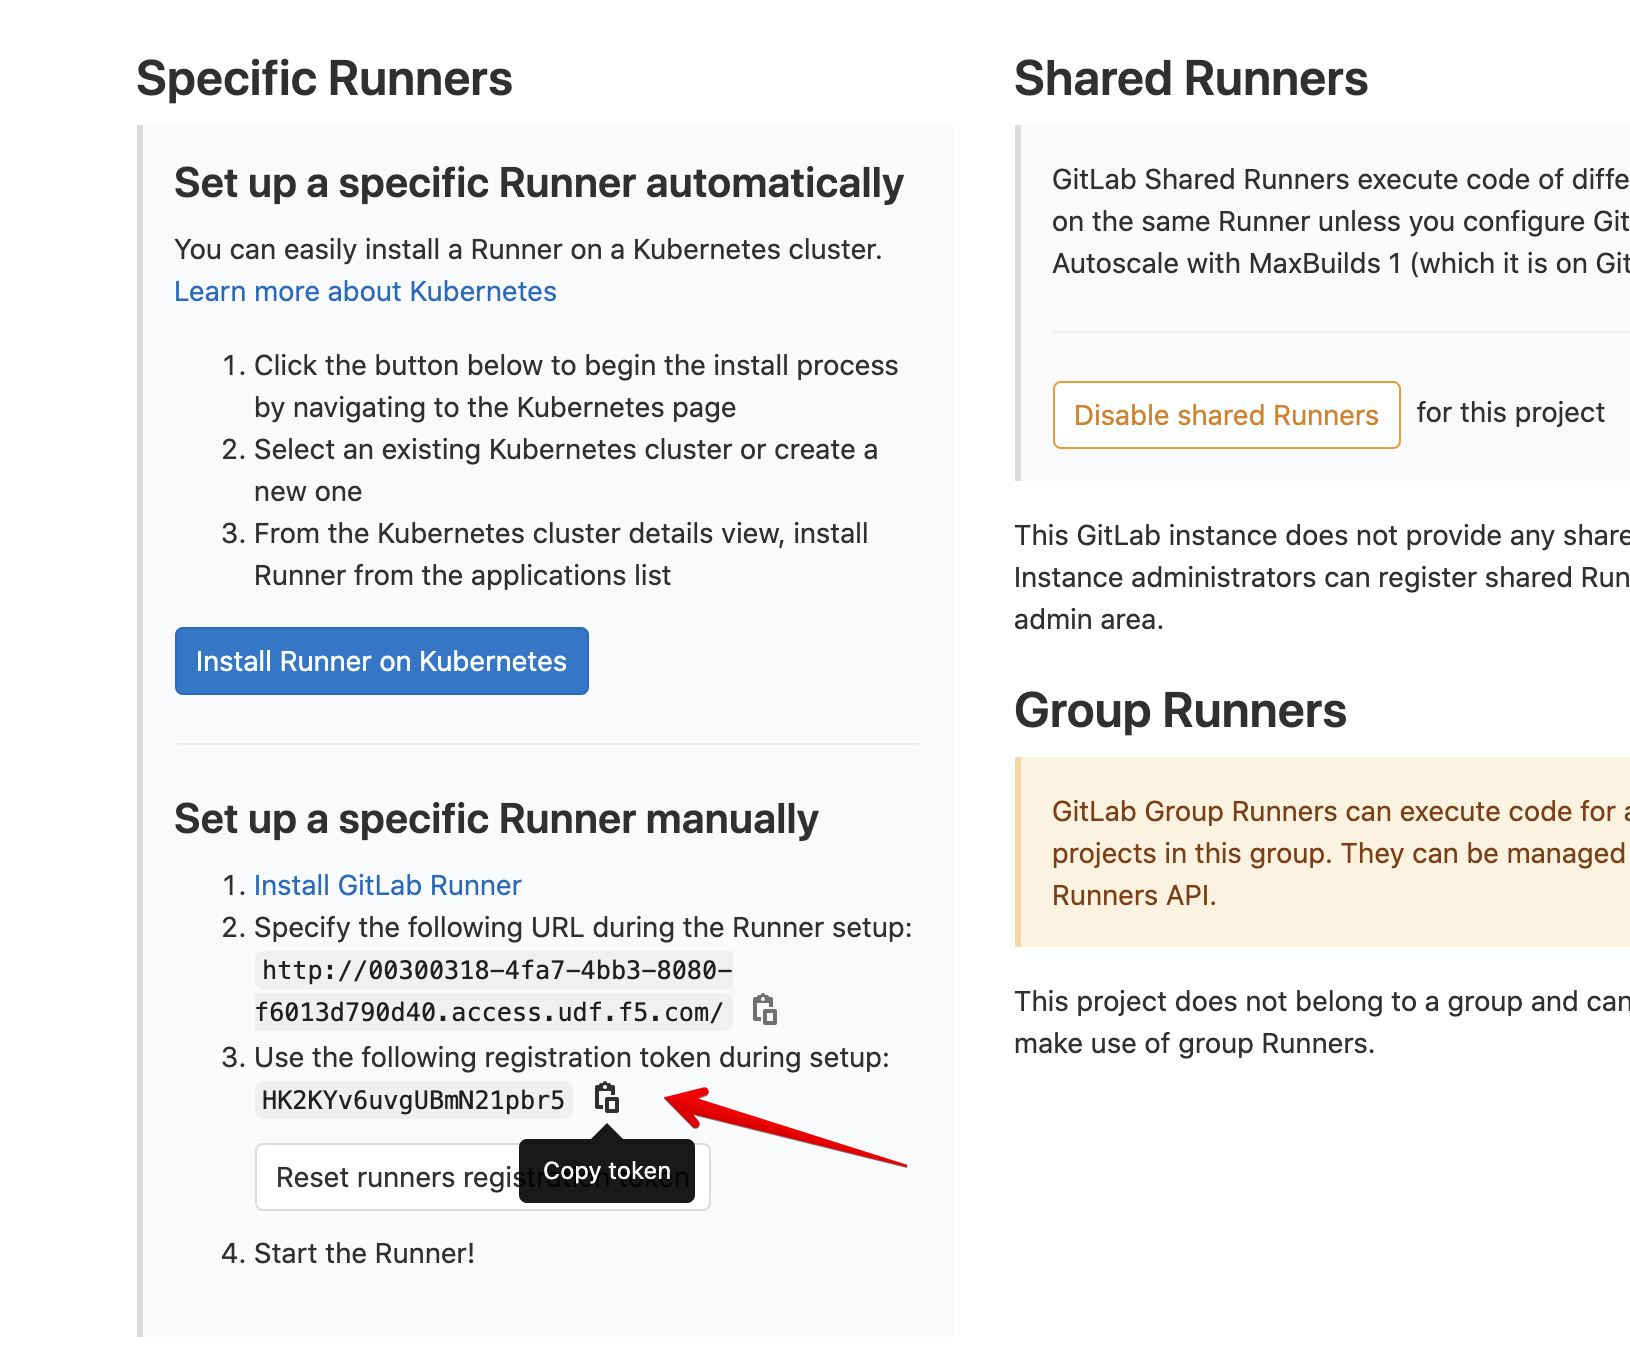
Back in the Linux Jumphost, run the following command to register the gitlab runner using the token value:
./gitlab/gitlab-runner-register.sh <token>
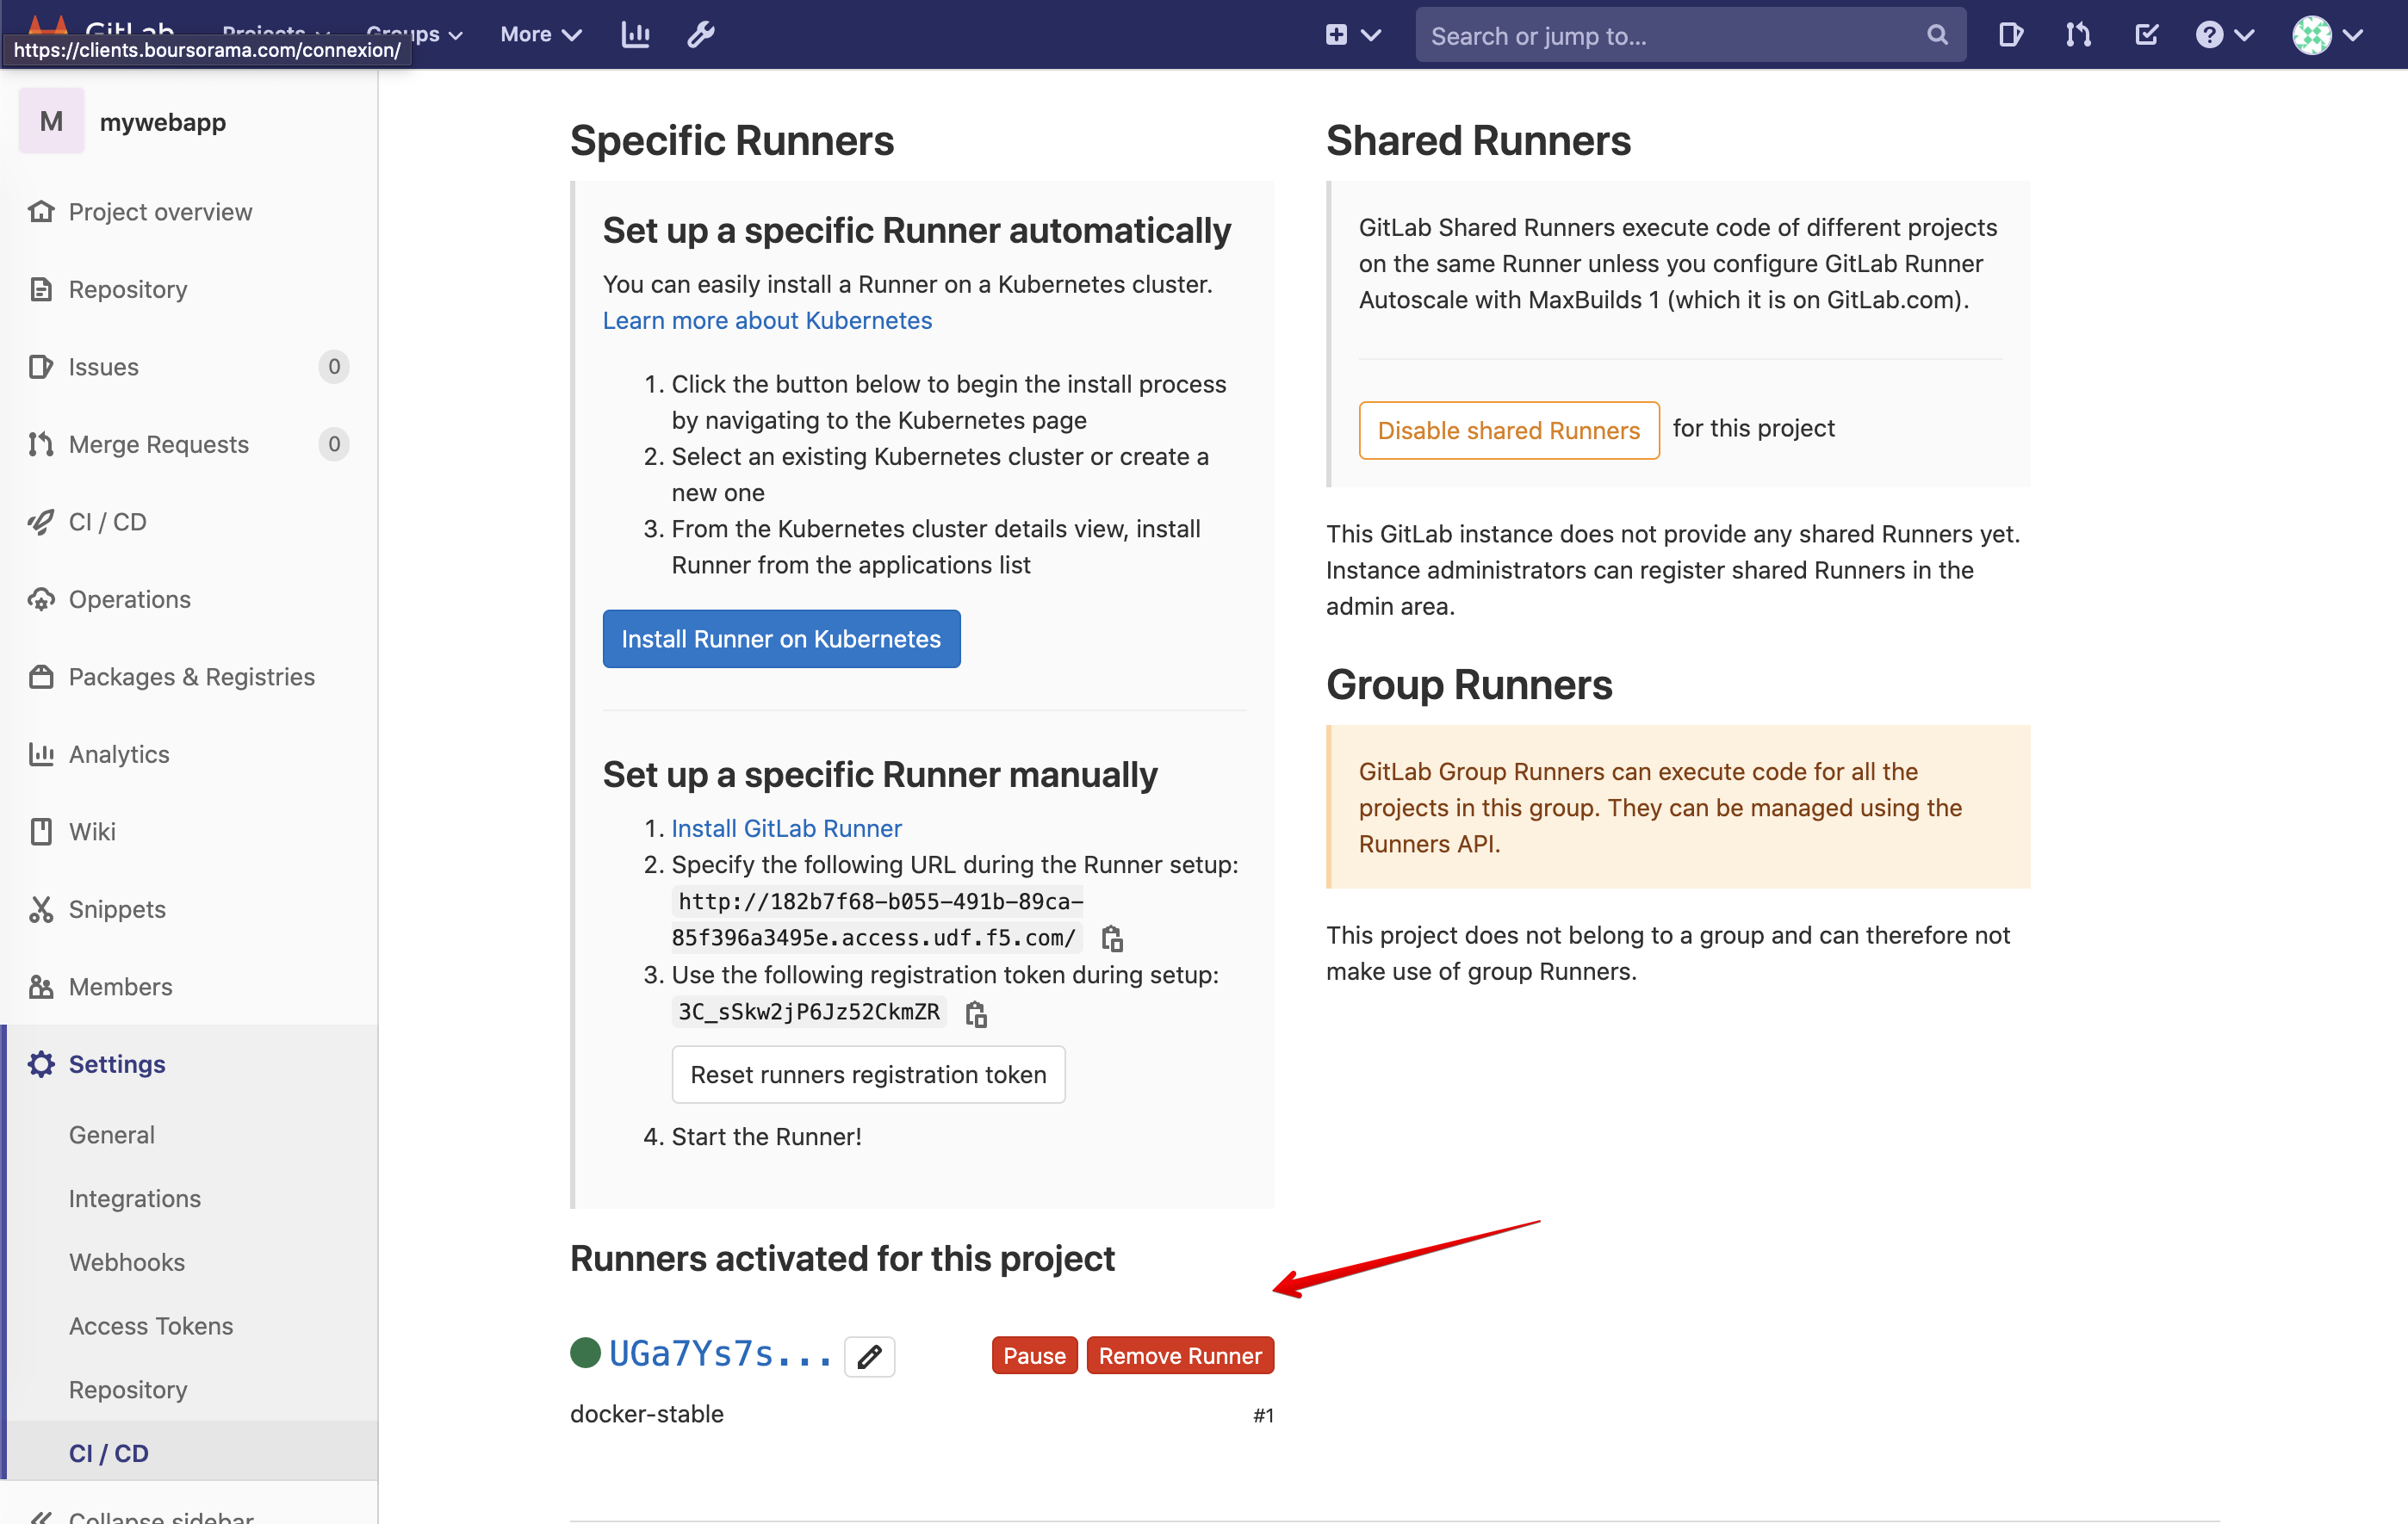
In GitLab, confirm the GitLab runner is correctly attached to your project. Navigate to the same location where you copy the token.
Clone gitlab project and deploy AS3 HTTP application service to a BIG-IP through BIG-IQ
From the Linux Jumphost, clone the repository:
git clone ssh://git@localhost:7022/root/mywebapp.git
Or order to be able to commit and push changes, we will need to configure the user email and name in git:
git config --global user.email "admin@example.com"
git config --global user.name "root"
Copy the lab files into the
mywebapprepository:cd mywebapp cp -r ~/gitlab/lab1/* ~/gitlab/lab1/.gitlab-ci.yml . ls -la ls -l as3
- This folder contains:
- .gitlab-ci.yml: pipeline definition
- hosts: ansible host file with BIG-IQ access information
- bigiq_as3_deploy.yml: ansible playbook to deploy the AS3 application services
- as3/my_http_app_service1.json: AS3 declaration defining HTTP application service load balancer
You can look at each file on the lab GitHub repository.
Add and commit the new files to the
mywebapprepository:git status git add . git status git commit -m "Add .gitlab-ci.yml, Ansible playbook, host file and AS3 declaration" git status
Push the changes to gitlab:
git push origin master
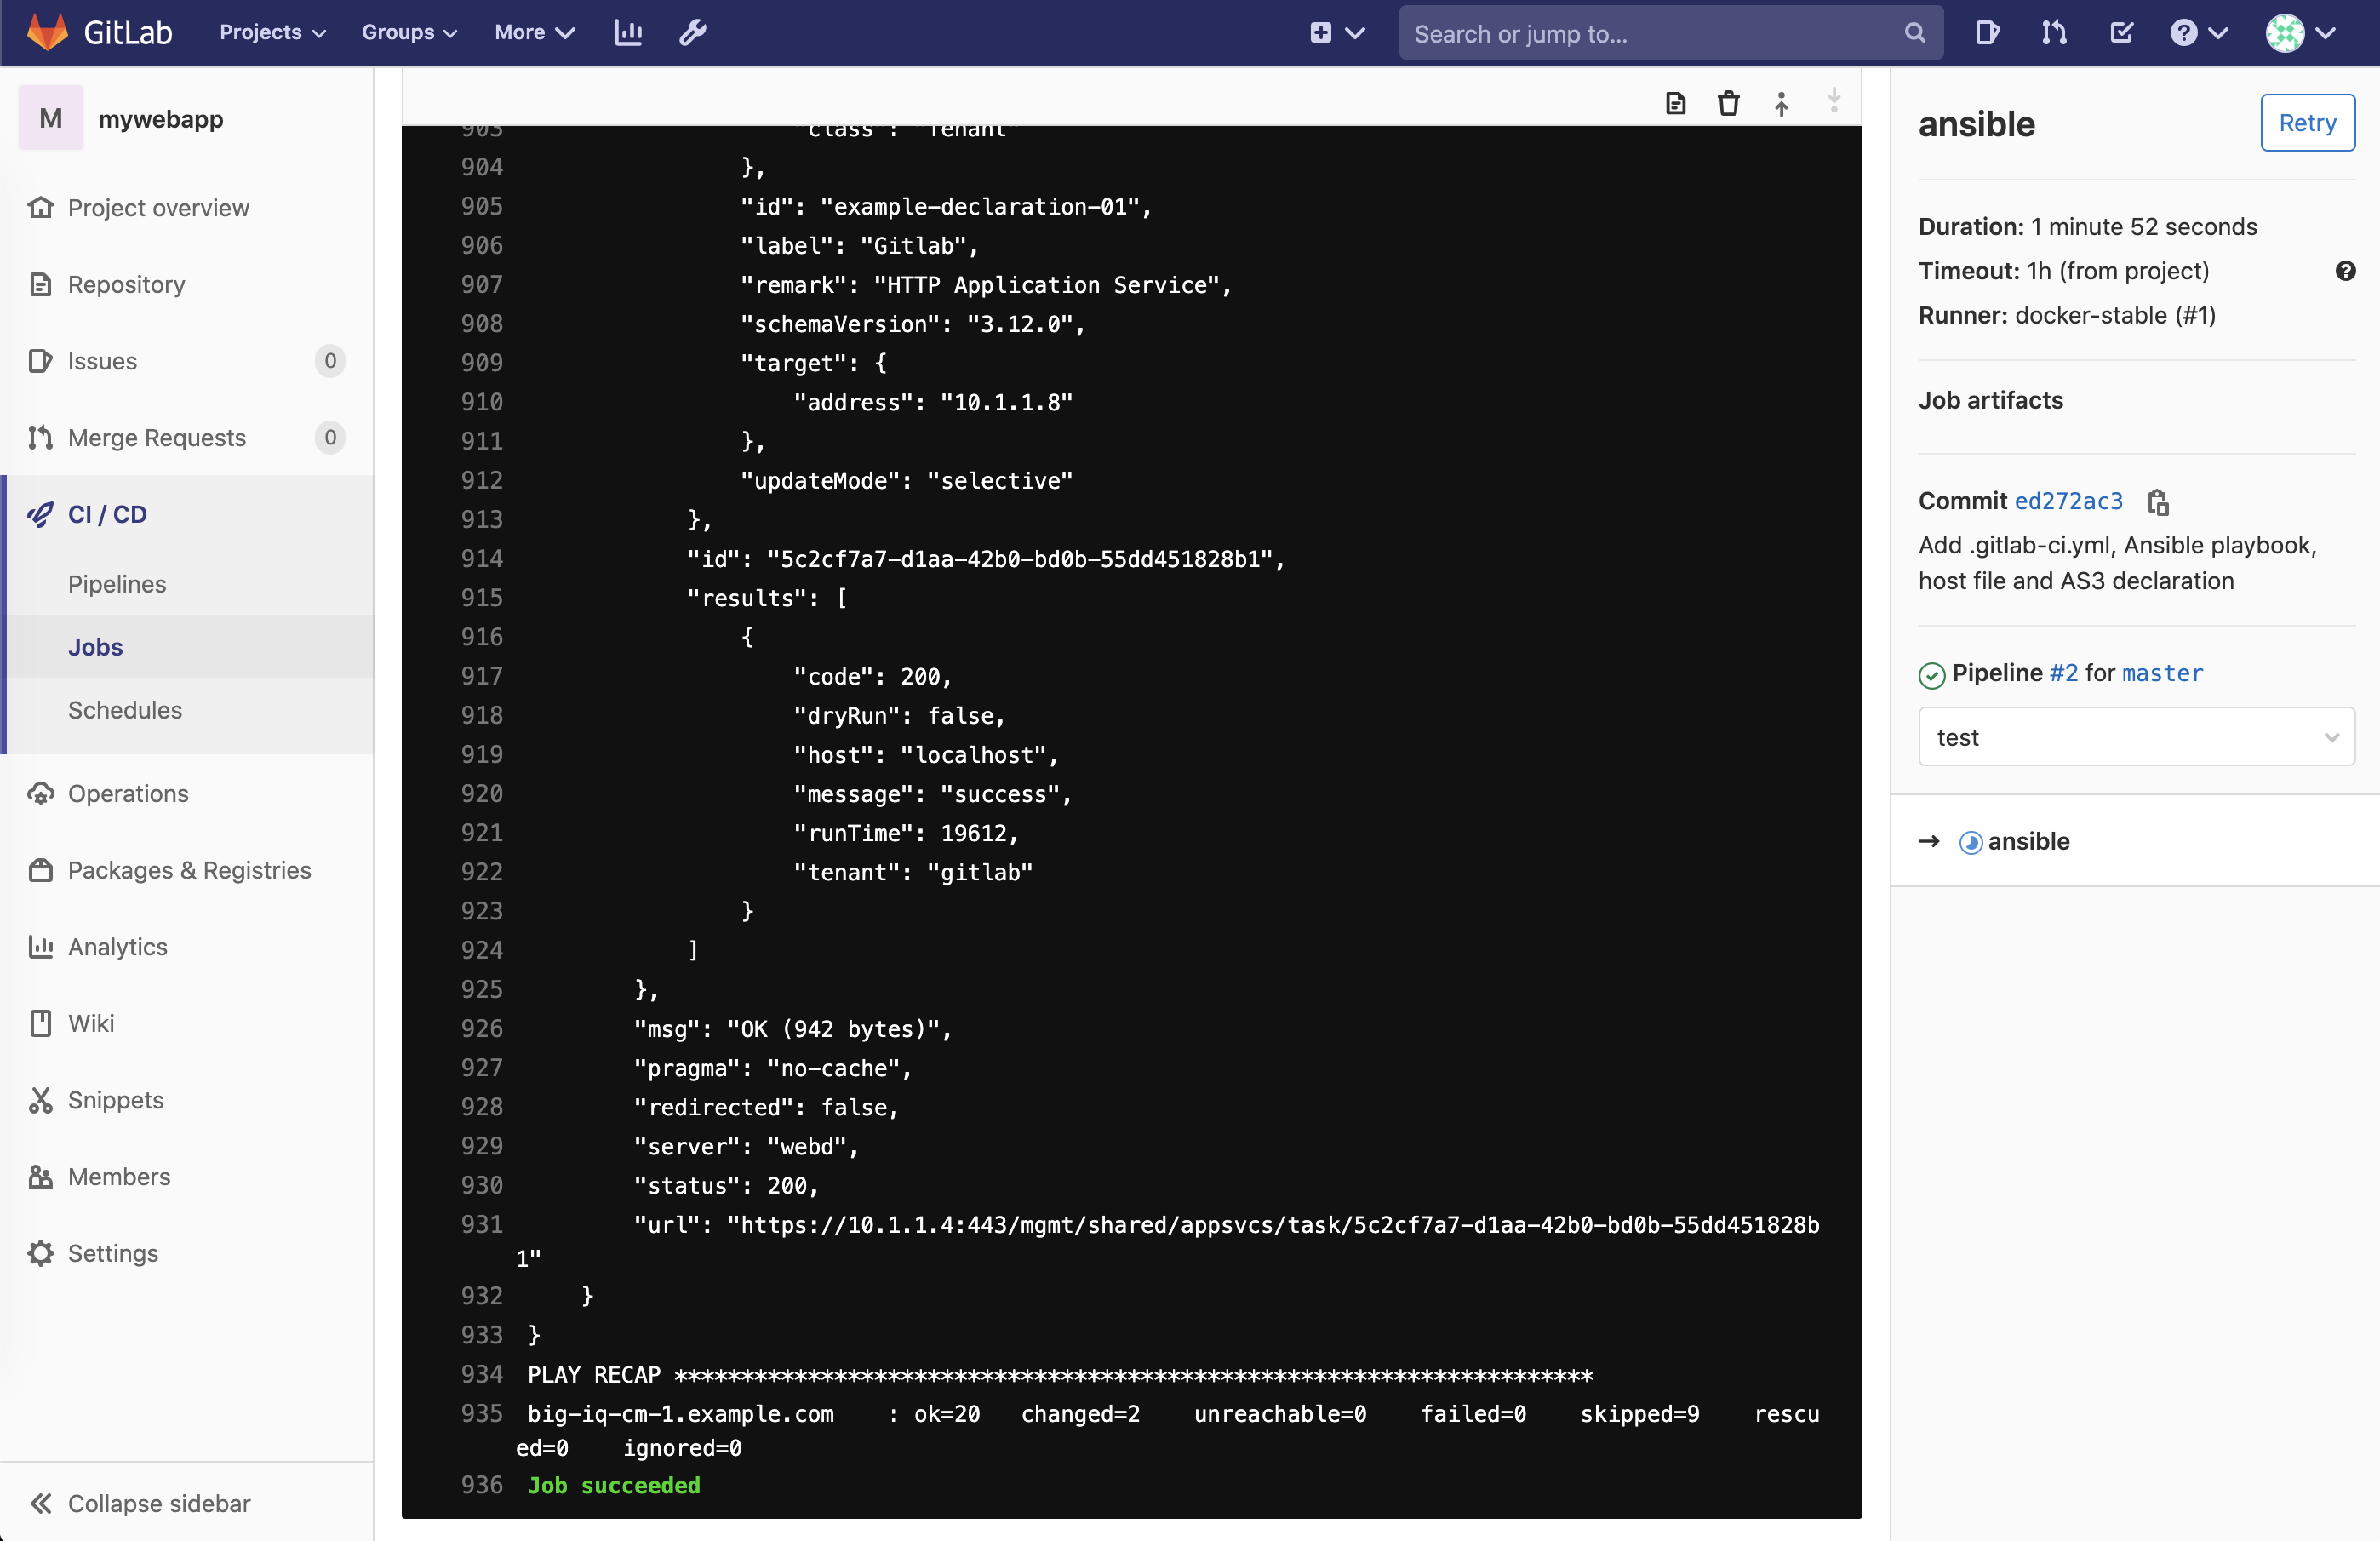
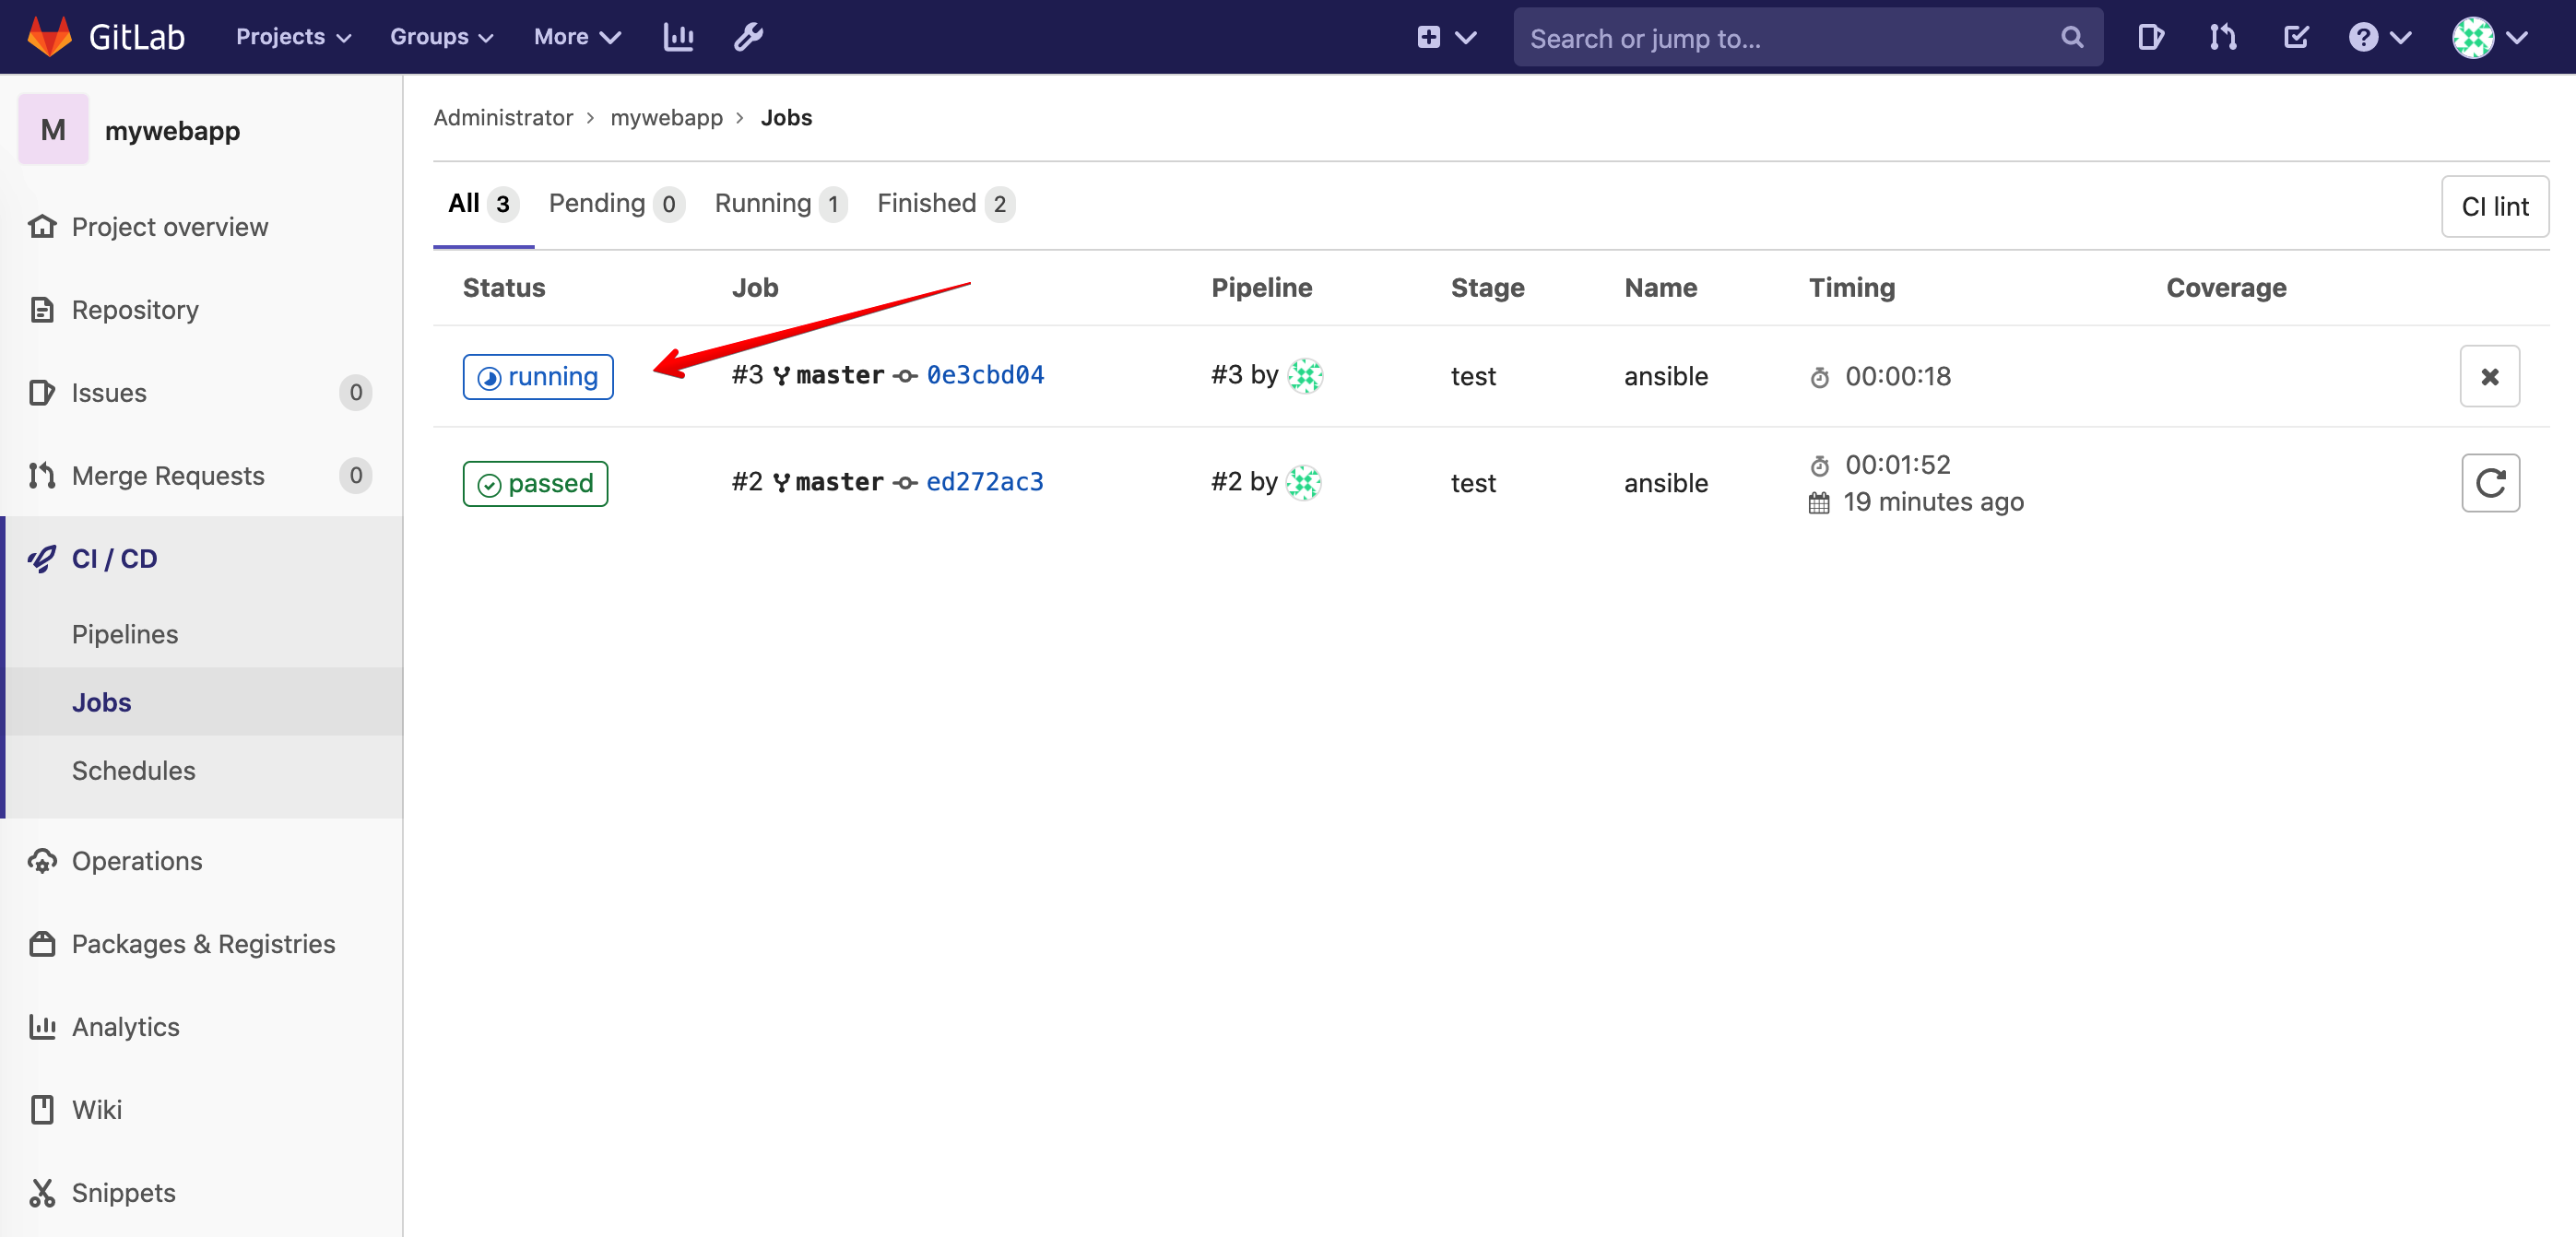
Back in gitlab, navigate under jobs and click on the running jobs, display output.
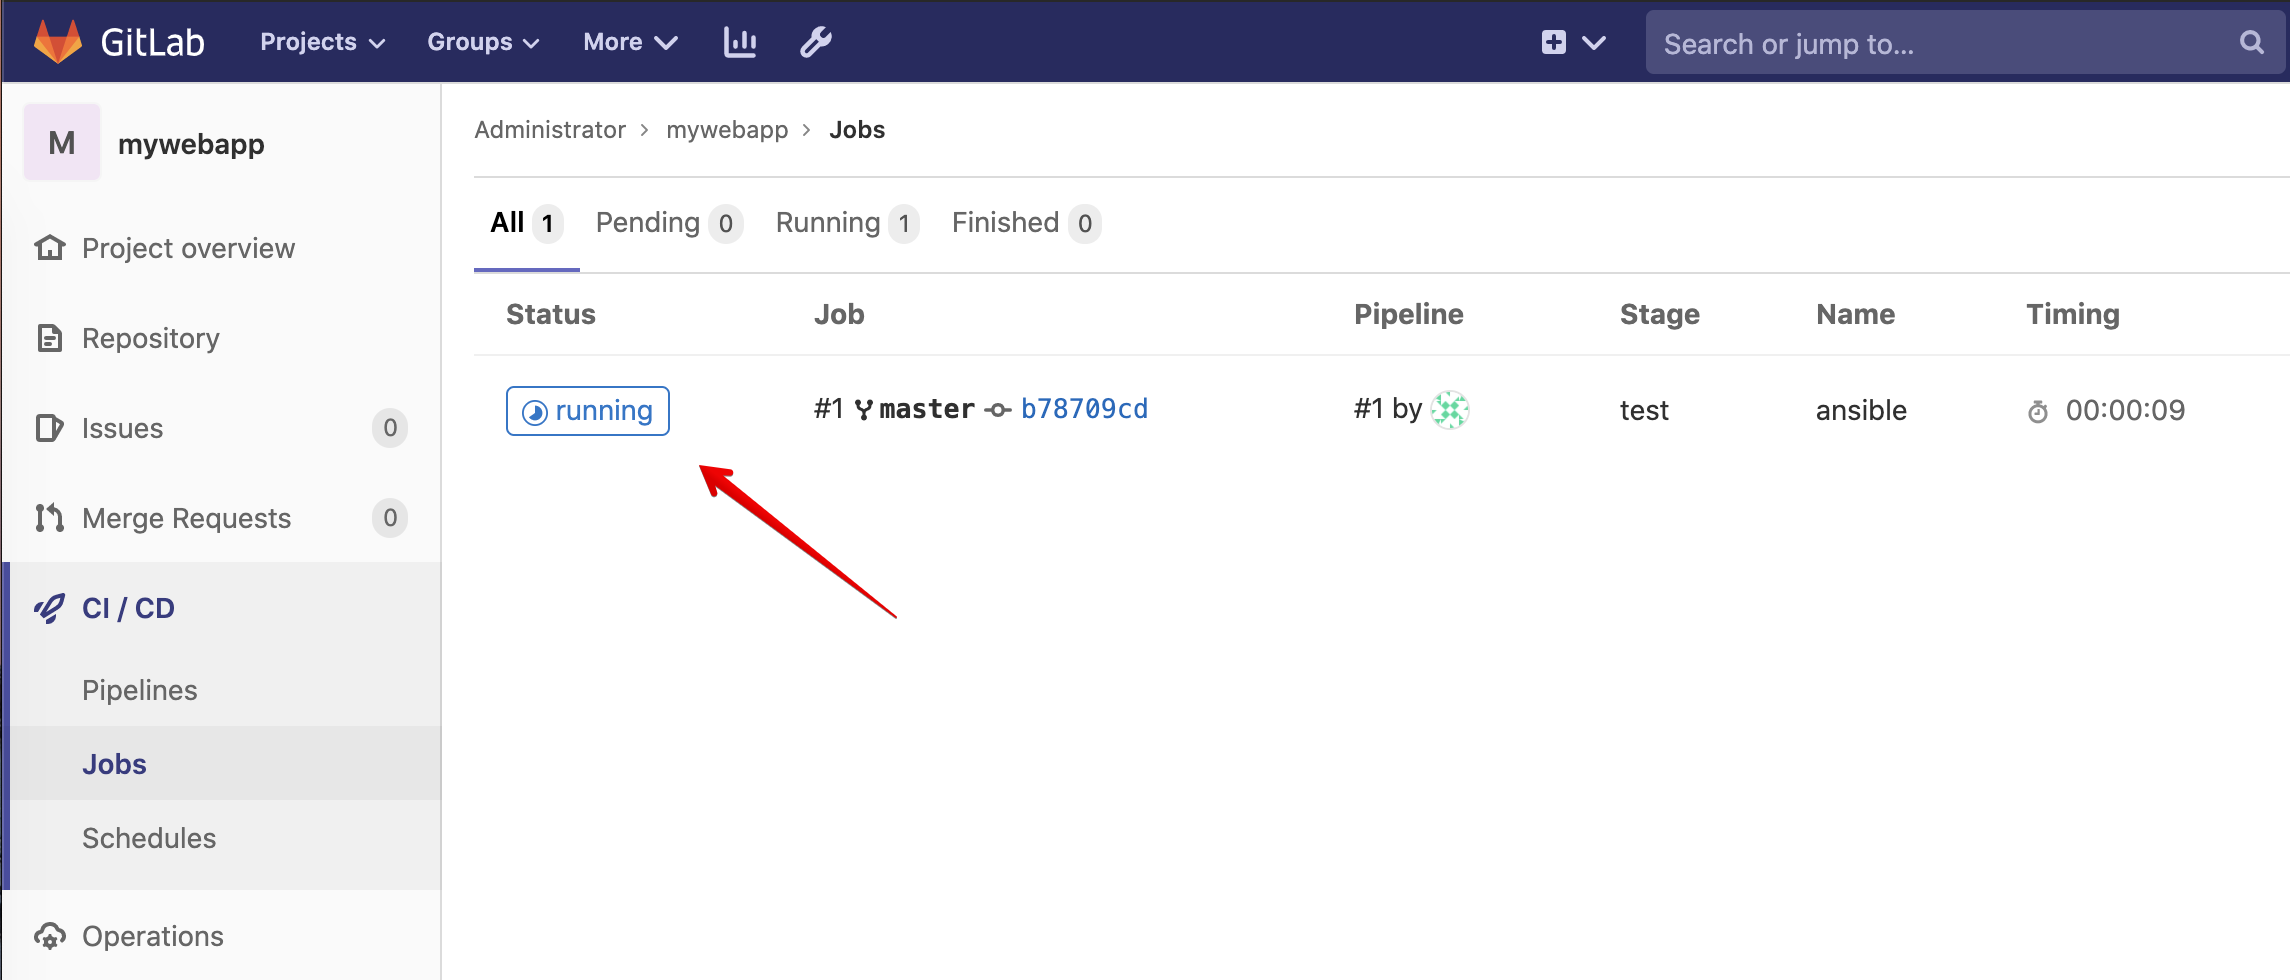
Follow the execution of the job and wait for it to end.
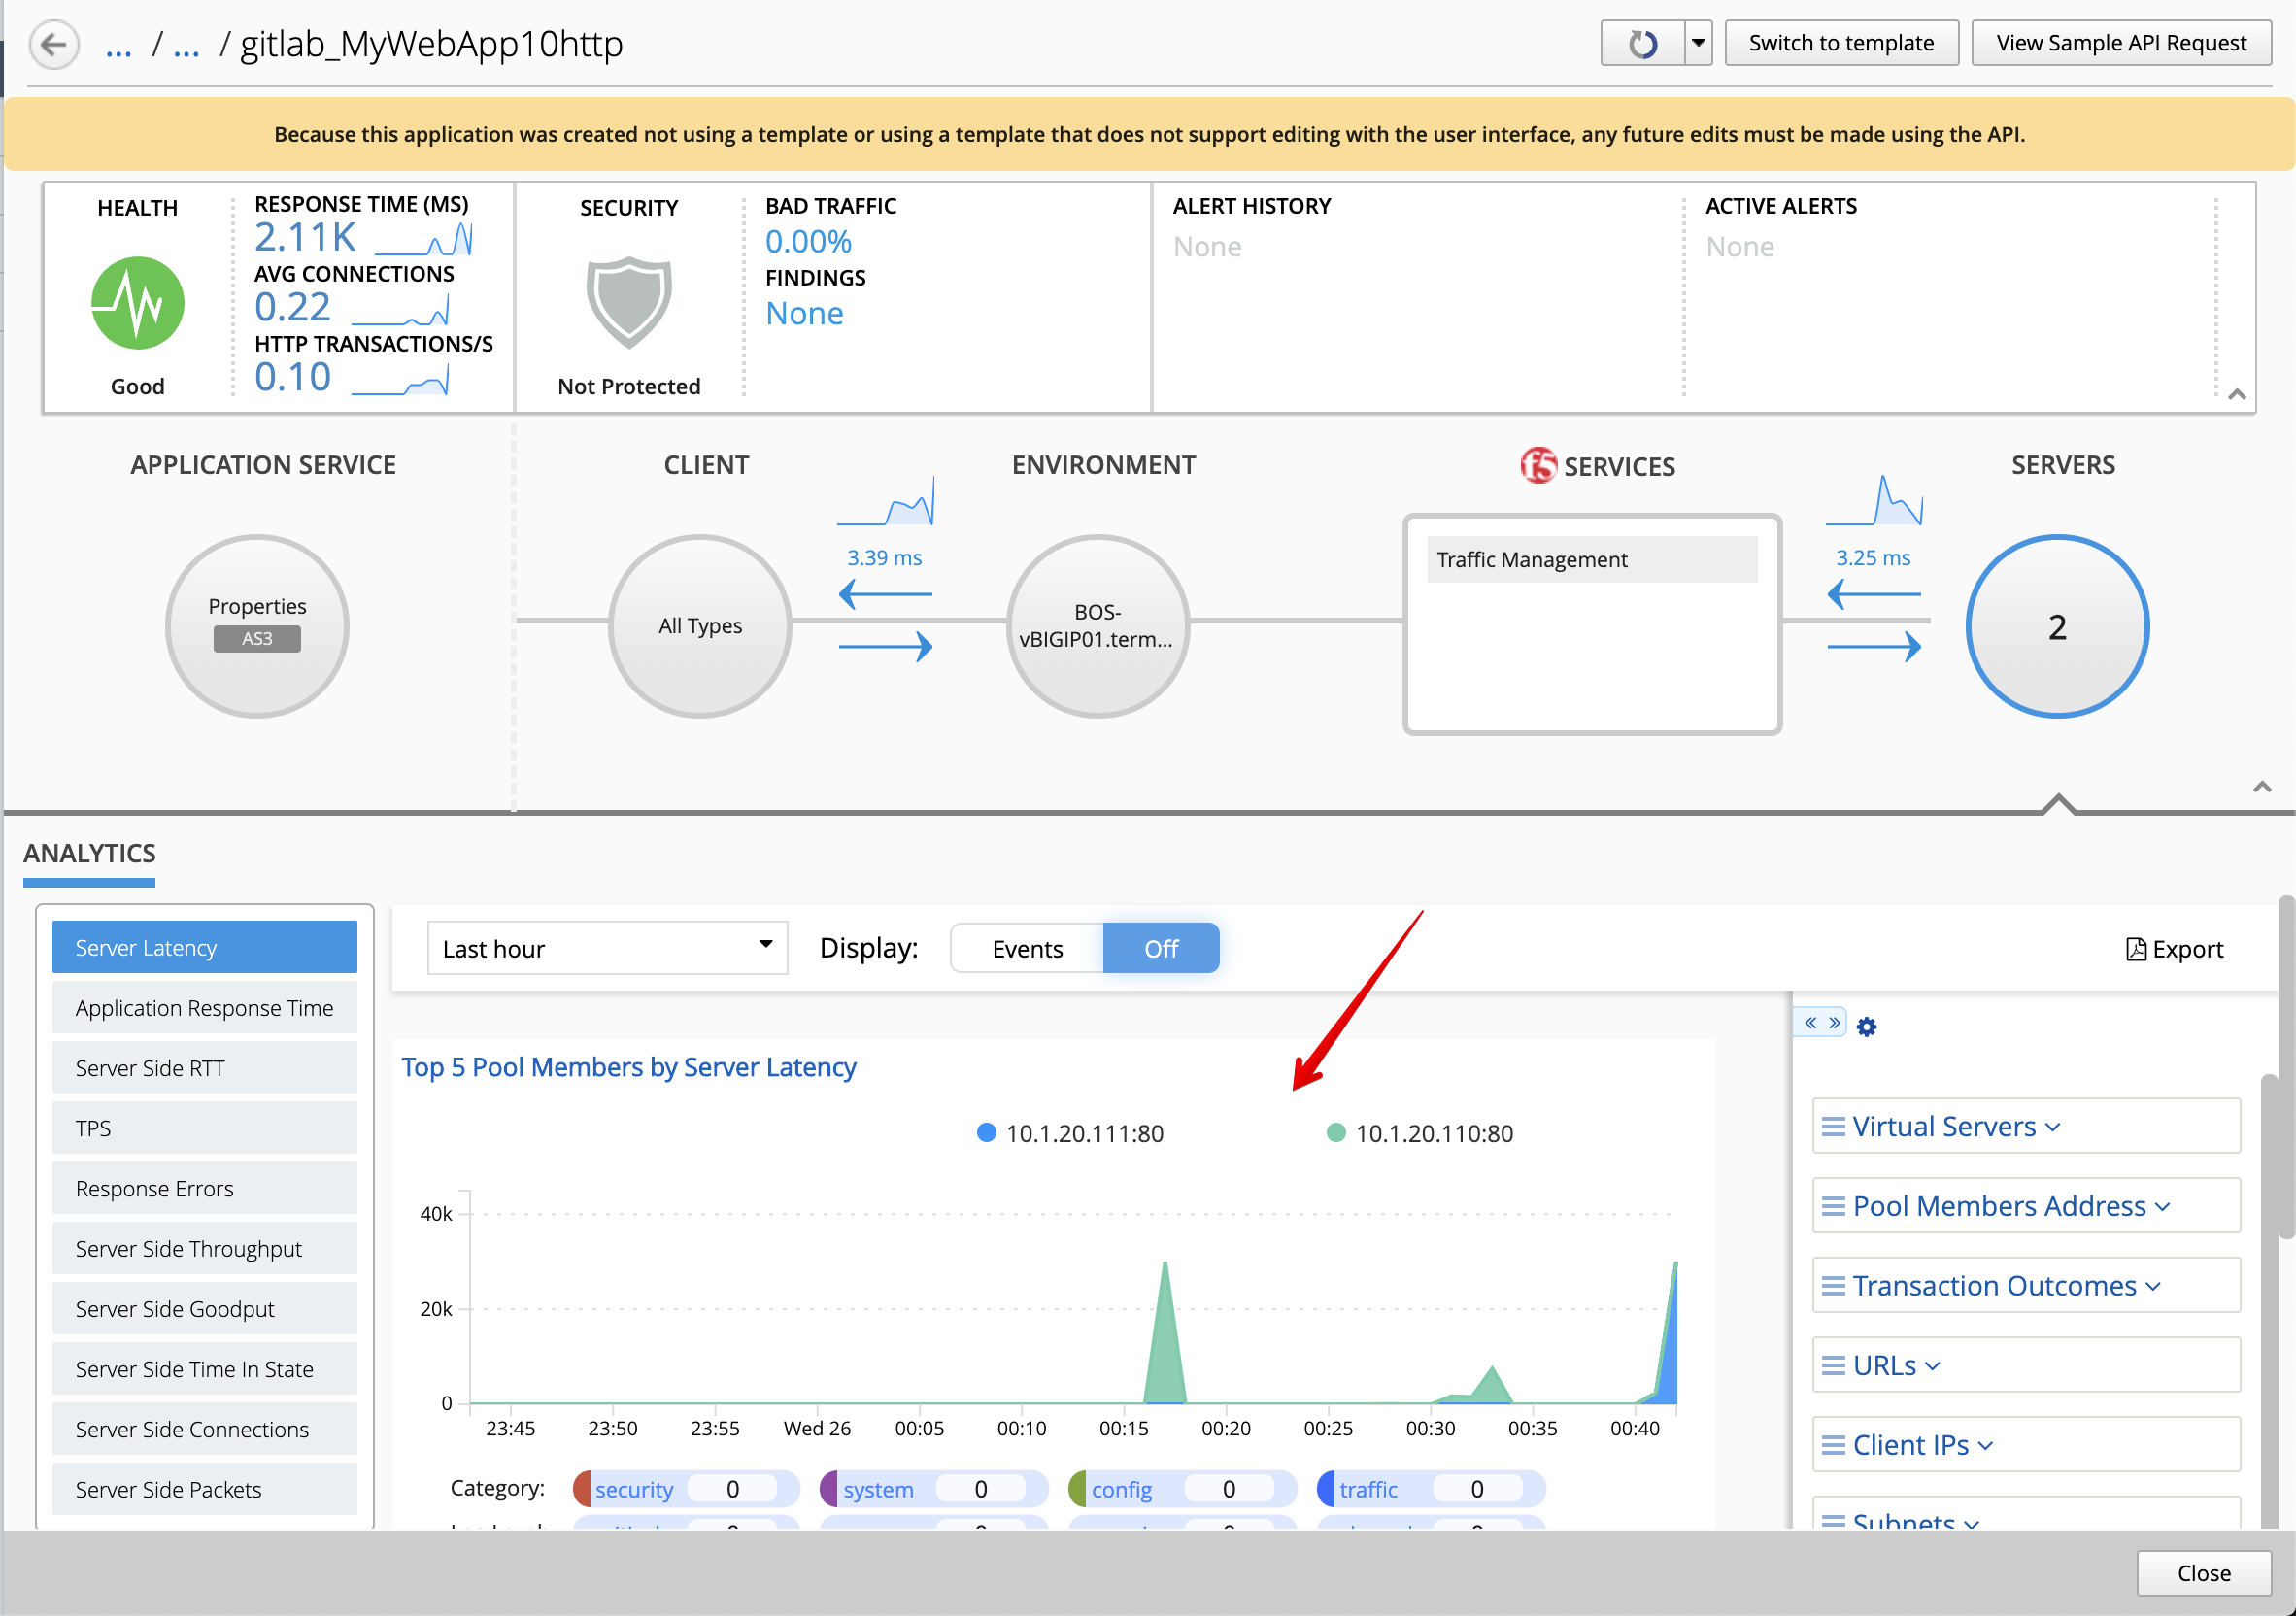
- Login on BIG-IQ as david, go to Applications tab, under``LAB_gitlab`` Application, check the application is there and analytics are showing.
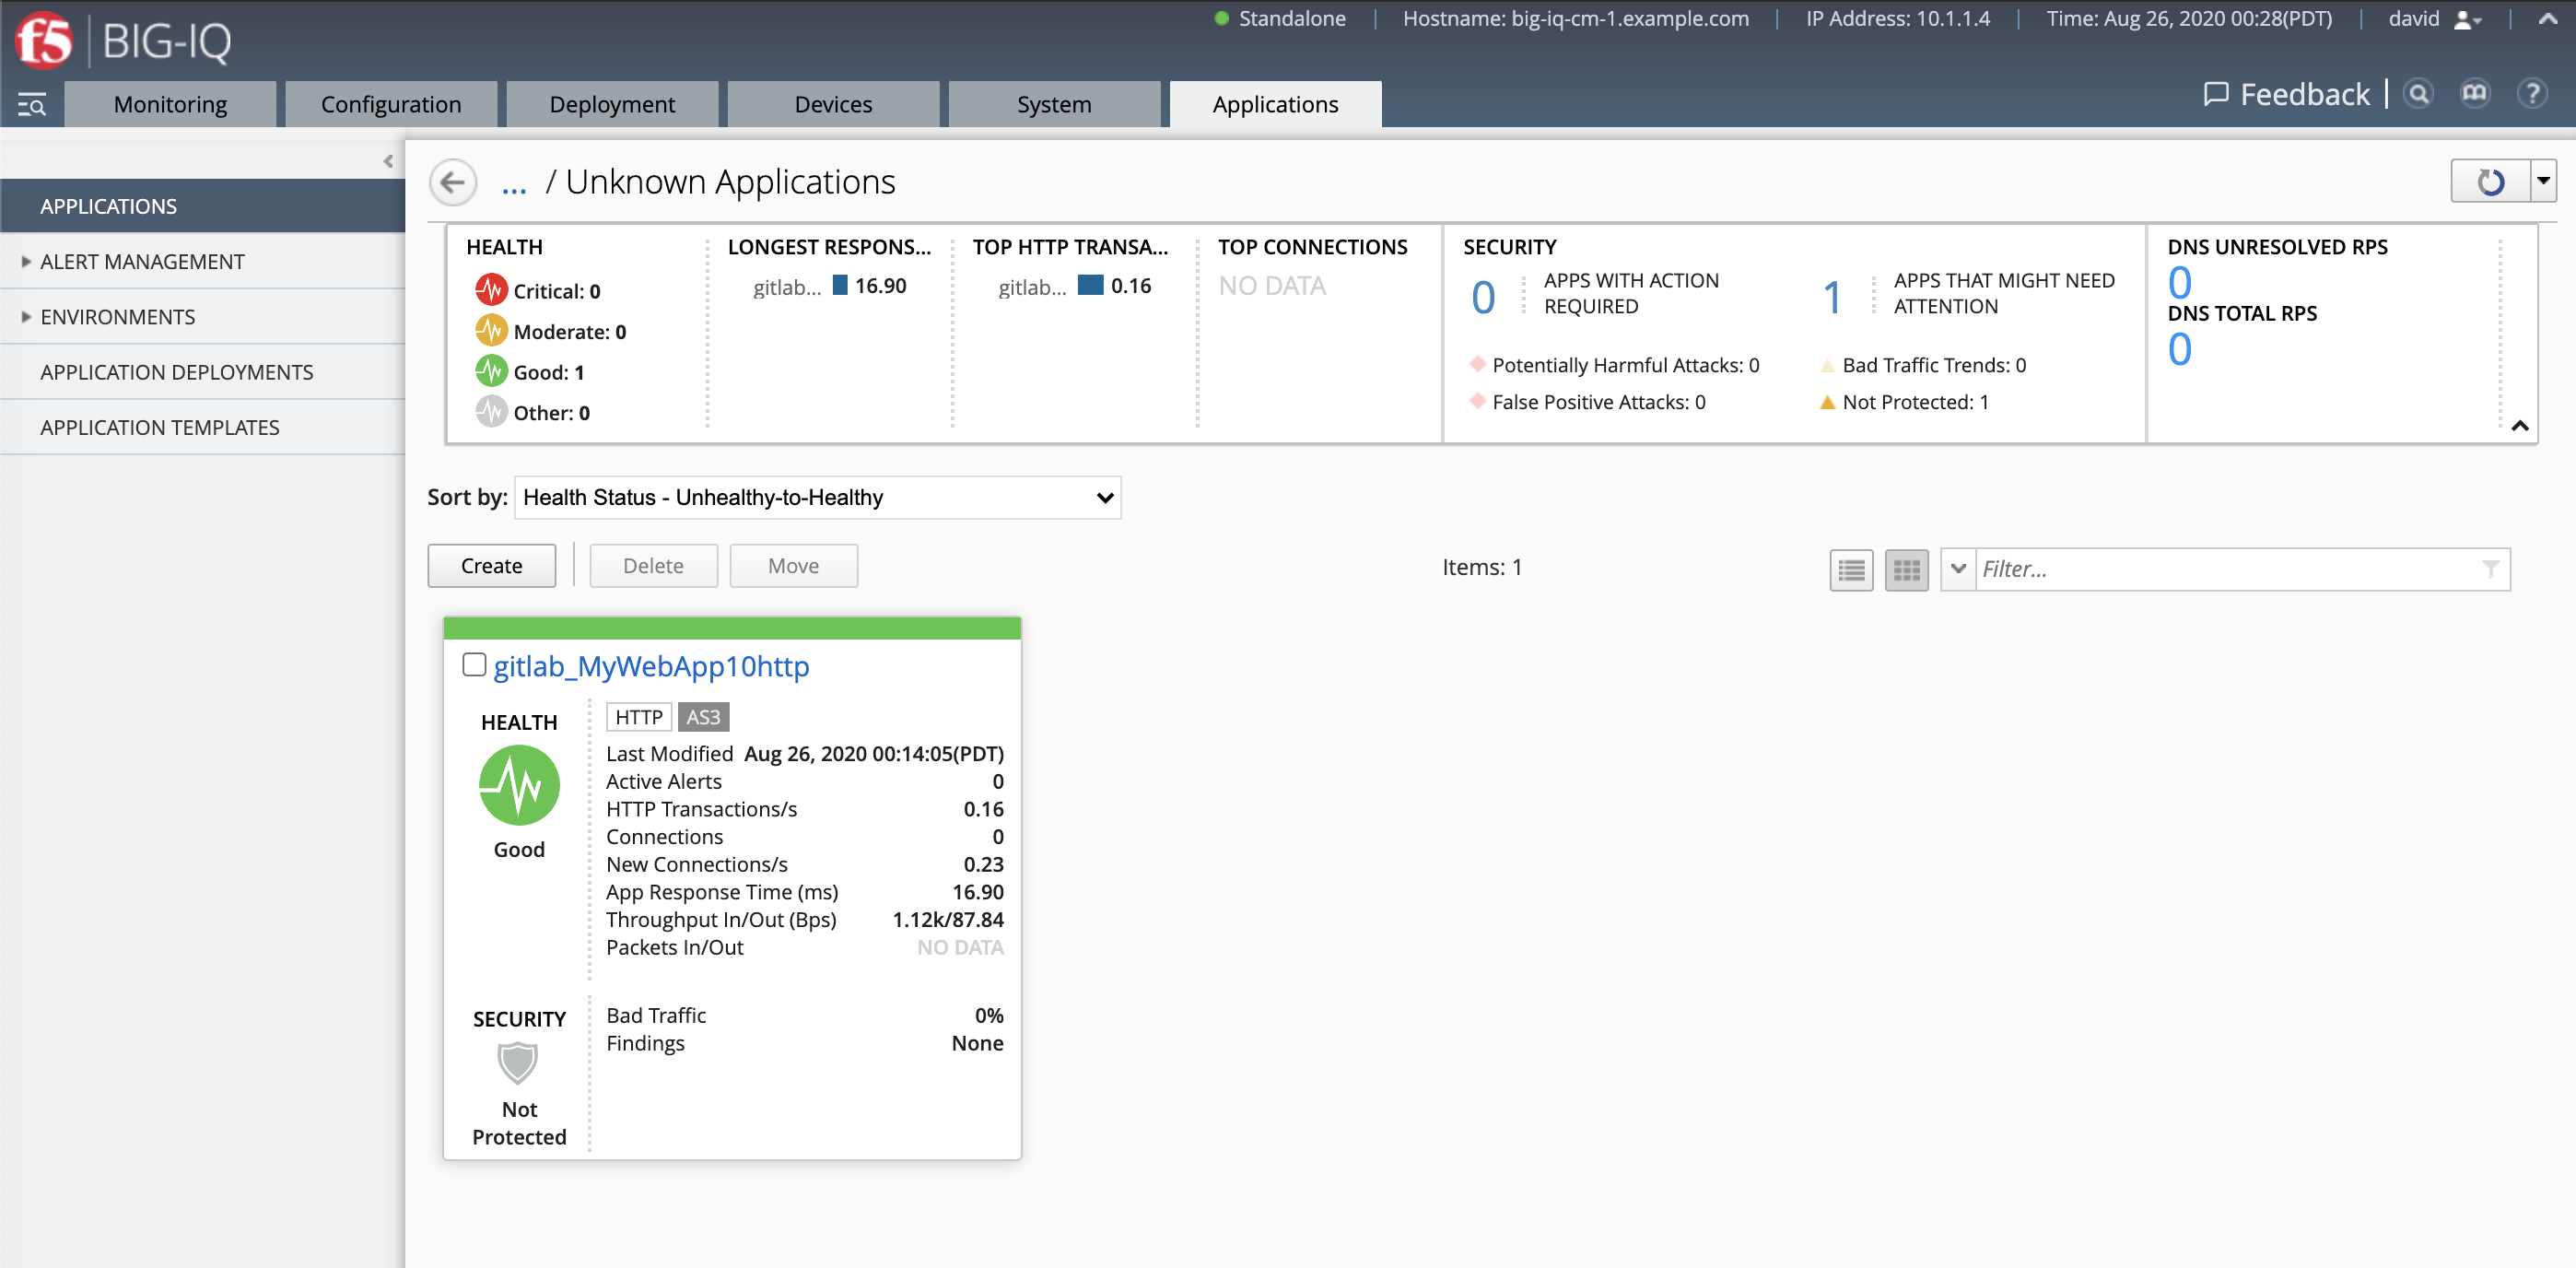
Warning
Starting 7.0, BIG-IQ displays AS3 application services created using the AS3 Declare API as Unknown Applications. You can move those application services using the GUI, the Move/Merge API, bigiq_move_app_dashboard F5 Ansible Galaxy role or create it directly into Application in BIG-IQ using the Deploy API to define the BIG-IQ Application name.
Infrastructure as code: add a new pool member to the AS3 app service through GitLab
Now, let’s add a new pool member to our HTTP application service. Edit the file
as3/my_http_app_service1.json:vi as3/my_http_app_service1.json
Add the pool member 10.1.20.111 as showing below:
1 2 3 4 5 6 7 8 9 | "members": [
{
"servicePort": 80,
"serverAddresses": [
"10.1.20.110",
"10.1.20.111"
],
"shareNodes": true
}
|
Commit and push the changes:
git add as3/my_http_app_service1.json
git commit -m "Add new pool member 10.1.20.111"
git status
git push origin master
Back in gitlab, navigate under jobs and click on the running jobs, display output.
- Login on BIG-IQ as david, go to Applications tab and check the new pool member has been added.